
The NoKnead Baguette: Artisan Results Without the Effort

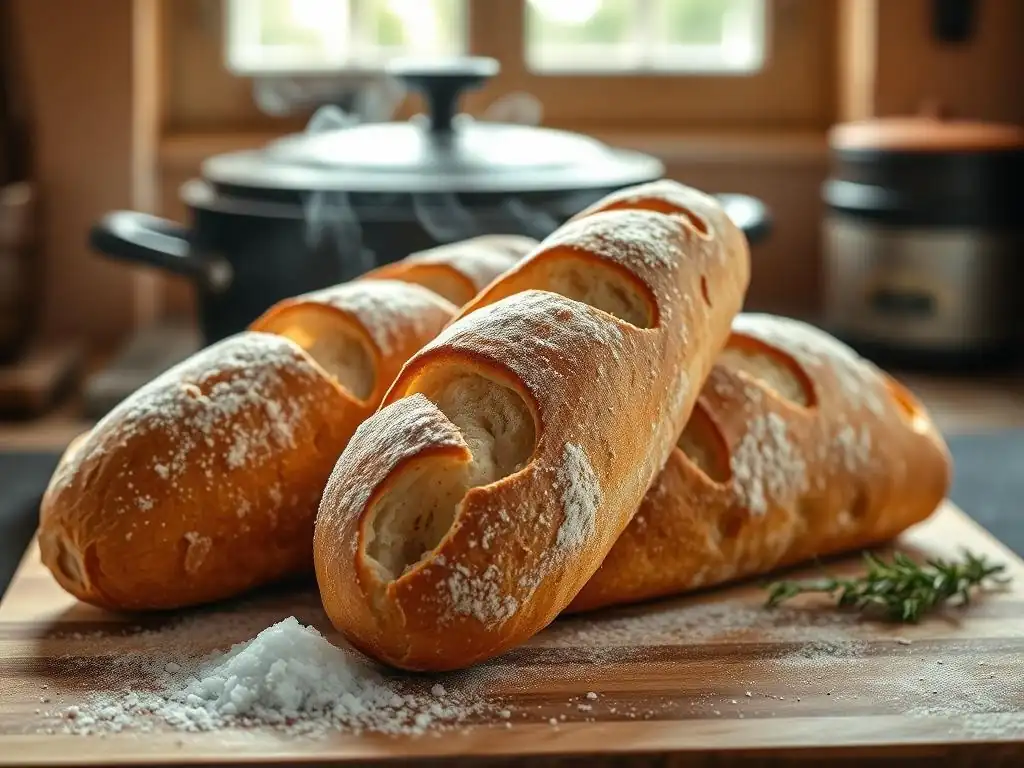
Welcome to BakeWithEase, your companion in the delightful world of baking! Discover the secrets to creating bakery-quality treats in your own kitchen. Intrigued by the idea of effortless artisan bread? Then you're in the right place! Today, we're diving into our No Knead Baguette Recipe, proving that exceptional flavor doesn't require hours of labor. Ready to unlock the magic of this simple technique and enjoy crusty, flavorful baguettes straight from your oven? Let's get baking!
- Sourdough Starter Baguettes: Rustic Flavor, Effortless Baking
- The Sourdough Home Presents: Mastering Sourdough Starter Baguettes
- Why Choose a Sourdough Starter Baguette Recipe?
- Essential Ingredients for Your Sourdough Starter Baguette
-
Step-by-Step: The Ultimate Sourdough Starter Baguette Recipe
- Step 1: Mixing the Dough - Autolyse and Initial Mix
- Step 2: Bulk Fermentation - Developing Flavor and Strength
- Step 3: Dividing and Pre-Shaping - Gentle Handling for Even Rise
- Step 4: Shaping the Baguette - Creating Tapered Ends
- Step 5: Proofing the Baguette - Refrigerated Proofing for Flavor
- Step 6: Scoring the Baguette - Precise Cuts for Oven Spring
- Step 7: Baking to Perfection - Using Steam for a Crisp Crust
- Tips for a Perfect Sourdough Starter Baguette Every Time
- Variations on the Sourdough Starter Baguette Recipe
- Serving and Storing Your Homemade Baguette
- From Simple Starter to Stunning Baguette: Your Baking Journey Begins
-
Frequently Asked Questions
- What exactly is a no-knead baguette, and how does it differ from a traditional baguette?
- How long does the dough need to rest for a no-knead baguette recipe?
- What kind of flour is best for a no-knead baguette?
- What kind of baking equipment do I need for this recipe?
- Can I add any flavorings or ingredients to my no-knead baguette dough?
- Final Reflection: The Humble Baguette, Reimagined
- Unleash Your Inner Baker: Craft the Perfect No-Knead Baguette!
Sourdough Starter Baguettes: Rustic Flavor, Effortless Baking
The Sourdough Home Presents: Mastering Sourdough Starter Baguettes
Welcome to the world of baking artisan bread at home! Creating beautiful, crusty baguettes might seem intimidating, but with the magic of sourdough and a simplified approach, it's entirely achievable. This guide focuses on a method that minimizes manual effort, allowing you to harness the power of natural fermentation for stunning results.
We'll walk you through the process of making a sourdough starter baguette that boasts incredible flavor and texture without the intensive kneading typically associated with traditional baguette making. Get ready to transform your kitchen into a bakery and enjoy the satisfaction of pulling warm, golden loaves from your oven.
Achieving Artisan Bread at Home: A Sourdough Approach
Sourdough baking offers a unique pathway to artisan quality in your home kitchen. The long fermentation process, driven by wild yeasts and bacteria, develops complex flavors and helps build dough structure naturally over time. This characteristic makes sourdough particularly well-suited for a no knead baguette recipe. Instead of vigorous kneading, time and gentle handling do the work.
By allowing the sourdough culture to slowly break down the flour's components, the dough strengthens and becomes extensible on its own. This passive gluten development is a cornerstone of many artisan techniques, resulting in an open, airy crumb and a wonderfully crisp crust – hallmarks of a great baguette, all from an easy, low-manipulation method perfect for a home no knead baguette recipe.
Why Choose a Sourdough Starter Baguette Recipe?
Opting for a sourdough starter baguette recipe brings several advantages over commercial yeast versions. Beyond the satisfaction of using a natural leavening agent, the process itself often simplifies the hands-on work while elevating the final product's quality significantly. It's a method that rewards patience with profound flavor and texture.
This approach aligns perfectly with the desire for an easy, yet high-quality, baking experience. You'll find that the extended fermentation not only builds structure effortlessly but also fits conveniently into a busy schedule, often involving overnight refrigeration.
Effortless Baking: The Benefits of Sourdough Fermentation
One of the most compelling reasons to choose this method is the reduction in manual labor. A sourdough no knead baguette recipe relies on the slow enzymatic action of the sourdough starter to develop gluten strength. This means you spend significantly less time kneading dough compared to traditional methods using commercial yeast, which often require 10-15 minutes of intensive work.
The bulk fermentation phase, which can last several hours at room temperature or even longer in the refrigerator, is where the dough gains its structure and elasticity. While some gentle stretch and folds might be incorporated in the initial hours (perhaps 3-4 sets spaced 30-60 minutes apart), this is a far cry from continuous kneading. This hands-off approach makes achieving a high-hydration dough, common in artisan baguettes, much more manageable for the home baker following a no knead baguette recipe.
Deeper Flavor: The Sourdough Advantage Explained
Sourdough fermentation is a complex biological process involving a symbiotic culture of lactic acid bacteria and wild yeasts. These microorganisms consume the sugars in the flour, producing not just carbon dioxide for leavening but also a wide array of organic acids, alcohols, and other volatile compounds. These byproducts contribute significantly to the bread's aroma and taste, creating layers of flavor ranging from pleasantly tangy to nutty and complex.
Unlike the relatively one-dimensional flavor produced by commercial yeast, sourdough gives your baguettes a depth and nuance that is instantly recognizable as artisan bread. The longer the fermentation, especially during a cold proofing period (often 12-24 hours in the fridge), the more pronounced and sophisticated these flavors become. This makes the extra time investment in a sourdough no knead baguette recipe well worth it for the superior taste profile.
Essential Ingredients for Your Sourdough Starter Baguette
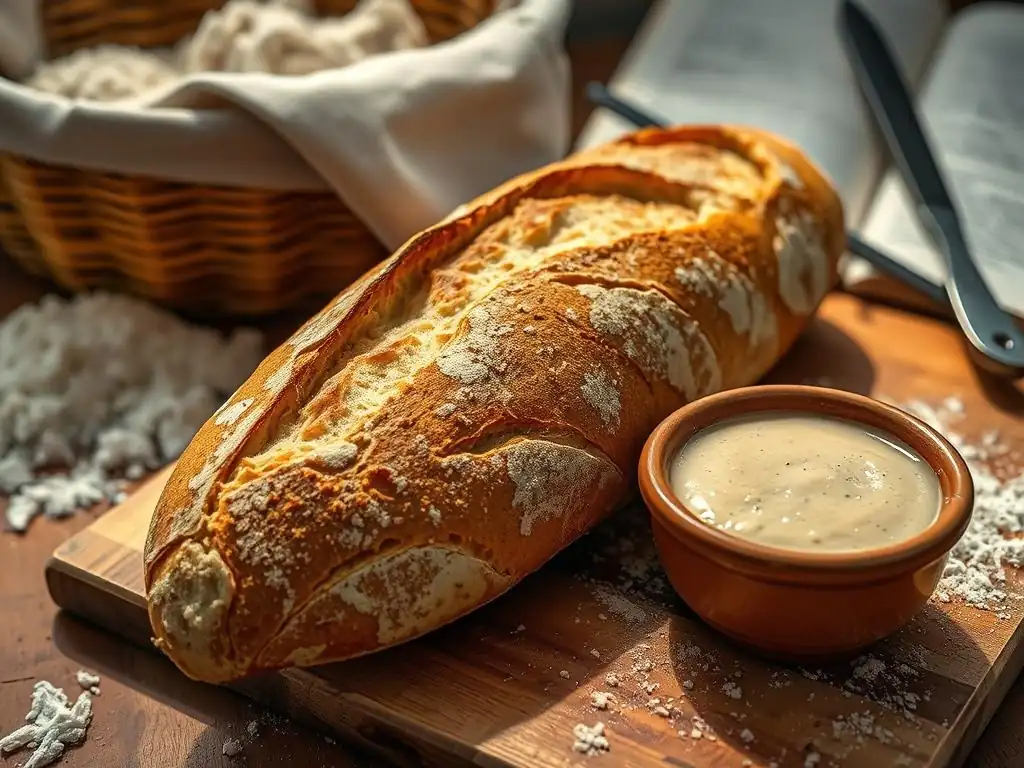
Crafting a delicious sourdough baguette starts with understanding the role of each ingredient. While the list is simple – flour, water, starter, and salt – the quality and handling of each play a crucial part in the final outcome. Using the right ingredients is fundamental to the success of any no knead baguette recipe.
Focusing on quality over quantity is key here. Each component interacts with the others during the long fermentation, contributing to the dough's development, flavor, and the baguette's signature crust and crumb.
Flour Power: Selecting the Right Flour for Sourdough Baguette Baking
For a classic sourdough baguette, bread flour is typically the go-to choice. Its higher protein content, usually ranging from 12% to 14%, is essential for developing a strong gluten network. Gluten is the protein structure that traps the gases produced by the starter, giving the baguette its volume and open crumb structure, even in a no knead baguette recipe where gluten develops passively over time.
While 100% bread flour works beautifully, you can experiment with substituting a small percentage (say, 5-10%) of the bread flour with whole wheat or rye flour. This adds complexity to the flavor profile and can slightly increase the dough's hydration needs as whole grain flours absorb more water. However, for your first attempt at this specific no knead baguette recipe, sticking to primarily high-quality bread flour is recommended for predictable results.
Water Quality: Key to Sourdough Dough Hydration
Water is more than just a hydrating agent; it's a critical component that interacts with the flour to form gluten and serves as the environment for your sourdough starter's activity. Using clean, non-chlorinated water is important because chlorine can inhibit the beneficial microorganisms in your starter. If your tap water is chlorinated, simply let it sit out in an open container for a few hours, or overnight, to allow the chlorine to dissipate.
The hydration level of your dough (the ratio of water to flour by weight) significantly impacts the final texture. Baguette doughs are typically high hydration, often between 70% and 75%. Higher hydration contributes to a more open, airy crumb, but it also makes the dough stickier and slightly more challenging to handle. For a no knead baguette recipe, higher hydration is often beneficial as the extra water aids in the passive gluten development, allowing the dough to become extensible with minimal intervention.
Sourdough Starter: Maintaining a Healthy and Active Culture
Your sourdough starter is the heart of this no knead baguette recipe. It's responsible for leavening the dough and contributing the characteristic sourdough flavor. Using a healthy, active starter is non-negotiable for a successful bake. An active starter should have been fed within the last 4-12 hours (depending on temperature and feeding ratio), should have visibly doubled or tripled in size, be full of bubbles, and pass the float test (a small spoonful floats in water).
Maintaining a consistent feeding schedule tailored to your baking frequency is key. For regular baking, keeping your starter at room temperature and feeding it daily is ideal. If you bake less often, storing it in the refrigerator and feeding it weekly works well, but remember to revive it with a couple of feedings at room temperature before using it in your no knead baguette recipe to ensure peak activity.
Salt's Role: Enhancing Flavor and Dough Structure
Salt does more than just add flavor; it plays a vital structural role in bread dough. It tightens the gluten network, making the dough stronger and easier to handle. Salt also helps control the rate of fermentation, preventing the dough from rising too quickly and allowing flavors to develop more fully. Typically, salt is added at a percentage of 1.8% to 2.2% of the total flour weight in bread recipes.
It's common practice in sourdough baking to add salt after the initial mixing of flour and water (autolyse). This allows the flour to fully hydrate without salt interfering with the early stages of gluten formation. Ensure the salt is evenly distributed throughout the dough during the final mixing phase for uniform flavor and structure development in your no knead baguette recipe.
Step-by-Step: The Ultimate Sourdough Starter Baguette Recipe
Ready to bake? This section guides you through the process of making your own sourdough baguettes using the effortless no knead baguette recipe method. Follow these steps carefully, and you'll be rewarded with stunning loaves.
Patience is your most important tool throughout this process. While the hands-on time is minimal, the dough requires significant time for fermentation to develop its structure and flavor.
Step 1: Mixing the Dough - Autolyse and Initial Mix
Begin by combining the flour and water in a large bowl. Mix them together with your hands or a spatula until no dry flour remains. This initial mixing phase is called the autolyse, and it allows the flour to fully hydrate and enzymes to begin breaking down starches, which helps with gluten development later. Cover the bowl and let it rest for 20-30 minutes.
After the autolyse, add your active sourdough starter and the salt to the bowl. Mix gently until the starter and salt are incorporated into the shaggy dough. The dough will feel wet and sticky, which is expected for a high-hydration dough in a no knead baguette recipe. Resist the urge to add more flour at this stage. Cover the bowl again.
Step 2: Bulk Fermentation - Developing Flavor and Strength
This is the longest phase, where the magic happens. Over the next 4-8 hours (depending on your room temperature – warmer means faster fermentation), the dough will ferment and develop strength. During the first 2-3 hours of bulk fermentation, perform a series of gentle stretch and folds. Every 30-60 minutes, wet your hand, grab one side of the dough, stretch it gently upwards, and fold it over the rest of the dough. Rotate the bowl and repeat 3-4 times, effectively folding the dough onto itself from all sides. This process helps build structure without intensive kneading.
After the initial stretch and fold period, simply let the dough rest undisturbed for the remainder of the bulk fermentation. The dough should increase significantly in volume (perhaps 50-75%) and become visibly airy and bubbly. Look for signs of activity and fermentation, not just size increase. The dough should feel lighter and more extensible when gently handled.
Step 3: Dividing and Pre-Shaping - Gentle Handling for Even Rise
Once bulk fermentation is complete, gently turn the dough out onto a lightly floured surface. Avoid degassing the dough too much; you want to preserve the air bubbles created during fermentation. Using a bench scraper, divide the dough into equal portions suitable for baguettes (typically 300-400 grams each).
Gently pre-shape each portion into a loose round or rectangle, tucking the edges underneath to create some surface tension. Let the pre-shaped dough rest for 20-30 minutes, covered, to allow the gluten to relax. This resting period, known as the bench rest, makes the final shaping much easier and prevents the dough from tearing.
Step 4: Shaping the Baguette - Creating Tapered Ends
Shaping is a key step in forming the iconic baguette shape. Take one piece of rested dough and gently flatten it into a rough rectangle. Fold the top edge down to the center and press lightly to seal. Then, fold the dough in half lengthwise, pressing the seam closed with your fingertips. Roll the dough back and forth gently with your hands, starting from the center and working outwards, applying slight pressure to lengthen the loaf and create tapered ends. Aim for a length appropriate for your baking surface.
The goal is to create tension on the surface while preserving the airy interior. Place the shaped baguettes seam-side up in a well-floured couche (linen cloth) or on parchment paper separated by folds to prevent sticking. This shaping technique is crucial for achieving the proper structure and appearance in your no knead baguette recipe.
Step 5: Proofing the Baguette - Refrigerated Proofing for Flavor
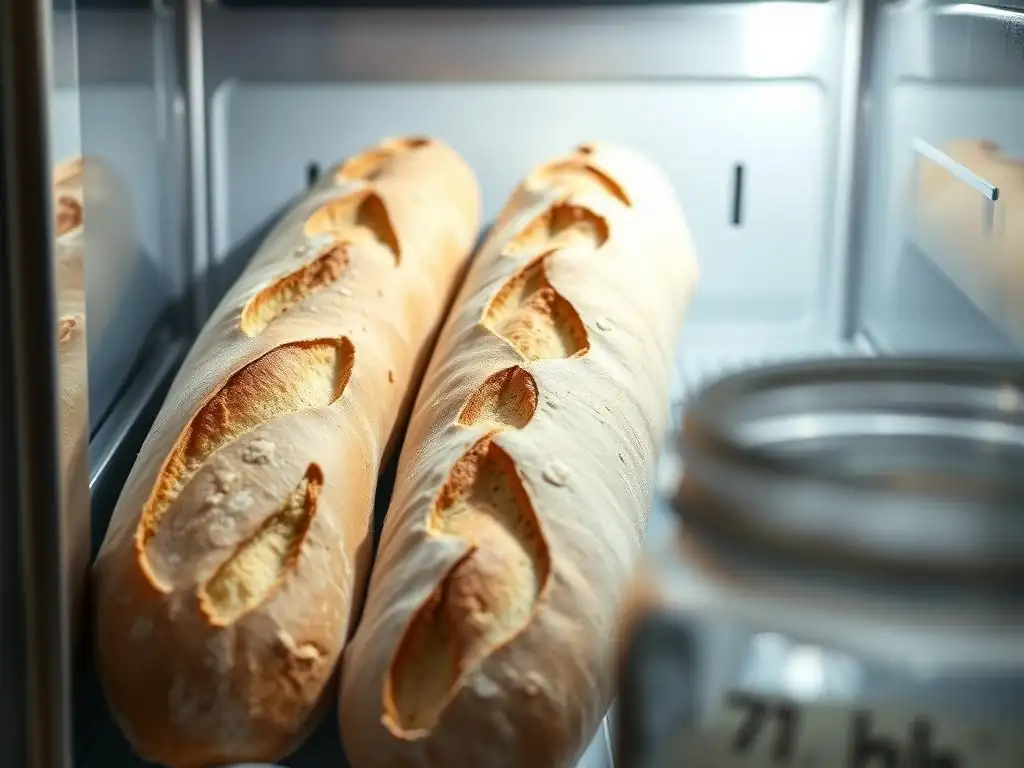
Proofing is the final rise before baking. For maximum flavor development and easier handling of the delicate dough, cold proofing in the refrigerator is highly recommended for this no knead baguette recipe. Cover the shaped baguettes loosely with plastic wrap or place the entire couche/parchment setup in a large plastic bag. Refrigerate for 12-24 hours.
Cold proofing slows down fermentation, allowing complex flavors to develop while also firming up the dough, making it easier to score and transfer to a hot baking surface. The baguettes should increase slightly in size during cold proofing, but they won't double. They should feel slightly puffy but still have some resistance when gently poked.
Step 6: Scoring the Baguette - Precise Cuts for Oven Spring
Scoring is the art of making cuts on the surface of the dough just before baking. These cuts, made with a sharp blade like a lame or razor, serve two main purposes: they allow the dough to expand in a controlled manner during baking (oven spring), and they create a beautiful, characteristic pattern on the crust. For baguettes, the typical scoring pattern involves several overlapping diagonal cuts along the length of the loaf.
Carefully transfer your cold, proofed baguettes onto your preheated baking surface (like a baking stone or steel, or into a preheated Dutch oven). Using a very sharp blade held at a shallow angle (about 20-30 degrees), make swift, confident cuts about 1/2 inch deep, overlapping each cut by about one-third. The cold dough is easier to score cleanly. Precise scoring is essential for achieving a good bloom and crust development in your no knead baguette recipe.
Step 7: Baking to Perfection - Using Steam for a Crisp Crust
Baking baguettes requires high heat and steam to achieve that signature thin, crisp crust and maximum oven spring. Preheat your oven with your baking surface inside to a high temperature, typically between 450°F and 475°F (230°C to 245°C), for at least 30-60 minutes. Steam is crucial during the first 15-20 minutes of baking. You can create steam by placing a tray of hot water on the bottom rack of your oven, or by using a Dutch oven or cloche to trap the dough's own steam.
Bake the baguettes for a total of 20-30 minutes, or until deeply golden brown and the internal temperature reaches 200-210°F (93-99°C). Remove the steam source after the first 15-20 minutes to allow the crust to fully crisp up. Baking time will vary depending on your oven and the size of your baguettes. A well-baked baguette will have a resonant hollow sound when tapped on the bottom.
Tips for a Perfect Sourdough Starter Baguette Every Time
Achieving consistent results with any baking, including a no knead baguette recipe, comes with practice and attention to detail. Here are some tips to help you nail your sourdough baguettes every time.
Mastering these small nuances can make a big difference in the quality of your final loaf, transforming a good baguette into a truly exceptional one.
Starter Activity: Ensuring a Strong and Consistent Rise
The vitality of your sourdough starter is paramount for successful leavening in this no knead baguette recipe. A sluggish or weak starter will result in a dense, flat loaf with poor oven spring. Always check your starter's activity before mixing your dough. It should be bubbly, have increased significantly in volume since its last feeding, and pass the float test.
If your starter seems weak, give it a few consecutive feedings at room temperature (e.g., every 12 hours for a couple of days) to strengthen it before using it in a recipe. Ensure you are using it at its peak, typically when it has doubled or tripled and is just starting to show signs of receding. Using a starter that is past its peak will also lead to less vigorous fermentation in your dough.
Mastering the Slap and Fold: Building Strength in the Dough
While this is a no knead baguette recipe, incorporating gentle stretch and folds during the initial bulk fermentation phase is highly beneficial for developing dough strength. The "slap and fold" is a more active technique sometimes used for high-hydration doughs, but simple in-bowl stretch and folds are sufficient for this method. These gentle manipulations align the gluten strands, creating a more elastic and resilient dough structure without the aggressive action of traditional kneading.
Perform 3-4 sets of stretch and folds during the first couple of hours of bulk fermentation, spaced 30-60 minutes apart. Wet your hand slightly to prevent sticking, grab the dough from one side, stretch it up gently, and fold it over the center. Rotate the bowl and repeat. This simple action significantly improves the dough's ability to hold its shape and achieve a better rise and crumb structure in your no knead baguette recipe.
Troubleshooting: Common Sourdough Baguette Problems and Solutions
Even experienced bakers encounter challenges. Here are some common issues you might face when baking a sourdough no knead baguette recipe and how to address them.
- [ ] Dough Too Loose?
- Try reducing the water slightly in your next batch (e.g., by 10-20 grams).
- Ensure you are performing enough gentle stretch and folds during bulk fermentation to help build strength.
- Check the protein content of your flour; lower protein flour (like all-purpose) won't develop gluten as well as bread flour.
- [ ] Baguette Not Rising?
- Verify your sourdough starter's activity before mixing the dough using the float test.
- Ensure your bulk fermentation environment is warm enough (around 75-80°F or 24-27°C is ideal) or allow more time if cooler.
- Check proofing time – both underproofed (too short) and overproofed (too long, dough deflates) baguettes can result in poor rise.
- [ ] Crust Too Thick?
- Ensure you are generating sufficient steam during the initial baking phase (first 15-20 minutes).
- Consider reducing the total baking time slightly if the crust is developing too quickly.
- Baking at a slightly lower temperature for a longer duration can sometimes help achieve a thinner crust.
Variations on the Sourdough Starter Baguette Recipe
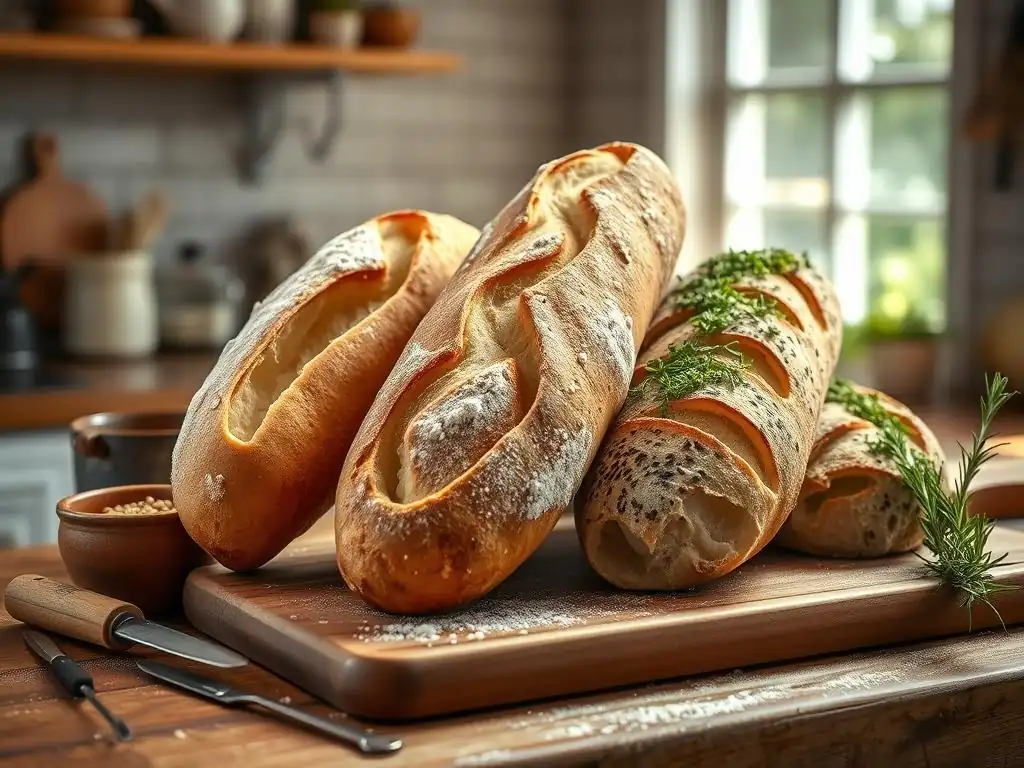
Once you've mastered the basic sourdough no knead baguette recipe, you can easily experiment with variations to add different flavors, textures, and nutritional benefits. These small changes can significantly alter the character of your finished bread.
Exploring these variations allows you to customize your baguettes and discover new favorites, keeping your baking journey exciting.
Adding Whole Wheat Flour for Nutty Flavor
Incorporating a percentage of whole wheat flour (e.g., 10% to 20% of the total flour weight) introduces a pleasant nutty flavor and aroma to your sourdough baguettes. Whole wheat flour also adds more fiber and nutrients compared to refined bread flour. However, it absorbs more water, so you might need to increase the total hydration slightly (by 10-15 grams of water per 100 grams of whole wheat flour added) to achieve a similar dough consistency.
Using whole wheat will result in a slightly denser crumb compared to 100% white flour, but it adds wonderful complexity. Mix the whole wheat flour with the bread flour during the initial autolyse step to ensure full hydration. This simple substitution is an easy way to add a rustic touch to your no knead baguette recipe.
Incorporating Seeds for Texture and Nutrition
Adding seeds is a fantastic way to boost the texture, flavor, and nutritional value of your sourdough baguettes. Common additions include sesame seeds, poppy seeds, sunflower seeds, flax seeds, or a mix of several types. You can incorporate seeds at about 10-15% of the total flour weight.
Seeds can be mixed into the dough during the initial mixing phase along with the starter and salt. Alternatively, you can scatter them on the surface of the shaped baguettes just before baking. Seeds add a delightful crunch and visual appeal. Experiment with toasting the seeds lightly before adding them to enhance their flavor further in your no knead baguette recipe.
Experimenting with Different Fermentation Times
The beauty of a sourdough no knead baguette recipe lies in the flexibility of its fermentation schedule. While a 12-24 hour cold proof is recommended, you can experiment with even longer cold fermentation times (up to 48 hours or more) to develop even deeper, more complex flavors and a tangier profile. Longer cold fermentation also tends to result in a more open crumb structure.
Conversely, if you need a faster bake, you can shorten the cold proofing period or even proof at room temperature (which will take significantly less time, perhaps 1-3 hours, depending on temperature, but yield less complex flavor). Understanding how temperature affects fermentation rate (warmer = faster, colder = slower) allows you to adapt the recipe to your schedule and desired outcome.
Serving and Storing Your Homemade Baguette
You've put in the time and effort (minimal as it was for this no knead baguette recipe! ), and now you have beautiful homemade baguettes. Knowing how to best serve and store them ensures you enjoy every last crumb.
Proper handling after baking is just as important as the baking process itself for maintaining quality.
Pairing Suggestions: Complementing Your Baguette
A warm, freshly baked sourdough baguette is incredibly versatile. Its rustic flavor and crisp crust make it the perfect vehicle for countless delicious pairings. Serve it simply with high-quality olive oil and a sprinkle of flaky sea salt, or alongside a rich balsamic vinegar for dipping.
It's also the ideal accompaniment to soups, stews, and salads. Use slices for bruschetta topped with fresh tomatoes and basil, or slice it horizontally for fantastic sandwiches filled with cheese, charcuterie, or roasted vegetables. The slightly tangy flavor of the sourdough complements a wide range of sweet and savory toppings.
Proper Storage: Keeping Your Baguette Fresh
Baguettes, with their thin crust and open crumb, are best enjoyed the day they are baked, ideally within a few hours of cooling. However, if you need to store them, proper technique is key to preserving their texture. Avoid storing baguettes in plastic bags at room temperature, as this traps moisture and quickly turns the crisp crust soft and chewy.
For short-term storage (a few hours), stand the cut side down on a cutting board. For storage up to 1-2 days, wrap the cooled baguette loosely in a linen bread bag or a paper bag. If you won't eat the baguette within a couple of days, it freezes exceptionally well. Slice it first, then freeze in an airtight container or bag. You can then pull out slices as needed and toast them, or reheat a whole frozen baguette in a moderate oven (around 350°F or 175°C) for 10-15 minutes to revive the crust.
From Simple Starter to Stunning Baguette: Your Baking Journey Begins
You've seen how a simple, active sourdough starter, combined with a low-manipulation method, can produce stunning artisan baguettes right in your own kitchen. This no knead baguette recipe demystifies a classic bread, making it accessible and enjoyable for home bakers.
By understanding the role of each ingredient, allowing time for fermentation, and practicing the simple techniques outlined, you are well on your way to mastering this rewarding bake. Each loaf you make will teach you something new about working with sourdough and developing your baking intuition.
We love seeing what you bake! Once you've tried this sourdough no knead baguette recipe, share your results. Show off that beautiful crust, the airy crumb, and how you're enjoying your homemade baguettes.
Your baking journey is a source of inspiration for others in the community. Don't hesitate to share your successes and even ask questions about challenges you encountered. Happy baking!
Frequently Asked Questions
What exactly is a no-knead baguette, and how does it differ from a traditional baguette?
A no-knead baguette relies on a long fermentation process to develop gluten, eliminating the need for extensive kneading. This results in a similar, artisan-style crust and crumb, but with significantly less effort.
How long does the dough need to rest for a no-knead baguette recipe?
The dough typically needs to rest for a minimum of 12 hours, and can be extended to up to 18 hours or even longer. This extended fermentation is key to flavor development.
What kind of flour is best for a no-knead baguette?
Bread flour is recommended for no-knead baguettes due to its higher protein content, which contributes to a chewier texture and better gluten development. All-purpose flour can be used, but the results may vary slightly.
What kind of baking equipment do I need for this recipe?
You'll need a large bowl for mixing and proofing the dough, and a Dutch oven or baking stone is highly recommended for achieving a crispy crust. Parchment paper is also helpful for easy handling.
Can I add any flavorings or ingredients to my no-knead baguette dough?
Yes, you can definitely experiment! Consider adding herbs, cheese, or olives to the dough for a unique twist. Just be mindful of how these additions might affect the dough's texture and rise.
Final Reflection: The Humble Baguette, Reimagined
The no-knead baguette revolutionizes not just bread making, but our relationship with time and effort in the kitchen. It proves that achieving artisan-quality results doesn't necessitate hours of laborious kneading and complex techniques. This simple shift in approach unlocks a world of culinary possibilities for even the busiest home baker.
The ease of this method has democratized the art of baguette making, bringing the satisfying aroma and crisp crust of a freshly baked loaf to kitchens worldwide. It's a testament to the power of simplifying complex processes, reminding us that sometimes, less is truly more. The simplest things are often the most extraordinary.
This quote resonates deeply with the no-knead approach, highlighting the beauty found in embracing simplicity and trusting the process. The impact extends beyond just bread; it encourages a mindful approach to cooking, appreciating the subtle nuances of fermentation and the magic of letting nature do its work.
Now, I invite you to embrace the simplicity and discover the joy of crafting your own no-knead baguettes. Don't be intimidated by the seemingly complex world of artisan bread; this recipe is your gateway. Experiment with different flours, explore variations in shaping, and savor the rewarding experience of creating something delicious and beautiful with your own hands. The journey of baking is as important as the final product, so enjoy every step of the way.
Unleash Your Inner Baker: Craft the Perfect No-Knead Baguette!
Thanks for taking the time to explore the world of effortless baguette baking! You've just unlocked the secret to achieving artisan-quality bread without the hours of kneading. Now it's time to put your newfound knowledge to the test.
- Bake your own No-Knead Baguette today! Use the recipe from this article as your guide, and let us know how it turns out.
- Share your baking journey! Post a picture of your masterpiece on social media and tag us – we’d love to see your results!
- Challenge a friend: Dare them to bake a baguette using this simple method and compare your results.
So, what incredible flavor combinations will you try in your first no-knead baguette? Let us know in the comments below!