
Troubleshooting Sticky Ciabatta Dough

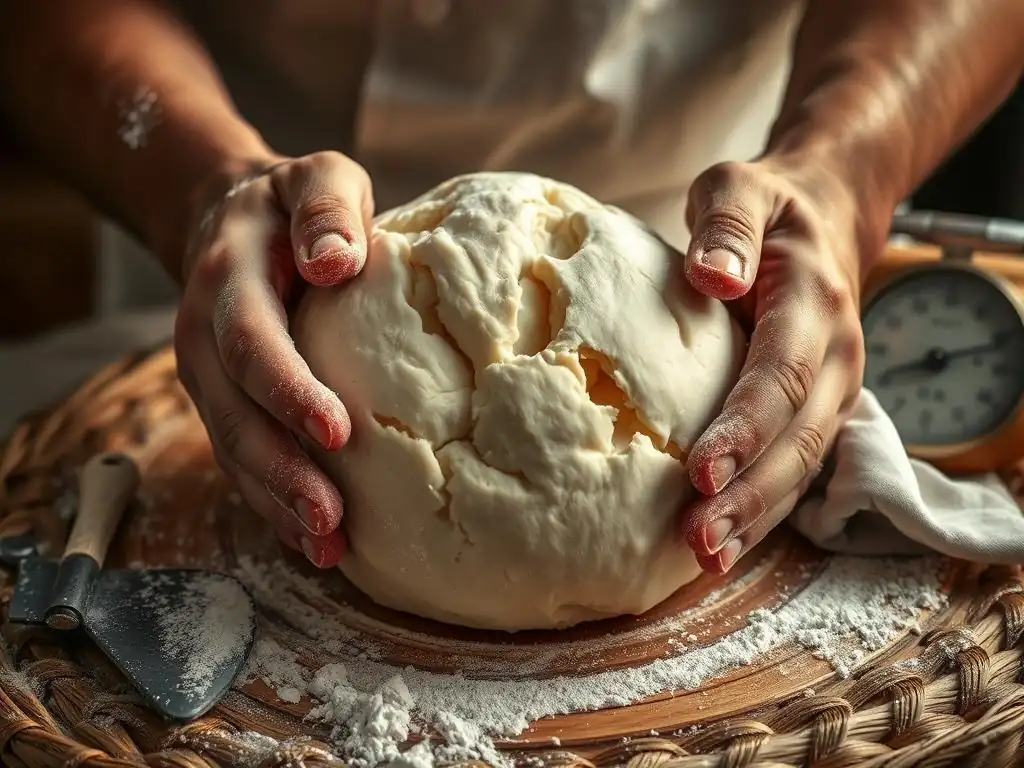
Welcome to BakeWithEase, your trusted companion in the world of baking! Are you grappling with a sticky ciabatta dough that's less "light and airy" and more "clingy nightmare"? Don't despair! This guide dives deep into sticky ciabatta dough troubleshooting tips, revealing the secrets to achieving that perfect, bubbly texture. Discover the common culprits and easy fixes that will transform your baking experience, leaving you with delicious, crusty ciabatta every time. Intrigued? Let's get baking!
- Troubleshooting Sticky Ciabatta Dough: Your BakeWithEase Guide
- Understanding the Challenges of Sticky Ciabatta Dough
- Common Causes of Excessively Sticky Ciabatta Dough
- Sticky Ciabatta Dough Troubleshooting Tips: Solutions for Common Problems
- Salvaging Excessively Sticky Ciabatta Dough: Rescue Strategies
- Preventing Sticky Ciabatta Dough in the Future: Best Practices
- Achieving the Perfect Ciabatta: Beyond Sticky Dough Troubleshooting
- Frequently Asked Questions
- Final Reflection: The Unexpected Joys of a Sticky Situation
- Unleash Your Inner Ciabatta Master!
Troubleshooting Sticky Ciabatta Dough: Your BakeWithEase Guide
Understanding the Challenges of Sticky Ciabatta Dough
Ciabatta is renowned for its airy, open crumb and crispy crust, but achieving this often means working with a dough that can feel incredibly sticky. While some stickiness is inherent to the style, excessive stickiness can turn a baking project into a frustrating mess. Understanding why ciabatta dough behaves this way is the first step in mastering it. It's a common challenge, and with the right sticky ciabatta dough troubleshooting tips, you can navigate it successfully.
This guide will walk you through the reasons behind the stickiness and provide practical sticky ciabatta dough troubleshooting tips to help you achieve that perfect loaf. From ingredient choices to handling techniques, we'll cover everything you need to know to manage high-hydration doughs and bake beautiful ciabatta loaves with ease.
Why Ciabatta Dough is Naturally Stickier Than Other Breads
Ciabatta dough is intentionally designed to be wet. Its signature open crumb structure, characterized by large, irregular holes, is a direct result of a very high hydration level. Hydration refers to the ratio of water to flour by weight. While many standard bread doughs might have hydration levels between 60% and 70%, ciabatta typically calls for hydration ranging from 75% to 85%, and sometimes even higher, reaching up to 90% or 100% in some recipes.
This high proportion of water relative to flour means there's significantly more liquid for the flour to absorb and for the gluten network to manage. Unlike lower hydration doughs that feel firm and elastic, high-hydration doughs like ciabatta remain loose, slack, and sticky because not all the water is fully bound by the flour proteins. This inherent stickiness is not a flaw but a characteristic necessary for developing the desired structure and texture of the final bread.
The Impact of High Hydration on Ciabatta Dough Consistency
The high water content in ciabatta dough serves multiple crucial purposes, all of which contribute to its unique, sticky consistency. Firstly, the abundance of water allows for a more extensive development of the gluten network during mixing and fermentation. Gluten, formed by proteins in flour (glutenin and gliadin) when they come into contact with water and are worked, provides the structure and elasticity needed to trap the gases produced by yeast. In a high-hydration dough, this network can expand more freely, leading to larger gas bubbles and the characteristic open crumb.
Secondly, the extra water contributes to a longer fermentation time, which in turn develops more complex flavors in the bread. The high hydration also results in a dough that is very slack, meaning it spreads out easily rather than holding a tight shape. This slackness, while making the dough sticky and challenging to handle, is essential for achieving the flat, elongated shape of ciabatta and contributes to the thin, crispy crust during baking. Learning sticky ciabatta dough troubleshooting tips helps manage this inherent challenge effectively.
Common Causes of Excessively Sticky Ciabatta Dough
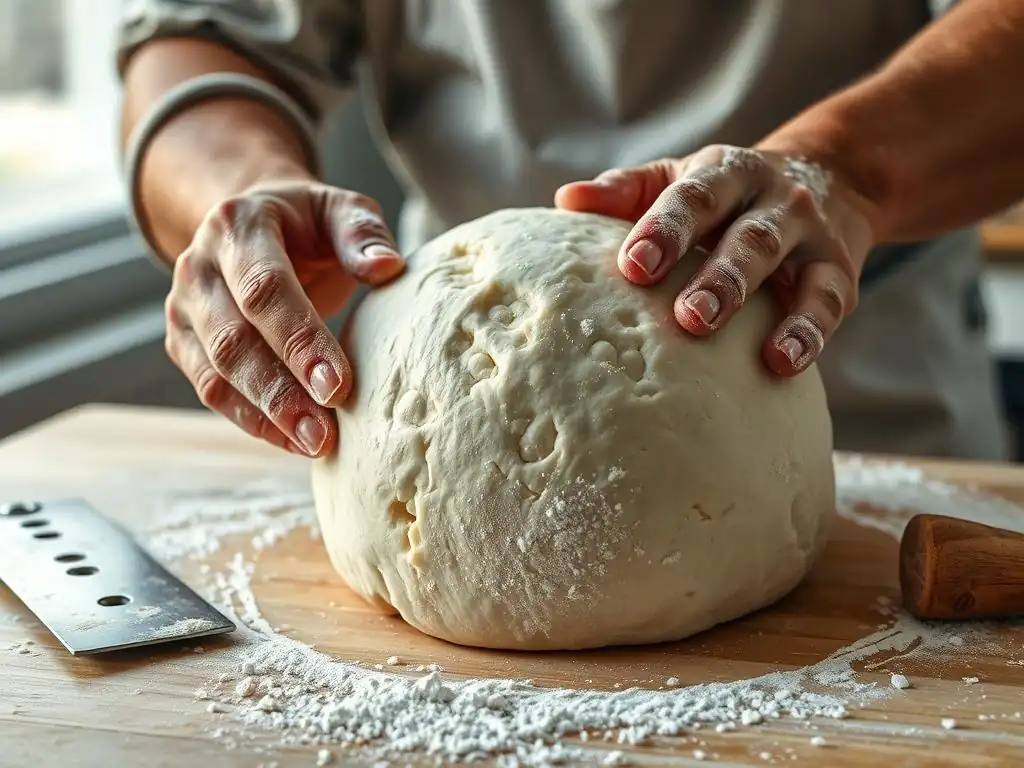
While some stickiness is normal for ciabatta, sometimes the dough can be too sticky, making it almost impossible to handle. Several factors can contribute to this excessive stickiness, often related to ingredient choices, measurement accuracy, mixing technique, and even environmental conditions. Identifying the root cause is key to applying the correct sticky ciabatta dough troubleshooting tips.
Understanding these common pitfalls allows bakers to prevent excessive stickiness from the outset or quickly identify the problem when it arises. Addressing these issues early on is far easier than trying to salvage an unmanageably sticky dough later in the process.
Incorrect Flour Type: Choosing the Right Flour for Ciabatta
The type of flour used is paramount in ciabatta baking and significantly impacts dough consistency. For ciabatta, a bread flour with a relatively high protein content (typically 12-14%) is recommended.
This higher protein level means more gluten-forming potential, which is necessary to absorb the large amount of water used in high-hydration doughs and build a strong, elastic structure capable of holding the dough together despite its slackness. Using an all-purpose flour (often 10-12% protein) might not provide enough structural integrity, resulting in a dough that feels excessively wet and weak, even if the hydration percentage is within the standard range.
Furthermore, the type of wheat and milling process also matters. Some flours absorb water differently than others. Stone-ground flours, for instance, might behave differently than roller-milled flours. If your dough feels much stickier than expected, even with a standard ciabatta recipe, the flour type or brand could be a contributing factor. Experimenting with different bread flours might be necessary to find one that works best for your sticky ciabatta dough troubleshooting tips arsenal.
Measuring Ingredients Accurately: The Importance of Precision in Baking
Baking is a science, and precision in measuring ingredients, especially the water-to-flour ratio, is critical, particularly with high-hydration doughs like ciabatta. Even a slight deviation in the amount of water can dramatically affect the dough's consistency. For example, in a recipe using 500 grams of flour, adding just 25 extra grams of water increases the hydration by 5 percentage points. If the target was 80% hydration (400g water), adding 425g water results in 85% hydration, making the dough noticeably stickier and harder to handle.
Using a digital kitchen scale is highly recommended for accuracy. Volume measurements (cups, tablespoons) are notoriously imprecise for flour and water due to variations in how ingredients are packed or poured. Weighing ensures you are using the exact hydration percentage specified in the recipe, which is fundamental for effective sticky ciabatta dough troubleshooting tips. If you suspect your measurements were off, this is a primary area to check.
Over-Mixing Ciabatta Dough: Developing Gluten Too Much
While adequate gluten development is crucial for ciabatta's structure, over-mixing can sometimes lead to a dough that feels excessively sticky or "soupy." Gluten development occurs as proteins in flour hydrate and are worked, forming a network. However, if mixing continues for too long, especially at high speeds in a stand mixer, the gluten network can begin to break down. This breakdown releases the trapped water, making the dough seem wetter and stickier than it should be.
Over-mixing can also generate excessive heat through friction, which can negatively impact yeast activity and dough structure. For ciabatta, which often relies on long fermentation rather than intensive kneading for gluten development, a shorter mixing time followed by stretch and folds during bulk fermentation is often preferred. Recognizing the signs of properly developed gluten, such as passing the windowpane test (more on this later), is key to avoiding over-mixing and applying effective sticky ciabatta dough troubleshooting tips.
Room Temperature and Humidity: Environmental Factors Affecting Dough Stickiness
The environment in which you bake plays a significant role in dough consistency. Both room temperature and humidity can affect how the dough behaves and feels. Warmer temperatures accelerate yeast activity and fermentation, which can sometimes lead to a dough that becomes stickier faster as it progresses. If your kitchen is particularly warm (say, above 75°F or 24°C), the dough might ferment more quickly and feel looser and stickier than if fermented in a cooler environment (around 70°F or 21°C).
Humidity also impacts dough hydration, albeit subtly. In a very humid environment, flour can absorb moisture from the air, meaning the effective hydration of your dough might be slightly higher than calculated, leading to increased stickiness. Conversely, in a very dry environment, the dough surface can dry out, forming a skin, while the interior remains sticky. While harder to control precisely, being aware of your kitchen's temperature and humidity can help you anticipate how your ciabatta dough might behave and inform your sticky ciabatta dough troubleshooting tips.
Sticky Ciabatta Dough Troubleshooting Tips: Solutions for Common Problems
Dealing with sticky ciabatta dough can be challenging, but it's far from impossible. A range of techniques and adjustments can help you manage the stickiness and still produce a fantastic loaf. These sticky ciabatta dough troubleshooting tips address issues from hydration adjustments to handling techniques.
Here are some practical strategies to employ when your ciabatta dough is proving particularly stubborn and sticky. Applying these tips systematically can turn a frustrating baking session into a successful one.
Tip 1: Adjusting Hydration Levels in Ciabatta Dough
If your dough is consistently too sticky to handle comfortably, even after considering flour type and measurement accuracy, the recipe's hydration level might simply be too high for your flour or environment, or perhaps you added slightly too much water. One of the most direct sticky ciabatta dough troubleshooting tips is to adjust the hydration.
Reducing Water Content Gradually for Better Handling
For future bakes, consider slightly reducing the amount of water in the recipe. If a recipe calls for 85% hydration, try reducing it to 80% or even 75% for your next attempt. This might mean using, for example, 375 grams of water instead of 425 grams for 500 grams of flour (reducing from 85% to 75%). Make this adjustment gradually, perhaps reducing water by just 2-3% of the flour weight at a time (e.g., 10-15 grams less water for 500g flour).
Reducing hydration slightly will make the dough easier to handle while still allowing for a relatively open crumb structure. It's better to successfully bake a slightly less hydrated ciabatta than to struggle with an unmanageably sticky dough. Keep notes on your adjustments to find the ideal hydration level that works for your specific flour and kitchen conditions.
Tip 2: Kneading Techniques for Managing Sticky Dough
Traditional intensive kneading methods used for lower hydration doughs aren't suitable for very wet ciabatta dough. Attempting to knead such sticky dough on a floured surface typically results in incorporating too much flour and changing the dough's intended consistency, or simply making a sticky mess. Instead, specific techniques are used to develop gluten in high-hydration doughs while minimizing handling difficulties.
The Importance of Windowpane Test in Ciabatta
The windowpane test is a method to check if gluten is sufficiently developed. Take a small piece of dough and gently stretch it between your fingers. If you can stretch it thin enough to see light through it without it tearing, the gluten is well-developed. For high-hydration doughs like ciabatta, achieving a perfect windowpane might be harder due to the dough's slackness, but you should still be able to stretch it considerably before it breaks.
If your dough tears immediately when you try to stretch it, it likely needs more gluten development. This development is usually achieved through resting periods and gentle handling techniques rather than aggressive kneading. Monitoring gluten development, perhaps after the initial mix and again after a few stretch and folds, is a useful sticky ciabatta dough troubleshooting tip.
Using the Stretch and Fold Method Effectively
The stretch and fold technique is ideal for developing gluten in sticky, high-hydration doughs without messy kneading. After the initial mixing, let the dough rest (autolyse) for 20-30 minutes. Then, perform a series of stretch and folds over the next 1-2 hours. Typically, this involves wetting your hands, grabbing one side of the dough, stretching it upwards, and folding it over the rest of the dough. Rotate the bowl and repeat this process 3-4 times per session.
Perform these sessions every 20-30 minutes for the first hour or two of bulk fermentation. Each series of stretch and folds helps align the gluten strands, building strength and structure. As you perform more folds, you'll notice the dough becoming less sticky and more cohesive. This method is a cornerstone of sticky ciabatta dough troubleshooting tips, building strength gradually.
Tip 3: Working with Sticky Dough: Essential Tools and Techniques
Even with proper hydration and gluten development, ciabatta dough will remain sticky. Having the right tools and employing smart handling techniques is crucial for managing it successfully from bulk fermentation through shaping. Don't fight the stickiness; learn to work with it.
Using a Dough Scraper for Easy Handling
A bench scraper (or dough scraper) is an indispensable tool when working with sticky dough. Instead of trying to lift and move the entire mass with your hands, which inevitably leads to dough sticking everywhere, use the scraper to portion, lift, and move the dough. When dividing the dough before shaping, slide the scraper underneath to release it from the surface.
For particularly sticky dough, a metal bench scraper can be more effective than a plastic one. Keep it clean and lightly floured or wetted as needed. Using a scraper minimizes direct contact, making it easier to manage the dough without incorporating excessive flour, which is a key sticky ciabatta dough troubleshooting tip.
Flouring Your Work Surface Properly
While you want to avoid incorporating too much extra flour into the dough, a light dusting of flour on your work surface is necessary when shaping ciabatta. Use just enough flour to prevent the dough from welding itself to the counter, but not so much that it creates a dry, floury crust on the outside of your loaf.
Semolina flour (durum wheat semolina) is often preferred for dusting ciabatta dough and the proofing surface. Its coarser texture acts like tiny ball bearings, preventing sticking without being readily absorbed by the wet dough. Experiment to find the right amount – too little results in sticking, too much can affect the final texture. This is a practical application of sticky ciabatta dough troubleshooting tips.
Wetting Your Hands to Prevent Sticking
Another effective technique for handling sticky dough is to lightly wet your hands with water before touching the dough. The water creates a temporary barrier that prevents the dough from adhering to your skin. This is particularly useful during stretch and folds or when gently coaxing the dough out of its bulk fermentation container.
Keep a small bowl of water next to your workspace and dip your hands in it as needed. This allows you to manipulate the dough without adding extra flour, preserving the intended hydration and structure. This simple trick is one of the most useful sticky ciabatta dough troubleshooting tips for direct handling.
Tip 4: Bulk Fermentation and Proofing Strategies for Sticky Ciabatta
The bulk fermentation (first rise) and proofing (final rise) stages are critical for developing the structure and aeration of ciabatta. Managing sticky dough during these phases requires specific considerations regarding time, temperature, and handling.
Controlling Fermentation Time and Temperature
Ciabatta dough typically undergoes a long, slow bulk fermentation, often several hours at room temperature (around 70-75°F or 21-24°C), or even longer in the refrigerator (cold fermentation), which can develop flavor and structure. Over-fermentation can lead to a dough that becomes too weak and sticky, collapsing easily. Conversely, under-fermentation means the gluten network hasn't developed enough strength to handle the high hydration, also resulting in a weak, sticky dough.
Pay attention to the dough's activity and appearance rather than strictly adhering to times. The dough should roughly double in volume (or increase by about 75-100%) and show signs of aeration (bubbles). If it seems to be collapsing or becoming excessively slack and sticky, it might be over-fermented. Adjusting fermentation time based on your kitchen temperature is a key sticky ciabatta dough troubleshooting tip.
Shaping Techniques for High-Hydration Doughs
Shaping sticky ciabatta dough is different from shaping firmer doughs. The goal is usually to create a rough rectangle or square without degassing the dough too much. Instead of traditional shaping that builds tension, ciabatta shaping often involves gently folding the dough onto itself or simply cutting portions from the bulk fermented mass and letting them rest.
After bulk fermentation, gently scrape the dough onto a well-floured surface (again, semolina works well). Avoid excessive handling. You can gently stretch or pat it into a rough shape, then cut it into individual loaves using a bench scraper. The dough is then typically proofed seam-side up on a heavily floured surface (like a couche or floured parchment) to prevent sticking before being inverted onto a peel or baking sheet. Mastering gentle handling during shaping is vital for sticky ciabatta dough troubleshooting tips.
Salvaging Excessively Sticky Ciabatta Dough: Rescue Strategies
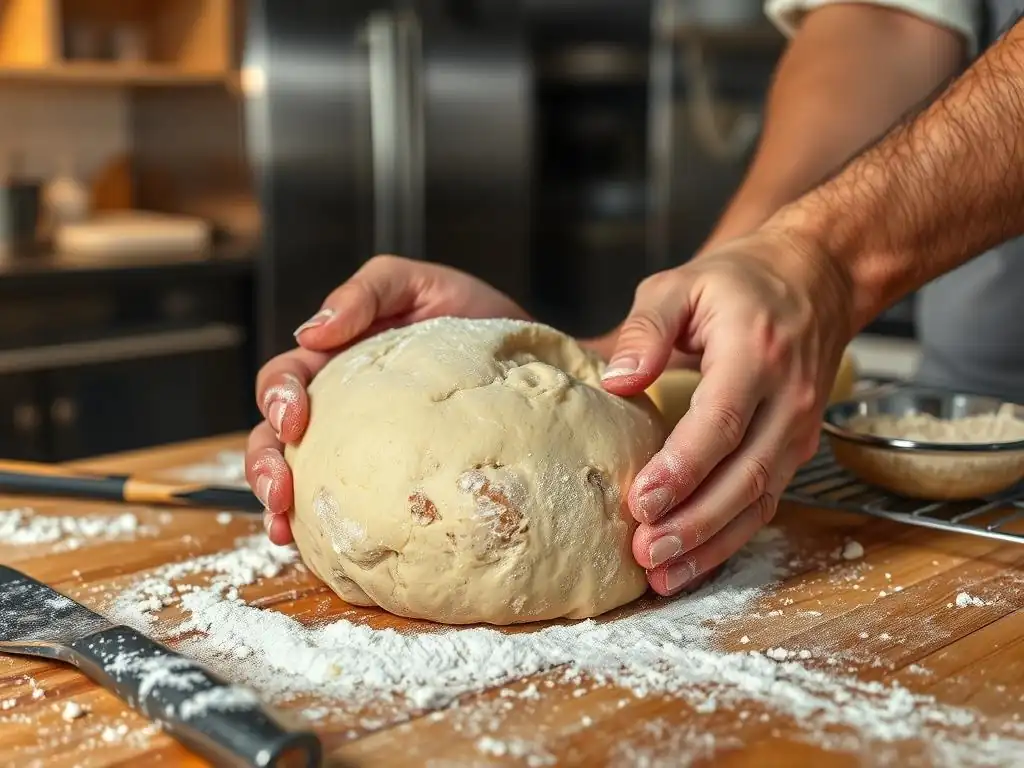
Sometimes, despite your best efforts and sticky ciabatta dough troubleshooting tips, the dough is simply too sticky to manage as intended. Perhaps you accidentally added too much water, or the flour didn't perform as expected. Don't despair! There are ways to salvage a very sticky dough, even if it means pivoting to a different type of bread.
These rescue strategies can help you avoid wasting ingredients and still end up with a delicious result, even if it's not the ciabatta you originally envisioned.
Adding Flour Strategically: When and How Much to Add
If your dough is excessively sticky and lacks structure early in the process (e.g., during or immediately after initial mixing), you can try adding a small amount of flour. However, do this cautiously. Add only a tablespoon or two of flour at a time and mix it in gently. Assess the dough consistency before adding more. The goal is to make it slightly more manageable, not to turn it into a stiff dough.
Adding too much flour will change the hydration significantly and result in a denser crumb, not the airy ciabatta you want. This method is best used as an early correction before significant fermentation has occurred. It's a last-resort sticky ciabatta dough troubleshooting tip for correcting hydration errors.
Turning Sticky Dough into Focaccia: An Alternative Use
If your ciabatta dough is simply too sticky, weak, or over-fermented to shape into loaves, it is often perfect for making focaccia! Focaccia uses a high-hydration dough, is typically very wet and sticky, and doesn't require complex shaping.
Simply transfer the sticky dough to a well-oiled baking pan, gently coax it to spread out (you can let it rest and spread over 30-60 minutes), dimple it with your fingers (wetting them helps prevent sticking), and top it with olive oil, salt, herbs, or other desired toppings. Bake as you would focaccia. This is an excellent way to salvage a sticky ciabatta dough and still produce a delicious, rustic bread. It's a fantastic alternative application of sticky ciabatta dough troubleshooting tips.
Preventing Sticky Ciabatta Dough in the Future: Best Practices
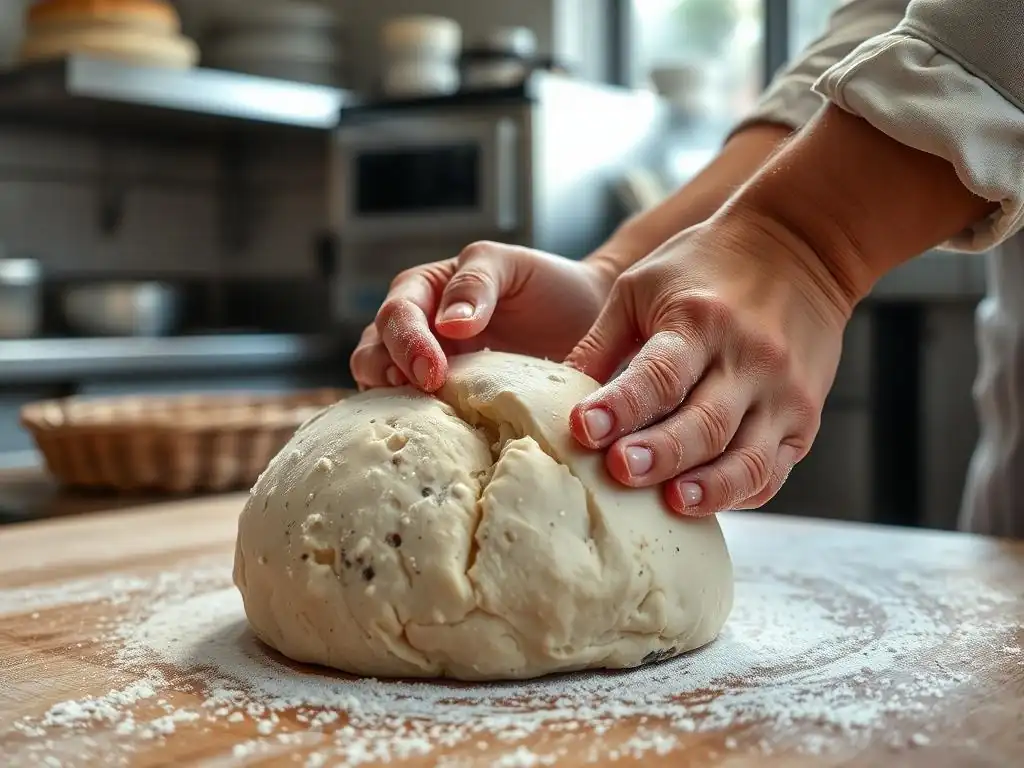
While sticky ciabatta dough troubleshooting tips are valuable, the best approach is often prevention. By refining your process and paying attention to the nuances of high-hydration baking, you can minimize the chances of encountering excessively sticky dough in the first place.
Developing consistent habits and understanding how different factors influence dough behavior will lead to more predictable and successful ciabatta bakes.
Refining Your Ciabatta Recipe: Adjusting for Your Environment
No single ciabatta recipe works perfectly for everyone, everywhere. Factors like local flour variations, altitude, and ambient temperature/humidity all play a role. Once you've baked a recipe a few times, pay attention to how the dough feels. If it's consistently too sticky, consider slightly reducing the hydration in future attempts (as discussed in Tip 1). If it feels too dry, you might increase the water slightly.
Keeping a baking journal can be incredibly helpful. Note the ingredients used (specific flour brand), hydration percentage, kitchen temperature, fermentation times, and how the dough felt and behaved. This log will help you identify patterns and make informed adjustments to tailor the recipe to your specific conditions, reducing the need for sticky ciabatta dough troubleshooting tips.
Mastering the Art of Observation: Recognizing the Ideal Dough Consistency
Learning to recognize what properly mixed and fermented ciabatta dough should look and feel like is perhaps the most valuable skill. While it will always be sticky, it shouldn't be a liquid or completely unmanageable goo. After the initial mix and stretch and folds, the dough should show signs of elasticity and strength – it should resist stretching to a degree and hold some shape, even if slack.
During bulk fermentation, observe its activity: is it developing bubbles? Is it gaining volume? Is it starting to feel lighter and more airy? Learning these visual and tactile cues comes with practice. Trust your senses more than strict timings, as environmental factors can alter fermentation speed. This observational skill is fundamental to effective sticky ciabatta dough troubleshooting tips and prevention.
Achieving the Perfect Ciabatta: Beyond Sticky Dough Troubleshooting
Once you've successfully navigated the stickiness of ciabatta dough, there are other elements that contribute to baking a truly exceptional loaf with that signature open crumb and crisp crust. These steps build upon the foundation of managing the dough itself.
Focusing on these aspects after mastering dough handling will elevate your ciabatta from good to great.
The Importance of a Good Starter (If Using Sourdough)
Many ciabatta recipes use commercial yeast, but some of the most flavorful versions are made with a sourdough starter (levain). If using a starter, its health and activity are paramount. An active, ripe starter contributes both leavening power and complex flavors. A weak or underfed starter may not provide enough lift, resulting in a dense loaf, and can affect the dough's structure and fermentation timeline.
Ensure your starter is active and bubbly before using it in the recipe. This typically means feeding it 4-12 hours before you plan to mix the dough, allowing it to double or triple in size. Using a robust starter is a key ingredient for successful ciabatta, complementing your sticky ciabatta dough troubleshooting tips.
Baking Techniques for a Light and Airy Ciabatta
Baking high-hydration doughs like ciabatta requires high heat and often steam to achieve maximum oven spring and a crisp crust. Preheat your oven thoroughly, usually to 425-450°F (220-230°C). Baking on a preheated baking stone or steel can provide excellent heat transfer to the base of the loaf, promoting a good rise.
Steam is crucial in the first 10-15 minutes of baking. It keeps the dough surface pliable, allowing the loaf to expand fully before the crust sets. Methods for creating steam include placing a tray of hot water on the bottom rack of the oven or using a Dutch oven or cloche. Proper baking technique, alongside managing sticky dough with sticky ciabatta dough troubleshooting tips, is essential for the final result.
Enjoying Your Homemade Ciabatta: Serving Suggestions and Storage Tips
Once your beautiful ciabatta is baked, cooled, and admired, it's time to enjoy it! Ciabatta is wonderfully versatile. Serve it alongside soups or stews, use it for dipping in olive oil and balsamic vinegar, slice it for sandwiches, or make bruschetta. Its open crumb holds sauces and dressings beautifully.
Ciabatta is best enjoyed fresh, ideally within a day of baking. Store it at room temperature, wrapped in a linen bag or paper bag to keep the crust from softening too much. For longer storage, slice the cooled loaf and freeze the slices in an airtight container or bag. Reheat frozen slices directly in a toaster or oven. With these sticky ciabatta dough troubleshooting tips and baking advice, you're well on your way to baking fantastic ciabatta every time.
Frequently Asked Questions
What makes ciabatta dough so sticky?
Ciabatta dough is intentionally high in hydration, meaning it has a lot of water. This high water content is what gives ciabatta its characteristic open crumb and airy texture but also contributes to its stickiness.
Is sticky ciabatta dough always a bad sign?
Not necessarily! A sticky dough is expected with ciabatta. The key is to manage the stickiness, not eliminate it. You're aiming for a dough that's workable with proper techniques, not completely dry.
How can I handle sticky ciabatta dough effectively?
Use plenty of flour on your work surface and hands. Also, consider using a dough scraper to help you fold and shape the dough without tearing it.
What if my ciabatta dough is too sticky, even with flour?
If the dough is unmanageable, you can add a small amount of flour, a tablespoon at a time, until it's more workable. Be careful not to over-flour, as this will result in a denser, less airy bread.
Can the temperature affect the stickiness of my ciabatta dough?
Yes! Warmer temperatures can make dough stickier. Try chilling the dough for a short period to make it easier to handle, especially if your kitchen is warm.
Final Reflection: The Unexpected Joys of a Sticky Situation
The seemingly simple act of baking ciabatta reveals a profound truth about the creative process: sometimes, the stickiest situations lead to the most rewarding results. Mastering ciabatta dough, with its famously high hydration, isn't about avoiding stickiness; it's about understanding it, embracing it, and learning to work with it. This isn't just about baking bread; it's about embracing the unexpected challenges life throws our way.
The journey of learning to handle sticky ciabatta dough mirrors the journey of life itself. We encounter setbacks, moments of frustration where we feel overwhelmed by the seemingly impossible task at hand. But within that struggle, there's a unique opportunity for growth and discovery. The greatest glory in living lies not in never falling, but in rising every time we fall.
This quote, though not directly about baking, perfectly encapsulates the spirit of perseverance needed to conquer a sticky ciabatta dough and, by extension, any challenging endeavor.
So, the next time you find yourself wrestling with a particularly stubborn batch of dough, remember the lessons learned here. Don't be discouraged by the stickiness; instead, view it as an invitation to deepen your understanding, to refine your technique, and to ultimately, achieve a level of mastery that transcends mere technical proficiency. Embrace the challenge, learn from the process, and savor the delicious reward of a perfectly crafted loaf. You might just surprise yourself with what you can achieve.
Unleash Your Inner Ciabatta Master!
Thanks for taking the time to explore the world of ciabatta baking with us! We hope you gained valuable insights into troubleshooting that sticky dough. Now it's time to put your new knowledge into action.
- Embrace the Stickiness: Don't be afraid of that sticky dough! Remember the techniques we discussed and try your hand at a ciabatta loaf today. Document your process—even the sticky parts—for future reference.
- Share Your Success (or Challenges!): Join our BakeWithEase community and share your ciabatta experience. A picture of your perfectly risen loaf (or your hilarious sticky-dough mishap!) is always welcome!
- Explore Beyond Ciabatta: Feeling inspired? Dive into our other bread recipes and expand your baking horizons!
Ready to transform that sticky dough into a delicious masterpiece? What's the first step you'll take to perfect your ciabatta technique?