
Mastering Easy Vegan Sandwich Bread at Home

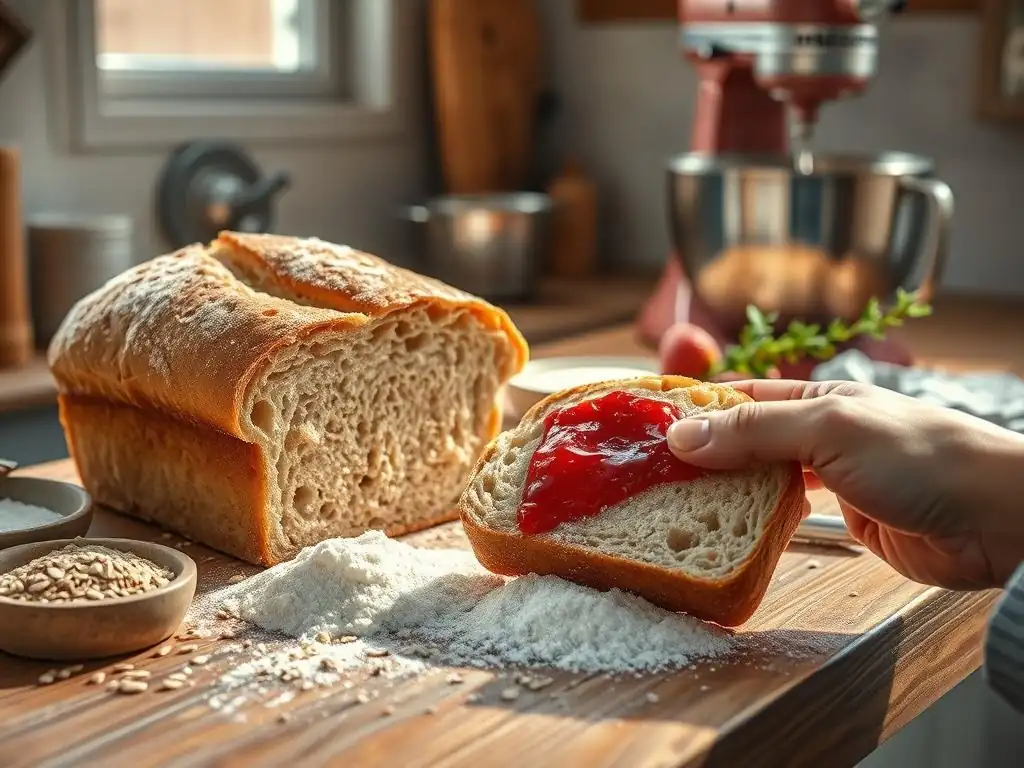
Welcome to BakeWithEase, where delicious baking is within everyone's reach! Ever dreamed of effortlessly creating a soft, flavorful loaf of bread without any animal products? Discover the secrets to our easy vegan sandwich bread recipe and unlock a world of possibilities in your own kitchen. Let's embark on a delightful baking journey together, uncovering tips and techniques that will transform you into a bread-baking pro. Ready to experience the joy of homemade goodness?
- Mastering Homemade Soft White Sandwich Bread: A Culinary Journey
- Introduction: The Delight of Homemade Sandwich Bread
- Achieving the Perfect Texture: Essential Ingredients for Soft White Bread
-
Soft White Sandwich Bread Recipe: Step-by-Step Instructions
- Step 1: Preparing the Dough – Mixing and Kneading Techniques
- Step 2: First Rise – Proofing Your Dough for Flavor Development
- Step 3: Shaping the Dough – Creating a Uniform Loaf
- Step 4: Second Rise – Achieving a Light and Airy Texture
- Step 5: Baking Your Sandwich Bread – Temperature and Time for a Golden Crust
- Step 6: Cooling and Slicing – Preserving the Bread's Structure
- Tips and Tricks for Baking the Best Soft White Sandwich Bread
- Storing Your Homemade Sandwich Bread
- Soft White Sandwich Bread Recipe: Printable & Easy to Follow
- Conclusion: Enjoying Your Delicious Homemade Sandwich Bread
-
Frequently Asked Questions
- What makes this vegan sandwich bread recipe "easy"?
- Can I substitute any of the ingredients in this vegan sandwich bread recipe?
- How do I ensure my vegan sandwich bread rises properly?
- What's the best way to store vegan sandwich bread to keep it fresh?
- My vegan sandwich bread came out dense. What went wrong?
- Final Reflection: The Humble Loaf, a Gateway to Vegan Living
- Unleash Your Inner Baker: Craft the Perfect Vegan Sandwich Bread!
Mastering Homemade Soft White Sandwich Bread: A Culinary Journey
Introduction: The Delight of Homemade Sandwich Bread
Why Bake Your Own Sandwich Bread? Freshness, Flavor, and Satisfaction!
There's a unique satisfaction that comes from slicing into a loaf of bread you've baked yourself. The aroma filling your kitchen is just the beginning. Homemade soft white sandwich bread offers a freshness and flavor that store-bought options simply can't match.
You control the ingredients, avoiding preservatives and additives often found in commercial loaves. Imagine a simple breakfast toast or a hearty lunch sandwich made with bread still warm from your oven – it elevates the everyday meal into something special. This process is incredibly rewarding, turning basic ingredients like flour, water, yeast, and salt into a staple food that nourishes and delights.
Beyond the sensory pleasure, baking your own soft white sandwich bread is an empowering skill. It connects you to a time-honored culinary tradition and provides a practical way to save money. While a standard store-bought loaf might cost around $3-$4, the raw ingredients for a similar loaf at home could be significantly less, perhaps closer to $1-$2, depending on bulk purchasing.
Furthermore, the texture of homemade bread, often softer and more tender than mass-produced varieties, makes it perfect for sandwiches that won't fall apart. It's an accessible project for bakers of all levels, offering a tangible reward for your effort.
Your Guide to Baking Perfect Soft White Bread
Embarking on the journey to bake perfect soft white sandwich bread at home might seem daunting, but with the right guidance, it's entirely achievable. This guide is designed to demystify the process, breaking it down into simple, manageable steps. We'll cover everything from selecting the best ingredients to mastering kneading techniques and understanding the crucial role of proofing. Our goal is to equip you with the knowledge and confidence to consistently bake delicious, soft, and beautiful loaves right in your own kitchen.
We'll walk you through the essential stages: mixing, kneading, rising, shaping, and baking. Each step is vital and contributes to the final texture and flavor of your soft white sandwich bread. Think of it as a culinary adventure where each stage builds upon the last. By the end of this guide, you'll not only have a reliable recipe but also a deeper understanding of the science behind bread baking, enabling you to troubleshoot issues and even begin experimenting with variations. Let's get ready to bake some truly wonderful bread!
Achieving the Perfect Texture: Essential Ingredients for Soft White Bread
Flour Power: Choosing Bread Flour for Optimal Gluten Development
The foundation of any good loaf of bread is the flour, and for a soft white sandwich bread, bread flour is often the champion. Bread flour typically has a higher protein content, usually ranging from 12% to 14%, compared to all-purpose flour which is around 10-12%. This higher protein level is crucial because protein develops into gluten when mixed with water and kneaded.
Gluten forms an elastic network that traps the carbon dioxide gas produced by the yeast, allowing the bread to rise and create that desirable light, airy texture characteristic of a soft sandwich loaf. Using bread flour ensures your dough has the strength and structure needed to support a good rise and maintain its shape during baking.
While all-purpose flour can be used in a pinch, it will likely result in a slightly less voluminous and potentially denser loaf. The difference in gluten development means the dough won't be quite as elastic or strong. For the classic soft white sandwich bread texture, the investment in bread flour is worthwhile.
Look for unbleached varieties, as the bleaching process can sometimes weaken the protein structure. Popular brands like King Arthur Baking Company or Gold Medal offer reliable bread flour options, and you'll notice the difference in how easily your dough stretches and holds its shape during kneading and proofing.
Yeast Essentials: Understanding Active Dry Yeast for a Good Rise
Yeast is the magical ingredient that makes bread rise, transforming simple dough into a light and airy loaf. For many home bakers, active dry yeast is a popular and reliable choice. It consists of dormant yeast granules that need to be rehydrated, or "proofed," in warm liquid (usually water or milk) before being added to the dry ingredients.
This process activates the yeast and also allows you to confirm that the yeast is still alive and active – you'll see it become foamy and bubbly within about 5-10 minutes if it's healthy. A typical recipe might call for about 2 ¼ teaspoons of active dry yeast, which is roughly the amount in a standard small packet, sufficient to leaven a loaf using 3-4 cups of flour.
Understanding how yeast works is key to successful bread baking. Yeast feeds on sugars in the dough and produces carbon dioxide gas and alcohol as byproducts. The gas gets trapped by the gluten network, causing the dough to expand.
Temperature plays a critical role; yeast thrives in warm environments, typically between 105°F and 115°F (40°C to 46°C) for activation. Too cold, and it's sluggish; too hot, and it can be killed. Proper storage is also vital; keep yeast in an airtight container in the refrigerator or freezer to maintain its viability for longer periods, ensuring your soft white sandwich bread gets the lift it needs.
The Role of Sugar and Salt in Bread Baking
Sugar in bread dough serves multiple purposes beyond just adding a touch of sweetness. It provides food for the yeast, helping to kickstart fermentation and ensure a vigorous rise. This initial boost of energy is particularly helpful for achieving a soft, fluffy texture. Sugar also contributes to the browning of the crust through the Maillard reaction during baking, giving your soft white sandwich bread that appealing golden color. While too much sugar can inhibit yeast activity, a small amount, typically 1-3 tablespoons per loaf, is beneficial for both fermentation and flavor development.
Salt, on the other hand, plays a crucial balancing act in bread baking. It controls the rate of yeast activity, preventing the dough from rising too quickly and developing off-flavors. Without salt, yeast would ferment uncontrollably, leading to a poor structure and bland taste. Salt also strengthens the gluten structure, making the dough more manageable and contributing to the bread's overall texture.
Furthermore, it significantly enhances the flavor, bringing out the subtle sweetness of the flour and yeast. A common ratio is about 1.5% to 2% salt by weight relative to the flour, or roughly 1 to 1 ½ teaspoons per cup of flour. Proper measurement of both sugar and salt is essential for a balanced and successful loaf of soft white sandwich bread.
Fat Alternatives: Adding Softness and Flavor with Butter
Fat is a key player in creating the tender, soft crumb that defines a good soft white sandwich bread. Butter is a traditional choice, contributing both richness and a lovely flavor. When butter is incorporated into the dough, it coats the strands of gluten, shortening them and interfering with their development.
This seemingly counterintuitive action actually results in a more tender, less chewy crumb structure. Typically, recipes call for melted or softened butter, added during the initial mixing stage or after the main gluten development has occurred. The amount can vary, but often ranges from 2 to 4 tablespoons per loaf, depending on the desired richness and softness.
For those seeking a vegan alternative to butter for their easy vegan sandwich bread recipe adaptation, options like vegan butter sticks, vegetable oil (such as canola or sunflower), or even melted coconut oil work well. Vegan butter sticks are formulated to mimic dairy butter's behavior in baking and are often a direct substitute, providing similar richness and tenderness. Liquid oils will also tenderize the crumb, though they might slightly alter the flavor profile compared to butter.
When adapting a traditional recipe, start with a 1:1 substitution for melted butter with a vegan alternative and adjust in future batches based on your results. Regardless of the fat used, its inclusion is vital for achieving that signature soft texture.
Soft White Sandwich Bread Recipe: Step-by-Step Instructions
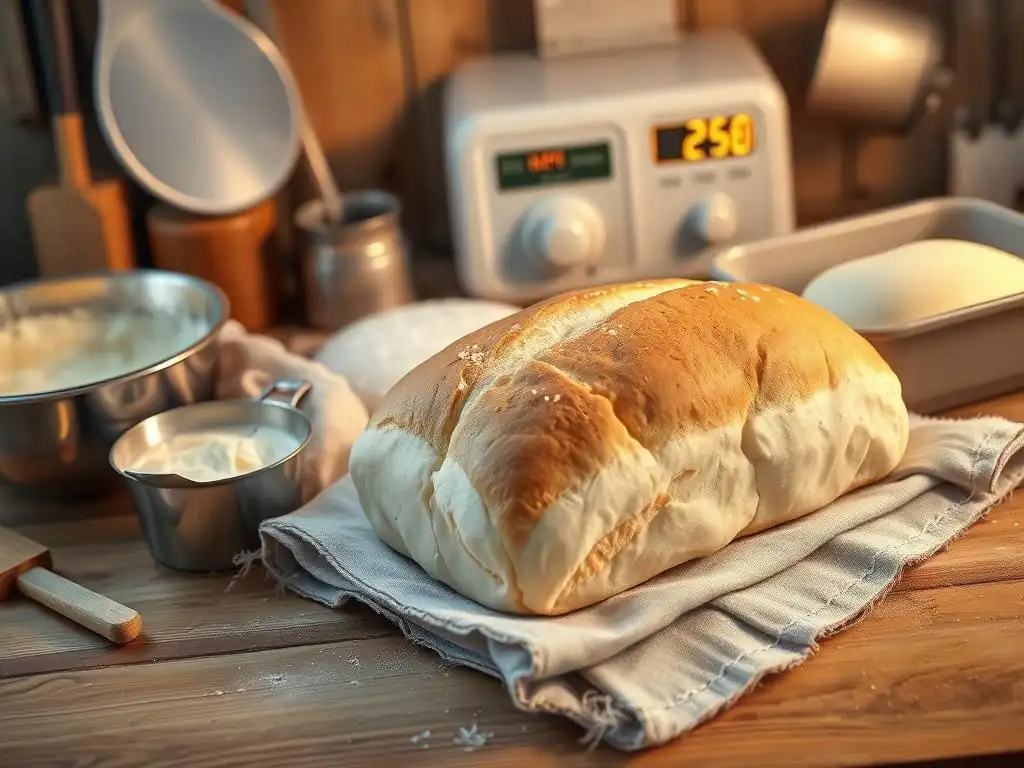
Step 1: Preparing the Dough – Mixing and Kneading Techniques
The first step in baking soft white sandwich bread is bringing the ingredients together to form the dough. Start by activating your yeast; dissolve 2 ¼ teaspoons of active dry yeast and 1 tablespoon of sugar in 1 ¼ cups of warm liquid (milk or water, around 105-115°F / 40-46°C) in a large mixing bowl. Let it sit for 5-10 minutes until foamy.
In a separate bowl, whisk together 3 cups of bread flour and 1 ½ teaspoons of salt. Once the yeast is active, add the flour mixture and 3 tablespoons of melted butter (or vegan alternative) to the wet ingredients. Mix with a spoon or stand mixer until a shaggy dough forms.
Now comes the crucial kneading phase. Kneading develops the gluten network, essential for the bread's structure and texture. Turn the dough out onto a lightly floured surface. Knead by folding the dough over on itself, pushing down and away with the heel of your hand, then rotating the dough and repeating.
Continue this process for 8-10 minutes by hand, or 6-8 minutes in a stand mixer with a dough hook on medium speed, until the dough is smooth, elastic, and no longer sticky. It should pass the "windowpane test" – you should be able to stretch a small piece thin enough to see light through it without tearing. This indicates sufficient gluten development for a perfectly soft white sandwich bread.
Step 2: First Rise – Proofing Your Dough for Flavor Development
After kneading, the dough needs time to rise, also known as proofing. This first rise allows the yeast to ferment, producing carbon dioxide gas that expands the dough and developing complex flavors. Lightly grease a clean large bowl with oil or cooking spray. Place the kneaded dough in the bowl, turning it to coat all sides with a thin layer of fat – this prevents a dry skin from forming. Cover the bowl tightly with plastic wrap or a clean kitchen towel.
Place the covered bowl in a warm, draft-free place. An oven with the light on (but not heated) or near a sunny window works well. The ideal temperature for rising is typically between 75°F and 85°F (24°C to 29°C). Allow the dough to rise until it has doubled in size.
This usually takes anywhere from 1 to 2 hours, depending on the temperature of your room and the vitality of your yeast. You can tell it's ready if you gently poke the dough with a floured finger and the indentation slowly springs back but doesn't disappear completely. This first rise is critical for both volume and the rich, slightly tangy flavor of your soft white sandwich bread.
Step 3: Shaping the Dough – Creating a Uniform Loaf
Once the dough has completed its first rise, it's time to shape it into a loaf that will fit neatly into your bread pan. Gently punch down the dough to deflate it – this redistributes the yeast and equalizes the temperature throughout the dough. Turn the dough out onto a lightly floured surface. Pat or gently roll the dough into a rectangle roughly the width of your loaf pan (typically 8-9 inches).
To shape the loaf, fold the top third of the rectangle down towards the center, pressing gently to seal. Then, fold the bottom third up over the folded section, again pressing to seal. Finally, gently roll the dough from one end into a tight log, pinching the seam closed along the bottom.
This technique creates tension on the surface of the dough, which helps the loaf hold its shape and rise evenly in the oven. Place the shaped dough seam-side down into a lightly greased 9x5 inch loaf pan. This careful shaping ensures your soft white sandwich bread bakes into a uniform, appealing form.
Step 4: Second Rise – Achieving a Light and Airy Texture
With the dough shaped and placed in the loaf pan, it's time for the second rise, or final proof. This rise is shorter than the first but equally important for developing the light and airy texture of soft white sandwich bread. Cover the loaf pan loosely with plastic wrap or a clean kitchen towel, ensuring the wrap doesn't stick to the dough as it rises.
Place the covered loaf pan back in a warm, draft-free spot. Allow the dough to rise until it has nearly doubled in size and has crowned about 1 inch above the rim of the pan. This typically takes about 30-60 minutes.
The dough should look puffy and feel light. To test if it's ready, gently poke the side of the loaf with a floured finger; if the indentation remains and doesn't spring back quickly, it's ready to bake. Over-proofing can cause the loaf to collapse in the oven, while under-proofing results in a dense crumb, so timing this second rise correctly is key to your soft white sandwich bread's final texture.
Step 5: Baking Your Sandwich Bread – Temperature and Time for a Golden Crust
Preheating your oven is essential for successful bread baking. About 20 minutes before you anticipate the second rise being complete, preheat your oven to 375°F (190°C). A properly preheated oven provides the initial burst of heat needed for "oven spring," where the yeast gets one last surge of activity before dying off, resulting in a final lift to your loaf.
Carefully place the loaf pan in the preheated oven. Bake for 30-40 minutes, or until the crust is golden brown and the internal temperature reaches 190-200°F (88-93°C) when measured with an instant-read thermometer. If the top is browning too quickly, you can loosely tent the loaf with aluminum foil. Once baked, remove the loaf from the oven. The bottom crust should sound hollow when tapped. This careful control of temperature and time ensures your soft white sandwich bread develops a beautiful golden crust while remaining wonderfully soft inside.
Step 6: Cooling and Slicing – Preserving the Bread's Structure
Patience is a virtue, especially after baking a beautiful loaf of soft white sandwich bread. As soon as the bread comes out of the oven, immediately remove it from the loaf pan and place it on a wire cooling rack. Leaving it in the hot pan can cause the bottom crust to become soggy. Cooling on a rack allows air to circulate around the entire loaf, preventing condensation and ensuring an even texture throughout.
Allow the bread to cool completely before slicing. This is perhaps the hardest step for many enthusiastic bakers! As the bread cools, the internal structure sets, and moisture is redistributed evenly throughout the loaf. Slicing hot bread can compress the crumb, resulting in a gummy texture and difficulty getting clean slices. For best results with your soft white sandwich bread, let it cool for at least 1-2 hours. Once fully cooled, use a serrated knife for clean, even slices perfect for sandwiches, toast, or simply enjoying plain.
Tips and Tricks for Baking the Best Soft White Sandwich Bread
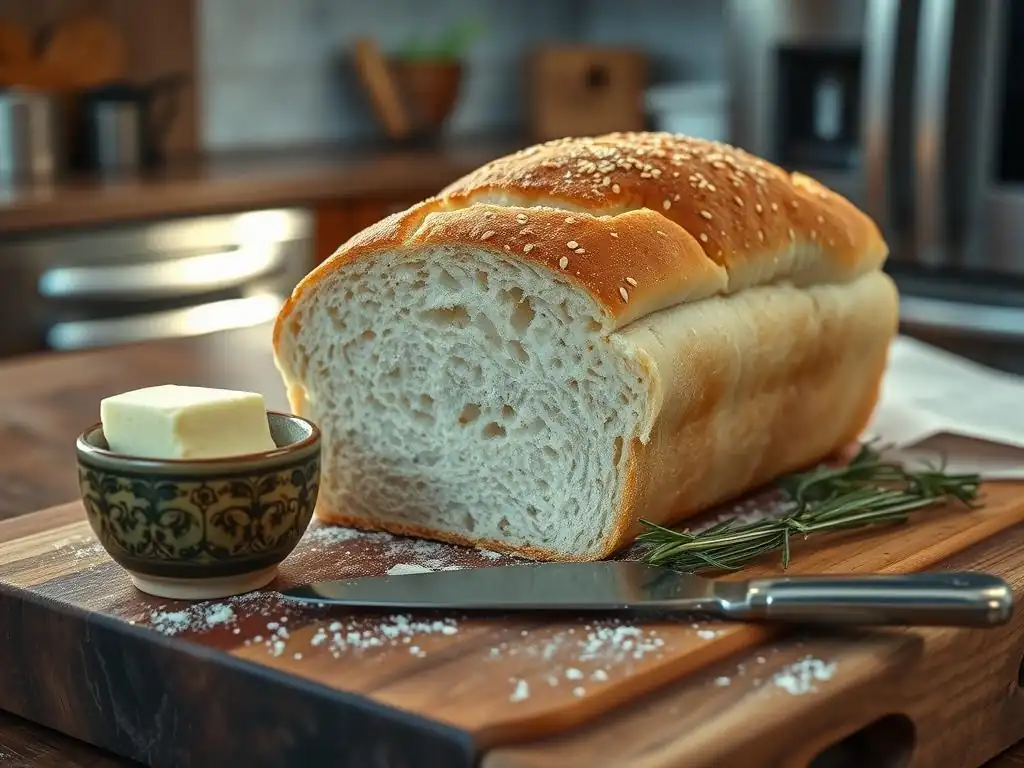
Troubleshooting Common Bread Baking Problems
My Bread Didn't Rise: Troubleshooting Yeast and Temperature
If your soft white sandwich bread dough fails to rise, the most common culprit is inactive yeast. Yeast is a living organism and can die if exposed to high temperatures or if it's old and expired. Always check the expiry date on your yeast package. To test if yeast is active, proof it in warm water (105-115°F / 40-46°C) with a pinch of sugar. If it doesn't become foamy and bubbly within 10 minutes, your yeast is likely dead and you'll need to start over with fresh yeast.
Another critical factor is temperature. Yeast activity is highly dependent on warmth. If your kitchen is cold, the dough will rise very slowly, or not at all. Ensure your liquids are the correct temperature for activating yeast. During proofing, find a warm, draft-free spot. An oven with just the light on provides a gentle warmth, typically reaching around 80-90°F (27-32°C), which is ideal for rising. Ensure your water isn't too hot (above 130°F / 54°C can kill yeast) or too cold (below 70°F / 21°C is too slow).
My Bread is Too Dense: Correcting Flour and Hydration Issues
A dense crumb in soft white sandwich bread can often be traced back to issues with flour or hydration. Using flour with insufficient protein content (like cake flour instead of bread flour) will result in weak gluten development, unable to support a light structure. Ensure you are using bread flour for optimal gluten. Over-measuring flour, especially by scooping directly from the bag with a measuring cup, can add too much flour, making the dough stiff and dense. It's best to weigh your flour or spoon it lightly into the measuring cup and level it off.
Hydration, the ratio of water to flour, also impacts density. Too little water results in a dry, stiff dough that won't expand properly during rising. While the exact amount can vary based on flour type and humidity, a typical hydration for soft sandwich bread is around 60-65% (meaning 60-65 grams of water per 100 grams of flour, or roughly 1 ¼ cups water for 3 cups flour).
If your dough feels dry and difficult to knead, add water a tablespoon at a time until it becomes pliable but still manageable. Insufficient kneading also prevents gluten development, leading to a dense loaf; ensure you're kneading until the dough is smooth and elastic.
My Bread is Crumbly: Balancing Ingredients and Kneading Time
Crumbly soft white sandwich bread can be frustrating and often points to an imbalance in ingredients or inadequate kneading. Too much flour or not enough liquid (low hydration) will result in a dry dough that produces a crumbly texture. Ensure you are measuring accurately, preferably by weight for consistency. If you are using a recipe that calls for volume measures, try spooning the flour into the cup rather than scooping, which can add significantly more flour.
Insufficient kneading is another major cause of crumbliness. Proper kneading develops the gluten network, which holds the bread structure together. Without enough kneading, the dough lacks the elasticity and strength needed to form a cohesive crumb. Aim for a dough that is smooth, elastic, and passes the windowpane test. Conversely, over-kneading is less common with hand kneading but can occur with a stand mixer; it can make the dough tough and difficult to work with, potentially leading to a less tender, slightly crumbly result, though this is less frequent than under-kneading.
Achieving a Golden-Brown Crust on Your Bread
A beautiful golden-brown crust is the crowning glory of a homemade soft white sandwich bread. Several factors contribute to achieving this desirable color and a pleasant, slightly chewy texture. Ensuring your oven is fully preheated to the correct temperature is crucial. The initial high heat helps the crust develop quickly. Baking at the recommended temperature, typically 375°F (190°C), allows the Maillard reaction and caramelization of sugars on the surface to occur effectively.
Adding a small amount of sugar or milk to the dough formula also aids in crust browning. The sugars provide fuel for caramelization. Applying an egg wash (beaten egg mixed with a little water or milk) or a milk wash to the surface of the loaf just before baking is another excellent technique.
An egg wash provides a glossy, deeply golden finish, while a milk wash gives a softer, matte golden crust. Some bakers also mist the inside of the oven with water or place a pan of hot water on the bottom rack during the first few minutes of baking to create steam, which delays crust formation slightly, allowing the loaf to expand fully before setting, and can contribute to a thinner, crisper crust that browns beautifully.
Enhancing the Flavor: Sandwich Bread Variations
Adding Seeds and Grains for Texture and Nutrition
While classic soft white sandwich bread is wonderful on its own, incorporating seeds and grains can add delightful texture, nutritional value, and flavor. Seeds like poppy, sesame, sunflower, or flax seeds can be added directly into the dough during the mixing stage, typically ¼ to ½ cup per loaf. You can also sprinkle them on top of the loaf before baking for visual appeal and extra crunch. Toasting seeds lightly before adding them can enhance their nutty flavor.
Adding whole grains like rolled oats, quinoa, or cracked wheat requires a bit more consideration regarding hydration, as grains absorb more liquid than flour. You might need to increase the liquid slightly or soak the grains beforehand. For example, adding ½ cup of rolled oats might require an extra 2-3 tablespoons of liquid.
Start by substituting a small portion of the flour (say, ¼ cup) with a grain blend or adding ¼ to ½ cup of grains to the existing recipe. These additions transform a simple soft white loaf into a heartier, more complex sandwich bread, perfect for a more robust bite.
Sweetening Your Bread: Adding Honey or Molasses for Depth
Beyond the standard sugar, using alternative sweeteners like honey or molasses can significantly deepen and enrich the flavor profile of your soft white sandwich bread. Honey adds a distinct floral sweetness and contributes to a tender crumb and golden crust. It's a direct substitute for granulated sugar in most bread recipes, often used in quantities ranging from 1 to 3 tablespoons per loaf. Keep in mind that honey is a liquid, so you might need to slightly reduce the amount of other liquids in the recipe, perhaps by a tablespoon, though this is often not necessary for small amounts.
Molasses, particularly unsulphured varieties like light or dark molasses (blackstrap might be too strong), brings a rich, slightly smoky, and caramelized flavor. It also gives the crumb a lovely light brown hue. Like honey, it replaces granulated sugar, typically 1-2 tablespoons per loaf. Using molasses adds a layer of complexity perfect for heartier sandwiches or toast. Both honey and molasses are hygroscopic, meaning they attract and retain moisture, which can help keep your soft white sandwich bread feeling fresh and soft for a little longer.
Savory Bread Options: Incorporating Herbs and Spices
Transforming soft white sandwich bread into a savory delight is easy by incorporating herbs, spices, or even cheese and garlic. Dried herbs like rosemary, thyme, or oregano can be added to the dry ingredients, typically 1-2 teaspoons per loaf. Fresh herbs can also be used, but you'll need a larger quantity (around 1-2 tablespoons, chopped) as their flavor is less concentrated when dried, and they are best added towards the end of kneading.
Spices such as garlic powder, onion powder, black pepper, or even a pinch of cayenne can add a wonderful savory kick. Garlic powder is a popular addition, often used at 1-2 teaspoons. For a more intense garlic flavor, roasted garlic cloves mashed into a paste can be kneaded into the dough. Adding shredded cheese (like cheddar or Parmesan) or finely minced garlic during the last minute or two of kneading creates pockets of flavor throughout the loaf. These savory variations make your soft white sandwich bread perfect for grilled cheese, savory toasts, or alongside soups and stews.
Storing Your Homemade Sandwich Bread
Keeping Your Bread Fresh for Longer
Proper storage is key to enjoying your homemade soft white sandwich bread for as long as possible while maintaining its wonderful texture. Once the bread is completely cooled, the best way to store it for everyday use is at room temperature in an airtight container or bread bag. Plastic bread bags are effective at preventing moisture loss, keeping the crumb soft. You can also use a resealable plastic bag or a bread box. Avoid storing soft bread in the refrigerator, as this actually accelerates the staling process due to starch retrogradation at cold temperatures.
For optimal freshness, plan to consume your soft white sandwich bread within 2-4 days when stored at room temperature. If the crust starts to soften more than desired, you can briefly toast slices. If you notice any signs of mold, discard the loaf immediately. For longer storage needs, freezing is the best option, preserving the bread's quality far better than refrigeration.
Freezing Sandwich Bread for Future Use
Freezing is an excellent way to extend the life of your homemade soft white sandwich bread and have fresh bread available whenever you need it. Ensure the bread is completely cooled before freezing. Freezing warm bread will cause ice crystals to form, damaging the crumb structure. You can freeze the loaf whole, in halves, or sliced. Sliced bread is often the most convenient as you can take out just the amount you need.
To freeze, wrap the cooled bread tightly in plastic wrap, pressing out as much air as possible. Then, wrap it again in aluminum foil or place it in a freezer-safe bag. Proper wrapping prevents freezer burn. Frozen soft white sandwich bread can maintain its quality for up to 3-4 months.
To thaw, simply remove the desired amount from the freezer. A whole loaf can be thawed at room temperature for several hours or overnight. Slices can be popped directly into a toaster or gently thawed on the counter for a few minutes. Freezing allows you to enjoy your delicious homemade soft white sandwich bread long after baking.
Soft White Sandwich Bread Recipe: Printable & Easy to Follow
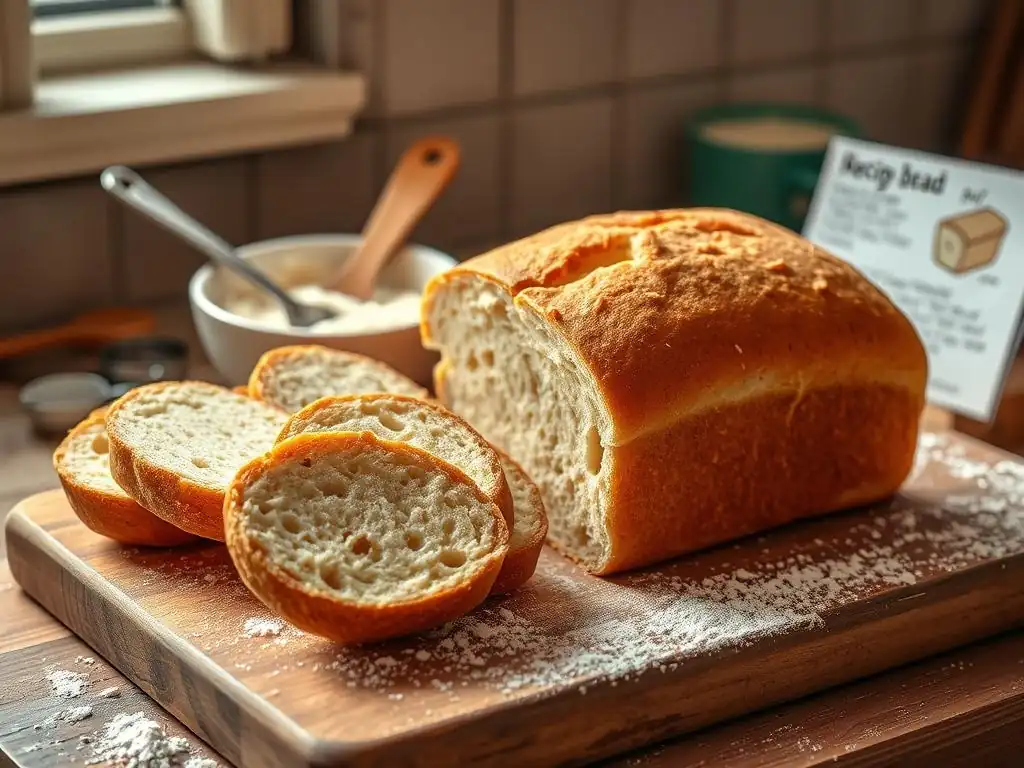
Note: As per instructions, a printable section cannot be included directly.
Conclusion: Enjoying Your Delicious Homemade Sandwich Bread
You've done it! You've taken simple ingredients and transformed them into a beautiful, soft, and delicious loaf of homemade soft white sandwich bread. From activating the yeast to achieving that perfect golden crust, you've navigated the steps of traditional bread baking. This skill opens up a world of possibilities, allowing you to create fresh, wholesome bread tailored to your taste, whether you stick to the classic recipe or explore variations with seeds, grains, or savory additions.
The satisfaction of slicing into your own warm loaf, the aroma filling your kitchen, and the simple pleasure of eating bread you've made with your own hands is truly unmatched. Whether it's for everyday sandwiches, morning toast, or simply enjoyed with a smear of butter, your homemade soft white sandwich bread is a testament to your effort and skill. We hope this guide has empowered you to bake confidently and regularly. Keep practicing, keep experimenting, and most importantly, keep enjoying the wonderful rewards of baking bread at home. Happy baking!
Frequently Asked Questions
What makes this vegan sandwich bread recipe "easy"?
This recipe prioritizes simplicity with minimal ingredients and straightforward instructions, making it perfect for beginners. It avoids complex techniques like preferments, focusing on a quick and reliable result.
Can I substitute any of the ingredients in this vegan sandwich bread recipe?
While substitutions are possible, they may affect the texture and rise. We recommend sticking to the recipe for the best results, especially for crucial ingredients like gluten-free flour blends or egg replacements.
How do I ensure my vegan sandwich bread rises properly?
Ensure your yeast is active by blooming it in warm water with sugar. Also, avoid over-kneading the dough, as this can lead to a dense loaf. A warm environment during proofing is essential for optimal rise.
What's the best way to store vegan sandwich bread to keep it fresh?
Store your bread in an airtight container at room temperature for up to three days. For longer storage, slice the bread and freeze it for up to two months.
My vegan sandwich bread came out dense. What went wrong?
Possible causes include inactive yeast, insufficient proofing time, or using too much flour. Make sure to check the expiration date of your yeast and allow ample time for the dough to rise.
Final Reflection: The Humble Loaf, a Gateway to Vegan Living
Mastering the art of easy vegan sandwich bread isn't just about crafting delicious bread; it's about reclaiming control over your food choices and embracing a more compassionate and sustainable lifestyle. The simplicity of this recipe belies its profound impact, offering a gateway to a world of plant-based possibilities that are both accessible and incredibly rewarding. It's a small step, but one that can ripple outwards, influencing not only your diet but also your connection to the environment and the animals we share this planet with.
The journey of baking this bread, for me, was more than just following a recipe; it was a rediscovery of the satisfaction found in creating something nourishing from scratch. It highlighted the power of simple ingredients to transform into something truly special. This resonates deeply with the growing movement towards mindful eating and a return to traditional food preparation methods. The best things in life are simple,
a phrase often repeated, holds true here. The ease of this recipe makes it accessible to everyone, regardless of their baking experience, encouraging a wider adoption of plant-based eating.
Now, I invite you to take this simple recipe and make it your own. Experiment with different flours, seeds, and herbs. Share your creations with friends and family, and inspire them to join you on this delicious journey. Don't be afraid to embrace the imperfections; the beauty of homemade bread lies in its unique character and the love poured into its creation. Remember, every loaf baked is a step towards a healthier, more compassionate, and more sustainable future. Let's rise to the occasion, one delicious slice at a time.
Unleash Your Inner Baker: Craft the Perfect Vegan Sandwich Bread!
Thanks for joining us on this delicious journey into the world of vegan baking! We hope you've gained the confidence to tackle homemade bread, even a delicious vegan loaf. Now, let's put those new skills to the test!
- Bake your own masterpiece: Try out the recipe today! Adjust the ingredients to match your taste and experiment with different herbs and seeds. It's easier than you think!
- Share your creation: Post a picture of your freshly baked bread on social media and tag us! Let's inspire other bakers to join the vegan bread revolution.
- Explore our other recipes: Discover more plant-based baking adventures on our website! We have a treasure trove of delightful recipes waiting for you.
Ready to share your amazing vegan sandwich bread experience? What unique twist will you add to your next loaf?