
Troubleshooting Lean Dough for Perfect Results

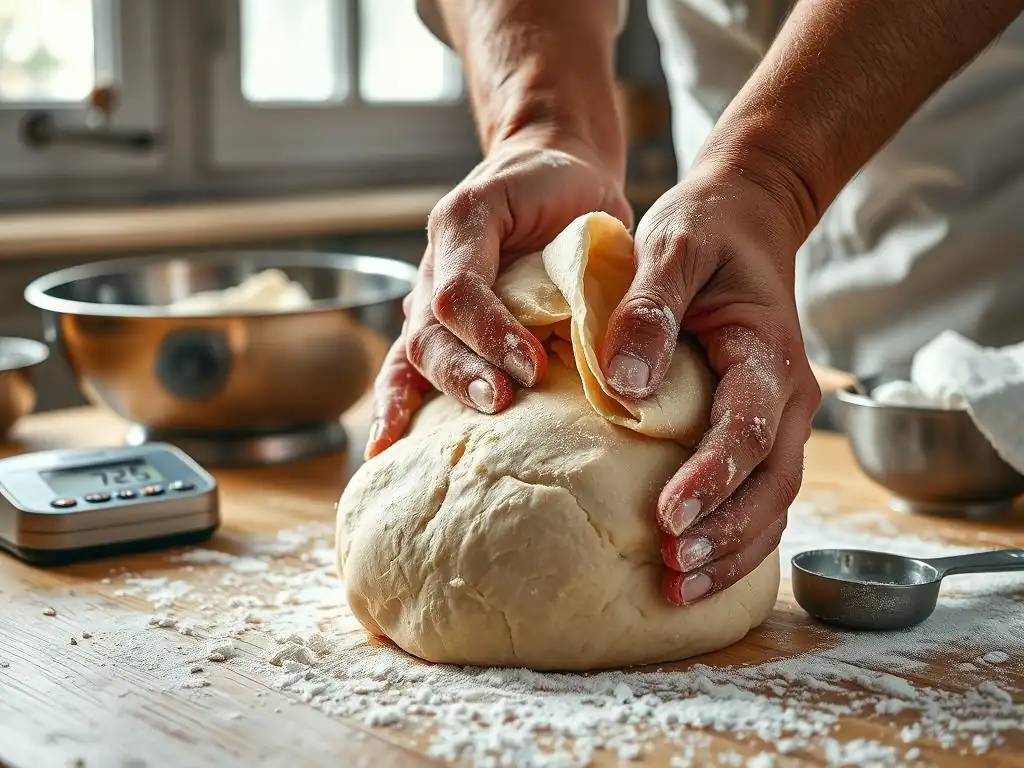
Welcome to BakeWithEase, your partner in crafting delicious baked goods! Ever wrestled with a dough that's stubbornly sticky or seems to rise at a snail's pace? Our latest guide dives deep into troubleshooting lean dough, unlocking the secrets to achieving perfect texture and rise. Discover the common pitfalls and simple fixes that will transform your bread baking, turning frustration into fantastic results. Ready to conquer your dough dilemmas?
- Understanding Lean Dough and Its Challenges
- Identifying and Addressing Sticky Lean Dough
- Overcoming Slow-Rising Lean Dough
- Common Lean Dough Mistakes and How to Avoid Them
- Achieving Perfect Results with Lean Dough: A Summary
- Applying Troubleshooting to a Baguette Recipe
- Frequently Asked Questions
- Final Reflection: The Joy of a Perfectly Kneaded Dough
- Unleash Your Inner Baker: Perfecting That Lean Dough!
Understanding Lean Dough and Its Challenges
Lean dough is the foundation of many classic breads, from crusty baguettes to rustic country loaves. Unlike enriched doughs that contain fats like butter, eggs, or milk, lean dough is typically made with just four simple ingredients: flour, water, yeast, and salt. This simplicity is its beauty but also the source of its unique challenges.
Without the softening and tenderizing effects of fats and sugars, the gluten structure is more exposed, making issues like stickiness and slow rising more noticeable and sometimes difficult to manage. Mastering lean dough is a significant step in a baker's journey towards creating truly exceptional bread.
Working with lean dough requires a different approach than working with, say, a brioche or challah dough. The hydration level (the ratio of water to flour) is often higher in lean doughs, which contributes to a more open crumb structure but can also lead to a very wet, sticky mixture that feels difficult to handle.
Furthermore, the fermentation process relies solely on the yeast's activity on the flour's starches, which can be sensitive to temperature fluctuations and ingredient ratios. Successfully troubleshooting sticky, slow dough is key to achieving that desirable chewy interior and crisp crust characteristic of great lean bread.
What is Lean Dough? A Baker's Definition
At its core, lean dough is defined by its minimalist ingredient list. It typically consists of flour (often high-protein bread flour), water, yeast, and salt. That's it! This stark composition means there are no added fats, sugars, or dairy products that would enrich the dough. Think of it as the pure essence of bread. The magic happens through the interaction of these basic components: water hydrates the flour, activating gluten development; yeast ferments sugars, producing carbon dioxide gas for leavening; and salt controls fermentation speed and enhances flavor and gluten structure.
The simplicity of lean dough highlights the fundamental processes of bread making – hydration, kneading, fermentation, and baking. Because there are no other ingredients to mask potential issues, problems like excessive stickiness or sluggish rising are immediately apparent. For instance, a standard baguette dough might have a hydration of 70-75% (meaning 70-75g of water per 100g of flour), resulting in a relatively wet dough. Learning to work with this kind of dough, even when it seems impossibly sticky, is part of the skill involved in baking lean breads.
Common Problems with Lean Doughs
Bakers frequently encounter a few specific issues when working with lean doughs. The most common culprits are related to dough consistency and fermentation. A very sticky dough that resists forming a cohesive ball during kneading is a classic problem, often linked to hydration levels or insufficient gluten development. For example, attempting a high-hydration ciabatta dough (sometimes 80% or higher) without proper technique will almost certainly result in a sticky mess unless managed correctly.
Another prevalent issue is slow or insufficient rising. This can manifest at various stages, from the initial bulk fermentation to the final proofing. You might expect your dough to double in size in 1-2 hours at room temperature, but find it barely changes after several hours. This can be due to inactive yeast, incorrect dough temperature, or even too much salt. Navigating these challenges – troubleshooting sticky, slow dough – is a rite of passage for bakers aiming for perfect lean loaves.
Why Troubleshooting Lean Dough is Essential for Baking Success
Mastering lean dough is fundamental to creating many iconic bread types enjoyed worldwide. Without the ability to troubleshoot issues like stickiness and slow rising, bakers would struggle to produce breads with the desired texture, volume, and crust. Imagine trying to shape a baguette from a dough that is excessively sticky – it would be nearly impossible to achieve the correct tension and structure needed for a good bake. Similarly, a dough that hasn't risen properly will result in a dense, heavy loaf instead of a light, airy one.
Successful troubleshooting sticky, slow dough directly impacts the final outcome. For example, correctly identifying that a slow rise is due to a cold kitchen (say, 65°F or 18°C instead of the ideal 75-80°F or 24-27°C) allows the baker to adjust the environment, perhaps by placing the dough in a slightly warmer spot, ensuring a better rise and ultimately a superior loaf. Developing these problem-solving skills not only saves frustrating baking failures but also builds confidence and a deeper understanding of the baking process itself.
Identifying and Addressing Sticky Lean Dough
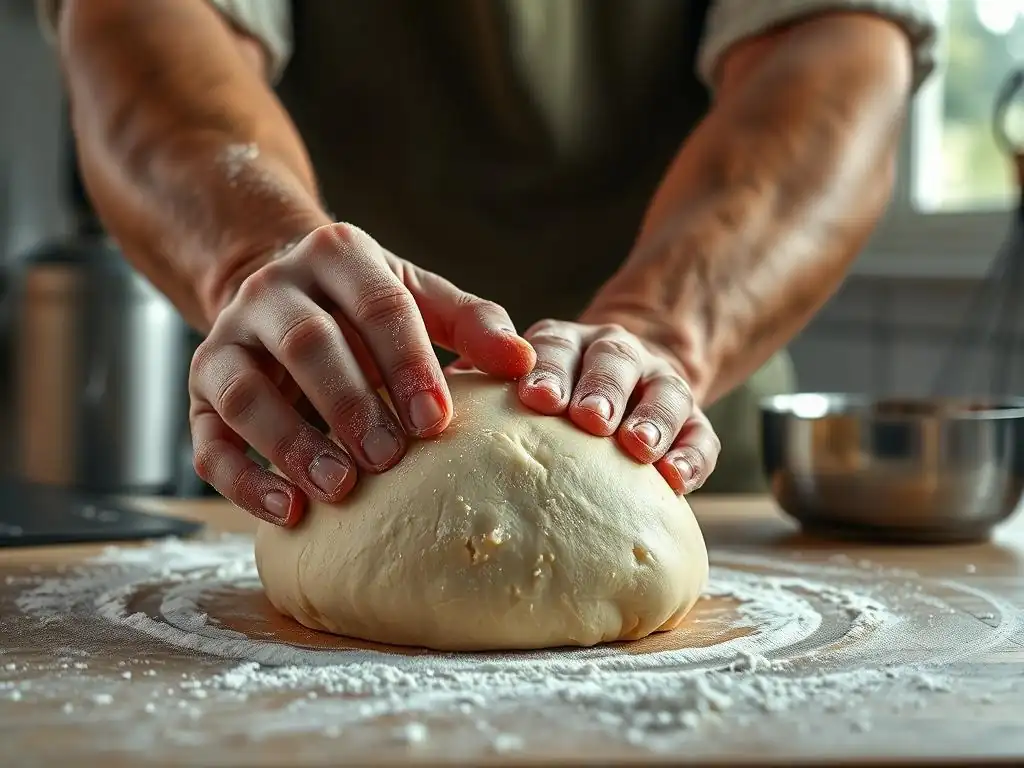
Working with sticky dough can be frustrating, making kneading, shaping, and handling difficult. However, a certain level of stickiness is often desirable in lean doughs, especially those with high hydration, as it contributes to an open crumb structure. The key is understanding why your dough is sticky and determining if it's excessively so. Is it just a little tacky, sticking slightly to your fingers, or is it a complete, unmanageable goo sticking everywhere? Learning to differentiate between desirable tackiness and problematic stickiness is the first step in effective troubleshooting sticky, slow dough.
Excessive stickiness can stem from several factors, primarily related to the flour's ability to absorb water and the development of the gluten network. If the flour hasn't fully hydrated or if the gluten hasn't been sufficiently developed through kneading, the dough will remain a wet, sticky mass. Environmental factors like humidity can also play a role, causing flour to absorb moisture from the air even before mixing. Pinpointing the root cause is crucial for applying the right fix.
The Science Behind Sticky Dough: Gluten Development and Hydration
The stickiness of dough is intimately linked to the interaction between water and flour proteins, specifically glutenin and gliadin, which form gluten when hydrated and worked. Flour particles absorb water, and as you knead, these proteins link together to form an elastic network – the gluten structure. This network is what gives dough its strength and elasticity, allowing it to hold its shape and trap gases produced by yeast.
Hydration level is a primary determinant of dough consistency. A dough with 60% hydration will feel much drier and easier to handle than one with 75% hydration. If the flour is unable to absorb all the water (perhaps due to low protein content or insufficient mixing time), the excess water remains free, making the dough sticky.
Furthermore, if the gluten network hasn't developed sufficiently, it can't effectively manage the water within the dough structure, leaving the dough weak and sticky. For example, a dough kneaded for only 5 minutes might be much stickier than the same dough kneaded for 10-12 minutes, as the longer kneading time allows for better gluten development and water absorption.
Is Your Lean Dough Too Sticky? Assessing Dough Consistency
Assessing whether your lean dough is "too" sticky requires tactile evaluation. A perfectly hydrated lean dough, especially one with higher hydration, will be tacky and might stick slightly to clean, dry hands or a work surface. However, it should release relatively cleanly after a moment and have enough structure to hold a rough shape. If the dough aggressively sticks to everything it touches – your hands, the bowl, the counter – and you can't gather it or perform basic folds without excessive dough clinging, it's likely too sticky.
A simple test is the windowpane test, though it's primarily for gluten development, it also gives clues about consistency. If you can stretch a small piece of dough thin enough to see light through it without it tearing immediately, the gluten is likely well-developed. If the dough is too sticky to even perform this test or tears instantly, it might be under-kneaded or too hydrated.
For example, if you're aiming for a rustic loaf with 75% hydration, expect it to be quite wet and sticky, but with proper kneading, it should still develop elasticity and some ability to hold tension. If it just puddles and smears, there's an issue.
Solutions for Sticky Lean Dough: Techniques and Adjustments
When faced with overly sticky lean dough, there are several techniques you can employ to improve its handleability. The goal is usually to either help the gluten develop further or adjust the hydration slightly. Resist the urge to dump in a large amount of flour all at once, as this can alter the recipe balance and result in a dry, heavy loaf.
Adding Flour Incrementally: A Baker's Best Practice
If your dough is excessively sticky and you suspect it's slightly over-hydrated or your flour absorbed less water than expected, you can add flour, but do so sparingly and gradually. Add just a tablespoon or two of flour at a time to your work surface or directly onto the dough while kneading. Work it in completely before deciding if more is needed. This incremental approach allows you to reach the desired consistency without accidentally adding too much flour.
For instance, if you're troubleshooting sticky, slow dough for a 500g flour recipe that feels too wet, you might add just 10-15g (about 1-2 tablespoons) of flour while kneading. Observe how the dough changes. Does it start to pull away from your hands or the mixer hook? Does it feel less like liquid and more like dough? Continue kneading after each small addition until the dough is tacky but manageable, or passes your desired consistency test. Remember, high-hydration doughs will be sticky, so aim for manageable tackiness, not a dry, easy-to-handle dough.
The Importance of Proper Kneading for Tackling Stickiness
Sufficient kneading is crucial for developing the gluten structure that gives dough strength and helps it manage hydration. Under-kneaded dough will feel slack, weak, and excessively sticky because the gluten network hasn't formed adequately to contain the water. Kneading allows the gluten proteins to link and align, creating a strong, elastic network.
If your dough is sticky after the initial mix, continue kneading. As gluten develops, the dough will become smoother, more elastic, and less sticky, often pulling away from the sides of the bowl (if using a mixer) or becoming easier to handle by hand. Techniques like the "stretch and fold" method during bulk fermentation are also excellent for developing gluten in sticky doughs without continuous kneading. For example, performing 3-4 sets of stretch and folds at 30-minute intervals can transform a very sticky, shaggy dough into a smooth, elastic ball ready for proofing, even with high hydration levels.
Adjusting Hydration Levels in Lean Dough Recipes
Sometimes, the stickiness is simply a result of the intended hydration level of the recipe, especially in recipes for rustic or open-crumb breads. If you're new to working with high-hydration doughs (say, 70% or above), it might feel alarmingly sticky at first. In this case, the solution isn't necessarily to add flour, but to learn techniques for handling wet dough, such as using a bench scraper, wetting your hands slightly, or using the stretch and fold method.
However, if you consistently find a recipe too difficult to handle due to stickiness, you can slightly reduce the hydration in future attempts. For example, if a recipe calls for 75% hydration and results in dough you find unmanageable, try making it again with 70% or 68% hydration. This small reduction (e.g., using 340g water instead of 375g for 500g flour) can make a significant difference in handling while still producing a good loaf. Keep notes on your adjustments to find the hydration level that works best for you and your flour.
Overcoming Slow-Rising Lean Dough
A slow or stalled rise is another common frustration when troubleshooting sticky, slow dough. Lean doughs rely heavily on yeast activity for leavening, and several factors can inhibit the yeast, leading to a sluggish or non-existent rise. This not only delays your baking schedule but can also impact the final texture and flavor of the bread. A dough that hasn't risen sufficiently will be dense and heavy, lacking the desired airy crumb.
Understanding the conditions yeast needs to thrive is essential for diagnosing and fixing a slow rise. Yeast are living microorganisms that consume sugars and produce carbon dioxide gas and alcohol. Like any living organism, they are sensitive to their environment, particularly temperature, food availability (sugars from the flour), and the presence of inhibitors like excessive salt or competing microorganisms. When the rise is slow, one or more of these factors is likely out of balance.
Factors Affecting Dough Rise: Yeast Activity and Temperature
Yeast activity is the engine driving dough rise. Commercial baker's yeast (active dry, instant, or fresh) is most active within a specific temperature range. Optimal fermentation generally occurs between 75°F and 80°F (24°C to 27°C). Temperatures significantly below this range slow yeast activity dramatically; temperatures above 130°F (54°C) can kill the yeast.
Therefore, dough temperature and the ambient temperature of the proofing environment are critical. A kitchen that is too cold (say, 60°F or 15°C) will result in a much slower rise than a warm kitchen. The temperature of the water used to mix the dough also plays a role in setting the initial dough temperature. Using cold water will result in a cooler dough that takes longer to warm up and start actively fermenting compared to using lukewarm water (around 90-100°F or 32-38°C).
Troubleshooting Slow Fermentation in Lean Dough
If your lean dough isn't rising as expected, consider these potential issues:
- Inactive Yeast: Was your yeast fresh and properly stored? If using active dry yeast, was it proofed in warm water first? If the yeast didn't foam or activate, it might be dead.
- Incorrect Temperature: Is your dough or proofing environment too cold? As mentioned, low temperatures significantly slow fermentation.
- Too Much Salt: Salt is essential for flavor and structure, but too much can inhibit yeast activity. Ensure you measured accurately. A typical lean dough uses about 1.8-2% salt relative to the flour weight.
- Insufficient Hydration: While rare as a primary cause of slow rise (it usually causes stickiness), extremely dry dough can sometimes hinder yeast mobility and access to food.
- Short Mixing Time: Dough needs some initial gluten development to hold the gas produced. Very under-mixed dough might struggle to trap gas effectively, appearing not to rise.
When troubleshooting sticky, slow dough, specifically the slow rise aspect, check these factors systematically. Did you accidentally use half the amount of yeast? Is your kitchen currently 62°F? Did you forget to activate your dry yeast? Identifying the specific issue is the first step to fixing it.
Tips to Encourage a Faster Rise for Lean Doughs
If your dough is rising too slowly, you can take steps to help the yeast along. The most effective methods involve optimizing the conditions for yeast activity.
Optimizing Yeast Activation for Lean Dough
If using active dry yeast, always proof it first. Dissolve the yeast in a small amount of the warm water (around 100°F or 38°C) from your recipe with a pinch of sugar. Wait 5-10 minutes; it should become foamy and bubbly. If it doesn't, your yeast is likely dead, and you'll need to start over with fresh yeast. Instant yeast doesn't require proofing but can still benefit from being mixed into the warm water initially to ensure it's active. Ensure the water temperature isn't too hot, as this can kill the yeast – ideally between 90-100°F (32-38°C) for mixing.
For example, if a recipe calls for 7g of active dry yeast, dissolve it in about 30-40g of the recipe's water heated to 100°F (38°C) with a pinch of sugar. Once it's frothy, add it to your flour and the rest of the water. This confirms the yeast is alive and gives it a head start.
Creating a Warm Environment for Proofing
Temperature is paramount for yeast activity. If your kitchen is cool, find or create a warmer spot for your dough to rise. An ideal temperature is 75-80°F (24-27°C). You can achieve this by:
- Placing the dough in a turned-off oven with the light on (the light bulb provides gentle warmth).
- Using a proofing box or setting up a warm, draft-free spot.
- Placing the dough on top of your refrigerator or another warm appliance.
- In a pinch, placing the dough bowl in a larger bowl filled with warm (not hot) water, ensuring no water gets into the dough.
Simply moving the dough from a 65°F counter to an 80°F environment can drastically cut the rise time. For example, a dough that might take 4 hours to double at 65°F might double in just 1.5-2 hours at 80°F. Providing this warmth is often the simplest solution when troubleshooting sticky, slow dough that isn't rising.
The Role of Salt in Dough Fermentation
Salt plays a critical role in dough, enhancing flavor, tightening the gluten structure, and regulating yeast activity. Without salt, dough ferments too quickly, resulting in less complex flavors and a weaker structure. However, too much salt inhibits yeast by drawing water out of the yeast cells via osmosis. This slows down or can even halt fermentation entirely.
Typical salt levels in lean dough range from 1.8% to 2.2% of the flour weight. For 500g of flour, this is 9g to 11g of salt. If you accidentally added significantly more salt (e.g., 20g), it would explain a very slow or non-existent rise. Always measure salt accurately, preferably by weight. If you suspect too much salt is the issue, unfortunately, there's no easy fix for that batch; you'll likely need to start over, being careful with your measurements.
Common Lean Dough Mistakes and How to Avoid Them
Beyond stickiness and slow rising, several other common errors can derail your lean dough baking efforts. Being aware of these pitfalls can help you avoid them and consistently achieve better results. These mistakes often relate to handling the dough, ingredient ratios, and temperature control, all of which are critical when troubleshooting sticky, slow dough and other issues.
Understanding the nuances of lean dough – its sensitivity to hydration, mixing time, and temperature – is key. Because it lacks the buffer provided by fats and sugars in enriched doughs, there's less room for error. Precision in measurement and attention to technique become even more important.
Over-Kneading vs. Under-Kneading Lean Dough
Finding the sweet spot for kneading is vital.
- Under-kneading: Results in a dough that is weak, slack, and often excessively sticky. The gluten network hasn't developed enough to provide structure or manage the water. The final bread will be dense with an irregular crumb.
- Over-kneading: While harder to do by hand, it's possible with a stand mixer. Over-kneaded dough becomes very tight and loses its elasticity; it might tear easily when stretched. The gluten strands become so tight they can break down. This can also lead to a dense loaf.
For most lean doughs, aim to knead until the dough is smooth, elastic, and passes the windowpane test. This might take 8-12 minutes in a stand mixer or 15-20 minutes by hand, depending on the flour and hydration. Pay attention to the dough's feel rather than just the clock. Does it feel cohesive? Does it spring back slowly when poked?
Incorrect Hydration Levels: Finding the Right Balance
Hydration is perhaps the most significant factor influencing lean dough consistency and the structure of the final loaf. Too little water results in a stiff, dry dough that's easy to handle but yields a dense, tight crumb. Too much water results in a very sticky, difficult-to-handle dough that can collapse during baking if the gluten isn't strong enough, though it often leads to a more open crumb if managed correctly.
The "right" hydration depends on the recipe and your desired outcome. A sandwich loaf might be 60-65% hydration, while a rustic freeform loaf could be 75% or higher. Always weigh your ingredients, especially flour and water, for accuracy (e.g., using 500g flour and 350g water for 70% hydration). If you find a recipe's hydration consistently too challenging, slightly reduce the water in future batches until you find a level you're comfortable with that still yields good results.
Improper Temperature Control During Proofing
As discussed, temperature is crucial for yeast activity. Proofing dough at the wrong temperature is a common mistake leading to either a sluggish rise (too cold) or an over-proofed dough (too warm or too long). Over-proofing occurs when the yeast exhausts its food supply and the gluten structure weakens, causing the dough to collapse. This often results in a loaf with poor oven spring and a dense texture.
Monitor both the dough temperature and the ambient temperature of your proofing environment. Use a thermometer if necessary. Aim for the sweet spot (75-80°F / 24-27°C) for consistent results and predictable rise times. If proofing in a cooler environment (like a refrigerator for a slow, cold ferment), adjust your expectations for the rise time – it will be much longer, often 12-48 hours, which develops more flavor.
Achieving Perfect Results with Lean Dough: A Summary
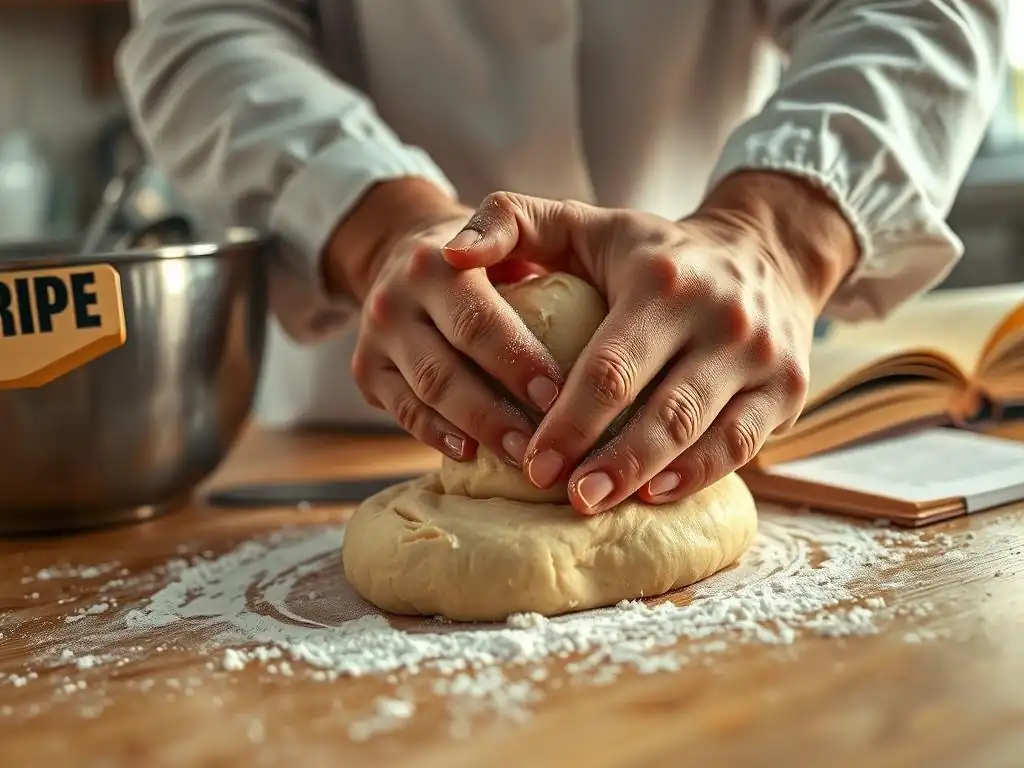
Mastering lean dough is incredibly rewarding, leading to some of the most satisfying breads you can bake. While challenges like sticky dough and slow rising are common, they are also solvable with a bit of understanding and practice. By paying close attention to your ingredients, measurements, kneading technique, and proofing environment, you can consistently produce beautiful, delicious lean loaves. Troubleshooting sticky, slow dough is a skill that gets easier with each batch you bake.
Remember that baking is a process of learning and adaptation. Your flour might absorb water differently than the flour used in a recipe, your kitchen temperature will fluctuate, and your handling technique will evolve. Don't be discouraged by a less-than-perfect loaf. Each attempt provides valuable insights into how dough behaves and how you can better manage it next time.
Key Takeaways for Troubleshooting Lean Dough
- Hydration Matters: High hydration often means sticky dough. Learn techniques like stretch and folds or using a bench scraper to manage it. Adjust hydration slightly if consistently too difficult.
- Kneading is Crucial: Proper kneading develops gluten, which makes dough less sticky and improves structure. Don't stop too early.
- Temperature is King for Rise: Yeast is happiest and most active between 75-80°F (24-27°C). Ensure your dough and proofing environment are warm enough for a timely rise.
- Check Your Yeast and Salt: Ensure yeast is active and salt is measured accurately (around 1.8-2% of flour weight).
- Troubleshooting Sticky, Slow Dough requires observing your dough and understanding the underlying principles of baking.
Resources for Further Learning About Lean Dough Baking
To deepen your understanding of lean dough and refine your troubleshooting skills, consider exploring resources that delve into the science of baking. Books focused on bread baking, particularly those explaining the role of ingredients and fermentation, can be invaluable. Online communities and forums dedicated to bread baking offer a chance to ask questions and see how others troubleshoot similar issues. Practice is, of course, the best teacher – the more you bake lean dough, the better you'll become at recognizing and addressing problems.
Applying Troubleshooting to a Baguette Recipe
Let's apply the principles of troubleshooting sticky, slow dough to a classic lean bread: the baguette. Baguettes are typically made with a high-hydration dough, making them prone to stickiness, and their long fermentation process means slow rising can be a factor.
Baguette Recipe: Ingredients and Instructions
Here is a simplified lean baguette recipe (approx. 70% hydration):
- 500g Bread Flour (high protein)
- 350g Water (approx. 70°F / 21°C)
- 10g Salt
- 2g Instant Yeast
Instructions:
- In a large bowl, combine flour, salt, and instant yeast.
- Add water and mix with a spoon or your hands until a shaggy dough forms. Ensure all dry flour is incorporated.
- Let the dough rest for 20-30 minutes (autolyse). This helps the flour absorb the water.
- Perform stretch and folds: Wet your hands slightly. Grab one edge of the dough, stretch it upwards, and fold it over the center. Rotate the bowl and repeat 3 more times. The dough will be sticky.
- Cover the bowl and let the dough rest for 30 minutes.
- Repeat the stretch and fold process. You should notice the dough is becoming smoother and less sticky with each set.
- Repeat stretch and folds 2-3 more times at 30-minute intervals over the next 1.5-2 hours.
- After the final fold, the dough should be more cohesive and elastic, though still tacky.
- Cover and let the dough bulk ferment at room temperature (ideally 75-80°F / 24-27°C) until it has increased in volume by about 75-100%. This could take 2-4 hours depending on temperature.
- Gently turn the dough out onto a lightly floured surface. Divide into 2-3 equal portions.
- Gently pre-shape each portion into a rough log and let rest for 20 minutes.
- Shape into baguettes.
- Proof the shaped baguettes (ideally on a couche or floured surface) for 45-75 minutes at room temperature, or until they are slightly puffy and pass the poke test (a gentle poke leaves a slow indentation).
- Preheat oven with baking stone/steel to 475°F (245°C). Create steam in the oven.
- Score baguettes and bake for 20-25 minutes until golden brown and crusty.
Troubleshooting Common Baguette Problems
- Problem: Dough is excessively sticky after all stretch and folds, impossible to handle.
- Possible Causes: Hydration too high for the flour used, insufficient gluten development (not enough folds or rest time between folds), measuring error.
- Solutions:
- Ensure you performed enough stretch and folds. If it's still very slack and sticky after 3-4 sets, add one more set.
- Next time, try slightly reducing the water (e.g., use 340g instead of 350g).
- Use a bench scraper to help handle the dough. Wet your hands very slightly, but avoid adding more significant amounts of water.
- Make sure you are using high-protein bread flour, which can handle higher hydration.
- Problem: Dough isn't rising during bulk fermentation or proofing (slow rise).
- Possible Causes: Cold ambient temperature, inactive yeast, too much salt.
- Solutions:
- Check your yeast expiry date. If using active dry, did you proof it first?
- Find a warmer spot for the dough to ferment (e.g., oven with light on, 75-80°F).
- Ensure salt was measured correctly (around 10g for 500g flour).
- Allow more time if the temperature is cool – a rise that takes 3 hours at 78°F might take 5-6 hours at 70°F.
- Problem: Baguettes spread sideways instead of rising upwards in the oven (poor oven spring).
- Possible Causes: Under-proofed, over-proofed, insufficient gluten strength, not enough steam in the oven.
- Solutions:
- Ensure adequate bulk fermentation and proofing time. The dough should be airy but not fragile before baking.
- Confirm gluten development was sufficient (dough should have tension after shaping).
- Generate plenty of steam in the oven during the first 10-15 minutes of baking. This keeps the crust soft, allowing the dough to expand before setting.
- Ensure oven is fully preheated and hot.
Frequently Asked Questions
What are the common causes of sticky lean dough?
Sticky lean dough often results from too much hydration in the recipe or insufficient kneading. Other factors include room temperature and the type of flour used.
Why is my lean dough rising so slowly?
Slow rising can be due to insufficient yeast, a cold environment, or the yeast's expiration date. Remember that lean doughs, lacking fat and sugar, rise slower than enriched doughs.
How can I fix dough that is too sticky to handle?
Try adding small amounts of flour at a time during kneading, ensuring it's fully incorporated. You can also chill the dough to make it more manageable.
What role does kneading play in the texture of lean dough?
Kneading develops gluten, which is crucial for the structure and elasticity of lean dough. Proper kneading results in a smoother, less sticky dough that rises well.
Can I use different types of flour for lean dough, and how does it affect the outcome?
Yes, but bread flour is generally recommended for its high gluten content. All-purpose flour can be used, but the texture may be slightly different, impacting the final rise and crumb.
Final Reflection: The Joy of a Perfectly Kneaded Dough
Mastering the art of bread baking often hinges on understanding and troubleshooting the challenges of a sticky, slow dough. It's a frustrating experience for many, leading to abandoned loaves and a sense of defeat. But as we've explored, the seemingly insurmountable obstacle of a less-than-ideal dough can be overcome with patience, understanding, and the right techniques. The journey to perfect bread is not always smooth, but the rewards are immeasurable.
The struggle with sticky dough transcends mere baking; it's a metaphor for life's challenges. We often face obstacles that seem insurmountable, leaving us feeling overwhelmed and discouraged. Yet, just as we can adjust flour, water, and kneading techniques to achieve the perfect dough consistency, we can adapt and persevere through life's difficulties. The greatest glory in living lies not in never falling, but in rising every time we fall.
- Nelson Mandela. This quote perfectly encapsulates the spirit of troubleshooting – the resilience and determination to overcome setbacks and achieve our goals.
Now, consider your own "sticky dough" moments. What challenges have you faced that seemed impossible to overcome? Remember the lessons learned in this article – patience, attention to detail, and a willingness to adapt are key to success. Don't be afraid to experiment, to adjust your approach, and to learn from your mistakes. The next time you encounter a less-than-perfect dough, remember the power of troubleshooting and the sweet reward of a perfectly baked loaf – a testament to your perseverance and skill. Embrace the challenge, and let the journey be as rewarding as the destination.
Unleash Your Inner Baker: Perfecting That Lean Dough!
Thanks for taking the time to explore the world of lean doughs with us! We hope you now feel confident tackling those challenging recipes. Ready to put your new knowledge into practice?
- Dive in and bake! Try that crusty bread recipe you've been eyeing – you've got this! This is the perfect time to apply what you’ve learned.
- Share your baking journey! Post a picture of your masterpiece on social media and tag us – we’d love to see your results!
- Challenge yourself: Experiment with different flours or hydration levels. What unique flavor combinations can you create?
What unexpected ingredient will you add to your next lean dough creation? Let's hear about it in the comments below!