
Water Temperature for Yeast: Get the Perfect Start

Welcome to BakeWithEase, your haven for all things baking! Ever wondered if you're really getting the most out of your yeast? Understanding the perfect yeast activation temperature is the secret weapon behind consistently fluffy breads and delectable pastries. Dive in to discover how to unlock the full potential of your yeast and elevate your baking game, starting with this essential guide!
- Water Temperature for Yeast: Get the Perfect Start for Bread Baking
- Understanding the Importance of Yeast Activation Temperature for Bread
- Finding the Perfect Yeast Activation Temperature: A Step-by-Step Guide
- Troubleshooting Yeast Activation Problems Related to Water Temperature
- Optimal Water Temperature Range for Different Yeast Types: A Quick Reference Guide
- Beyond Water Temperature: Other Factors Affecting Yeast Activation
- Mastering Yeast Activation: Tips for Baking Success
- Conclusion: Achieving the Perfect Yeast Activation Temperature for Better Bread
- Frequently Asked Questions
- Final Reflection: Unlocking the Secrets of Yeast Activation
- Unlock Your Baking Potential: Perfect Yeast Every Time!
Water Temperature for Yeast: Get the Perfect Start for Bread Baking
Understanding the Importance of Yeast Activation Temperature for Bread
Why Water Temperature Matters for Yeast Activity
Yeast are living microorganisms, specifically fungi, that are crucial for leavening bread dough. Their activity is highly dependent on their environment, particularly temperature. Think of it like waking someone up – too cold, and they're sluggish; too hot, and you might shock them.
For yeast, the perfect yeast activation temperature in water is key to bringing them out of their dormant state and preparing them to consume sugars in the dough and produce carbon dioxide gas, which makes your bread rise. Using water that is too hot or too cold can significantly hinder this process, leading to dense, flat loaves instead of light, airy ones.
The optimal temperature range provides yeast with the comfortable conditions they need to become active and begin multiplying. When yeast is added to warm water, it rehydrates and starts to metabolize any sugars present (either added to the water or naturally in the flour). This initial burst of activity is what bakers look for, often called "blooming," especially with active dry yeast.
Getting this temperature right ensures the yeast is healthy and ready to perform its vital role throughout the kneading and proofing stages of bread making. It sets the foundation for a successful bake, ensuring your dough rises properly and develops the desired texture and volume.
The Link Between Water Temperature and Yeast Health
The temperature of the water directly impacts the viability and metabolic rate of yeast cells. Yeast thrives within a specific temperature window. If the water is too cold, below approximately 70°F (21°C), the yeast remains dormant or becomes very sluggish. Its activity slows down dramatically, resulting in a very slow or non-existent rise in your dough. While the yeast might not die at these temperatures, it won't be actively working, delaying your baking process significantly and potentially leading to other issues like over-fermentation or off-flavors if left for too long.
Conversely, water that is too hot is detrimental to yeast health. Temperatures above 140°F (60°C) can quickly kill yeast cells. Even temperatures between 120°F and 130°F (49°C to 54°C), while sometimes used for instant yeast, can stress active dry yeast and reduce its viability. Imagine trying to wake up in a sauna – not ideal for starting your day!
Dead yeast cannot produce the gas needed for leavening. If you add yeast to water that is too hot, you'll end up with a mixture that shows no signs of life, and your dough simply won't rise, no matter how long you wait. Finding that perfect yeast activation temperature is about providing a warm, welcoming environment, not a hostile one.
Finding the Perfect Yeast Activation Temperature: A Step-by-Step Guide
Step 1: Choosing the Right Type of Yeast for Baking
Understanding the type of yeast you are using is the first crucial step in determining the perfect yeast activation temperature. Different types of commercial yeast are processed differently, affecting how they respond to water temperature and whether they even need to be activated in water before being mixed with flour. Common types include Active Dry Yeast, Instant Dry Yeast, and Fresh Yeast, each with its own hydration and temperature preferences. Using the wrong temperature for the yeast type is a common pitfall for new bakers.
For example, Active Dry Yeast requires rehydration in warm water to wake it up before being added to dry ingredients. Instant Dry Yeast, on the other hand, is processed to be more porous and can often be mixed directly with the flour without prior hydration, using the water from the recipe. Fresh yeast, a moist block of yeast cells, is typically crumbled and dissolved in lukewarm water. Knowing these distinctions helps you select the appropriate activation method and, consequently, the correct water temperature needed for the best results.
Active Dry Yeast: Temperature Considerations
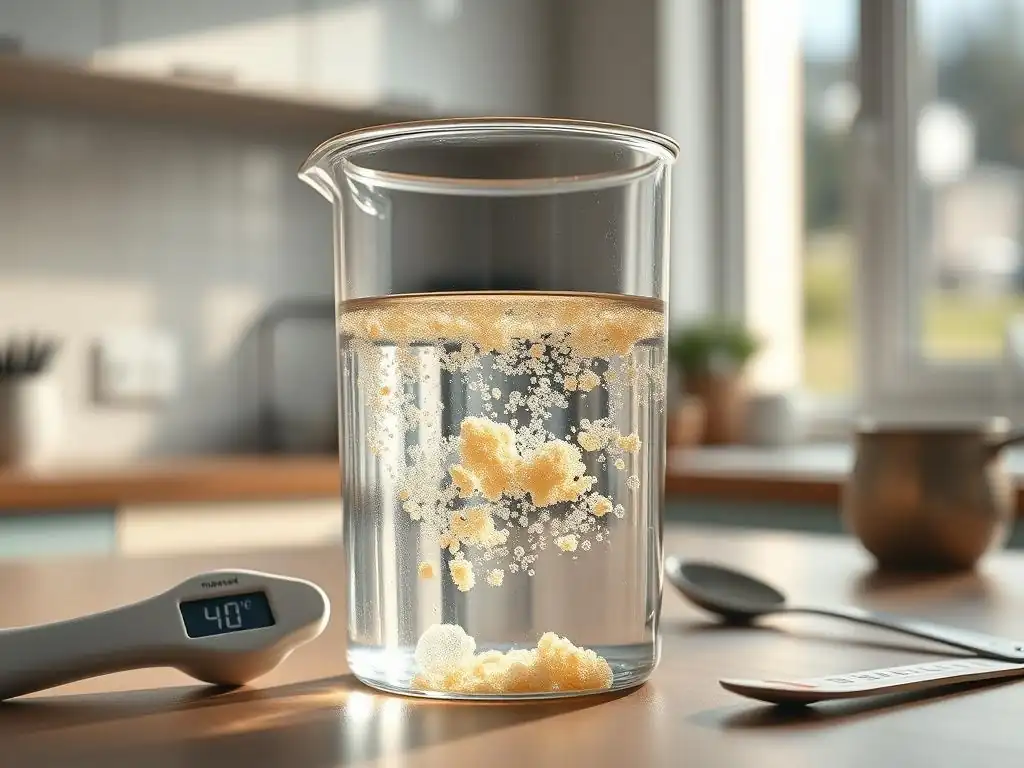
Active dry yeast consists of dehydrated yeast cells enclosed in a thick cell wall. To become active, these cells need to absorb liquid. The recommended water temperature for activating active dry yeast is typically between 105°F and 115°F (40°C to 46°C). This range is warm enough to rehydrate the yeast and initiate fermentation without being so hot as to damage the cells. Using water cooler than this range will slow down rehydration and activation, while hotter water risks killing the yeast.
When using active dry yeast, you'll usually dissolve it in the specified amount of warm water (often with a pinch of sugar to give it a food source) and let it sit for 5-10 minutes. You should see it become foamy or bubbly on the surface, indicating that the yeast is alive and active. This visual cue confirms you've likely hit the perfect yeast activation temperature for this type of yeast. If no foam appears, your yeast may be dead, or the water temperature was incorrect.
Instant Dry Yeast: Temperature Considerations
Instant dry yeast, also known as rapid-rise or quick-rise yeast, is processed differently than active dry yeast, resulting in smaller granules and a more porous structure. This means it rehydrates much faster and can often be added directly to the dry ingredients of your recipe.
When mixed directly with flour, the yeast activates using the water or liquid added to the dough, and the temperature of that liquid should ideally be around 120°F to 130°F (49°C to 54°C) if it's the only liquid source for activation. However, because it's buffered by the flour, it's less sensitive to slightly higher temperatures than active dry yeast.
If you choose to proof instant yeast in water (though often unnecessary), a temperature range similar to active dry yeast (105°F to 115°F or 40°C to 46°C) is safe and effective. However, the convenience of instant yeast lies in its ability to work with warmer liquids directly in the dough. Some recipes even call for liquids up to 130°F (54°C) when using instant yeast mixed directly with flour, as the flour helps buffer the yeast from the heat shock. Achieving the perfect yeast activation temperature for instant yeast often means ensuring the overall dough temperature is favorable for fermentation.
Fresh Yeast: Temperature Considerations
Fresh yeast, also called cake yeast or compressed yeast, is a moist, block-like form of yeast that has not been dried. It has a shorter shelf life than dry yeasts and is typically activated in lukewarm water before use. The ideal water temperature for fresh yeast activation is slightly cooler than for active dry yeast, usually between 85°F and 95°F (29°C to 35°C). This gentle temperature range helps dissolve the yeast cake without stressing the cells.
To activate fresh yeast, you crumble the required amount into the lukewarm water and stir gently until it dissolves. You'll notice it turn into a creamy, milky liquid. While it doesn't produce the vigorous foam of active dry yeast, you should see small bubbles forming and perhaps a slight swelling on the surface after a few minutes, indicating it's active.
Using water that is too hot will kill the delicate fresh yeast cells quickly, while water that is too cold will make it difficult to dissolve the cake and slow down activation significantly. Getting the perfect yeast activation temperature for fresh yeast is about providing a mild, comfortable environment.
Step 2: Measuring Water Temperature Accurately
Once you know the recommended temperature range for your specific type of yeast, the next critical step is accurately measuring the water temperature. Guessing can lead to significant errors that result in dead or sluggish yeast, ruining your bread before you even start kneading. Relying on touch alone is notoriously inaccurate; what feels "lukewarm" to one person might be too hot or too cold for yeast. Precision is key to hitting that perfect yeast activation temperature.
Using a thermometer is the most reliable way to ensure your water is within the target range. Even a few degrees outside the optimal window can impact yeast performance. Investing in a simple digital or instant-read thermometer is highly recommended for any serious bread baker. It takes the guesswork out of a fundamental step and dramatically increases your chances of successful yeast activation and a well-risen loaf.
Using a Thermometer for Precise Temperature Readings
A kitchen thermometer is your best friend when it comes to yeast activation. Whether it's a basic candy thermometer, a digital probe thermometer, or an infrared thermometer, any tool that gives you an accurate temperature reading is suitable. Simply heat or cool your water until it's within the desired range for your yeast type (e.g., 105°F-115°F for active dry yeast). Submerge the thermometer probe (or point the infrared beam at the surface) and wait a few seconds for the reading to stabilize.
For instance, if you're using active dry yeast and the recipe calls for 1 cup of warm water, heat the water in a kettle or microwave. Pour the water into a measuring cup or small bowl and immediately check the temperature. If it's too hot, wait a moment for it to cool down, stirring slightly. If it's too cold, add a splash of hotter water or gently heat it up again. Continue adjusting until the thermometer reads within the 105°F to 115°F window. This simple step ensures you provide the perfect yeast activation temperature environment right from the start.
Dealing with Temperature Fluctuations in Water
Water temperature can change surprisingly quickly, especially in small quantities. After heating or cooling water to the correct temperature, it's important to use it relatively soon. Ambient room temperature can affect how fast the water cools down. For example, in a cold kitchen, water at 110°F might drop below the ideal range for active dry yeast within just a few minutes.
To minimize fluctuations, measure your water temperature just before adding the yeast. If you're activating yeast in a bowl, using a ceramic or glass bowl can help retain heat better than metal. Some bakers slightly overshoot the target temperature by a degree or two if they know they'll be busy with other ingredients for a minute, anticipating a slight drop. However, it's safer to aim precisely for the middle of the range and work relatively quickly. Consistency in hitting the perfect yeast activation temperature involves not just measuring correctly but also using the water promptly.
Step 3: Activating Yeast with the Correct Water Temperature
Once your water is at the perfect yeast activation temperature for your specific yeast type, it's time to combine them. The method varies slightly depending on the yeast, but the goal is always the same: to rehydrate the yeast cells and kickstart their metabolic process. Adding a pinch of sugar at this stage is often recommended, especially for active dry yeast, as it provides an immediate food source for the yeast, encouraging faster activation and helping you see if the yeast is alive.
This step is often referred to as "proofing" the yeast, particularly when using active dry yeast. It serves as a test to ensure the yeast is viable before you commit to mixing an entire batch of dough. If the yeast doesn't show signs of activity after 5-10 minutes in the correctly tempered water, it's likely dead or the temperature was wrong, and you should start over with fresh yeast and properly heated water.
How to Activate Active Dry Yeast: A Detailed Process
Activating active dry yeast requires a specific process to ensure the best results. First, measure the amount of warm water specified in your recipe, ensuring its temperature is between 105°F and 115°F (40°C to 46°C) using a thermometer. Pour the water into a small bowl. Next, sprinkle the active dry yeast over the surface of the water. Do not stir immediately; let it sit for 30-60 seconds to begin rehydrating.
After the initial rehydration period, gently stir the mixture until the yeast is mostly dissolved. If your recipe calls for sugar in the activation step, add it now and stir. Let the mixture sit undisturbed for 5 to 10 minutes. You should observe the mixture becoming foamy, bubbly, or frothy on the surface. This "bloom" confirms that the yeast is active and the water was at the perfect yeast activation temperature. If there's little to no activity, the yeast may be old or the water temperature was incorrect, and it's best to discard it and start again.
Activating Instant Dry Yeast: A Quick and Easy Method
Instant dry yeast is designed for convenience and often doesn't require separate activation in water. The most common method is to simply whisk it together with your dry ingredients (flour, salt, etc.) in the mixing bowl. The yeast will then activate when the warm liquid from your recipe is added to the dry ingredients and kneading begins. The temperature of the liquid added to the dough should still be considered; a range of 120°F to 130°F (49°C to 54°C) is often suitable when mixing directly into flour, as the flour provides some insulation.
However, if you prefer to proof instant yeast to be absolutely sure it's active (especially if you suspect it might be old), you can activate it in water similar to active dry yeast. Use water between 105°F and 115°F (40°C to 46°C). Instant yeast will typically dissolve and become active much faster than active dry yeast, often showing signs of life within just a few minutes. While separate proofing isn't strictly necessary for instant yeast according to manufacturers, doing so can provide peace of mind, confirming you've achieved the perfect yeast activation temperature before committing to your dough.
Activating Fresh Yeast: The Crumble and Stir Technique
Fresh yeast is the most perishable type and must be activated before use. To activate fresh yeast, crumble the required amount of the moist cake into a small bowl. Use lukewarm water, ideally between 85°F and 95°F (29°C to 35°C), to dissolve the yeast. Pour the water over the crumbled yeast and stir gently with a spoon or whisk until the yeast is completely dissolved and the mixture looks milky or creamy.
Unlike active dry yeast, fresh yeast typically won't produce a thick layer of foam. However, you should see small bubbles rising to the surface after 5-10 minutes, and the mixture might appear slightly swollen. This indicates the yeast is active and ready to be added to your dough. If the mixture remains inert and no bubbles appear, the yeast may be past its prime, or the water temperature was too hot or too cold. Using the correct, gentle temperature is key to achieving the perfect yeast activation temperature for this delicate yeast type.
Sometimes, despite your best efforts, your yeast doesn't activate properly. One of the most common culprits is incorrect water temperature. Learning to identify temperature-related issues and how to potentially fix them can save your dough and prevent frustration in the kitchen.
If you've added active dry yeast to warm water (around 105°F-115°F) and waited 5-10 minutes, but there's no foam or very little activity, the water temperature is a prime suspect.
- Was the water too hot? Temperatures above 120°F (49°C) can start to kill yeast, and above 140°F (60°C) is almost certainly lethal. If the water felt hot to the touch, this is likely the issue.
- Was the water too cold? Temperatures below 100°F (38°C) will dramatically slow down or prevent activation. If the water felt only slightly warm or even cool, the yeast is likely just dormant, not dead.
It's also possible the yeast itself is dead or expired, regardless of temperature. Always check the expiration date on the package. However, if you're using fresh yeast or a newly opened package of dry yeast, temperature is the most probable cause of failed activation when using the correct method. Diagnosing the temperature issue is crucial before attempting to salvage your dough or starting a new batch. Hitting the perfect yeast activation temperature is the goal, but understanding when you've missed it is equally important.
Water Too Hot: The Risks of Killing Yeast
Using water that is too hot is a common mistake with irreversible consequences for your yeast. Yeast cells are sensitive to heat; they are living organisms, and excessive heat destroys them. While the exact lethal temperature varies slightly, most sources agree that temperatures above 140°F (60°C) will kill yeast almost instantly. Even temperatures between 120°F and 130°F (49°C to 54°C), while sometimes tolerated by instant yeast mixed with flour, can significantly weaken or kill active dry and fresh yeast.
If you add yeast to water that is too hot, you won't see any signs of activity – no bubbles, no foam, no swelling. The yeast is simply dead. There is no way to revive dead yeast. In this scenario, the only solution is to discard the mixture and start over with fresh yeast and water at the correct, perfect yeast activation temperature. It's a tough lesson, but it emphasizes the importance of accurate temperature measurement.
Water Too Cold: The Impact on Yeast Activity
Using water that is too cold won't kill your yeast, but it will make it very sluggish and inactive. Yeast functions optimally within a specific temperature range, and below approximately 70°F (21°C), its metabolic rate slows dramatically. This means it will produce carbon dioxide gas very slowly, if at all.
If you've used water that was too cold, you might see minimal or very slow bubbling when proofing active dry or fresh yeast. If you mix this into your dough, the dough will take an extremely long time to rise, or it may not rise sufficiently.
While the yeast isn't dead, it's not effectively working. In this case, you might be able to salvage the dough by placing it in a warmer environment (like a proofing box or a warm oven turned off with the light on) to encourage the yeast to eventually become more active, though the rise may still be compromised compared to starting with the perfect yeast activation temperature.
Recovering from Temperature Mistakes: Salvaging Your Yeast Activation
If you've added yeast to water that was too hot, unfortunately, there's no recovery. Dead yeast is dead. The best course of action is to discard the mixture and start over with a fresh packet of yeast and carefully measured water at the correct temperature for your yeast type. It might be frustrating, but it's necessary for a successful rise.
If you've added yeast to water that was too cold, the yeast is likely just dormant. If you realize the water was too cold during the activation step (before adding it to the flour), you can try gently warming the mixture slightly. Be very careful not to overheat it.
Placing the bowl over a larger bowl of warm water (a double boiler setup, but off the heat) can slowly bring the temperature up to the desired range. If you've already mixed the cold-activated yeast into your dough, your best bet is to find a warm spot for the dough to proof, hoping the overall dough temperature increases enough to activate the yeast. While not ideal, this might still yield a usable loaf, albeit with a potentially longer or less vigorous rise than if you had achieved the perfect yeast activation temperature initially.
Optimal Water Temperature Range for Different Yeast Types: A Quick Reference Guide
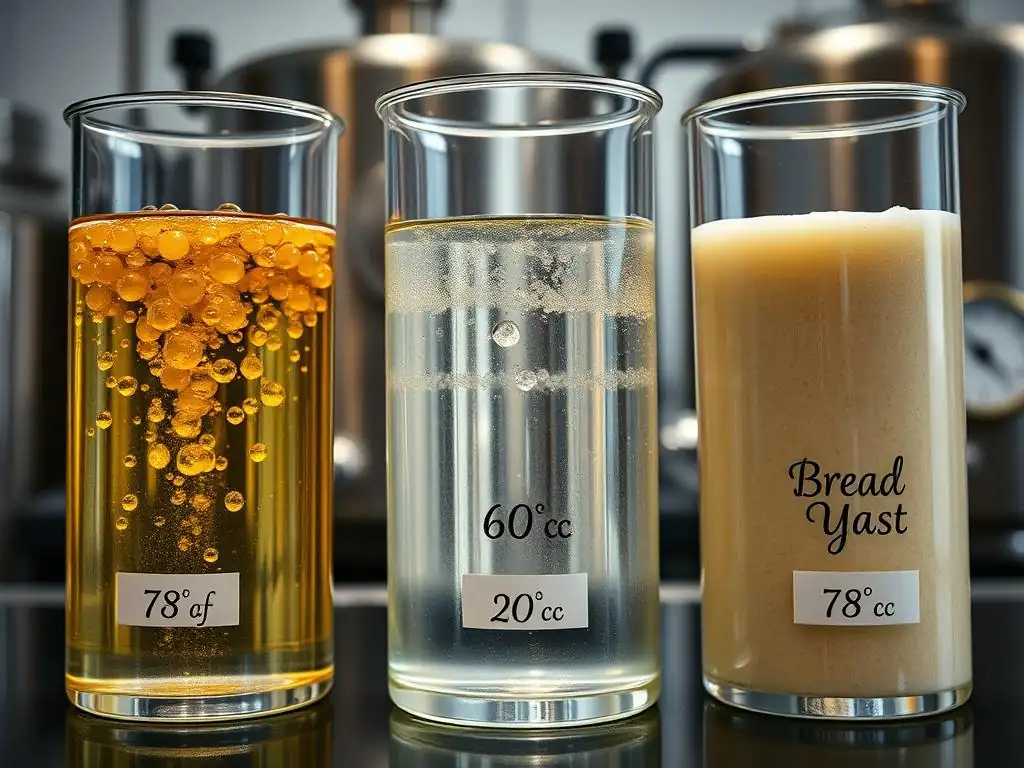
Understanding the specific temperature needs of each yeast type is fundamental. While slight variations exist depending on the brand and recipe, here are the generally accepted ranges to achieve the perfect yeast activation temperature for the most common types.
| Yeast Type | Recommended Water Temperature for Activation/Mixing (Approximate) |
|---|---|
| Active Dry Yeast | 105°F - 115°F (40°C - 46°C) for proofing in water |
| Instant Dry Yeast | 105°F - 115°F (40°C - 46°C) for optional proofing in water |
| 120°F - 130°F (49°C - 54°C) when mixing directly into flour with liquid | |
| Fresh Yeast | 85°F - 95°F (29°C - 35°C) for dissolving in water |
These ranges provide a safe and effective window for waking up the yeast and preparing it to leaven your dough. Always use a thermometer to verify your water temperature falls within the appropriate range for the yeast you are using.
Ideal Temperature for Active Dry Yeast Activation
For active dry yeast, the perfect yeast activation temperature when proofing in water is reliably between 105°F and 115°F (40°C to 46°C). This range is warm enough to penetrate the thicker cell wall and rehydrate the yeast granules effectively, allowing them to become metabolically active. Think of it as a warm bath that gently coaxes them back to life.
Using water below this range, say around 90°F (32°C), will still eventually activate the yeast, but it will take significantly longer, potentially 15-20 minutes or more to see a good bloom. Using water above 120°F (49°C) starts to become risky for active dry yeast, potentially damaging the cells and reducing their viability, even if some foam appears initially. Sticking to the 105°F-115°F window is the most consistent way to ensure vigorous activation.
Ideal Temperature for Instant Dry Yeast Activation
Instant dry yeast is more versatile regarding temperature. When mixing it directly into dry ingredients, the liquid added to the dough can be warmer, often between 120°F and 130°F (49°C to 54°C). The flour acts as a buffer, protecting the yeast from the initial heat shock. This higher temperature can also help speed up the initial fermentation slightly.
If you choose to proof instant yeast separately in water, the ideal temperature range is similar to active dry yeast, 105°F to 115°F (40°C to 46°C). This range is perfectly safe and will quickly show if the yeast is viable. The perfect yeast activation temperature for instant yeast depends on whether you are proofing it separately or incorporating it directly into the dough with warmer liquids; both methods are valid depending on the recipe and your preference.
Ideal Temperature for Fresh Yeast Activation
Fresh yeast is the most delicate when it comes to temperature. The perfect yeast activation temperature for fresh yeast is a gentle 85°F to 95°F (29°C to 35°C). This is just lukewarm, warmer than body temperature but not hot. This lower range is sufficient to dissolve the moist yeast cake and bring the cells to an active state without exposing them to damaging heat.
Using water much warmer than 95°F (35°C) can quickly kill fresh yeast, as its cell structure is less protected than dry yeasts. Conversely, water much cooler than 85°F (29°C) will make it difficult to dissolve the yeast cake and significantly slow down the activation process. Sticking to this relatively narrow, lukewarm range is essential for successfully activating fresh yeast.
Beyond Water Temperature: Other Factors Affecting Yeast Activation
While water temperature is arguably the most critical factor for successful yeast activation, other elements also play a significant role. Understanding these can further improve your bread-baking success and help troubleshoot issues not directly related to temperature.
Sugar's Role in Yeast Activation
Sugar acts as a readily available food source for yeast. Adding a pinch of sugar (often 1 teaspoon) to the warm water when activating active dry or fresh yeast gives the yeast a quick energy boost, helping to speed up the activation process and produce a visible "bloom" faster. This makes it easier to confirm that the yeast is alive and that you've likely found the perfect yeast activation temperature.
While sugar helps kickstart activation, it's not strictly necessary for the yeast to eventually become active, especially if proofing active dry yeast in the recommended temperature range. Yeast will ultimately feed on the natural sugars present in flour once mixed into the dough. However, including sugar in the proofing step is a reliable way to visually confirm yeast viability and vigorous initial activity. Note that too much sugar (more than a few teaspoons in a standard loaf recipe) can actually inhibit yeast activity due to osmosis, drawing water out of the yeast cells.
The Importance of Yeast Quality and Freshness
Even if you use the perfect yeast activation temperature, old or improperly stored yeast may not activate. Yeast is a living organism with a limited shelf life. Dry yeasts last longer than fresh yeast, but they can still die if exposed to air, moisture, or heat over time. Always check the expiration date on your yeast package.
For dry yeast, it's best to store opened packages in an airtight container in the refrigerator or freezer to maintain freshness. Fresh yeast should be stored in the refrigerator and used by its expiration date. If you're unsure about the freshness of your yeast, it's always a good idea to proof a small amount in warm water with a pinch of sugar before proceeding with your recipe. If it doesn't show significant activity after 5-10 minutes at the correct temperature, it's time to buy new yeast.
Avoiding Contamination During Yeast Activation
While less common than temperature or freshness issues, contamination can also affect yeast activation. Ensure the bowl and utensils you use for activating yeast are clean and free from residues like soap or harsh chemicals, which can be detrimental to yeast cells.
Similarly, avoid letting salt come into direct contact with yeast during the initial activation phase. Salt can draw moisture out of yeast cells through osmosis, inhibiting their activity. While salt is essential for flavor and controlling fermentation later in the dough, it's best added with the flour, separate from the initial yeast-water mixture. By keeping the activation environment clean and free from inhibitors, you help ensure that achieving the perfect yeast activation temperature translates directly into happy, active yeast.
Mastering Yeast Activation: Tips for Baking Success
Achieving the perfect yeast activation temperature consistently is a skill that comes with practice, but a few simple tips can make it easier and more reliable.
Preheating Water to the Right Temperature: Best Practices
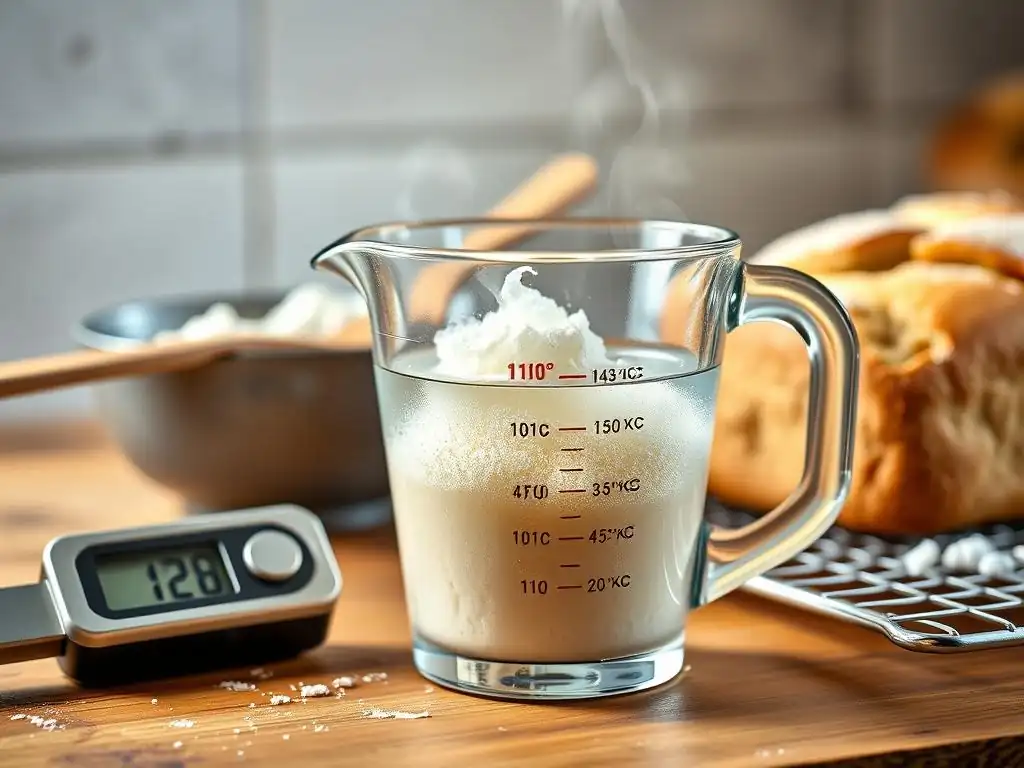
Instead of just heating water and hoping it's the right temperature, measure the water before heating or cooling. Then, heat it slightly above your target temperature (e.g., heat to 120°F if aiming for 110°F for active dry yeast). Pour it into your measuring cup or proofing bowl and immediately check the temperature with a thermometer. If it's too hot, stir it gently or let it sit for a few seconds to cool. If it's too cold, add a tiny splash of hotter water or briefly place the container in a warm water bath.
- Use a reliable thermometer every time.
- Measure the water volume accurately.
- Adjust temperature slowly if needed.
- Check temperature just before adding yeast.
This process ensures you hit the desired window, minimizing the risk of using water that's too hot and kills the yeast. Consistently hitting the perfect yeast activation temperature starts with careful measurement and adjustment.
Observing Yeast Activity: Signs of Successful Activation
Knowing what active yeast looks like is crucial, especially when proofing active dry or fresh yeast in water. For active dry yeast in water with a pinch of sugar (at 105°F-115°F), look for a noticeable layer of foam or froth on the surface after 5-10 minutes. It should look bubbly and possibly double in volume slightly.
For fresh yeast dissolved in lukewarm water (85°F-95°F), you'll see the mixture turn milky, and small bubbles should rise to the surface after 5-10 minutes. The mixture might also appear slightly swollen. Instant dry yeast, if proofed, will activate quickly, often showing a light foam within minutes. If you don't see these signs of life, your yeast may be dead, or the water temperature was incorrect, meaning you didn't hit the perfect yeast activation temperature.
Adjusting Water Temperature Based on Ambient Conditions
The ideal temperature for your dough fermentation might also influence the temperature of the water you start with, especially when mixing liquids directly into dry ingredients with instant yeast. In a cold kitchen, using water slightly warmer (within the safe range) can help bring the overall dough temperature up to an optimal level (often cited as 75°F-80°F or 24°C-27°C for bulk fermentation).
Conversely, in a very warm environment, starting with water on the cooler end of the recommended range can prevent the dough from fermenting too quickly. While the perfect yeast activation temperature range for proofing yeast remains constant, considering the ambient temperature helps manage the overall dough temperature and fermentation speed after the yeast is active.
Conclusion: Achieving the Perfect Yeast Activation Temperature for Better Bread
Mastering bread baking starts with understanding and respecting the science behind the ingredients. For yeast, that means paying close attention to water temperature. Using water that is too hot will kill the yeast, resulting in a flat, lifeless loaf. Using water that is too cold will make the yeast sluggish, leading to a slow or incomplete rise.
By using a thermometer to accurately measure water temperature and knowing the specific range needed for your type of yeast – typically 105°F-115°F (40°C-46°C) for active dry yeast, a similar range or up to 130°F (54°C) when mixed directly with flour for instant yeast, and a gentle 85°F-95°F (29°C-35°C) for fresh yeast – you ensure your yeast is happy, healthy, and ready to work. Hitting the perfect yeast activation temperature is a fundamental step that sets the stage for a successful rise and ultimately, delicious, well-textured bread.
Make temperature measurement a non-negotiable part of your baking routine, and enjoy the consistently better results!
Frequently Asked Questions
What is the ideal water temperature for activating yeast?
The ideal water temperature for activating yeast is typically between 105°F and 115°F (40°C and 46°C). This range allows the yeast to become active and thrive without being killed by excessive heat.
What happens if the water is too hot when activating yeast?
If the water is too hot, it will kill the yeast, rendering it ineffective. You'll know this has happened if the yeast doesn't foam or bubble after being mixed with the water and sugar.
If the water is too cold, the yeast will activate too slowly, or not at all. This can result in a dough that doesn't rise properly, leading to a dense and flat baked good.
How can I accurately measure the water temperature for yeast activation?
The best way to accurately measure water temperature is to use a kitchen thermometer. This ensures precise temperature control for optimal yeast activation.
Can I use milk instead of water to activate yeast?
Yes, you can use milk, but it should still be within the same temperature range as water (105°F-115°F). Also, milk can sometimes affect the taste and texture of the final product.
Final Reflection: Unlocking the Secrets of Yeast Activation
The quest for the perfect yeast activation temperature isn't just a detail for bakers; it's the cornerstone of successful fermentation, impacting everything from the texture of our bread to the flavor of our beer. Understanding this seemingly small detail unlocks a world of possibilities, ensuring consistent and predictable results every time we embark on a baking or brewing adventure. This knowledge, once mastered, transforms the process from a gamble into a precise art.
The impact of optimal yeast activation extends far beyond the kitchen or brewery. It highlights the delicate balance required in even the simplest biological processes, a balance easily disrupted by seemingly insignificant temperature fluctuations. This principle resonates far beyond baking and brewing; it speaks to the importance of understanding the specific needs of living organisms, a lesson with implications for everything from environmental conservation to human health. The greatest discoveries are often made when we pay attention to the smallest details.
This quote perfectly encapsulates the journey we've undertaken in exploring the ideal temperature for yeast activation.
Now, it's your turn. Consider the other processes in your life, both big and small, where understanding the optimal conditions for success is crucial. What seemingly insignificant details might be holding you back from achieving your goals? Take the time to observe, experiment, and refine your approach. By paying close attention to the nuances, just as we have with yeast activation, you too can unlock your own potential and achieve remarkable results. The journey to perfection begins with understanding the fundamentals.
Unlock Your Baking Potential: Perfect Yeast Every Time!
Thanks for diving into the world of perfect yeast activation with us! You now have the knowledge to consistently achieve amazing results in your baking. Ready to put your new skills to the test?
- Start baking immediately! Try a new recipe using the ideal water temperature you've learned—you'll notice the difference.
- Share your baking triumphs (and challenges!) with our community on social media using #BakeWithEaseYeast. Let's learn from each other!
- Consider experimenting with different yeast strains and water sources to see how they affect your dough. What unique results can you discover?
Ready to rise to the occasion and bake something delicious? What's your go-to yeast-based recipe, and what water temperature will you use next time?