
What's the Right Internal Temperature for Baked Bread?

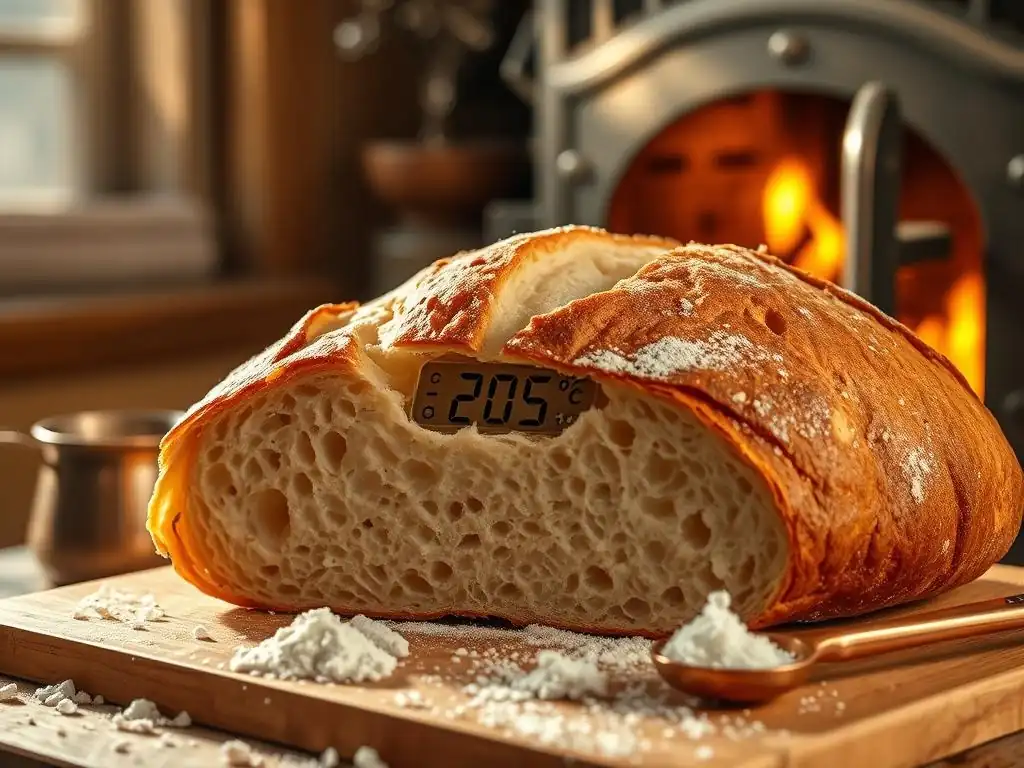
Welcome to BakeWithEase, your trusted guide to baking perfection! Ever wonder if your homemade bread is truly done? Knowing the secret lies in temperature, and our comprehensive baked bread internal temperature guide will unlock the mystery. Discover the exact temperatures for various breads, ensuring a perfect bake every time. Ready to banish underbaked loaves forever? Dive in and let's get baking!
- What's the Right Internal Temperature for Baked Bread? - BakeRight
- Understanding the Importance of Internal Temperature in Bread Baking
- Baked Bread Internal Temperature Guide: Achieving Baking Perfection
- Troubleshooting Common Bread Baking Temperature Issues
- Factors Affecting Baked Bread Internal Temperature
- Achieving Consistent Results: Maintaining Optimal Baking Conditions
- Mastering the Art of Bread Baking Through Temperature Control
-
Frequently Asked Questions
- What is the ideal internal temperature for most baked breads?
- Why is checking the internal temperature of bread important?
- What type of thermometer is best for checking bread's internal temperature?
- How does the type of bread affect the target internal temperature?
- Where should I insert the thermometer to get an accurate reading?
- Final Reflection: The Heart of the Loaf: Temperature's Crucial Role in Baking
- Unlock Your Bread-Baking Potential!
What's the Right Internal Temperature for Baked Bread? - BakeRight
Understanding the Importance of Internal Temperature in Bread Baking
Achieving the perfect loaf of bread involves mastering several variables: ingredient ratios, kneading technique, proofing time, and oven temperature. While visual cues like crust color are helpful, the most reliable indicator of a perfectly baked loaf is its internal temperature. Relying solely on how the bread looks on the outside can often lead to disappointment, resulting in either a doughy center or an overly dry crumb. Understanding and measuring the internal temperature provides a scientific approach to ensure your bread is cooked through, has the desired texture, and is safe to eat.
This guide will walk you through the critical role internal temperature plays in baking success. We'll explore the ideal temperature ranges for various types of bread, from lean, crusty baguettes to rich, enriched brioche, and discuss why checking the internal temperature is a cornerstone of any reliable baked bread internal temperature guide. Learning to use a thermometer correctly is a simple step that elevates your baking from guesswork to precision, consistently delivering delicious results.
Why Internal Temperature Matters for Perfect Bread
The internal temperature of bread is a direct indicator of how thoroughly the starches within the dough have gelatinized and the proteins have coagulated. These processes are fundamental to the structure and texture of the baked loaf. When bread reaches the correct internal temperature, typically above 180°F (around 82°C), the yeast activity stops, the internal structure sets, and the moisture content stabilizes appropriately.
If the internal temperature is too low, the starches may not have fully cooked, resulting in a dense, gummy, or doughy interior – a common baking frustration. Conversely, exceeding the optimal temperature range can lead to excessive moisture loss, resulting in a dry, crumbly, or tough texture. Precise temperature measurement ensures that the bread is cooked just right, providing the ideal balance of moisture, structure, and tenderness. Mastering this aspect is key to consistently producing high-quality baked goods.
The Role of Temperature in Achieving Desired Bread Texture
Temperature profoundly impacts the final texture of your bread. As the internal temperature rises during baking, water in the dough turns to steam, helping the bread expand (oven spring). Simultaneously, the gluten network sets, creating the crumb structure. Starch gelatinization, which occurs primarily between 140°F and 180°F (approx. 60-82°C), is crucial; the starch granules absorb water and swell, contributing to the soft, tender texture of the crumb.
Reaching the target internal temperature ensures these transformations are complete. For example, lean doughs require a higher temperature to develop a firm, open crumb and a crisp crust, while enriched doughs need a slightly lower temperature to maintain their tender, cake-like texture. Using a reliable baked bread internal temperature guide helps you hit these specific targets, guaranteeing the desired airy or rich crumb structure every time you bake.
Baked Bread Internal Temperature Guide: Achieving Baking Perfection
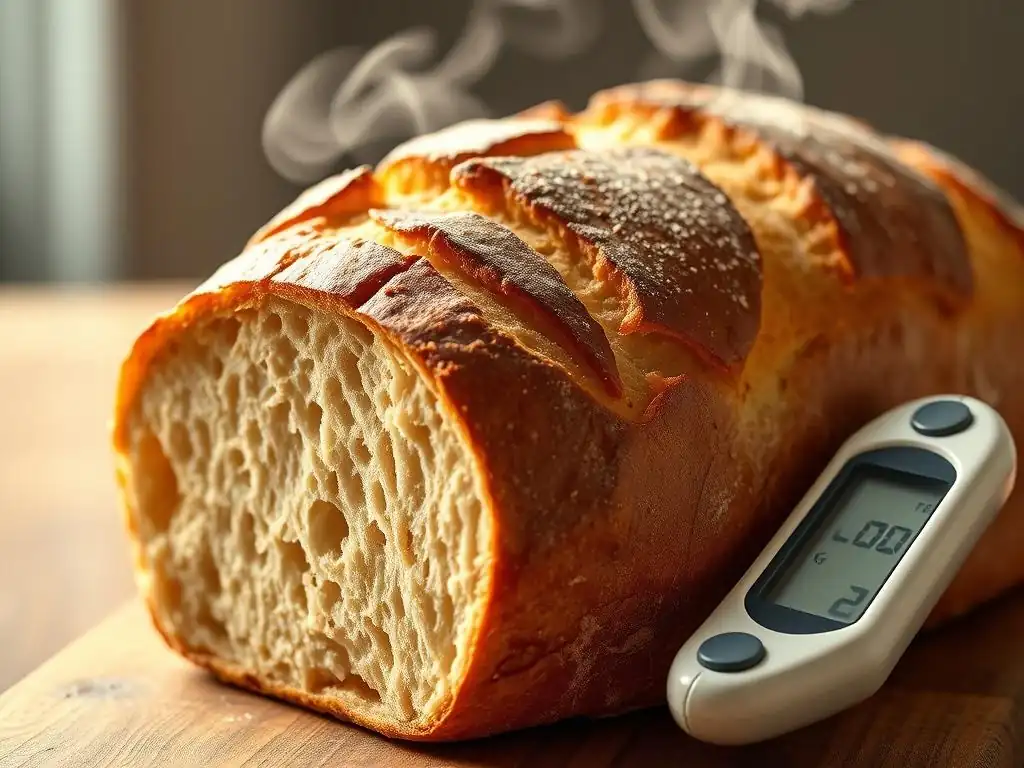
Knowing the target internal temperature for your specific type of bread is the most reliable way to ensure it's perfectly baked. While general guidelines exist, different dough compositions and styles require slightly different finishing temperatures to achieve their ideal characteristics. This section provides a breakdown of typical temperature ranges and how to use a thermometer effectively as part of your comprehensive baked bread internal temperature guide.
Using a thermometer removes the guesswork. Instead of tapping the bottom of the loaf and listening for a hollow sound (which can be subjective), a quick temperature check provides an objective measurement of doneness. This is especially valuable for new bakers or when trying a new recipe or dough type.
The Ideal Internal Temperature Range for Different Types of Bread
Different bread types have varying compositions, particularly regarding fat, sugar, and egg content (enrichment). These ingredients affect how the dough behaves during baking and the desired final texture, thus influencing the target internal temperature.
- Lean Doughs: Typically require a higher internal temperature.
- Enriched Doughs: Generally require a slightly lower internal temperature.
- Sourdough: Often falls into the lean dough category but can have unique considerations.
Understanding these differences is fundamental to using any baked bread internal temperature guide effectively for consistent results across your baking repertoire.
Internal Temperature for Lean Dough Breads (e.g., Baguettes, Crusty Loaves)
Lean doughs, made primarily from flour, water, salt, and yeast (or sourdough starter), are designed to produce a bread with a crisp crust and an open, airy interior crumb. Examples include baguettes, ciabatta, country loaves, and classic artisan crusty breads. These breads typically benefit from being baked to a higher internal temperature.
The ideal internal temperature range for lean dough breads is generally between 190°F and 210°F (approx. 88°C to 99°C). Baking to the higher end of this range helps ensure the crust is well-developed and crisp, and the interior is fully cooked and set, preventing a gummy texture. A temperature around 200-205°F (93-96°C) is a common target for many artisan loaves.
Internal Temperature for Enriched Dough Breads (e.g., Brioche, Challah)
Enriched doughs contain added fats (like butter or oil), sugars, eggs, and sometimes milk. These additions create a softer, more tender crumb and often a less aggressive crust than lean doughs. Examples include brioche, challah, sandwich bread, dinner rolls, and cinnamon rolls. Because of the added ingredients, these doughs cook differently and require a lower finishing temperature.
The target internal temperature range for enriched doughs is typically between 180°F and 190°F (approx. 82°C to 88°C). Baking much higher than this can lead to a dry or tough result due to the lower water content relative to fats and sugars. A temperature around 185°F (85°C) is a good benchmark for achieving a moist and tender crumb in enriched breads.
Internal Temperature for Sourdough Bread: A Unique Case
Sourdough bread, while often falling into the lean dough category (flour, water, salt, starter), has unique fermentation characteristics that can sometimes influence optimal baking. The starter introduces beneficial bacteria and wild yeast, which contribute to flavor and texture. Sourdough loaves typically have a robust crust and a chewy, open crumb, similar to other artisan lean breads.
For most sourdough loaves, the recommended internal temperature range aligns with other lean doughs: 190°F to 210°F (approx. 88°C to 99°C). Many sourdough bakers aim for the higher end, around 205-210°F (96-99°C), especially for larger loaves baked in a Dutch oven, to ensure the thick crust is fully developed and the interior is completely cooked through, preventing gumminess often associated with underbaked sourdough.
Using a Thermometer to Measure Bread Temperature Accurately
Measuring the internal temperature is the cornerstone of any reliable baked bread internal temperature guide. It removes uncertainty and provides a definitive answer regarding doneness. While oven temperatures can fluctuate and baking times are approximate, the temperature inside the bread tells the true story of its doneness.
Using a thermometer is simple, but knowing how and where to insert it is key to getting an accurate reading. This small step can make a significant difference in the outcome of your loaf, transforming a potentially underbaked or overbaked result into a perfectly cooked one.
Choosing the Right Thermometer for Baking Bread
Not all thermometers are created equal for baking bread. While a basic meat thermometer can work, instant-read digital thermometers are highly recommended. They provide a temperature reading within a few seconds, minimizing the time the oven door is open and the bread cools.
Look for a thermometer with a thin probe, preferably 4-6 inches long. A thin probe leaves a minimal hole in the crust. Ensure the thermometer's range goes up to at least 220°F (104°C). Some popular types include:
- Digital Instant-Read Thermometers: Fast, accurate, and easy to read.
- Dial Thermometers: More traditional, slower to read, but durable.
- Probe Thermometers (with wire): Useful for monitoring temperature during baking, but less common for a final check on bread.
A good quality instant-read digital thermometer is the most versatile and reliable choice for your baked bread internal temperature guide.
How to Insert the Thermometer for an Accurate Reading
Proper insertion is crucial for an accurate reading. Avoid inserting the thermometer into a pocket of air or too close to the crust, as these areas will not reflect the true internal temperature of the crumb.
Follow these steps for accurate measurement:
- Remove the bread from the oven.
- Insert the thermometer probe into the thickest part of the loaf. For a boule or round loaf, this is usually the center from the side or bottom. For a baguette or longer loaf, insert it horizontally into the center from one end.
- Push the probe deep enough to reach the true center of the crumb, away from any large air pockets.
- Wait a few seconds for a digital thermometer to stabilize and display the temperature. For a dial thermometer, wait about 30-60 seconds.
- Compare the reading to the target temperature for your bread type.
- If the temperature is too low, return the bread to the oven for a few more minutes and check again.
Repeat the check if necessary until the target temperature is reached. Remember to account for carryover cooking – the internal temperature may rise a degree or two after the bread is removed from the oven.
Visual Cues vs. Temperature: Why Relying on Looks Can Be Misleading
Many traditional baking guides rely heavily on visual cues: the color of the crust, the sound when tapping the bottom, or the general appearance of the loaf. While these cues offer some indication of doneness, they can be highly misleading and should not be the sole determinant, especially for internal doneness.
Here's why relying only on looks can be problematic:
- Crust Color: Can vary greatly depending on sugar content, oven type, baking surface, and even humidity. A loaf can look perfectly golden brown on the outside yet be completely underbaked and doughy inside.
- Hollow Sound Test: Tapping the bottom of the loaf to hear a hollow sound is subjective and requires experience. It's easy to misinterpret, particularly with denser or smaller loaves.
- External Appearance: A loaf might have great oven spring and look beautiful externally, but the internal structure might not be fully set if the temperature hasn't been reached.
Using a thermometer, as recommended in any comprehensive baked bread internal temperature guide, provides an objective, scientific measurement that confirms the internal structure is cooked and set, ensuring consistent results far more reliably than visual inspection alone.
Troubleshooting Common Bread Baking Temperature Issues
Even with careful attention to temperature, sometimes things don't go exactly as planned. Understanding common issues related to baking temperature and how to troubleshoot them is essential for improving your baking skills. The most frequent problems stem from either underbaking or overbaking, directly related to the internal temperature achieved.
Addressing these issues involves understanding the root cause – whether it's oven calibration, baking time, or simply not checking the internal temperature accurately. A good baked bread internal temperature guide isn't just about hitting the target; it's also about diagnosing and correcting problems when the target is missed.
My Bread is Doughy Inside: What Went Wrong?
A doughy, gummy, or wet interior is one of the most frustrating outcomes in bread baking. This almost always indicates that the bread was underbaked, meaning it did not reach the necessary internal temperature for the starches and proteins to fully set.
This can happen for several reasons: the oven temperature was lower than indicated, the baking time was insufficient for the size of the loaf, or the bread was removed from the oven based on appearance rather than internal temperature. A doughy interior is not just texturally unpleasant; it can also be less digestible.
Underbaking and Its Consequences
Underbaking occurs when the internal temperature of the bread does not reach the minimum required for the specific dough type (e.g., below 190°F for lean dough or 180°F for enriched dough). At these lower temperatures, the starch gelatinization is incomplete, and the gluten structure hasn't fully coagulated and set.
The direct consequences of underbaking include:
- Gummy or Wet Crumb: The most noticeable result, making the bread unpleasant to eat.
- Dense Texture: The internal structure hasn't properly set, leading to a heavy loaf.
- Poor Keeping Quality: Underbaked bread tends to mold faster.
- Less Digestible: Incomplete cooking of starches and proteins can make the bread harder to digest for some people.
Preventing underbaking is a primary goal of using a baked bread internal temperature guide.
Addressing Underbaked Bread: Solutions and Prevention
If you discover your bread is underbaked immediately after taking it out of the oven and checking the temperature, you can sometimes salvage it. Return the loaf to the oven, which has been preheated back to the baking temperature, for an additional 5-15 minutes, checking the internal temperature periodically until it reaches the target range. Tent the loaf with foil if the crust is already dark enough to prevent burning.
To prevent underbaking in the future:
- Always preheat your oven thoroughly to the correct temperature.
- Use an oven thermometer to verify your oven's actual temperature.
- Bake for the recommended time, but always use a digital instant-read thermometer to check the internal temperature before declaring it done.
- For larger loaves, extend the baking time as needed.
- Don't be afraid to bake lean doughs to the higher end of the 190-210°F range.
Making the internal temperature check a standard part of your baking process is the most effective prevention against doughy bread, reinforcing the value of a good baked bread internal temperature guide.
My Bread is Dry: Overbaking and Internal Temperature
While underbaking is a common issue, overbaking can also ruin a loaf by resulting in a dry, hard, or crumbly texture. Overbaking occurs when the bread is left in the oven for too long or baked at too high a temperature for an extended period, causing excessive moisture loss.
Checking the internal temperature is just as important for preventing overbaking as it is for preventing underbaking. Once the bread reaches its target temperature, extending the baking time primarily serves to darken the crust and drive out more moisture.
The Impact of Overbaking on Bread Moisture
Bread dough contains a significant amount of water. During baking, some of this water converts to steam (aiding oven spring), and some remains in the crumb, contributing to its moistness and tenderness. When bread is overbaked, more water than necessary evaporates from the interior.
The consequences of excessive moisture loss from overbaking include:
- Dry, Stale Crumb: The most obvious sign, leading to unpleasant texture.
- Hard, Brittle Crust: The crust can become excessively thick and difficult to chew.
- Reduced Flavor: Moisture carries flavor compounds; less moisture means less vibrant taste.
- Shorter Shelf Life: Overbaked bread stales faster.
While a well-baked crust is desirable, pushing the bake time significantly past the point where the internal temperature is reached primarily sacrifices interior moisture. Consulting a baked bread internal temperature guide helps you identify the sweet spot for doneness.
Preventing Overbaked Bread: Tips and Tricks
Preventing overbaking relies on monitoring both time and temperature. Once your bread is approaching the end of the recommended baking time, start checking the internal temperature.
Here are tips to avoid overbaking:
- Begin checking the internal temperature 5-10 minutes before the recipe's minimum suggested baking time.
- Use an accurate instant-read thermometer and remove the bread as soon as it hits the target temperature range for its type (e.g., 190-210°F for lean, 180-190°F for enriched).
- If the crust is browning too quickly but the internal temperature is still low, tent the loaf loosely with aluminum foil for the remainder of the baking time.
- Know your oven's hot spots and potentially rotate the bread halfway through baking.
- For recipes with longer bake times, consider lowering the oven temperature slightly after the initial oven spring period (e.g., after 15-20 minutes) while still ensuring the internal temperature is reached.
By prioritizing the internal temperature reading from your baked bread internal temperature guide, you gain control over the final moisture content and prevent a dry, disappointing loaf.
Factors Affecting Baked Bread Internal Temperature
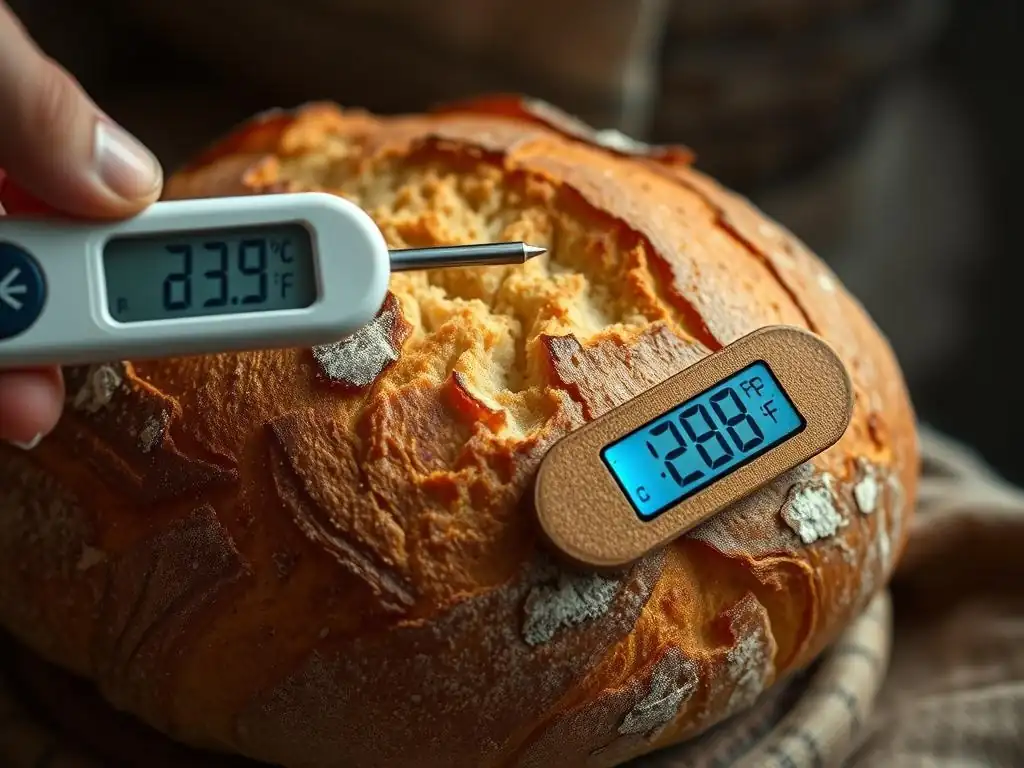
Several factors beyond just oven temperature and baking time influence how quickly and evenly a loaf reaches its target internal temperature. Understanding these can help you adjust your process and improve consistency. These factors include the accuracy of your oven, the hydration level of your dough, and the size and shape of the loaf.
Considering these variables allows for more informed decisions during the baking process, helping you apply your baked bread internal temperature guide more effectively to a variety of recipes and situations.
Oven Calibration: Ensuring Accurate Baking Temperatures
An oven thermostat can be inaccurate, sometimes by as much as 25-50°F (approx. 15-30°C) or even more. If your oven runs consistently cooler than the setting, your bread will take longer to reach the target internal temperature, potentially leading to underbaking even if you follow the recipe time. If it runs hotter, your bread might brown too quickly on the outside while the inside struggles to catch up, or it could overbake rapidly.
Using an inexpensive oven thermometer is the best way to check your oven's accuracy. Place it in the center of the oven and let the oven preheat for at least 20-30 minutes. Compare the thermometer's reading to the oven's set temperature. Knowing how your oven performs allows you to adjust accordingly – for example, setting the oven higher or lower than the recipe calls for, or extending/shortening baking times. This calibration step is fundamental to any reliable baked bread internal temperature guide and ensures your starting point is correct.
Dough Hydration and Its Influence on Internal Temperature
Dough hydration refers to the ratio of water to flour in a recipe. Higher hydration doughs (those with a larger proportion of water) tend to take slightly longer to reach their final internal temperature compared to lower hydration doughs, assuming all other factors are equal. This is because water requires more energy (heat) to increase its temperature and convert to steam.
For example, a very wet ciabatta dough (high hydration) might need a few extra minutes in the oven compared to a standard sandwich bread dough (lower hydration) of the same size, even when baked at the same temperature, to reach the target 200-210°F internal temperature. While the difference might not be dramatic, it's a factor to consider, especially when working with recipes that push hydration limits. Adjusting baking time based on checking the internal temperature, guided by your baked bread internal temperature guide, is the most reliable approach regardless of hydration.
Bread Size and Shape: Adjusting Baking Time Accordingly
The size and shape of your bread loaf significantly impact baking time and, consequently, how long it takes to reach the correct internal temperature. A large, dense boule will require a longer baking time than several small rolls made from the same dough. Similarly, a thick loaf will take longer than a flat focaccia.
Heat penetrates from the outside in. A larger volume of dough requires more time for the heat to reach the center and raise its temperature sufficiently. This is why recipes often provide weight measurements for dough or specify approximate loaf sizes. If you significantly alter the size or shape of a loaf from a recipe, you must adjust the baking time. The only way to know for sure if your adjustment was correct is by checking the internal temperature with a thermometer, reinforcing the importance of a flexible approach guided by your baked bread internal temperature guide.
Achieving Consistent Results: Maintaining Optimal Baking Conditions
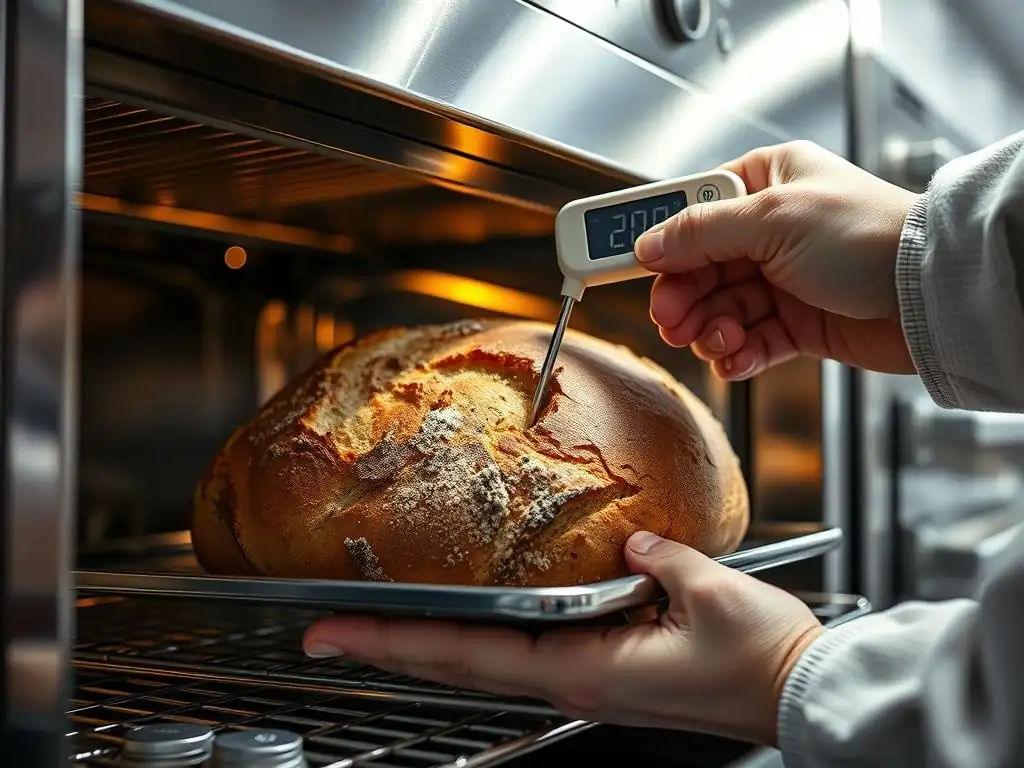
Beyond just knowing the target internal temperature, maintaining optimal baking conditions throughout the process is vital for consistent results. This involves ensuring your oven is properly prepared and utilizing tools that help distribute heat evenly. These steps create an environment where your bread can bake efficiently and reach the correct internal temperature without issues like burnt bottoms or pale tops.
Consistency in baking conditions is a cornerstone of reliable bread making. By controlling these environmental factors, you empower your baked bread internal temperature guide to work its magic, leading to predictable and delicious loaves every time.
Preheating Your Oven for Even Baking
Proper oven preheating is non-negotiable for successful bread baking. Placing dough in a cold or insufficiently preheated oven can lead to poor oven spring, uneven baking, and difficulty reaching the target internal temperature within the expected timeframe. Ovens take time to not only reach the set air temperature but also for the oven walls, racks, and any baking surfaces (like stones or steel) to absorb and radiate heat effectively.
Most recipes recommend preheating for at least 20-30 minutes after the oven indicates it has reached the set temperature. For baking stones or steels, preheating for 45-60 minutes or longer is often recommended to ensure they are fully saturated with heat. A properly preheated oven provides an initial burst of heat critical for oven spring and ensures that heat is evenly transferred to the loaf throughout the baking process, making it much easier to bake the bread until its internal temperature reaches the target from your baked bread internal temperature guide.
Using a Baking Stone or Dutch Oven for Improved Heat Distribution
Using a baking stone, steel, or Dutch oven is a technique widely recommended for improving heat distribution and achieving superior crust development in many types of bread, particularly lean, artisan loaves. These tools absorb and retain heat exceptionally well, providing a consistent, high-temperature surface for the bread to bake on.
- Baking Stone/Steel: Provides intense heat from the bottom, promoting excellent oven spring and a crisp bottom crust. The radiant heat also contributes to even baking overall.
- Dutch Oven: Creates a contained environment with high humidity initially (from the dough's moisture) and provides very even, intense heat from all sides. This results in fantastic oven spring and a beautiful, consistent crust before the lid is removed for the final browning phase.
By providing stable and efficient heat transfer, these tools help the bread bake more evenly and reach its target internal temperature more reliably. Incorporating them into your baking setup complements your use of a baked bread internal temperature guide for achieving consistently professional results.
Mastering the Art of Bread Baking Through Temperature Control
Mastering bread baking is an ongoing journey of learning and refinement. While understanding ingredients and techniques is crucial, developing a keen sense of temperature control – both the oven temperature and the internal temperature of the bread – is arguably the most significant factor in achieving consistently excellent results. The baked bread internal temperature guide is not just a set of rules; it's a tool for understanding and control.
By incorporating the practice of checking internal temperature into your routine, you move beyond simply following recipes and begin to truly understand the process. This knowledge empowers you to troubleshoot issues, adapt recipes, and confidently bake a wide variety of breads to perfection.
Experimenting and Refining Your Baking Process
Every oven is different, and even factors like ambient temperature and humidity can slightly affect baking time. Once you understand the principles outlined in this baked bread internal temperature guide, don't be afraid to experiment. Try baking a loaf to the lower end of the recommended temperature range and note the texture, then try baking a similar loaf to the higher end.
Keep a baking journal to track:
- Oven temperature (verified with an oven thermometer)
- Baking time
- Internal temperature reached
- Observations on crust and crumb texture
Through careful observation and recording, you'll learn how small adjustments impact the final loaf and refine your process to consistently produce bread that meets your desired standards. This iterative approach, guided by temperature data, is how bakers truly hone their craft.
Resources for Further Learning About Bread Baking Techniques
The world of bread baking is vast and rewarding. This baked bread internal temperature guide provides a fundamental principle, but there's always more to explore. Continue learning by seeking out reputable resources:
- Baking Cookbooks: Classic and contemporary books offer a wealth of recipes and techniques.
- Online Baking Communities: Forums and social media groups connect you with experienced bakers.
- Baking Classes: Hands-on instruction can accelerate your learning.
- Reputable Baking Websites and Blogs: Many offer detailed guides, recipes, and scientific explanations.
By combining theoretical knowledge, practical application (including diligent temperature checking! ), and continuous learning, you'll elevate your bread baking skills and enjoy the satisfaction of pulling perfectly baked loaves from your oven time after time. Happy Baking!
Frequently Asked Questions
What is the ideal internal temperature for most baked breads?
The ideal internal temperature for most baked breads is between 190-210°F (88-99°C). This ensures the bread is fully cooked and has the right texture.
Why is checking the internal temperature of bread important?
Checking the internal temperature is crucial to avoid undercooked or overcooked bread. A thermometer guarantees perfectly baked bread every time.
What type of thermometer is best for checking bread's internal temperature?
An instant-read thermometer is the best choice. It provides a quick and accurate reading, allowing you to determine if the bread is done.
How does the type of bread affect the target internal temperature?
While 190-210°F is a good general range, some breads, like enriched doughs, may need a slightly higher temperature (closer to 200-210°F) for optimal texture.
Where should I insert the thermometer to get an accurate reading?
Insert the thermometer into the thickest part of the loaf, avoiding any air pockets or areas near the crust, to get the most accurate internal temperature reading.
Final Reflection: The Heart of the Loaf: Temperature's Crucial Role in Baking
Achieving perfectly baked bread hinges on understanding and mastering internal temperature; it's not just about following a recipe, but about truly connecting with the baking process. A seemingly small detail like a few degrees can be the difference between a beautifully risen, golden-brown masterpiece and a dense, disappointing loaf. This understanding transcends mere recipe following; it's the key to unlocking consistent, delicious results every time.
The quest for the perfect loaf has driven bakers for centuries, and the pursuit of that ideal internal temperature reflects a deeper cultural connection to food and craft. The simple act of baking bread, guided by precise temperature control, becomes a ritual, a connection to tradition. Bread is the staff of life,
they say, and understanding its baking process, down to the core temperature, elevates this staff to an art form. This knowledge empowers us to not only bake better bread but also to appreciate the history and artistry behind it.
Now, armed with this knowledge, I invite you to embark on your own baking journey. Don't be afraid to experiment, to adjust temperatures slightly based on your oven and your flour. Use this guide as a foundation, a starting point for your own exploration of the fascinating world of bread baking. The perfect loaf awaits – discover the joy of achieving it through the precise control of internal temperature.
Unlock Your Bread-Baking Potential!
Thanks for taking the time to explore the world of perfectly baked bread with us! We hope you now feel confident in understanding the crucial role internal temperature plays in achieving that golden, delicious loaf. Ready to put your new knowledge into practice?
- Bake a test loaf today! Use a reliable thermometer to monitor the internal temperature and achieve bakery-quality results. This is your chance to master the art of bread baking.
- Share your baking journey with us! Post a picture of your masterpiece on social media using #BakeWithEaseTemp for a chance to be featured.
- Explore our other articles on bread baking techniques and recipes to further elevate your skills.
So, what delicious bread are you going to bake first, and what temperature will you be aiming for? Let's hear about it in the comments below!