
Adding Craquelin: The Secret to Crunchy Choux Tops

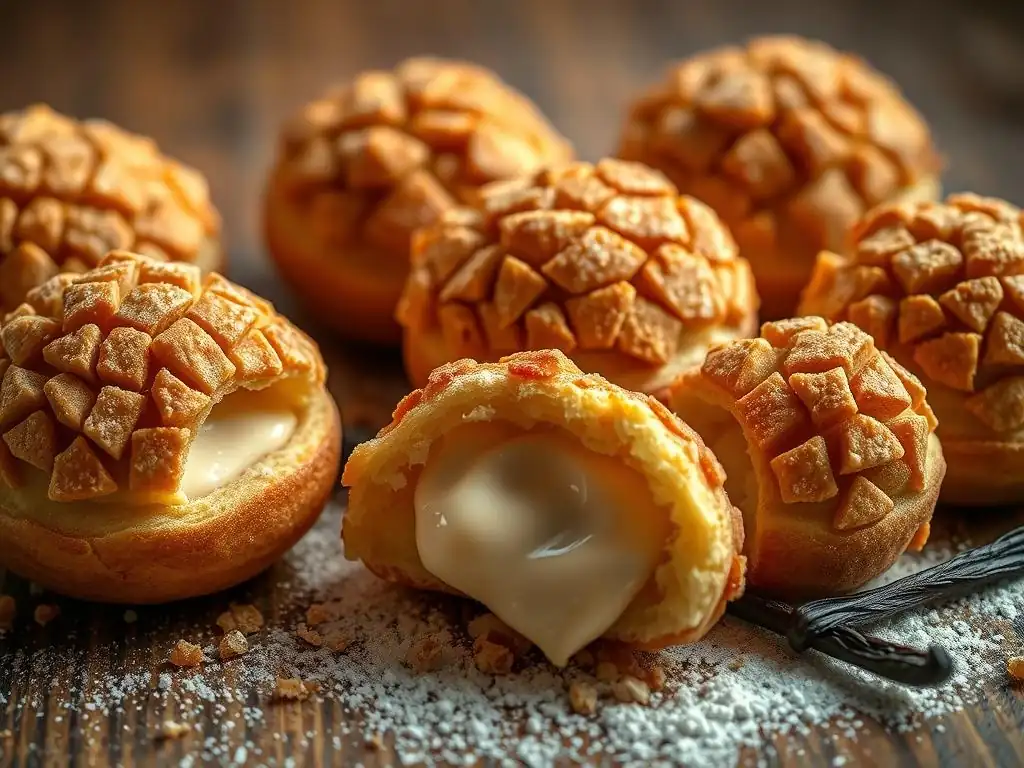
Welcome to BakeWithEase, your companion in the delightful world of baking! Ever wondered how to achieve those perfectly crunchy choux tops you see in patisseries? Today, we're unlocking that secret with our comprehensive guide to the crunchy choux tops craquelin recipe. Ready to elevate your choux game and impress everyone with your baking prowess? Let's get started!
- BakeWithEase Presents: Mastering Craquelin for Perfect Choux
- What is Craquelin and Why Use It on Choux Pastry?
- The Ultimate Crunchy Choux Tops Craquelin Recipe
- Applying Craquelin to Choux Pastry: A Visual Guide
- Troubleshooting Common Craquelin Issues
- Tips and Tricks for Perfect Crunchy Choux Tops
- Beyond the Basics: Elevating Your Choux with Craquelin
- Conclusion: BakeWithEase and Your Crunchy Choux Journey
-
Frequently Asked Questions
- What exactly is craquelin, and how does it improve choux pastry?
- Is craquelin difficult to make, especially for beginner bakers?
- Can I customize the flavor of my craquelin topping?
- What happens if the craquelin melts completely during baking?
- How should I store choux pastries with craquelin to maintain their crunch?
- Final Reflection: The Enduring Allure of the Perfectly Crunchy Choux Top
- Unlock Your Choux Pastry Potential!
BakeWithEase Presents: Mastering Craquelin for Perfect Choux
Achieving that perfect, delicate crunch on your choux pastry is a hallmark of skilled baking. While choux itself offers a wonderful, airy texture, adding a craquelin topping elevates it to a new level, providing a delightful contrast. This guide will walk you through everything you need to know about crafting the ideal craquelin for your choux creations, ensuring you get those sought-after crunchy choux tops every time.
What is Craquelin and Why Use It on Choux Pastry?
Understanding Craquelin: The Crunchy Choux Topping Defined
Craquelin, sometimes referred to as "streusel" in a broader sense but distinct in application, is a simple mixture of butter, sugar, and flour. It's typically rolled very thinly and placed on top of piped choux pastry before baking. As the choux expands in the oven, the craquelin bakes into a thin, crisp layer that covers the top surface, creating a beautiful, crackled effect – hence the name, derived from the French word "craqueler," meaning to crackle. This topping adds a significant textural dimension, transforming a simple cream puff or éclair into a more complex and satisfying bite.
The basic ratio for craquelin is often equal parts butter, sugar, and flour by weight. For example, a common starting point might be 50 grams of cold butter, 50 grams of granulated sugar, and 50 grams of all-purpose flour. This simple combination, when chilled and baked, undergoes a magical transformation, melting slightly and then solidifying into a thin, uniform crust that adheres perfectly to the rising choux. The cold butter is crucial, as it helps create tenderness and prevents the mixture from melting too quickly before the choux has a chance to rise.
The Benefits of Craquelin: Achieving Perfect Texture and Appearance
The primary benefit of using craquelin is the incredible texture it imparts. It provides a uniform, sweet crunch that contrasts beautifully with the light, hollow interior of the choux pastry. This crunchy layer not only enhances the eating experience but also helps the choux bake more evenly. The weight of the craquelin topping can help guide the choux to rise more vertically and consistently, often resulting in rounder, more symmetrical pastries.
Beyond texture, craquelin significantly improves the appearance of choux. It gives the pastries a professional, finished look with its signature crackled surface. This uniform topping can also mask minor imperfections in the piped choux dough, ensuring every piece looks picture-perfect. Furthermore, the craquelin layer helps protect the delicate choux surface during baking, preventing it from drying out too quickly and contributing to a more reliable rise and a sturdier finished product, perfect for filling.
Craquelin vs. Other Choux Pastry Toppings: A Comparison
While craquelin is the go-to for guaranteed crunchy choux tops, other toppings exist, though they serve different purposes. A simple egg wash or milk wash is often used to give choux a golden sheen and a slightly crisp surface, but it doesn't provide the substantial crunch or uniform texture of craquelin. Pearl sugar offers pockets of intense sweetness and crunch, but the texture is less uniform and doesn't cover the entire surface like a craquelin disk does.
Another common topping is a simple glaze or dusting of powdered sugar applied after baking. While delicious, these are finishing touches that add sweetness and visual appeal after the texture has been set during baking. Craquelin, in contrast, is an integral part of the baking process itself, actively contributing to how the choux rises and setting the primary crunchy texture before any filling or post-bake decoration is added. This makes craquelin unique in its ability to fundamentally alter the baked texture of the choux top.
The Ultimate Crunchy Choux Tops Craquelin Recipe
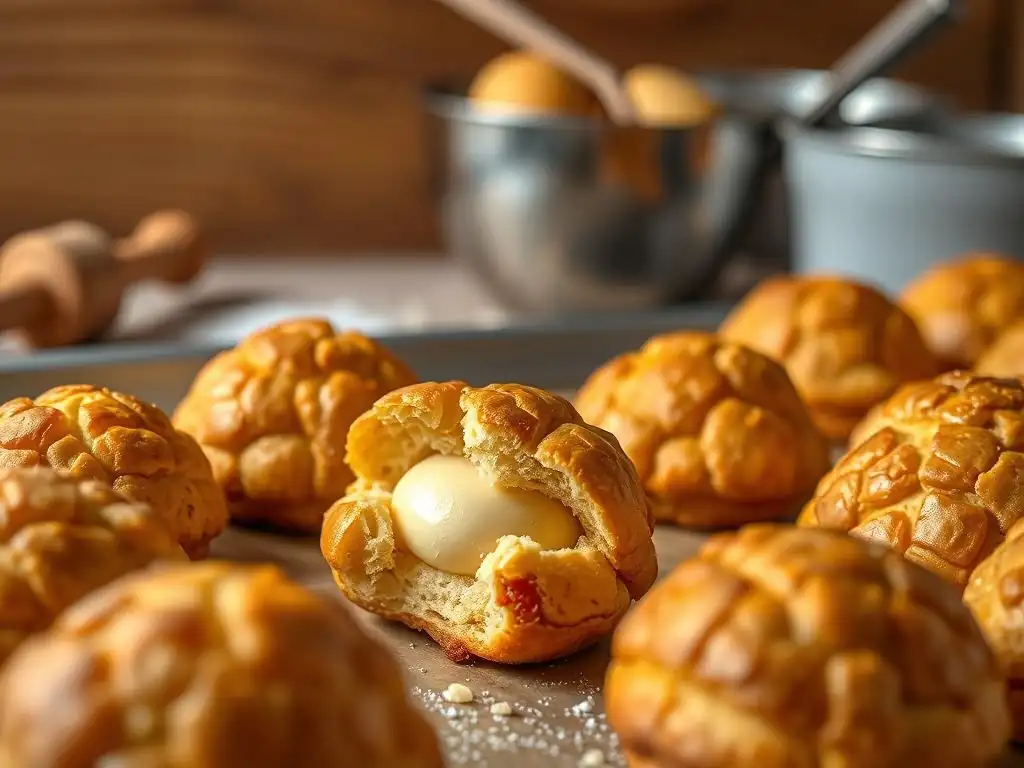
Crafting the perfect craquelin for crunchy choux tops is surprisingly simple. The basic formula is adaptable, allowing for creative variations, but the core technique remains consistent. Let's break down the components and steps for a reliable crunchy choux tops craquelin recipe.
Making craquelin involves just a few common pantry staples. The magic lies in the ratio and technique. A good starting point for a batch of craquelin sufficient for about 12-18 medium choux pastries often involves approximately 60 grams of unsalted butter, 70 grams of granulated sugar (or light brown sugar for a different flavor), and 70 grams of all-purpose flour. These amounts are easily scalable depending on the size of your choux batch. Precision in weighing ingredients is recommended for the most consistent results, as even slight variations can affect the dough's handleability and the final baked texture.
Ingredients for the Perfect Craquelin Recipe
Flour Selection for Craquelin: Achieving the Right Texture
The type of flour used in your craquelin recipe plays a role in its final texture. All-purpose flour is the most commonly used and provides a reliable, crisp result. Its moderate protein content gives the craquelin structure without making it tough. For an even finer, melt-in-your-mouth texture, some bakers opt for cake flour, which has a lower protein content. However, this can sometimes make the dough a little more delicate to handle.
Using a gluten-free flour blend is also possible, though results can vary depending on the blend. A blend designed for cookies or pastries often works best. The key is to ensure the flour absorbs the butter and sugar sufficiently to form a workable dough that can be rolled thinly. Experimentation with small batches might be necessary if substituting flours to ensure the desired crunchy choux tops craquelin texture is achieved.
Butter's Role in Craquelin: Flavor and Structure
Butter is foundational to craquelin, contributing both flavor and crucial structural elements. Cold, unsalted butter is typically creamed with the sugar before adding the flour. The cold temperature of the butter is vital; it helps prevent the butter from melting too quickly during mixing and rolling, which keeps the dough pliable and prevents it from becoming greasy. During baking, the cold butter creates steam pockets as it melts, contributing to the craquelin's slight lift and crispness.
Using unsalted butter gives you control over the salt level, although a tiny pinch of salt can enhance the sweetness. The fat from the butter coats the flour particles, inhibiting gluten development, which is essential for a tender, crumbly texture rather than a tough one. The quality of your butter can also subtly influence the final flavor of your crunchy choux tops.
Sugar and Optional Additions: Customizing Your Craquelin
Sugar in craquelin serves multiple purposes: it adds sweetness, contributes to the crisp texture as it caramelizes slightly during baking, and helps tenderize the dough. Granulated sugar is standard, providing a clean sweetness and a classic crispness. Light or dark brown sugar can be substituted partially or entirely to add a hint of molasses flavor and a slightly chewier texture, which can be a lovely variation for certain choux fillings like coffee or caramel.
Beyond the basic three ingredients, craquelin offers room for creativity. A pinch of ground cinnamon or a scraped vanilla bean can infuse subtle flavor. For chocolate craquelin, substitute a small amount of the flour (perhaps 10-15% of the flour weight) with unsweetened cocoa powder. Matcha powder can also be incorporated for a vibrant green color and earthy flavor. These additions allow you to tailor your crunchy choux tops craquelin recipe to complement the specific flavors of your choux pastry and filling.
Step-by-Step Guide: Making Craquelin Dough for Choux
Making the craquelin dough is straightforward, requiring minimal equipment. The process is similar to making shortbread or crumble topping, focusing on incorporating cold butter without overworking the dough.
The goal is to create a uniform, slightly crumbly dough that can be easily rolled out thinly. Start by weighing your ingredients accurately. You'll need your cold butter, sugar, and flour (plus any optional additions like cocoa or spice). A stand mixer with a paddle attachment, a food processor, or even just a bowl and your hands can be used for mixing.
Combining the Ingredients: A Simple Mixing Process
Begin by creaming the cold, cubed butter with the sugar until well combined and slightly lighter in color. If using a stand mixer, this might take 2-3 minutes on medium speed. If mixing by hand, use a fork or pastry blender initially, then your fingertips. The mixture should resemble wet sand or coarse crumbs. Avoid creaming until light and fluffy like a cake batter; you still want small pieces of cold butter distributed throughout.
Next, add the measured flour (and any dry additions like cocoa powder). Mix on low speed or stir with a spatula until the flour is just incorporated and the mixture comes together into a cohesive dough. Be careful not to overmix. Overmixing develops gluten, which can lead to a tough craquelin instead of a tender, crunchy one. The dough should be soft enough to press together but not sticky.
Chilling the Dough: Essential for Easy Handling
Once the dough is formed, gather it into a ball or disk, wrap it tightly in plastic wrap, and flatten it slightly. Chilling the craquelin dough is absolutely essential before rolling and cutting. This step firms up the butter, making the dough much easier to handle and roll thinly without sticking.
Place the wrapped dough in the refrigerator for at least 30 minutes, or up to several days. You can also freeze it for longer storage. Chilling ensures that when you roll the dough, it holds its shape and you can cut out clean circles or squares. A well-chilled dough is key to successfully achieving thin, uniform pieces for your crunchy choux tops.
Rolling and Cutting the Craquelin: Achieving Uniformity
To roll out the chilled craquelin dough, first let it soften slightly at room temperature for just a minute or two if it's rock hard from the fridge. Place the dough between two sheets of parchment paper or silicone baking mats. This prevents sticking and allows you to roll it out very thinly, which is crucial for a delicate crunch.
Roll the dough evenly to a thickness of about 1-2 millimeters (roughly the thickness of a coin). Aim for uniformity across the entire sheet. Once rolled, you can place the rolled dough (still between the parchment) back into the freezer for 10-15 minutes. This quick freeze makes it very easy to cut shapes.
Use a round cutter slightly larger than your piped choux mounds (a 1.5 to 2-inch cutter is common for standard cream puffs) or a knife to cut squares. Peel the shapes off the parchment and place them on a plate or tray lined with parchment. Keep the cut craquelin shapes chilled or frozen until ready to place on the choux.
Applying Craquelin to Choux Pastry: A Visual Guide
Applying the craquelin is one of the final steps before baking and is key to achieving those signature crunchy choux tops. The process is simple but requires attention to timing and placement.
Imagine your piped choux mounds sitting ready on the baking sheet. The craquelin disks are waiting, perfectly chilled and ready to be placed. The goal is to gently position a piece of craquelin on top of each choux mound before it goes into the hot oven.
When to Add Craquelin: Timing is Key
Craquelin should be added to the choux pastry just before baking. The choux dough should be freshly piped onto the baking sheet. The surface might have just started to skin over slightly, but it should not be fully dry.
Adding the craquelin too early, especially if the choux is left sitting out for a long time, can cause the craquelin to absorb moisture from the choux surface and become difficult to handle or adhere properly. Adding it right before the pastries go into the oven ensures the craquelin is cold and firm, allowing it to melt and spread correctly as the choux rises beneath it. This timing is crucial for achieving those uniform crunchy choux tops.
How to Place Craquelin on Choux: Ensuring Proper Coverage
To place the craquelin, gently lift a chilled disk or square and center it on top of a piped choux mound. The craquelin piece should be slightly larger than the base of the piped choux mound, but not so large that it hangs excessively over the sides. A cutter that is about 1/4 to 1/2 inch wider than the base of your choux is a good starting point.
Press the craquelin gently onto the surface of the choux dough to ensure it makes good contact. This helps it adhere as it bakes. Don't press too hard, as you don't want to deform the piped shape. The craquelin will melt and spread as the choux expands, covering the entire top surface and creating the desired crackled effect for your crunchy choux tops.
Baking Choux with Craquelin: Temperature and Time Considerations
Baking choux pastry with craquelin follows a similar process to baking plain choux, but the presence of the craquelin can slightly influence the timing and appearance. Choux is typically baked at a relatively high temperature initially to create steam and encourage a rapid rise, then the temperature is often lowered to dry out the interior.
A common baking strategy is to preheat the oven to around 400-425°F (200-220°C), place the choux in, and bake for 15-20 minutes until they puff significantly and the craquelin is visibly crackled and golden. Then, lower the temperature to 350-375°F (175-190°C) and bake for another 15-25 minutes, or until the choux is deeply golden brown, feels light when lifted, and sounds hollow when tapped on the bottom. The craquelin should be a rich golden-brown color, indicating it is crisp and fully baked. Baking time will vary significantly based on the size of your choux pastries and your oven's calibration.
Troubleshooting Common Craquelin Issues
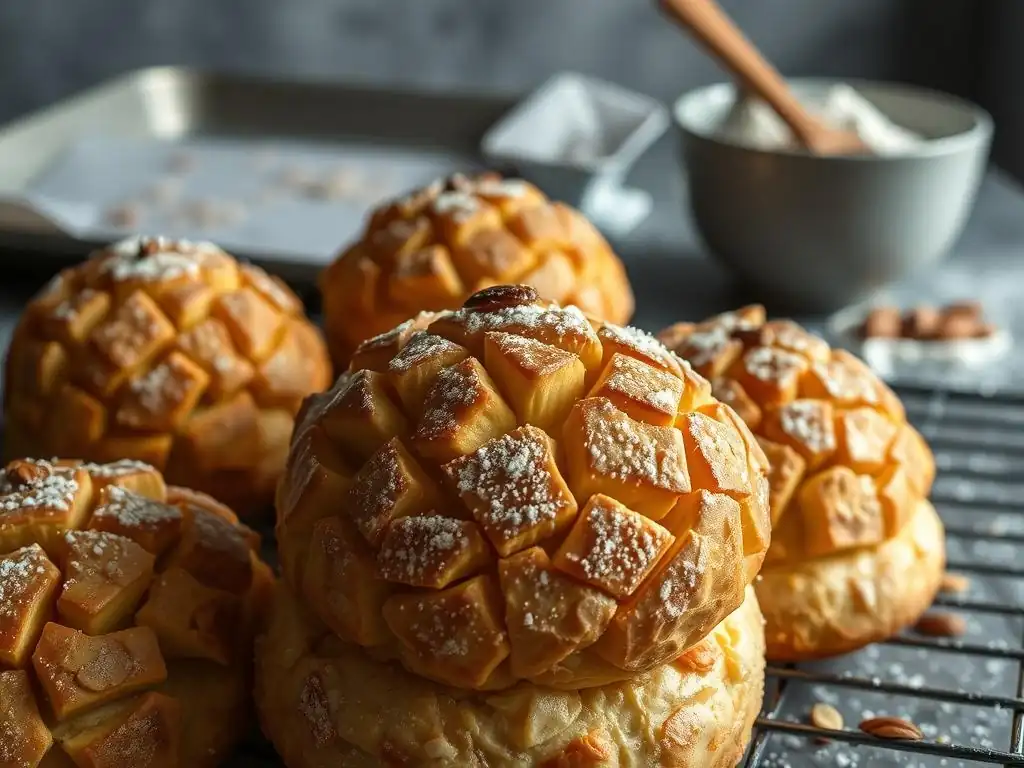
Even with a great crunchy choux tops craquelin recipe, sometimes things don't go exactly as planned. Understanding common issues and their solutions can save your batch and help you achieve perfect results next time.
Baking is a science, and small variables can lead to unexpected outcomes. When working with something as delicate as choux and its topping, paying attention to detail during preparation and baking is key to avoiding common pitfalls.
Craquelin Not Cracking: Possible Causes and Solutions
If your craquelin bakes into a smooth disk instead of developing the signature crackled pattern, several factors could be at play. One common reason is that the craquelin dough was rolled too thickly. If it's much thicker than 2mm, it might be too heavy and rigid to crack properly as the choux expands. Ensure you roll it out very thinly.
Another cause could be insufficient oven temperature or opening the oven door too early. Choux needs a strong burst of heat to puff rapidly. If the oven isn't hot enough, or if heat escapes, the choux won't expand quickly enough to break the craquelin layer. Ensure your oven is accurately preheated and avoid opening the door for at least the first 15-20 minutes of baking. Also, ensure the craquelin piece was large enough relative to the choux; if it's too small, it might stretch rather than crack.
Craquelin Spreading Too Much: Preventing Runny Toppings
If your craquelin melts and spreads into a thin, greasy film or runs off the sides of the choux, the butter in the dough was likely too soft when it went into the oven. This often happens if the craquelin wasn't sufficiently chilled before being placed on the choux, or if it sat on the warm choux dough for too long before baking.
To prevent this, ensure your craquelin dough is thoroughly chilled before rolling and cutting. After cutting, keep the shapes in the refrigerator or freezer until the very last moment before placing them on the piped choux. Place the craquelin on the choux immediately before transferring the baking sheet to the preheated oven. Working quickly helps keep the butter cold and solid until the heat of the oven can transform it into a crisp layer.
Craquelin Burning: Adjusting Baking Parameters
Occasionally, the craquelin can brown too quickly or even burn before the choux pastry is fully baked and dried out inside. This is usually a sign that the initial baking temperature is too high for your oven, or that the craquelin dough contained too much sugar, which caramelizes rapidly.
If this is a recurring issue, try reducing the initial high baking temperature slightly (e.g., from 425°F to 400°F). Ensure the craquelin layer isn't excessively thin in spots, as these areas can burn faster.
If using brown sugar or adding extra sugar for flavor, be aware that it will brown faster than granulated sugar. If the tops are browning perfectly but the choux isn't done inside, you might need to lower the temperature for the second phase of baking even further (e.g., to 325-350°F) and extend the baking time to allow the interiors to dry out without the tops burning.
Tips and Tricks for Perfect Crunchy Choux Tops
Beyond the basic recipe and troubleshooting, a few extra tips can help you consistently achieve stunning crunchy choux tops. These small details can make a big difference in the final outcome.
Mastering choux with craquelin is about practice and understanding the nuances of the process. These tips cover flavor variations, storage, and adaptability to other choux-based recipes.
Flavor Variations for Craquelin: Chocolate, Coffee, Matcha
Experimenting with craquelin flavors is a fun way to customize your choux. As mentioned earlier, incorporating cocoa powder is a popular choice for chocolate craquelin. Substitute about 15-20% of the flour weight with unsweetened cocoa powder (e.g., if using 70g flour, use 56g flour and 14g cocoa). You might need a tiny splash more butter or water if the dough feels too dry due to the cocoa.
For coffee craquelin, you can add a teaspoon or two of espresso powder dissolved in a very small amount of water (just enough to dissolve it) to the butter and sugar mixture, or simply incorporate a tablespoon of finely ground coffee beans (use a burr grinder for consistency) with the flour. Matcha powder can be added directly with the flour, starting with 1-2 teaspoons for a subtle flavor and green hue, adjusting to taste. Always taste your craquelin dough before chilling to adjust flavorings.
Storing Craquelin: Keeping It Fresh for Future Use
One of the great things about craquelin dough is that it can be made well in advance. Once the dough is mixed and wrapped tightly in plastic wrap, it can be stored in the refrigerator for up to a week. This allows you to have it ready to go whenever you decide to make a batch of choux.
For longer storage, the craquelin dough can be frozen for up to 3 months. Thaw it in the refrigerator overnight before rolling. You can also roll out and cut the craquelin shapes and freeze them flat on a baking sheet. Once frozen solid, transfer the shapes to a freezer bag or airtight container, separating layers with parchment paper. These frozen shapes can then be placed directly on the piped choux just before baking, which is incredibly convenient and ensures they are perfectly cold.
Craquelin and Different Choux Pastry Recipes: Adaptability
The crunchy choux tops craquelin recipe is highly adaptable and can be used on virtually any choux pastry shape or size. Whether you're making classic cream puffs (profiteroles), elongated éclairs, or even larger Paris-Brest rings, craquelin can be applied.
For éclairs, you would typically roll the craquelin into a rectangle and cut strips slightly wider than your piped éclairs. For Paris-Brest, you might cut a large ring of craquelin. The key is to cut the craquelin shape to roughly match the footprint of your uncooked choux shape, allowing for a little expansion. The thickness (1-2mm) remains consistent regardless of the choux shape to ensure the proper crackle and crunch.
Beyond the Basics: Elevating Your Choux with Craquelin
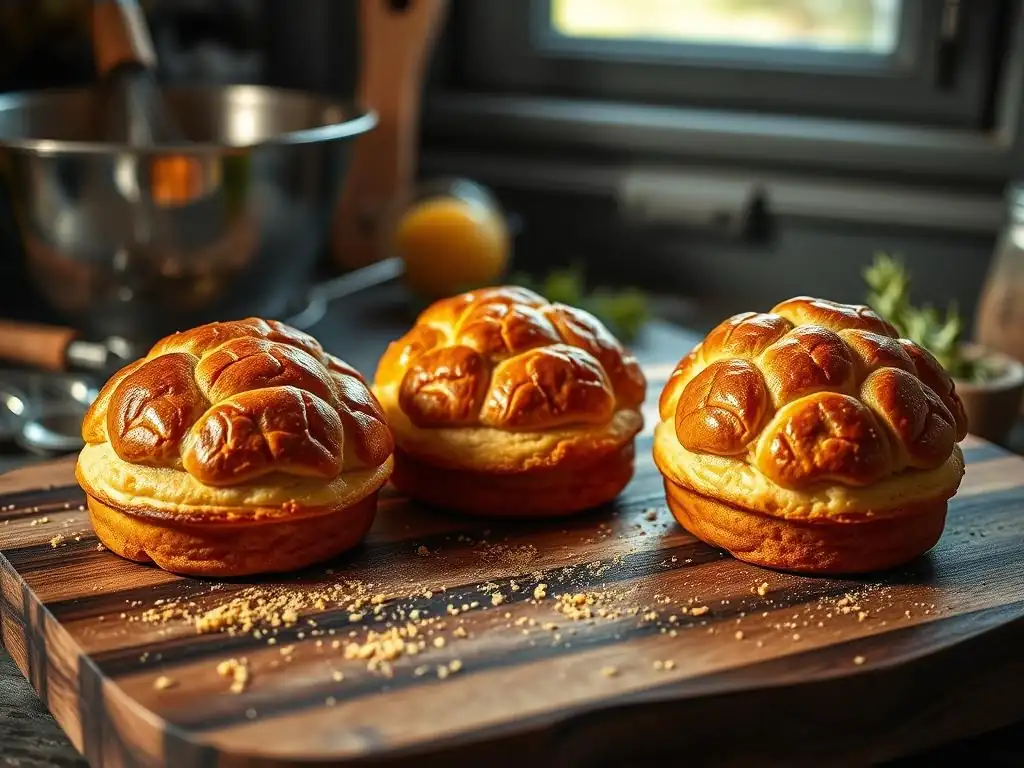
Once you've mastered the basic crunchy choux tops craquelin recipe, you can explore more advanced techniques and serving ideas to truly make your pastries stand out.
Craquelin offers a canvas for creativity. Pushing the boundaries slightly can lead to stunning visual and textural results that impress.
Advanced Techniques: Embossed Craquelin
For an extra touch of elegance, you can try embossing patterns onto your craquelin dough before cutting. After rolling the dough thinly between parchment sheets, use a patterned rolling pin or press a textured object (like a clean doily or patterned mat) gently but firmly onto the surface of the dough through the top layer of parchment.
The pattern will be imprinted onto the craquelin. Chill the dough again thoroughly before cutting out your shapes. When baked, the embossed pattern will create slight variations in thickness, leading to a more intricate crackle pattern or visible texture on your crunchy choux tops. This technique requires a very evenly rolled dough and careful pressing to avoid tearing.
Serving Suggestions: Pairing Your Craquelin-Topped Choux
Crunchy choux tops pair wonderfully with a variety of fillings. Classic vanilla bean pastry cream is always a hit, offering a smooth, rich contrast to the crisp shell. Chocolate mousse, diplomat cream (pastry cream lightened with whipped cream), or even savory fillings like cheese or mushroom duxelles can work, although craquelin is most traditionally used with sweet choux.
Consider the craquelin flavor when choosing your filling. A basic craquelin is versatile. Chocolate craquelin is perfect with coffee or raspberry fillings. Matcha craquelin could be paired with white chocolate or red bean paste. Serve filled choux pastries fresh for the best texture combination, perhaps dusted with powdered sugar or drizzled with glaze after filling.
The Science Behind Craquelin: Understanding the Baking Process
The science behind why craquelin creates crunchy choux tops is fascinating. As the choux bakes, the high heat turns the water in the dough into steam, causing the pastry to puff dramatically. Simultaneously, the cold butter in the craquelin melts and spreads, coating the sugar and flour particles.
As the temperature rises, the sugar in the craquelin melts and begins to caramelize, while the flour structure sets. Because the craquelin layer is relatively thin and sits on top of the rapidly expanding choux, it gets stretched and fractured, creating the characteristic crackled surface. The fat from the butter prevents the craquelin from developing significant gluten structure, ensuring it bakes into a crisp, tender layer rather than a hard crust. The final crunchy texture is a result of this delicate interplay between steam expansion in the choux and the melting, setting, and fracturing of the butter-sugar-flour topping.
Conclusion: BakeWithEase and Your Crunchy Choux Journey
Mastering the art of adding craquelin to your choux pastry is a rewarding step in your baking journey. With a reliable crunchy choux tops craquelin recipe and an understanding of the technique, you can consistently produce pastries that are not only visually stunning but also boast that irresistible textural contrast.
From understanding the simple ingredients to troubleshooting common issues, this guide provides you with the knowledge to elevate your choux game. Practice makes perfect, so don't be discouraged if your first batch isn't flawless. Keep experimenting with the craquelin recipe, try different flavor variations, and enjoy the process of creating beautiful, crunchy choux tops right in your own kitchen. Happy baking!
Frequently Asked Questions
What exactly is craquelin, and how does it improve choux pastry?
Craquelin is a thin, sweet cookie dough disc placed on top of choux pastry before baking. It creates a beautiful, crispy and crunchy topping that adds both texture and flavor. This prevents the choux from becoming too soft.
Is craquelin difficult to make, especially for beginner bakers?
While it adds a step, craquelin is surprisingly simple to prepare. It involves combining butter, sugar, and flour, then rolling it out. The easy-to-follow instructions from BakeWithEase make it accessible to all skill levels.
Can I customize the flavor of my craquelin topping?
Absolutely! You can customize the flavor by adding ingredients like cocoa powder, ground nuts, or spices to the dough. This allows for endless flavor combinations to complement the choux pastry filling.
What happens if the craquelin melts completely during baking?
Melting is usually caused by too much butter or not chilling the craquelin dough sufficiently. Ensuring proper ingredient ratios and a thorough chill before baking is key to preventing excessive melting.
How should I store choux pastries with craquelin to maintain their crunch?
Store baked choux pastries with craquelin in an airtight container at room temperature. Avoid refrigerating them, as this can cause the craquelin to soften. Consume within a day or two for optimal crunchiness.
Final Reflection: The Enduring Allure of the Perfectly Crunchy Choux Top
The pursuit of the perfect choux pastry, with its gloriously crisp craquelin topping, is more than just a culinary quest; it's a testament to the enduring power of texture and the joy of mastering a seemingly simple technique. The seemingly small detail of a perfectly cracked craquelin transforms a humble cream puff into a truly elegant and satisfying treat. This article has explored the nuances of achieving that coveted crunch, from the precise ratios of ingredients to the subtle art of baking time and temperature control.
The impact of a perfectly executed craquelin extends far beyond the individual pastry. It speaks to a deeper appreciation for the artistry of baking, the satisfaction of transforming simple ingredients into something beautiful and delicious, and the enduring appeal of classic techniques. The best things in life are simple,
a sentiment that perfectly encapsulates the magic of a perfectly crunchy choux top. It's a reminder that sometimes, the most rewarding experiences come from mastering the fundamentals and paying attention to the details.
Now, I invite you to take what you've learned and embark on your own choux pastry adventure. Don't be afraid to experiment, to tweak the recipe to your liking, and to revel in the satisfying crunch of your own creation. The journey to the perfect craquelin is a rewarding one, filled with delicious discoveries and the sweet satisfaction of culinary mastery. Embrace the challenge, and let the delightful crackle of your choux tops be a testament to your dedication and skill.
Unlock Your Choux Pastry Potential!
Thanks for taking the time to learn about the magic of craquelin! You've now got the secret weapon for perfectly crunchy, irresistible choux pastry. Ready to put your new skills to the test?
- Bake a batch of craquelin-topped choux: Use your newfound knowledge to create a show-stopping batch of cream puffs, profiteroles, or éclairs. This is your chance to wow your friends and family!
- Share your creations: Post a picture of your craquelin-perfected pastries on social media and tag us – we’d love to see them!
- Experiment with flavors: Try adding different spices or extracts to your craquelin for unique flavor combinations. What unexpected twist will you discover?
What delicious craquelin creation will you make first?