
How to Get a Beautiful Crust on Your Sourdough Rye

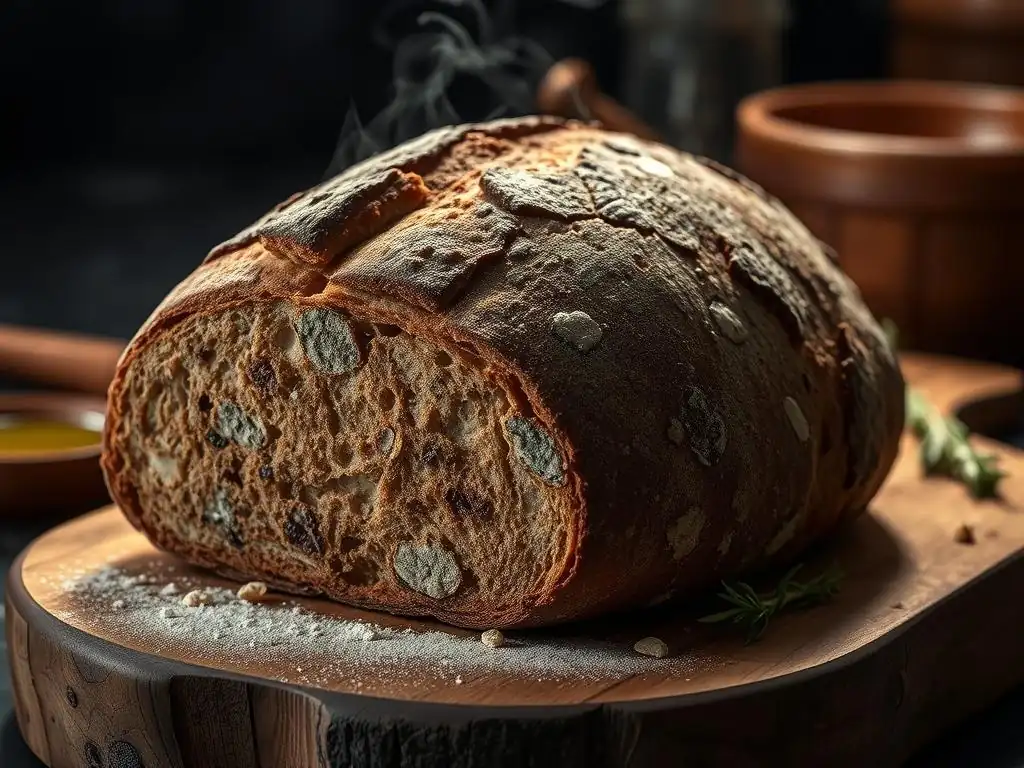
Welcome to BakeWithEase, where baking becomes a joy! Ever dreamt of achieving that perfect, crackling crust on your sourdough rye? Unlocking the secrets to a beautifully textured loaf is easier than you think. Dive into our expert sourdough rye crust tips and discover how to transform your baking from good to absolutely unforgettable. Ready to bake a masterpiece?
- Achieving a Dark and Crispy Crust on Sourdough Rye
- Understanding Sourdough Rye Crust: The Key to Flavor and Texture
-
Sourdough Rye Crust Tips: A Step-by-Step Guide
- Step 1: Optimizing Sourdough Rye Dough Hydration for Crust Development
- Step 2: Mastering the Bulk Fermentation Process for Ideal Crust Formation
- Step 3: Scoring Sourdough Rye for Optimal Oven Spring and Crust Structure
- Step 4: Baking Techniques for a Dark and Crispy Sourdough Rye Crust
- Step 5: Cooling Sourdough Rye Properly to Maintain Crispness
- Troubleshooting Common Sourdough Rye Crust Problems
- Essential Tools and Equipment for Sourdough Rye Baking
- Advanced Techniques for Enhancing Sourdough Rye Crust
- Maintaining Sourdough Rye Crust Crispness
-
Frequently Asked Questions
- What is the secret to achieving a beautiful, crispy crust on sourdough rye bread?
- Why is rye flour sometimes difficult to work with in sourdough?
- What temperature is best for baking sourdough rye to get a great crust?
- How long should I bake my sourdough rye bread for optimal crust and texture?
- What are some common mistakes that prevent a good sourdough rye crust?
- Final Reflection: The Golden Crust and the Baker's Soul
- Unleash Your Inner Baker: Craft the Perfect Rye Crust!
Achieving a Dark and Crispy Crust on Sourdough Rye
Understanding Sourdough Rye Crust: The Key to Flavor and Texture
The crust on your sourdough rye bread is more than just an outer layer; it's a crucial component that contributes significantly to the overall eating experience. A well-developed crust provides a satisfying contrast in texture to the dense, moist crumb characteristic of many rye loaves. It encapsulates the aromatic compounds created during fermentation and baking, intensifying the bread's complex flavor profile. Mastering the art of achieving a dark, crispy sourdough rye crust is a hallmark of skilled baking and can elevate a simple loaf into a truly exceptional one.
Beyond texture and flavor, the crust also plays a vital role in the bread's structure and longevity. A robust crust helps maintain the loaf's shape during and after baking, preventing it from collapsing. Furthermore, a properly developed crust acts as a natural barrier, helping to retain moisture within the crumb while protecting it from drying out too quickly. Understanding these fundamental aspects is the first step in applying effective sourdough rye crust tips to your baking process.
Why a Dark, Crispy Crust Matters for Sourdough Rye
For sourdough rye bread, a dark and crispy crust isn't merely an aesthetic preference; it's integral to its traditional character and sensory appeal. The rich, malty flavors often associated with rye flour are amplified by the Maillard reaction and caramelization that occur during the formation of a dark crust. This process adds layers of nutty, roasted notes that complement the tang of the sourdough starter. Imagine biting into a slice – the initial crisp crackle gives way to the tender, slightly sour interior – a delightful textural and flavor juxtaposition that is highly sought after.
A light or pale crust on sourdough rye often indicates insufficient baking time or temperature, resulting in a less developed flavor and a potentially gummy texture inside. Conversely, a perfectly executed dark crust signifies that the bread has been baked thoroughly, leading to better crumb structure and digestibility. Achieving this level of crust development requires attention to detail throughout the baking process, incorporating effective sourdough rye crust tips at each stage, from dough preparation to cooling.
Factors Influencing Sourdough Rye Crust Development
Several key factors interact to determine the final quality of your sourdough rye crust. Hydration level is fundamental; a wetter dough generally promotes better oven spring and a thinner, crispier crust, although rye's unique properties require careful management of hydration. Fermentation time is equally critical, as it builds the complex sugars and acids necessary for good crust color and flavor development during baking. A properly fermented dough will brown more readily and evenly.
The baking environment itself is perhaps the most influential factor. High initial temperatures are essential for rapid oven spring and setting the crust. The presence of steam in the oven during the initial baking phase keeps the dough surface pliable, allowing it to expand fully before the crust hardens.
This steam also helps gelatinize the starch on the surface, contributing to a glossy finish and promoting crispness upon cooling. Finally, the type of flour used, particularly the percentage of rye, affects crust characteristics, with higher rye content sometimes requiring slight adjustments in baking technique compared to purely wheat loaves. Applying specific sourdough rye crust tips for each of these factors is key to consistent results.
Sourdough Rye Crust Tips: A Step-by-Step Guide
Step 1: Optimizing Sourdough Rye Dough Hydration for Crust Development
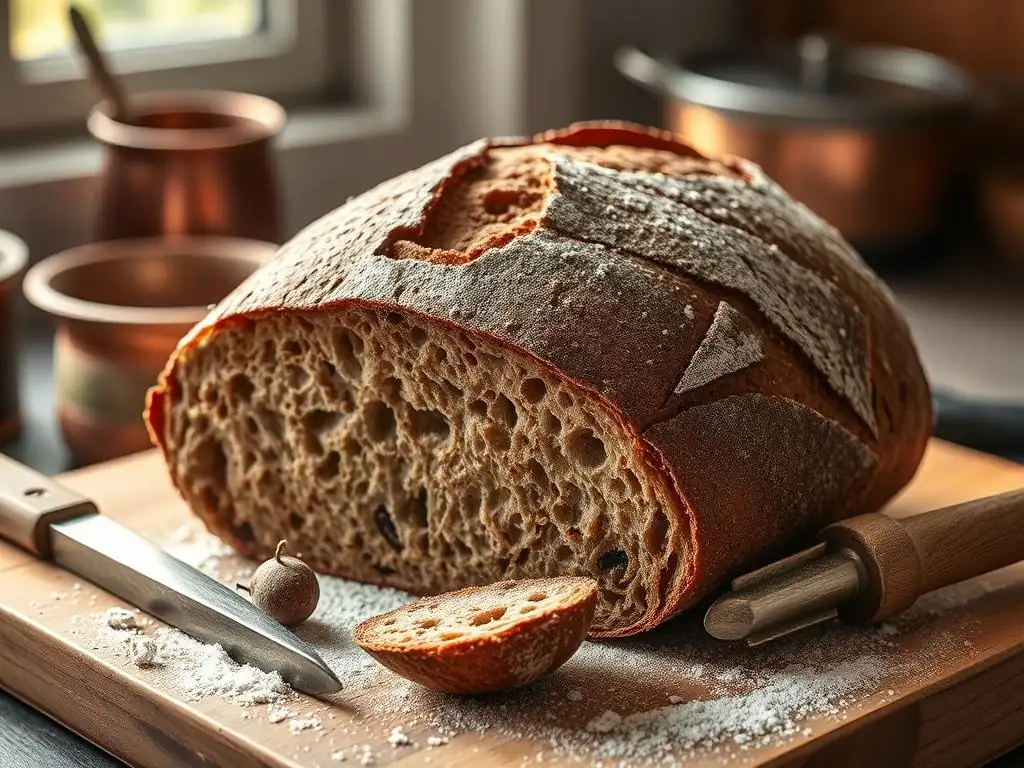
The hydration level of your sourdough rye dough significantly impacts its crust. Rye flour behaves differently than wheat; it absorbs water more slowly and doesn't form gluten in the same way. This means that while high hydration can lead to a beautiful, open crumb in wheat loaves, excessively high hydration in rye can result in a dense, gummy interior and a less predictable crust. A hydration level typically between 70% and 80% (relative to total flour weight) is a good starting point for many sourdough rye recipes, balancing workability with potential for good crust development.
Adjusting hydration based on the specific type of rye flour (light, medium, or dark) and whole grain content is crucial. Darker, whole grain rye flours absorb more water and require higher hydration than lighter, sifted rye flours. For example, a recipe using 100% whole grain dark rye might perform well at 85% hydration, while a loaf with 50% light rye and 50% strong wheat flour might be better at 75%.
Carefully measuring your water and flour is vital, as even a small difference can affect the dough's consistency and, subsequently, the crust's outcome. Paying close attention to these sourdough rye crust tips regarding hydration sets the stage for success.
Step 2: Mastering the Bulk Fermentation Process for Ideal Crust Formation
Bulk fermentation, the first rise of the dough before shaping, is a critical stage for developing the flavors, structure, and sugars necessary for a beautiful sourdough rye crust. During this period, the sourdough starter's microorganisms consume sugars in the flour, producing acids and gases. This activity strengthens the dough's structure and creates the precursors for the Maillard reaction during baking, which is essential for crust color and flavor. Insufficient bulk fermentation can lead to a pale crust and poor oven spring, while over-fermentation can weaken the dough and result in a dense crumb and uneven crust.
The duration of bulk fermentation for sourdough rye is highly dependent on temperature, the strength of your starter, and the percentage of rye flour. A typical bulk fermentation for a medium-rye loaf might range from 3 to 6 hours at room temperature (around 70-75°F or 21-24°C), but it's more reliable to watch the dough than the clock. The dough should increase significantly in volume, perhaps by 30-50%, and show signs of activity like bubbles on the surface. Proper bulk fermentation is one of the most important sourdough rye crust tips for achieving rich color and crispness.
The Role of Bulk Fermentation Time in Crust Texture
The length of bulk fermentation directly influences the amount of fermentable sugars available in the dough when it hits the hot oven. A longer, well-controlled fermentation allows enzymes to break down complex starches into simpler sugars. These sugars caramelize during baking, contributing significantly to the dark color and slightly sweet, rich flavor of a good sourdough rye crust. If bulk fermentation is too short, there may not be enough sugars developed, resulting in a paler crust with less depth of flavor.
Conversely, excessively long bulk fermentation can lead to the depletion of these fermentable sugars, potentially resulting in a crust that doesn't brown as deeply or evenly. It can also produce excessive acidity, which can sometimes inhibit browning. Finding the sweet spot for bulk fermentation ensures that the dough has the optimal balance of structure, flavor development, and sugar content for achieving that coveted dark and crispy sourdough rye crust. It's a delicate balance, and paying attention to the dough's progression is key among sourdough rye crust tips.
Recognizing Signs of Proper Bulk Fermentation
Identifying when bulk fermentation is complete is more about observing the dough's characteristics than adhering to a strict timeline. For sourdough rye, which can be less visually dynamic than wheat dough, look for a noticeable increase in volume, typically between 30% and 50%. The surface of the dough should appear more aerated, potentially showing small bubbles. The texture should feel lighter and more pliable when gently handled, though rye dough will always be stickier and less elastic than wheat.
A reliable test is the "poke test," though it behaves slightly differently with rye. Gently poke the dough with a wet finger. If the indentation slowly springs back part way, the dough is likely ready. If it springs back immediately, it needs more time. If it holds the indentation completely and collapses slightly, it might be slightly over-fermented. Trusting your senses – looking at the volume increase and feeling the dough's texture – are crucial sourdough rye crust tips for judging this stage.
Step 3: Scoring Sourdough Rye for Optimal Oven Spring and Crust Structure
Scoring, or making cuts on the surface of your shaped sourdough rye loaf just before baking, is essential for controlling oven spring and creating a visually appealing crust pattern. Without scoring, the rapidly expanding gases inside the dough will find the path of least resistance, often resulting in uncontrolled bursts and cracks in the crust. Scoring provides designated weak points, allowing the loaf to expand predictably upwards and outwards, leading to better volume and a more uniform crust development.
For sourdough rye, which can be dense, proper scoring is particularly important to facilitate maximum rise. The cuts open up during baking, creating 'ears' or flaps of crust that become exceptionally crispy. The pattern of your scores also influences how the crust separates and forms. Experimenting with different scoring techniques is part of the fun, but the primary goal is to ensure the dough can expand freely. Effective scoring is one of the practical sourdough rye crust tips that directly impacts the final shape and texture.
Understanding Scoring Patterns for Sourdough Rye
The choice of scoring pattern for sourdough rye depends on the loaf's shape and desired aesthetic, but also on the dough's density. For a round boule, a simple cross or a square pattern with cuts radiating from the center allows for even expansion. For an oval bâtard, a single long, shallow slash along the top is common, encouraging the loaf to open along that line. Deeper cuts (around 1/2 inch or 1-1.5 cm) are often beneficial for denser rye doughs to ensure adequate expansion.
More complex patterns can be created, but the principle remains the same: provide avenues for the dough to release internal pressure. Consider the dough's tension and where you want it to open. Practice makes perfect, and observing how different patterns affect your specific sourdough rye recipe will help you refine your technique. Applying intentional scoring patterns is a key part of these sourdough rye crust tips for achieving both beauty and function.
Essential Scoring Tools for Sourdough Rye
To score sourdough rye dough cleanly and effectively, you need a very sharp blade. A baker's lame (pronounced "lahm") is the standard tool for this purpose. It consists of a handle holding a replaceable razor blade. Using a lame allows you to make quick, precise cuts without dragging or tearing the delicate dough surface, which can happen with a knife.
There are two main types of lames: straight and curved. A straight lame is good for making deep, straight cuts, often used for patterns like a cross or squares. A curved lame holds the blade with a slight curve, ideal for creating the iconic 'ear' on loaves like bâtards by making a shallow, angled cut that encourages the dough to peel back as it expands. Having a sharp blade is paramount; a dull blade will snag the dough, hindering proper expansion and marring the crust. Using the right sharp tool is one of the non-negotiable sourdough rye crust tips.
Step 4: Baking Techniques for a Dark and Crispy Sourdough Rye Crust
The baking process is where the magic truly happens for crust development. The interplay of high heat and steam is crucial for transforming the pale, scored dough into a beautifully colored and crispy sourdough rye loaf. Getting the oven temperature and steam just right is perhaps the most impactful of all sourdough rye crust tips.
The Importance of Initial High Oven Temperature
Starting your sourdough rye loaf in a very hot oven is essential for maximizing oven spring and initiating rapid crust development. A typical starting temperature is between 450°F and 500°F (230°C to 260°C). This initial blast of heat causes the water in the dough to rapidly turn to steam, forcing the loaf to expand dramatically before the crust sets. This quick expansion contributes to a lighter crumb structure and helps achieve good volume, especially important for denser rye loaves.
After the initial high-temperature phase (usually 15-25 minutes), the temperature is often reduced to allow the interior of the loaf to bake through without the crust becoming too dark or burning. A common reduction is to 400°F or 425°F (200°C to 220°C) for the remainder of the baking time. This two-stage temperature approach ensures both excellent crust development and a fully baked interior. Mastering this temperature transition is a key sourdough rye crust tip.
Using Steam to Promote Crust Development
Steam is indispensable for achieving a thin, crispy sourdough rye crust. In the presence of steam during the first phase of baking, the surface of the dough remains moist and pliable. This allows the loaf to expand freely without the crust hardening prematurely, which would restrict oven spring. The steam also helps gelatinize the starches on the dough's surface, contributing to a glossy sheen and promoting a crisp texture once the crust dries out later in the bake.
Without adequate steam, the crust forms too quickly and rigidly, potentially leading to bursting in uncontrolled places and a thicker, less desirable texture. Ensuring a steamy environment for the first 15-20 minutes of baking is perhaps the single most effective of all sourdough rye crust tips for achieving that beautiful, crackling exterior.
Creating Steam Using Lava Rocks
One effective method for generating steam in a home oven is using a tray of lava rocks. Place a tray (an old broiler pan or cast iron skillet works well) filled with lava rocks or even just nuts, bolts, or chains on the bottom rack of your oven while it preheats. Just before loading your bread, carefully pour about 1/2 to 1 cup of boiling water into the hot tray. This will instantly create a cloud of steam. Be cautious as this produces a lot of hot steam.
Ensure you close the oven door quickly to trap the steam inside. This method provides a burst of steam that typically lasts for the critical first 15-20 minutes of baking. Remember to remove the steam tray later in the bake if desired, or simply allow the steam to dissipate naturally as the baking progresses. Using a dedicated steam setup like this is one of the most reliable sourdough rye crust tips for consistent results.
Baking in a Dutch Oven
Baking sourdough rye in a preheated Dutch oven is arguably the easiest and most effective way for home bakers to create a steamy environment. The heavy pot and lid trap the moisture released by the dough as it bakes, effectively steaming the loaf within its own microclimate. Preheat the Dutch oven with the lid on in your oven at the high initial temperature (e.g., 475°F or 245°C).
Carefully transfer your shaped and scored sourdough rye loaf into the hot Dutch oven, replace the lid, and bake for the initial steaming phase (typically 20 minutes). Then, remove the lid and continue baking at a slightly lower temperature (e.g., 425°F or 220°C) for another 20-30 minutes, or until the crust is the desired dark color and the internal temperature reaches about 200-210°F (93-99°C). This method simplifies the steaming process significantly and is a top sourdough rye crust tip for achieving a consistently excellent crust.
Step 5: Cooling Sourdough Rye Properly to Maintain Crispness
The cooling process is often overlooked but is absolutely vital for achieving and maintaining a crispy sourdough rye crust. While the bread is baking, moisture migrates from the hot interior towards the cooler crust. If the bread is not cooled correctly, this moisture can condense on the crust, turning it soft and potentially rubbery.
Why Cooling Affects Crust Texture
Immediately after removing your sourdough rye loaf from the oven, the crust is at its crispiest because it is dry and hot. As the loaf cools, residual heat in the crumb continues to push moisture outwards. If the bread is placed on a solid surface, this moisture gets trapped underneath, making the bottom crust soggy. Similarly, if the bread is covered while still warm, the circulating moisture will soften the entire crust. Proper cooling allows this moisture to escape as steam, preserving the crust's crisp texture.
Proper Cooling Techniques for a Crunchy Crust
The most effective way to cool sourdough rye bread is on a wire rack. This allows air to circulate freely around the entire loaf, ensuring that moisture can evaporate from all surfaces. Place the bread on the rack as soon as it comes out of the oven.
Resist the urge to slice into the loaf until it has cooled completely, which for a large sourdough rye loaf can take 2-4 hours. Slicing too early releases steam from the interior, which can then condense and soften the crust, while also potentially resulting in a gummy crumb texture. Patience during cooling is one of the simplest yet most important sourdough rye crust tips.
Troubleshooting Common Sourdough Rye Crust Problems
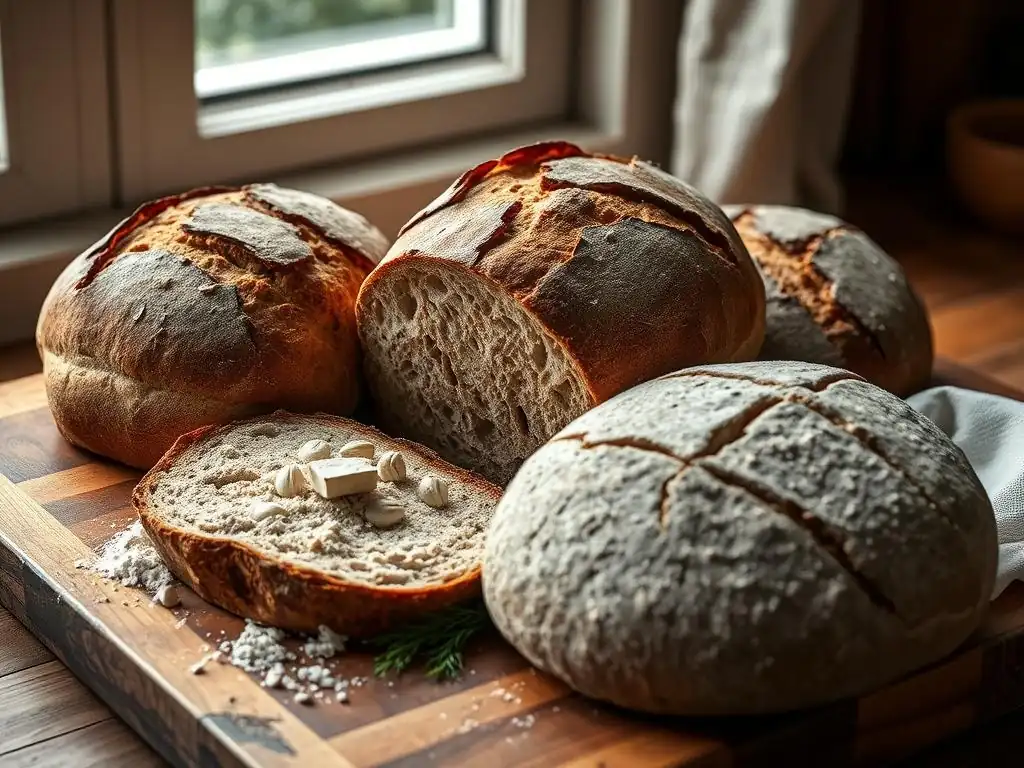
Even with the best sourdough rye crust tips, you might encounter issues. Understanding common problems and their causes helps you adjust your technique for future bakes.
My Sourdough Rye Crust is Too Light
A light or pale crust on sourdough rye usually indicates insufficient baking time, insufficient temperature, or inadequate fermentable sugars. Ensure your oven is accurately preheated to a high temperature (like 475°F/245°C) and consider baking for a longer duration. Using an instant-read thermometer to check the internal temperature (aim for 200-210°F/93-99°C) ensures the bread is fully baked, which contributes to better crust color.
If the bake time and temperature seem correct, review your fermentation process; insufficient bulk fermentation or proofing can mean fewer sugars are available for browning. Sometimes, adding a tiny pinch of sugar or a spoonful of diastatic malt powder (which helps break down starches into sugars) to the dough can aid browning, but focus on fermentation first.
My Sourdough Rye Crust is Too Hard
An overly hard or thick crust can result from baking at too high a temperature for too long, or from insufficient steam during the initial phase. Ensure you are using steam effectively for the first 15-20 minutes of baking. If using a Dutch oven, make sure the lid is on for the correct duration.
If baking on a stone, increase the amount of steam you generate. Reducing the oven temperature slightly after the initial high-heat period can also help prevent the crust from becoming excessively hard while the interior finishes baking. Adjusting the balance between temperature and steam is a key sourdough rye crust tip here.
My Sourdough Rye Crust is Chewy
A chewy crust, as opposed to crispy, often points to insufficient baking time or improper cooling. If the internal temperature hasn't reached the target range (200-210°F/93-99°C), there may be too much residual moisture migrating to the crust as it cools. Ensure you are baking the loaf fully. Additionally, make absolutely sure the bread is cooled completely on a wire rack before slicing. Slicing a warm loaf traps steam, leading to a chewy crust. Re-evaluating your cooling process is a crucial sourdough rye crust tip if chewiness is an issue.
My Sourdough Rye Crust is Blistered Excessively
Excessive blistering on the crust can be caused by several factors, often related to proofing and surface moisture. Over-proofing can lead to a very active surface that blisters easily. High hydration doughs are also more prone to blistering.
Sometimes, applying too much water to the surface just before baking can contribute. While some blistering is normal and even desirable for crispness, excessive, large blisters might suggest you need to slightly reduce proofing time or ensure the dough surface isn't overly wet when it enters the oven. It's a minor point among sourdough rye crust tips, but worth noting if it's a persistent issue.
Essential Tools and Equipment for Sourdough Rye Baking
Having the right tools can make a significant difference in your sourdough rye crust results. While basic equipment works, investing in a few key items can greatly improve consistency and quality.
Recommended Baking Stones and Dutch Ovens
Baking stones (like pizza stones or steel) and Dutch ovens are excellent for achieving a great crust because they store and radiate heat effectively. A baking stone, preheated in the oven, provides intense heat from the bottom, promoting excellent oven spring. When using a stone, you'll also need a method for generating steam, like a tray of lava rocks.
A Dutch oven, particularly cast iron, excels because it combines radiant heat from all sides with the ability to trap steam. As mentioned earlier, baking in a preheated Dutch oven is one of the most reliable sourdough rye crust tips for home bakers, simplifying the steam process and promoting even browning and expansion. Choose a size appropriate for your loaf, typically 5-7 quarts.
Best Loaf Pans for Sourdough Rye
While freeform loaves baked on a stone or in a Dutch oven are common for sourdough rye, loaf pans are also frequently used, especially for wetter or 100% rye doughs that might not hold their shape well. Dark, heavy-duty metal pans or cast iron loaf pans are excellent choices. Dark surfaces absorb heat more efficiently, contributing to better crust color, particularly on the bottom and sides.
Greasing and flouring the pan well is essential to prevent sticking, especially with sticky rye dough. For very wet doughs, lining the pan with parchment paper is another useful sourdough rye crust tip to ensure easy release and a clean bottom crust. The pan provides support, resulting in a more uniform slice shape, though the top crust development will rely solely on oven conditions.
Scoring Lames: Straight vs. Curved
As discussed in the scoring section, a sharp lame is indispensable for making clean cuts in your sourdough rye dough. Both straight and curved lames have their uses. A straight lame is versatile for various patterns and deeper cuts. A curved lame is perfect for creating the classic ear with a shallow, angled cut.
Many bakers keep both types or use a holder that allows the blade to be inserted straight or curved. Ensure you are using fresh, sharp blades; dull blades are the enemy of a good score and can ruin your crust's potential. Investing in a good lame and keeping a supply of sharp blades is a simple yet impactful sourdough rye crust tip.
Advanced Techniques for Enhancing Sourdough Rye Crust
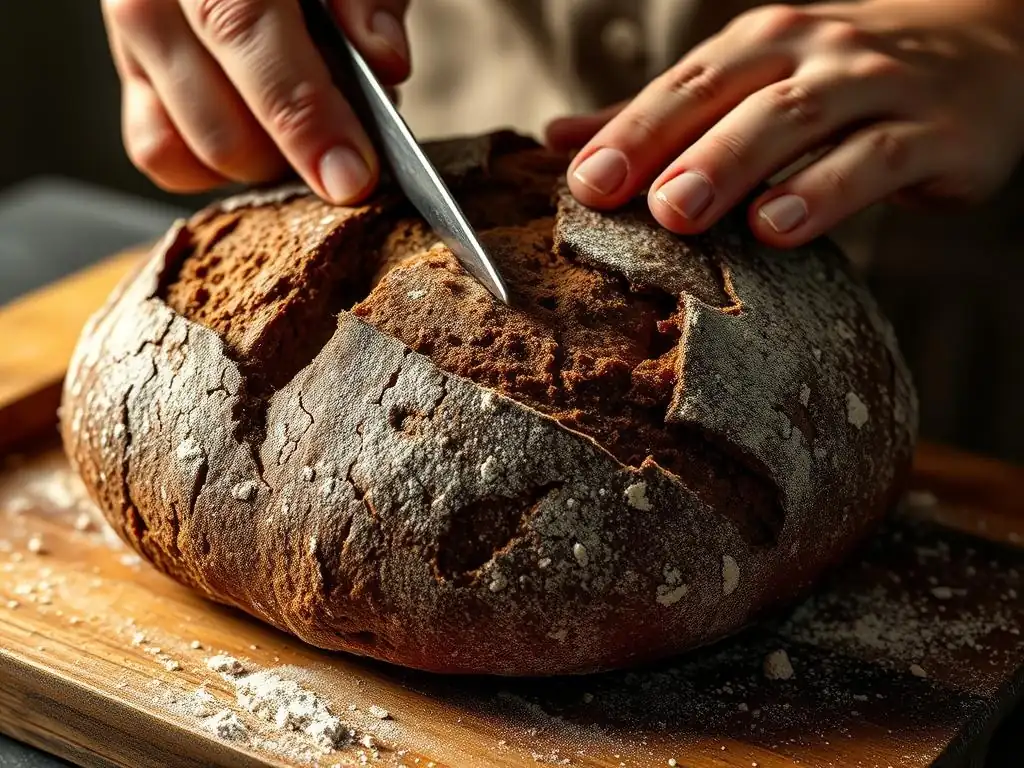
Once you've mastered the basics, you can explore advanced techniques to further enhance the color, flavor, and texture of your sourdough rye crust. These methods offer ways to add complexity and visual appeal.
Using Dark Malt Extract for Color and Flavor
Dark malt extract is a liquid or powdered sweetener derived from barley that has been malted and roasted. It's a common ingredient in traditional rye breads. Adding a small amount (perhaps 1-2% of total flour weight) of dark malt extract to your sourdough rye dough provides fermentable sugars and pigments that significantly contribute to a deeper, richer crust color and enhance the malty flavors characteristic of rye.
The sugars in the malt extract caramelize beautifully during baking, resulting in a darker, more appealing crust even without extending the bake time to extremes. It also subtly sweetens the crumb and adds a layer of complexity to the overall flavor profile. Incorporating dark malt extract is an excellent sourdough rye crust tip for achieving that signature deep brown hue.
Coating with Seeds for Added Texture and Visual Appeal
Coating the exterior of your sourdough rye loaf with seeds is a popular technique that adds fantastic texture, nutty flavor, and visual appeal to the crust. Common choices include caraway seeds (a classic pairing with rye), sunflower seeds, pumpkin seeds, sesame seeds, or a mix of several.
To apply seeds, you can lightly mist the shaped loaf with water or brush it with a little water or egg wash just before scoring and baking, then roll or sprinkle the seeds onto the wet surface. The moisture helps the seeds adhere during baking. The seeds toast in the oven, becoming fragrant and crunchy, adding another dimension to the already satisfying sourdough rye crust. It's a simple yet effective sourdough rye crust tip for elevating your bake.
Incorporating Coffee or Cocoa Powder for a Richer Crust
Adding a small amount of instant coffee powder or unsweetened cocoa powder (around 1-3% of total flour weight) to your sourdough rye dough can deepen the crust color and add subtle, complementary flavor notes. Coffee enhances the roasted, earthy tones, while cocoa can add a hint of bitterness and richness that pairs well with the tang of sourdough and the character of rye.
Dissolve instant coffee in the dough's water or whisk cocoa powder into the dry flour before mixing. Neither ingredient will drastically change the flavor profile if used in small amounts, but they provide a boost to the crust's visual depth and complexity. This is an interesting sourdough rye crust tip for those looking to experiment with color and nuanced flavor.
Maintaining Sourdough Rye Crust Crispness
Achieving a perfect sourdough rye crust is rewarding, but keeping it crispy after baking can be a challenge. Proper storage and reheating techniques are key.
Storing Sourdough Rye to Preserve Crust Integrity
Once your sourdough rye loaf has cooled completely on a wire rack, the best way to store it to maintain crust crispness is to leave it cut-side down on a cutting board or simply exposed to the air, especially if you plan to eat it within a day or two. The open air helps prevent moisture from building up on the crust.
For longer storage, or if your environment is very dry, a linen bread bag or a paper bag is preferable to plastic. Plastic bags trap moisture, quickly turning a crispy crust soft and potentially encouraging mold. While a cloth bag won't keep the crumb moist forever, it allows the crust to breathe, helping to preserve its texture for longer. Proper storage is one of the essential sourdough rye crust tips for enjoying your bread over several days.
Reheating Techniques to Revive a Softened Crust
If your sourdough rye crust has softened over time, you can often revive its crispness with a quick reheat. The simplest method is to place the loaf directly on the oven rack in a preheated oven (around 350-375°F or 175-190°C) for 5-10 minutes. The heat will dry out the crust, bringing back some of its crispness.
For individual slices, a toaster or toaster oven works perfectly. Reheat until the crust is firm and crispy again. Avoid microwaving bread, as this generates steam internally and will make the crust even softer and the crumb chewy. Knowing how to properly store and reheat are practical sourdough rye crust tips for making the most of your baked goods.
Frequently Asked Questions
What is the secret to achieving a beautiful, crispy crust on sourdough rye bread?
The key lies in creating sufficient steam during the initial baking phase. This can be achieved using a Dutch oven or by adding water to a preheated pan in your oven.
Why is rye flour sometimes difficult to work with in sourdough?
Rye flour contains less gluten than wheat flour, making it more dense and less elastic. Hydration levels and proper mixing are crucial to overcome this challenge.
What temperature is best for baking sourdough rye to get a great crust?
A high initial temperature, around 450-475°F (232-246°C), is ideal for crust development. Reduce the temperature slightly after the first 20 minutes to ensure even baking.
How long should I bake my sourdough rye bread for optimal crust and texture?
Baking time varies, but generally, a 700-800g loaf takes about 45-60 minutes. The crust should be deeply golden brown, and the internal temperature should reach 205-210°F (96-99°C).
What are some common mistakes that prevent a good sourdough rye crust?
Insufficient steam, over-proofing, and under-baking are common culprits. Ensuring proper hydration and a good scoring technique also helps.
Final Reflection: The Golden Crust and the Baker's Soul
The pursuit of the perfect sourdough rye crust is more than just a culinary quest; it's a journey of patience, precision, and ultimately, self-discovery. The techniques outlined in this article – from understanding hydration levels to mastering the art of scoring – are not merely steps in a recipe; they are keys to unlocking the potential hidden within a simple loaf of bread. The satisfying crackle of a perfectly browned crust is a testament to the dedication and understanding involved in the process.
The impact of sourdough baking, and specifically the quest for that ideal crust, extends far beyond the kitchen. It's a connection to a tradition spanning centuries, a tangible link to the past that resonates deeply in the present. The rhythmic kneading, the watchful waiting, the anticipation of the oven's warmth – these are meditative acts that foster a sense of calm and accomplishment. As the great baker, Jim Lahey, once said: Bread baking is a metaphor for life. You put in the work, you wait patiently, and then you are rewarded with something beautiful and nourishing.
This sentiment perfectly captures the essence of this journey.
Now, I invite you to consider your own baking journey. What have you learned from the process of creating a beautiful sourdough rye crust? What challenges have you overcome? More importantly, what satisfaction have you found in the creation of something both delicious and deeply meaningful? Don't be afraid to experiment, to push your boundaries, and to embrace the imperfections along the way. For it is in the striving, in the learning, and in the sharing of our experiences that we truly master the art of baking – and perhaps, even a little bit of life itself.
Unleash Your Inner Baker: Craft the Perfect Rye Crust!
Thanks for joining us on this sourdough rye adventure! We hope you now feel confident in tackling that elusive, beautiful crust. Ready to put your new skills to the test?
- Bake your dream loaf: Use the techniques we've shared to craft a sourdough rye that's both visually stunning and incredibly delicious. Share a picture of your creation with us – we'd love to see it!
- Experiment with different flours: Try substituting a small percentage of your rye flour with whole wheat or spelt for a unique flavor and texture.
- Join our baking community: Head over to the BakeWithEase forums and share your tips, tricks, and any questions you might have – we're a friendly bunch!
What unexpected ingredient will you try next to elevate your sourdough rye crust?