
Keep Them Perfect: Essential Care for Your Baking Stone and Dutch Oven.

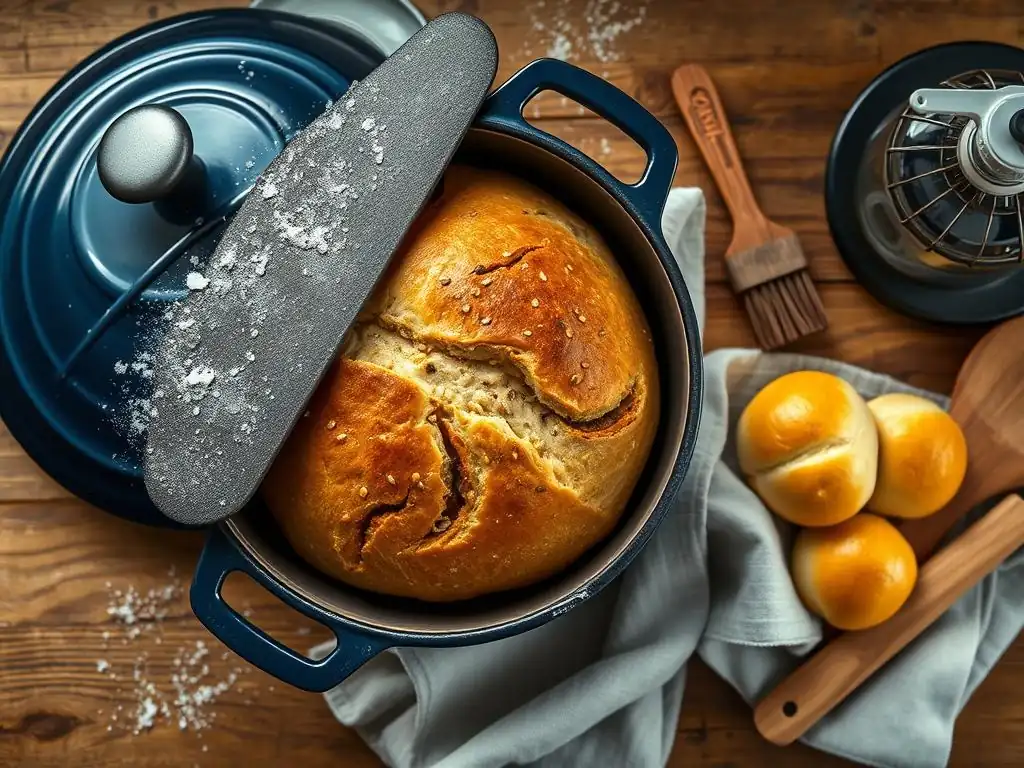
Welcome to BakeWithEase, where delicious baking becomes delightfully simple! Ever wonder how to keep your baking stone and Dutch oven in tip-top shape for years of perfect loaves and golden-crusted creations? You're in the right place! Dive in to discover our essential guide on Baking Stone Dutch Oven Care, unlocking the secrets to maintaining these indispensable tools and ensuring consistently amazing results. Let's get baking!
- BakeWithEase' Guide to Baking Stone and Dutch Oven Maintenance
- Caring for Your Baking Stone: A Comprehensive Guide
- Dutch Oven Care: Maintaining its Versatility
- Baking Stone vs. Dutch Oven: Specific Care Considerations
- Extending the Life of Your Baking Stone and Dutch Oven
- Conclusion: Investing in Baking Stone and Dutch Oven Care for Baking Success
-
Frequently Asked Questions
- How do I clean my baking stone without damaging it?
- Can I use my Dutch oven for baking bread, and what are the advantages?
- What is the best way to season a baking stone or Dutch oven?
- How often should I clean my baking stone or Dutch oven?
- What are some common mistakes to avoid when caring for a baking stone or Dutch oven?
- Final Reflection: The Enduring Legacy of Well-Loved Kitchen Tools
- Elevate Your Baking Craft Today!
BakeWithEase' Guide to Baking Stone and Dutch Oven Maintenance
Understanding the Importance of Proper Baking Equipment Care
Proper care of your baking equipment, especially items like baking stones and Dutch ovens, isn't just about keeping them clean; it's fundamentally about preserving their functionality and extending their lifespan. These tools are investments in your baking journey, designed to achieve specific results, such as the perfect crispy pizza crust or a beautifully risen loaf of sourdough.
Neglecting their care can lead to decreased performance, like uneven heating or sticking, and ultimately, premature wear and tear that shortens their useful life significantly. A well-maintained baking stone, for instance, can last for decades, becoming more effective with each use as it builds up a natural seasoning.
Moreover, consistent and correct baking stone dutch oven care ensures food safety. Residue left behind can harbor bacteria or affect the flavor of future bakes. Understanding the specific needs of different materials, like porous ceramic baking stones versus enameled or bare cast iron Dutch ovens, is crucial.
While a baking stone requires minimal intervention and avoids soap, a cast iron Dutch oven thrives on proper seasoning and careful drying. Investing a little time in cleaning and maintenance after each use pays off immensely by keeping your essential baking tools in top condition, ready to help you create delicious treats with ease.
Caring for Your Baking Stone: A Comprehensive Guide
Why Baking Stone Care Matters: Longevity and Performance
A baking stone is designed to mimic the intense heat of a professional brick oven, absorbing and radiating heat evenly for superior crust development on pizzas, bread, and pastries. This thermal property is key to its performance. Without proper care, such as avoiding thermal shock (sudden temperature changes), the stone can crack, losing its ability to heat evenly and potentially becoming unusable. A well-cared-for stone develops a natural, non-stick surface over time from accumulated oils, enhancing its performance with each bake.
The porous nature of most baking stones means they absorb moisture and oils. While this absorption contributes to their heat distribution properties, it also means they can absorb soap or cleaning chemicals, which can leach into your food during subsequent high-temperature baking sessions. This is why strict adherence to recommended cleaning practices is essential for maintaining both the stone's functionality and ensuring safe baking. Proper baking stone dutch oven care for your stone focuses on minimal intervention to preserve its natural characteristics.
Initial Seasoning of Your Baking Stone: Setting the Foundation
Unlike cast iron, most new baking stones do not require traditional 'seasoning' with oil. In fact, applying oil directly to a new stone before its first use can lead to smoking and uneven darkening. The best way to 'season' a new baking stone is simply to use it. Start with foods that don't produce excessive grease, like a simple loaf of bread or a few rounds of pizza.
The stone will naturally darken over time as it absorbs small amounts of oil and moisture released from the foods baked on it. This gradual process is the stone's natural seasoning. Some manufacturers recommend baking the new stone empty in the oven at a high temperature (e.g., 400-500°F or 200-260°C) for an hour or two before the first use to remove any manufacturing residues and prepare it for baking. Always check the specific instructions provided by your stone's manufacturer, as materials can vary.
Cleaning Your Baking Stone: Removing Food Residue and Stains
Cleaning a baking stone requires a gentle touch and avoiding soap. Because of its porous nature, soap can soak in and impart off-flavors to your food when heated. The goal is primarily to remove solid food residues.
After baking, allow the stone to cool completely in the oven. Never attempt to clean a hot stone, as this can cause it to crack. Once cool, use a scraper or brush to remove baked-on bits. Stains are normal and part of the stone's character; they do not affect performance and should not be aggressively scrubbed away.
The Best Cleaning Tools for Baking Stones
- Plastic or Nylon Scraper: Ideal for gently lifting baked-on food without scratching the stone's surface. Avoid metal spatulas which can damage the stone.
- Stiff Brush (Natural Bristle or Nylon): Effective for sweeping away loose debris and tackling slightly more stubborn, but not burnt-on, residues.
- Bench Scraper or Dough Scraper: Can be useful for larger debris, but again, use a plastic or nylon version if possible.
Gentle Cleaning Methods for Baking Stones
- Cool Completely: Allow the stone to cool entirely in the oven after use. This can take several hours.
- Scrape Off Residue: Use a plastic scraper or stiff brush to gently scrape away any stuck-on food particles.
- Wipe with a Damp Cloth: For minor crumbs or dust, a slightly damp (not wet) cloth can be used. Ensure the cloth is clean and contains no soap residue.
- Stubborn Spots: For truly stubborn, burnt-on spots, you can make a paste of baking soda and a little water. Apply the paste, let it sit for a few minutes, then gently scrape and wipe clean with a damp cloth. This is a less harsh method than scrubbing.
Avoiding Harsh Chemicals on Your Baking Stone
As mentioned, soap and detergent are a definite no for baking stones due to their porous structure. These chemicals can penetrate the stone and release unpleasant flavors and odors when heated, potentially affecting the taste of your baked goods. Similarly, avoid oven cleaners or any other harsh chemical cleaners. These are designed for non-porous surfaces and can damage the stone or leave behind harmful residues. Stick to mechanical removal of debris and the occasional baking soda paste for tough spots. Proper baking stone dutch oven care emphasizes gentle, natural methods.
Troubleshooting Common Baking Stone Issues
Cracking and Warping: Prevention and Solutions
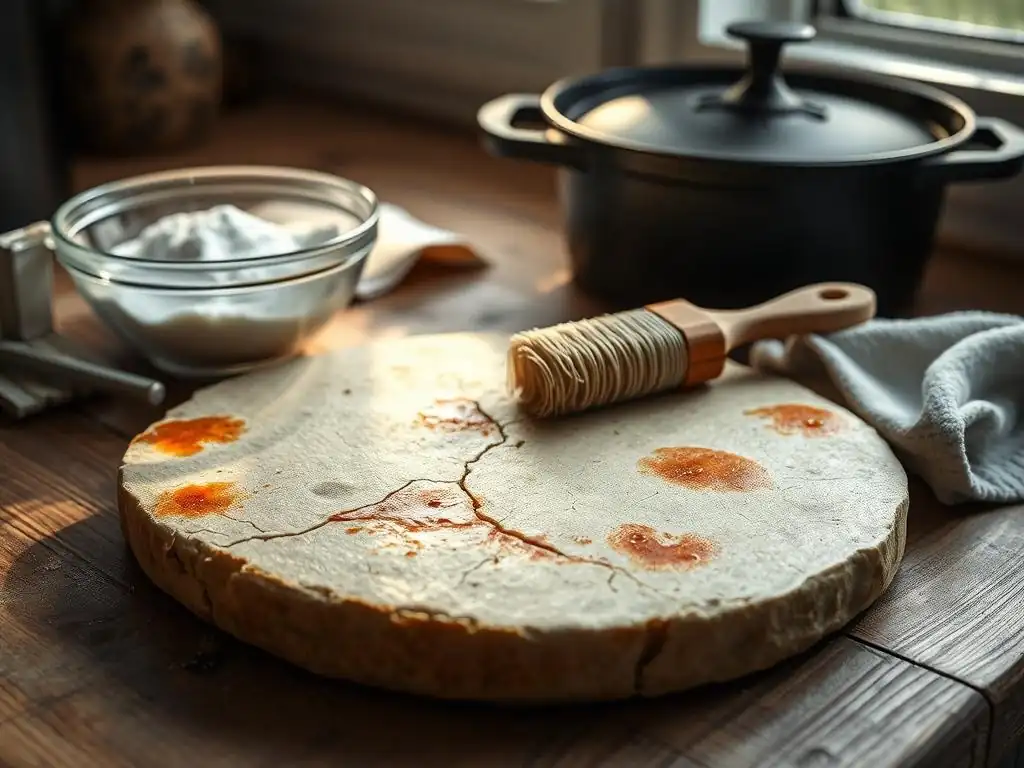
Cracking is the most common and often irreversible issue with baking stones. The primary cause is thermal shock – exposing a cool stone to high heat or a hot stone to cold. To prevent this:
- Always preheat the oven with the stone inside, starting from a cool oven.
- Never place a frozen item directly onto a hot stone; thaw it first.
- Allow the stone to cool completely inside the oven after baking before removing or cleaning it.
If a stone does crack, minor cracks might still allow it to be used, though performance might be slightly affected. A severely cracked stone, especially if it breaks into multiple pieces, is generally unusable and should be replaced. Ensure your stone is properly supported when in the oven and when moving it to prevent accidental drops or stress.
Dealing with Stubborn Stains on Your Baking Stone
Stains on a baking stone are inevitable and are often considered a sign of a well-used, seasoned stone. They do not typically affect performance. Attempting to remove them aggressively can damage the stone. If a stain is particularly bothersome or seems to have residue attached, try the baking soda paste method mentioned earlier.
- Mix baking soda with a little water to form a thick paste.
- Apply the paste directly to the stain.
- Let it sit for 10-15 minutes.
- Gently scrape with a plastic scraper or brush.
- Wipe clean with a slightly damp cloth.
- Allow the stone to dry completely before storing or using again. Remember, the stone will likely never look perfectly clean and new again, and that's okay!
Proper Storage for Your Baking Stone: Preventing Damage
Storing your baking stone correctly is vital to prevent accidental damage like chips or cracks when it's not in use. The ideal place is often in your oven. Leaving the stone on an oven rack provides a stable, flat surface and keeps it out of the way. It also acts as a heat sink, potentially helping to stabilize oven temperature during other baking tasks.
If you need to store it outside the oven, choose a flat, secure location where it won't be bumped or have heavy items placed on it. Store it horizontally, not vertically, as it's more prone to tipping and breaking when stored upright. A sturdy shelf in a pantry or cupboard is suitable, ensuring it's not near the edge where it could fall. Proper baking stone dutch oven care extends to how you handle and store these hefty items.
Dutch Oven Care: Maintaining its Versatility
The Benefits of Caring for Your Dutch Oven
A Dutch oven is a workhorse in the kitchen, capable of everything from searing meats and simmering stews to baking perfect no-knead bread. Proper care ensures its non-stick properties (especially for cast iron), prevents rust, maintains its enamel coating (if applicable), and preserves its excellent heat retention and distribution capabilities. A well-maintained Dutch oven can last for generations, becoming a treasured family heirloom.
Neglecting a cast iron Dutch oven can lead to rust and loss of seasoning, making food stick. For enameled Dutch ovens, improper care can cause chipping of the enamel or discoloration. Both scenarios diminish the functionality and appearance of this versatile piece of cookware. Consistent baking stone dutch oven care for your Dutch oven guarantees its readiness for any culinary task you throw at it.
Seasoning Your Dutch Oven: Creating a Non-Stick Surface
Seasoning is primarily for bare cast iron Dutch ovens, creating a natural, polymerised oil layer that prevents rust and provides a non-stick surface. Enameled Dutch ovens do not require seasoning, as the enamel coating protects the cast iron underneath.
For bare cast iron, seasoning involves applying a thin layer of oil and heating the pot to a temperature where the oil polymerizes, bonding to the metal. This process fills the microscopic pores in the cast iron and creates a smooth, protective layer. Regular use, especially frying or cooking with oil, also contributes to maintaining the seasoning.
Types of Oils for Dutch Oven Seasoning
The best oils for seasoning are those with a high smoke point and good polymerization properties.
- Flaxseed Oil: Often cited as the best for creating a durable seasoning layer, though it can be expensive.
- Grapeseed Oil: A popular choice due to its high smoke point and neutral flavor.
- Vegetable Oil or Canola Oil: Widely available and effective for seasoning and maintenance.
- Shortening (like Crisco): Another traditional and effective option.
Avoid using olive oil or butter for initial seasoning, as they have lower smoke points and can become sticky or gummy.
Step-by-Step Dutch Oven Seasoning Guide
This process is for bare cast iron Dutch ovens only.
- Clean Thoroughly: Wash the Dutch oven with hot, soapy water and a stiff brush to remove any manufacturing residue or existing rust. This is one of the few times soap is recommended for bare cast iron.
- Dry Completely: Dry immediately and thoroughly with a towel. You can also place it in a warm oven (around 200°F or 90°C) for a few minutes to ensure all moisture is gone. Rust forms quickly on wet cast iron.
- Apply Thin Layer of Oil: Apply a very thin layer of your chosen seasoning oil (e.g., grapeseed, vegetable) to the entire surface – inside, outside, handle, and lid. Rub it in well with a paper towel. It should look matte, not greasy. Any excess oil will become sticky.
- Wipe Off Excess: Use a clean paper towel to wipe off as much oil as possible. The goal is to leave an almost invisible layer of oil.
- Bake Upside Down: Place the Dutch oven upside down on the middle rack of your oven. Place aluminum foil or a baking sheet on the rack below to catch any drips.
- Heat: Heat the oven to a temperature above the oil's smoke point (e.g., 400-450°F or 200-230°C).
- Bake: 'Bake' the Dutch oven for at least one hour at this temperature.
- Cool: Turn off the oven and let the Dutch oven cool completely inside the oven.
- Repeat: For the best initial seasoning, repeat steps 3-8 several times (3-5 times is often recommended).
Cleaning Your Dutch Oven: Inside and Out
Cleaning method depends heavily on whether your Dutch oven is enameled or bare cast iron.
Cleaning Enameled Dutch Ovens
Enameled Dutch ovens are easier to clean and can use soap.
- Cool Slightly: Allow the pot to cool down somewhat after cooking, but it doesn't need to be completely cold. Extreme temperature changes can still stress the enamel.
- Soak (if needed): For stuck-on food, fill the pot with warm water and a little dish soap and let it soak for 15-20 minutes.
- Wash: Use a nylon brush, sponge, or non-scratch pad to wash the interior and exterior with warm, soapy water.
- For Stubborn Residue: Bring water to a simmer in the pot, scraping gently with a wooden spoon to loosen food. A paste of baking soda and water can also help with stubborn stains or slight discoloration on the enamel.
- Rinse and Dry: Rinse thoroughly and dry completely with a soft cloth. Although the enamel protects the cast iron, drying prevents water spots and is good practice.
Cleaning Cast Iron Dutch Ovens
Bare cast iron requires different care to preserve its seasoning.
- Clean Immediately: Clean while the pot is still warm (but not scorching hot). This makes food release easier.
- Scrape/Brush: Use a stiff nylon brush or a cast iron scraper to remove food residue. For stubborn bits, you can use coarse salt as an abrasive with a little hot water.
- Rinse with Hot Water: Rinse thoroughly with hot water. Avoid soap for routine cleaning as it strips away the seasoning.
- Dry Completely: Immediately dry the Dutch oven thoroughly with a lint-free cloth or paper towels.
- Apply Thin Oil Layer: While still warm, apply a very thin layer of cooking oil (like vegetable or canola) to the entire surface, inside and out, using a paper towel. This protects the seasoning and prevents rust.
- Wipe Off Excess: Wipe off any visible excess oil.
Removing Rust from a Dutch Oven
Rust indicates the seasoning has been compromised, usually due to moisture.
- Scrub the Rust: Use steel wool or a stiff wire brush to scrub away all visible rust.
- Wash: Wash with hot, soapy water (yes, use soap this time to get rid of all rust particles).
- Rinse and Dry: Rinse thoroughly and immediately dry completely.
- Re-season: The affected area (or the entire pot if rust was widespread) must be re-seasoned following the seasoning steps outlined above. You may need to repeat the seasoning process several times to rebuild the protective layer.
Dutch Oven Storage: Protecting Your Investment
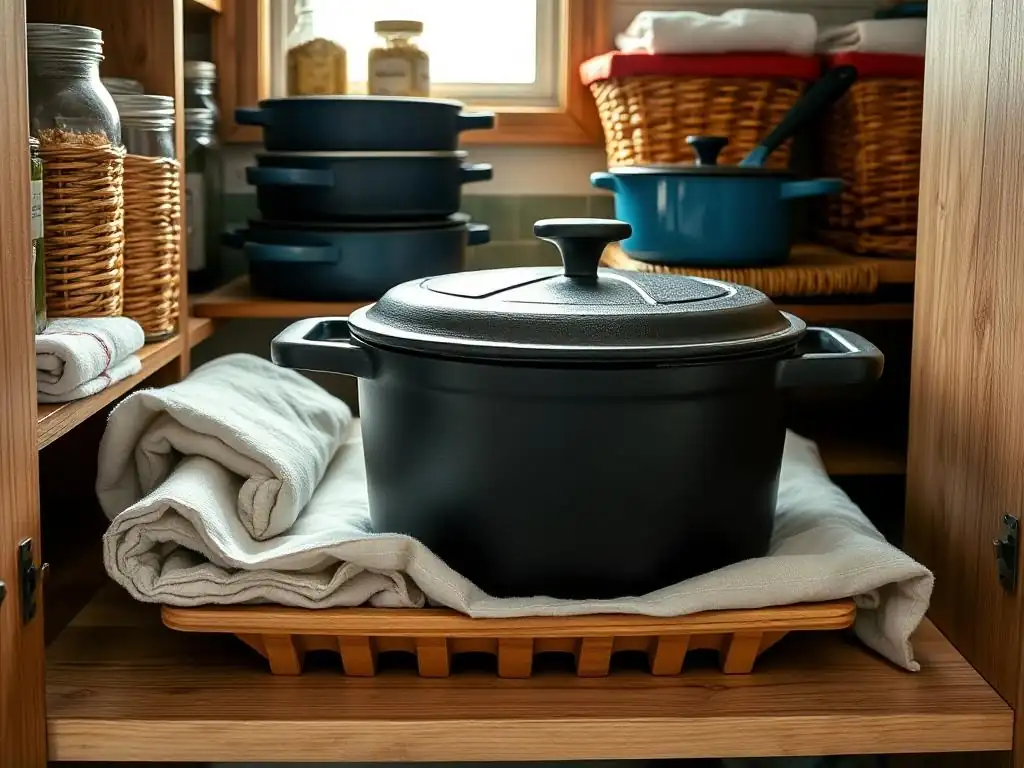
Proper storage is crucial for both types of Dutch ovens, especially bare cast iron.
- Ensure it's Bone Dry: This is the most critical step, especially for cast iron. Any residual moisture will lead to rust.
- Prevent Lid Seal: For both types, avoid storing the lid tightly sealed on the pot. This can trap moisture and lead to odors or rust. Place a paper towel, small cloth, or Dutch oven saver between the lid and the pot rim to allow for air circulation.
- Location: Store in a dry cupboard or pantry. Avoid damp areas like under a sink.
- Protect the Enamel: For enameled Dutch ovens, avoid stacking other heavy pots inside them that could chip the enamel. If stacking, place a cloth or paper towel between the pieces.
Tips for Preventing Damage to Your Dutch Oven
- Avoid Extreme Temperature Changes: While less fragile than baking stones, sudden shifts from hot to cold can still stress the material (especially enamel) and potentially cause cracking or crazing (fine cracks in the enamel).
- Use Proper Utensils: For enameled Dutch ovens, use wooden, silicone, or nylon utensils to avoid scratching or chipping the enamel. Metal utensils are generally fine for bare cast iron once seasoned, but wooden or silicone are often preferred to protect the seasoning layer.
- Don't Overheat Empty: Avoid heating a Dutch oven, especially enameled ones, empty on high heat for extended periods. This can damage the enamel or the seasoning.
- Clean Promptly: Don't leave acidic foods (like tomato sauce) in bare cast iron for long periods, as they can eat away at the seasoning. Clean both types relatively soon after use.
Baking Stone vs. Dutch Oven: Specific Care Considerations
While both baking stones and Dutch ovens are prized for their ability to create oven-spring and beautiful crusts, their material differences dictate distinct care requirements. Understanding these specifics is key to effective baking stone dutch oven care.
Heat Resistance and Temperature Control: Maintaining Integrity
Baking stones are typically made from ceramic, cordierite, or composite materials designed to withstand extremely high temperatures, often well beyond what home ovens reach (up to 1000°F or 540°C for some types). Their care focuses on managing the rate of temperature change, not just the maximum temperature. A common mistake is placing them in an already hot oven or directly on a broiler element, which can cause them to crack due to rapid expansion.
Dutch ovens, made of cast iron (enameled or bare), also handle high temperatures well, but usually up to the recommended maximum for the lid knob (often around 400-500°F or 200-260°C, depending on the material). Their strength lies in heat retention and even distribution. Care here involves protecting the surface – seasoning for bare cast iron and preserving the enamel coating – to maintain their non-stick qualities and prevent rust or chipping under high heat conditions.
Avoiding Thermal Shock: Protecting Your Baking Equipment
Thermal shock is a critical concern for both baking stones and Dutch ovens, though baking stones are generally more susceptible to cracking from it. For a baking stone, placing a cold stone into a hot oven, or placing a frozen pizza directly onto a hot stone, or running cold water over a hot stone are prime examples of thermal shock that can cause irreparable cracks.
For a Dutch oven, especially an enameled one, while less prone to catastrophic cracking than a stone, sudden temperature changes can still lead to crazing (fine cracks in the enamel) or chipping. For instance, plunging a hot Dutch oven into cold water should be avoided. Always allow both pieces of equipment to cool down gradually. This shared principle is a cornerstone of effective baking stone dutch oven care.
Handling and Storage: Preventing Cracks and Chips
Both items are heavy and brittle in different ways. Baking stones can chip or break if dropped or if heavy items are placed unevenly on them. They are best stored flat and supported. A typical round baking stone weighing 8-10 pounds (3.5-4.5 kg) needs careful handling to avoid drops.
Dutch ovens, particularly enameled ones, are susceptible to chips on the enamel coating if bumped against hard surfaces or other pots. Bare cast iron is more robust against impacts but is very heavy (a 5-quart Dutch oven can weigh 12-15 pounds or 5.5-7 kg) and dropping it can damage floors or feet! Storing them with protection between stacked pieces and in secure locations prevents these types of physical damage.
Extending the Life of Your Baking Stone and Dutch Oven
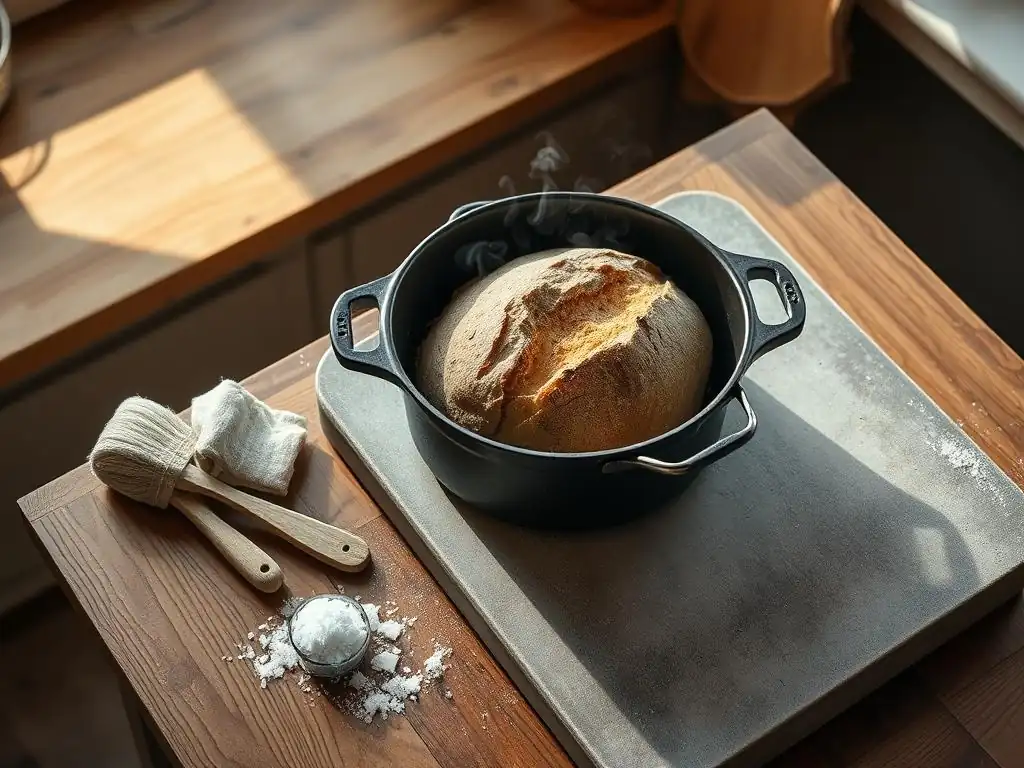
Maximizing the lifespan of your baking stone and Dutch oven involves consistent routines and mindful usage. By incorporating simple habits into your baking workflow, you ensure these valuable tools remain effective and enjoyable to use for years to come. This goes beyond basic cleaning; it's about proactive maintenance.
Regular Inspection and Maintenance Schedules
Make it a habit to inspect your baking stone and Dutch oven periodically, perhaps once a month or whenever you notice a change in performance. For your baking stone, check for any hairline cracks that might be developing. Ensure the surface feels smooth (aside from natural darkening). For your Dutch oven, check the seasoning on cast iron for bare spots or rust, and inspect the enamel on coated pots for chips or crazing.
Based on your inspection:
- Bare cast iron showing bare spots may need a quick round of re-seasoning.
- Enameled pots with minor discoloration might benefit from a baking soda cleaning paste.
- Address rust on cast iron immediately by scrubbing and re-seasoning.
- Note any new cracks on the baking stone to monitor if they worsen.
This routine inspection helps you catch minor issues before they become major problems, reinforcing good baking stone dutch oven care.
Choosing the Right Tools for Baking Stone and Dutch Oven Use
Using appropriate tools during baking and cleaning prevents damage. For baking stones, use peels or spatulas designed for transferring dough, preferably made of wood or metal with careful handling. Avoid cutting food directly on the stone's surface, as this can scratch or damage it.
For Dutch ovens, especially enameled ones, stick to wooden, silicone, or heat-resistant plastic utensils for stirring and serving to protect the enamel from scratches. For bare cast iron, while metal is less damaging to the surface itself, wooden or silicone tools are gentler on the seasoning layer. When cleaning, use non-scratch sponges, brushes, or scrapers as recommended earlier. The right tools are integral to effective baking stone dutch oven care.
Pizza and Bread Baking: Considerations for Baking Stone and Dutch Oven Care
Specific baking tasks can impact care. High-hydration doughs for bread or oily toppings on pizza can leave more residue on a baking stone. While some darkening and residue are normal and contribute to seasoning, excessive burnt-on cheese or dough should be scraped off once the stone is cool. Using parchment paper under particularly messy items can help minimize direct contact and simplify cleanup, though some bakers prefer direct contact for maximum crust crispness.
When using a Dutch oven for baking bread (like the popular no-knead method), the intense heat trapped inside creates steam, crucial for oven spring. Ensure your Dutch oven is properly seasoned (for cast iron) or the enamel is intact to prevent dough from sticking aggressively. After baking, allow the pot to cool sufficiently before cleaning. For stuck-on bread residue, simmering water in the pot often loosens it effectively. These specific usage patterns highlight the importance of tailored baking stone dutch oven care based on how you use the equipment.
Conclusion: Investing in Baking Stone and Dutch Oven Care for Baking Success
Caring for your baking stone and Dutch oven is more than just a chore; it's an investment in the quality of your baking and the longevity of your equipment. These sturdy tools, while robust, require specific attention to maintain their unique properties – the even, intense heat of a baking stone and the versatile heat retention of a Dutch oven. By understanding their materials and following simple, consistent cleaning and storage practices, you prevent common issues like cracking, rust, and sticking.
Embracing proper baking stone dutch oven care ensures that these workhorses of your kitchen remain reliable partners for countless loaves of bread, perfect pizzas, hearty stews, and more. A well-maintained stone delivers a consistently crispy crust, while a seasoned Dutch oven bakes bread beautifully and handles savory dishes with ease. Dedicating a little time to their upkeep after each use will pay dividends in performance, durability, and the sheer joy of baking with equipment that feels and performs like new, bake after bake.
Frequently Asked Questions
How do I clean my baking stone without damaging it?
Avoid using soap or detergents! Scrape off excess food with a spatula and use a dry brush. For stubborn residue, a little baking soda paste can help, followed by a thorough rinse with water.
Can I use my Dutch oven for baking bread, and what are the advantages?
Absolutely! Dutch ovens create a steam-filled environment that promotes a crisp crust and fluffy interior. They also distribute heat evenly, leading to better baking results.
What is the best way to season a baking stone or Dutch oven?
For baking stones, regular use is the best seasoning! For Dutch ovens, apply a thin layer of oil and bake at a high temperature. This creates a non-stick surface.
How often should I clean my baking stone or Dutch oven?
Clean your baking stone only when necessary, focusing on removing debris. Clean your Dutch oven after each use to prevent food buildup and rusting.
What are some common mistakes to avoid when caring for a baking stone or Dutch oven?
Avoid sudden temperature changes which can crack a baking stone. Don't use abrasive cleaners on either. And always ensure your Dutch oven is completely dry before storing it to prevent rust.
Final Reflection: The Enduring Legacy of Well-Loved Kitchen Tools
The meticulous care of our baking stones and Dutch ovens isn't merely about maintaining their pristine condition; it's about nurturing a legacy of delicious meals and cherished memories. These aren't just inanimate objects; they are active participants in the creation of our culinary experiences, and their longevity directly impacts the quality and joy we derive from cooking. Proper care ensures years of perfectly crisped crusts and flawlessly braised dishes.
The impact of these seemingly simple kitchen tools extends far beyond the practical. They represent a connection to culinary traditions, passed down through generations and refined through personal experience. The best things in life are homemade,
a sentiment perfectly embodied by the comforting warmth and delicious aromas emanating from a well-seasoned Dutch oven or a perfectly heated baking stone. Their care reflects our respect for the craft of cooking and the importance of creating meaningful moments around food.
Now, consider your own baking stone or Dutch oven. What stories does it hold? What feasts have you created with its help? I invite you to take a moment to appreciate these unsung heroes of your kitchen, to clean and care for them with intention, and to envision the countless delicious meals yet to come. By nurturing these tools, you're not just preserving their physical integrity; you're preserving a piece of your culinary journey, ensuring that the legacy of deliciousness continues for years to come.
Elevate Your Baking Craft Today!
Thank you for taking the time to explore the essential care tips for your baking stone and Dutch oven. By implementing these simple practices, you’re not only ensuring the longevity of your kitchen tools but also enhancing the quality of your baked creations. Ready to take your baking to the next level? Here are some actionable steps you can take right now:
- Deep Clean Your Tools: Set aside a few minutes today to give your baking stone and Dutch oven a thorough clean. You'll be amazed at the difference it makes!
- Join Our Community: Share your favorite baking tips and experiences with fellow baking enthusiasts in our discussions. Your insights can inspire others!
- Experiment with New Recipes: Why not challenge yourself with a unique recipe using your perfectly maintained tools? Get creative and enjoy the process!
What new recipe or technique will you try next to make the most of your baking tools?