
Unlock Deliciousness: BeginnerFriendly NoBake Recipes

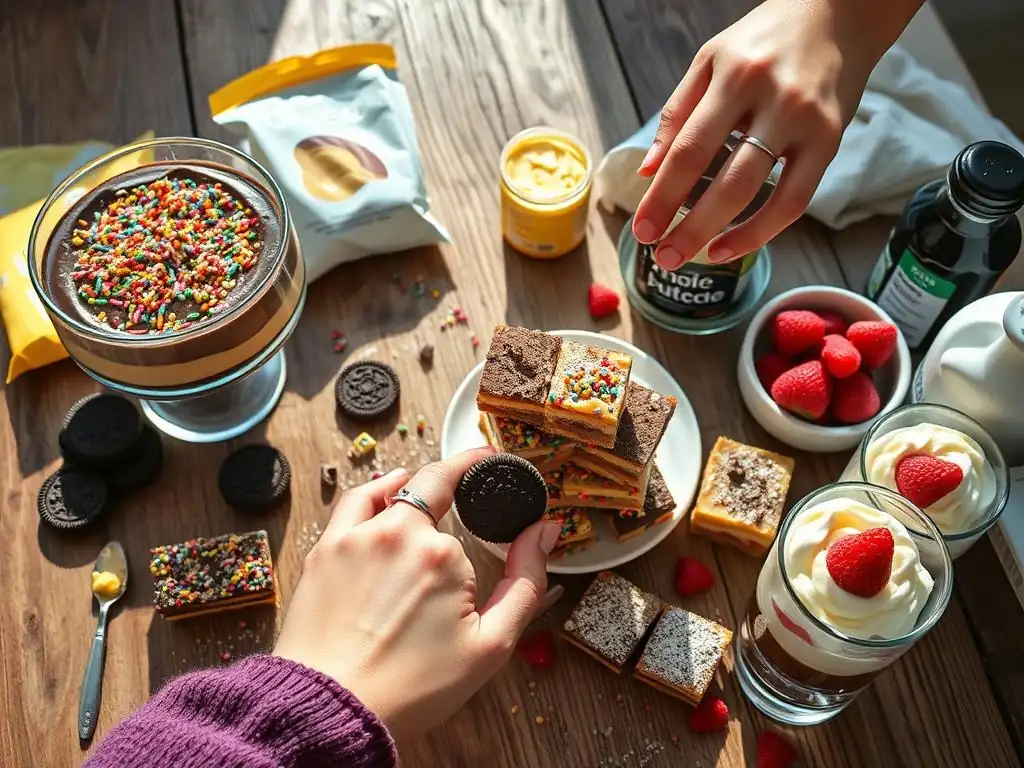
Welcome to BakeWithEase, your trusted guide to effortless baking!
Are you craving something sweet but dreading turning on the oven? Discover a world of delightful treats with our collection of easy no-bake desserts. Prepare to be amazed at how simple it can be to create mouthwatering masterpieces without any baking required. Intrigued? Let's dive in and unlock a treasure trove of beginner-friendly recipes that will satisfy your sweet tooth in minutes!
- BakeWithEase Presents: Easy No-Bake Dessert Recipes for Beginners
- Essential Ingredients for Easy No-Bake Treats
- Top 5 No-Bake Dessert Recipes Perfect for Beginners
- Mastering No-Bake Techniques: Tips and Tricks for Success
- Beyond the Basics: Expanding Your No-Bake Repertoire
- Enjoy Your Easy No-Bake Dessert Journey!
-
Frequently Asked Questions
- What exactly are no-bake desserts and why are they considered "easy"?
- What kind of ingredients are commonly used in no-bake desserts?
- Are no-bake desserts only for beginners, or can experienced bakers enjoy them too?
- Can I customize no-bake recipes with my own flavors and ingredients?
- How long do no-bake desserts typically need to chill in the refrigerator?
- Final Reflection: The Sweet Simplicity of No-Bake Baking
- Unlock Your Inner Baker: No-Bake Bliss Awaits!
BakeWithEase Presents: Easy No-Bake Dessert Recipes for Beginners
Simple and Stress-Free: The Beauty of No-Bake Baking
One of the greatest appeals of no bake desserts easy is the sheer simplicity they offer, especially for those new to the kitchen. Traditional baking often involves precise temperature control, leavening agents, and the anxiety of whether something will rise or bake through correctly. No-bake options bypass these complexities entirely, relying instead on simple mixing, chilling, and layering techniques. This significantly lowers the barrier to entry, allowing beginners to achieve impressive results without grappling with the intricacies of oven dynamics.
The process typically involves combining readily available ingredients like crushed cookies, melted butter, cream cheese, condensed milk, or chocolate. The focus shifts from chemical reactions in the oven to achieving the right texture through binding agents and chilling. This simplified approach means fewer steps, less cleanup, and a much higher success rate on the first attempt. It's a fantastic way to build confidence and enjoy the immediate gratification of creating a delicious treat without the pressure of a hot oven.
Quick Dessert Fix: No-Bake Recipes for Busy Bakers
In today's fast-paced world, finding time for elaborate baking projects can be a challenge. No bake desserts easy provide the perfect solution for satisfying a sweet craving or preparing a last-minute treat without dedicating hours to the kitchen. Many of these recipes can be assembled in as little as 15 to 30 minutes, leaving only the chilling time before they are ready to enjoy. This makes them ideal for weeknight desserts, impromptu gatherings, or when you simply don't have the energy for a full baking session.
Consider a quick chocolate fudge that requires just melting and mixing, or a simple parfait layered with cream and fruit. These aren't just easy; they are fast. While chilling is essential for setting, the active preparation time is minimal. This efficiency allows busy individuals to still enjoy the pleasure of homemade desserts, offering a welcome break and a sweet reward without disrupting their tight schedules. It's the ultimate convenience food that still feels homemade and special.
No Oven? No Problem! Delicious Desserts Without Baking
Not everyone has access to a fully equipped kitchen with a reliable oven. Students in dorm rooms, individuals in small apartments, or even just during hot summer months when turning on the oven is unthinkable can all benefit immensely from no bake desserts easy. These recipes rely on alternative methods like refrigeration or freezing to set, requiring only basic tools like mixing bowls, whisks, and perhaps a microwave or stovetop for melting ingredients.
This accessibility makes no-bake desserts a truly universal option. You can create delightful treats with minimal equipment, proving that delicious baking isn't confined to kitchens with professional-grade ovens. From creamy cheesecakes that set in the fridge to frozen pies and layered desserts, the possibilities are vast, ensuring that anyone, anywhere, can whip up something sweet and satisfying regardless of their oven situation.
Essential Ingredients for Easy No-Bake Treats
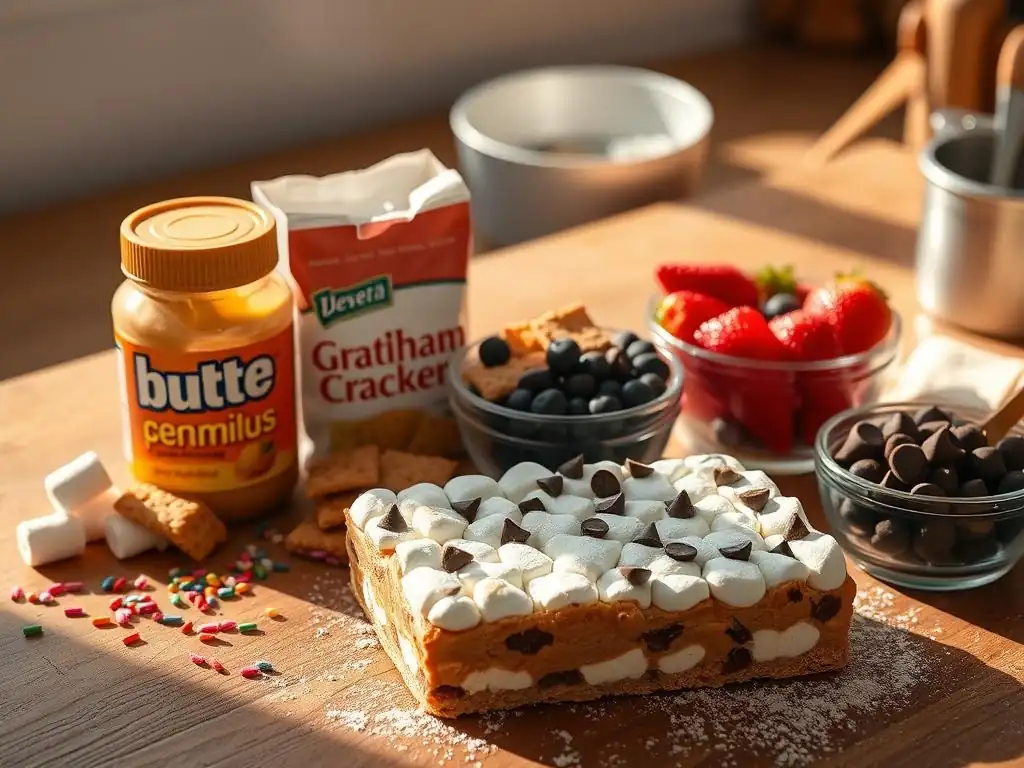
The Pantry Staples: Must-Have Ingredients for No-Bake Desserts
Building a repertoire of no bake desserts easy starts with stocking your pantry with key ingredients that form the base of many recipes. Graham cracker crumbs or crushed cookies (like Oreos, Nilla Wafers, or Biscoff) are fundamental for creating press-in crusts that set beautifully with melted butter. Sweetened condensed milk is a magic ingredient, acting as a binder and sweetener in many creamy fillings and fudges. Cream cheese and heavy cream are essential for rich, decadent layers in cheesecakes and parfaits, providing structure and luxurious texture when whipped or combined.
Beyond these core items, having a supply of butter (melted butter is crucial for crusts), various types of chocolate (chips, bars for melting), cocoa powder, and a sweetener like powdered sugar or granulated sugar is highly beneficial. Flavor extracts such as vanilla extract are also vital for enhancing the taste of your creations. Keeping these staples on hand ensures you're always just a few steps away from assembling a delicious no-bake treat whenever the craving strikes or an occasion arises.
Top 5 No-Bake Dessert Recipes Perfect for Beginners
Recipe 1: Classic No-Bake Chocolate Peanut Butter Bars
These bars are a quintessential no bake desserts easy recipe, beloved for their simple preparation and irresistible flavor combination. They typically feature a crushed cookie or graham cracker base, a creamy peanut butter filling, and a smooth chocolate topping. The magic happens in the refrigerator as the layers set, creating a firm bar that's easy to slice and enjoy. This recipe requires minimal equipment – just a mixing bowl, a pan, and maybe a microwave or saucepan for melting.
The base usually involves combining about 1 ½ to 2 cups of crushed graham crackers or vanilla wafers with ½ cup of melted butter and a couple of tablespoons of sugar. The filling often uses about 1 cup of peanut butter mixed with 1 cup of powdered sugar and ¼ cup of melted butter, sometimes incorporating cream cheese for extra creaminess.
The top layer is a simple ganache or melted chocolate chips (around 1 ½ cups) mixed with a tablespoon or two of butter or shortening for shine. Chilling time is typically 2-3 hours to ensure everything is set before cutting.
Simple Steps for Delicious Chocolate Peanut Butter Bars
- Prepare the Base: Combine crushed graham crackers or cookies with melted butter and sugar in a bowl. Press firmly into the bottom of an 8x8 or 9x13 inch pan lined with parchment paper. Chill for 15-20 minutes while preparing the filling.
- Make the Peanut Butter Filling: In a separate bowl, mix peanut butter, powdered sugar, and melted butter until smooth and combined. If using cream cheese, beat it first until fluffy, then mix in peanut butter and powdered sugar. Spread this mixture evenly over the chilled base.
- Add the Chocolate Topping: Gently melt chocolate chips with butter or shortening using a microwave (in 30-second intervals, stirring) or a double boiler until smooth. Pour and spread the melted chocolate over the peanut butter layer.
- Chill and Set: Refrigerate the bars for at least 2-3 hours, or until the chocolate topping is completely set and the bars are firm enough to cut cleanly.
- Cut and Serve: Once set, lift the bars out of the pan using the parchment paper. Cut into squares or rectangles using a sharp knife.
Tips for Perfect No-Bake Chocolate Peanut Butter Bars
- Achieve a Firm Base: Make sure to really pack the base mixture down into the pan. Use the bottom of a glass or a flat measuring cup to get an even, compact layer. This prevents the base from crumbling when you cut the bars.
- Smooth Filling: Ensure your peanut butter is smooth and at room temperature for easier mixing. If using cream cheese, make sure it's softened before beating.
- Prevent Chocolate Cracking: To get clean cuts, let the chilled bars sit at room temperature for 5-10 minutes before slicing. Using a hot knife (dipped in hot water and wiped dry) also helps achieve smoother cuts in the chocolate layer.
- Storage: Store leftover bars in an airtight container in the refrigerator for up to a week.
Recipe 2: Easy No-Bake Strawberry Cheesecake Parfaits
Parfaits are the epitome of no bake desserts easy because they involve layering simple, delicious components in a glass. A classic combination is creamy cheesecake filling layered with fresh strawberries and crushed graham crackers. This dessert is not only effortless to assemble but also visually appealing, making it perfect for individual servings at any gathering. The beauty lies in its flexibility – you can swap out fruits and crunchy layers to suit your taste.
The cheesecake layer typically consists of whipped cream cheese (about 8 ounces) combined with sweetened condensed milk (about half a can), a splash of lemon juice for tang, and vanilla extract. This mixture is whipped until smooth and creamy. The crunchy layer is usually graham cracker crumbs, sometimes mixed with a little melted butter or sugar, though plain crumbs work too. Fresh strawberries, sliced or diced, provide freshness and color. Assembly is simply Spooning layers into glasses or jars.
Layered Goodness: Assembling Your No-Bake Strawberry Cheesecake Parfaits
- Prepare the Components: Whip softened cream cheese until smooth. Gradually beat in sweetened condensed milk, lemon juice, and vanilla extract until the mixture is creamy and well combined. Prepare your strawberries by washing, hulling, and slicing or dicing them. Crush graham crackers into crumbs.
- Start Layering: Spoon a layer of graham cracker crumbs into the bottom of your serving glasses or jars (about 1-2 tablespoons).
- Add Cheesecake: Add a generous layer of the no-bake cheesecake mixture over the crumbs (about 2-3 tablespoons).
- Include Fruit: Place a layer of fresh strawberry slices or diced strawberries on top of the cheesecake layer.
- Repeat Layers: Continue layering crumbs, cheesecake mixture, and strawberries until the glass is nearly full, ending with a layer of strawberries or a dollop of cheesecake mixture.
- Chill: Refrigerate the parfaits for at least 1-2 hours to allow the flavors to meld and the layers to settle slightly.
Variations: Different Fruits for Your No-Bake Parfaits
- Mixed Berry Parfaits: Use a combination of fresh blueberries, raspberries, and blackberries instead of just strawberries for a vibrant and flavorful twist.
- Tropical Parfaits: Layer the cheesecake mixture with diced mango, pineapple, or passion fruit pulp for a taste of the tropics.
- Stone Fruit Parfaits: In the summer, try using sliced peaches, nectarines, or cherries (pitted and halved) when they are in season and at their peak sweetness.
- Banana Pudding Style: Layer vanilla pudding (instant pudding is a no bake desserts easy friend! ), sliced bananas, and vanilla wafers instead of cheesecake and graham crackers for a classic comfort dessert.
Recipe 3: Quick No-Bake Chocolate Fudge
Fudge might sound intimidating, but this no bake desserts easy version is incredibly simple, relying on just a few ingredients melted and mixed together. It yields a rich, decadent chocolate treat perfect for satisfying a serious sweet tooth. The basic recipe often involves combining chocolate chips with sweetened condensed milk and butter, sometimes with the addition of vanilla extract or a pinch of salt to enhance the flavor.
The process is usually as simple as melting the ingredients together gently, either on the stovetop over low heat or in a microwave, then pouring the mixture into a prepared pan to set. The consistency is key; you want it smooth and pourable but not too thin. Once poured, it needs several hours in the refrigerator to firm up into sliceable fudge. This method bypasses the need for candy thermometers and precise temperature stages often associated with traditional fudge making.
The Secret to Smooth and Creamy No-Bake Fudge
The key to achieving smooth and creamy no bake desserts easy fudge lies in the gentle melting process and the proper ratio of chocolate to sweetened condensed milk and butter. Overheating the chocolate can cause it to seize or become grainy, so use low heat or short bursts in the microwave. Stirring continuously while melting helps ensure even heat distribution and prevents scorching. The sweetened condensed milk provides both sweetness and a creamy texture, acting as the primary binder.
Using good quality chocolate chips or chopped chocolate will result in a richer flavor. Adding a small amount of butter or a tablespoon of corn syrup can also contribute to a smoother, glossier finish and prevent crystallization. Once melted and mixed, work quickly to pour the fudge into your prepared pan, as it will start to set as it cools.
Adding Flair: Customizing Your Chocolate Fudge
- Nutty Fudge: Stir in about ½ to 1 cup of chopped nuts like walnuts, pecans, or almonds after melting the chocolate mixture but before pouring it into the pan.
- Marshmallow Swirl: Swirl in some marshmallow creme or mini marshmallows just before the fudge sets in the pan for a rocky road effect.
- Peppermint Twist: Add ½ teaspoon of peppermint extract along with the vanilla for a festive mint chocolate fudge. You could also sprinkle crushed candy canes on top before it sets.
- Different Chocolates: Experiment with milk chocolate, dark chocolate, or even white chocolate chips (though white chocolate may require slight adjustments to the milk/butter ratio) for variations in flavor and color.
Recipe 4: No-Bake Key Lime Icebox Cake: A Refreshing Treat
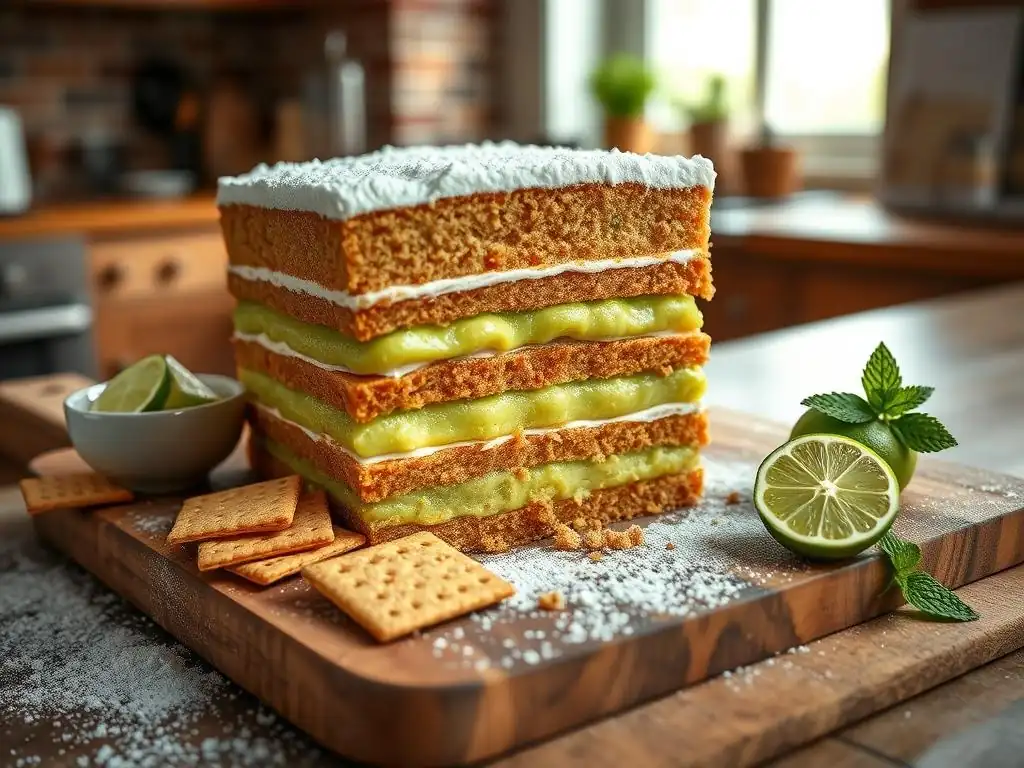
Icebox cakes are classic no bake desserts easy consisting of layers of cookies (often graham crackers or vanilla wafers) and a creamy filling, which soften together in the refrigerator to create a cake-like texture. The Key Lime version is particularly refreshing, perfect for warmer weather or whenever you crave a tangy, sweet dessert. The filling typically features cream cheese or whipped cream combined with key lime juice and sweetened condensed milk.
The structure is simple: layer cookies and the creamy filling repeatedly in a dish. As the cake chills, the moisture from the filling softens the cookies, transforming them from crunchy to tender and cake-like. This process usually takes at least 4-6 hours, or preferably overnight, for the best texture. It's a wonderfully simple concept with a surprisingly sophisticated result.
Effortless Layers: Building Your Key Lime Icebox Cake
- Prepare the Filling: In a large bowl, beat softened cream cheese until smooth. Gradually beat in sweetened condensed milk until fully incorporated. Add key lime juice and vanilla extract (if using) and continue mixing until the filling is light, fluffy, and well combined. Some recipes also fold in whipped heavy cream for extra lightness.
- Arrange the First Layer: Place a single layer of graham crackers or vanilla wafers in the bottom of an 8x8 or 9x13 inch dish, breaking pieces as needed to fit and cover the bottom completely.
- Add Filling: Spread an even layer of the key lime filling over the cookies. Use about one-third or one-fourth of the filling depending on how many layers you plan to make.
- Repeat Layering: Continue layering cookies and filling, ending with a layer of the key lime filling.
- Chill Thoroughly: Cover the dish tightly with plastic wrap and refrigerate for at least 4-6 hours, but ideally overnight, to allow the cookies to soften and the cake to set completely.
- Garnish (Optional): Before serving, you can garnish the top with additional whipped cream, lime zest, or thin lime slices.
Key Lime Icebox Cake Variations: Other Citrus Variations
- Lemon Icebox Cake: Substitute fresh lemon juice (you might need slightly more than key lime juice for comparable tang) and lemon zest for the key lime juice.
- Orange Icebox Cake: Use fresh orange juice and orange zest. Consider using chocolate wafers instead of graham crackers for a chocolate-orange combination.
- Lime (Persian Lime) Icebox Cake: If key limes aren't available, regular Persian limes can be used. The flavor will be slightly different but still delightfully tart and refreshing.
- Coconut-Lime Icebox Cake: Add a bit of coconut extract to the filling and sprinkle shredded coconut between layers or on top for a tropical twist.
Recipe 5: Simple No-Bake Brownie Bites
These no bake desserts easy brownie bites capture the rich, fudgy flavor of brownies without any baking required. They are typically made from a base of crushed cookies or graham crackers mixed with cocoa powder, a sweetener, and a binder like melted butter, condensed milk, or even dates or nut butter. The mixture is then rolled into bite-sized balls and often coated or decorated.
The convenience of these bites lies in their portion size and the fact that they require no oven time. They are quick to mix up, easy to roll, and portable, making them a great snack or party treat. While not identical to baked brownies, they offer a dense, chocolatey chewiness that is very satisfying.
Safe-to-Eat Brownie Batter: The Key Ingredient
Since these are no bake desserts easy brownie bites, the 'batter' needs to be safe to consume without baking. This means using ingredients that don't require cooking to be safe, like heat-treated flour (if using flour), crushed cookies, or graham crackers as the base. A common approach is to use crushed chocolate cookies (like Oreos, with or without the filling) as the base, mixed with cocoa powder for extra chocolate intensity.
Another popular method uses a combination of cocoa powder, powdered sugar, and a binder like softened butter, cream cheese, or sweetened condensed milk. Some healthier versions use blended dates or nut butter mixed with cocoa and maybe oats or nuts. The key is that all components are safe to eat raw, allowing you to enjoy that 'brownie batter' taste without worry. A typical mix might be 2 cups crushed cookies, ¼ cup cocoa powder, ½ cup powdered sugar, and ½ cup melted butter or cream cheese.
Coating and Decoration Ideas for No-Bake Brownie Bites
- Classic Powdered Sugar: Roll the finished bites in powdered sugar for a simple, classic look.
- Cocoa Powder Roll: For an intensely chocolatey finish, roll the bites in unsweetened cocoa powder.
- Melted Chocolate Dip: Dip the bites halfway or completely in melted chocolate (milk, dark, or white) and let them set on parchment paper.
- Sprinkles: While the chocolate coating is still wet, sprinkle with colorful jimmies, nonpareils, or chopped nuts.
- Drizzles: Once set, drizzle the bites with contrasting melted chocolate (e.g., white chocolate drizzle on dark chocolate coating).
- Crushed Nuts or Coconut: Roll the bites in finely chopped nuts or shredded coconut for added texture and flavor.
Mastering No-Bake Techniques: Tips and Tricks for Success
Achieving the Perfect Texture: No-Bake Dessert Consistency Guide
The success of no bake desserts easy heavily relies on achieving the correct texture, which is primarily managed through chilling. For crusts made from crushed cookies and butter, the right ratio is crucial – enough butter to bind the crumbs so they hold their shape when pressed, but not so much that they become greasy. Chilling firmly sets this crust.
For creamy fillings like cheesecakes, mousses, or puddings, the binder is key. Gelatin, cream cheese, or sweetened condensed milk are common. Whipping cream to stiff peaks before folding it in adds lightness and volume while helping the mixture set firm when cold. Custard-based no-bake fillings often use cornstarch or egg yolks (cooked gently, though many no bake desserts easy avoid this) as thickeners. Pay close attention to the recipe's instructions on chilling time; inadequate chilling is the most common reason for a no-bake dessert not setting properly.
Chilling is Key: Proper Cooling for No-Bake Recipes
Chilling is the equivalent of baking time for no bake desserts easy. It's the process that allows ingredients to firm up, flavors to meld, and textures to develop. Most recipes require several hours of refrigeration, often 2 to 4 hours for smaller items like parfaits or fudge, and 4 to 8 hours, or even overnight, for larger desserts like cheesecakes or icebox cakes. Freezing is sometimes used for even quicker setting or for desserts meant to be served frozen or semi-frozen.
Ensure your refrigerator is cold enough (ideally between 35°F and 40°F, or 1.7°C and 4.4°C) for efficient chilling. Cover your desserts before chilling to prevent them from absorbing odors from other food in the fridge and to keep them from drying out. Patience is a virtue here; cutting into a no-bake dessert too early can result in a messy, unset dish. Trust the process and give it the full recommended chilling time.
No-Bake Dessert Storage: Keeping Your Treats Fresh
Proper storage is essential to maintain the quality and freshness of your no bake desserts easy. Because they often contain dairy products like cream cheese, whipped cream, or condensed milk, they should always be stored in the refrigerator. Transfer leftovers to an airtight container to prevent them from drying out or absorbing unwanted flavors. Most no-bake desserts will keep well in the fridge for 3 to 5 days.
Desserts with fruit layers might have a slightly shorter shelf life due to the moisture content of the fruit. Fudge and bar-type no-bake treats tend to store particularly well. If a dessert is intended to be frozen (like some ice cream cakes), ensure it is wrapped tightly in plastic wrap and then foil before freezing to prevent freezer burn. Frozen no-bake items can often last for 1-2 months, but their texture might change slightly upon thawing.
Beyond the Basics: Expanding Your No-Bake Repertoire
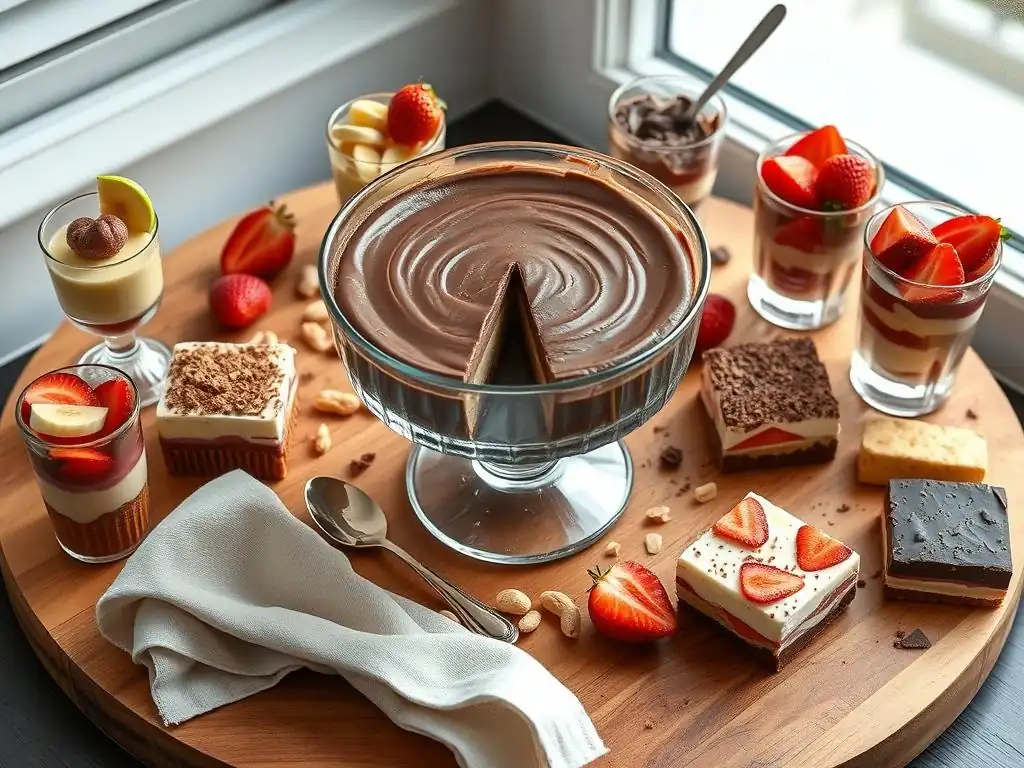
No-Bake Pies and Tarts
Once you've mastered the beginner-friendly no bake desserts easy like bars, parfaits, and fudge, you can easily expand your skills to include no-bake pies and tarts. These typically utilize a pre-made or homemade crushed cookie crust that is chilled until firm. The fillings can range from simple pudding or mousse fillings to more complex creamy mixtures using cream cheese, condensed milk, or melted chocolate, often stabilized with gelatin or whipped cream.
Popular options include French Silk Pie (using raw eggs in traditional versions, but many no bake desserts easy variations use cooked or egg-free chocolate mousse), peanut butter pie, banana cream pie (using instant pudding), and various fruit cream pies. The assembly process is similar to the parfaits or icebox cakes – prepare the crust, make the filling, pour it into the crust, and chill until set. These desserts offer a beautiful presentation and are perfect for slightly more formal occasions while still keeping the process simple and oven-free.
Enjoy Your Easy No-Bake Dessert Journey!
Frequently Asked Questions
What exactly are no-bake desserts and why are they considered "easy"?
No-bake desserts are recipes that don't require an oven or baking process. They are considered easy because they typically involve simple steps like mixing, chilling, and layering, making them beginner-friendly.
What kind of ingredients are commonly used in no-bake desserts?
Common ingredients include things like graham crackers, cream cheese, chocolate, fruit, and instant pudding. These are often readily available and require minimal preparation.
Are no-bake desserts only for beginners, or can experienced bakers enjoy them too?
While great for beginners, no-bake desserts are enjoyable for everyone! They're a fantastic way to create quick and delicious treats, regardless of your skill level, especially during warmer months when you want to avoid using the oven.
Can I customize no-bake recipes with my own flavors and ingredients?
Absolutely! No-bake recipes are incredibly versatile. Feel free to substitute fruits, add different extracts, or experiment with various chocolate types to create your own unique variations.
How long do no-bake desserts typically need to chill in the refrigerator?
Chilling time varies, but most no-bake desserts require at least 2-4 hours in the refrigerator to properly set. Some may benefit from even longer chilling for optimal texture and flavor.
Final Reflection: The Sweet Simplicity of No-Bake Baking
The accessibility of deliciousness is a revolutionary concept, and no-bake desserts are leading the charge. In a world increasingly demanding of our time and energy, the ease and speed of no-bake recipes offer a refreshing alternative to complicated baking projects. These recipes aren't just about convenience; they're about unlocking joy in the kitchen, regardless of skill level.
The impact of simple, accessible recipes extends far beyond the individual kitchen. They foster a sense of community, encouraging shared experiences and the passing down of culinary traditions. No-bake desserts often become cherished family recipes, imbued with memories and personal touches. The best things in life are simple,
a common adage, rings especially true when considering the profound satisfaction derived from a perfectly chilled, effortlessly delicious no-bake treat.
Now, I invite you to embrace the simplicity. Don't let the fear of baking hold you back from creating delightful treats for yourself and those you love. Experiment with the recipes in this article, adapt them to your own tastes, and most importantly, enjoy the process. The journey to deliciousness doesn't require a complicated recipe or hours in a hot kitchen; it simply requires a willingness to try, a dash of creativity, and the sweet satisfaction of a perfectly chilled dessert.
Unlock Your Inner Baker: No-Bake Bliss Awaits!
Thanks for spending time with us and exploring the wonderful world of no-bake recipes! We hope you've discovered some delicious and surprisingly easy treats. Ready to dive in?
- Master your first no-bake masterpiece: Choose your favorite recipe from the article and give it a try! We bet you'll be amazed at how simple it is.
- Share your creations: Show off your baking skills and inspire others by posting photos of your finished treats on social media using #BakeWithEaseNoBake.
- Challenge a friend to a no-bake bake-off: Turn this into a fun competition!
What delicious no-bake adventure will you embark on first?