
Easy Chocolate Easter Eggs You Can Make at Home

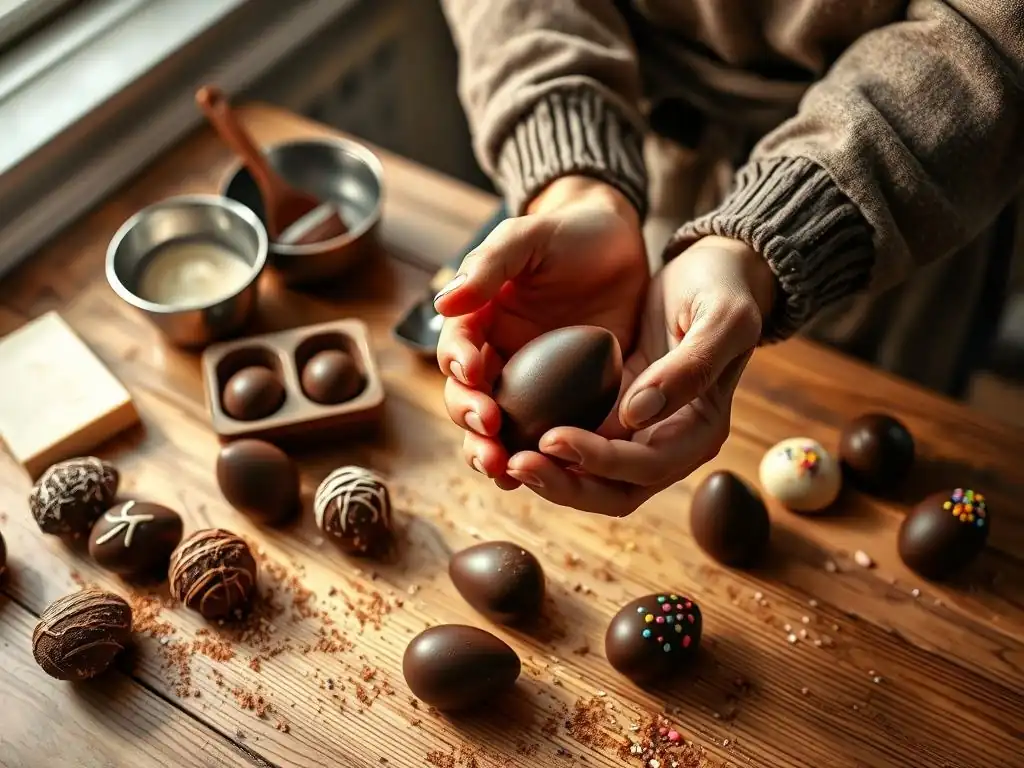
Welcome to BakeWithEase, your companion in the delightful world of baking! Ready to ditch the store-bought sweets this Easter? This year, experience the joy of creating your own delicious treats. Discover how surprisingly simple it is to craft easy homemade chocolate Easter eggs that will impress family and friends. But that's just the beginning... are you curious about the secret to achieving that perfect chocolate shell? Read on to unlock the secrets and elevate your Easter baking game!
- Homemade Chocolate Easter Eggs
- Making Delicious Chocolate Easter Eggs at Home
- Benefits of Making Your Own Chocolate Easter Eggs
- Chocolate Easter Egg Recipe
- Making Chocolate Easter Eggs: A Step-by-Step Guide
- Tips for Perfect Chocolate Easter Eggs
- Easter Egg Variations
- Enjoy Your Homemade Easter Eggs!
- Frequently Asked Questions
- Final Reflection: The Enduring Joy of Homemade Chocolate
- Unleash Your Inner Easter Bunny!
Homemade Chocolate Easter Eggs
Making Delicious Chocolate Easter Eggs at Home
Celebrate Easter with Homemade Treats
Easter is a wonderful time for gathering with family and friends, and what better way to add a personal touch to your celebrations than with delicious, easy homemade chocolate Easter eggs? Crafting your own confectionery allows for creativity and results in unique treats that store-bought options simply can't match.
It's a tradition that brings joy, especially when involving younger family members in the process, turning a simple baking task into a cherished holiday memory. Millions of families across the country engage in some form of holiday baking, and making your own chocolate eggs is a delightful addition to this festive activity.
Creating these charming chocolate eggs at home is more accessible than you might think, even for those new to candy making. With a few basic ingredients and some simple equipment, you can produce professional-looking and tasting eggs. This guide will walk you through the process, ensuring your foray into making easy chocolate Easter eggs is successful and enjoyable. From selecting the right chocolate to adding personal touches with fillings and decorations, you'll be well on your way to impressing everyone with your homemade confectionery skills this Easter season.
Benefits of Making Your Own Chocolate Easter Eggs
Fun Easter Baking Activity
Making chocolate Easter eggs provides a fantastic opportunity for a fun, engaging activity, perfect for a rainy spring afternoon or a weekend family project. It's a hands-on process that can captivate both children and adults, offering a creative outlet during the holiday period. Spending just a couple of hours together, you can transform simple ingredients into beautiful, edible art. This shared experience not only results in tasty treats but also creates lasting positive memories, fostering connection and teamwork within the family.
Beyond the family bonding aspect, the process itself is deeply satisfying. From melting the chocolate to carefully filling the molds and adding decorative flourishes, each step offers its own small reward. It allows for experimentation and learning, making it an educational experience as well. For example, understanding how chocolate behaves when melted or tempered adds a layer of knowledge to the fun. This engaging process makes crafting your own chocolate Easter eggs a rewarding endeavor far beyond just the final product.
Customize Flavors
One of the most significant advantages of making your own chocolate Easter eggs is the complete control you have over the ingredients and flavors. Unlike mass-produced eggs with limited options, you can choose your favorite type of chocolate – whether it's rich dark chocolate (perhaps 70% cocoa content for intensity), creamy milk chocolate, or sweet white chocolate. Furthermore, the possibilities for fillings are nearly endless, allowing you to tailor each egg to specific tastes or dietary preferences.
Imagine crafting eggs filled with smooth caramel, crunchy roasted nuts like hazelnuts or almonds, chewy dried fruits such as cranberries or apricots, or even a spiced ganache. You can create a batch where each egg offers a different surprise inside, making them exciting to share and discover. This level of customization ensures that your homemade chocolate Easter eggs will be perfectly suited to your palate and those you share them with, offering a truly personalized treat experience.
Cost-Effective
While premium store-bought chocolate Easter eggs can be quite expensive, making them at home can often be a more budget-friendly option, especially when producing a larger quantity. The primary ingredients – chocolate and any fillings or decorations – are typically less costly when purchased in bulk or standard sizes compared to the per-piece price of artisanal or specialty eggs. For example, making a dozen medium-sized eggs might cost around $10-$15 in ingredients, whereas buying a similar quantity of gourmet eggs could easily exceed $30 or $40.
Furthermore, once you've invested in basic equipment like molds, they can be reused year after year, further reducing the cost over time. This makes crafting easy homemade chocolate Easter eggs a smart economic choice for holiday gifting or for simply having plenty of delicious treats on hand without breaking the bank. It's a way to enjoy high-quality confectionery using quality ingredients you select yourself, all while managing your holiday spending effectively.
Chocolate Easter Egg Recipe
Ingredients
- Chocolate (Dark, Milk, or White)
- Choose good quality chocolate for the best results. Callebaut or Ghirardelli are popular choices for their melting properties.
- Fillings (Nuts, Dried Fruit, Caramel)
- Chopped roasted nuts (e.g., pecans, walnuts)
- Small dried fruits (e.g., raisins, chopped cranberries)
- Premade or homemade caramel
- Peanut butter or other nut butters
- Ganache (chocolate mixed with cream)
- Decorations (Sprinkles, Edible Paint)
- Jimmies, nonpareils, or other fun sprinkles
- Edible glitter or dust
- Edible food coloring specifically for chocolate
Equipment
- Easter Egg Molds
- Available in various sizes and materials like polycarbonate or silicone. Polycarbonate molds often yield a glossier finish.
- Double Boiler
- A simple setup with a heatproof bowl placed over a pot of simmering water.
- Spatula
- Silicone spatulas are ideal for scraping bowls and mixing chocolate.
- Piping Bag (Optional)
- Useful for cleanly adding fillings or intricate chocolate details.
Making Chocolate Easter Eggs: A Step-by-Step Guide
Step 1: Tempering the Chocolate
Tempering chocolate is a crucial step for achieving that beautiful glossy finish and satisfying snap when you bite into your homemade chocolate Easter eggs. It involves melting the chocolate and then cooling and reheating it to specific temperatures to stabilize the cocoa butter crystals. Properly tempered chocolate sets firmly, shrinks slightly to release easily from molds, and resists blooming (the formation of grey streaks). Skipping this step can result in dull, soft, or streaky chocolate eggs.
There are a couple of common methods for tempering. The double boiler method involves melting about two-thirds of your chocolate in a heatproof bowl over simmering water until it reaches a certain temperature (e.g., dark chocolate to 115-120°F, milk/white to 105-110°F).
Then, remove it from the heat and stir in the remaining one-third of chopped chocolate or callets, stirring constantly until it cools and all the chocolate is melted and smooth, reaching a working temperature (e.g., dark chocolate 88-91°F, milk/white 84-86°F). The microwave method involves heating chopped chocolate in short bursts (30 seconds), stirring well after each, until mostly melted, then stirring until smooth and reaching the correct working temperature.
Step 2: Molding the Chocolate
Once your chocolate is perfectly tempered and at the correct working temperature, it's time to fill your Easter egg molds. Ensure your molds are clean and completely dry; even a tiny drop of water can cause the chocolate to seize. If using polycarbonate molds, polishing the cavities with a cotton ball can enhance the shine of the final eggs. Gently pour or ladle the tempered chocolate into each mold cavity, filling it completely.
Next, carefully tap the mold against your work surface several times. This step is essential for removing any trapped air bubbles, which can leave unsightly holes on the surface of your finished eggs. The tapping also helps the chocolate settle evenly into the mold. If you are making hollow eggs, immediately invert the mold over your bowl of chocolate and let the excess chocolate drain out, leaving a thin shell coating the inside of the mold. Scrape the excess chocolate from the surface of the mold using a spatula to ensure clean edges.
Step 3: Adding Fillings (Optional)
If you're making filled easy homemade chocolate Easter eggs, this is the stage to add your chosen centers after the chocolate shell has set slightly but isn't fully hard. For hollow eggs, once the shell is set (usually after about 10-15 minutes in a cool place), you can add your filling. Don't fill them completely to the top, leaving a small space for the final layer of chocolate to seal the egg halves together. Popular filling options include caramel, ganache, nut butter, or a mix of nuts and dried fruit.
For solid eggs (where you didn't drain the excess chocolate), you would typically mix your filling ingredients directly into the tempered chocolate before pouring, or layer them if the mold is deep enough. For example, you could pour a thin layer of chocolate, add a sprinkle of chopped nuts, and then top with more chocolate. Ensure the filling is not too wet, as moisture can cause the chocolate to bloom or soften. Allow the filling to set slightly before proceeding.
Step 4: Sealing and Setting
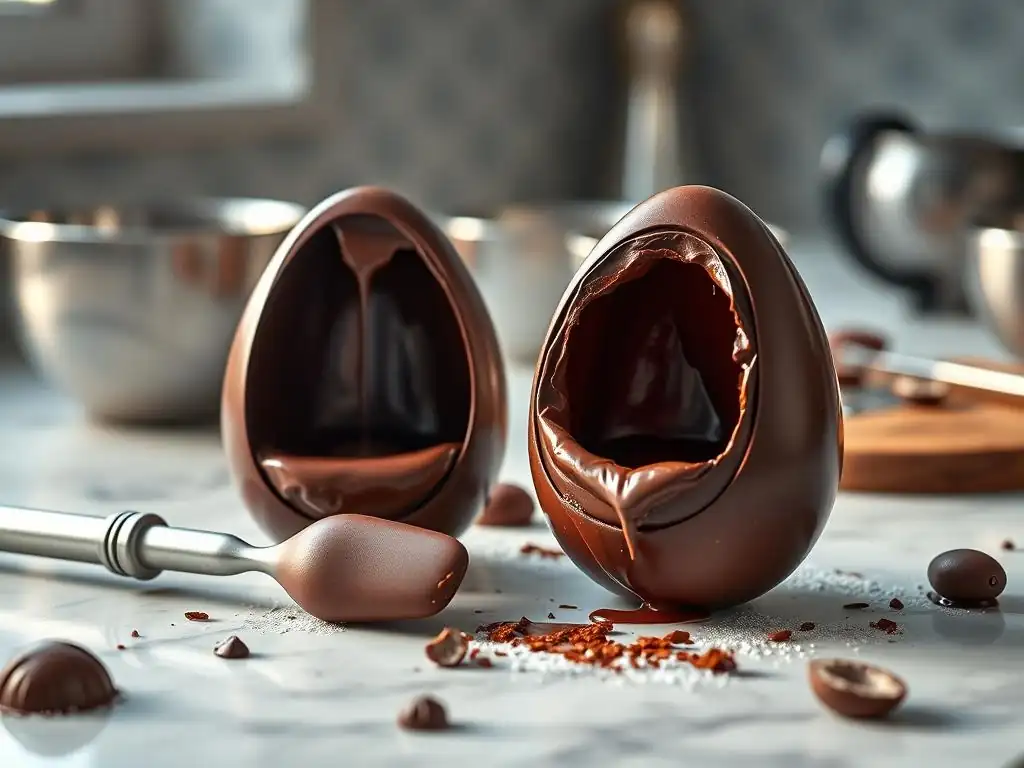
To seal the egg halves together (for hollow or filled eggs), you'll need to work with tempered chocolate again. If you've made hollow shells or filled halves, gently warm the edges of the egg halves. This can be done by briefly touching the edge onto a warm surface, like a baking sheet that has been gently heated (not hot! ), or by using a food-safe heat gun on a very low setting for just a second or two. The goal is to melt the chocolate edge just enough to create a bond.
Carefully press two halves together, holding them in place for a few seconds until the chocolate cools and sets, creating a seam. Wipe away any excess chocolate that squeezes out. Once the eggs are sealed, or if you made solid eggs, place the mold or the finished eggs in a cool, dry place to set completely. The refrigerator can speed this up, but ensure there's no moisture, as condensation is the enemy of chocolate. Allow them to set for at least 30-60 minutes, or until the mold looks frosty and the chocolate has pulled away from the sides.
Step 5: Decorating
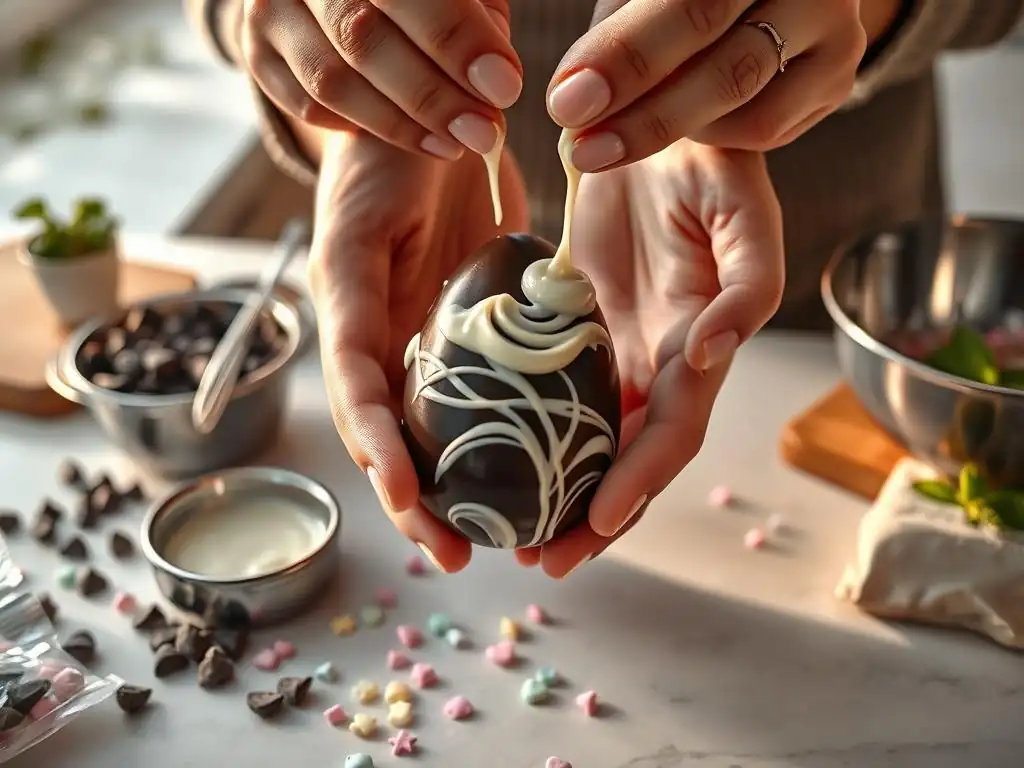
Once your easy homemade chocolate Easter eggs are fully set and released from their molds, you can add the final decorative touches. This is where your creativity can truly shine! Simple decorations like a drizzle of contrasting chocolate (white chocolate on dark, dark on milk) can add elegance. You can use a piping bag with a fine tip to create intricate patterns, stripes, or dots. Ensure the chocolate used for drizzling is also tempered for the best finish.
Sprinkles and edible glitter are fantastic for adding sparkle and fun, especially when making eggs with children. You can adhere sprinkles by applying a tiny dot of melted chocolate as glue or by drizzling chocolate and immediately coating the wet chocolate with sprinkles. For more detailed designs, consider using edible food coloring specifically formulated for chocolate or cocoa butter-based edible paints. These allow you to brush or paint designs directly onto the chocolate surface, creating truly unique and festive easy chocolate Easter eggs.
Tips for Perfect Chocolate Easter Eggs
Achieving a Glossy Finish
A high-quality, glossy finish is the hallmark of well-made chocolate confectionery. The key to achieving this lies primarily in proper chocolate tempering, as discussed earlier. Tempered chocolate sets with a stable crystalline structure that reflects light beautifully, resulting in that desired shine. Using clean, polished polycarbonate molds can also significantly contribute to a glossy surface, as the chocolate takes on the finish of the mold cavity.
Ensuring the chocolate is cooled and set correctly is also vital. Avoid placing the molds in a humid environment or moving them too much while they are setting. A cool, dry place (ideally around 60-65°F or 15-18°C) is perfect. If you must use the refrigerator, place the molds in an airtight container to protect them from moisture and strong odors, and only leave them in long enough for the chocolate to set, typically 15-20 minutes.
Preventing Bloom
Chocolate bloom is the appearance of grey or white streaks or patches on the surface of chocolate. There are two main types: fat bloom, caused by improper tempering or temperature fluctuations, and sugar bloom, caused by moisture on the surface. Preventing bloom in your easy homemade chocolate Easter eggs starts with correct tempering, which stabilizes the fat crystals. Once tempered, store the finished eggs properly.
Avoid sudden temperature changes, such as moving eggs directly from a warm room to a cold refrigerator, as this can cause condensation (sugar bloom) or disrupt the fat crystals (fat bloom). Store chocolate eggs in a cool, dry place with a consistent temperature, ideally between 60-68°F (15-20°C). Avoid storing them in humid environments. If you need to store them for more than a few days, an airtight container can offer extra protection against moisture and odors.
Proper Storage
Storing your easy chocolate Easter eggs correctly will ensure they maintain their quality, texture, and appearance until you're ready to enjoy or share them. As mentioned, chocolate is sensitive to temperature, humidity, and odors. The ideal storage temperature is between 60-68°F (15-20°C), in a dark, dry place, such as a pantry or a cool cupboard.
Keep the eggs away from direct sunlight or heat sources, which can cause them to melt or bloom. Store them in an airtight container to protect them from moisture, dust, and absorbing other food odors. Layering them with parchment or wax paper can prevent them from sticking together. If stored properly, homemade chocolate Easter eggs can remain fresh and delicious for several weeks, though they are often too tempting to last that long!
Easter Egg Variations
White Chocolate and Raspberry
- Use tempered white chocolate for the shells.
- Fill with a raspberry ganache or small freeze-dried raspberry pieces for a fruity contrast.
Dark Chocolate and Hazelnut
- Craft shells from rich dark chocolate (e.g., 60-70% cocoa).
- Fill with a creamy hazelnut praline paste or chopped roasted hazelnuts mixed with a little chocolate.
Milk Chocolate and Caramel
- Classic combination using smooth milk chocolate shells.
- Fill with soft, gooey caramel, either homemade or good quality store-bought.
Enjoy Your Homemade Easter Eggs!
Frequently Asked Questions
What makes these chocolate Easter eggs "easy" to make?
These Easter eggs focus on simple ingredients and a straightforward melting and molding process, making them achievable for bakers of all skill levels, even beginners. We provide easy-to-follow instructions.
What kind of chocolate is best for making homemade Easter eggs?
Using high-quality chocolate is recommended, like couverture or tempered chocolate, for a smooth, glossy finish. However, chocolate chips or baking chocolate can also be used for a simpler, less-technical approach.
Do I need special equipment to make these chocolate Easter eggs?
While silicone egg molds are ideal, you can also use plastic Easter egg molds or even improvise with greased egg-shaped containers. You'll also need basic baking tools like bowls and a double boiler (or microwave).
How can I customize my homemade chocolate Easter eggs?
Get creative with fillings like caramel, peanut butter, or mini marshmallows. You can also add sprinkles, nuts, or dried fruit to the chocolate before it sets.
How should I store my homemade chocolate Easter eggs?
Store your finished Easter eggs in an airtight container in a cool, dry place. Avoid direct sunlight or warm temperatures, as this can cause the chocolate to melt or "bloom," creating a white coating on the surface.
Final Reflection: The Enduring Joy of Homemade Chocolate
The simple act of crafting chocolate Easter eggs at home connects us to a rich tradition of springtime celebration and offers a surprisingly rewarding creative outlet. In a world increasingly dominated by mass-produced goods, the ability to create something delicious and personal holds a unique appeal, especially during a holiday season focused on connection and sharing. This resonates deeply today, as more and more people seek meaningful ways to celebrate and connect with loved ones.
The enduring charm of homemade treats lies not just in their taste, but in the process itself. The careful melting of chocolate, the delicate filling of molds, the anticipation of the final product – these are moments that foster a sense of accomplishment and joy. The best things in life are homemade.
This sentiment, though simple, perfectly captures the essence of the experience. It's a reminder that the most cherished memories often stem from the simplest acts of creation and sharing, fostering a deeper appreciation for both the process and the product.
Now, consider the possibilities. What flavors will you experiment with next year? What unique designs will you create? Perhaps you'll even involve loved ones in the process, transforming the egg-making into a cherished family tradition. Don't just passively consume the holiday; actively participate in its creation. Embrace the joy of homemade chocolate, and let the sweet taste of success linger long after the last egg is devoured.
Unleash Your Inner Easter Bunny!
Thanks for joining us on this delicious journey into homemade Easter egg bliss! We hope you've gained some inspiration and confidence to tackle those sweet treats yourself. Ready to get started?
- Craft your masterpiece: Gather your ingredients and follow our recipe to create stunning, delectable chocolate Easter eggs. Don't be afraid to experiment with your favorite fillings and decorations!
- Share your creations: Show off your Easter egg artistry on social media – we'd love to see what you come up with! Use #BakeWithEaseEaster to join the fun.
- Challenge a friend: Why not make this a fun activity with a friend or family member? See who can create the most creative and delicious egg!
So, what unique twist will you add to your homemade Easter eggs this year?