
Under or Over Kneaded? How to Know Your Dough is Ready

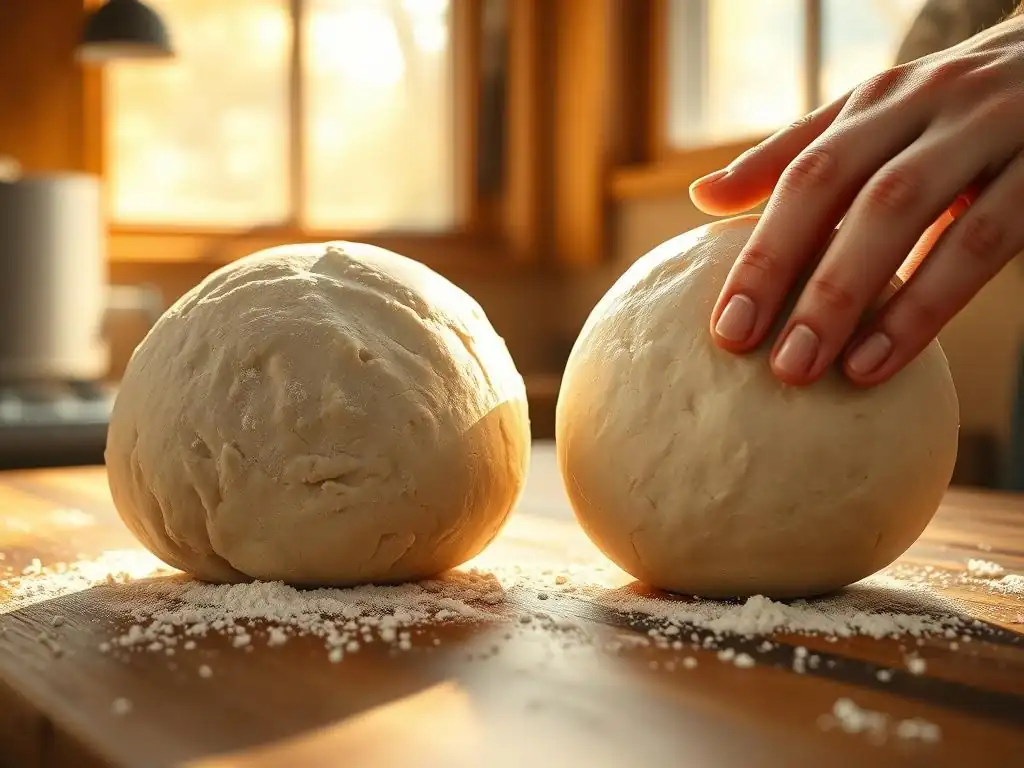
Welcome to BakeWithEase, your guide to unlocking the delicious world of baking! Ever wondered if you're really getting the hang of kneading dough? Our latest article, "Under or Over Kneaded? How to Know Your Dough is Ready," dives deep into the secrets of perfect dough consistency. Discover the telltale signs that separate a mediocre loaf from a masterpiece and elevate your bread baking skills today. Intrigued? Let's get kneading!
- Under or Over Kneaded? How to Know Your Dough is Ready | BakeWithEase
- Introduction to Dough Kneading: The Key to Perfect Bread
- Identifying Under-Kneaded Dough: Signs and Solutions
- Recognizing Perfectly Kneaded Dough: The Sweet Spot
- Over-Kneaded Dough: What Happens and How to Avoid It
- Mastering the Windowpane Test: A Step-by-Step Guide
- Alternative Methods for Checking Dough Readiness
- Troubleshooting Common Kneading Problems
- Tips for Efficient and Effective Kneading
- Conclusion: Confidently Kneading Your Way to Delicious Bread
- Frequently Asked Questions
- Final Reflection: The Humble Art of Kneading and the Bread We Bake
- Unleash Your Inner Baker: Perfect Dough, Every Time!
Under or Over Kneaded? How to Know Your Dough is Ready | BakeWithEase
Introduction to Dough Kneading: The Key to Perfect Bread
Why Kneading Matters for Bread Baking Success
Kneading is a fundamental step in the process of how to knead dough, especially for yeast-leavened breads. It's not just about mixing ingredients; it's the physical act that transforms a shaggy mass into a smooth, elastic dough. Proper kneading develops the gluten structure, which is a network of proteins found in wheat flour. This network is responsible for trapping the carbon dioxide gas produced by yeast during fermentation, allowing the dough to rise and giving the final bread its characteristic airy texture and volume.
Without sufficient kneading, the gluten structure remains weak. This results in a dough that doesn't hold its shape well and produces a dense, heavy loaf with a crumb that lacks the desired open structure. Think of kneading as building the internal framework of your bread. Just as a house needs a strong frame to stand tall, your bread needs a strong gluten network to achieve a beautiful rise and a delightful texture. Mastering how to knead dough effectively is a game-changer for any aspiring bread baker.
Understanding Gluten Development in Dough
Gluten develops when two proteins in wheat flour, glutenin and gliadin, come into contact with water and are then agitated, typically through kneading. Glutenin provides elasticity, allowing the dough to stretch, while gliadin provides extensibility, allowing it to expand. As you knead, these proteins link together, forming long, elastic chains that create the gluten network. This network is like a complex web throughout the dough.
The degree of gluten development directly impacts the bread's final texture. A well-developed gluten structure allows the dough to stretch without tearing, essential for trapping gases. For instance, a baguette dough requires significant gluten development to achieve its open, airy crumb, often requiring kneading times of 10-15 minutes by hand or 6-10 minutes in a stand mixer. Understanding this process is key to knowing how to knead dough correctly for different types of bread.
Identifying Under-Kneaded Dough: Signs and Solutions
The Sticky Situation: Recognizing Under-Kneaded Dough
One of the most common indicators of under-kneaded dough is excessive stickiness. While some doughs are naturally wetter than others, a dough that is persistently sticking to your hands, the counter, or the mixing bowl despite a few minutes of kneading is likely underdeveloped. This isn't just inconvenient; it signifies that the gluten network hasn't properly formed to absorb the liquid and create a cohesive mass.
An under-kneaded dough often feels heavy and dense. It lacks the springiness you expect from properly developed dough. When you try to pull or stretch a piece, it will likely tear easily and unevenly, rather than stretching into a thin membrane. This lack of elasticity is a clear sign that the gluten proteins haven't fully linked together, and more kneading is needed to build that essential structure.
Common Characteristics of Dough That Needs More Kneading
Beyond stickiness, under-kneaded dough displays several other tell-tale signs. Visually, it often appears shaggy and uneven, with visible dry spots or areas where the ingredients haven't fully incorporated into a smooth mass. The surface might look rough rather than smooth and taut. When you press it, it might feel slack and not bounce back quickly, if at all.
Another characteristic is its inability to hold shape. If you try to round the dough into a ball, it will likely spread out quickly and flatten. This is because the weak gluten network isn't strong enough to provide the necessary structure. For example, a simple white bread dough kneaded for only 2-3 minutes will typically exhibit these characteristics, feeling more like a thick batter than a workable dough. Learning to recognize these signs is crucial for knowing how to knead dough effectively.
Testing for Under-Kneading: The Windowpane Test (Initial Stage)
The windowpane test is the gold standard for assessing gluten development. When testing under-kneaded dough, the results of this test will be very clear. To perform it, take a small piece of dough (about the size of a golf ball) and gently stretch it between your fingers.
In an under-kneaded dough, this piece will break almost immediately as you try to stretch it. You won't be able to pull it thin enough to see light through it. It will likely tear into multiple pieces rather than forming a thin membrane. This inability to stretch indicates that the gluten strands are short and fragmented, not yet forming the strong, interconnected network required for a good rise and crumb structure.
How to Fix Under-Kneaded Dough: Kneading Techniques
Fortunately, under-kneaded dough is easily fixable – it just needs more kneading! If you are kneading by hand, continue the process of folding, pushing, and stretching the dough. You can use the heel of your hand to push the dough away from you, then fold it back over itself, rotating occasionally. This action aligns and strengthens the gluten strands.
If you are using a stand mixer, simply turn it back on to a low to medium speed (usually speed 2 or 3) and continue mixing. Check the dough periodically using the windowpane test. It might take an additional 5-10 minutes by hand or 3-5 minutes in a mixer, depending on how under-kneaded it was initially. Adding a tiny bit of flour (just a sprinkle, maybe half a teaspoon) if it's excessively sticky can help manage it during this extra kneading time, but avoid adding too much as this can dry out the dough.
Recognizing Perfectly Kneaded Dough: The Sweet Spot
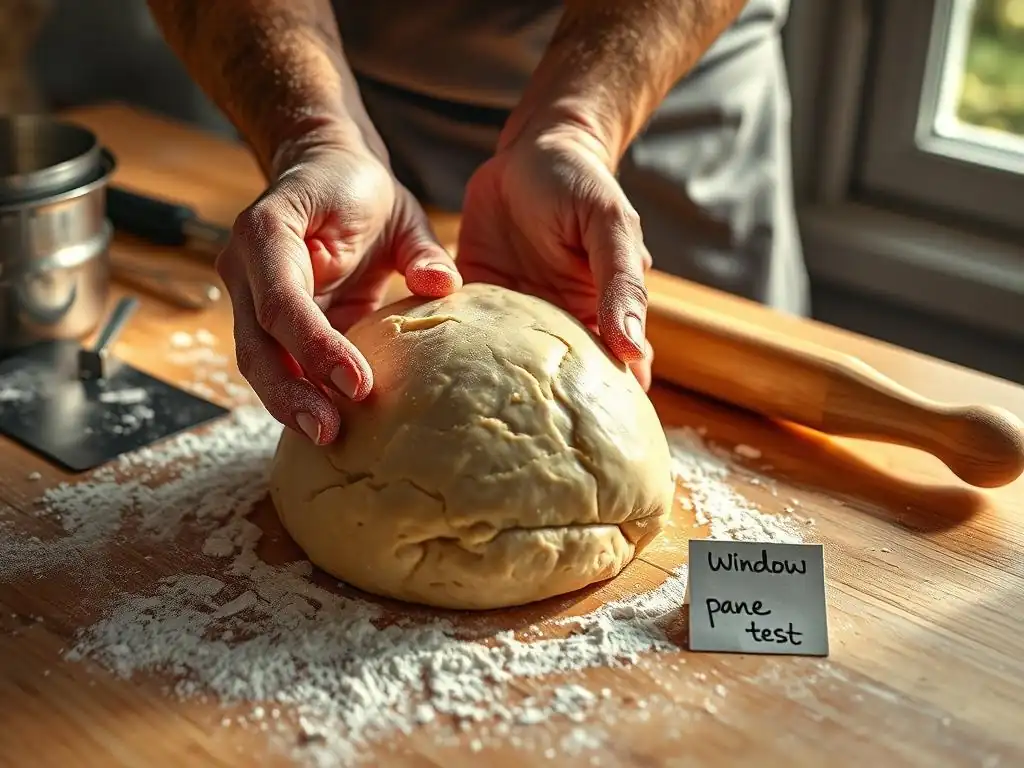
Achieving the Ideal Dough Texture for Bread Baking
Perfectly kneaded dough reaches a state where the gluten network is fully developed but not yet broken down. It has a distinct feel and appearance that experienced bakers learn to recognize. The texture is smooth, elastic, and supple. It should feel alive and responsive under your hands or the mixer hook.
When you press gently into the dough with your finger, the indentation should slowly spring back, indicating good elasticity and resilience. This balance of elasticity and extensibility is crucial. The dough can stretch to accommodate the gases produced by yeast, allowing for a significant rise, but it also has the strength to hold its shape. This is the goal when learning how to knead dough correctly.
The Perfect Windowpane Test: What to Look For
The windowpane test is the most reliable indicator of perfectly kneaded dough. Take a small piece of dough, about the size of a small plum, and gently stretch it between your fingers and thumbs. Work from the center outwards, stretching the dough into a thin membrane.
When the dough is perfectly kneaded, you should be able to stretch it so thin that you can see light passing through it, much like looking through a windowpane, without the dough tearing. The edges might be slightly thicker, but the central area should be translucent. This demonstrates that the gluten strands are long, strong, and interconnected, capable of trapping gas and creating a beautiful crumb structure in the final bread.
Signs of a Well-Developed Gluten Structure
Beyond the windowpane test, several other signs indicate a robust gluten structure. The dough will form a smooth, taut ball that holds its shape well. If you are kneading in a stand mixer, the dough will typically clean the sides of the bowl, gathering around the dough hook.
When you pull on a piece, it will stretch significantly before resisting and eventually tearing, rather than snapping immediately. This elasticity is key. A dough with well-developed gluten feels less sticky than under-kneaded dough (though some high-hydration doughs will always be a bit sticky) and is much easier to handle and shape. For instance, a standard sandwich bread dough, which aims for a relatively tight crumb, relies heavily on achieving this stage of gluten development through proper kneading.
Visual and Tactile Cues for Perfectly Kneaded Dough
Learning how to knead dough also involves developing a feel for it. Visually, perfectly kneaded dough will have a smooth, satiny surface. It won't look shaggy or rough, and you shouldn't see dry patches. It often develops a slight sheen.
By touch, it will feel soft yet firm, elastic, and resilient. It shouldn't feel slack or mushy, nor should it feel overly stiff or tough (which indicates over-kneading). When you round it into a ball, it will resist spreading out and maintain its shape. This combination of visual smoothness and tactile elasticity is what you're aiming for when you knead dough to perfection.
Over-Kneaded Dough: What Happens and How to Avoid It
The Consequences of Over-Kneading Your Dough
While it might seem counterintuitive, you can indeed knead dough too much. Over-kneading occurs when the gluten strands, which you've worked so hard to develop, begin to break down from excessive physical stress. This is particularly a risk when using a stand mixer, as the high speed and continuous action can overwork the dough quickly.
The consequences of over-kneading are detrimental to the final bread. Instead of a strong, elastic network, the gluten structure becomes damaged. This impairs the dough's ability to rise properly, as the broken gluten strands cannot effectively trap the gas produced by the yeast. The resulting bread is often dense, tough, and can have a poor texture, sometimes described as crumbly or cake-like rather than having the desired chewy crumb.
Signs of Over-Kneading: A Stiff and Unruly Dough
Over-kneaded dough behaves quite differently from both under-kneaded and perfectly kneaded dough. It often feels very stiff and resistant, almost like a rubber band that's been stretched too far and lost its snap. It becomes difficult to work with and shape because it constantly springs back or resists being formed.
When you try to stretch a piece, it will feel tight and may tear very quickly, but unlike under-kneaded dough, it feels tough rather than slack. It lacks the supple, elastic feel of perfectly kneaded dough. Visually, the surface might look dull or even slightly wet, and it won't achieve the smooth, satiny finish you look for in perfectly kneaded dough.
Identifying Tears and a Shaggy Appearance
Paradoxically, over-kneaded dough can sometimes start to look shaggy again or develop surface tears, similar to under-kneaded dough, but for different reasons. The shagginess isn't from lack of development but from the gluten network breaking down. The dough might start to look wet and gluey as the broken proteins release moisture.
Trying the windowpane test on over-kneaded dough is often difficult. The dough will feel very tight and resist stretching. If you manage to stretch it at all, it will likely tear almost immediately and unevenly, without forming a thin membrane. This inability to stretch indicates that the gluten strands are no longer forming a cohesive, elastic network. For example, kneading a standard pizza dough for 20 minutes at high speed in a stand mixer is likely to result in over-kneading, making it difficult to stretch into a thin crust.
Preventing Over-Kneading: Tips and Techniques
The best way to avoid over-kneading is to pay close attention to the dough's feel and appearance and to rely on tests like the windowpane test. Stop kneading as soon as the dough reaches the desired stage of development. It's always better to slightly under-knead than to over-knead, as you can often fix under-kneading with a bit more work, but over-kneading is much harder to salvage.
Keep track of kneading times, especially when using a mixer, but use time as a guideline, not a strict rule. Flour types and hydration levels can affect how quickly gluten develops. A dough made with high-protein bread flour might develop faster than one made with all-purpose flour. Learning how to knead dough is as much about feel and observation as it is about technique.
Using a Stand Mixer: Avoiding Over-Kneading
Stand mixers are incredibly efficient for kneading dough, but they also increase the risk of over-kneading because they work the dough so vigorously. Always start on a low speed (like speed 1 or 2) to bring the ingredients together, then increase to a medium speed (speed 2 or 3) for the main kneading phase. Avoid using high speeds for extended periods.
Monitor the dough closely while it's mixing. Watch for the dough to start cleaning the sides of the bowl and gathering around the hook. Periodically stop the mixer and perform the windowpane test. For many standard bread doughs, 6-10 minutes in a stand mixer is sufficient. Once the dough passes the windowpane test and has that smooth, elastic feel, stop mixing immediately.
Mastering the Windowpane Test: A Step-by-Step Guide

Preparing Your Dough for the Windowpane Test
The windowpane test is your best friend for determining if you've successfully learned how to knead dough. To prepare, ensure your hands are clean and lightly floured, or slightly moistened if working with a very sticky dough. This prevents the dough from sticking to your fingers as you stretch it.
Gently pull off a small piece of dough from the main mass. The size should be roughly equivalent to a golf ball or a small plum – enough dough to get a good feel for its structure without disrupting the bulk of the dough too much. Avoid tearing the piece off roughly; try to pinch and separate it cleanly.
Performing the Windowpane Test Correctly
Take the small piece of dough and hold it between the thumbs and first two fingers of both hands. Begin gently stretching the dough by moving your thumbs and fingers apart, working from the center outwards. Rotate the dough as you stretch to thin it out evenly.
The goal is to stretch the dough into a thin membrane. Be patient and gentle; forcing it will cause it to tear prematurely. Keep stretching until the center is very thin. You should be able to see light passing through the stretched dough. If it tears before you can achieve this transparency, the gluten is not yet sufficiently developed.
Interpreting the Results: Under, Over, or Just Right
Interpreting the windowpane test results tells you exactly where your dough is in the kneading process.
- Under-kneaded: The dough tears immediately when you try to stretch it, or it breaks before you can thin it out enough to see light through it. The gluten strands are too short and weak.
- Perfectly kneaded: You can stretch the dough into a thin, translucent membrane without it tearing. You can see light through the center, like a windowpane. The gluten network is strong and elastic.
- Over-kneaded: The dough feels very tight and resists stretching. If you manage to stretch it, it tears quickly and unevenly, often feeling tough or breaking into multiple pieces. The gluten network has broken down.
Troubleshooting the Windowpane Test
Sometimes the windowpane test can be tricky, especially with very high-hydration doughs (like ciabatta, which can be 80% hydration or more) or doughs containing lots of add-ins like nuts or seeds, which can interfere with the gluten network. With high-hydration dough, it might be harder to get a completely clean 'pane', but you should still see significant stretch and some translucency.
If your dough keeps tearing during the test, consider if you're being too rough, or if your hands are too dry causing friction. Ensure you are stretching gently from the center outwards. If it consistently tears despite gentle stretching, it confirms the dough needs more kneading if it feels slack, or indicates over-kneading if it feels very tight and resistant.
Alternative Methods for Checking Dough Readiness
The Poke Test: Assessing Dough Elasticity
While the windowpane test is excellent for gluten development, the poke test is often used after the first rise (proofing) to assess if the dough is ready to be shaped or baked. However, it can also give you some clues about the dough's elasticity after kneading. Gently press a floured finger about half an inch into the dough surface.
Observe how the indentation responds. If the dough is under-kneaded, the indentation might stay completely or mostly put, indicating a lack of elasticity. If the dough is perfectly kneaded and proofed, the indentation will spring back slowly and partially, showing good structure and resilience. If it springs back immediately and completely, it might be slightly over-proofed or, in the context of kneading, could indicate a very tight, potentially over-kneaded dough.
The Feel Test: Developing a Sense for Dough Texture
Learning how to knead dough effectively is also about developing your tactile sense. The "feel test" involves simply handling the dough and assessing its texture, elasticity, and smoothness. As you knead, pay attention to how the dough changes under your hands.
Initially, it will feel shaggy and sticky. As gluten develops, it will become less sticky, smoother, and more cohesive. It will feel more elastic and resilient. Perfectly kneaded dough has a live, supple feel. Over-kneaded dough might feel tight and tough, or conversely, wet and gluey if the gluten has completely broken down. This intuitive feel comes with practice and complements the more objective tests.
The Float Test: Determining Readiness Through Buoyancy
The float test is another method often used after the first rise to check if the dough is adequately proofed, but it relies on the dough's internal structure being strong enough to trap gas. While not a direct test of kneading completion, a dough that fails the float test after sufficient proofing might point back to insufficient gluten development from under-kneading.
To perform it, gently pinch off a small piece of dough and drop it into a bowl of water. If the dough has developed enough internal structure to hold sufficient gas from fermentation, it will float. If it sinks, it indicates that the gluten network wasn't strong enough to trap enough gas, which could be due to under-kneading affecting its gas-holding capacity, or insufficient proofing time.
Troubleshooting Common Kneading Problems
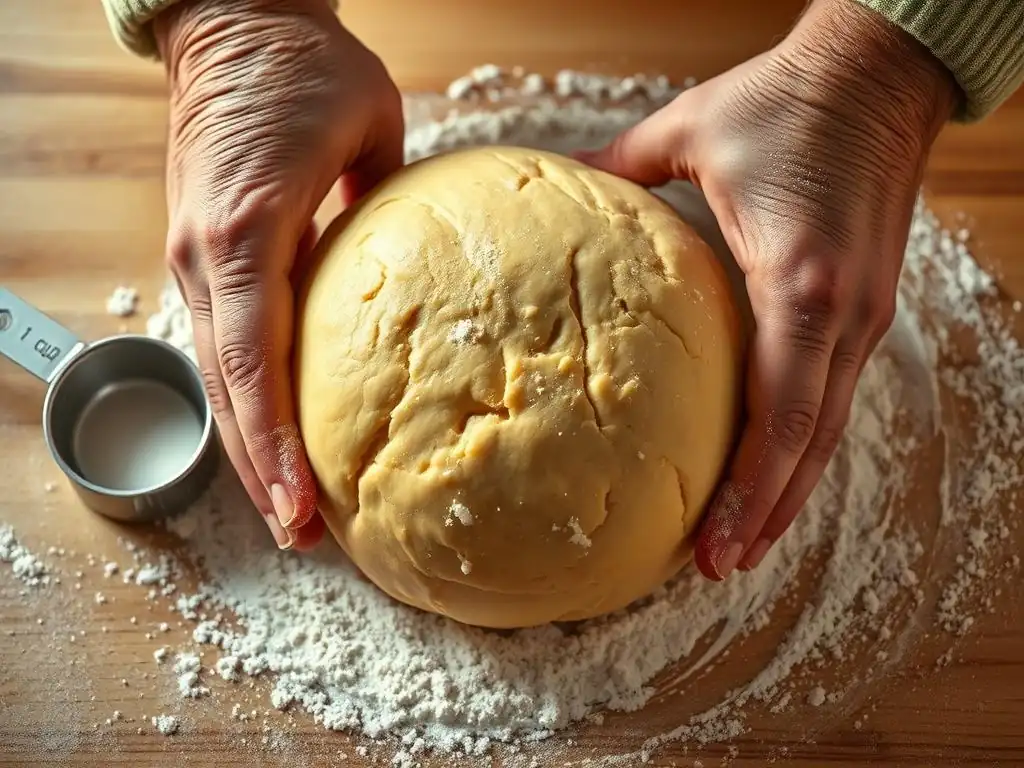
Dough Sticking to the Counter
Excessive stickiness is a common issue when learning how to knead dough, often indicating that the dough is under-kneaded or that you're working with a high-hydration recipe. Resist the urge to add large amounts of flour, as this can change the dough's hydration ratio and result in a dry loaf.
Instead, use a dough scraper to help manage the sticky dough. Lightly flour your hands and the work surface, but use just enough to make the dough manageable, not so much that it gets incorporated into the dough in large quantities. Continue kneading; as the gluten develops, the dough will become less sticky and more manageable. For very wet doughs (like ciabatta or focaccia), embrace the stickiness and use wet hands or a dough scraper instead of flour.
Dough That Won't Form a Ball
If your dough remains a shaggy, loose mass that refuses to come together into a cohesive ball after several minutes of kneading, it's a strong sign of under-kneading. The gluten hasn't developed sufficiently to bind the ingredients together.
The solution is simple: keep kneading! Continue working the dough using your preferred method (hand or mixer). Focus on techniques that stretch and fold the dough, which encourages gluten development. As you continue the process of how to knead dough, you'll notice the dough gradually becoming smoother, more elastic, and starting to hold its shape better, eventually forming a ball.
Troubleshooting: Dough That Tears Easily
Dough that tears easily during kneading or when you try to stretch it usually points to under-kneading. The gluten network is weak and breaks rather than stretches. This is the exact opposite of what you want for good bread structure.
Again, the fix is generally more kneading. Continue working the dough until it becomes more elastic and passes the windowpane test. However, be mindful that if the dough feels very tight and resistant before tearing, you might be moving towards over-kneading. Pay close attention to the feel – under-kneaded dough feels slack, while over-kneaded dough feels tight.
Tips for Efficient and Effective Kneading
Choosing the Right Flour for Optimal Kneading
The type of flour you use significantly impacts how easily gluten develops and how much kneading is required. Bread flour, with its higher protein content (typically 12-14%), is ideal for many yeast breads because it contains more gluten-forming proteins. This means it develops a strong gluten network relatively quickly with proper kneading.
All-purpose flour (around 10-12% protein) contains less protein and will require slightly longer kneading to develop a comparable gluten structure. For recipes requiring a very open crumb or a strong rise, using bread flour is recommended. For softer breads or enriched doughs (with butter, eggs, etc., which can inhibit gluten), all-purpose flour might suffice, but the kneading process is still essential to build structure.
The Importance of Dough Hydration
Dough hydration refers to the ratio of water to flour in a recipe (measured by weight). Hydration levels greatly affect how dough feels and how gluten develops. Higher hydration doughs (e.g., 70% hydration or more) are wetter and stickier but generally result in a more open crumb structure in the final bread. Gluten develops more easily in wetter doughs, but they can be harder to handle when learning how to knead dough by hand.
Lower hydration doughs (e.g., 60-65% hydration) are stiffer and easier to handle but may require slightly more physical effort or time to develop gluten fully. They tend to produce breads with a tighter crumb. Understanding the impact of hydration helps you anticipate how your dough should feel and how long you might need to knead it.
Mastering Hand Kneading Techniques
Hand kneading is a rewarding skill. The basic technique involves folding the dough over itself, pressing it down and away with the heel of your hand, rotating the dough, and repeating. This action stretches and aligns the gluten strands. Aim for a rhythmic motion.
Keep your hands and the surface lightly floured, but scrape up any excess flour rather than kneading it all in. Kneading by hand typically takes longer than using a mixer – anywhere from 8 to 15 minutes or more for a standard loaf, depending on the dough and your technique. Pay attention to the dough's feel; it will transition from shaggy to smooth and elastic as you work it.
Using a Dough Scraper for Easier Handling
A bench scraper or dough scraper is an invaluable tool when learning how to knead dough, especially wetter doughs. It helps you manage sticky dough by scraping it off the work surface and your hands, allowing you to fold and manipulate the dough without adding excessive flour.
Use the scraper to gather the dough back into a mass, flip it, and even help with the folding action. For very wet doughs, you can use a scraper to perform stretch-and-fold techniques right in the bowl or on a lightly oiled surface, minimizing direct contact and stickiness. This tool makes the process of how to knead dough much cleaner and more efficient.
Conclusion: Confidently Kneading Your Way to Delicious Bread
Mastering how to knead dough is a cornerstone of successful bread baking. It's the step where ingredients transform into the foundation for a well-risen, beautifully textured loaf. By understanding the signs of under-kneaded, perfectly kneaded, and over-kneaded dough, and by practicing techniques like the windowpane test, you gain the confidence to handle your dough effectively.
Remember that kneading is a process that requires patience and observation. Pay attention to the dough's feel, look, and elasticity. Whether you knead by hand or use a mixer, the goal is the same: to develop a strong, supple gluten network capable of creating delicious bread. With practice, you'll develop an intuitive sense for when your dough is just right, paving the way for countless satisfying baking experiences.
Frequently Asked Questions
How do I know if I've kneaded my dough enough?
The best way is to perform the windowpane test. This involves stretching a small piece of dough until it becomes thin and translucent without tearing. If it tears easily, you need to knead it more.
What happens if I underknead my dough?
Underkneading results in a weak gluten structure. This leads to a flat, dense baked good with a coarse texture because the dough won't rise properly.
What are the signs of overkneading dough?
Overkneaded dough will be tough and difficult to shape. It might also become sticky and tear easily because the gluten strands have been broken down too much.
Can I use a stand mixer to knead dough, and how does that affect the kneading time?
Yes, you can use a stand mixer! It usually reduces the kneading time significantly. Watch the dough closely and stop when it becomes smooth and elastic, regardless of the time suggested in the recipe.
What are some common mistakes people make when kneading dough?
One common mistake is adding too much flour, which can result in a dry and tough dough. Also, not kneading long enough is a frequent issue, preventing proper gluten development.
Final Reflection: The Humble Art of Kneading and the Bread We Bake
The perfect knead isn't just about technique; it's about understanding the transformative power of patience and process. From the seemingly simple act of working flour and water, we unlock a world of flavor and texture, a testament to the enduring connection between human hands and the nourishment we create. This connection, far from being obsolete in our modern world, is more relevant than ever as we seek mindful practices and appreciate the artistry in everyday tasks.
The journey of kneading dough mirrors the journey of life itself; requiring dedication, attention to detail, and a willingness to adapt to the unique characteristics of each batch. The subtle shifts in the dough's resistance, its gradual yielding to our touch – these are lessons in perseverance and the beauty of imperfection. As the renowned baker, Jim Lahey, once said, Bread making is a metaphor for life. You put in the work, and you get something back that's far greater than the sum of its parts.
This sentiment resonates deeply, reminding us that even the most basic actions can hold profound meaning.
So, the next time you find yourself facing a bowl of dough, remember the journey we've explored together. Don't just knead; feel the dough, understand its needs, and appreciate the process. Let this simple act be a reminder to approach all aspects of your life with the same mindful attention, patience, and dedication. The rewards, like the perfectly risen loaf, will be far more satisfying than you ever imagined.
Unleash Your Inner Baker: Perfect Dough, Every Time!
Thanks for taking the time to learn about achieving the perfect dough consistency! You're now equipped with the knowledge to avoid those frustrating baking mishaps. Ready to put your newfound skills to the test?
- Knead your way to success: Try out the techniques we discussed today with your favorite bread recipe. Pay close attention to the feel and texture of your dough as you knead – you'll be amazed at the difference!
- Share your baking journey: Show off your perfectly kneaded creations on social media – tag us, we'd love to see your results! #BakeWithEase #PerfectDough
- Explore new recipes: Challenge yourself to try a new bread recipe this week. The more you practice, the better you'll get at judging dough consistency.
So, what exciting bread will you be baking next? Let us know in the comments!