
NoKnead Rye Bread: Effortless Baking, Amazing Results

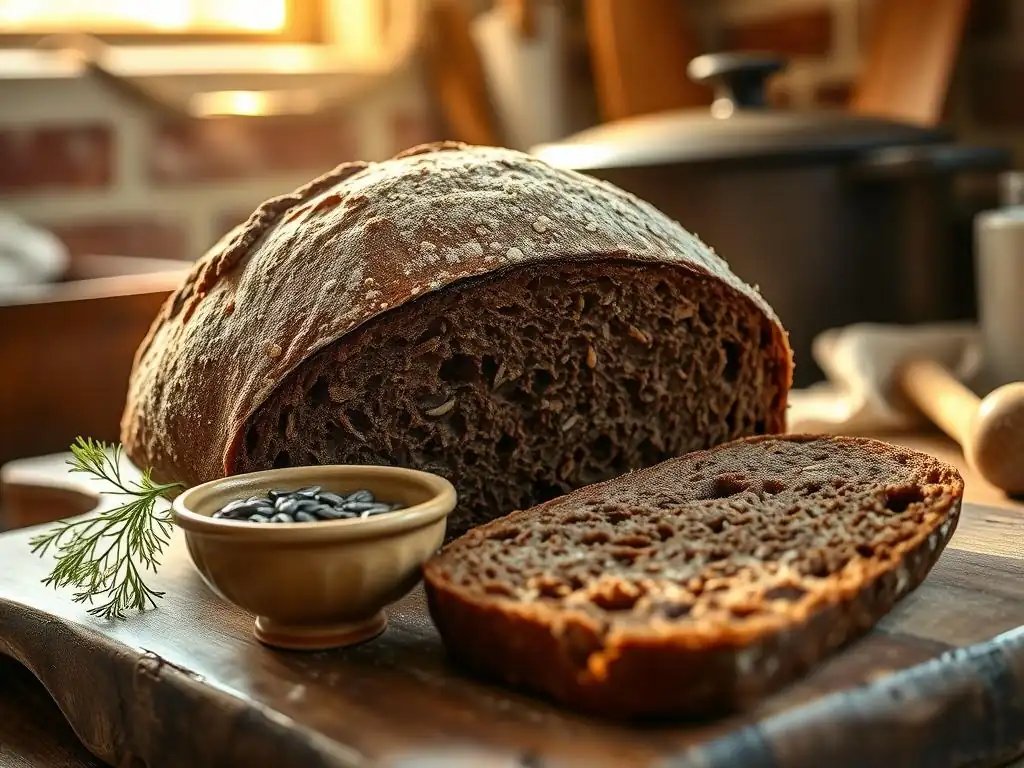
Welcome to BakeWithEase, your trusted guide to the delightful world of baking! Ever dreamt of that perfect, crusty rye bread without the endless kneading? Get ready to be amazed! Our article dives deep into the secrets of an effortless noknead rye bread recipe, unlocking a world of flavor with minimal effort. Curious how just a few simple steps can lead to bakery-quality bread? Keep reading and discover the magic!
- Naturally Leavened Rye Bread: Effortless Baking, Amazing Results
- BakeWithEase Presents: The Ultimate Naturally Leavened Rye Bread Recipe
- Why Choose a Naturally Leavened Rye Bread Recipe? Effortless Baking Explained
- Mastering the Naturally Leavened Rye Bread Technique: A Step-by-Step Guide
-
Naturally Leavened Rye Bread Recipe: Detailed Instructions for Perfect Results
- Step 1: Preparing the Levain for Your Rye Loaf
- Step 2: Mixing the Dough for Your Naturally Leavened Rye Loaf
- Step 3: Bulk Fermentation: Unlocking Flavor
- Step 4: Shaping Your Rye Bread
- Step 5: Proofing Your Shaped Dough
- Step 6: Baking Your Rye Bread to Golden Perfection
- Step 7: Cooling and Slicing Your Homemade Rye Bread
- Tips for the Perfect Naturally Leavened Rye Bread Loaf
- Serving Suggestions and Enjoying Your Naturally Leavened Rye Bread
- Variations on the Naturally Leavened Rye Bread Recipe
- Naturally Leavened Rye Bread Recipe: Printable Version for Easy Reference
- Conclusion: Enjoy Delicious, Homemade Rye Bread with Ease
- Frequently Asked Questions
- Final Reflection: The Unexpected Joys of No-Knead Rye
- Unleash Your Inner Baker: Craft Your Own Rye Loaf!
Naturally Leavened Rye Bread: Effortless Baking, Amazing Results
BakeWithEase Presents: The Ultimate Naturally Leavened Rye Bread Recipe
Welcome to BakeWithEase, where we believe that delicious, artisanal bread should be accessible to everyone, regardless of experience. Today, we're diving into the world of naturally leavened rye bread. This isn't just any bread recipe; it's a journey into creating a deeply flavorful, wonderfully textured loaf using the simplest methods, often requiring minimal effort and no intensive kneading. Perfect for both beginners and seasoned bakers looking for a reliable, straightforward path to baking authentic rye bread at home.
Our focus is on harnessing the power of natural fermentation – your sourdough starter (or levain) – to develop complex flavors and a beautiful crumb without the need for commercial yeast. This naturally leavened rye bread recipe is designed to be forgiving and rewarding, proving that you don't need to be a professional baker to achieve outstanding results right in your own kitchen. Get ready to experience the satisfaction of pulling a warm, fragrant rye loaf from your oven, ready to be sliced and enjoyed.
Why Choose a Naturally Leavened Rye Bread Recipe? Effortless Baking Explained
Opting for a naturally leavened rye bread recipe offers a unique blend of simplicity and complexity. The "effortless" aspect often comes from the nature of high-rye doughs and the sourdough process itself. Unlike wheat-based doughs that require extensive kneading to develop gluten structure, rye flour has less gluten and benefits from gentle handling and long fermentation. This means less time spent working the dough and more time letting nature (and your starter) do the heavy lifting.
Furthermore, the long, slow fermentation process characteristic of naturally leavened bread not only makes the baking process less labor-intensive in terms of kneading but also contributes significantly to the bread's digestibility and nutritional profile. Enzymes in the starter break down starches and proteins, making the nutrients more available. It's a process that rewards patience with a truly exceptional loaf, demonstrating that minimal effort in manipulation can lead to maximum flavor and quality.
Simplify Your Baking: Benefits of Naturally Leavened Bread
One of the primary benefits of a naturally leavened rye bread recipe is the simplification it brings to your baking routine. Many traditional bread recipes require precise timing for yeast activation and multiple kneading stages. In contrast, this naturally leavened approach relies on the steady, predictable activity of a healthy sourdough starter, which is much more forgiving.
You can often adjust fermentation times based on your schedule, offering flexibility that commercial yeast doesn't provide. For instance, bulk fermentation might take anywhere from 4 to 8 hours at room temperature (around 20-24°C), or even longer in the refrigerator, allowing you to bake when it suits you.
Beyond scheduling ease, the mixing process for high-percentage rye doughs is typically minimal. A simple stir or a few minutes of folding is often sufficient, eliminating the strenuous kneading associated with many other bread types. This makes the naturally leavened rye bread recipe an excellent choice for bakers seeking a less physically demanding method. The hands-on time is significantly reduced, leaving you free to attend to other tasks while your dough slowly develops flavor and structure through fermentation.
Achieve Authentic Rye Flavor with Minimal Effort
The depth of flavor in naturally leavened rye bread is unparalleled, and achieving it requires surprisingly minimal effort once your starter is active. The sourdough starter, a living culture of wild yeasts and bacteria, produces a range of organic acids, primarily lactic and acetic acid. These acids impart the characteristic tangy complexity that defines traditional rye bread, especially compared to bread made with commercial yeast, which often tastes flatter. The longer fermentation allows these flavors to fully develop, creating a rich, nuanced profile that complements the earthy notes of rye flour.
Consider the difference in flavor complexity: a yeast-leavened loaf might develop in an hour or two, yielding a simple bready taste. A naturally leavened rye loaf, however, undergoes fermentation for many hours, often overnight or longer. During this time, the starter transforms the dough, unlocking deeper, more complex flavors. The minimal effort lies in simply allowing this natural process to occur. You mix the ingredients, give it time, and the starter does the rest, creating that signature tangy, slightly sour, hearty flavor that is the hallmark of authentic rye bread.
Mastering the Naturally Leavened Rye Bread Technique: A Step-by-Step Guide
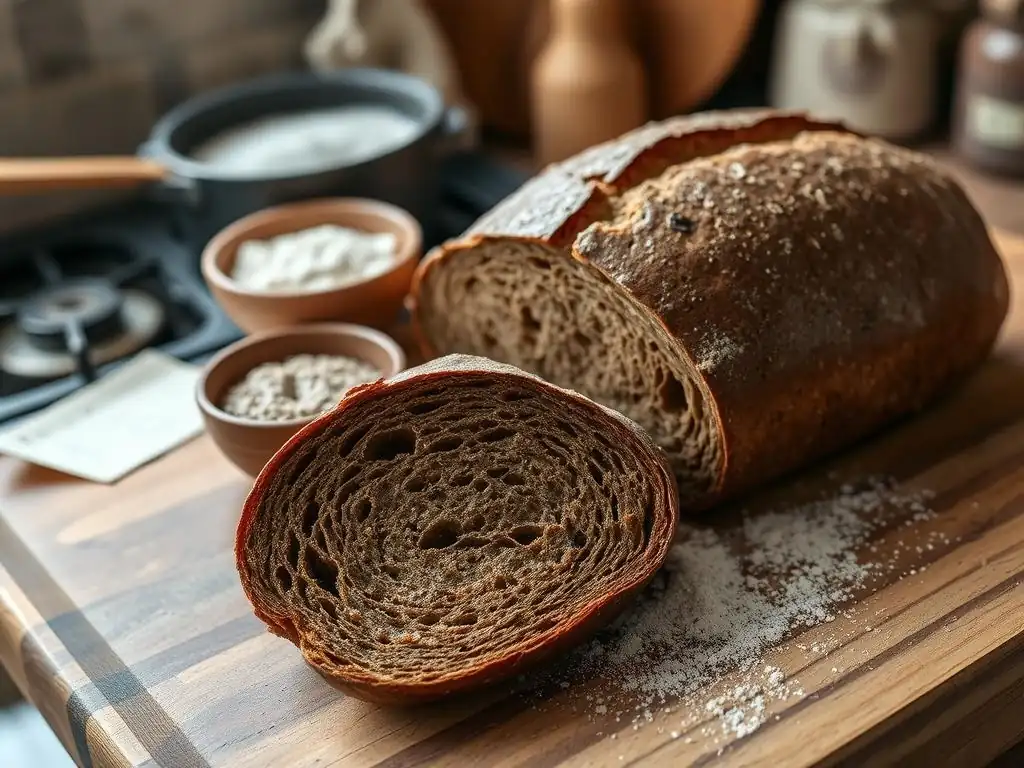
Mastering the naturally leavened rye bread technique is more about understanding the process and being patient than about complex handling skills. Because rye flour behaves differently than wheat – it contains pentosans which absorb water and create a sticky dough, rather than forming strong gluten networks – the technique focuses on gentle mixing and relying on fermentation for structure and flavor. This section will walk you through the essential components and steps needed to bake a beautiful loaf.
The key difference from traditional wheat bread lies in managing the hydration and handling the dough. Rye doughs are often high in hydration and will feel sticky and heavy. Resist the urge to add too much flour during mixing or shaping. Embracing the stickiness is part of the process. By following these steps, you'll learn how to work with rye's unique properties to achieve a moist, flavorful crumb and a satisfyingly rustic crust with your naturally leavened rye bread recipe.
Essential Ingredients for Your Naturally Leavened Rye Bread
To bake a naturally leavened rye bread, you'll need a few core ingredients, with the star being your active sourdough starter (levain). This starter should be fed and active, ideally doubling in size within 4-8 hours at room temperature (around 22°C). The quality and activity of your starter are crucial for successful leavening and flavor development in your rye loaf. A standard recipe for a medium loaf might call for around 100-150 grams of active starter.
The other essential ingredients include rye flour (the percentage will depend on the desired loaf, but a classic is 50% or more), often some strong bread flour to aid structure, water, and salt. For example, a recipe might use 300g dark rye flour, 200g strong white bread flour, 350-400g water (hydration can be high, 70-80% or more), and 10-12g fine sea salt. The type of rye flour (light, medium, dark, or pumpernickel) will significantly impact the flavor and texture of your final naturally leavened rye bread.
Equipment You'll Need for Effortless Rye Baking
Baking naturally leavened rye bread doesn't require a lot of fancy equipment, making it truly accessible. You'll need a sturdy mixing bowl, preferably non-reactive like glass, ceramic, or stainless steel, large enough to accommodate the dough as it ferments and expands. A kitchen scale is absolutely essential for accurate measurements, especially for flour, water, and starter, as precision is key in baking, particularly with sourdough.
Other useful tools include a dough scraper or spatula for handling the sticky dough with minimal fuss, a proofing basket (banneton) or a bowl lined with a floured tea towel to hold the dough during its final rise, and a sharp blade (like a razor blade or lame) for scoring the dough before baking. For baking, a Dutch oven or a baking stone with a steam setup is highly recommended to create the humid environment needed for a good crust development.
For example, baking in a preheated Dutch oven at 230°C (450°F) for the first 20 minutes helps achieve a superior crust on your naturally leavened rye bread.
Naturally Leavened Rye Bread Recipe: Detailed Instructions for Perfect Results
Baking naturally leavened rye bread is a process that unfolds in several stages, each contributing to the final texture and flavor. While it requires patience due to the longer fermentation times, the hands-on work is quite manageable. This detailed guide breaks down the process into simple steps, ensuring that even if you're new to sourdough or rye baking, you can achieve a successful and delicious loaf.
Remember that timing can vary based on your starter's activity and your kitchen's temperature. The times provided are general guidelines. Pay attention to the dough's feel and appearance rather than sticking rigidly to the clock. This naturally leavened rye bread recipe is designed for learning and adapting, helping you build intuition as you bake.
Step 1: Preparing the Levain for Your Rye Loaf
Approximately 8-12 hours before you plan to mix your dough, you need to prepare your levain (the portion of your sourdough starter used for baking). Take a small amount of your mature starter (e.g., 20-30 grams) and feed it with flour (a mix of rye and bread flour works well) and water according to your starter's usual feeding ratio (often 1:1:1 starter:flour:water by weight). For example, mix 20g starter, 40g rye/bread flour mix, and 40g water in a clean jar.
Cover the jar loosely and let it sit at room temperature (around 22-24°C). The levain is ready when it has significantly increased in volume (at least doubled, ideally tripled), is bubbly on top and throughout, and smells pleasantly tangy. A good test is the float test: drop a small spoonful into water; if it floats, it's ready to use for your naturally leavened rye bread. If it sinks, it needs more time.
Step 2: Mixing the Dough for Your Naturally Leavened Rye Loaf
In a large mixing bowl, weigh out the required amount of warm water (around 30-35°C is good). Add the prepared, active levain to the water and gently stir or whisk to disperse it. The water temperature can influence fermentation speed; warmer water speeds it up, cooler water slows it down.
Next, add the weighed rye flour and bread flour to the bowl. Add the salt. Using a sturdy spoon or a dough scraper, mix everything together until there are no dry pockets of flour and a shaggy, sticky dough forms. Because rye doesn't develop gluten like wheat, you don't need to knead vigorously.
Simply ensure all ingredients are combined. Cover the bowl and let the dough rest for 20-30 minutes. This resting period, called autolyse (though technically not a true autolyse with salt added), allows the flour to absorb the water and makes the dough slightly easier to handle for the next step.
Step 3: Bulk Fermentation: Unlocking Flavor
Bulk fermentation is the longest stage where the dough rises as a whole, developing flavor and structure through the activity of the starter. After the initial mixing and rest, the dough will be sticky. Over the next 3-5 hours (at room temperature around 22-24°C, possibly longer if cooler), perform a few sets of stretches and folds. For rye dough, 2-3 sets are usually sufficient. Wet your hands slightly to prevent sticking.
To perform a stretch and fold, grab one side of the dough, stretch it up, and fold it over the center. Rotate the bowl and repeat 3-4 times until all sides have been stretched and folded. Do this every 30-45 minutes for the first 1.5-2 hours of bulk fermentation.
After the last fold, cover the bowl and let the dough continue to ferment undisturbed until it has increased in volume (look for a 30-50% increase) and shows signs of fermentation like bubbles on the surface. The total bulk fermentation time for a naturally leavened rye bread recipe can range from 4 to 8 hours or even longer, depending heavily on temperature and starter strength.
Step 4: Shaping Your Rye Bread
Once bulk fermentation is complete, gently turn the dough out onto a lightly floured surface. Rye dough is often sticky and less elastic than wheat dough. Use a dough scraper to help manage it. The goal of shaping is to create some surface tension and give the loaf a uniform shape for proofing and baking. For a naturally leavened rye bread, a simple round (boule) or oval (batard) shape works well.
Avoid using excessive flour, as this can create dry spots on the crust. Gently coax the dough into your desired shape by folding the edges towards the center and then turning the dough over and using the surface tension to tighten it into a ball or oval using your hands or a dough scraper. Work relatively quickly and gently to avoid degassing the dough too much.
Step 5: Proofing Your Shaped Dough
After shaping, the dough needs a final rise, known as proofing or secondary fermentation. Place the shaped dough seam-side up into a floured proofing basket (banneton) or a bowl lined with a floured cloth. Ensure the basket or cloth is well-floured with rice flour or a mix of rice and rye flour to prevent sticking.
Cover the proofing basket with a plastic bag or wrap to prevent the dough from drying out. Proofing can be done at room temperature for 1-3 hours or in the refrigerator for 8-16 hours (cold proofing develops more flavor and makes the dough easier to handle). The dough is ready to bake when it has visibly increased in size (perhaps 30-40%) and feels light and airy but still holds its shape when gently poked. Over-proofing can lead to a flat loaf, while under-proofing results in a dense crumb.
Step 6: Baking Your Rye Bread to Golden Perfection
Preheat your oven with your baking vessel (like a Dutch oven or baking stone) inside to a high temperature, typically 230-250°C (450-480°F), for at least 30-60 minutes. This ensures the vessel is thoroughly heated, which is crucial for oven spring. If using a Dutch oven, carefully remove the hot pot from the oven, invert the proofed dough into it (seam side down if proofed seam side up), and score the top of the loaf with a sharp blade. Scoring allows the bread to expand in a controlled way.
Quickly cover the Dutch oven and place it back in the hot oven. Bake covered for 20-25 minutes. The lid traps steam released from the dough, creating a moist environment that allows the crust to expand fully before hardening. After this initial period, remove the lid and continue baking for another 20-30 minutes, or until the crust is a deep golden brown and the internal temperature reaches 96-99°C (205-210°F) when measured with an instant-read thermometer.
Step 7: Cooling and Slicing Your Homemade Rye Bread
Once baked, carefully remove the naturally leavened rye bread from the oven and transfer it to a wire rack to cool completely. This step is just as important as baking! While it's tempting to slice into a warm loaf, the internal structure is still setting, and slicing too early will result in a gummy texture.
Allow the bread to cool on the rack for at least 2-3 hours, or ideally longer, especially for high-rye loaves. As it cools, moisture redistributes throughout the crumb, and the flavors continue to develop. Slicing too soon can ruin the texture you worked so hard to achieve. Once fully cooled, use a sharp serrated knife to slice your beautiful homemade rye bread and enjoy the fruits of your labor.
Tips for the Perfect Naturally Leavened Rye Bread Loaf
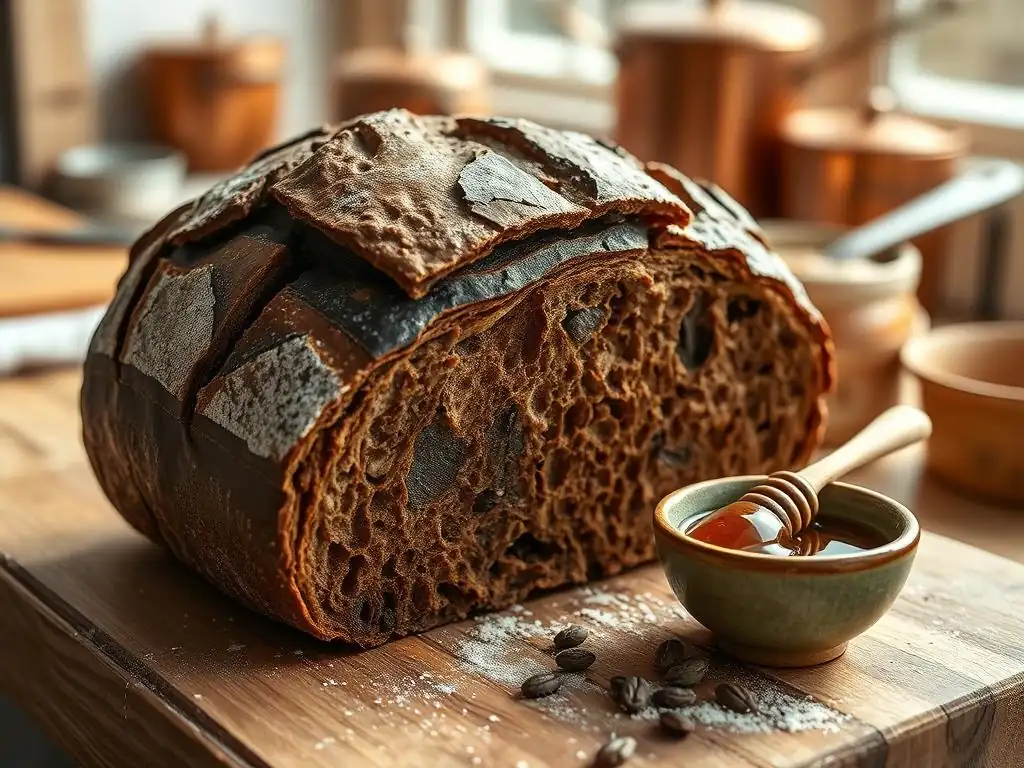
Achieving a consistently perfect naturally leavened rye bread loaf comes with practice and understanding a few key principles. Rye dough presents unique challenges compared to wheat due to its lower gluten content and stickiness, but these tips will help you navigate them successfully. Paying attention to these details can elevate your baking from good to great.
Remember that baking is also influenced by environmental factors like humidity and altitude. Don't be discouraged if your first few loaves aren't exactly as pictured. Each bake is a learning opportunity. By focusing on these tips, you'll build confidence and skill in baking your naturally leavened rye bread recipe.
Maintaining a Healthy Sourdough Starter
A vigorous and healthy sourdough starter is the foundation of successful naturally leavened rye bread. Feed your starter regularly, ideally daily if kept at room temperature, or weekly if refrigerated, using a consistent feeding ratio (e.g., 1:1:1 or 1:2:2 starter:flour:water by weight). Use a mix of flours that includes some rye, as rye flour contains enzymes and nutrients that sourdough cultures thrive on. A common mix is 50% strong bread flour and 50% rye flour.
Look for signs of health: the starter should reliably double or triple in volume after feeding within a predictable timeframe (e.g., 4-8 hours at 22-24°C), have a pleasant, tangy aroma (not acetone-like), and be full of bubbles. If your starter seems sluggish, try feeding it more frequently for a few days or keeping it in a warmer spot (around 24-26°C) to boost its activity before using it for your naturally leavened rye bread recipe. Discarding a portion before feeding ensures a healthy pH and prevents the culture from becoming too acidic.
Achieving the Ideal Dough Consistency
Rye dough is inherently sticky and has less structure than wheat dough. The ideal consistency for your naturally leavened rye bread dough will be quite wet and sticky, often resembling a thick batter or paste rather than a firm, elastic dough. Resist the urge to add excessive flour during mixing or handling, as this will result in a dry, dense loaf. Hydration levels for rye bread can range from 70% to over 100% relative to the flour weight.
Learn to work with the stickiness by wetting your hands or using a dough scraper. During bulk fermentation, the dough should become slightly less sticky and show some signs of development, but it will never become smooth and elastic like white bread dough. Pay attention to the recipe's hydration level and trust the process. The stickiness is normal and contributes to the moist crumb characteristic of good naturally leavened rye bread.
Troubleshooting Common Rye Bread Issues
One common issue with naturally leavened rye bread is a dense or gummy crumb. This can often be attributed to under-proofing, under-baking, or slicing the bread before it has fully cooled. Ensure your starter is active, allow sufficient bulk fermentation and proofing time (checking for visual cues like volume increase and surface bubbles), and bake until the internal temperature is correct (96-99°C). Always allow the loaf to cool completely for at least 2-3 hours on a wire rack.
Another issue can be a lack of oven spring. This might be due to an inactive starter, under-proofing, or insufficient steam during the initial baking phase. Make sure your starter is vigorous, proof the dough until it's light but not collapsed, and use a Dutch oven or create ample steam in your oven during the first 20 minutes of baking. A well-scored loaf also helps control expansion and improve oven spring for your naturally leavened rye bread.
Experimenting with Different Rye Flours
The type of rye flour you use significantly impacts the flavor, color, and texture of your naturally leavened rye bread. Light rye flour results in a milder flavor and lighter color, while medium rye offers a more pronounced rye taste. Dark rye flour, which contains more of the outer layers of the rye berry, yields a robust, earthy flavor and a darker, denser crumb. Pumpernickel flour, a very coarse-ground dark rye, creates a dense, chewy loaf often associated with German-style rye breads.
Experimenting with different percentages of rye flour in your naturally leavened rye bread recipe is also key. A loaf with 50% rye and 50% strong wheat flour will be lighter and have more open crumb than one with 100% rye flour. Start with a lower percentage (like 40-50%) if you're new to rye baking and gradually increase the rye content as you become more comfortable with handling the dough and developing your starter.
Adding Flavor Enhancements to Your Rye Bread: Caraway Seeds, Fennel Seeds
Traditional naturally leavened rye bread is often enhanced with spices that complement its earthy flavor. Caraway seeds are perhaps the most classic addition, providing a distinct aromatic and slightly peppery note that pairs beautifully with the tang of sourdough rye. You can add caraway seeds directly to the dough during mixing; typical amounts range from 1-2% of the total flour weight (e.g., 5-10 grams for a 500g flour loaf).
Other seeds like fennel seeds, coriander seeds, or even a mix of these, can add layers of complexity. Toasting the seeds lightly in a dry pan before adding them to the dough can intensify their flavor. For example, adding 5g of toasted fennel seeds along with 8g of caraway seeds can give your naturally leavened rye bread a wonderful aromatic lift. Sunflower seeds, pumpkin seeds, or chopped walnuts can also be incorporated for added texture and nutty flavor.
Serving Suggestions and Enjoying Your Naturally Leavened Rye Bread
Once your naturally leavened rye bread has cooled, the real fun begins – enjoying it! The hearty, tangy flavor of rye bread makes it incredibly versatile. It's fantastic simply sliced and buttered, allowing the bread's complex taste to shine through. Consider using high-quality cultured butter or a flavorful olive oil for dipping.
Rye bread is particularly well-suited for open-faced sandwiches. Its sturdy structure holds up well to various toppings. Explore traditional pairings like smoked salmon, pickled herring, or cured meats. It also makes a wonderful base for avocado toast, cream cheese and chives, or even a simple slice topped with a firm cheese like Gruyère or cheddar. The possibilities are endless for enjoying your homemade naturally leavened rye bread.
Pairing Your Rye Bread with Delicious Toppings
The robust flavor of naturally leavened rye bread stands up beautifully to strong, savory toppings. Think classic European pairings: a thick slice topped with gravlax (cured salmon) and a sprinkle of fresh dill, or layered with thinly sliced pastrami or corned beef, perhaps with a dollop of mustard. In Scandinavian cuisine, rye bread is often served with pickled vegetables, hard-boiled eggs, or various types of cheese.
For a simpler approach, a slice toasted lightly and spread with cream cheese or goat cheese makes a delightful snack. Add some thinly sliced cucumber or radishes for crunch. The tangy notes in the bread also complement sweet-savory combinations, such as a slice topped with apple slices and mature cheddar, then grilled until the cheese is bubbly. Don't hesitate to experiment; the hearty nature of your homemade naturally leavened rye bread provides a perfect canvas for many flavors.
Storing Your Homemade Rye Bread for Freshness
Proper storage is key to keeping your naturally leavened rye bread fresh and delicious. Once completely cooled, the best way to store a loaf is at room temperature in a breathable bread bag (linen or cotton) or wrapped in a clean tea towel. Avoid plastic bags for long-term storage at room temperature, as they can trap moisture and lead to a soggy crust and mold growth. A whole loaf stored this way can stay fresh for 3-4 days.
If you don't plan to eat the entire loaf within a few days, freezing is an excellent option. Slice the cooled bread first, then wrap individual slices or portions tightly in plastic wrap, followed by a layer of aluminum foil or a freezer bag. Properly wrapped, frozen naturally leavened rye bread can last for several months. To enjoy, simply take out the desired number of slices and toast them directly from frozen or let them thaw at room temperature.
Variations on the Naturally Leavened Rye Bread Recipe
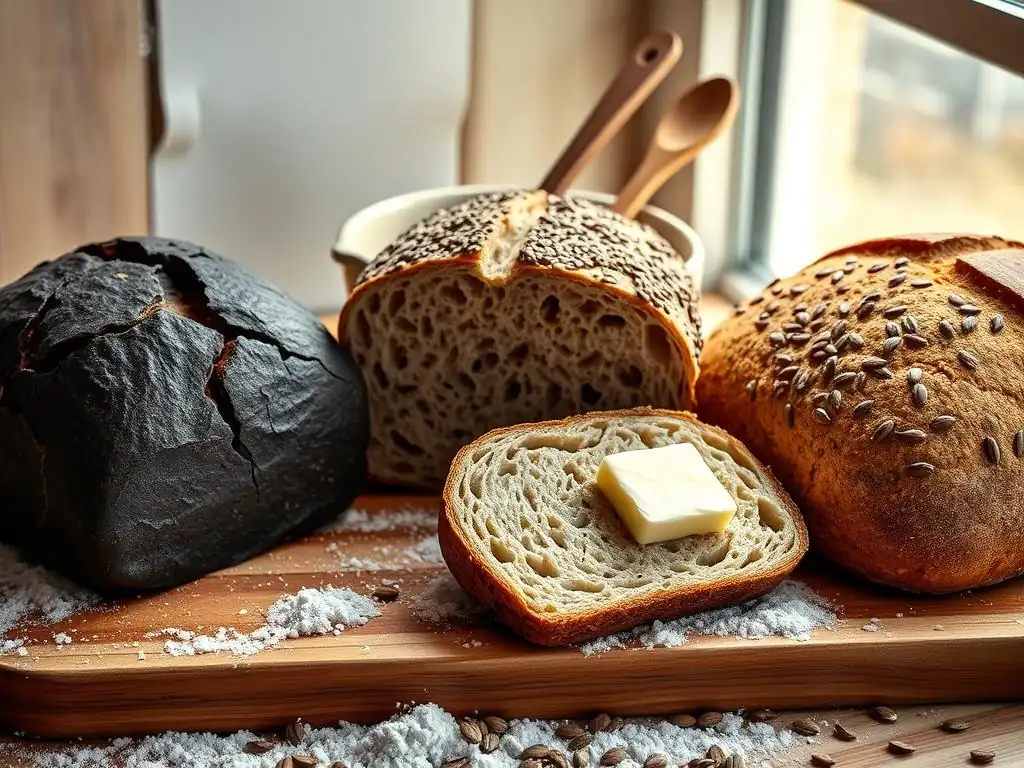
The naturally leavened rye bread recipe is highly adaptable. Once you've mastered the basic loaf, you can easily explore variations by changing the proportion of rye flour, adding different types of flour, or incorporating seeds, nuts, or other flavorings. These simple modifications can lead to a whole new range of textures and tastes, keeping your baking exciting and allowing you to tailor your bread to your preferences.
Experimenting with variations not only broadens your baking repertoire but also helps you understand how different ingredients interact within the sourdough process. Whether you prefer a lighter loaf or a deeply flavored, dense bread, the naturally leavened method provides a flexible framework for creativity in your rye bread baking.
Dark Rye Bread: A Deeper Flavor Profile
To create a dark rye bread, you'll typically increase the percentage of dark rye flour used in the recipe. While a standard loaf might use 50% rye, a dark rye variation could use 70%, 80%, or even 100% dark rye flour. Dark rye flour is milled from the whole rye berry, including the bran and germ, which contributes to its rich color, robust flavor, and denser texture.
High percentages of dark rye often require higher hydration and longer fermentation times to fully develop flavor and manage the dough's structure (or lack thereof). Some recipes for very dark, dense loaves, like Pumpernickel, might even involve a scald (mixing some rye flour with hot liquid) or the addition of ingredients like molasses, cocoa powder, or roasted malt to enhance color and deepen the flavor profile. Baking dark rye bread often involves lower temperatures and longer baking times compared to lighter loaves to ensure it's cooked through without drying out.
Light Rye Bread: A Milder Taste
For those who prefer a less intense rye flavor and a lighter crumb, a light rye bread variation is perfect. This is achieved by using a higher proportion of white or strong bread flour compared to rye flour. A light rye loaf might contain only 20-40% light or medium rye flour, with the rest being wheat flour. This results in a dough that is easier to handle, resembling a wheat dough more closely, and a final bread with a less dense texture and a milder, subtler rye taste.
The reduced rye content also means the dough will develop more gluten structure from the wheat flour, potentially allowing for more traditional kneading or folding techniques and resulting in a more open crumb structure than a high-percentage rye loaf. Proofing and baking times might also be slightly shorter, similar to those for wheat sourdoughs. This variation is an excellent entry point for bakers new to incorporating rye into their naturally leavened bread recipes.
Adding Seeds and Grains for Texture and Flavor
Adding seeds and grains is a popular way to enhance the texture, flavor, and nutritional value of naturally leavened rye bread. Common additions include sunflower seeds, pumpkin seeds (pepitas), flax seeds, chia seeds, and whole or cracked rye berries. These can be added directly to the dough during the final mixing stage or incorporated into a soak (soaker) or pre-ferment (like a porrige) before being added to the main dough.
For example, adding 50-100 grams of soaked sunflower and pumpkin seeds to your dough provides a pleasant crunch and nutty flavor. Soaking grains or seeds overnight before adding them helps prevent them from absorbing moisture from the dough during fermentation and baking, which can otherwise result in a drier crumb. Incorporating a mix of seeds, such as 20g flax, 30g sunflower, and 10g chia per 500g of flour, can create a multi-textured and flavorful loaf.
Naturally Leavened Rye Bread Recipe: Printable Version for Easy Reference
A printable version of this naturally leavened rye bread recipe would typically be included here for easy use in the kitchen.
Conclusion: Enjoy Delicious, Homemade Rye Bread with Ease
Baking naturally leavened rye bread might seem daunting at first, but as you've seen, it's a process that prioritizes patience and minimal intervention over complex techniques. By understanding the unique properties of rye flour and harnessing the power of your sourdough starter, you can create a truly exceptional loaf with remarkable depth of flavor and a satisfying texture. This naturally leavened rye bread recipe is designed to be effortless in its handling, allowing you to achieve amazing results right from your own kitchen.
From preparing your active levain to enjoying that first delicious slice, each step in this naturally leavened rye bread journey is rewarding. We encourage you to try this recipe, experiment with variations, and make it your own. There's immense satisfaction in pulling a warm, fragrant, homemade rye loaf from the oven. So gather your ingredients, activate your starter, and get ready to experience the simple pleasure of baking naturally leavened rye bread with ease. Happy baking!
Frequently Asked Questions
What makes this NoKnead Rye Bread recipe effortless?
This recipe eliminates the need for traditional kneading. Instead, a long fermentation period develops the gluten, resulting in a chewy texture with minimal effort.
What kind of rye flour is best for this recipe?
While you can use different types, light rye flour is generally recommended for its milder flavor and ability to produce a lighter, less dense loaf.
Can I substitute ingredients in this NoKnead Rye Bread?
While possible, substitutions can affect the outcome. For best results, stick to the recipe. If you must, research the impact of the substitution on texture and flavor.
How long does the dough need to ferment?
The dough typically needs to ferment for 12-18 hours at room temperature. This long fermentation is crucial for flavor development and gluten formation.
How do I know when the NoKnead Rye Bread is done baking?
The bread is done when it has a deep golden-brown crust and the internal temperature reaches 200-210°F (93-99°C). You can also tap the bottom – it should sound hollow.
Final Reflection: The Unexpected Joys of No-Knead Rye
The simplicity of no-knead baking belies the profound satisfaction it offers; it's a testament to the fact that sometimes, the most rewarding experiences require the least effort. This article explored the surprisingly easy process of creating delicious rye bread without the arduous task of kneading, a technique that often intimidates aspiring bakers. The accessibility of this method opens up the world of homemade bread to a much wider audience, proving that crafting something beautiful and delicious doesn't require hours of strenuous work.
The enduring appeal of homemade bread transcends mere sustenance; it's a connection to tradition, a celebration of simple ingredients transformed, and a source of immense personal pride. The act of baking, especially with a recipe as forgiving as this no-knead rye, fosters a sense of calm and accomplishment. Bread is the staff of life,
they say, and in making it yourself, you truly grasp the weight and wonder of that statement. The aroma filling your kitchen, the satisfying thud of the loaf hitting the cooling rack – these are sensory experiences that connect us to something larger than ourselves, something deeply human.
Now, I invite you to try your hand at this recipe. Don't be intimidated by the seemingly complex nature of rye bread; embrace the simplicity of the no-knead method. Experience the joy of creating something delicious and nourishing with your own two hands. The reward isn't just a crusty, flavorful loaf; it's the satisfaction of mastering a skill, the pleasure of sharing your creation, and the quiet contentment that comes from connecting with the ancient art of bread making. Go forth, and bake!
Unleash Your Inner Baker: Craft Your Own Rye Loaf!
Thanks for taking the time to explore the world of effortless rye bread baking! We hope you now feel confident in tackling this delicious and surprisingly simple recipe. Ready to get started?
- Bake your own perfect loaf: Grab your ingredients and follow the steps outlined in the article—you'll be amazed at how easy it is! Remember to share your baking journey with us on social media using #BakeWithEaseRye.
- Dive deeper into our rye recipes: Explore our extensive recipe library for more variations and flavor combinations. We've got something for every taste!
- Share your baking success (or questions!): We’d love to see your amazing rye creations—or hear about any questions you have as you embark on this journey. Let's connect in the comments below!
What unique flavor twist will you add to your next rye bread masterpiece?