
Simple Steps to Baking Impressive Easter Pastries

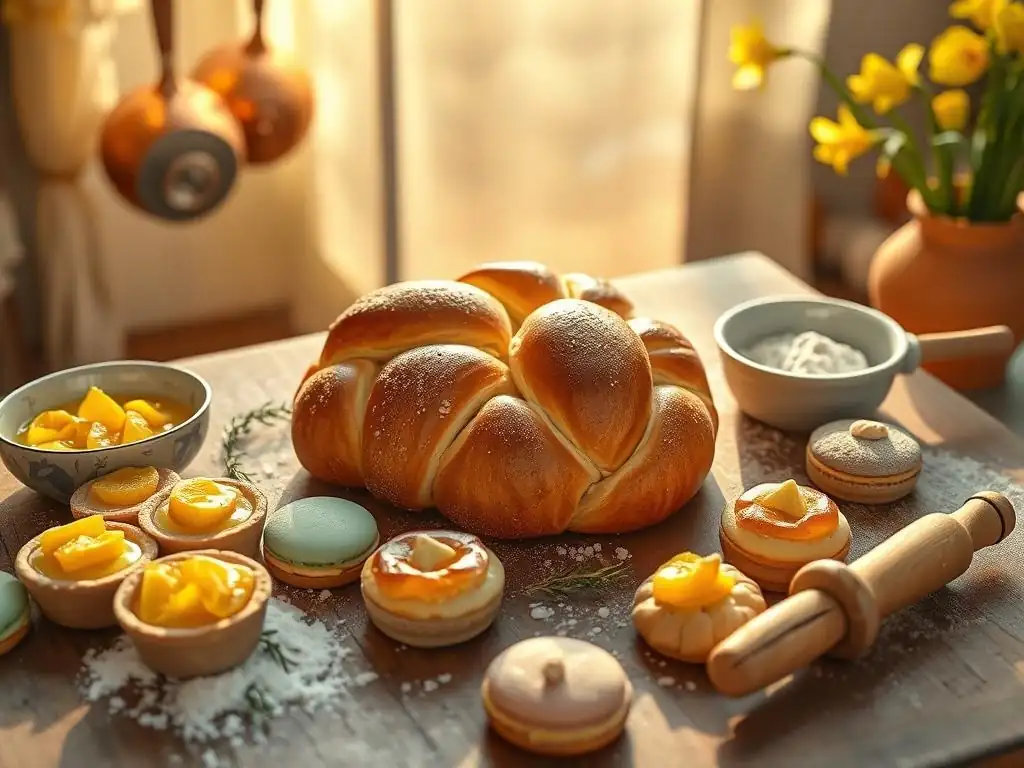
Welcome to BakeWithEase, your haven for effortless baking! Discover the joy of creating delectable treats with our simple recipes and techniques. Intrigued by the idea of stunning, yet straightforward, Easter pastries? This article unveils easy Easter pastry recipes that will impress your family and friends this holiday. Get ready to transform simple ingredients into unforgettable masterpieces – let's begin!
- Baking Delight: Mastering Three Irresistible Spring Pastries
- Spring Baking Series: Effortless Recipes for Stunning Seasonal Treats
- Essential Tools and Ingredients for Spring Baking Success
- Crafting a Lemon Poppy Seed Bundt Cake
- Decorating Mini Strawberry Shortcakes
- Baking Rhubarb and Custard Tartlets
- Tips for Consistent Spring Pastry Success
- Exploring Flavor Variations for Spring Pastries
- Displaying Your Spring Baking Masterpieces
- Savoring Homemade Spring Pastries and Sharing the Joy
- Frequently Asked Questions
- Final Reflection: The Sweetness of Shared Moments
- Unleash Your Inner Pastry Chef This Easter!
Baking Delight: Mastering Three Irresistible Spring Pastries
Spring Baking Series: Effortless Recipes for Stunning Seasonal Treats
As the days lengthen and the world bursts into color, our kitchens beckon with the promise of fresh, vibrant flavors. Spring baking offers a wonderful opportunity to create delightful treats that capture the essence of the season. From bright citrus notes to the sweet tang of berries and rhubarb, the possibilities are endless. This guide focuses on crafting impressive yet surprisingly easy Easter pastry recipes that are perfect for celebrating the arrival of spring, whether you're hosting a brunch, attending a potluck, or simply enjoying a quiet afternoon tea.
Embarking on a spring baking adventure doesn't require advanced skills. We've selected three distinct pastries – a moist bundt cake, delicate shortcakes, and rustic tartlets – that are approachable for bakers of all levels. Each recipe is broken down into simple steps, ensuring that even beginners can achieve beautiful and delicious results. Get ready to fill your home with the irresistible aromas of spring and share these homemade delights with your loved ones. Discover how simple it is to bake these easy Easter pastry recipes and make your holiday table shine.
Essential Tools and Ingredients for Spring Baking Success
Core Baking Utensils for Spring Pastries
Having the right basic tools makes a significant difference in the ease and outcome of your spring baking projects. A good set of measuring cups and spoons is fundamental for accuracy, ensuring your ratios are correct for consistent results. You'll also need mixing bowls in various sizes – glass or stainless steel are excellent choices as they don't retain odors. A sturdy whisk is essential for incorporating air into batters and whipping cream, while rubber spatulas are indispensable for scraping bowls clean and folding ingredients gently.
Beyond these basics, specific pastries require specialized tools. For a bundt cake, a well-greased bundt pan is crucial for achieving its distinctive shape and ensuring it releases cleanly. Shortcakes benefit from a biscuit cutter to create uniform rounds. Tartlets, naturally, require individual tartlet molds or a muffin tin for mini versions. Parchment paper is a baker's best friend, preventing sticking and making cleanup easier, especially for lining baking sheets or cake pans.
Key Ingredients for Vibrant and Flavorful Spring Treats
Spring ingredients are all about freshness and brightness. High-quality unsalted butter is the foundation of many rich pastries, providing flavor and tenderness. Granulated sugar and sometimes brown sugar provide sweetness and structure. All-purpose flour is standard for most recipes, but occasionally cake flour might be called for to achieve a lighter texture, especially in cakes. Don't forget leaveners like baking powder and baking soda, which are activated by moisture or acid and heat to help your baked goods rise.
Seasonal fruits are the stars of spring pastries. Lemons offer a zesty counterpoint to sweetness, perfect for glazes and batters. Strawberries, often one of the first berries of the season, are wonderful in shortcakes. Rhubarb, with its unique tartness, pairs beautifully with creamy fillings in tarts. Fresh eggs are vital for binding ingredients and adding richness. Vanilla extract enhances other flavors, while specific additions like poppy seeds, fresh cream, and perhaps a touch of zest from citrus fruits elevate these easy Easter pastry recipes to something truly special.
Crafting a Lemon Poppy Seed Bundt Cake
Preparing the Lemon Poppy Seed Cake Batter
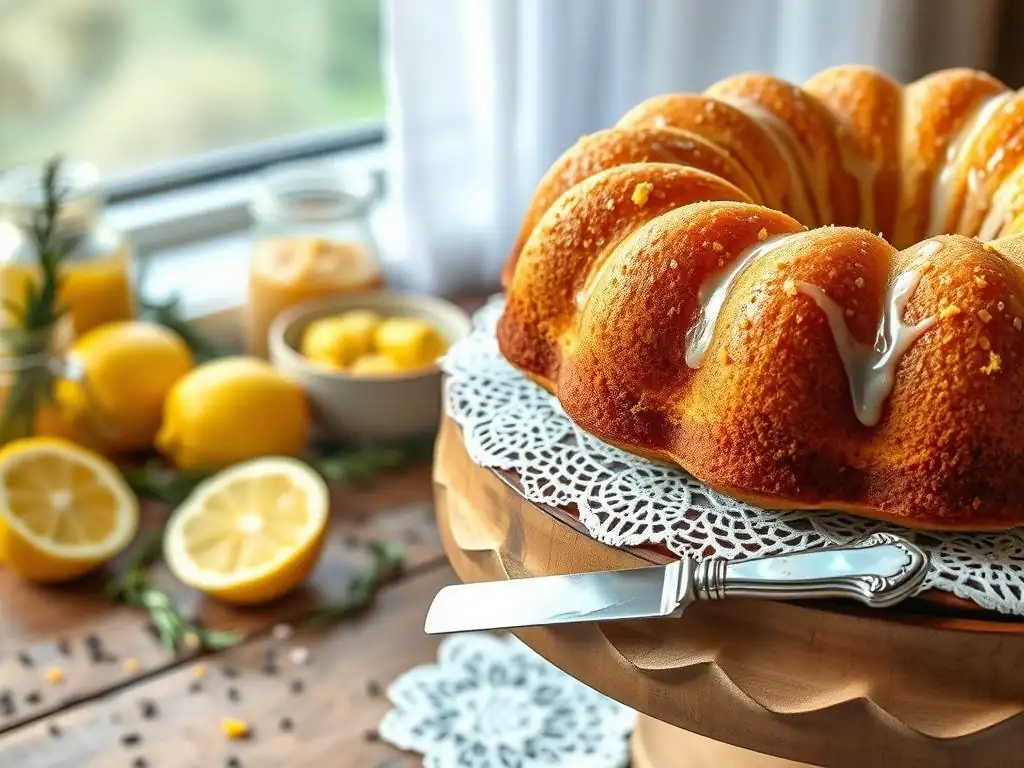
Creating a moist and flavorful lemon poppy seed bundt cake starts with properly creaming the butter and sugar. Begin with about 1 cup (approximately 225g) of softened unsalted butter and 1 and 3/4 cups (approximately 350g) of granulated sugar. Beat these together in a large bowl using an electric mixer on medium speed until the mixture is light and fluffy, usually taking 3-5 minutes.
This step incorporates air, contributing to the cake's texture. Next, add 3-4 large eggs, one at a time, beating well after each addition. Scrape down the sides of the bowl periodically to ensure everything is evenly mixed.
In a separate bowl, whisk together the dry ingredients: approximately 2 and 3/4 cups (around 340g) of all-purpose flour, 2 teaspoons of baking powder, and 1/2 teaspoon of salt. Combine the wet ingredients: about 1 cup (240ml) of buttermilk or plain yogurt mixed with the zest of 2-3 lemons and 1/4 cup (60ml) of fresh lemon juice. Alternate adding the dry and wet ingredients to the butter mixture, beginning and ending with the dry ingredients (e.g., 1/3 dry, 1/2 wet, 1/3 dry, 1/2 wet, 1/3 dry).
Mix until just combined after each addition; overmixing can result in a tough cake. Finally, gently fold in 2-3 tablespoons of poppy seeds. This batter is now ready for the pan.
Baking the Bundt Cake to Golden Perfection
Proper preparation of the bundt pan is crucial to prevent the cake from sticking. Generously grease a standard 10-12 cup bundt pan using softened butter or a non-stick baking spray that contains flour. Ensure every nook and cranny is coated. If using butter, you can then lightly flour the pan, tapping out any excess. Pour the prepared lemon poppy seed batter evenly into the pan. Tap the pan gently on the counter a couple of times to remove any large air bubbles and ensure the batter is settled.
Preheat your oven to 350°F (approximately 175°C). Place the filled bundt pan on a baking sheet (this catches any potential spills and makes moving the hot pan easier) and bake for approximately 50-65 minutes. The exact baking time will vary depending on your oven. The cake is done when a wooden skewer or toothpick inserted into the deepest part comes out clean or with just a few moist crumbs attached.
Avoid overbaking, which can lead to a dry cake. Once baked, let the cake cool in the pan on a wire rack for about 10-15 minutes before inverting it onto the rack to cool completely. This cooling time in the pan helps the cake set before being released.
Creating a Zesty Lemon Glaze
A simple yet vibrant lemon glaze adds the perfect finishing touch to the bundt cake, enhancing its citrus flavor and adding a touch of sweetness. For a basic glaze, you will need about 1 and 1/2 cups (approximately 180g) of confectioners' sugar (also known as powdered sugar) and 2-4 tablespoons of fresh lemon juice. Sift the confectioners' sugar into a medium bowl to remove any lumps; this ensures a smooth glaze.
Gradually whisk in the fresh lemon juice, starting with 2 tablespoons, until you achieve a smooth, pourable consistency. You may need more or less juice depending on your desired thickness. For a thicker glaze, use less liquid; for a thinner, more translucent glaze, add a little more. You can also add a pinch of lemon zest for extra flavor.
Once the cake is completely cool, drizzle or pour the glaze over the top, allowing it to drip down the sides. Let the glaze set for about 20-30 minutes before slicing. This easy Easter pastry recipe is sure to be a crowd-pleaser.
Decorating Mini Strawberry Shortcakes
Baking the Buttery Shortcake Biscuits
Mini strawberry shortcakes are a quintessential spring dessert, and the foundation is a tender, buttery biscuit. Start by combining the dry ingredients: approximately 2 cups (around 250g) of all-purpose flour, 1/4 cup (50g) of granulated sugar, 2 teaspoons of baking powder, and 1/4 teaspoon of salt. Whisk these together in a medium bowl.
Cut in about 1/2 cup (approximately 113g) of very cold unsalted butter, which has been cut into small cubes. Use a pastry blender, fork, or your fingertips to cut the butter into the flour mixture until it resembles coarse crumbs with some pea-sized pieces of butter remaining. This is crucial for creating flaky layers.
Next, add the wet ingredients. Whisk together about 3/4 cup (180ml) of cold buttermilk or heavy cream and 1 large egg in a separate bowl. Pour the wet ingredients into the dry mixture and mix gently with a fork or rubber spatula until just combined. The dough will be shaggy and slightly sticky. Turn the dough out onto a lightly floured surface and gently pat or roll it to about 1/2 inch thickness.
Use a biscuit cutter (about 2-3 inches in diameter) to cut out rounds. Place the biscuits on a baking sheet lined with parchment paper. For extra browning and shine, you can brush the tops with a little melted butter or cream. Bake in a preheated oven at 425°F (approximately 220°C) for about 12-15 minutes, or until golden brown and risen.
Whipping Fresh Cream and Slicing Strawberries
While the biscuits bake and cool slightly, prepare the classic shortcake accompaniments: fresh strawberries and whipped cream. Rinse about 1-2 pounds (approximately 450-900g) of fresh strawberries. Hull them (remove the green tops) and slice or quarter them, depending on your preference. Place the prepared strawberries in a bowl and add 1-2 tablespoons of granulated sugar. Gently stir to coat. The sugar will draw out some of the natural juices, creating a light syrup. Let the strawberries sit at room temperature for at least 15-20 minutes while you prepare the cream.
For the whipped cream, you will need about 1 to 1 and 1/2 cups (240-360ml) of very cold heavy whipping cream. Pour the cream into a chilled mixing bowl. Using an electric mixer or a whisk, begin beating the cream on medium speed. As the cream starts to thicken, add 2-3 tablespoons of confectioners' sugar and 1 teaspoon of vanilla extract.
Increase the speed and continue beating until soft or stiff peaks form, depending on your desired consistency. Be careful not to overbeat, or you'll end up with butter. Keep the whipped cream chilled until ready to assemble the shortcakes. These components are key to making easy Easter pastry recipes like shortcakes shine.
Assembling Individual Strawberry Shortcakes
Assembling the mini strawberry shortcakes is where the magic happens, turning simple components into a delightful dessert. Once the shortcake biscuits have cooled enough to handle (they should still be warm, but not hot), carefully slice each biscuit horizontally through the middle using a serrated knife. The warm, buttery interiors are perfect for soaking up the strawberry juices.
Place the bottom half of each biscuit on serving plates. Spoon a generous portion of the sugared strawberries onto the bottom half, ensuring some of the delicious juice soaks into the biscuit. Top the strawberries with a dollop or swirl of the freshly whipped cream. Place the top half of the biscuit over the cream. For an extra touch, you can add a little more whipped cream and a strawberry slice on top. Serve immediately for the best texture and flavor. These make for charming and easy Easter pastry recipes, perfect for individual servings.
Baking Rhubarb and Custard Tartlets
Pre-Baking the Tart Shells for Crispness
Creating crisp, flaky tartlet shells is essential for preventing a soggy bottom when filled with moist ingredients like rhubarb and custard. Start with your preferred tart dough recipe – a simple butter pastry or pate sucrée works well. Roll out the dough to about 1/8 inch thickness on a lightly floured surface. Cut out rounds large enough to fit into your tartlet molds or muffin tin, allowing for some overhang if using molds.
Gently press the dough into the molds, ensuring it fits snugly against the bottom and sides. Trim any excess dough from the edges. Chill the lined molds in the refrigerator for at least 30 minutes; this helps the pastry hold its shape during baking.
Preheat your oven to 375°F (approximately 190°C). Before baking, you need to "blind bake" the shells. Prick the bottom of each tartlet shell several times with a fork. Line each shell with a small piece of parchment paper or foil and fill with pie weights, dried beans, or rice. This prevents the sides from collapsing and the bottom from puffing up.
Bake for about 15-20 minutes, or until the edges are lightly golden. Carefully remove the weights and parchment/foil. Return the shells to the oven and bake for another 5-10 minutes, or until the bottom is dry and lightly golden. This ensures the base is fully cooked before adding the filling.
Preparing the Rhubarb and Custard Filling
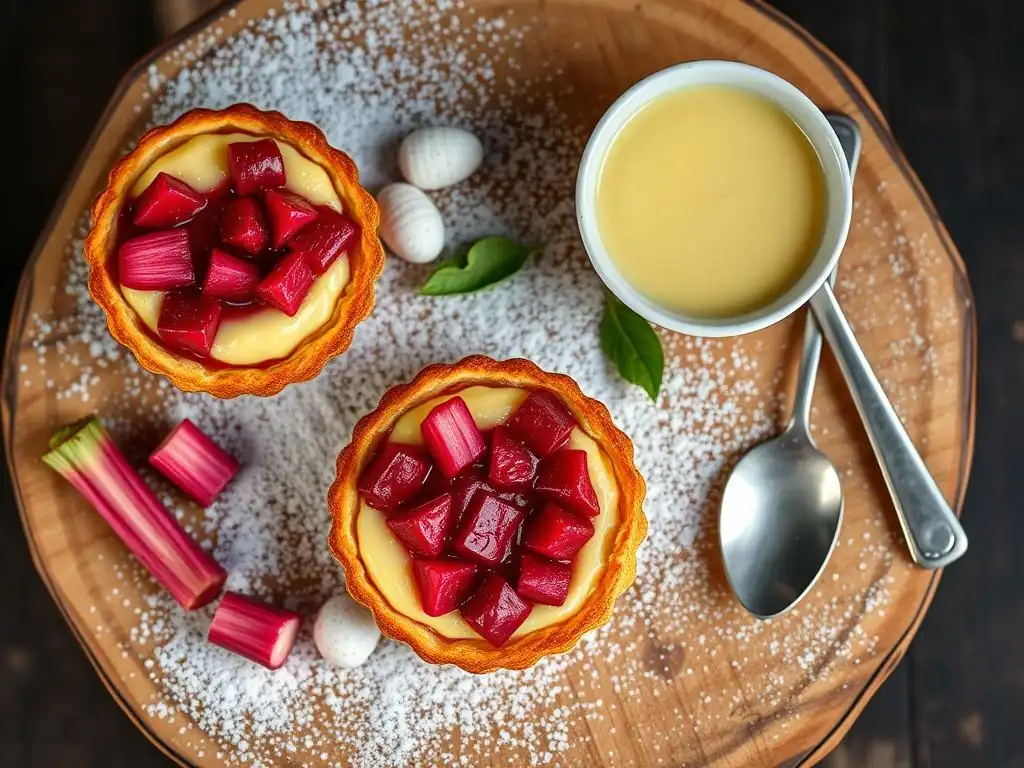
The filling for these tartlets is a delightful combination of tart rhubarb and smooth, sweet custard. Begin by preparing the rhubarb: wash and trim about 2-3 cups (approximately 300-450g) of fresh or frozen rhubarb stalks and cut them into 1/2-inch pieces. In a saucepan, combine the rhubarb with about 1/2 cup (100g) of granulated sugar and 2 tablespoons of water or orange juice. Cook over medium heat, stirring occasionally, until the rhubarb softens but still holds some shape, usually about 8-10 minutes. Let it cool slightly.
For the custard component, you can make a simple pastry cream or a baked custard. A straightforward approach involves whisking together 2 large egg yolks, 1/4 cup (50g) of granulated sugar, 2 tablespoons of cornstarch, and a pinch of salt in a bowl. In a separate saucepan, heat 1 and 1/2 cups (360ml) of whole milk or cream until just simmering. Gradually whisk the hot milk into the egg mixture to temper it, then pour everything back into the saucepan.
Cook over medium heat, whisking constantly, until the mixture thickens and comes to a gentle boil. Remove from heat, stir in 1 teaspoon of vanilla extract and perhaps a knob of butter for richness. Let the custard cool slightly, stirring occasionally to prevent a skin from forming. Gently fold the cooled cooked rhubarb into the custard.
Baking and Finishing the Rhubarb Tartlets
Once the tartlet shells are pre-baked and the rhubarb and custard filling is ready, it's time to assemble and bake. Spoon the rhubarb and custard mixture evenly into the pre-baked tartlet shells, filling them almost to the top. Smooth the surface with the back of a spoon.
Place the filled tartlets on a baking sheet. Bake in the preheated oven at 375°F (approximately 190°C) for another 15-20 minutes, or until the filling is set (it shouldn't wobble excessively in the center) and the pastry edges are golden brown. The surface of the custard might also appear slightly set or lightly browned. Once baked, carefully remove the tartlets from the oven and let them cool completely on a wire rack.
Rhubarb and custard tartlets are best served cool or at room temperature. For a final touch, you can dust them lightly with confectioners' sugar or glaze them with warmed apricot jam. These rustic yet elegant treats are lovely easy Easter pastry recipes.
Tips for Consistent Spring Pastry Success
Achieving a Light and Airy Texture
A light and airy texture is the hallmark of many successful pastries, from fluffy cakes to tender biscuits. This is often achieved through proper aeration and the correct handling of ingredients. Creaming butter and sugar thoroughly incorporates air bubbles that expand during baking. Sifting dry ingredients like flour and baking powder helps distribute the leaveners evenly and prevents lumps, contributing to a finer crumb.
Avoiding overmixing is equally critical. Once wet and dry ingredients are combined, mix only until they are just incorporated. Overworking the gluten in flour can result in tough, dense baked goods. For recipes like biscuits or pie crusts, keeping ingredients cold, especially butter, and handling the dough minimally creates steam during baking as the butter melts, resulting in flaky layers. Understanding the role of each ingredient and technique is key to mastering easy Easter pastry recipes.
Avoiding Soggy Bottoms and Over-Browning
Preventing soggy bottoms, particularly in tarts and pies with wet fillings, is a common baking challenge. For tarts like the rhubarb ones mentioned, blind baking the crust fully before adding the filling is one of the most effective strategies. This ensures the base cooks and sets, creating a barrier against moisture from the filling. Using a metal baking sheet can also help conduct heat to the bottom of the pastry more efficiently.
Over-browning of the crust or edges while the center finishes baking can also be frustrating. If you notice the edges browning too quickly, loosely cover the pastry with aluminum foil. Silicone pie crust shields are also available and work well for tarts and pies. Placing the pastry on a lower oven rack can sometimes help the bottom cook more thoroughly before the top gets too dark. Knowing these simple tricks ensures your easy Easter pastry recipes turn out perfectly golden and delicious.
Storing Baked Goods for Optimal Freshness
Proper storage is essential to maintain the texture and flavor of your spring pastries. Most cakes, like the lemon poppy seed bundt cake, should be stored at room temperature in an airtight container once completely cooled. If the cake is glazed, ensure the glaze is fully set before covering. Cakes stored this way typically stay fresh for 3-4 days.
Pastries containing fresh fruit or dairy fillings, such as strawberry shortcakes or rhubarb and custard tartlets, are more perishable. Strawberry shortcakes are best assembled just before serving, but the components (biscuits, prepared strawberries, whipped cream) can be stored separately. Biscuits can be stored at room temperature for a day or two.
Prepared strawberries and whipped cream must be kept refrigerated in airtight containers and are best used within 1-2 days. Tartlets with custard filling should also be stored in the refrigerator in a single layer if possible to prevent crushing, and are typically best consumed within 2-3 days. Always ensure baked goods are completely cooled before storing to prevent condensation, which can lead to sogginess.
Exploring Flavor Variations for Spring Pastries
Incorporating Seasonal Fruits [Example: Blueberries, Raspberries]
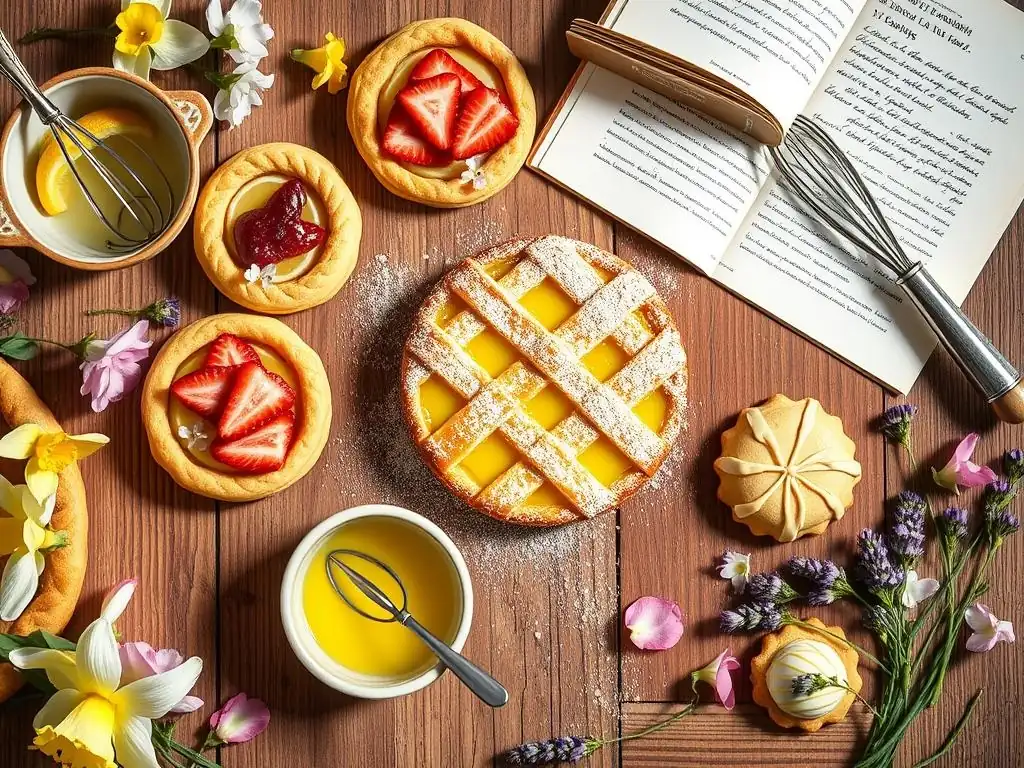
Spring offers a bounty of delicious fruits that can easily be swapped or added to your easy Easter pastry recipes. While strawberries and rhubarb are classic, consider incorporating blueberries into the lemon poppy seed cake batter or scattering them over the custard in the tartlets before baking. Blueberries add bursts of juicy sweetness and a lovely color. Approximately 1/2 cup (around 75g) of fresh blueberries can be gently folded into the cake batter before baking, or sprinkled over the tart filling.
Raspberries are another fantastic option. Their slightly tart flavor pairs beautifully with cream and lemon. You could replace strawberries with raspberries in the shortcakes, or even create a mixed berry topping. A simple raspberry coulis (puréed and strained raspberries, often sweetened) can also be drizzled over any of these pastries. Using about 1 cup (approximately 125g) of raspberries for shortcakes provides a vibrant and flavorful alternative. Exploring these seasonal variations keeps your baking exciting.
Using Aromatic Herbs and Spices [Example: Lavender, Cardamom]
Beyond fruit, spring is a time when fresh herbs and subtle spices can elevate your baking. Lavender, often associated with spring gardens, pairs surprisingly well with lemon and berries. A small amount of culinary lavender (about 1-2 teaspoons of dried buds, finely chopped) can be added to the lemon poppy seed cake batter or infused into the milk for the custard filling. Use sparingly, as its flavor is potent.
Cardamom, with its warm, slightly floral notes, complements both fruit and creamy fillings. A pinch (1/4 to 1/2 teaspoon) of ground cardamom can be added to the biscuit dough for the shortcakes or mixed into the rhubarb and custard filling. It adds a layer of sophisticated flavor without being overpowering. Experimenting with these aromatic additions allows you to personalize your easy Easter pastry recipes and create unique taste experiences.
Experimenting with Different Toppings and Glazes
The finishing touches on your pastries offer another avenue for creativity. Instead of a simple lemon glaze, you could make a cream cheese frosting for the bundt cake, perhaps flavored with a touch of orange zest. A simple dusting of confectioners' sugar is also an elegant and quick option for any of these pastries.
For shortcakes and tartlets, consider different cream toppings. Mascarpone cheese whipped with a little sugar and vanilla offers a richer alternative to whipped cream. A drizzle of white chocolate ganache over the rhubarb tartlets could add decadence. Candied lemon peel, toasted nuts, or fresh mint sprigs can also serve as beautiful and flavorful garnishes. Don't be afraid to try new combinations; even small changes can transform easy Easter pastry recipes into gourmet delights.
Displaying Your Spring Baking Masterpieces
Arranging Pastries for Visual Appeal
The way you present your baked goods can significantly enhance their appeal, turning simple treats into a stunning spread. For the bundt cake, place it on a cake stand as a centerpiece. If glazed, ensure the glaze has set. You can arrange fresh flowers (ensure they are food-safe and haven't been sprayed) or sprigs of mint around the base for a touch of spring elegance.
Mini strawberry shortcakes and rhubarb tartlets are perfect for individual presentation or arranging on platters. For shortcakes, stack them neatly on a tiered stand or arrange them in rows on a flat platter. Ensure the components look fresh and the cream is neatly piped or spooned. Tartlets can be placed directly in their molds on a platter or carefully removed and arranged on decorative paper liners. Varying the height of your display using stands or boxes can add visual interest to a dessert table featuring your easy Easter pastry recipes.
Garnishing Techniques for Added Elegance
Garnishes are the jewelry of pastries – they add sparkle and polish. For the lemon poppy seed cake, a simple dusting of confectioners' sugar applied through a sieve creates a delicate, snowy effect. Thin slices of candied lemon or curls of fresh lemon zest can be placed on top of the glaze.
Strawberry shortcakes look beautiful with a whole strawberry or a fanned strawberry slice placed on top of the whipped cream. A sprinkle of coarse sugar on the biscuit tops before baking adds sparkle and crunch. For the rhubarb tartlets, a light dusting of confectioners' sugar is classic. You could also place a small sprig of fresh mint or a tiny edible flower on the custard surface. These small additions require minimal effort but make your easy Easter pastry recipes look professionally finished.
Savoring Homemade Spring Pastries and Sharing the Joy
There's a unique satisfaction that comes from creating delicious treats with your own hands, especially when they capture the fresh, hopeful spirit of spring. Baking these easy Easter pastry recipes is not just about the final product; it's about the process – the measuring, mixing, and the wonderful aromas that fill your kitchen. The act of baking can be a relaxing and rewarding experience, a perfect way to unwind and express creativity.
Sharing your homemade spring pastries with friends and family is one of the greatest joys of baking. Whether you're serving them at an Easter gathering, bringing them to a picnic, or simply enjoying them with a cup of tea, the smiles and compliments you receive are the sweetest reward. These simple steps lead to impressive results, proving that anyone can master easy Easter pastry recipes and spread a little sweetness this season. Enjoy every bite and the shared moments they create!
Frequently Asked Questions
What makes a pastry recipe "easy" for Easter baking?
An easy Easter pastry recipe focuses on simple techniques, readily available ingredients, and avoids complex steps, making it perfect for bakers of all skill levels. The goal is delicious results with minimal fuss.
Can I substitute ingredients in Easter pastry recipes?
While some substitutions are possible, it's important to understand the impact on the final product. For best results, follow the recipe closely, especially when it comes to key ingredients like flour and butter.
What are some examples of beginner-friendly Easter pastries?
Beginner-friendly options include things like easy sugar cookies decorated with Easter themes, simple fruit tarts with pre-made crusts, or quick bread variations like carrot cake muffins.
How can I make my Easter pastries look more professional?
Focus on neat presentation and simple decorations. Using cookie cutters, piping simple designs with frosting, or adding colorful sprinkles can elevate the look without requiring advanced skills.
Where can I find reliable and easy-to-follow Easter pastry recipes?
Websites like BakeWithEase.com offer step-by-step guides and easy-to-find ingredients, catering to bakers of all levels and ensuring successful Easter pastry creations.
The art of baking, especially during holidays like Easter, transcends mere culinary skill; it's about creating cherished memories and fostering connections. This simple guide to crafting impressive Easter pastries proves that even with minimal experience, you can achieve delightful results, bringing joy to yourself and those you share your creations with. The ease of these recipes shouldn't be underestimated; they unlock a world of delicious possibilities for everyone.
The enduring appeal of baking lies in its ability to bring people together. The aroma of freshly baked goods, the shared effort of creating something beautiful, and the ultimate satisfaction of enjoying the fruits of your labor – these are experiences that resonate deeply. Baking is at once child's play and adult joy. And love, of course.
This quote perfectly encapsulates the magic of baking, especially during a time of celebration like Easter. It's a tradition that continues to shape our cultural landscape, binding generations through shared recipes and cherished memories.
This Easter, I encourage you to embrace the simplicity of these recipes and embark on your own baking adventure. Don't be intimidated by the prospect of creating something beautiful and delicious; let the joy of the process guide you. Remember the power of sharing – whether it's with family, friends, or even just yourself – and savor the sweetness of the moment. Let the aroma of your Easter pastries fill your home with warmth and happiness, creating memories that will last long after the last crumb is gone.
Unleash Your Inner Pastry Chef This Easter!
Thanks for taking the time to explore these simple Easter pastry recipes! We hope you've discovered some delicious inspiration to impress your loved ones. Ready to get baking?
- Dive into our Easter Baking Challenge: Try recreating one (or all!) of the recipes featured in the article and share your creations on social media using #BakeWithEaseEaster. We'd love to see your masterpieces!
- Experiment with flavor variations: Take our basic recipes and add your own unique twist – perhaps a different type of chocolate or a unique fruit filling. The possibilities are endless!
- Share the joy: Send this article to a friend who also loves baking or would appreciate a delicious Easter treat. Spread the baking love!
What’s your favorite Easter pastry to bake (or eat)? Let us know in the comments!