
Troubleshooting Dense European Rye Breads

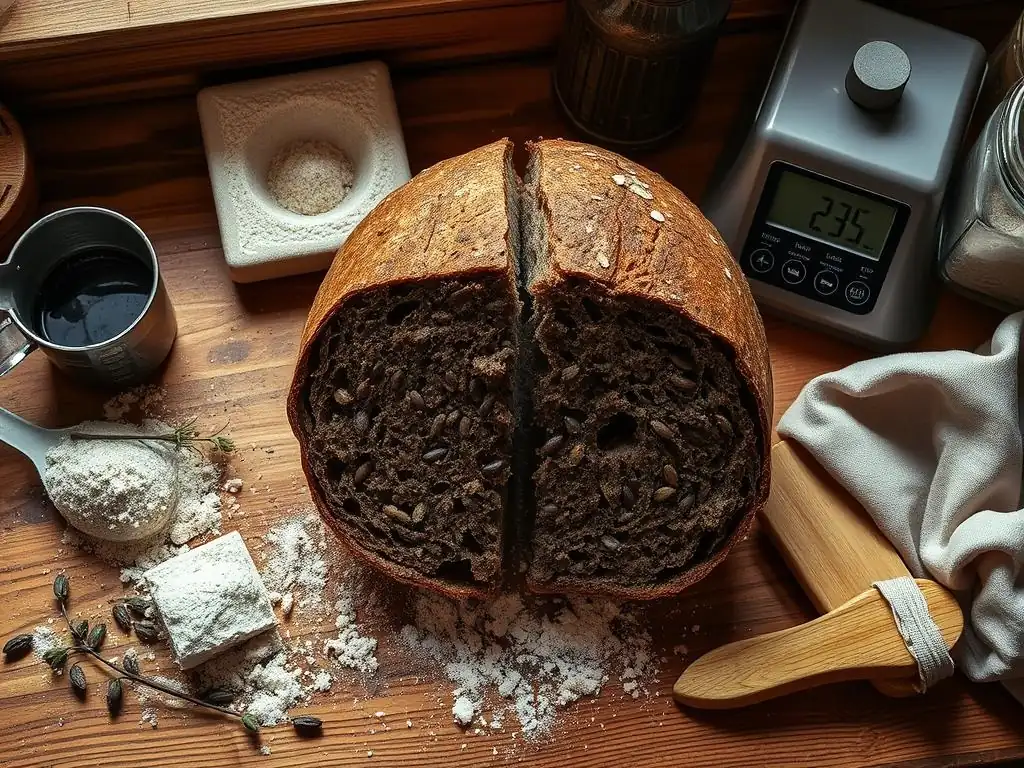
Welcome to BakeWithEase, your companion on the delicious journey of baking! Ever wondered why your dense rye bread isn't quite achieving that perfect airy crumb? You're not alone! Dive into our expert troubleshooting tips and unlock the secrets to baking authentic, flavorful European rye breads. Discover the common pitfalls and simple solutions that will transform your baking from dense to delightful. Ready to elevate your rye baking game? Let's get started!
- Understanding Dense Rye Bread: Characteristics and Expectations
- Dense Rye Bread Troubleshooting Tips: Common Problems and Solutions
- Mastering Rye Bread Baking: Advanced Techniques for Lighter Loaves
- Dense Rye Bread Recipe Refinement: Vollkornbrot Troubleshooting
- Resources for Baking Better European Rye Bread
- Conclusion: Baking Dense Yet Delicious Rye Bread with Confidence
-
Frequently Asked Questions
- Why is my rye bread so dense, even after proofing?
- What type of rye flour is best for a lighter rye bread?
- How does the sourness of the rye starter affect the bread's texture?
- What role does hydration play in achieving a less dense rye bread?
- What are some common mistakes that cause dense rye bread, and how can I avoid them?
- Final Reflection: The Enduring Mystery (and Delight) of Rye
- Unlock the Secrets to Perfectly Dense Rye!
Understanding Dense Rye Bread: Characteristics and Expectations
European rye bread holds a special place in the world of baking, celebrated for its deep flavors, hearty texture, and nutritional value. Unlike wheat-based loaves, rye bread is often characterized by a dense, compact crumb. This isn't necessarily a fault; in many traditional European styles, a certain level of density is not only expected but desired.
Think of a robust German Roggenbrot or a hearty Finnish Ruisleipä – they are built to be substantial and satisfying, perfect for pairing with strong cheeses or cured meats. Understanding these inherent characteristics is the first step in mastering dense rye bread troubleshooting tips and techniques.
The expectation of density varies significantly depending on the specific regional style. A Pumpernickel, for instance, is intentionally baked for many hours at low temperatures to achieve an extremely dense, almost cakelike texture. Conversely, a lighter rye sourdough might aim for a slightly more open crumb while still being denser than a typical wheat loaf. Recognizing the intended outcome for the specific recipe you are following is crucial before you even begin troubleshooting dense rye bread issues. Is your bread too dense compared to the recipe's goal, or is it simply exhibiting the natural density of the style?
What Makes European Rye Bread Dense?
The primary reason European rye bread is typically denser than wheat bread lies in the unique composition of rye flour itself. Rye flour contains significantly less gluten-forming protein compared to wheat flour. While wheat gluten forms a strong, elastic network that traps gas produced during fermentation, allowing the dough to rise and create an open crumb, rye gluten is weaker and does not develop in the same way. This fundamental difference means rye dough relies less on gluten structure for its rise and more on other components.
Furthermore, rye flour is rich in pentosans, complex carbohydrates that are excellent at absorbing water. These pentosans swell and form a viscous gel during mixing and baking. While this helps retain moisture and contributes to the bread's keeping qualities, this gel structure is heavy and contributes directly to the characteristic density. The pentosans also interfere with the limited gluten development that does occur, further inhibiting the formation of a light, airy structure. Therefore, achieving a balance between moisture retention and avoiding excessive gumminess is a key aspect of dense rye bread troubleshooting.
Different Types of European Rye Breads and Their Expected Density
Europe boasts a vast array of rye bread styles, each with its own tradition and expected density. At the denser end of the spectrum are breads like German Vollkornbrot or Pumpernickel, often made with coarsely ground whole rye flour and sometimes whole rye berries. These loaves are incredibly moist, heavy, and have a very tight, almost uniform crumb. A typical Vollkornbrot might have a specific gravity much higher than a wheat loaf, reflecting its substantial nature.
Moving towards slightly less dense, but still compact, loaves include many traditional Russian Borodinsky breads or Polish Rye breads. These often incorporate a mix of rye and sometimes a small percentage of wheat flour, and frequently use scalds (hot liquid added to flour) to improve texture. Even in these cases, the crumb remains quite tight compared to, say, a French baguette. Understanding these variations is vital for effective dense rye bread troubleshooting tips; what might be considered "too dense" for one style could be perfectly acceptable for another.
Factors Influencing Rye Bread Density: A Baker's Perspective
Several factors beyond the inherent properties of rye flour play a significant role in the final density of your loaf. One crucial element is hydration level. Rye flour absorbs a lot of water, but too much can lead to a very wet, slack dough that struggles to hold its shape and results in excessive density and gumminess. Too little hydration, on the other hand, can result in a dry, crumbly, yet still dense texture. Finding the sweet spot is part of the art of baking rye.
Another major factor is the fermentation process, particularly when using sourdough. The acidity developed by lactic acid bacteria in a rye sourdough starter helps to manage the activity of enzymes (like amylase) in rye flour that can break down starch and lead to a gummy crumb. Proper proofing time is also critical. Unlike wheat dough, rye dough doesn't typically double in size. Over-proofing or under-proofing can both negatively impact the final texture and contribute to undesirable density. These variables are central to effective dense rye bread troubleshooting tips.
Dense Rye Bread Troubleshooting Tips: Common Problems and Solutions
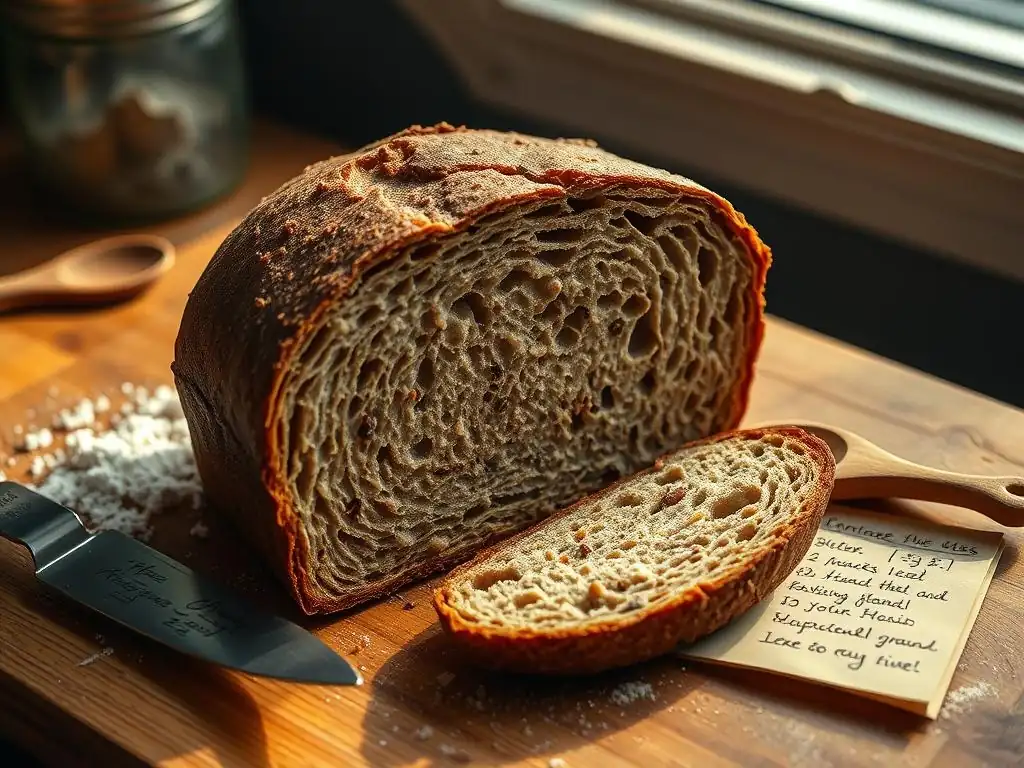
Baking European rye bread can be incredibly rewarding, but it also presents unique challenges. If your loaf isn't turning out quite right – perhaps it's heavier than expected, lacks rise, or has a gummy texture – it's time for some dense rye bread troubleshooting. Identifying the specific problem is the first step towards finding the right solution. Let's look at some common issues bakers face and how to address them.
Many bakers new to rye are surprised by its different behavior compared to wheat. The dough feels sticky, doesn't develop a windowpane like wheat, and doesn't show dramatic expansion during proofing. These are normal characteristics. However, when the final baked loaf is excessively dense, hard, or gummy, it indicates an issue somewhere in the process. These dense rye bread troubleshooting tips are designed to help you pinpoint the cause and make adjustments for better results.
Problem 1: Bread is Too Dense and Gummy
A common complaint when baking rye is a crumb that is not only dense but also feels wet, sticky, or gummy, sometimes described as having the consistency of wallpaper paste. This often happens when the starches in the rye flour are broken down excessively, leading to a sticky gel rather than a firm structure. This issue is frequently linked to hydration, enzyme activity, or the type of flour used. Addressing gumminess is a key aspect of dense rye bread troubleshooting.
Excessive gumminess can ruin an otherwise flavorful loaf. It makes slicing difficult, and the texture is unpleasant to eat. Fortunately, this is a solvable problem. By carefully controlling variables like water content, fermentation acidity, and even baking temperature, you can significantly improve the texture and reduce or eliminate that undesirable gummy layer. These solutions focus on managing the unique properties of rye flour.
Solution 1.1: Adjusting Hydration Levels for Rye Bread Dough
Rye flour is famously thirsty, capable of absorbing a large amount of water due to its high pentosan content. However, adding too much water can overwhelm the limited structure available, leading to a slack dough and a gummy, overly dense crumb. Typical hydration levels for rye breads can range anywhere from 70% for a firmer dough to over 90% for very wet, slack doughs often baked in pans. If your bread is gummy, your hydration might be too high for the specific flour type or recipe.
Try reducing the hydration slightly in your next bake. If your recipe calls for 90% hydration, perhaps try 85% or even 80%. Observe how the dough feels – it should be sticky but manageable, not a pourable batter (unless the recipe specifically dictates that). A small reduction in water, maybe just 20-30 grams per loaf, can make a significant difference in managing the pentosans and reducing gumminess, contributing to better dense rye bread troubleshooting outcomes.
Solution 1.2: Improving Starch Gelatinization in Rye Bread
Proper starch gelatinization during baking is crucial for a non-gummy crumb. Enzymes (specifically amylase) in rye flour can break down starch into sugars, especially at certain temperatures. Sourdough fermentation helps by lowering the dough's pH, which inhibits amylase activity. If your sourdough starter isn't acidic enough, or if you're using commercial yeast without an acidifying agent (like vinegar or buttermilk), the amylase might be too active, leading to starch breakdown and gumminess.
Ensuring your sourdough starter is mature and active with good acidity is vital. A healthy rye sourdough starter typically reaches a pH of around 3.8-4.2 when ripe. If using commercial yeast, consider adding a small amount of acid, perhaps 1-2% of the flour weight in vinegar or lemon juice, to help control enzyme activity. Another technique is using a scald or soaker (discussed later), which pre-gelatinizes some starch before the main bake, making it less susceptible to enzymatic breakdown during the bake itself and is a great dense rye bread troubleshooting tip.
Solution 1.3: The Role of Rye Flour Type and Particle Size in Bread Density
The type and grind of rye flour significantly impact the final bread texture. Whole rye flour, especially coarse grinds, contains more bran and germ, which can interfere with structure and lead to a denser loaf. White or light rye flour, which has most of the bran and germ removed, will generally produce a lighter (though still dense compared to wheat) loaf. Pumpernickel flour is a very coarse grind, often containing cracked or chopped rye berries, contributing to extreme density.
If you're consistently getting overly dense or gummy results, consider experimenting with a different type of rye flour. Switching from a coarse whole rye to a medium or light rye might yield a less dense crumb. Understand that a Pumpernickel made with Pumpernickel flour is meant to be extremely dense. If you're using a fine-ground rye flour and still experiencing excessive gumminess, the issue is more likely hydration or fermentation related. Matching the flour type to the desired outcome is key for effective dense rye bread troubleshooting.
Problem 2: Bread Lacks Rise and Volume
While rye bread is expected to be dense, a loaf that is completely flat or significantly smaller than anticipated indicates a problem with leavening or proofing. Rye dough doesn't achieve the dramatic oven spring of wheat dough, but it should still show some increase in volume during fermentation and baking. Lack of rise is a common issue requiring specific dense rye bread troubleshooting tips.
A loaf that lacks rise might be overly dense or hard, lacking the characteristic moistness of good rye bread. This can stem from inactive leavening agents, improper proofing times, or issues with dough handling. Identifying whether the issue is related to the starter/yeast itself or the conditions under which the dough is fermented is crucial.
Solution 2.1: Optimizing Yeast or Sourdough Starter Activity in Rye Bread Baking
For yeast-leavened rye bread, ensure your commercial yeast is fresh and active. Check the expiration date and proof it in warm water with a pinch of sugar before adding it to the flour. Inactive yeast simply won't produce enough carbon dioxide to leaven the dense rye dough.
If using a sourdough starter, its health and activity are paramount. A ripe rye sourdough starter should be bubbly, smell pleasantly tangy, and pass the float test (a small piece should float in water) when ready. Feed your starter regularly with a consistent schedule and ratio (e.g., 1:2:2 starter:water:flour) to maintain its vigor.
Using a starter that hasn't peaked or is past its peak can result in weak fermentation and poor rise, a frequent cause requiring dense rye bread troubleshooting. Ensure your starter is specifically a rye starter or is regularly fed with rye flour if you are primarily baking rye bread, as the microbial balance can differ.
Solution 2.2: Proper Proofing Techniques for Rye Bread Dough
Proofing rye dough differs significantly from proofing wheat dough. Rye dough typically shows only a modest increase in volume, perhaps 30-50%, rather than doubling. Over-proofing is a common mistake that leads to a collapsed structure in the oven and a dense, heavy loaf. The weak rye structure cannot support excessive gas production.
Under-proofing, however, will also result in a dense loaf because insufficient gas has been produced to give it any lift. You're looking for signs of fermentation activity – slight puffiness, maybe a few bubbles on the surface – rather than dramatic size increase. The poke test isn't as reliable as with wheat.
Instead, look for signs that the dough feels slightly lighter and more aerated than when you started. Proofing times for rye can be longer than wheat, sometimes 2-4 hours at room temperature or longer in the refrigerator, depending on the recipe and temperature. Learning to read the dough is essential for dense rye bread troubleshooting.
Solution 2.3: Understanding Sourdough Starter Acidity and its Impact on Rise
As mentioned earlier, sourdough acidity is vital for controlling enzyme activity in rye. However, it also impacts the leavening process. Lactic acid bacteria and wild yeasts in the starter work together. If the starter is too acidic (e.g., pH below 3.8), it can start to degrade the limited gluten structure in the rye, leading to a slack dough that cannot hold gas well and results in a dense loaf with poor rise.
Maintaining a balanced starter with good yeast activity and controlled lactic acid production is key. This is achieved through consistent feeding schedules, appropriate hydration for the starter (often 100% hydration for rye starters), and using it at its peak ripeness. If your starter smells overly sour or vinegary, it might be too acidic. Try adjusting your feeding schedule or ratio to encourage more yeast activity relative to acid production. Monitoring starter pH can be an advanced dense rye bread troubleshooting technique for serious bakers.
Problem 3: Bread is Heavy and Compact
A loaf that feels excessively heavy and compact after baking, even if it had some rise, might indicate issues with dough development, baking process, or ingredient interaction. This differs slightly from the gummy issue, focusing more on overall density and weight rather than stickiness. These dense rye bread troubleshooting tips address the structural and baking aspects.
This problem often manifests as a loaf that seems solid all the way through, lacking any semblance of an open or even tight, uniform crumb structure. It might feel like a brick. This can be frustrating, especially after investing time in fermentation and shaping. Addressing these factors can significantly improve the texture and density of your rye bread.
Solution 3.1: Kneading or Mixing Techniques for Rye Bread: Developing Structure
Unlike wheat dough which requires extensive kneading to develop gluten, rye dough should generally be mixed gently and minimally. Over-mixing rye dough can actually break down the limited structure provided by the pentosans and weak gluten, leading to a stickier, slacker dough that collapses during baking and results in excessive density.
For most rye doughs (especially those 50% rye or more), a gentle mixing until the ingredients are just combined and the dough is uniform is sufficient. This might take only 5-10 minutes by hand or 3-5 minutes in a stand mixer on low speed. There is no need for traditional kneading to achieve a windowpane effect. Focus on developing the dough's structure through proper hydration and fermentation rather than mechanical action. Gentle handling throughout shaping is also important to preserve any gas produced, aiding in dense rye bread troubleshooting.
Solution 3.2: Baking Temperature and Time Adjustments for Dense Rye
Baking rye bread requires specific temperatures and times to allow the interior to cook through properly and the starches to set, preventing gumminess and excessive density. Rye breads often benefit from a high initial temperature to encourage a slight oven spring, followed by a longer bake at a lower temperature to ensure the dense interior is fully cooked.
A common approach is to start baking at around 230-250°C (450-480°F) for the first 10-15 minutes, often with steam, then reducing the temperature to 190-210°C (375-410°F) for the remainder of the bake. Total baking time for a medium-sized loaf can range from 45 minutes to over an hour, depending on size and density. Baking for too short a time, especially at too low a temperature, will result in an undercooked, heavy, and gummy interior.
Use a thermometer to check the internal temperature; it should reach 95-100°C (205-212°F) for a fully baked loaf. Adjusting your baking process is a key dense rye bread troubleshooting step.
Solution 3.3: The Impact of Ingredients Like Caraway Seeds on Rye Bread Texture
While not a primary cause of excessive density, certain additions common in rye bread, like whole caraway seeds, can influence the perceived texture. Large amounts of hard inclusions can disrupt the crumb structure slightly. However, the impact is usually minor compared to issues with flour, hydration, or fermentation.
More impactful additions might be things like soaked grains or seeds, which add weight and moisture. While beneficial for flavor and keeping quality, they inherently contribute to density. Ensure that any grains or seeds are properly soaked according to the recipe to soften them and prevent them from drawing moisture from the dough during baking, which could lead to a drier, yet still dense, crumb. Consider the impact of these additions when implementing your dense rye bread troubleshooting tips.
Mastering Rye Bread Baking: Advanced Techniques for Lighter Loaves
While density is a hallmark of many European rye breads, there are techniques bakers use to achieve a slightly less compact texture while retaining the characteristic flavor. These advanced methods focus on managing rye's unique properties to encourage a slightly more open crumb structure where possible. Implementing these can elevate your rye baking skills and provide further dense rye bread troubleshooting strategies.
These techniques often involve pre-processing the rye flour or a portion of it before the main dough mix. By altering the starch structure or acidity early on, bakers can better control the final outcome. Experimenting with these methods can lead to rye loaves that are dense in a pleasant, moist way, rather than being heavy and gummy.
Pre-Ferments (Sourdough, Poolish, Biga) and Their Effect on Rye Bread Texture
Using a pre-ferment is perhaps the most common and effective way to improve the texture of rye bread, particularly a sourdough pre-ferment (the starter itself or a build from it). The acidity developed during the long, slow fermentation of a rye pre-ferment helps to control the enzymatic breakdown of starch, which is a major contributor to gumminess and excessive density.
Even in yeast-leavened rye breads, a poolish (equal parts flour and water, fermented with yeast) or a biga (drier pre-ferment) made with a portion of the rye (or wheat, if used) flour can add complexity and structure. The fermentation process in the pre-ferment modifies the flour proteins and starches, making them behave differently in the final dough. Using 20-40% of the total flour in a well-fermented pre-ferment is a robust dense rye bread troubleshooting tip.
Using Scalds (Rye Soaker) to Improve Rye Bread Moisture and Openness
A scald, also known as a rye soaker or Kochstück in German baking, is a technique where a portion of the rye flour (and sometimes whole grains) is mixed with hot or boiling water. This mixture is left to cool before being added to the final dough. The hot water gelatinizes the starch in the flour, making it less susceptible to enzymatic breakdown during fermentation and baking.
The gelatinized starch holds onto moisture exceptionally well, leading to a moister crumb and preventing the gummy texture often associated with excessive starch breakdown. While it doesn't create a dramatically open crumb like in wheat bread, a scald can result in a softer, more pleasant density and improved keeping qualities. Using a scald with 10-30% of the total rye flour is a valuable advanced technique for dense rye bread troubleshooting.
The Importance of Resting and Cooling Rye Bread Properly
Once your beautiful rye loaf comes out of the oven, the baking process isn't quite finished. The internal structure is still setting, and moisture is redistributing throughout the loaf. Rye bread, especially denser varieties like Vollkornbrot, absolutely must be allowed to cool completely, often for several hours or even 12-24 hours, before slicing.
Slicing a warm rye loaf will almost guarantee a gummy, sticky crumb, even if it was baked perfectly. The starches need time to fully set as the bread cools. Cutting too early disrupts this process. While it's tempting to cut into a warm loaf, patience is key to achieving the intended texture. Allowing adequate resting time is a simple but critical dense rye bread troubleshooting step that is often overlooked.
Dense Rye Bread Recipe Refinement: Vollkornbrot Troubleshooting
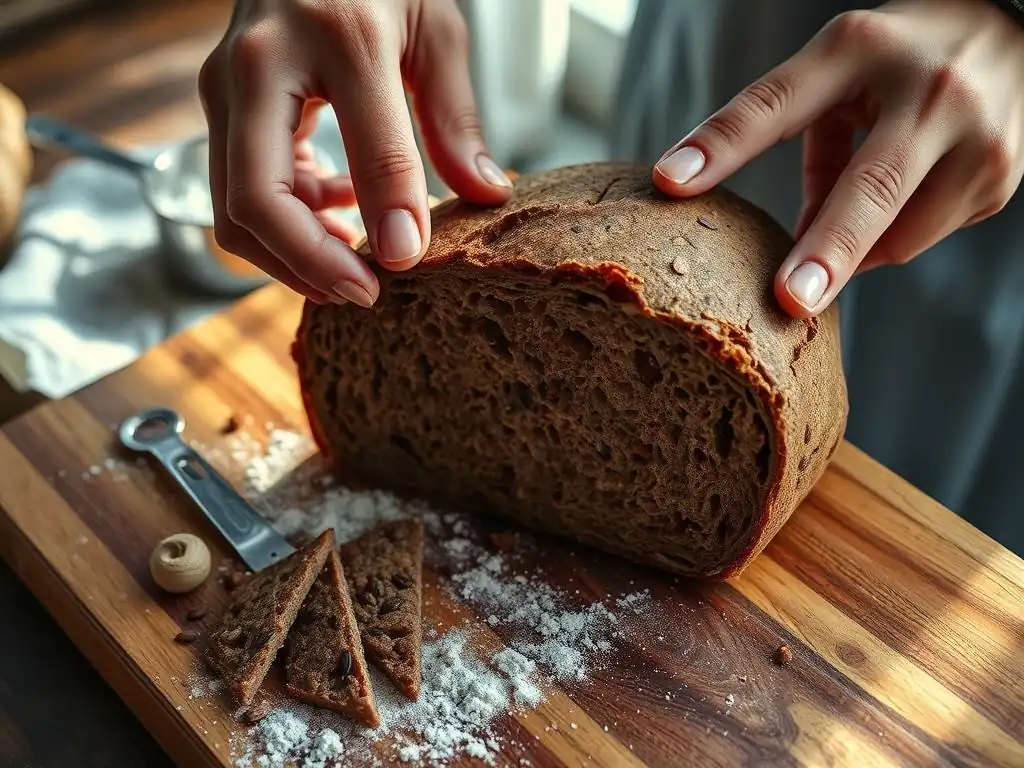
Vollkornbrot, a traditional German whole grain rye bread, is the epitome of dense rye bread. Made primarily with cracked rye berries and coarse whole rye flour, it's known for its incredible moisture, long shelf life, and substantial weight. While density is the goal here, bakers can still encounter issues like excessive gumminess, lack of cohesion, or an unpleasant texture. These specific dense rye bread troubleshooting tips focus on this particular style.
Troubleshooting Vollkornbrot often involves fine-tuning the soaking and baking process, which differ significantly from standard bread methods. Because it relies less on fermentation for structure and more on the hydration and gelatinization of the grains and flour, specific adjustments are needed to achieve the desired moist, dense, and cohesive crumb that defines a great Vollkornbrot.
Common Issues with Vollkornbrot and How to Fix Them
One common issue with Vollkornbrot is a crumb that is too wet or gummy, even after cooling. This can be due to insufficient baking time or temperature, or improper soaking of the rye berries. If the internal temperature doesn't reach the necessary 95-100°C (205-212°F) and stay there long enough, the starches won't fully gelatinize and set. Ensure your oven temperature is accurate and bake for the full duration specified, which can be 2-3 hours or more at low temperatures (around 120-150°C / 250-300°F).
Another issue is a crumb that is too crumbly or dry, lacking cohesion. This might happen if the rye berries or flour weren't sufficiently hydrated during the soaking stage. Ensure the recipe's soaking time and water temperature are followed precisely. Some recipes use boiling water for the soak to kickstart gelatinization. If still too dry, slightly increase the water added during the soak in future bakes, perhaps by 5-10%. Adjusting hydration is a key dense rye bread troubleshooting method for Vollkornbrot.
Achieving the Perfect Crumb in Vollkornbrot: A Visual Guide
The "perfect" crumb in Vollkornbrot is not open and airy, but rather dense, moist, and uniform, packed with visible rye berries and coarse flour particles. It should slice cleanly without crumbling excessively or sticking to the knife. A visual check can tell you a lot.
- Good Crumb: Uniform distribution of grains, moist but not sticky appearance, holds shape when sliced, cuts cleanly.
- Gummy Crumb: Appears wet or translucent, sticks to the knife, collapses or smears when sliced, feels heavy and gluey.
- Dry/Crumbly Crumb: Falls apart easily when sliced, looks dry, lacks cohesion, feels brittle.
Comparing your loaf's interior to images of well-made Vollkornbrot can help diagnose issues. If it's gummy, focus on baking time/temperature and soaking. If it's crumbly, revisit the soaking process and hydration. These visual cues are invaluable dense rye bread troubleshooting tips.
Adjusting Vollkornbrot for Different Rye Flour Types and Grinds
Vollkornbrot recipes often specify "coarse rye flour" or "Pumpernickel flour" and "cracked rye berries." Using different grinds than specified will alter the hydration needs and potentially the texture. Finer rye flour will absorb water differently than coarse flour.
If using a finer grind of whole rye flour than the recipe intends, you might need slightly less water during the soak or main mix, as finer flour hydrates faster but can become gummy more easily. If using a mix of flour and berries, ensure the berries are properly cracked or chopped, not whole, as whole berries require a much longer soak (sometimes days) or even boiling to soften adequately. Adapting the recipe based on the specific rye products you have on hand is part of effective dense rye bread troubleshooting for Vollkornbrot.
Resources for Baking Better European Rye Bread
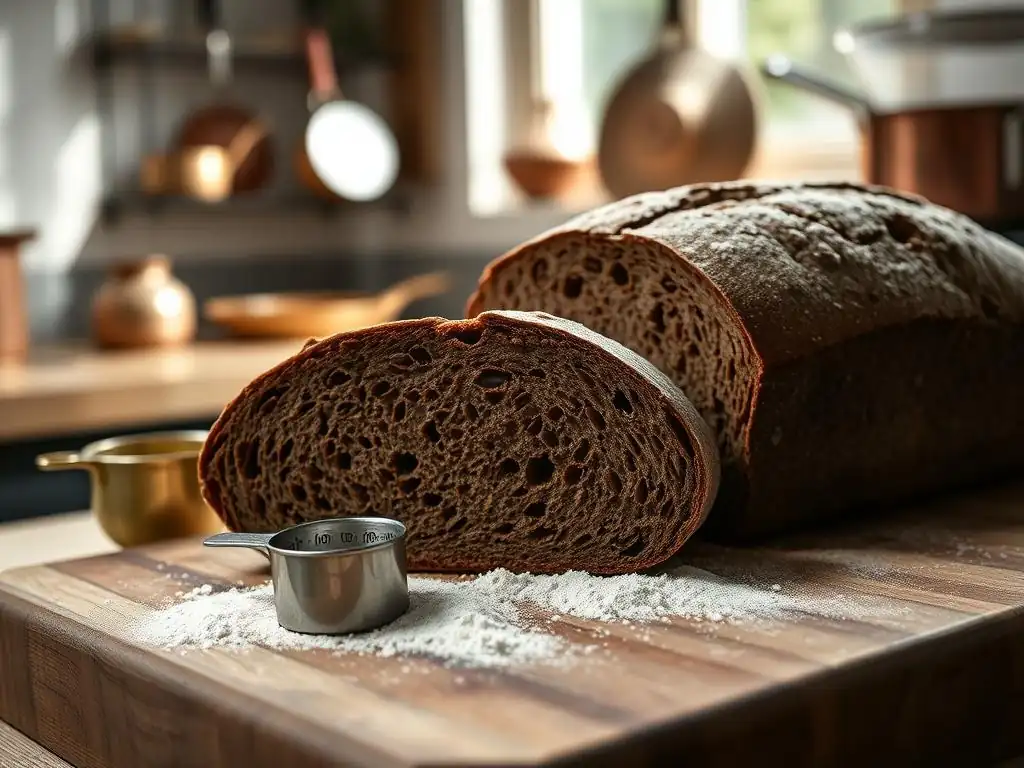
Improving your rye bread baking often involves exploring different ingredients, tools, and learning resources. The world of European rye is vast and fascinating, with regional variations and specific techniques. Having the right information and equipment can make a significant difference in your results and aid in your dense rye bread troubleshooting efforts.
Accessing reliable information and using appropriate tools can help demystify the process and lead to more consistent success. Don's be afraid to experiment once you understand the fundamentals – that's how you truly master baking any type of bread.
Recommended Rye Flour Brands and Types for Optimal Results
The quality and type of rye flour available vary widely by region. Look for reputable millers who specialize in rye. For traditional European styles, you'll often need different grades:
- Light Rye Flour: Similar to white wheat flour, with most bran removed. Good for lighter rye loaves or when mixed with wheat.
- Medium Rye Flour: Contains some bran, offering more flavor and density than light rye. A good all-purpose rye for many recipes.
- Dark/Whole Rye Flour: Contains the entire rye berry. Provides the deepest flavor, color, and maximum density. Essential for Vollkornbrot and Pumpernickel.
- Rye Meal / Pumpernickel Flour: Very coarse grind, often containing cracked or chopped berries. Used in very dense, traditional loaves like Pumpernickel.
- Cracked Rye Berries: Whole rye berries that have been cracked. Require soaking and are used in loaves like Vollkornbrot.
Experimenting with different brands and types will help you understand how they behave and find your preference. High-quality, freshly milled flour will generally yield better results and make dense rye bread troubleshooting easier.
Essential Baking Tools for Rye Bread Success
While you don't need a lot of fancy equipment to bake rye bread, a few tools can make the process smoother and improve outcomes:
- Reliable Kitchen Scale: Baking, especially with rye, is a science where precise measurements are crucial. Weighing ingredients is far more accurate than using volume measures.
- Sturdy Mixing Bowl/Container: Rye dough is sticky and dense; a stable bowl is helpful.
- Dough Scraper: Indispensable for handling sticky rye dough and cleaning up.
- Loaf Pans: Many traditional dense rye breads, like Vollkornbrot or Pumpernickel, are baked in pans because the slack dough doesn't hold its shape well as a freeform loaf. Dark metal pans conduct heat well for a good crust.
- Instant-Read Thermometer: The most reliable way to check for doneness in dense rye bread. Aim for 95-100°C (205-212°F) internal temperature.
- Cooling Rack: Essential for allowing the bread to cool completely and preventing a soggy bottom crust.
Having these basic tools ensures you can execute recipes accurately and check for doneness reliably, supporting your dense rye bread troubleshooting efforts.
Further Reading and Advanced Rye Bread Techniques
The world of rye bread baking is deep and rich. Exploring classic cookbooks focused on European baking (German, Scandinavian, Russian, Polish) can provide invaluable insights into traditional methods and recipes. Many online forums and communities dedicated to sourdough and rye baking offer a wealth of shared knowledge and troubleshooting advice from experienced bakers.
Advanced techniques might include exploring different types of scalds (like the Brühstück), understanding diastatic vs. non-diastatic malt and their role in rye, or delving into multi-stage fermentation processes specific to certain regional breads. Continuous learning and practice are key to mastering the nuances of baking dense, yet delicious, European rye bread.
Conclusion: Baking Dense Yet Delicious Rye Bread with Confidence
Embracing the inherent density of European rye bread is the first step toward mastering its unique challenges. These dense rye bread troubleshooting tips cover the most common issues, from excessive gumminess and lack of rise to overall heaviness. By understanding the properties of rye flour, controlling hydration and fermentation, adjusting baking methods, and using appropriate techniques like pre-ferments and scalds, you can significantly improve your results.
Remember that many traditional rye breads are meant to be dense, moist, and hearty. The goal isn't always to achieve an open, airy crumb like wheat bread, but rather a cohesive, well-cooked interior that showcases the deep flavors of the rye. With practice, patience, and these dense rye bread troubleshooting tips, you'll be well on your way to baking authentic, delicious European rye loaves with confidence.
Frequently Asked Questions
Why is my rye bread so dense, even after proofing?
Dense rye bread can result from several factors. It's often due to insufficient gluten development, the type of flour used, or incorrect proofing temperature. Over-kneading can also contribute to a dense texture.
What type of rye flour is best for a lighter rye bread?
For a lighter rye, consider using light rye flour or combining rye flour with a higher-protein flour like bread flour. This helps to improve the gluten structure and overall rise.
How does the sourness of the rye starter affect the bread's texture?
A very acidic or weak starter can inhibit the dough's rise, leading to a denser bread. Ensure your starter is active and healthy before baking.
What role does hydration play in achieving a less dense rye bread?
Rye flour absorbs water differently than wheat flour. Adequate hydration is crucial; under-hydrated dough will result in a dense, dry loaf. Experiment with slightly increasing the water content.
What are some common mistakes that cause dense rye bread, and how can I avoid them?
Common mistakes include over-kneading, using old or inactive yeast/starter, and not allowing sufficient proofing time. Double-check ingredient freshness and ensure proper proofing conditions.
Final Reflection: The Enduring Mystery (and Delight) of Rye
The quest for the perfect rye bread is a journey, not a destination, and one fraught with pitfalls for even the most experienced bakers. The seemingly simple act of transforming flour, water, and starter into a loaf reveals a complex interplay of factors – hydration, fermentation, and even the very nature of the rye grain itself – all impacting the final texture. This article has explored some of the most common challenges encountered when baking dense rye bread, offering solutions to help you achieve that satisfyingly chewy, tangy crumb.
The enduring appeal of rye bread, however, goes beyond mere technical mastery. It's a bread steeped in history and tradition, a testament to the ingenuity of bakers across generations. Its dense texture, often perceived as a flaw, is in fact a key part of its character, reflecting the unique properties of the rye grain and the time-honored techniques used in its creation. Bread is the staff of life,
they say, and rye bread, with its robust flavor and satisfying weight, certainly holds a special place at that table.
Now, armed with a deeper understanding of the intricacies of rye bread baking, I invite you to return to your kitchen, not with trepidation, but with renewed confidence. Experiment with different hydration levels, explore the nuances of your starter, and don't be afraid to embrace the imperfections. Each loaf, whether perfectly chewy or slightly dense, represents a step forward on your baking journey, a testament to your dedication and a delicious reward for your efforts. The perfect rye bread awaits – go forth and bake!
Unlock the Secrets to Perfectly Dense Rye!
Thanks for taking the time to explore the world of dense European rye breads with us! We hope you gained valuable insights into achieving that perfect, satisfying texture. Now it's time to put your new knowledge into practice.
- Bake your own masterpiece! Try one of the recipes mentioned, adapting it to your preferences and available ingredients. Don't be afraid to experiment—that's where the real fun begins!
- Share your baking journey! Post a picture of your creation on social media and tag us – we'd love to see your results! Let's inspire each other!
- Dive deeper into rye: Explore different types of rye flour and experiment with varying hydration levels to discover your perfect rye bread formula.
What unique ingredient will you add to your next rye bread experiment?