
How to Shape Bread Rolls Like a Pro: Easy Techniques

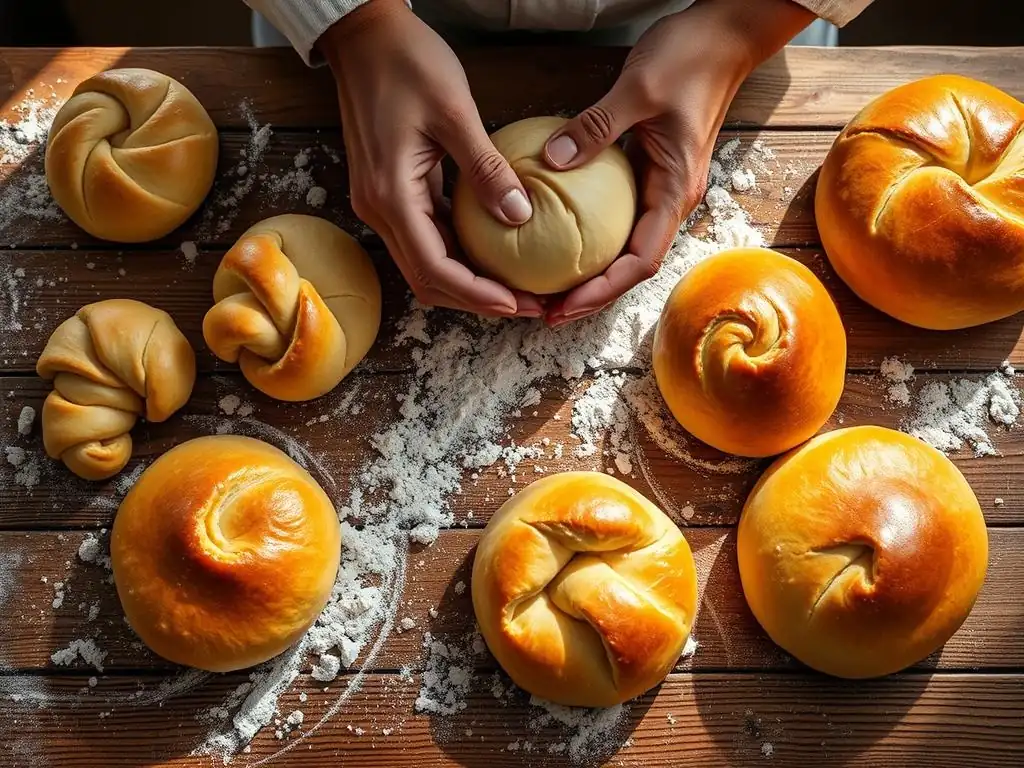
Welcome to BakeWithEase, where baking transforms from chore to creative joy! Are you ready to elevate your bread baking game? Ever wondered how to achieve those perfectly shaped bread rolls you see in bakeries? This week, we're diving into easy bread roll shaping techniques that will have you crafting professional-looking rolls in no time. Discover the secrets and unlock the artistry within – your journey to baking brilliance starts here!
- Shaping Bread Rolls: Techniques for Homemade Perfection
- Introduction to Bread Roll Shaping
- Tools and Ingredients
- Basic Round Bread Roll Shaping
- Advanced Shaping Techniques
- Tips and Tricks
- Troubleshooting
- Creative Variations
- Conclusion
-
Frequently Asked Questions
- How important is the dough's consistency for easy bread roll shaping?
- What are some basic bread roll shaping techniques suitable for beginners?
- Can I use different types of flour for bread rolls, and how does it affect shaping?
- How do I prevent bread rolls from deflating after shaping?
- What's the best way to ensure uniform size and shape when making multiple bread rolls?
- Final Reflection: The Humble Art of Bread Roll Shaping
- Unleash Your Inner Baker: Perfect Bread Rolls Await!
Shaping Bread Rolls: Techniques for Homemade Perfection
Introduction to Bread Roll Shaping
Why Shaping Matters: Texture and Appearance
The way you shape your bread dough before baking is far more than just a cosmetic step; it fundamentally impacts the final texture and appearance of your bread rolls. Proper shaping creates tension on the surface of the dough, which helps the roll hold its structure as it expands during proofing and baking. This surface tension contributes to a beautiful, even rise and prevents the roll from spreading out into a flat disc. Think of it like tightening a balloon before you inflate it – it helps it maintain a nice, round shape.
Furthermore, consistent shaping ensures that all rolls bake evenly. If some rolls are dense and tight while others are loose and airy, they will require different baking times to achieve that perfect golden-brown crust and fully cooked interior. Mastering easy bread roll shaping techniques leads to a batch of uniformly gorgeous rolls with a consistent crumb structure, whether you're aiming for a soft, fluffy interior or a more open, rustic one. It’s a crucial step in transforming a simple mass of dough into inviting, individual portions of baked goodness.
Techniques for Simple Bread Roll Shaping
There are numerous ways to shape bread dough into rolls, ranging from incredibly simple to quite intricate. For beginners, focusing on easy bread roll shaping techniques is key to building confidence and achieving consistent results. The most fundamental technique involves creating a smooth, round ball, often called a boule in miniature. This method relies on tensioning the surface by folding the dough onto itself and then using the surface of your counter or hands to create a taut skin.
Other simple methods include shaping oval rolls, perfect for sandwiches, or even basic knots. These techniques build upon the principle of manipulating the dough to create structure and evenness. Learning these basic shapes provides a solid foundation for tackling more complex forms later. The goal is to handle the dough gently but firmly, avoiding tearing the surface while ensuring enough tension is built to support the rise. Practicing these easy shaping methods for rolls will quickly improve the look and feel of your homemade bread.
Tools and Ingredients
Essential Baking Tools
Having the right tools makes the bread shaping process significantly easier and more efficient. While you can certainly shape dough with just your hands, a few key items are invaluable. A sturdy bench scraper, for instance, is perfect for dividing dough cleanly without damaging your work surface and for scooping up and transferring shaped rolls. A digital kitchen scale is crucial for accurately measuring ingredients, ensuring consistency in your dough which in turn makes shaping more predictable.
Other helpful tools include a large mixing bowl for the initial dough fermentation, plastic wrap or a clean kitchen towel for covering dough during proofing, and baking sheets lined with parchment paper or silicone mats to prevent sticking. Some bakers also find a dough scraper or a flexible bowl scraper useful for getting every last bit of dough out of the bowl. These simple tools, readily available online or in kitchen supply stores, are essential companions on your journey to mastering easy bread roll shaping techniques.
Key Ingredients: Flour, Yeast, and Water
The quality and type of your ingredients directly impact the dough's texture and how it behaves during shaping. All-purpose flour is a versatile choice for many bread rolls, providing enough structure while remaining tender. Bread flour, with its higher protein content (typically 12-14%), develops more gluten, resulting in a chewier crumb and a dough that can be stretched and shaped more easily without tearing. The hydration level – the ratio of water to flour – is also critical. A higher hydration dough (more water) can be stickier and harder to handle initially but often yields a more open crumb.
Yeast, whether active dry or instant, is responsible for leavening the dough, creating the gases that make the rolls rise. Ensuring your yeast is active is paramount; inactive yeast will result in flat, dense rolls that are difficult to shape well. Water temperature affects yeast activity and gluten development.
Lukewarm water (around 95-105°F or 35-40°C) is generally recommended for activating dry yeast. Salt is also vital, not just for flavor but for controlling yeast activity and strengthening the gluten structure, which helps the shaped dough hold its form. Understanding how these key ingredients interact is fundamental to successful easy bread roll shaping techniques.
Basic Round Bread Roll Shaping
Preparing the Dough
Before you even think about shaping, your dough needs to be properly mixed, kneaded, and fermented. After the initial mixing and kneading (either by hand or mixer), the dough should undergo its first rise, also known as bulk fermentation. This typically takes anywhere from 60 minutes to several hours, depending on the recipe, yeast amount, and room temperature, until the dough has roughly doubled in size. A well-fermented dough will be airy, slightly puffy, and elastic – indicators that it's ready for shaping.
Once the bulk fermentation is complete, gently turn the dough out onto a lightly floured surface. Avoid deflating it too much. The next step is dividing the dough into individual portions for each roll. Using a scale here ensures uniformity; aim for portions between 60-100 grams (approx.
2-3.5 ounces) depending on your desired roll size. For example, dividing a 1 kg (about 2.2 lbs) dough batch into 12 equal pieces yields rolls around 83 grams each, a standard size for dinner rolls. This consistent division is the first step in achieving uniform results with these easy bread roll shaping techniques.
The Round Roll Technique
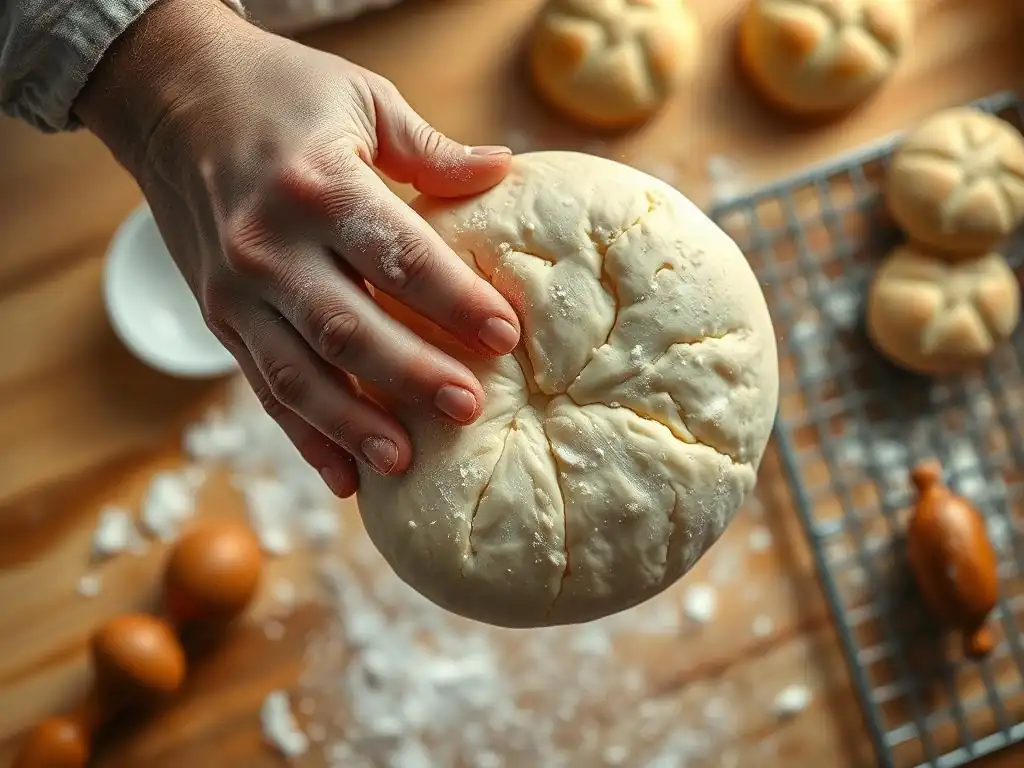
The most fundamental of all easy bread roll shaping techniques is forming a round roll, often called 'rounding'. Take one portion of dough and gently flatten it slightly on your lightly floured surface. Imagine the top surface of the dough will become the top of your roll. Now, gather the edges of the dough and pull them towards the center, pinching them together to form a seam underneath. This creates initial tension on the top surface.
Once the seam is formed, flip the dough over so the seam is underneath. Place your dominant hand over the dough like a claw, with your fingertips touching the work surface just behind the dough. Gently move your hand in a circular motion, tucking the edges of the dough underneath itself as you rotate it against the surface.
Use minimal flour on the surface; too much will prevent the dough from gripping and creating tension. As you continue this motion, the dough ball will tighten, and the top surface will become smooth and taut. This easy shaping method for rolls results in a perfectly round base for your proofing and baking.
Achieving a Smooth Surface
A smooth, taut surface on your shaped dough is key to a beautiful rise and crust. As you perform the rounding technique described above, the motion of tucking the dough underneath and rotating it against the surface stretches the outer layer, creating that desirable tension. Think of it like pulling a sheet tight over a bed. The key is to use just enough pressure to create tension without tearing the dough's skin.
If your dough is sticking excessively, add just a tiny amount more flour to your surface or hands. Too much flour will prevent the dough from gripping the surface and creating tension; too little will cause frustrating sticking. A well-developed dough with sufficient gluten will be easier to smooth. Continue rounding until the top surface is visibly smooth and the dough ball holds its shape firmly when you stop. This indicates you've built enough surface tension for a successful bake, a core principle in mastering easy bread roll shaping techniques.
Advanced Shaping Techniques
Oval Rolls for Sandwiches
Moving beyond basic rounds, shaping oval rolls is another excellent, relatively easy bread roll shaping technique, perfect for sandwiches or sub rolls. Start with a divided portion of dough, just as you would for a round roll. Instead of flattening into a circle, gently shape it into a rough rectangle or oval.
Next, fold the top edge of the rectangle down to the center and press firmly to seal. Then, fold the bottom edge up to meet the top edge, pressing the seam closed. You should now have a log shape. Turn the log seam-side down. Using the palms of your hands, gently roll the log back and forth, starting from the center and moving outwards, to elongate it into your desired oval length. Apply gentle, even pressure to maintain a consistent thickness throughout the roll. This method creates internal layers and a smooth exterior, making for a perfect sandwich base.
Knotted Rolls: A Visual Guide
Knotted rolls offer a more visually interesting presentation while still being a relatively easy shaping method for rolls once you get the hang of it. Start by taking a portion of dough and gently rolling it into a rope, about 8 to 10 inches long. Aim for an even thickness throughout the rope, roughly ½ to ¾ inch in diameter.
Once you have a rope, lay it flat on your work surface. Create a simple knot by forming a loop near one end and then threading the other end through the loop. Gently tighten the knot. Then, take the two ends and tuck them neatly underneath the roll. One end usually tucks into the hole in the center of the knot, and the other tucks underneath the body of the roll. Practice is key here to make the knots uniform. This technique adds a charming, rustic look to your rolls.
Braided Rolls: Adding Elegance
Braided rolls, while looking intricate, can be quite manageable with a little practice, adding elegance to your bread basket. The simplest braided roll uses three strands. Divide your dough portion into three equal pieces. Gently roll each piece into a rope, again aiming for even thickness (about 6-8 inches long and ½ inch thick). Pinch the tops of the three ropes together firmly at one end.
Lay the ropes side-by-side and begin braiding. Take the right strand and cross it over the middle strand. Then, take the left strand and cross it over the new middle strand. Continue alternating right over middle, left over middle, until you reach the end of the ropes. Pinch the ends together firmly and tuck them underneath the roll. Ensure the braid is not too tight, allowing room for expansion during proofing and baking. This technique results in beautifully textured rolls.
Tips and Tricks
Preventing Sticking
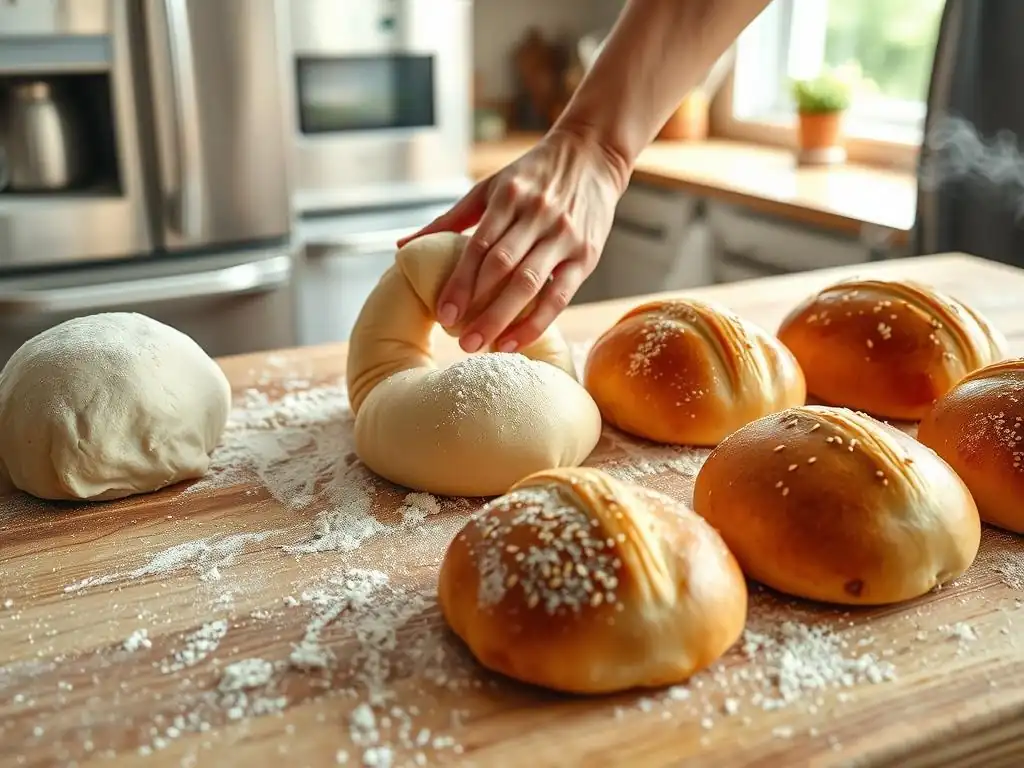
Sticky dough can be frustrating, especially when trying to achieve smooth, even shapes using easy bread roll shaping techniques. The key is using just enough flour on your work surface and hands, but not too much. Excessive flour can be worked into the dough, changing its texture, and it prevents the dough from gripping the surface, which is necessary for building tension during rounding.
If your dough is particularly wet (high hydration), consider lightly oiling your hands and work surface instead of using flour. A thin film of neutral oil, like vegetable or canola oil, can prevent sticking while still allowing you to manipulate the dough effectively. Alternatively, a bench scraper can be used to help manage very sticky dough, scraping it off the surface or your hands as needed. Always start with minimal flour/oil and add more only if necessary.
Proofing for the Perfect Rise
After shaping, your bread rolls need time to proof (undergo their second rise) before baking. This is a critical step for achieving light, airy rolls. Place the shaped rolls on a baking sheet lined with parchment paper, leaving ample space between them (they will expand!). Cover the rolls loosely with plastic wrap or a light kitchen towel to prevent them from drying out and forming a skin, which can hinder rising.
Proofing time varies greatly depending on the dough, yeast amount, and room temperature. It typically takes 60 to 90 minutes at room temperature (around 70-75°F or 21-24°C). A good indicator that the rolls are ready is the "poke test": gently press a finger into the side of a roll; if the indentation springs back slowly and only partially, the roll is ready to bake.
If it springs back immediately, it needs more time. If it doesn't spring back at all and stays indented, it's likely over-proofed. Proper proofing ensures your easy bread roll shaping techniques result in light, fluffy rolls.
Baking to Golden Perfection
Baking is the final step where your carefully shaped rolls transform. Preheat your oven to the temperature specified in your recipe, typically between 375°F and 425°F (190°C to 220°C). Higher temperatures often result in a quicker rise and a crispier crust, while lower temperatures yield a softer crust.
Bake the rolls until they are golden brown and sound hollow when tapped on the bottom. Baking time usually ranges from 15 to 25 minutes, depending on the size of the rolls and your oven. For example, a standard 80g dinner roll might bake in 18-20 minutes at 400°F (200°C). Using an internal thermometer is the most accurate way to check for doneness; the internal temperature should reach around 200-210°F (93-99°C). Allowing the rolls to cool slightly on a wire rack after baking helps set the crumb and prevents them from becoming soggy.
Troubleshooting
Dealing with Sticky Dough
Sticky dough is a common challenge when practicing easy bread roll shaping techniques. It usually indicates a high hydration level or insufficient gluten development.
- If the dough is merely tacky, a light dusting of flour on your hands and work surface should suffice. Remember to use minimal flour to avoid drying out the dough.
- If the dough is excessively sticky and hard to handle, consider adding a tablespoon or two of flour to the dough itself and kneading it in. Do this gradually until the dough is more manageable.
- Ensure your dough has been kneaded sufficiently. Proper kneading develops the gluten structure, making the dough less sticky and more elastic, which aids significantly in shaping.
Correcting Uneven Shapes
Achieving perfectly uniform shapes takes practice, but unevenness is fixable during the shaping process.
- If a roll looks lopsided after the initial shaping, gently reshape it. Don't be afraid to pick it up and repeat the rounding or shaping technique. The dough is forgiving at this stage.
- Ensure you are dividing your dough portions evenly, ideally using a scale. Uneven portions will naturally lead to rolls of different sizes and potentially uneven baking.
- When rounding or shaping, try to apply even pressure across the entire surface of the dough. Inconsistent pressure can lead to thicker or thinner spots within the roll.
Preventing Deflation
Sometimes, shaped rolls deflate during transfer to the oven or while baking. This is often due to over-proofing or insufficient gluten development.
- If your rolls are over-proofed (very puffy and don't spring back much when poked), handle them extremely gently. Transfer them carefully to the oven. Baking them at a slightly higher temperature initially might help them set before they collapse.
- Ensure your dough has been kneaded adequately. A strong gluten network is needed to support the dough's structure as it expands. Under-kneaded dough is more prone to collapsing.
- Avoid jarring the baking sheet when placing it in the oven. A sudden jolt can cause fragile, proofed rolls to deflate.
Creative Variations
Seeds and Toppings
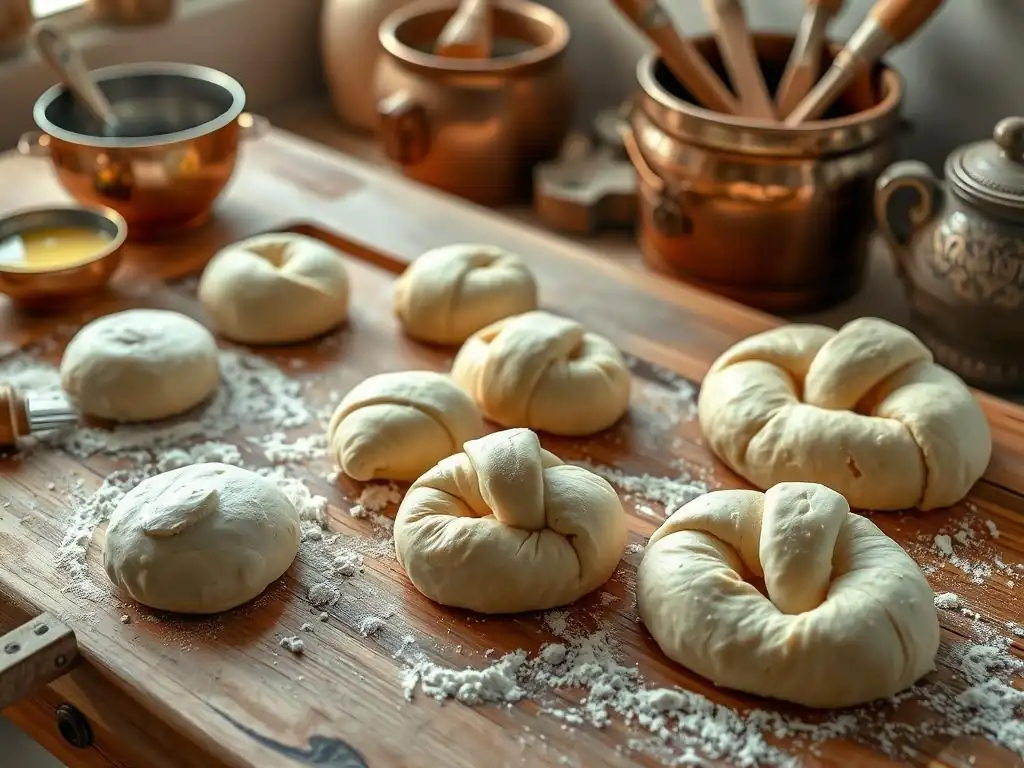
Adding seeds or other toppings is a simple way to customize your bread rolls after shaping, enhancing both flavor and appearance. After shaping but before the second rise, you can brush the tops of the rolls with water, milk, or a beaten egg wash. This acts as an adhesive for toppings.
Popular options include:
- Sesame seeds
- Poppy seeds
- Flax seeds
- Everything bagel seasoning
- Rolled oats
- Coarse sea salt
Simply sprinkle the desired topping generously over the washed surface. For a crispier, more flavorful crust, an egg wash (1 egg beaten with 1-2 tablespoons of water or milk) works best. For a softer crust, milk or water is sufficient. Applying toppings adds visual interest and a burst of flavor to your easy bread roll shaping techniques.
Different Dough Recipes
The type of dough you use will affect the shaping process and the final result. While the easy bread roll shaping techniques are versatile, they behave differently with various doughs.
- Lean Doughs: Made primarily from flour, water, yeast, and salt (like a basic baguette dough), these are often less enriched and can be slightly less pliable but develop a crispier crust. Shaping requires building good tension.
- Enriched Doughs: These include ingredients like milk, eggs, butter, or sugar (like brioche or challah). These doughs are often softer, richer, and easier to handle, making them excellent for practicing various shapes, including knots and braids. The added fat and sugar contribute to a tender crumb and a softer crust.
- Whole Wheat Doughs: Doughs with a high percentage of whole wheat flour can be less elastic than white flour doughs due to the bran interfering with gluten development. They may require slightly more gentle handling during shaping. Adjusting hydration and allowing a longer autolyse (resting period after mixing flour and water) can improve their workability.
Sourdough Bread Roll Recipe
Shaping sourdough bread rolls follows similar principles but incorporates the unique characteristics of sourdough dough. Sourdough dough, leavened by a wild yeast starter, often has a slightly tangier flavor and can range in hydration.
Here's a simplified structure for a basic sourdough roll:
- Mix: Combine fed sourdough starter, water, flour, and salt.
- Bulk Fermentation: Allow the dough to rise at room temperature for several hours (often 4-8 hours depending on temperature and starter activity), performing a few sets of stretch and folds during the first couple of hours to build strength.
- Divide & Shape: Gently turn dough onto a lightly floured surface. Divide into portions (e.g., 80-100g each). Shape using preferred easy bread roll shaping techniques (rounding is classic).
- Cold Proof (Optional but Recommended): Place shaped rolls on a baking sheet, cover, and refrigerate for 8-12 hours. This develops flavor and makes the rolls easier to handle for scoring (if desired) and baking.
- Bake: Bake in a preheated oven (often 425-450°F or 220-230°C), potentially with steam for the first 10-15 minutes, until golden brown (approx. 20-30 minutes).
Note: Specific hydration levels (e.g., 70% hydration using 100g starter, 350g water, 500g flour) and timings will vary greatly based on your starter's activity and ambient temperature.
Conclusion
Elevating Baking with Shaping Techniques
Mastering easy bread roll shaping techniques is a pivotal step in becoming a more confident and skilled baker. Beyond just aesthetics, proper shaping fundamentally influences the texture, rise, and evenness of your finished rolls. From the simple elegance of a perfectly rounded dinner roll to the charming appeal of a knot or braid, the way you handle the dough transforms it from a simple mass into individual works of edible art.
By understanding the principles of tension, practicing basic methods like rounding, and exploring variations, you can consistently produce beautiful, uniform rolls that are a delight to bake and even more delightful to eat. Don't be discouraged by imperfections initially; each shaped roll is a learning opportunity. With a little practice, these easy shaping methods for rolls will become second nature, significantly elevating the quality of your homemade bread.
Further Bread Baking Resources
- Task list:
- Review your favorite bread roll recipes and identify the shaping method recommended.
- Watch videos specifically demonstrating the rounding, oval, knotted, and braided techniques.
- Practice shaping with a simple, reliable dough recipe first.
- Experiment with different dough hydration levels to see how they affect shaping.
- Try adding different toppings to your next batch of rolls.
Continue exploring different types of dough and shapes as your confidence grows. Baking is a journey of continuous learning, and refining your shaping skills is a rewarding part of that process.
Frequently Asked Questions
How important is the dough's consistency for easy bread roll shaping?
The dough's consistency is crucial. It should be smooth and elastic but not too sticky or too dry, as this affects how easily you can handle and shape it.
What are some basic bread roll shaping techniques suitable for beginners?
Beginners can try the simple round roll by cupping their hand and rotating the dough on the work surface. Another option is the pinch-and-tuck method to create a smooth top.
Can I use different types of flour for bread rolls, and how does it affect shaping?
Yes, you can. Different flours affect the gluten development, impacting the dough's elasticity. Stronger flours like bread flour are generally easier to shape.
How do I prevent bread rolls from deflating after shaping?
Ensure the dough has sufficient gluten development through proper kneading. Also, be gentle during shaping to avoid over-handling and knocking out the air.
What's the best way to ensure uniform size and shape when making multiple bread rolls?
Use a kitchen scale to divide the dough into equal portions. Then, employ the same shaping technique for each portion to maintain consistency.
Final Reflection: The Humble Art of Bread Roll Shaping
The seemingly simple act of shaping a bread roll is far more than just a culinary task; it's a gateway to creativity, connection, and the enduring satisfaction of crafting something beautiful from humble ingredients. The techniques explored in this article, from the classic round to the elegant crescent, are not merely steps in a recipe, but tools to unlock a deeper appreciation for the process of baking. Mastering these techniques empowers you to transform ordinary dough into extraordinary creations, bringing joy to yourself and those you share your bread with.
The influence of bread, and the act of making it, transcends mere sustenance. It's a deeply ingrained cultural practice, a symbol of comfort, sharing, and community. Bread is the staff of life,
a simple phrase, yet it encapsulates the profound significance of this staple food. Learning to shape bread rolls, even in simple ways, connects us to this rich history and tradition, allowing us to participate in a culinary heritage passed down through generations. It's a tangible link to the past, a comforting ritual in the present, and a legacy we can share with the future.
Now, consider your own hands. Imagine the warmth of the dough, the gentle pressure of your fingertips shaping each roll. Take the time to practice these techniques, to experiment, and to find your own unique style. Don't be afraid to make mistakes; they are part of the learning process. The joy lies not just in the perfectly formed roll, but in the journey of creation itself. So, gather your ingredients, embrace the process, and discover the rewarding artistry of shaping your own perfect bread rolls.
Unleash Your Inner Baker: Perfect Bread Rolls Await!
Thanks for taking the time to explore the art of shaping perfect bread rolls! We hope you now feel confident and inspired to create beautiful, delicious loaves. Ready to put your new skills to the test?
- Master the art of shaping: Try out your favorite technique from the article and bake a batch of your own perfect rolls. Share your creations – we'd love to see them!
- Experiment with different fillings and flavors: Once you've mastered the basic shapes, get creative! Add herbs, cheese, or even sweet fillings to elevate your rolls.
- Share your baking journey: Let us know which shaping technique you found easiest and what delicious additions you tried!
Ready to share your perfectly shaped bread roll creations with the BakeWithEase community? What unique twist will you add to your next batch?