
Essential Advanced Cookie Decorating Tools You Need

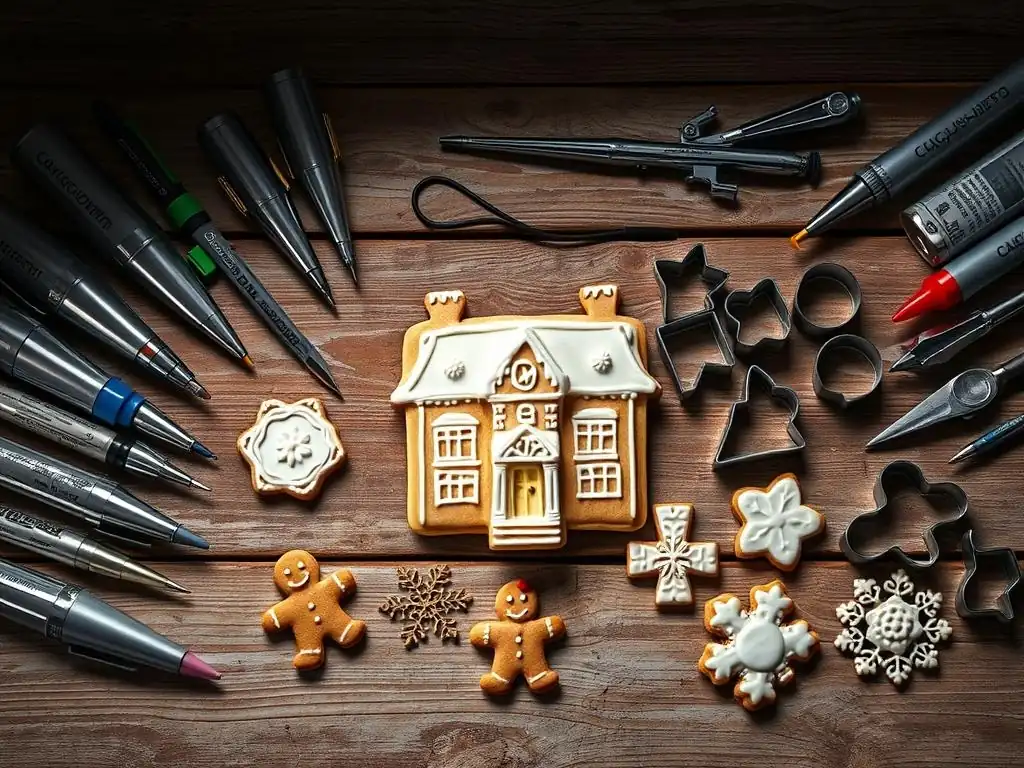
Welcome to BakeWithEase, your trusted guide to baking bliss! Ready to elevate your cookie game from delicious to dazzling? This week, we dive deep into the world of advanced cookie decorating. Discover the best cookie decorating tools that will unlock your inner artist and transform your creations into edible masterpieces. Intrigued? Let's explore the secrets behind flawless royal icing, intricate designs, and cookies that are almost too beautiful to eat.
- Essential Advanced Cookie Decorating Tools for Stunning Results
- Level Up Your Cookie Art: Must-Have Decorating Tools
- The Best Cookie Decorating Tools for Intricate Designs
- Achieving Professional Cookie Decorating Finishes
- Organization and Storage for Your Cookie Decorating Tools
- Troubleshooting Common Cookie Decorating Issues with the Right Tools
- Mastering Advanced Cookie Decorating Techniques: Practice Makes Perfect
-
Frequently Asked Questions
- What makes cookie decorating tools "advanced" compared to basic tools?
- What are some examples of essential advanced cookie decorating tools mentioned in the article?
- How important is it to invest in advanced tools if I'm a beginner baker?
- Can I use substitutes for some of these advanced cookie decorating tools?
- Where can I find high-quality advanced cookie decorating tools?
- Final Reflection: Mastering the Art of the Perfect Cookie
- Unleash Your Inner Pastry Artist!
Stepping up your cookie decorating game from simple swirls and sprinkles to intricate designs demands more than just a piping bag and a few basic tips. While foundational tools are crucial, advanced cookie decorating tools unlock possibilities for detail, precision, and complexity that truly elevate your edible art. Think of the difference between sketching with a pencil and painting a detailed portrait with a full set of brushes – the right equipment empowers you to achieve levels of artistry previously out of reach.
Mastering these specialized tools allows you to create hyper-realistic textures, razor-sharp outlines, and perfectly smooth finishes that distinguish amateur work from professional-level cookie creations. Investing in the best cookie decorating tools is an investment in your skill and the stunning results you can achieve.
Moving beyond basic flood and detail work opens the door to creating intricate patterns, delicate lace effects, airbrushed gradients, and even transferring complex images onto your cookies. These techniques require tools specifically designed for precision and control. For instance, while a standard piping tip might work for basic outlines, achieving fine script or tiny floral details often necessitates tips measuring less than 1 millimeter in diameter.
Similarly, ensuring royal icing is the exact right consistency for flooding, piping, or creating dimension relies on accurate measurements and specialized mixing and application tools. Embracing advanced cookie decorating tools is about acquiring the instruments that make these complex techniques not just possible, but manageable and repeatable, helping you consistently produce beautiful, gallery-worthy cookies.
Achieving superior cookie decoration hinges on both skill and having the appropriate equipment. This guide delves into the specialized tools that professionals and serious hobbyists rely on to produce breathtaking results. We'll explore everything from the tiny tips used for micro-details to larger pieces of equipment like airbrush machines and projectors, discussing how each plays a vital role in elevating your cookie artistry.
Understanding the function of each advanced tool helps you build a comprehensive kit tailored to the types of designs you aspire to create. For example, if you dream of cookies featuring intricate patterns or gradients, an airbrush setup becomes one of the best cookie decorating tools you could acquire.
Navigating the world of advanced cookie decorating supplies can seem daunting at first, given the sheer variety available. However, focusing on tools that enhance precision, improve finish quality, and enable complex techniques simplifies the process. We'll break down the essential categories of advanced tools, explaining what to look for and how they contribute to a flawless final product.
Whether it's achieving perfectly smooth royal icing backgrounds, piping incredibly fine lines, transferring complex images accurately, or adding vibrant, airbrushed gradients, the right tools make all the difference. This guide is designed to help you identify the best cookie decorating tools to add to your collection, empowering you to push the boundaries of your creativity and produce stunning, professional-looking cookies.
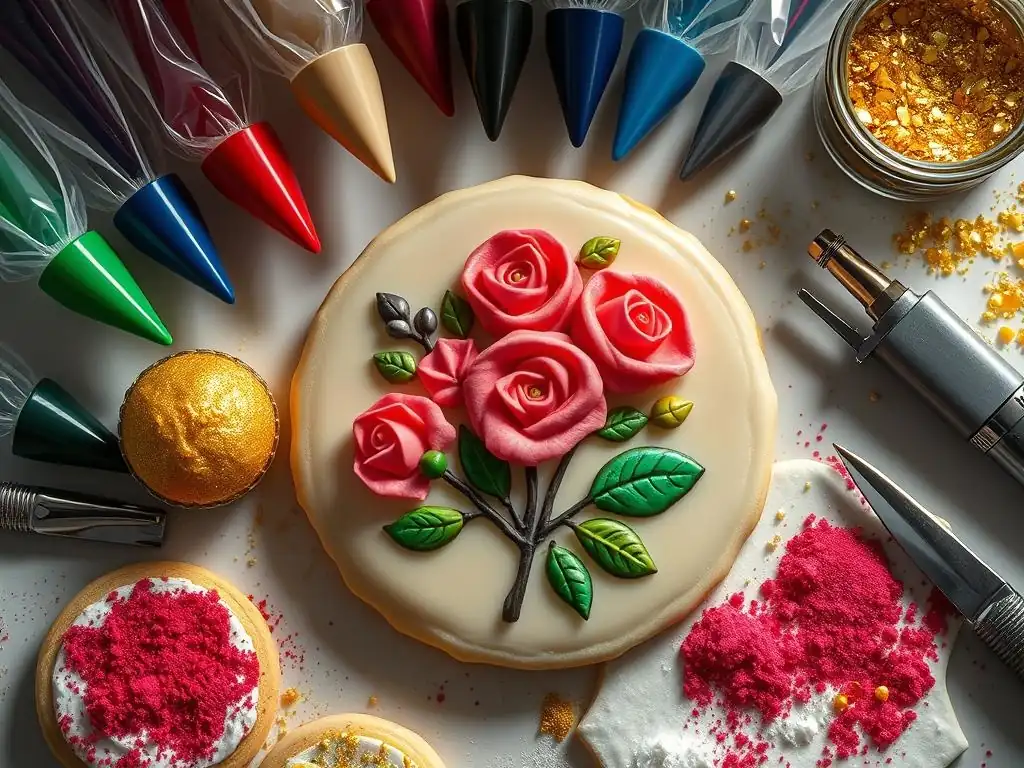
Precision Piping: Essential Nozzles and Tips
Precision piping is the cornerstone of detailed cookie decoration, allowing you to create everything from delicate outlines and intricate lace patterns to fine script and dimensional elements. While starter sets offer a few basic tips, advanced work requires a wider array of specialized nozzles.
The material quality of the tips also becomes important; seamless stainless steel tips are preferred as they provide a smooth, uninterrupted flow of icing, reducing frustrating clogs and uneven lines. Investing in a comprehensive set of high-quality tips, often ranging in size from 000 (less than 0.5mm opening) up to larger sizes for filling and bolder lines, is essential for executing complex designs with accuracy and finesse.
Beyond standard round tips, advanced decorators utilize specialty nozzles designed for specific effects. Petal tips (shaped like a flattened teardrop) are perfect for creating realistic flower petals and ruffles. Leaf tips produce distinct leaf shapes with veins. Star tips, both open and closed, create various star shapes and rosettes.
Basketweave tips allow for creating woven textures. Understanding how different shapes and sizes of tips interact with icing consistency is key to mastering precision piping. Practicing with various tips and icing consistencies helps build the muscle memory and control needed to produce clean, sharp lines and consistent patterns, making these among the best cookie decorating tools for detail work.
Fine-Line Piping Tips for Delicate Details
Achieving razor-thin outlines, intricate filigree, or tiny lettering requires tips with extremely small openings. Tips labeled 0, 00, or even 000 are designed for this purpose, allowing for lines as thin as a human hair. These tips are crucial for adding subtle details that bring a cookie design to life, such as the veins on a leaf, the fine lines in lace, or the delicate features of a character's face.
Specialty Nozzles for Unique Effects
Specialty nozzles go beyond basic lines and dots, enabling unique textures and shapes. Petal tips, for instance, are indispensable for creating realistic buttercream or royal icing flowers directly on the cookie. Ruffle tips create flowing, fabric-like textures, while grass tips can add fuzzy or hairy textures. Using these tips opens up a whole new dimension in cookie decorating, allowing for more dynamic and visually interesting designs.
Couplers: Quickly Switching Between Tips
Couplers are incredibly useful tools that allow you to change piping tips on the same bag of icing without emptying it. A standard coupler has two parts: a base that goes inside the bag before adding icing, and a ring that screws onto the outside, holding the tip in place. This is a major time-saver when a design requires multiple tip sizes or shapes using the same color of icing, making your workflow much more efficient.
Mastering Royal Icing Consistency with the Right Tools
Achieving the perfect royal icing consistency is arguably the most critical factor in successful cookie decorating. Icing that is too thick won't flow smoothly for flooding, leading to bumpy surfaces. Icing that is too thin will run off the cookie or blend where you don't want it to, resulting in muddy designs.
Advanced decorators understand that precise measurement and careful mixing are paramount. Using a reliable digital scale to measure powdered sugar and liquid (water, milk, or meringue powder mixture) ensures consistent batches every time, eliminating guesswork. Furthermore, tools like stand mixers with whisk attachments are invaluable for whipping air into the icing base, creating a smooth, stable structure before thinning it down to the desired consistency for different applications like outlining, flooding, or piping details.
Once the icing is mixed, tools for manipulating and applying it become essential for managing consistency and achieving smooth finishes. Flexible spatulas and bench scrapers are used to mix colors evenly, scrape down bowls, and manage larger quantities of icing. For applying icing to cookies, squeeze bottles with fine tips or piping bags with various tips allow for controlled application.
Perhaps one of the best cookie decorating tools for managing flood icing consistency is the scribe tool. This pointed tool is used to gently guide thin icing into all corners of an outline, pop air bubbles, and distribute the icing evenly, ensuring a perfectly smooth surface once dried. Without these tools, achieving professional-level royal icing finishes is significantly more challenging.
Spatulas and Scrapers for Smooth Icing
Flexible rubber or silicone spatulas are essential for mixing colors into royal icing without incorporating too much air and for scraping bowls clean. Bench scrapers, often made of plastic or metal, are useful for dividing larger batches of icing or cleaning work surfaces. Using the right spatula helps ensure your colored icing is homogenous and free of streaks before it goes into the piping bag or bottle.
Scribe Tools: The Key to Perfect Flood Icing
A scribe tool is a simple but indispensable pointed tool, often resembling a thick needle or pick. It's used after flooding a cookie with thin royal icing to coax the icing into corners, distribute it evenly across the surface, and pop any trapped air bubbles. Using a scribe tool helps eliminate craters and ensures a perfectly smooth, flat surface for subsequent decorating layers. It's easily one of the best cookie decorating tools for achieving flawless backgrounds.
Precision Scales for Accurate Ingredient Measurement
Measuring ingredients by weight rather than volume provides significantly more accuracy, especially with powdered sugar, which can compact differently each time it's scooped. A digital kitchen scale, measuring in grams or ounces, ensures that your royal icing recipe yields the exact same consistency batch after batch. This consistency is vital when working on complex projects that require multiple batches of icing with identical flow properties.
Airbrushing is a transformative technique in advanced cookie decorating, allowing for smooth color gradients, realistic shading, stenciled patterns, and vibrant background colors that are difficult or impossible to achieve with traditional piping methods. An airbrush system consists of a compressor, a hose, and an airbrush gun. The compressor provides a consistent stream of air, which atomizes food-safe liquid color in the airbrush gun, spraying it onto the cookie surface in a fine mist.
This allows for incredibly even coverage and the ability to build up color gradually, creating subtle transitions and depth. For example, airbrushing can create a perfect sunset gradient on a cookie or add realistic blush to a character's cheeks. Mastering airbrushing is a significant step towards producing truly professional-looking cookie art.
Using an airbrush system requires specific food-safe airbrush colors, which are highly concentrated liquid dyes designed to flow through the fine nozzle of the airbrush gun without clogging. These colors can be mixed to create a vast spectrum of hues. Stencils are also frequently used in conjunction with airbrushing to create repeatable, intricate patterns, textures, or shapes on the cookie surface quickly and efficiently.
Everything from geometric designs and floral motifs to brick textures and animal prints can be applied with stencils and an airbrush. While there is a learning curve involved in controlling the air pressure and paint flow, the results achievable with airbrushing make it one of the best cookie decorating tools for adding dynamic color and detail.
Airbrush Machines: Choosing the Right Model
Airbrush machines for cookie decorating range from small, portable units to larger, more powerful compressors. For occasional use or small projects, a basic kit with a gravity-feed airbrush gun and a small diaphragm compressor (often producing around 15-20 PSI) is sufficient. For frequent or more detailed work, a compressor with a tank and adjustable pressure (up to 30-40 PSI) offers more consistent airflow and allows for finer control, though lower pressures (15-25 PSI) are common for cookie work.
Airbrush Colors: Food-Safe Dyes for Stunning Effects
Only use food-safe airbrush colors specifically formulated for edible applications. These are highly concentrated liquid dyes designed to flow smoothly through the airbrush gun. They come in a wide range of vibrant colors and can be mixed to create custom shades. Proper cleaning of your airbrush gun after using these colors is crucial to prevent clogging.
Stencils for Airbrushing: Creating Intricate Patterns
Stencils are invaluable tools for airbrushing, allowing you to quickly and consistently apply patterns, textures, or shapes to your cookies. They are typically made from thin, flexible plastic. Holding the stencil flush against the cookie surface and airbrushing over it transfers the design precisely. Stencils range from simple geometric shapes to complex lace patterns and detailed images.
Transferring complex images, logos, or detailed illustrations onto cookies freehand can be incredibly challenging, even for experienced decorators. Projectors offer a solution by projecting an image directly onto the cookie surface, providing a clear guide for outlining with royal icing. This eliminates the need for tracing on parchment paper or using transfer methods, saving significant time and ensuring accuracy, especially when working on sets of cookies that need identical designs.
Projectors range from small, affordable pico projectors that connect to a smartphone or tablet to larger, more expensive art projectors. They are particularly useful for portrait cookies, intricate lettering, or designs requiring perfect symmetry.
Using a projector requires setting up your workspace so the projector can cast the image onto your cookie at the desired size. The cookie is placed beneath the projected image, and you simply pipe your outline following the lines of the projection.
This method is invaluable for replicating complex designs that would be difficult to draw freehand, such as detailed characters, company logos, or elaborate wedding cookie designs. While not strictly necessary for all advanced techniques, a projector is one of the best cookie decorating tools for achieving professional-level accuracy and consistency when transferring detailed images, making it a favorite among decorators specializing in custom orders.
Setting Up Your Projector for Cookie Decorating
To use a projector, you'll need a stable surface for your cookies and a way to position the projector above them. Some decorators use adjustable stands or clamps. Ensure your work area is dimly lit so the projected image is easily visible on the cookie surface. Connect the projector to your device (phone, tablet, or computer) displaying the image you want to transfer.
Transferring Designs with Ease
Once the image is projected onto the cookie, simply use a fine-tip piping bag filled with outlining consistency royal icing to trace the projected lines. Work carefully and steadily, following the guide provided by the light. This method is incredibly accurate and allows for precise replication of even the most complex designs.
A smooth-rotating turntable, often called a cookie spinner or cake turntable, is an often-overlooked but incredibly useful advanced tool for cookie decorating. It allows you to easily rotate the cookie as you work, ensuring you can always access the area you're decorating from the most comfortable angle. This is particularly beneficial when piping outlines, flooding large areas, or working on intricate details that require you to move around the cookie's perimeter.
Trying to decorate a cookie while constantly picking it up and turning it by hand can lead to smudges, uneven lines, and fatigue. A turntable provides a stable, rotating platform that significantly improves control and precision, contributing to a smoother and more professional finish.
Turntables for cookie decorating come in various materials, including plastic, metal, and glass, and range in size. Look for one that has a smooth, stable rotation mechanism – ball bearings are ideal for effortless spinning. A non-slip base is also important to prevent the turntable from sliding around on your work surface.
While a basic cake turntable can suffice, smaller turntables specifically designed for cookies or cupcakes are often preferred for their size, allowing you to work on multiple cookies nearby without taking up excessive space. Incorporating a good quality turntable into your setup is a simple step that can dramatically improve your decorating workflow and the quality of your finished cookies, making it a valuable addition to your best cookie decorating tools.
Smooth Rotation for Even Decoration
The primary benefit of a turntable is its ability to rotate smoothly and consistently. This allows you to keep your piping hand steady while the cookie turns, resulting in cleaner, more even lines and borders, especially when outlining round cookies. It also makes flooding large areas easier by allowing you to easily tilt and spread the icing.
Turntable Materials and Sizes
Turntables are commonly made from plastic, metal, or glass. Plastic turntables are lightweight and affordable, while metal or glass ones offer more stability and durability. Sizes vary, from small 6-inch spinners ideal for single cookies to larger cake turntables (10-12 inches or more) that can hold multiple cookies or larger projects. Choose a size that fits your typical cookie projects and workspace.
Keeping Your Tools Clean and Ready
Proper cleaning and maintenance are essential for preserving the longevity and functionality of your best cookie decorating tools. Royal icing, once dried, can be very difficult to remove, especially from fine piping tips and airbrush guns. Immediately after use, disassemble tools where possible (like airbrush guns and couplers) and rinse them thoroughly with warm water to remove residual icing or color. For piping tips, a small cleaning brush or pipe cleaner is invaluable for clearing out any stubborn bits of dried icing. Soaking tips in warm, soapy water for a short period can also help loosen debris before scrubbing.
Beyond immediate cleaning, periodic deep cleaning may be necessary. For instance, airbrush guns require meticulous cleaning after every use to prevent permanent clogs. This often involves running cleaning solutions or water through the gun and disassembling the nozzle for detailed cleaning with tiny brushes. Stencils should be washed gently with soap and water and laid flat to dry to prevent warping. Properly cleaning and drying your tools before storage prevents rust, mildew, and cross-contamination of colors, ensuring they are always in optimal condition the next time you want to create stunning cookie art.
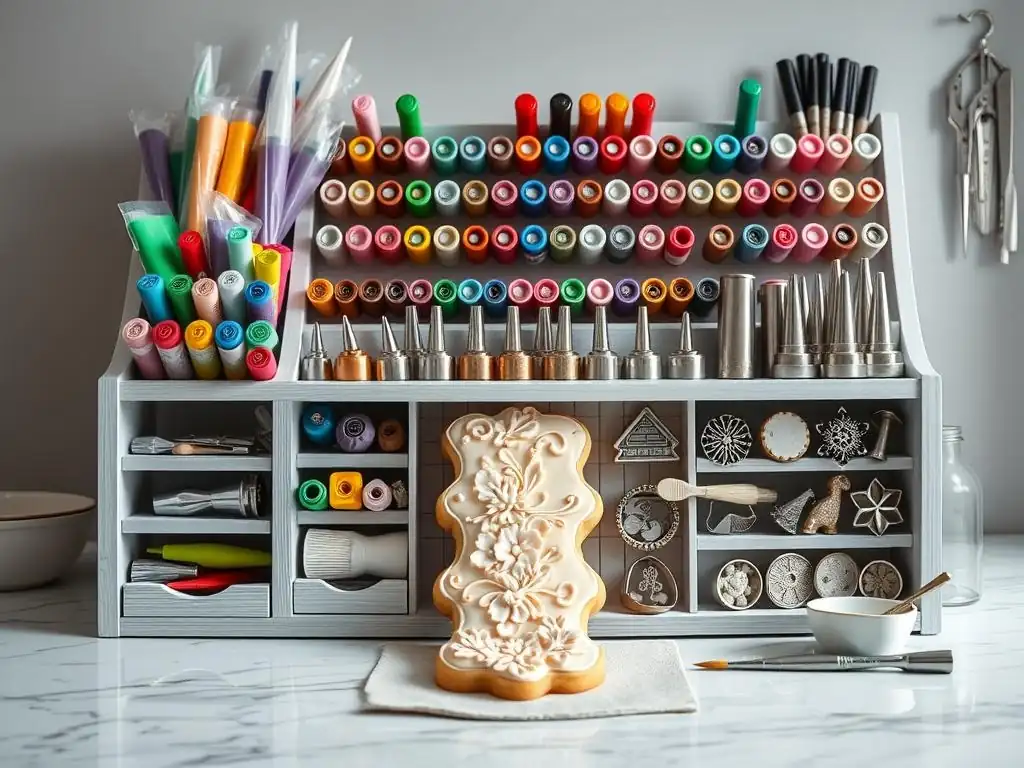
Effective storage is key to keeping your advanced cookie decorating tools organized, protected, and easily accessible. A cluttered workspace can hinder creativity and efficiency. Think about the types of tools you have – small tips, bottles of color, spatulas, stencils, and potentially larger items like an airbrush compressor or projector.
Categorizing your tools can help you determine the best storage solutions. For example, all piping tips can be stored together, while airbrush supplies might need their own dedicated area. Utilizing clear containers, drawer dividers, and wall-mounted organizers can help you see what you have at a glance and keep small items from getting lost.
Consider both portability and accessibility when choosing storage. If you often take your tools to different locations or classes, a sturdy toolbox or craft tote with compartments might be ideal. For tools used frequently in your main baking area, drawer inserts or countertop organizers work well.
Delicate items like airbrush guns or projectors might require padded cases or their original packaging for protection. Investing time in setting up a logical storage system for your best cookie decorating tools pays off by making your decorating process smoother and more enjoyable, allowing you to focus on the creative aspects rather than searching for a specific tip or tool.
Storage Container Recommendations
- For Piping Tips: Small plastic containers with dividers, tackle boxes, or dedicated tip storage cases designed for piping tips are excellent for keeping tips sorted by size or type.
- For Scribe Tools, Brushes, etc.: Pencil cups, small jars, or tool caddies keep these frequently used items upright and within easy reach on your workspace.
- For Stencils: Flat plastic envelopes, binders with page protectors, or dedicated stencil storage boxes prevent stencils from bending or getting damaged.
- For Bottles of Color/Sprinkles: Tiered spice racks, small plastic bins, or drawer inserts help keep bottles organized and visible.
- For Larger Equipment (Airbrush, Projector): Reusing original packaging, padded cases, or dedicated storage bins can protect these more expensive items when not in use.
Dealing with Clogged Piping Tips
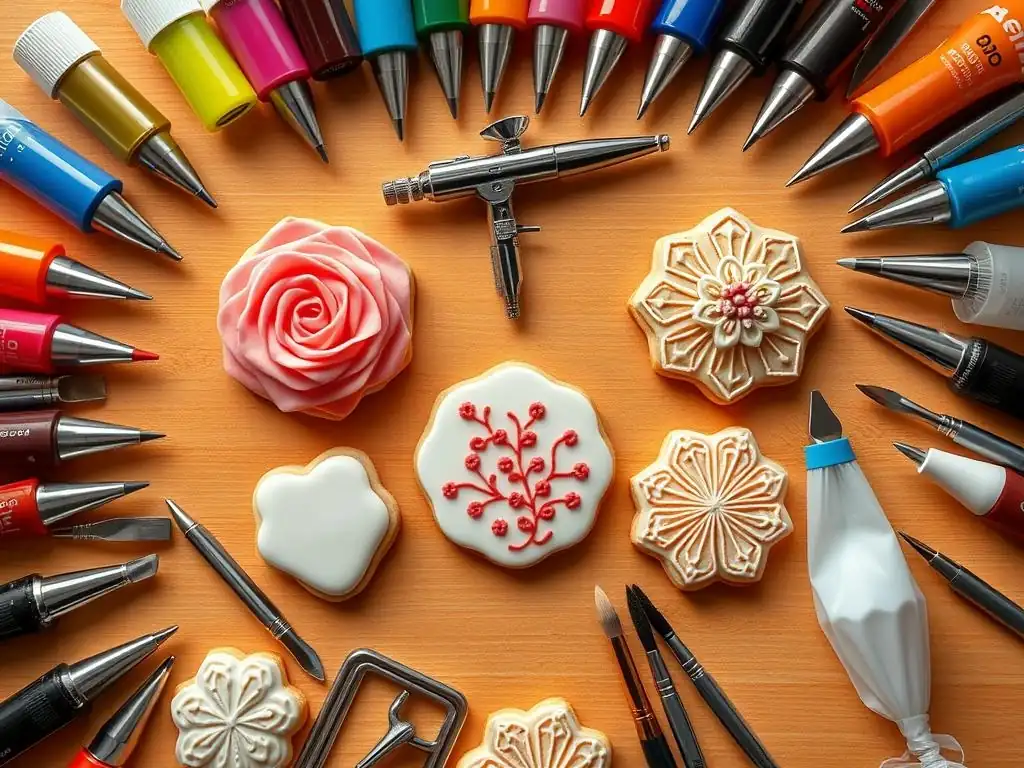
Clogged piping tips are a common frustration in cookie decorating, often caused by dried icing bits, air bubbles, or icing that is too thick for the tip size. When using fine-line tips (like a size 1 or 00), even a tiny particle can cause a blockage. The most immediate solution is to use a scribe tool or a thin needle to gently poke into the tip opening from the outside to dislodge the blockage.
Sometimes, squeezing the bag firmly can push the clog through, but be careful not to burst the bag. For stubborn clogs, you may need to remove the tip, clear it with a cleaning brush or by rinsing it, and then reattach it.
Preventing clogs is easier than fixing them mid-design. Ensure your royal icing is properly strained after mixing to remove any undissolved sugar or meringue powder bits. Keep the open end of your piping bag covered with a damp cloth or plastic wrap when not actively piping to prevent the icing from drying out, especially around the tip opening.
If you're using a very fine tip, make sure your icing consistency is smooth and free of lumps. Having a few extra tips of the same size on hand can also be a lifesaver – if one clogs, you can quickly switch it out and clean the clogged one later. Utilizing the best cookie decorating tools for mixing and straining helps minimize the chances of clogs from the start.
Fixing Uneven Icing
Uneven royal icing surfaces, whether from flooding or piped details, can detract significantly from the final appearance of a cookie. Uneven flooding is often caused by inconsistent icing consistency, not using enough icing to fill the area adequately, or failing to properly use a scribe tool to distribute the icing and pop bubbles.
To fix slightly uneven flood icing before it dries, you can often gently shake the cookie side to side to help the icing settle, or use your scribe tool to carefully push and smooth the surface. For minor imperfections after drying, sometimes a second, very thin layer of flood icing can help level the surface, though this adds drying time.
Piped lines can appear uneven if the icing consistency is wrong (too thick causes jagged lines, too thin causes spreading), if your piping pressure is inconsistent, or if you're not moving at a steady speed. Practicing your piping technique on parchment paper before decorating cookies is crucial for developing consistent pressure and speed.
Using a turntable helps maintain a consistent angle as you pipe around the cookie. If a piped line is significantly uneven, it's often best to gently scrape it off with a scribe tool or small spatula while the icing is still wet and try again.
For dried, uneven lines, carefully scraping the raised areas with a sharp craft knife (used only for this purpose on dried icing) can sometimes help, but this requires a very steady hand. Ensuring you have the best cookie decorating tools like a quality scribe and a smooth turntable significantly reduces the likelihood of uneven icing.
Achieving Consistent Color Blending
Achieving consistent and smooth color blending, especially with airbrushing or hand-painting techniques, requires practice and the right tools. When mixing custom colors with gel food coloring, ensure the color is thoroughly mixed into the royal icing or edible paint base. Use a flexible spatula to scrape down the bowl and ensure no streaks remain.
For airbrushing gradients, consistent air pressure (often between 15-25 PSI for cookie work) and a steady hand are vital. Practice moving the airbrush gun smoothly across the cookie surface, overlapping your passes slightly to avoid harsh lines. Building up color gradually with multiple thin layers of airbrush color yields a much smoother blend than trying to apply a thick layer all at once.
When blending colors directly on the cookie with brushes or sponges, use food-safe brushes specifically designed for edible art. Work quickly if using wet-on-wet techniques before the icing skins over. For dry brushing or dusting with edible powders, use soft, dry brushes and apply color lightly, building it up gradually.
Having a good range of brush sizes and shapes allows you to choose the best tool for the area you're blending. Cleaning your airbrush gun thoroughly between color changes is also crucial to prevent unwanted color mixing. Using high-quality, concentrated food-safe colors and the appropriate blending tools like a reliable airbrush or a set of good brushes are among the best cookie decorating tools for achieving vibrant and smoothly blended colors.
Royal Icing Recipe
While a specific recipe isn't provided here, mastering advanced techniques relies on a reliable royal icing recipe that consistently produces icing of the correct structure for various consistencies. A typical recipe involves powdered sugar, meringue powder (or egg whites), and liquid (water, milk, or lemon juice). The ratio of liquid to dry ingredients, along with mixing time, determines the final consistency – from thick outline icing that holds its shape to thin flood icing that spreads smoothly.
Achieving the right consistency for each application is a skill developed through practice. Outline consistency should be like toothpaste, holding a definite line. Flood consistency should flow smoothly but not spread uncontrollably, often described as counting to 10-15 seconds for a line drawn on the surface to disappear. Detail consistency is usually slightly thinner than outline, allowing for finer piping. Tools like precision scales for measuring ingredients and a stand mixer for whipping the base icing contribute significantly to consistent results, making them among the best cookie decorating tools for foundation work.
The foundation of any beautifully decorated cookie is a delicious and sturdy cookie base. Again, while a specific recipe isn't detailed, a good cookie recipe for decorating should produce cookies that hold their shape well during baking, have a relatively flat surface for decorating, and taste great. Sugar cookies or gingerbread are popular choices. Ingredients typically include butter, sugar, eggs, flour, and flavorings.
Rolling dough to an even thickness (often 1/4 to 3/8 inch, or approximately 6-10 mm) is crucial for consistent baking and a flat surface. Using tools like rolling pin guides or an adjustable rolling pin helps achieve this uniformity. Chilling the cut-out cookie dough before baking prevents excessive spreading. A well-baked cookie provides a stable canvas for your intricate royal icing designs, making the quality of your cookie recipe and basic baking tools as important as your decorating equipment.
Mastering advanced cookie decorating techniques like wet-on-wet designs, brush embroidery, pressure piping flowers, airbrushing gradients, or using projectors for complex images requires dedicated practice. Tutorials, whether in-person workshops, online classes, or detailed guides, break down these complex processes into manageable steps. For instance, a wet-on-wet tutorial might demonstrate the timing required to drop wetter icing into a still-wet flood coat to create marbling or feathering effects.
Practice is key to developing the muscle memory and control needed for precision techniques. Start with simpler versions of advanced techniques and gradually increase complexity. Dedicate time specifically to practicing piping straight lines, curves, and consistent dots before attempting intricate patterns. Experiment with different icing consistencies and tip sizes to understand how they behave. Utilizing the best cookie decorating tools alongside dedicated practice sessions will help you refine your skills and confidently execute even the most challenging designs.
Frequently Asked Questions
Advanced tools offer greater precision and specialized effects compared to basic tools. They often allow for more intricate designs and professional-looking results.
While the specific tools will vary from article to article, generally speaking, they include things like airbrush systems, projectors for tracing, and specialized piping tips.
How important is it to invest in advanced tools if I'm a beginner baker?
It's generally recommended to master basic techniques first. Advanced tools are beneficial, but not essential, for beginners and should be acquired gradually as skills improve.
Sometimes! You might be able to substitute parchment paper for a projector, for example. However, the results may vary and substitutes often lack the precision of the dedicated tools.
You can find them at specialty baking supply stores, online retailers dedicated to baking, and sometimes even at larger craft stores that have robust baking sections.
The pursuit of the perfect cookie is more than just a hobby; it's a testament to creativity, precision, and the joy of sharing delicious artistry. In today's world, where connection and personalized experiences are increasingly valued, the ability to craft beautiful and unique cookies offers a powerful way to express oneself and connect with others. From celebratory events to everyday moments, a beautifully decorated cookie can elevate any occasion.
The impact of advanced cookie decorating techniques extends far beyond the kitchen table. It's a vibrant community, a source of inspiration, and a powerful tool for self-expression. The intricate details, the carefully chosen colors, and the overall design tell a story, reflecting the baker's personality and skill. The best things in life are homemade,
and this sentiment rings especially true when considering the time, effort, and love poured into each meticulously decorated cookie. This art form fosters a sense of accomplishment and allows for endless creativity, constantly evolving and inspiring new techniques and designs.
Now, consider your own approach to baking. What tools currently enhance your creative process? What new techniques or tools might unlock a new level of artistry within you? Don't be afraid to experiment, to push your boundaries, and to discover the joy of creating truly exceptional cookies. Embrace the learning process, share your creations, and inspire others to find their own sweet spot in the world of cookie decorating. The journey of mastering this craft is as rewarding as the final product itself.
Unleash Your Inner Pastry Artist!
Thanks for diving into the world of advanced cookie decorating! We hope you're feeling inspired and ready to create stunning treats. Now it's time to put your newfound knowledge into action.
- Master a new decorating technique: Choose one of the tools discussed and practice using it – maybe try piping intricate details or mastering a new icing consistency. The key is consistent practice!
- Share your creations: Show off your beautiful cookies on social media and tag us! We'd love to see what you bake. Use #BakeWithEase to connect with our community.
- Explore our other resources: Dive deeper into cookie decorating by checking out our other articles on icing recipes and design inspiration.
Ready to transform plain cookies into edible masterpieces? What’s the first advanced technique you'll try?