
Utilize Texture Mats for Quick, Intricate Cookie Patterns

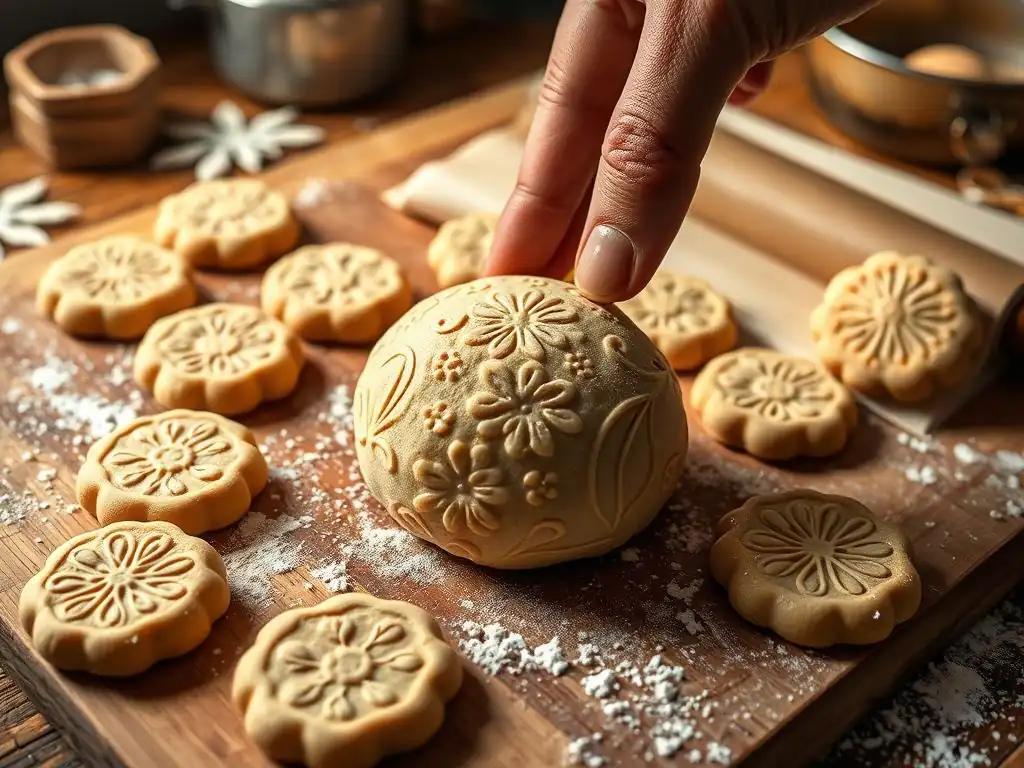
Welcome to BakeWithEase, your haven for baking brilliance! Are you ready to elevate your cookie creations from simple to stunning? Dive into the world of effortless artistry with our latest exploration of texture mats cookie patterns. Discover how these simple tools can unlock intricate designs and transform your baking into a visual masterpiece. Intrigued? Keep reading to unearth the secrets!
- Achieve Detailed Cookie Designs Quickly with Texture Mats
- CookieCanvas: Elevate Your Cookie Decorating with Texture Mats
- Understanding Texture Mats for Cookie Design: An Introduction
- Getting Started: Essential Tools and Supplies for Texture Mat Cookies
- Step-by-Step Guide: Creating Intricate Cookie Patterns with Texture Mats
- Troubleshooting Common Issues When Using Cookie Texture Mats
- Advanced Techniques: Enhancing Your Texture Mat Cookie Designs
- Caring for Your Cookie Texture Mats: Cleaning and Storage
- Unleash Your Creativity: Texture Mat Cookie Pattern Ideas and Inspiration
- Mastering Intricate Cookie Patterns: The Art of Texture Mats
- Frequently Asked Questions
- Final Reflection: Embracing the Art of Texture in Baking
- Unleash Your Inner Cookie Artist!
Welcome to the advanced section of BakeWithEase, where we explore tools that transform simple baked goods into stunning works of art. Today, we're diving into the world of texture mats, a game-changer for anyone looking to add intricate cookie patterns with surprising speed and ease. Forget spending hours piping fine details; these mats allow you to imprint beautiful designs directly onto your dough before baking, creating a sophisticated foundation for your cookie creations.
Mastering texture mats cookie patterns opens up a new realm of possibilities, from elegant lace effects on wedding cookies to whimsical holiday motifs. Whether you're aiming for a consistent, professional look across dozens of cookies or simply want to try a fun, new technique, texture mats provide a straightforward path to achieving impressive results without the steep learning curve of intricate hand-piping. Let's uncover how these simple tools can dramatically elevate your cookie decorating skills.
Cookie texture mats are flexible sheets, typically made from food-grade silicone or plastic, featuring a raised or recessed pattern. When pressed firmly onto rolled-out cookie dough, they transfer this design, creating an embossed or debossed texture. These mats come in an astonishing variety of patterns, from classic geometric shapes like diamonds and stripes to complex floral motifs, lace, brickwork, and even holiday-specific designs like snowflakes or gingerbread house elements.
For bakers seeking efficiency without sacrificing visual appeal, texture mats are becoming an indispensable tool. They allow for the replication of detailed patterns across numerous cookies with consistency, a task that would be incredibly time-consuming and require significant skill if attempted freehand. Think of them as precision stamps for your dough, ensuring every cookie in a batch shares the same beautiful, intricate texture.
The primary advantage of using texture mats is the speed and consistency they bring to creating intricate cookie patterns. What might take 10-15 minutes to pipe onto a single cookie can often be imprinted onto an entire sheet of dough in under a minute. This dramatically reduces the labor involved, making it feasible to produce large batches of beautifully decorated cookies for events, sales, or gifts. For instance, a baker preparing 100 wedding favor cookies might save hours of decorating time by using texture mats for the base design.
Beyond speed, texture mats offer unparalleled consistency. Every imprint from the same mat will be identical, ensuring uniformity across your batch. This is particularly valuable for professional presentation or when striving for a polished, cohesive look. Furthermore, they enable bakers of all skill levels to achieve complex designs that might otherwise be out of reach, democratizing the creation of stunning, detailed texture mats cookie patterns.
Texture mats for cookies are commonly made from two main materials: silicone and plastic. Silicone mats are flexible, non-stick, and durable, often featuring deeper, more intricate patterns. They are excellent for releasing dough and easy to clean. Plastic mats, typically made from clear acrylic or food-safe plastic, are more rigid and may have shallower patterns but are often more affordable and come in a vast array of designs, including fine lace or delicate lines.
The design possibilities are nearly endless. You can find texture mats with geometric patterns (like herringbone or honeycomb), natural textures (wood grain, stone), intricate lace or damask designs, floral motifs, animal prints, and seasonal themes. Choosing the right material and design depends on the desired pattern depth, ease of use, and the specific effect you want to achieve on your texture mats cookie patterns.
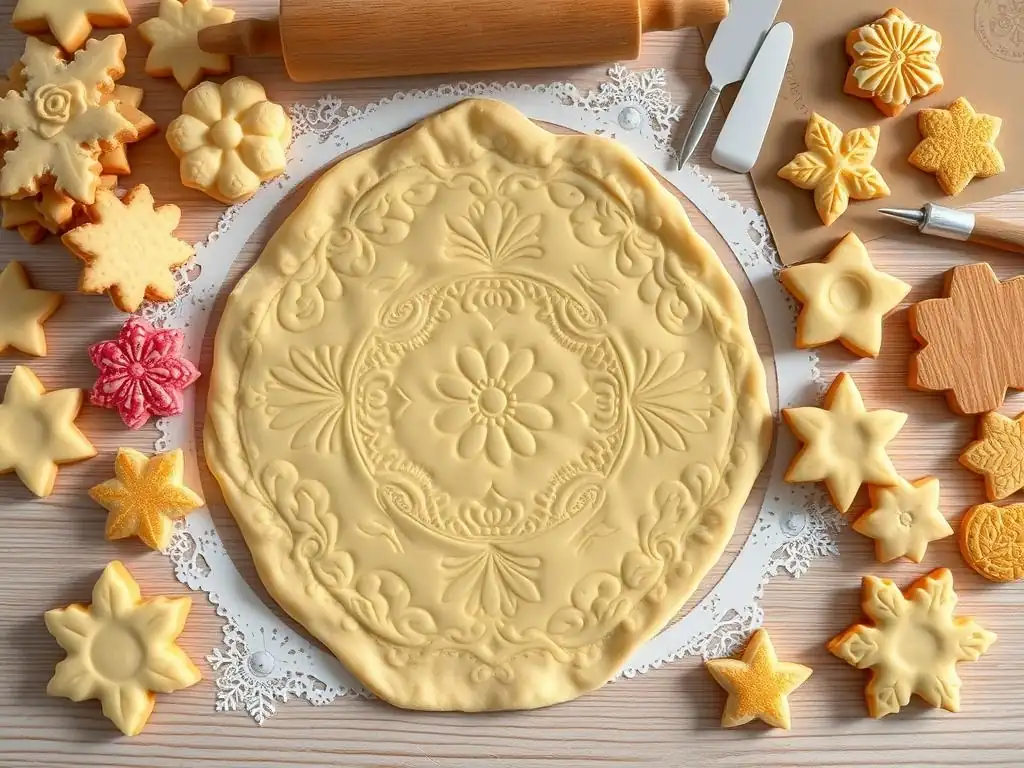
Not all cookie doughs are created equal when it comes it comes to imprinting texture mats cookie patterns. The ideal dough has minimal spread during baking to preserve the imprinted design. Recipes low in leavening agents like baking powder or baking soda, and those with a higher fat-to-flour ratio, tend to work best. Classic sugar cookie doughs or shortbread recipes that are designed to hold their shape are excellent candidates.
A dough that is too soft or sticky will be difficult to imprint cleanly and may stick to the mat. Conversely, a dough that is too dry or crumbly won't hold the imprinted pattern well. Experimenting with your favorite recipe, perhaps slightly reducing the leavening or chilling the dough longer, can help you find the perfect consistency for successful texture mat use.
Essential Tools for Using Texture Mats: Rollers, Cutters, and More
To effectively use texture mats for creating beautiful cookie patterns, you'll need a few key tools:
- Rolling Pin: Essential for rolling your dough to an even thickness and often used to press the texture mat onto the dough.
- Texture Mat: The star of the show, chosen for its pattern and size.
- Cookie Cutters: Sharp cutters are crucial for cleanly cutting out shapes without distorting the imprinted design.
- Parchment Paper or Silicone Baking Mat: Provides a non-stick surface for rolling and baking.
- Bench Scraper: Useful for lifting and moving dough.
- Flour, Cornstarch, or Powdered Sugar: For dusting the mat or dough to prevent sticking.
Having these tools ready will streamline the process and help you achieve crisp, clear texture mats cookie patterns every time.
Preparing Your Dough for Imprinting: Achieving a Smooth Surface
Proper dough preparation is fundamental for successful imprinting. Begin by ensuring your cookie dough is well-chilled. Cold dough is firmer and less sticky, making it easier to roll and imprint cleanly. Aim for at least 30 minutes of chilling in the refrigerator.
Next, roll your dough to a consistent thickness. A thickness of about 1/4 inch (approx. 6mm) is often ideal, providing enough depth for the pattern to show clearly without being so thick that the cookie is dense. Rolling between two sheets of parchment paper or using rolling pin guides can help ensure uniformity. A smooth, even surface is crucial before applying the texture mat to get a perfect impression of your desired cookie patterns.
Start with your chilled cookie dough. Place a portion of the dough on a lightly floured surface or, preferably, between two sheets of parchment paper. Using a rolling pin, roll the dough out to a consistent thickness, typically between 1/4 inch (6mm) and 3/8 inch (9mm), depending on your preference and the depth of your texture mat pattern. Uniform thickness is key to ensuring the texture pattern imprints evenly across the entire surface.
Rolling between parchment paper helps prevent sticking and makes transferring the dough easier. If not using parchment, lightly flour your surface and rolling pin, but avoid excess flour which can dry out the dough. Aim for a smooth, unblemished surface before proceeding to the next step.
Step 2: Selecting and Preparing Your Texture Mat
Choose the texture mat with the intricate cookie patterns you wish to use. If your dough is slightly sticky, lightly dust the surface of the texture mat with cornstarch, powdered sugar, or flour. Carefully shake off any excess powder, ensuring it only remains in the crevices of the pattern. Too much powder can leave a white residue on your cookies.
Alternatively, if using a silicone mat and a firmer dough, you might not need any dusting. Some bakers prefer to lightly mist the dough surface with a non-stick spray or brush it with a very thin layer of vegetable oil, then blot off the excess, though dusting is generally the most common method for preventing sticking and achieving clean texture mats cookie patterns.
Carefully lay the prepared texture mat pattern-side down onto your rolled-out dough. Ensure the mat covers the entire area you intend to cut cookies from. Gently smooth the mat with your hands to remove any air bubbles trapped underneath.
Now, apply even pressure across the entire surface of the mat. You can do this by gently rolling over the mat with a rolling pin, applying firm, consistent pressure. Alternatively, place a flat cutting board or baking sheet on top of the mat and press down firmly with your hands or body weight. The goal is to press the pattern into the dough without squishing the dough's overall thickness unevenly. Lift the mat slowly and carefully from one corner to reveal the beautiful, intricate texture mats cookie patterns.
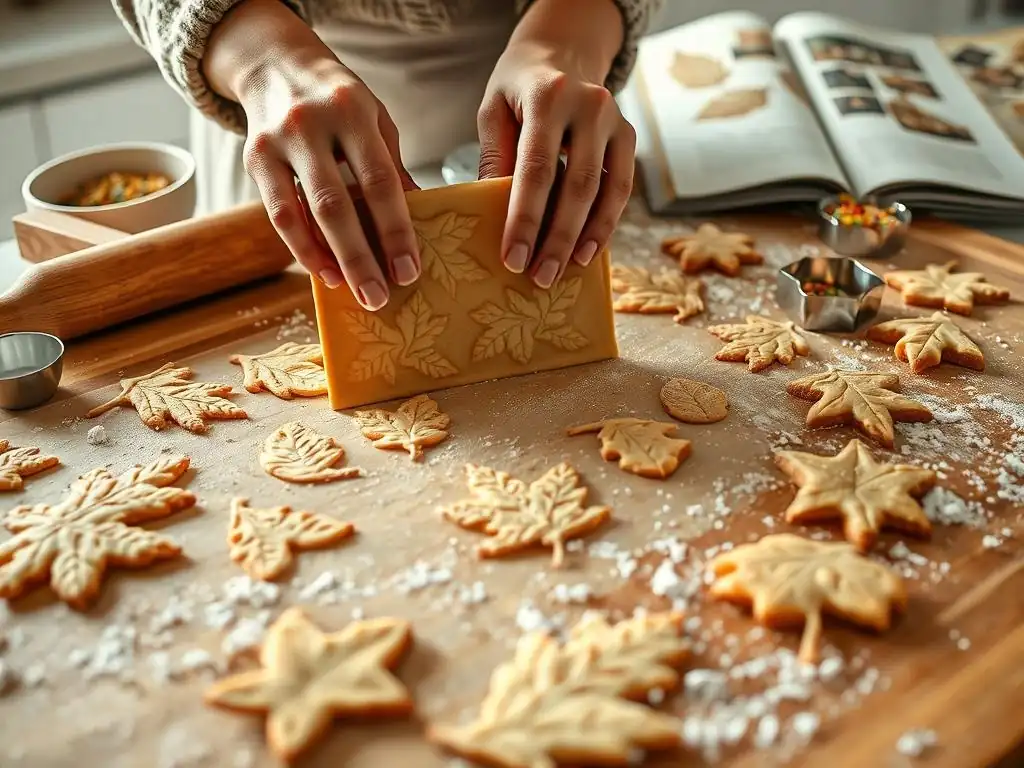
Once the texture mat pattern is successfully imprinted, use your cookie cutters to cut out shapes from the textured dough. Position the cutters carefully to center the design or capture specific elements of the pattern within your cookie shape. Press the cutter straight down firmly without twisting to get a clean edge.
Lift the cut cookies gently using a thin spatula or bench scraper and transfer them to a baking sheet lined with parchment paper or a silicone mat. It's important to handle the cut cookies carefully to avoid distorting the imprinted texture. If the dough has warmed significantly during this process, consider chilling the cut cookies on the baking sheet for 10-15 minutes before baking to help the pattern hold its definition.
Baking is a critical step in preserving your intricate texture mats cookie patterns. Bake your cookies at a slightly lower temperature than usual, perhaps 325°F to 350°F (160°C to 175°C), for a slightly longer time. This gentler heat helps the cookies bake through evenly without puffing up too quickly and blurring the delicate imprinted details.
Bake until the edges are lightly golden or just set, depending on your desired level of doneness. Over-baking can cause excessive spread and loss of pattern definition. Allow the cookies to cool completely on the baking sheet for a few minutes before transferring them to a wire rack to cool entirely. This helps them firm up and ensures the texture remains crisp.
Dough Sticking to the Texture Mat: Prevention and Solutions
One of the most common frustrations when using texture mats is dough sticking, which can ruin the imprinted pattern. The primary culprit is often dough that is too warm or too soft. Ensure your dough is well-chilled before rolling and imprinting.
To prevent sticking, properly prepare your texture mat or dough surface. Lightly dusting the mat with cornstarch, powdered sugar, or flour is usually effective. Remember to tap off the excess powder. If using a plastic mat with a very fine pattern, sometimes a very light brush of vegetable oil on the mat (then blotting off the excess) works better than powder. If dough still sticks, try chilling the rolled dough with the mat on top for a few minutes before attempting to lift the mat.
Uneven Imprints: Achieving Consistent Texture
Uneven texture mats cookie patterns result from inconsistent dough thickness or uneven pressure during imprinting. The first step is ensuring your dough is rolled to a uniform thickness across the entire sheet. Using rolling pin guides or rolling between parchment paper can significantly help with this.
When pressing the mat into the dough, apply firm, even pressure across the entire surface. If using a rolling pin over the mat, roll several times in different directions, ensuring you reach the edges. If pressing with a flat object, apply pressure from the center outwards and check that all areas are pressed equally. A little practice will help you gauge the right amount of pressure needed for your specific dough and mat.
Blurring of the Pattern During Baking: Maintaining Definition
If your beautiful texture mats cookie patterns lose their crispness and blur during baking, the likely cause is excessive dough spread. This often points back to the dough formulation or baking conditions. Doughs with too much leavening (baking powder/soda) or those with a higher liquid content are prone to spreading.
Ensure you are using a low-spread cookie dough recipe designed for cut-out cookies. Chilling the cut cookies before baking can also help them hold their shape and pattern better in the initial heat of the oven. Baking at a slightly lower temperature (e.g., 325°F instead of 375°F) for a longer time allows the cookies to set more slowly, preserving the intricate texture.
Texture mats cookie patterns provide an excellent base for further decoration. Once baked and cooled, you can enhance the imprinted design using various icing techniques. For patterns with raised areas, consider dry brushing edible dusts or powdered food coloring onto the surface to highlight the texture.
For patterns with recessed areas, you can use thin royal icing to flood specific sections, creating a stained-glass effect within the texture. Alternatively, outline the raised areas with a fine tip and thicker icing. Even a simple wash of thinned royal icing over the entire textured surface, wiped gently from the raised areas, can create a beautiful antique or distressed look that emphasizes the texture.
Don't limit yourself to just one texture mat per cookie! You can create unique and complex texture mats cookie patterns by using multiple mats on a single piece of dough. For example, imprint a geometric pattern on one half of the dough and a floral design on the other before cutting.
Another technique involves imprinting a base pattern, cutting the shapes, and then using a smaller texture mat or stencil to add a secondary pattern or motif onto a specific area of the cut cookie before baking. This layering of textures can add incredible depth and visual interest to your finished cookies. Just be mindful of dough thickness and pressure when applying multiple textures.
Using Texture Mats with Fondant or Gum Paste
Texture mats aren't just for raw cookie dough. They are also incredibly effective for adding texture to fondant or gum paste, which can then be used to cover cookies or create decorative elements. Roll out fondant or gum paste thinly, then firmly press the texture mat onto the surface using a rolling pin or your hands.
Once imprinted, the textured fondant or gum paste can be cut to cover entire cookies, used for borders, or cut into shapes for appliqués. This technique allows you to achieve very fine and detailed texture mats cookie patterns that might be too delicate to hold up during baking on dough alone. It's a fantastic way to add a professional, polished look to your decorated cookies.
Proper Cleaning Techniques for Different Texture Mat Materials
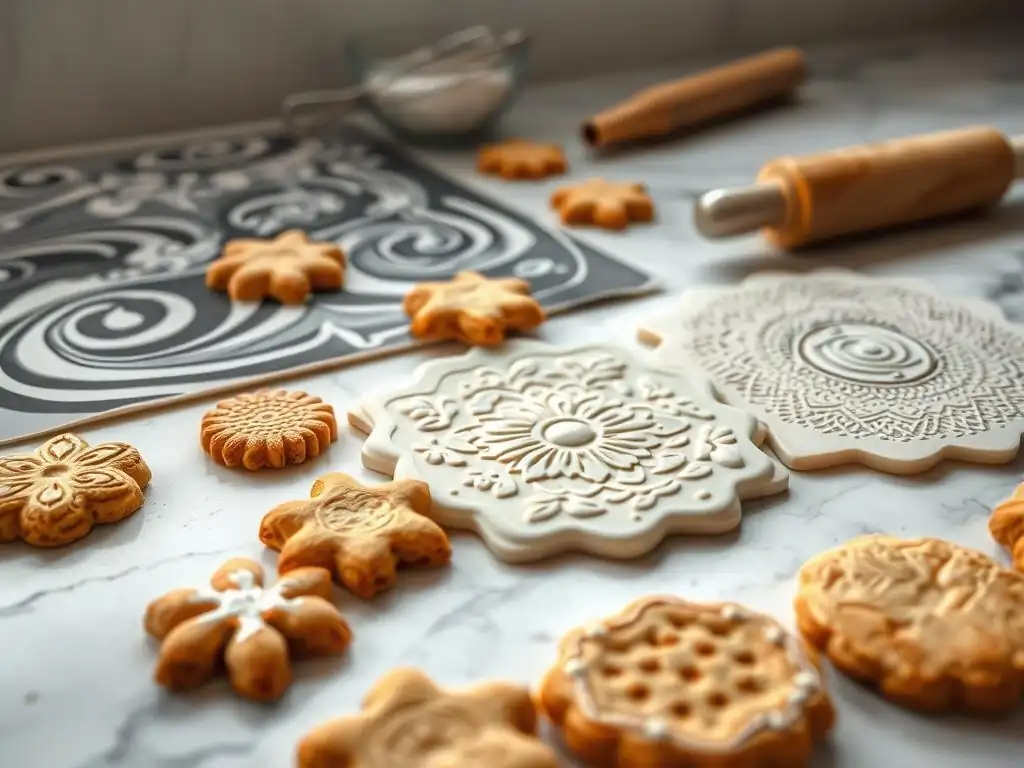
Proper cleaning is essential to maintain the integrity of your texture mats and prevent cross-contamination. For most silicone and plastic texture mats, warm, soapy water is sufficient. Use a soft brush (like a pastry brush or a dedicated cleaning brush with soft bristles) to gently scrub into the crevices of the pattern to remove any lingering dough or powder residue.
Rinse thoroughly with clean water and allow the mats to air dry completely before storing. Avoid using abrasive scrubbers or harsh chemicals, which can damage the mat surface. Ensure all food particles are removed, especially from intricate texture mats cookie patterns, to prevent mold or bacterial growth.
Storing Your Texture Mats to Prevent Damage
How you store your texture mats is crucial for their longevity and to ensure the patterns remain crisp. Ideally, store flat whenever possible. This prevents creases or folds that can permanently warp the mat and distort the texture patterns when you use them next. If you have multiple mats, stacking them flat with a sheet of parchment paper in between can work.
If flat storage isn't feasible due to space constraints, some flexible silicone mats can be carefully rolled. Roll them loosely with the textured side facing outwards to minimize stress on the pattern details. Store rolled mats in a tube or secure them with a soft tie. Avoid folding or creasing plastic mats entirely, as they are prone to cracking or permanent deformation. Proper storage ensures your texture mats cookie patterns are ready for your next baking project.
Geometric texture mats offer a straightforward way to add elegance and structure to your cookies. Patterns like classic stripes, polka dots, chevron, argyle, or diamond grids are easy to imprint and provide a clean, modern look. These patterns can stand alone for minimalist cookies or serve as a refined base for adding simple piped details or edible glitter.
For instance, a simple sugar cookie cut into a square or circle and imprinted with a fine stripe or dot pattern can look incredibly sophisticated, perfect for tea parties or elegant gatherings. The consistency of the geometric texture mats cookie patterns adds a professional touch with minimal effort.
Floral and Botanical Texture Designs for Baking
Bring the beauty of nature to your cookies with floral and botanical texture mats. These mats often feature intricate designs like lace-like flowers, trailing vines, delicate leaves, or full botanical scenes. They are ideal for creating romantic wedding favors, springtime treats, or simply adding a touch of natural elegance to your baking.
Imagine shortbread cookies imprinted with a detailed rose or lily pattern, perhaps dusted with a hint of edible shimmer. These texture mats cookie patterns can transform a plain cookie into a miniature work of art, evoking gardens and natural beauty with their detailed impressions.
Texture mats are fantastic for adding festive flair to holiday baking. Find mats with patterns like snowflakes, gingerbread house siding, Christmas trees, spiderwebs for Halloween, or intricate heart patterns for Valentine's Day. These themed mats instantly elevate the celebratory feel of your cookies.
Using a snowflake texture mat pattern on a simple white sugar cookie creates a magical winter treat. A brick or wood grain pattern can turn a rectangular cookie into a miniature building block for an edible village. Holiday texture mats cookie patterns make it easy to produce festive batches quickly for parties, gifts, or family gatherings.
Texture mats are a powerful tool in the advanced cookie decorator's arsenal, offering a fast, reliable way to achieve intricate cookie patterns that would be challenging or impossible with other methods. By understanding how to choose the right dough, prepare your materials, execute the imprinting process carefully, and troubleshoot common issues, you can consistently produce stunning, professional-looking cookies.
From simple geometric repeats to complex floral motifs and holiday themes, texture mats unlock a world of design possibilities. They save time, ensure consistency, and allow bakers of all levels to create cookies that truly impress. Experiment with different mats, techniques, and finishing touches to discover the full creative potential of texture mats cookie patterns.
Consider the classic wedding favor. Traditionally, these might involve intricate hand-piped lace or floral details, requiring significant time and skill. Using a fine floral or lace texture mat, a baker can imprint dozens, even hundreds, of cookie bases in a fraction of the time. For example, a batch of 150 heart-shaped cookies could be textured in under an hour using mats, compared to potentially 6-8 hours of detailed piping.
After baking, a simple sheer glaze or a touch of edible pearl dust applied to the raised texture enhances the beautiful texture mats cookie patterns, creating elegant, sophisticated wedding favors quickly and consistently. This real-world application demonstrates the efficiency and beautiful results achievable with texture mats in a high-volume, detail-oriented context.
Mastering texture mats cookie patterns is just one step in expanding your cookie decorating skills. BakeWithEase offers a wealth of other resources for advanced techniques, including detailed guides on royal icing consistency, piping techniques for borders and flooding, airbrushing on cookies, working with edible paints and dusts, and creating dimensional decorations. Explore these topics to continue refining your cookie artistry and discover new ways to make your baked goods truly spectacular.
Frequently Asked Questions
Texture mats are flexible sheets with raised or embossed patterns used to impress designs onto cookie dough. They offer a quick and easy way to create intricate cookie patterns without extensive decorating skills.
Texture mats designed for cookie baking can be found at specialty baking supply stores, online retailers like Amazon, and sometimes even craft stores. Look for mats made from food-grade silicone or plastic.
Press the texture mat firmly onto rolled-out cookie dough before cutting out the shapes. Ensure even pressure for a clear and consistent pattern. You can also gently roll over the mat with a rolling pin.
Generally, sugar cookie dough or other similar firm doughs that hold their shape well work best. Softer doughs might lose the imprinted pattern during baking. Chilling the dough also helps maintain the design.
How do I clean and care for my texture mats?
Most texture mats are dishwasher safe or can be washed with warm, soapy water. Ensure they are completely dry before storing to prevent mold or mildew. Avoid using abrasive cleaners that could damage the texture.
Final Reflection: Embracing the Art of Texture in Baking
The pursuit of perfectly patterned cookies has never been easier, thanks to the incredible versatility of texture mats. These seemingly simple tools unlock a world of intricate designs, transforming ordinary baking into a creative endeavor accessible to everyone. The speed and precision they offer are truly game-changing for both seasoned bakers and enthusiastic beginners.
The impact of texture mats extends beyond just efficient cookie decoration; they represent a broader shift in the way we approach baking. They encourage experimentation and personalization, allowing bakers to express their individual styles and create truly unique treats. This democratization of intricate design is inspiring, fostering a sense of community and shared creativity within the baking world. Baking is at its best when it's a joyful expression of creativity, and texture mats are a wonderful tool to help us achieve that.
Now, consider the possibilities. What unique patterns will you create? What flavors and textures will you pair with your meticulously designed cookies? Don't just limit yourself to the examples shown; let this article be a springboard for your own baking journey. Embrace the artistry of texture mats, and let your imagination run wild. The world of perfectly patterned cookies awaits!
Thanks for taking the time to explore the world of textured cookie decorating! We hope you've discovered a new level of creativity and efficiency. Now, it's time to put your newfound knowledge into action.
- Craft your masterpiece: Immediately try out a new texture mat design on your next batch of cookies. Experiment with different doughs and icing consistencies for optimal results! This is your chance to shine!
- Share your creations: Show off your stunning cookie artistry on social media using #BakeWithEaseTexture – we can't wait to see what you bake!
- Join the conversation: Have a favorite texture mat or a unique tip to share? Let's hear it in the comments below!
Ready to transform ordinary cookies into extraordinary works of art? What unique design will you create first?