
Achieve Silky Smooth Finishes with Airbrushing Techniques

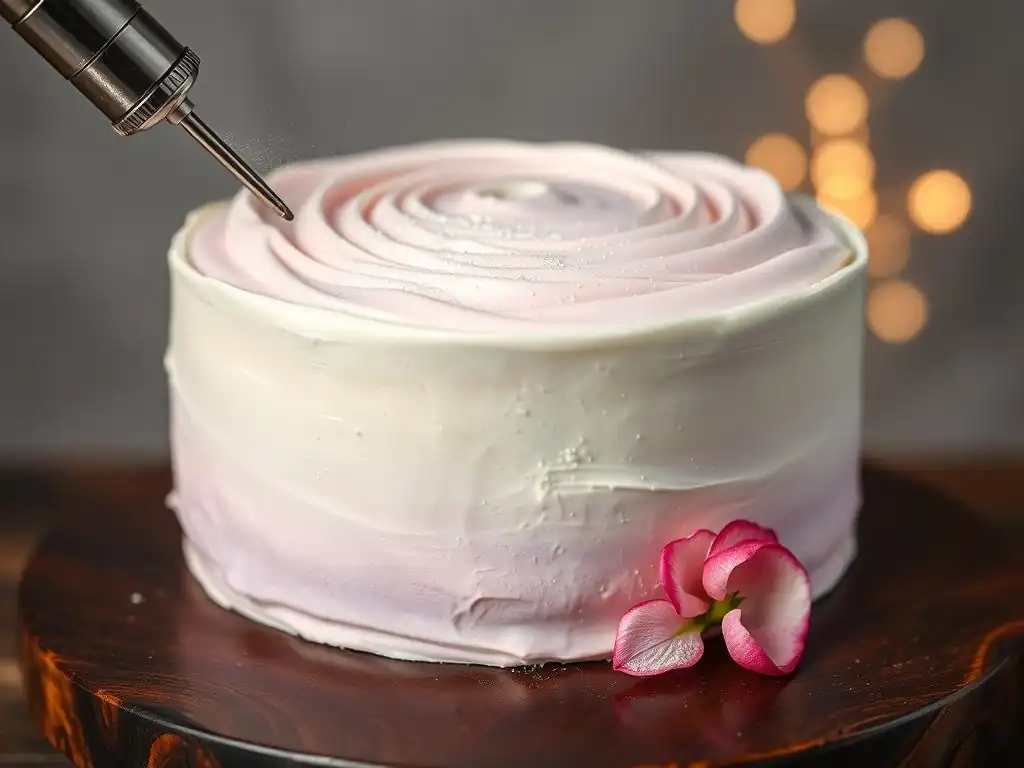
Welcome to BakeWithEase, your haven for all things baking! Ever dreamt of achieving those flawless, magazine-worthy cake finishes? This time, we're diving deep into the world of airbrushing cake frosting techniques. Uncover the secrets to achieving silky-smooth surfaces and vibrant colors, transforming your creations from delicious to dazzling. Ready to elevate your cake decorating game? Let's get started!
- Achieve Silky Smooth Finishes with Airbrushing Cake Frosting Techniques
- Mastering Airbrushing for Cake Decorating: An Introduction
- Preparing Your Cake and Frosting for Airbrushing Success
- Airbrushing Techniques for Cake Frosting: A Step-by-Step Guide
- Troubleshooting Common Airbrushing Problems on Cake Frosting
- Advanced Airbrushing Techniques for Cake Decorating
- Maintaining Your Airbrush Equipment for Longevity
- Airbrushing Cake Frosting: Inspiration and Creative Ideas
- Conclusion: Unleash Your Creativity with Airbrushing
-
Frequently Asked Questions
- How does airbrushing help achieve silky smooth cake frosting finishes?
- What type of airbrush and compressor is recommended for beginners learning cake decorating?
- What kind of food coloring is best suited for airbrushing cake frosting?
- How do I clean my airbrush after using it with frosting colors?
- Can airbrushing be used on all types of cake frosting?
- Final Reflection: The Transformative Power of Airbrushed Frosting
- Unleash Your Inner Airbrush Artist!
Achieve Silky Smooth Finishes with Airbrushing Cake Frosting Techniques
Mastering Airbrushing for Cake Decorating: An Introduction
Why Airbrushing Elevates Cake Frosting Decoration
Airbrushing is a transformative technique in the world of cake decorating, offering a level of precision and finish that is difficult, if not impossible, to achieve with traditional methods like piping or brushing. It allows bakers to apply thin, even layers of edible color, creating seamless gradients, subtle shading, and vibrant, consistent hues across large surfaces. This results in professional-looking cakes with incredibly smooth and polished finishes, making airbrushing cake frosting techniques a valuable skill for anyone looking to elevate their creations.
Beyond just applying solid colors, airbrushing provides unparalleled control for intricate details and complex designs. Using stencils, bakers can quickly and accurately apply patterns, logos, or detailed images onto a cake surface.
The ability to vary paint opacity and air pressure allows for realistic depth and dimension through shading and highlighting, bringing elements like edible flowers or sculpted figures to life. For instance, achieving a perfect sunset gradient on a cake tier for a wedding or creating sharp, defined lines for a geometric pattern on a modern birthday cake is significantly more achievable and faster with airbrushing than with hand-painting.
Essential Airbrushing Equipment for Frosting: A Baker's Guide
To begin exploring airbrushing cake frosting techniques, you'll need a few key pieces of equipment. The core components are the airbrush gun and the air compressor. Airbrush guns come in different types, typically single-action (where air and paint flow are controlled by one trigger push) and dual-action (where air is controlled by pushing down, and paint flow by pulling back). For cake decorating, a dual-action airbrush often provides more control over paint release, allowing for finer details and smoother transitions.
The air compressor is the power source, providing the necessary air pressure to atomize and spray the edible paint. Compressors designed for airbrushing are usually quiet and compact, often featuring a regulator to adjust the pounds per square inch (PSI). A typical working pressure for cake airbrushing might range from 15 to 30 PSI, depending on the paint consistency and the desired effect.
You'll also need food-grade edible airbrush colors, which are specifically formulated to be thin enough to pass through the airbrush nozzle without clogging. Investing in a basic set of primary colors (red, blue, yellow) and black and white allows you to mix a wide spectrum of hues.
Preparing Your Cake and Frosting for Airbrushing Success
Achieving a Smooth Frosting Base: The Key to Airbrushing Perfection
The foundation of successful airbrushing cake frosting techniques is a perfectly smooth surface. Any imperfections on your frosting – bumps, ridges, or crumbs – will be magnified by the fine mist of the airbrush paint. Therefore, the first critical step is to ensure your frosting is as flawless as possible.
Start by applying a generous amount of frosting to your chilled cake, then use a bench scraper or long spatula held at a 45-degree angle to smooth the sides, rotating the cake on a turntable. For the top, use an offset spatula to pull the excess frosting towards the center, creating crisp edges.
Once the frosting is applied and initially smoothed, chilling the cake is highly recommended. Placing the frosted cake in the refrigerator for at least 30 minutes, or until the frosting is firm to the touch, makes it much easier to achieve a truly smooth surface. You can then use a warm, dry spatula or scraper (wiped clean between passes) to gently glide over the chilled frosting, further refining the surface and removing any remaining imperfections. This extra step ensures that the airbrush paint goes onto a pristine canvas, allowing for uniform color application and the silky finish you desire.
Choosing the Right Frosting for Airbrushing: American Buttercream vs. Swiss Meringue
The type of frosting you use significantly impacts the outcome of your airbrushing cake frosting techniques. Frostings that set up smoothly and firmly when chilled are generally preferred. American buttercream, while popular, can sometimes be too soft or porous, potentially absorbing the airbrush paint unevenly or showing texture imperfections more readily. If using American buttercream, ensure it is well-made, smooth, and thoroughly chilled before airbrushing.
Swiss meringue buttercream, Italian meringue buttercream, or even a smooth ganache often provide a better surface for airbrushing. These frostings tend to have a smoother, less porous texture and firm up nicely when cold, creating an ideal, non-absorbent base for the fine mist of airbrush paint. Fondant also offers an excellent, perfectly smooth surface for airbrushing, and many intricate airbrushed designs are executed on fondant-covered cakes. Whichever frosting you choose, the key is to ensure it is applied smoothly and is firm and cold before you begin airbrushing.
Proper Cake Preparation: Leveling and Crumb Coating Techniques
Before you even get to the final frosting layer, proper cake preparation is essential for airbrushing success. This begins with ensuring your cake layers are level. Use a cake leveler or a serrated knife to trim any domes off the tops of your baked layers. Level layers stack more evenly, resulting in a straight, stable cake structure which is crucial for applying frosting smoothly and evenly, a prerequisite for effective airbrushing cake frosting techniques.
After stacking your leveled layers with filling, apply a thin layer of frosting called a crumb coat. This traps any loose crumbs, preventing them from getting into your final frosting layer and ruining its smooth finish. Apply the crumb coat thinly, just enough to cover the cake, and then chill the cake until the crumb coat is firm (usually 15-30 minutes). This creates a stable base for applying your final, thicker layer of frosting, which you will then smooth meticulously before airbrushing. A well-executed crumb coat is a foundational step for achieving the flawless surface needed for high-quality airbrushing.
Airbrushing Techniques for Cake Frosting: A Step-by-Step Guide
Setting Up Your Airbrush: Paint Consistency and Pressure
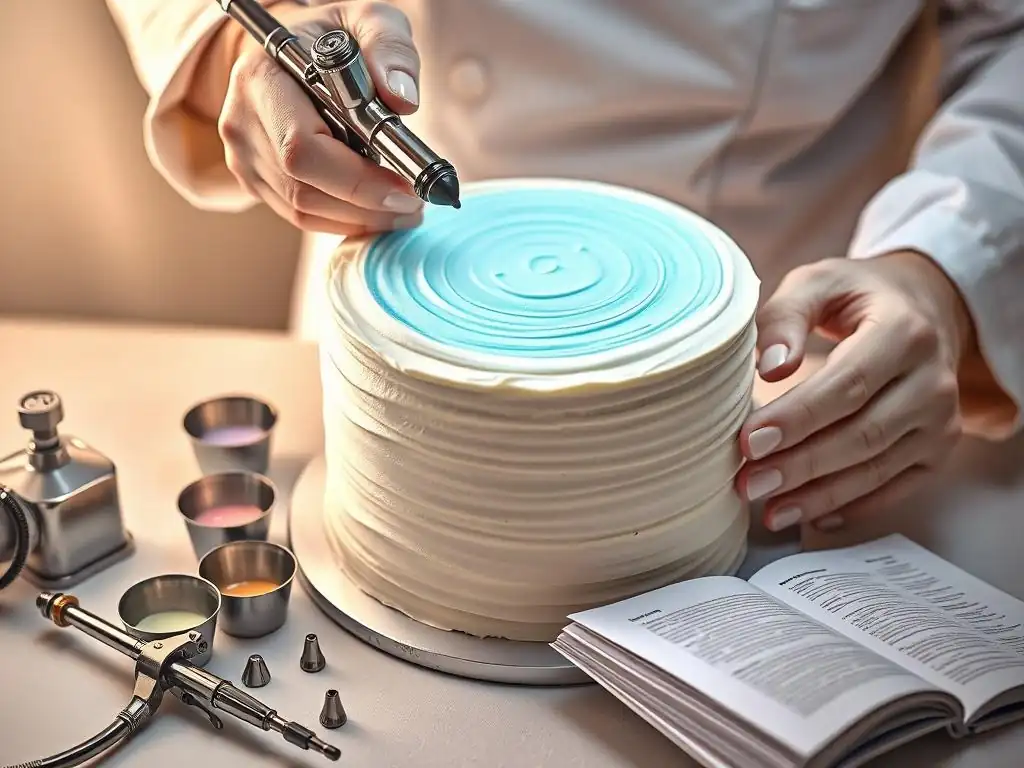
Proper setup is crucial before you start applying airbrushing cake frosting techniques. Begin by ensuring your edible airbrush paint is the correct consistency. Most commercially available edible airbrush colors are pre-thinned and ready to use. However, if you are using concentrated gels diluted with a suitable liquid (like clear alcohol or water, depending on the color), aim for a consistency similar to milk – thin enough to flow freely but not so watery that it runs or doesn't cover. Filter the paint if necessary to remove any particles that could clog the nozzle.
Next, connect your airbrush gun to the compressor and set the air pressure. The ideal pressure varies depending on the airbrush model, the paint consistency, and the desired effect. A common starting point is around 20-25 PSI for general coverage. Lower pressure (e.g., 15 PSI) might be used for fine details or delicate shading, while higher pressure (e.g., 30+ PSI) could be used for broader coverage, though be cautious of overspray. Test your setup on a paper towel or practice board first to check the spray pattern and pressure before applying paint to your actual cake.
Basic Airbrushing Techniques: Shading, Highlighting, and Color Blending
Once set up, you can practice fundamental airbrushing cake frosting techniques. Hold the airbrush perpendicular to the cake surface, typically 4-6 inches away. Press down on the trigger for air, then pull back slightly for paint. Keep the airbrush moving constantly while spraying to avoid paint pooling. For shading, apply color more heavily or closer to the surface in specific areas, like around the base of a tier or under fondant elements, to create depth and shadow.
Highlighting involves applying a lighter color (often white or a very pale version of the base color) to areas where light would naturally hit, such as the top edges or raised details. This adds dimension and makes details pop. Color blending is achieved by layering colors or applying different colors side-by-side and allowing the fine mist to merge.
For instance, transitioning from blue to green involves spraying blue, then green next to it, and lightly overlapping the edges while keeping the airbrush moving smoothly. Practice on a flat surface first to get a feel for how color builds up and blends.
Creating Ombre Effects on Cakes with Airbrushing
Creating a beautiful ombre effect is one of the most popular applications of airbrushing cake frosting techniques. An ombre is a gradient where one color smoothly transitions into another, or a single color fades from dark to light. To achieve this, start with the darkest color at the bottom of the cake (or the top, depending on your desired look). Hold the airbrush slightly closer and spray a concentrated band of color around the base.
As you move upwards, gradually increase the distance between the airbrush and the cake surface, and potentially reduce the amount of paint by slightly adjusting the trigger on a dual-action brush. This allows the color to become lighter and more dispersed. If transitioning between two distinct colors (e.g., purple to pink), apply the bottom color, then the top color, and finally, lightly spray the transition area with both colors, overlapping slightly, to create a seamless blend. Multiple light coats are always better than one heavy coat to build up the color smoothly.
Stenciling Techniques for Intricate Cake Designs
Stenciling with an airbrush allows you to add intricate patterns and designs quickly and precisely to your cake frosting. You'll need food-safe stencils made from flexible plastic. Position the stencil flat against your chilled, firm frosted cake surface. Secure it in place using pins (inserted carefully into the cake board, not the cake itself), magnets (if working on a magnetic surface), or by gently holding it firmly against the cake. Ensure there are no gaps between the stencil and the cake surface, especially on the edges, to prevent bleeding.
Hold the airbrush perpendicular to the stencil and spray light, even coats of edible airbrush paint over the stencil. It's important to use low pressure and spray lightly to avoid forcing paint under the stencil edges. Several light passes build up the color more cleanly than one heavy pass. Once the desired color saturation is achieved, carefully and quickly lift the stencil straight up and away from the cake to reveal the clean design underneath. If the frosting is very soft, chilling the cake again briefly after stenciling can help set the paint before further handling.
Achieving Metallic Finishes with Edible Airbrush Paints
Adding shimmer and shine with metallic finishes is another stunning application of airbrushing cake frosting techniques. Special edible metallic airbrush paints are available in colors like gold, silver, bronze, and rose gold. These paints often contain fine mica particles that reflect light. For the most impactful metallic effect, it's often best to apply the metallic paint over a base color that is similar to the metallic shade (e.g., a dark yellow or brown base for gold, a grey or black base for silver). This helps the metallic particles stand out and appear more opaque and vibrant.
When airbrushing metallic paints, you might need to use a slightly higher pressure than with standard colors to ensure the metallic particles are sprayed evenly without clogging the nozzle. However, always test on a practice surface first. Apply the metallic paint in light, even coats, building up the shimmer gradually. Holding the airbrush a consistent distance from the cake and moving steadily will prevent streaks. The result is a beautiful, lustrous finish that catches the light, perfect for elegant or glamorous cake designs.
Troubleshooting Common Airbrushing Problems on Cake Frosting
Clogged Airbrush: Causes and Solutions
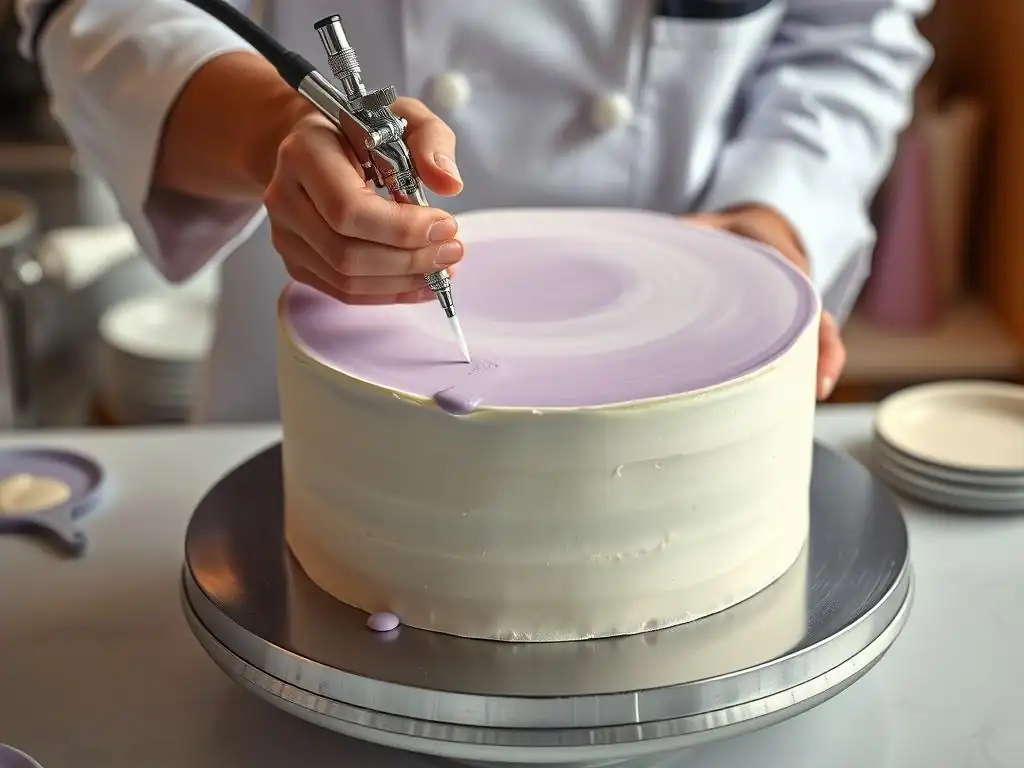
A clogged airbrush is one of the most frustrating issues encountered when using airbrushing cake frosting techniques. Clogging typically occurs when paint dries in the nozzle, the paint is too thick, or there are solid particles in the paint. To prevent clogs, always use airbrush-ready or properly thinned paints and filter them if necessary. Flush the airbrush with water or cleaning solution between color changes and immediately after use.
If a clog occurs mid-task, try back-flushing: fill the paint cup with water or cleaner, then cover the tip of the airbrush with your finger or a cloth and depress the trigger for air. This forces air back through the paint cup, sometimes dislodging the blockage. If this doesn't work, you'll need to partially or fully disassemble the airbrush tip and needle assembly and clean it thoroughly with a brush and cleaning solution. Soaking the components in a suitable airbrush cleaner can help dissolve dried paint.
Uneven Color Application: Tips for a Smooth Finish
Uneven color application can result in blotchy or streaky patches on your frosted cake, detracting from that desired silky finish. This is often caused by inconsistent airbrush movement, holding the airbrush at an uneven distance, or varying the amount of paint being sprayed. To achieve a smooth, even coat when using airbrushing cake frosting techniques, practice maintaining a consistent speed as you move the airbrush across the cake surface.
Hold the airbrush perpendicular to the surface and keep the distance consistent. Apply color in light, overlapping passes rather than trying to achieve full coverage in one go. Rotate the cake on a turntable while keeping the airbrush stationary relative to your body to ensure uniform coverage around the sides. If you notice a lighter patch, apply another light pass over the entire area rather than spot-spraying, which can create darker spots. Chilling the cake firmly before starting also helps prevent the frosting from melting or becoming too soft, which can lead to uneven absorption of paint.
Over-Spraying and Bleeding: Prevention and Correction
Over-spraying happens when excess paint is applied, leading to pooling, drips, or colors spreading beyond intended areas. Bleeding occurs when paint seeps under stencils or design lines. Both issues ruin the clean look essential for professional airbrushing cake frosting techniques. To prevent over-spraying, use light pressure and apply paint in thin, controlled layers. Keep the airbrush moving constantly and avoid hovering over one spot. If you are working close to an area you don't want to color, shield it using paper or plastic wrap.
Bleeding with stencils is often caused by using too much paint, too high pressure, or the stencil not being flush against the cake surface. Ensure your stencil is firmly pressed or secured against the chilled, firm frosting. Spray with low pressure and use multiple light passes.
If bleeding occurs on a stencil, stop immediately, carefully lift the stencil, and gently try to blot the excess wet paint with a clean brush or paper towel before it dries. For over-sprayed areas on the main cake surface, if the frosting is firm, you might be able to gently scrape or smooth away the affected area, re-chill, and try again, or incorporate the mistake into the design (e.g., turning a drip into a deliberate painted feature).
Advanced Airbrushing Techniques for Cake Decorating
Creating Realistic Textures with Airbrushing
Beyond smooth finishes and gradients, airbrushing cake frosting techniques can be used to create surprisingly realistic textures. By varying distance, pressure, and paint consistency, and sometimes using props or stencils, you can mimic surfaces like wood grain, stone, fabric, or even rust.
For example, to simulate wood grain on fondant or firm buttercream, apply a base color, then use a thin brush or a texture comb to create subtle lines in the frosting/fondant. Once chilled, airbrush thin, darker lines over the texture, varying the intensity, and then lightly airbrush a transparent brown or grey wash over the entire area to blend and age it.
Creating a stone effect might involve applying a base color, then using crumpled paper or plastic wrap pressed lightly against the surface while airbrushing different shades of grey or brown to create mottled patterns. For a crackle effect, some techniques involve airbrushing over a medium that shrinks as it dries, causing the top layer of paint to crack. These advanced textures require practice and experimentation, often layering colors and techniques to build up the desired visual effect and depth.
Airbrushing Portraits and Complex Designs on Cakes
Airbrushing allows for a level of detail that can approach fine art, making it possible to airbrush portraits, intricate scenes, or complex illustrations directly onto a cake surface. This requires a high level of skill, a dual-action airbrush with a fine needle/nozzle setup, and often involves working from a reference image. The process is similar to airbrushing on canvas or paper, using techniques like freehand control, masking, and layering translucent colors to build up form and detail.
For portraits or detailed illustrations, the cake surface (usually covered in smooth fondant or firm ganache) acts as the canvas. Artists use light pencil sketches or projectors to outline the basic design, then carefully build up shadows, mid-tones, and highlights using various shades of edible airbrush paint. This technique demands precise trigger control to manage paint flow and create varying line weights and shading intensities. It's a time-consuming process that showcases the highest potential of airbrushing cake frosting techniques.
Combining Airbrushing with Other Cake Decorating Techniques: Piping and Fondant Accents
Airbrushing doesn't have to be used in isolation; it pairs beautifully with other cake decorating methods like piping and working with fondant. Airbrushing can provide a stunning background or base color for piped details, making white piping pop against a vibrant airbrushed gradient, for example. You can airbrush patterns or colors onto fondant pieces before applying them to the cake, allowing for easier manipulation and detail work off the main cake.
Conversely, piping or fondant elements can be added after airbrushing the main cake surface. For instance, airbrush a smooth sky gradient on a cake, then add piped clouds or fondant trees on top. You can also use airbrushing to enhance piped details – airbrushing shading onto piped roses or adding metallic highlights to piped borders. The combination of techniques allows for incredibly rich, multi-dimensional cake designs. A cake might feature an airbrushed base with stenciled patterns, accented by hand-painted details and finished with piped borders, showcasing a blend of different decorating skills.
Maintaining Your Airbrush Equipment for Longevity
Cleaning Your Airbrush After Each Use: A Detailed Guide
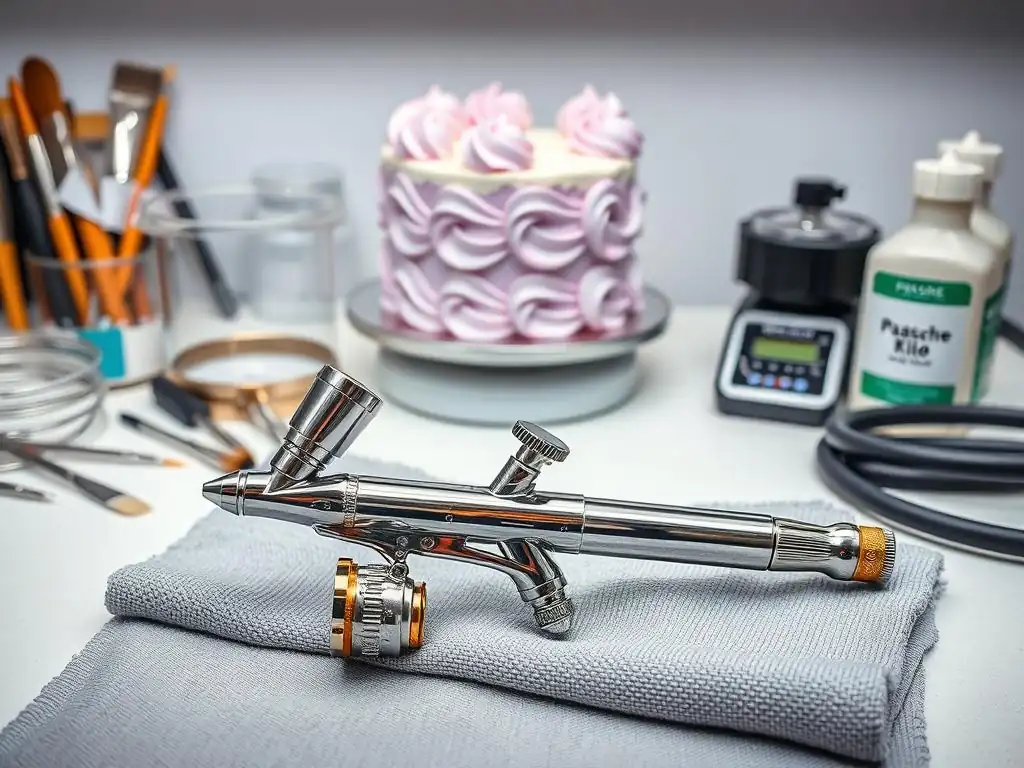
Proper cleaning is paramount to keeping your airbrush equipment in good working order and ensuring consistent results with your airbrushing cake frosting techniques. Edible paints, especially those with pigments or metallic particles, can quickly dry and clog the delicate nozzle. After each use, and ideally between color changes, flush the airbrush thoroughly. Start by emptying any remaining paint from the cup. Add clean water (or the manufacturer's recommended cleaning solution for edible paints) to the cup.
Spray the water through the airbrush onto a paper towel until it runs clear. For a more thorough cleaning, especially after using darker or metallic colors, add airbrush cleaning solution to the cup and spray it through. You can also use a back-flush technique by covering the nozzle tip and letting air bubble back into the cup. Finally, disassemble the needle and nozzle components (refer to your airbrush manual), clean them with a small brush and cleaning solution, rinse thoroughly, and dry before reassembling. Never soak the entire airbrush gun, especially the trigger mechanism.
Proper Storage for Airbrush Equipment and Paints
Storing your airbrush equipment correctly prevents damage and keeps it ready for your next cake project. Once cleaned and dried, store your airbrush gun safely. Many airbrush kits come with a case or stand. Avoid leaving the airbrush lying around where it could be dropped or have the delicate needle bent. If storing for an extended period, you might consider adding a tiny drop of airbrush lubricant (specifically designed for airbrushes) to the needle before inserting it back into the gun, as recommended by some manufacturers.
Edible airbrush paints should be stored according to the manufacturer's instructions, typically in a cool, dark place away from direct sunlight. Ensure the caps are tightly sealed to prevent the paint from drying out. Periodically check the consistency of your paints; if they thicken over time, they may need to be discarded or potentially thinned with the appropriate food-grade diluent, though pre-thinned airbrush colors are usually not meant for further dilution. Proper storage extends the life of both your equipment and your supplies.
Airbrushing Cake Frosting: Inspiration and Creative Ideas
Airbrushed Cake Designs for Different Occasions: Birthdays and Weddings
Airbrushing cake frosting techniques offer endless possibilities for customizing cakes for any occasion. For birthdays, vibrant, airbrushed gradients or stenciled patterns can match party themes – think a galaxy swirl for a space party, or superhero logos applied with stencils. Ombre effects are popular for milestone birthdays, transitioning from one favorite color to another. Airbrushing can also be used to add realistic details to sculpted cakes, like coloring the 'skin' of a character cake or adding texture to an edible sports ball.
Wedding cakes benefit greatly from the smooth, elegant finishes achievable with airbrushing. Soft, subtle gradients of blush pink or dusty blue can complement wedding colors beautifully. Metallic airbrushing in gold or silver adds a touch of luxury and sophistication. Stenciled lace patterns or monograms applied with airbrushing can add intricate details without the time-consuming effort of traditional piping. Airbrushing also allows for painting delicate floral patterns or scenic backgrounds directly onto the cake, creating truly unique centerpieces.
Experimenting with Color Palettes and Airbrushing Styles
One of the most exciting aspects of airbrushing cake frosting techniques is the freedom to experiment with color palettes and styles. Don't limit yourself to single colors or simple gradients. Try layering translucent shades to create depth and complexity. For instance, airbrushing a light blue base, then adding layers of purple and pink mist can create a dreamy, ethereal effect. Experiment with iridescent or pearlized edible paints over different base colors to see how the shimmer changes.
Explore different airbrushing styles – from sharp, graphic lines using masking techniques to soft, impressionistic washes. Practice freehand airbrushing to develop control for organic shapes and artistic effects. Combine airbrushing with masking techniques to create crisp lines and geometric designs. For example, mask off stripes or shapes, airbrush the exposed areas, remove the mask, and then potentially airbrush subtle shading or highlighting on the remaining areas. The more you practice and experiment, the more you'll discover the vast creative potential of airbrushing on cakes.
Conclusion: Unleash Your Creativity with Airbrushing
Frequently Asked Questions
How does airbrushing help achieve silky smooth cake frosting finishes?
Airbrushing delivers a fine, even coat of color, unlike traditional methods. This results in a seamless and smooth finish that is difficult to achieve otherwise. It minimizes brush strokes and imperfections.
What type of airbrush and compressor is recommended for beginners learning cake decorating?
For beginners, a single-action airbrush is often recommended due to its simplicity. Pair it with a small, quiet compressor that provides consistent air pressure for optimal control.
What kind of food coloring is best suited for airbrushing cake frosting?
Use airbrush-specific food coloring, which is finely ground and designed to flow smoothly through the airbrush. Avoid using regular gel or liquid food coloring, as it can clog the airbrush.
How do I clean my airbrush after using it with frosting colors?
Thorough cleaning is crucial. Disassemble the airbrush and use airbrush cleaner or warm, soapy water to remove all traces of food coloring. Ensure all parts are completely dry before reassembling.
Can airbrushing be used on all types of cake frosting?
While versatile, airbrushing works best on smooth frostings like buttercream, fondant, or ganache. Avoid applying it to very textured or delicate frostings, as the pressure can damage them.
Final Reflection: The Transformative Power of Airbrushed Frosting
The art of airbrushing cake frosting has evolved from a niche skill to a widely accessible technique, revolutionizing cake decorating and elevating it to a new level of artistry. No longer confined to professional bakeries, airbrushing allows home bakers to achieve stunning, flawlessly smooth finishes that were once considered unattainable. This accessibility democratizes the creation of breathtakingly beautiful cakes, empowering individuals to express their creativity in exciting new ways.
The impact of airbrushing on the cake decorating landscape is undeniable. It has spurred innovation, inspiring countless tutorials, online communities, and even specialized airbrush equipment designed specifically for cake decorating. The precision and control offered by this technique allow for intricate designs and gradients, pushing the boundaries of what's possible. The beauty of airbrushing lies not just in the result, but in the journey of mastering the technique, a journey of experimentation and self-discovery.
This quote perfectly encapsulates the transformative power of airbrushing, not just for the cakes themselves, but for the individuals who embrace it.
Now, it's your turn. Consider the possibilities that airbrushing unlocks. Don't be intimidated by the initial learning curve; embrace the challenge and discover the joy of creating truly unique and stunning cakes. Experiment with colors, stencils, and techniques, and watch your cake decorating skills flourish. The world of airbrushed frosting awaits – dare to explore its endless potential and let your creativity take flight.
Unleash Your Inner Airbrush Artist!
Thanks for diving into the world of airbrushing! You've just unlocked a powerful new technique to achieve truly stunning cake decorations. Now it's time to put your newfound knowledge into action.
- Practice your newfound skills! Grab your airbrush and try creating a simple design. Even a small practice session will make a huge difference. Don't be afraid to experiment!
- Share your creations! Show off your airbrushed masterpieces on social media – tag us for a chance to be featured! We'd love to see what you create.
- Explore advanced airbrushing techniques: Dive deeper into our other resources (link would go here if permitted) to learn even more about shading, blending, and creating complex designs.
Ready to transform your baking game with the magic of airbrushing? What's the first design you're going to try?