
Classic Chocolate Eclairs: An Intermediate Baker's Recipe

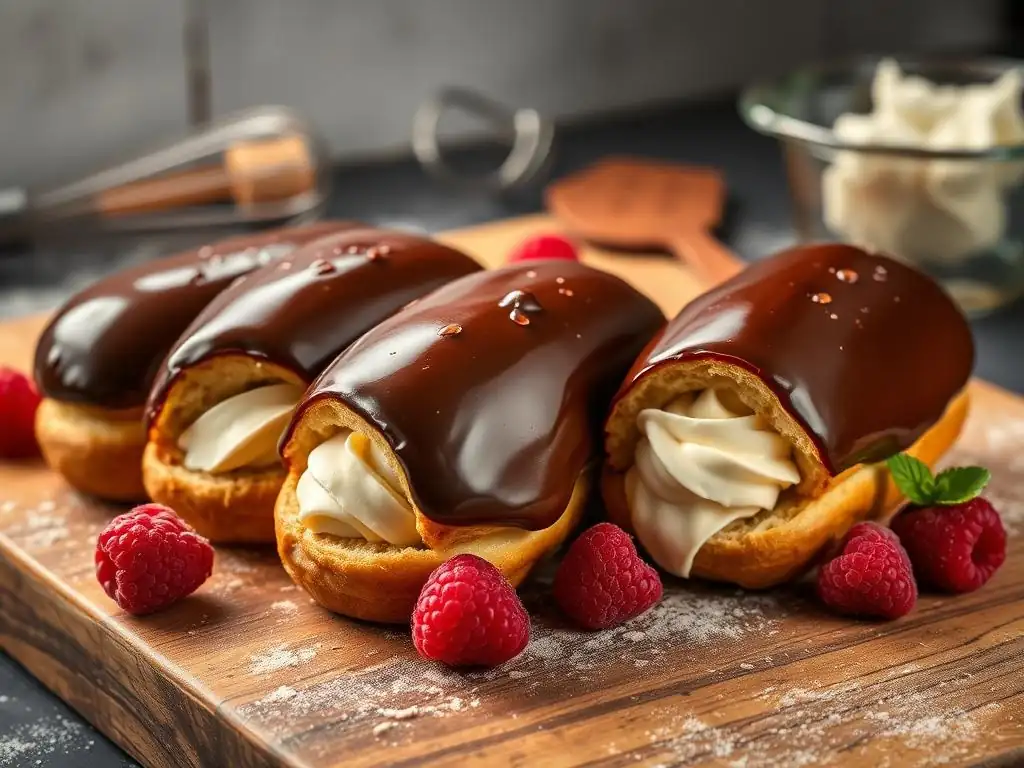
Welcome to BakeWithEase, your trusted guide to baking bliss! Ever dreamed of creating perfectly puffed, chocolate-glazed eclairs? You're in the right place. Dive into our Easy Chocolate Eclair Recipe – designed for intermediate bakers ready to elevate their skills. This isn't just a recipe; it's your gateway to mastering a classic French pastry. Ready to unlock the secrets to light-as-air choux pastry and decadent chocolate ganache? Let's get baking!
- Introduction to Exquisite Chocolate Eclairs: Level Up Your Baking
- Mastering the Art of Eclairs: Is This Recipe Right for You?
- The Secret to Perfect Eclairs: Ingredients and Equipment
- Step-by-Step Guide: Baking Classic Chocolate Eclairs
- Tips and Tricks for Eclair Baking Perfection
- Storing and Serving Your Homemade Chocolate Eclairs
- Elevate Your Baking Skills: Beyond the Chocolate Eclair
- Conclusion: Enjoy Your Effortlessly Elegant Chocolate Eclairs
-
Frequently Asked Questions
- What level of baking experience is required to successfully make this chocolate eclair recipe?
- What are the most crucial steps in achieving a perfect choux pastry for the eclairs?
- Can I substitute any of the ingredients in the chocolate eclair recipe, and if so, which ones?
- How do I prevent my chocolate eclairs from becoming soggy after filling them?
- What type of chocolate is best to use for the chocolate eclair glaze?
- Final Reflection: The Sweet Symphony of Simplicity
- Unleash Your Inner Pâtissier: Master the Eclair!
Introduction to Exquisite Chocolate Eclairs: Level Up Your Baking
Welcome, intermediate bakers, to the delightful world of classic chocolate eclairs! These elegant pastries, with their crisp choux shell, rich pastry cream filling, and glossy chocolate glaze, are a true test and reward for developing baking skills. While they might seem intimidating at first glance, breaking down the process makes this easy chocolate eclair recipe entirely achievable and incredibly satisfying.
Mastering eclairs involves perfecting a few fundamental techniques: creating a stable choux dough, piping it correctly, baking it to a perfect golden crisp, and crafting a smooth, decadent filling and glaze. This guide is designed to walk you through each step, transforming simple ingredients into bakery-quality treats right in your own kitchen. Get ready to impress yourself and your loved ones with these delectable chocolate eclairs.
Mastering the Art of Eclairs: Is This Recipe Right for You?
Embarking on the journey of baking classic chocolate eclairs is a fantastic way to expand your repertoire and refine your precision in the kitchen. This easy chocolate eclair recipe is specifically tailored for bakers who have moved beyond the absolute basics and are comfortable with following multi-step instructions and understanding the nuances of ingredient interactions. It's perfect if you've successfully tackled recipes like layer cakes, yeast breads, or more complex cookie doughs.
If you're looking to challenge yourself with a rewarding project that yields stunning results, this is the recipe for you. It requires attention to detail and patience, particularly during the choux pastry phase, but the techniques learned here are transferable to many other delightful pastries. Consider this your next step in becoming a more confident and capable baker, adding a touch of French patisserie elegance to your skill set.
Prerequisites: Essential Baking Skills for Eclair Success
Before diving into this easy chocolate eclair recipe, it's helpful to have a few foundational baking skills under your belt. Comfort with accurately measuring ingredients, especially dry ones like flour, is crucial for consistent results. You should also be familiar with using a stand mixer or hand mixer, as incorporating eggs into the choux dough requires thorough mixing.
Furthermore, a basic understanding of temperature control is beneficial. This includes knowing how to bring liquids to a rolling boil, simmering gently, and accurately setting oven temperatures. Experience with using a piping bag, even just for frosting cupcakes, will make shaping the eclairs much easier. If you're comfortable with these techniques, you're well-equipped to tackle this delicious challenge.
Why This Chocolate Eclair Recipe is Perfect for Intermediate Bakers
This specific easy chocolate eclair recipe is designed to be instructional and manageable for intermediate bakers. It breaks down the process into logical, step-by-step components: making the choux pastry, preparing the chocolate pastry cream, and finally, assembling and glazing. Each section focuses on key techniques with explanations of why certain steps are important, such as drying out the choux dough or tempering the eggs for the pastry cream.
Unlike beginner recipes that might use simpler fillings or pre-made components, this recipe guides you through creating everything from scratch. However, it avoids overly complicated methods or obscure ingredients, using standard kitchen equipment and widely available items. It provides a solid foundation in classic techniques without overwhelming you, making it an ideal stepping stone to more advanced pastry work while still resulting in truly authentic and delicious chocolate eclairs.
The Secret to Perfect Eclairs: Ingredients and Equipment
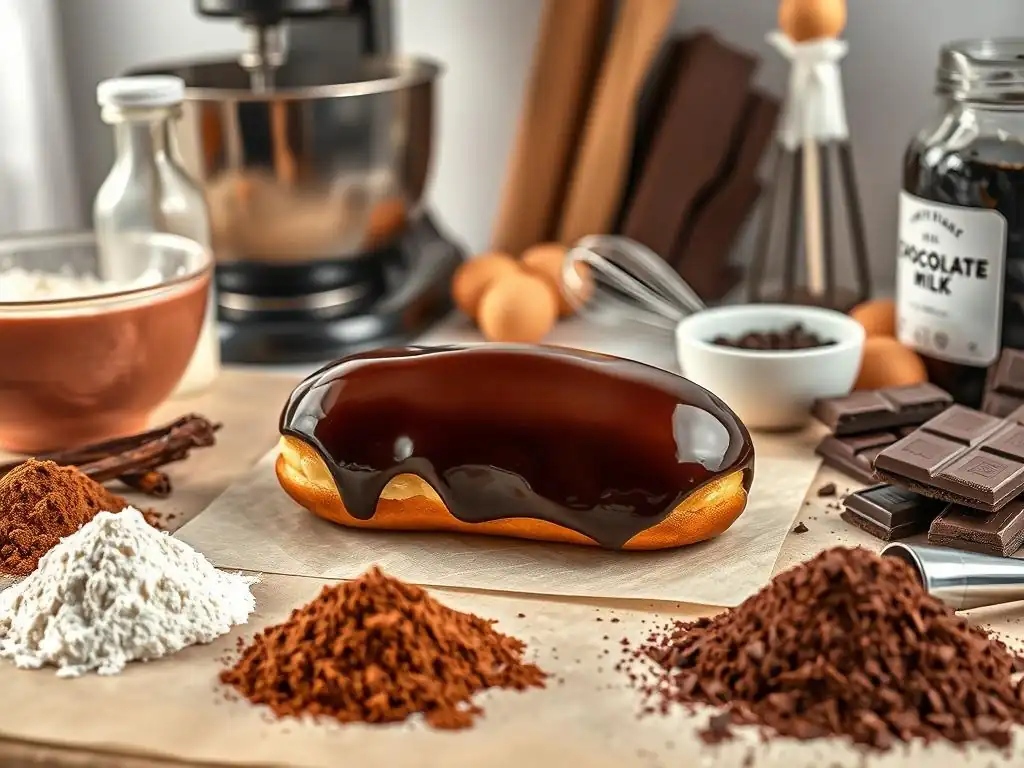
Crafting perfect classic chocolate eclairs starts with selecting the right ingredients and having the necessary tools at hand. The quality of your ingredients directly impacts the final texture and flavor of your pastries. Using fresh butter, eggs, and high-quality chocolate will elevate your eclairs from good to truly outstanding.
Having the correct equipment also makes a significant difference in the ease and success of the baking process. While some steps can be done manually, certain tools, like a sturdy saucepan and a piping bag, are almost essential for achieving the desired results. Don't worry, most items are standard kitchenware that you likely already own or can easily acquire.
Essential Ingredients for Delicious Chocolate Eclairs
To make this easy chocolate eclair recipe, you'll need specific ingredients for each component: the choux pastry, the pastry cream, and the chocolate glaze. For the choux pastry, you'll require approximately 1 cup of water or milk, about 1/2 cup of unsalted butter, 1 teaspoon of sugar, a pinch of salt, roughly 1 cup of all-purpose flour, and typically 3-4 large eggs. The exact number of eggs can vary based on their size and the humidity, so it's crucial to add them one at a time.
The chocolate pastry cream will need about 2 cups of whole milk, around 1/2 cup of sugar, 3-4 egg yolks, a few tablespoons of cornstarch or flour (or a combination), a tablespoon of butter, and about 4-6 ounces of good-quality dark or semi-sweet chocolate, finely chopped. For the simple chocolate glaze, you'll use roughly 1 cup of powdered sugar, 2-3 tablespoons of unsweetened cocoa powder, and enough milk or water (about 2-3 tablespoons) to reach a thick, pourable consistency.
Must-Have Equipment for Eclair Baking at Home
Having the right tools makes baking eclairs much smoother. A heavy-bottomed saucepan is essential for making the choux paste on the stovetop, ensuring even heating and preventing scorching. You'll also need a sturdy wooden spoon or heatproof spatula to mix the dough. For incorporating the eggs, a stand mixer with a paddle attachment or a good hand mixer is highly recommended, as the dough is quite stiff.
Piping the eclairs requires a piping bag fitted with a large plain or star tip (like an Ateco 808 or 826). This allows you to create uniform shapes that bake evenly. Baking sheets lined with parchment paper or silicone mats are necessary to prevent sticking. For the pastry cream, a whisk, a medium saucepan, and a fine-mesh sieve are needed to ensure a smooth texture. Finally, shallow dishes or bowls for cooling the pastry cream and dipping the eclairs in glaze will be helpful.
Step-by-Step Guide: Baking Classic Chocolate Eclairs
Baking classic chocolate eclairs is a process that builds in stages, each crucial for the success of the final pastry. By following these steps carefully, you'll navigate the creation of crisp choux shells, luscious chocolate filling, and a beautiful glaze. Patience and precision are your best friends throughout this journey.
This detailed guide breaks down the process into three main parts, ensuring you understand the technique behind each stage. From cooking the choux dough on the stove to achieving the perfect glossy finish, we'll cover everything you need to know to bake this easy chocolate eclair recipe like a pro.
Part 1: Crafting the Choux Pastry Shells
The foundation of any great eclair is a perfectly baked choux pastry shell – light, hollow, and crisp. This requires careful attention during the cooking and baking stages.
How to Make Perfect Choux Pastry for Eclairs
Start by combining water (or milk), butter, sugar, and salt in a saucepan. Bring the mixture to a rolling boil over medium heat, ensuring the butter is completely melted. Once boiling, remove the pan from the heat and quickly add all the flour at once. Stir vigorously with a wooden spoon or sturdy spatula until the mixture comes together and forms a ball.
Return the pan to low heat and continue stirring and "drying out" the dough for 1-2 minutes. This crucial step evaporates excess moisture, which helps the eclairs rise properly and become hollow. You should see a slight film form on the bottom of the pan.
Transfer the dough to the bowl of a stand mixer fitted with the paddle attachment (or use a large mixing bowl and hand mixer). Beat the dough on low speed for a minute or two to cool it down slightly before adding the eggs. This prevents the eggs from scrambling.
Add the eggs one at a time, beating well after each addition until it is fully incorporated before adding the next. The dough should become smooth and glossy, eventually reaching a consistency where it holds a soft peak when lifted with the paddle and slowly falls back into the bowl in a V-shape. It should be thick enough to pipe but not so stiff it breaks.
Piping the Eclair Dough: Achieving Uniform Shapes
Once your choux dough is ready, transfer it to a piping bag fitted with your chosen large tip. For classic eclairs, aim for strips that are approximately 4-5 inches long. Pipe the dough onto baking sheets lined with parchment paper or silicone mats, leaving about 2 inches of space between each eclair, as they will expand significantly during baking.
To help create a smooth surface and encourage even rising, you can gently smooth the tops of the piped dough with a wet fingertip or the back of a wet spoon. Some bakers also like to lightly brush the tops with an egg wash for a golden finish, though this is optional. Uniform size is key for even baking, so try to be consistent with the length and thickness of your piped shapes.
Baking the Eclairs: The Key to a Hollow Center
Proper baking is essential for achieving hollow choux shells. Preheat your oven to a relatively high temperature, typically around 400°F (200°C). Bake the eclairs for the first 10-15 minutes at this higher temperature – this initial blast of heat creates steam inside the dough, causing it to puff up rapidly.
After this initial period, reduce the oven temperature to around 375°F (190°C) and continue baking for another 20-30 minutes, or until the eclairs are golden brown, firm, and feel light when lifted. Crucially, do not open the oven door during the first 20-25 minutes of baking, as the sudden drop in temperature can cause the eclairs to collapse. Once baked, turn off the oven, prop the door open slightly, and let the eclairs cool inside for 10-15 minutes. This slow cooling process helps them retain their shape and prevents them from deflating.
Part 2: Preparing the Chocolate Pastry Cream Filling
A rich and creamy chocolate pastry cream (crème pâtissière) is the classic filling for chocolate eclairs, providing a smooth contrast to the crisp shell.
Making Rich and Creamy Chocolate Pastry Cream
Begin by warming the milk in a saucepan over medium heat until it just begins to simmer around the edges – avoid boiling rapidly. In a separate bowl, whisk together the egg yolks and sugar until the mixture is pale yellow and slightly thickened. Whisk in the cornstarch (or flour) until no lumps remain.
Slowly temper the egg mixture by gradually whisking about half of the warm milk into the egg yolks. This gently raises the temperature of the yolks without scrambling them. Pour the tempered egg mixture back into the saucepan with the remaining milk. Cook over medium heat, whisking constantly, until the pastry cream thickens significantly and comes to a gentle boil. Once boiling, continue to whisk for another minute to ensure the starch is fully cooked and the cream is stable. Remove from the heat and stir in the chopped chocolate and butter until completely melted and smooth.
Cooling the Pastry Cream: Avoiding a Lumpy Texture
To ensure a smooth texture and prevent a skin from forming, the hot pastry cream needs to be cooled correctly. Pour the finished chocolate pastry cream into a clean bowl or shallow dish. Immediately press a piece of plastic wrap directly onto the surface of the cream, ensuring there are no air pockets between the plastic and the cream.
Allow the pastry cream to cool at room temperature for a short period, then transfer it to the refrigerator for at least 2-3 hours, or until it is completely chilled and firm. Proper chilling is essential before attempting to fill the eclairs. Before filling, give the chilled pastry cream a good whisk to smooth it out and remove any remaining small lumps.
Part 3: Assembling and Glazing Your Chocolate Eclairs
The final steps bring everything together, transforming your baked shells and rich filling into elegant chocolate eclairs.
Filling the Eclairs: Techniques for a Professional Finish
There are a couple of common methods for filling eclairs. The most traditional way is to make 2-3 small holes on the underside of each cooled eclair shell using a sharp knife or a piping tip. Fit a piping bag with a small plain tip and fill it with the chilled chocolate pastry cream. Insert the tip into each hole and gently squeeze the bag until the eclair feels heavy and slightly expands, indicating it's filled.
Alternatively, you can slice the eclairs horizontally using a serrated knife and fill them by piping a generous amount of pastry cream along the bottom half before placing the top half back on. While this method is easier for beginners, it doesn't give the same seamless look as filling through holes. For this easy chocolate eclair recipe, we recommend the hole-filling method for a more professional finish.
Making the Perfect Chocolate Glaze for Eclairs
A simple yet effective chocolate glaze adds sweetness and a beautiful sheen to the eclairs. In a bowl, whisk together the powdered sugar and unsweetened cocoa powder, ensuring there are no lumps. Gradually whisk in the milk or water, starting with 2 tablespoons, until you achieve a thick but pourable consistency. You want it to be thick enough to coat the eclair tops without running off completely, but thin enough to dip smoothly.
If the glaze is too thick, add a tiny bit more liquid (1/2 teaspoon at a time). If it's too thin, whisk in a little more powdered sugar and cocoa powder. For extra shine, you can add about 1/2 teaspoon of corn syrup to the mixture, though this is optional. Stir until the glaze is completely smooth and free of any dry pockets of sugar or cocoa.
Glazing the Eclairs: Achieving a Smooth and Shiny Finish
Once the eclairs are filled and the glaze is ready, it's time to glaze. Hold each filled eclair by the sides or bottom and gently dip the top surface into the chocolate glaze. Allow any excess glaze to drip back into the bowl.
Alternatively, you can place the filled eclairs on a wire rack set over a baking sheet and spoon the glaze over the tops, smoothing it with an offset spatula if needed. For the smoothest finish, dipping is often preferred. Place the glazed eclairs back on the wire rack or a parchment-lined tray to allow the glaze to set, which usually takes about 15-30 minutes at room temperature or slightly faster in the refrigerator.
Tips and Tricks for Eclair Baking Perfection
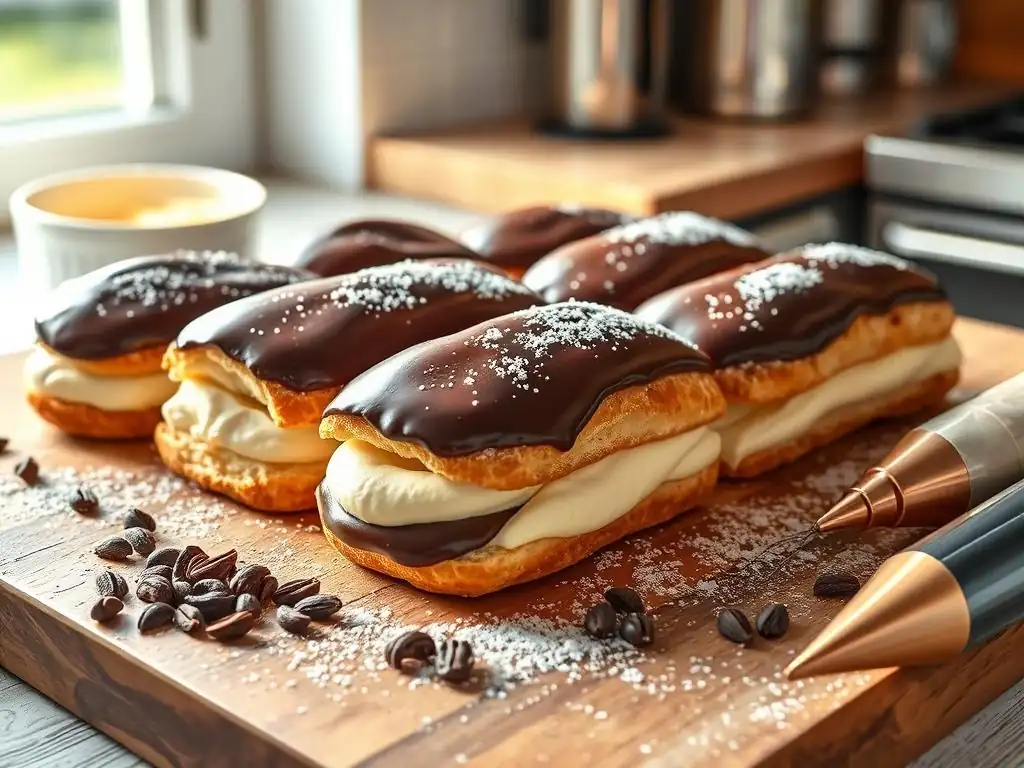
Baking eclairs can be a delicate process, but armed with a few key tips, you can navigate potential pitfalls and ensure your success with this easy chocolate eclair recipe. From troubleshooting common issues to adding your personal touch, these pointers will help you achieve bakery-worthy results.
Understanding the science behind choux pastry and being prepared for minor adjustments based on your environment (like humidity) are part of the intermediate baker's journey. Don't be discouraged if your first batch isn't absolutely perfect; practice makes perfect, especially with pastries like eclairs.
Troubleshooting Common Eclair Problems
- Eclairs collapsing or deflating: This is often due to insufficient drying out of the dough on the stovetop or opening the oven door too early during baking. Ensure you cook the dough for the recommended time until a film forms. Also, avoid opening the oven until the eclairs are fully puffed and golden brown. Cooling them gradually in the turned-off oven also helps prevent collapse.
- Eclairs not puffing: This can happen if the dough is too wet (too many eggs added) or if the oven temperature is too low. Make sure your oven is accurately preheated and add eggs to the dough cautiously, stopping when it reaches the correct consistency.
- Soggy bottoms: Baking on unlined sheets or not baking long enough can lead to soggy bottoms. Always use parchment paper or silicone mats. Ensure the eclairs are baked until firm and golden all over, not just on top.
- Lumpy pastry cream: This usually occurs if the starch isn't cooked long enough or if the cream isn't whisked vigorously enough while thickening. Whisk constantly while cooking, and ensure it boils gently for at least 1 minute. Pressing plastic wrap directly onto the surface while cooling is also key to preventing a skin.
Customization Ideas: Variations on the Classic Chocolate Eclair
While the classic chocolate eclair with pastry cream and chocolate glaze is divine, you can easily customize this easy chocolate eclair recipe.
- Different fillings: Instead of chocolate pastry cream, try a vanilla bean pastry cream, coffee-flavored cream, or even a fruit curd like raspberry or passion fruit.
- Alternative glazes: A simple vanilla glaze (powdered sugar and milk/water), a coffee glaze, or even a caramel glaze can replace the chocolate. You could also drizzle melted white chocolate or add sprinkles for decoration.
- Flavoring the choux: While less common, you can add a pinch of spice like cinnamon or nutmeg to the choux dough for a subtle flavor hint, though this is usually reserved for more experimental variations.
- Adding texture: Sprinkle chopped nuts (like pistachios or almonds) or cocoa nibs onto the wet chocolate glaze before it sets for a pleasant crunch.
Storing and Serving Your Homemade Chocolate Eclairs
Once your beautiful classic chocolate eclairs are complete, knowing how to store them properly is essential to maintain their quality. Eclairs are best enjoyed fresh, but they can be kept for a short period.
The crispness of the choux shell is delicate and susceptible to moisture from the filling. Proper storage helps preserve the texture for as long as possible. Serving them correctly also enhances the overall experience.
Best Practices for Storing Eclairs
Filled and glazed chocolate eclairs are best stored in a single layer in an airtight container in the refrigerator. The humidity in the refrigerator can still soften the choux shells over time, so they are typically best consumed within 1-2 days.
If you need to store unfilled shells or unglazed filled eclairs, the method changes slightly. Unfilled, baked choux shells can be stored at room temperature in an airtight container for a day or two, or even frozen for longer storage (re-crisp them in a 350°F/175°C oven for 5-10 minutes before filling). Filled but unglazed eclairs should be refrigerated and glazed just before serving to keep the glaze shiny and the shell as crisp as possible.
Serving Suggestions: Enhancing the Eclair Experience
Classic chocolate eclairs are elegant enough to be served on their own, perhaps simply arranged on a platter. For an extra touch, you can dust them lightly with powdered sugar or drizzle them with a little extra melted chocolate just before serving.
Pairing eclairs with a hot beverage like coffee or tea is traditional and delightful. For a dessert spread, they complement other pastries beautifully. Consider serving them alongside fresh berries or a dollop of whipped cream for a bit of color and contrast. The rich chocolate and creamy filling make them a satisfying end to any meal or a perfect afternoon treat.
Elevate Your Baking Skills: Beyond the Chocolate Eclair
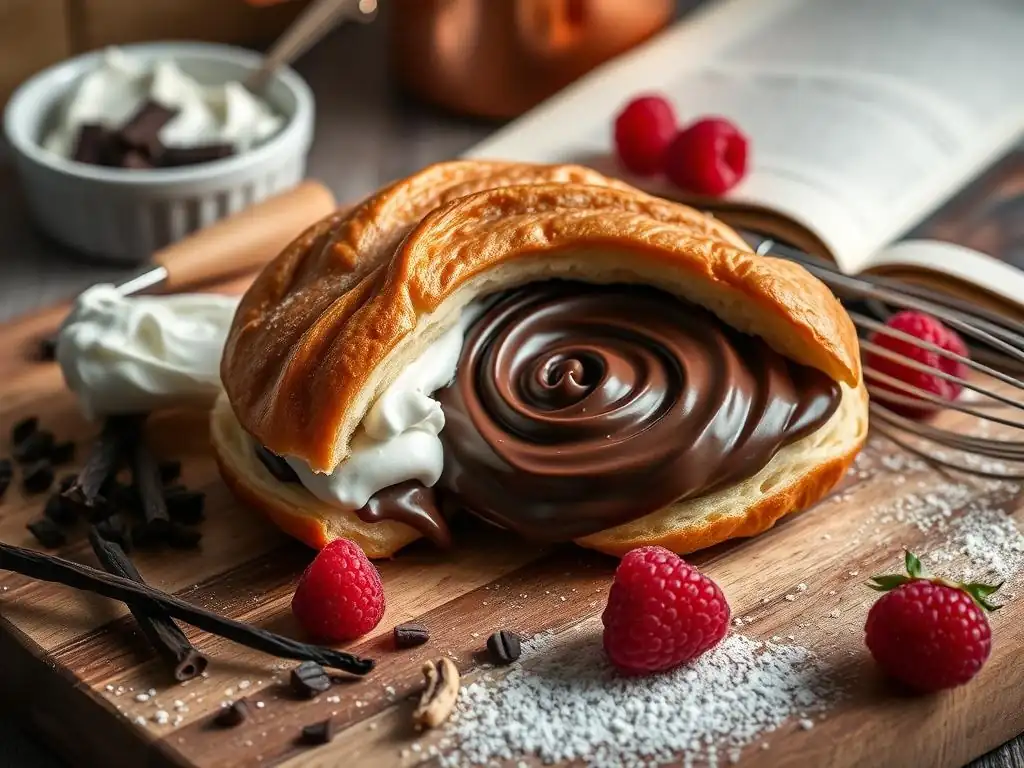
Mastering this easy chocolate eclair recipe opens the door to a whole world of choux pastry creations. The fundamental techniques you've learned – making and piping choux, creating pastry cream, and glazing – are applicable to many other delicious treats.
Exploring variations on the choux theme is a great way to continue building your skills and creativity in the kitchen. Once you're comfortable with eclairs, you'll find that other choux-based pastries are well within your reach.
Other Choux Pastry Recipes to Explore
The same choux dough used for eclairs forms the base for several other classic French pastries.
- Cream Puffs (Profiteroles): Instead of piping logs, you pipe round mounds of choux dough. These can be filled with pastry cream, whipped cream, or even ice cream, and often served with chocolate sauce.
- Gougères: This is a savory version of choux pastry where grated cheese (typically Gruyère or Parmesan) is mixed into the dough. They are baked as small puffs and served warm, often as an appetizer.
- Paris-Brest: A ring-shaped choux pastry, often filled with praline-flavored cream and dusted with powdered sugar and almonds.
- St. Honoré Cake: A more advanced pastry that features a base of puff pastry topped with a ring of small choux puffs dipped in caramelized sugar and filled with crème Chiboust or pastry cream.
[Link to Cream Puff Recipe on BakeWithEase.com]
Conclusion: Enjoy Your Effortlessly Elegant Chocolate Eclairs
Congratulations! You've successfully navigated the steps to create classic chocolate eclairs. This easy chocolate eclair recipe is a rewarding challenge for intermediate bakers, resulting in a sophisticated pastry that's sure to impress. From the crisp, hollow choux shells to the rich chocolate pastry cream and glossy glaze, each element contributes to a truly exquisite dessert.
Take pride in your accomplishment and savor the delicious results of your hard work. Remember that baking is a journey, and each new recipe mastered builds your confidence and skill. Keep practicing, keep exploring, and enjoy the delightful process of bringing beautiful pastries like these chocolate eclairs to life in your own kitchen. Happy baking!
Frequently Asked Questions
What level of baking experience is required to successfully make this chocolate eclair recipe?
This recipe is designed for intermediate bakers. While the steps are straightforward, some familiarity with pastry techniques is helpful.
What are the most crucial steps in achieving a perfect choux pastry for the eclairs?
The most crucial steps involve proper ingredient measurement and ensuring the dough is cooked adequately on the stovetop before baking. This ensures a light and airy eclair.
Can I substitute any of the ingredients in the chocolate eclair recipe, and if so, which ones?
While substitutions are possible, they can impact the final result. Consider using dairy-free alternatives if needed, but be mindful of texture changes.
How do I prevent my chocolate eclairs from becoming soggy after filling them?
Fill the eclairs immediately before serving to prevent the pastry from absorbing moisture from the cream. You can also store unfilled eclairs in an airtight container.
What type of chocolate is best to use for the chocolate eclair glaze?
For the best glaze, use a high-quality dark chocolate with a cocoa content of at least 60%. This will provide a rich flavor and glossy finish.
Final Reflection: The Sweet Symphony of Simplicity
The pursuit of the perfect chocolate éclair, once a daunting culinary feat, is now surprisingly accessible. This recipe demonstrates that achieving professional-quality results doesn't require years of pastry school or a kitchen overflowing with specialized equipment. The joy lies in the process, the careful layering of flavors and textures, culminating in a delightful treat that's both impressive and achievable.
The enduring appeal of the éclair transcends mere indulgence; it represents a connection to classic French pastry techniques, a testament to the power of simple ingredients transformed into something extraordinary. The simplest things are often the most beautiful.
This quote perfectly encapsulates the elegance and satisfaction found in mastering a seemingly complex recipe like this one. The process itself, from the delicate choux pastry to the rich chocolate ganache, becomes a meditative experience, a reminder to appreciate the small details that contribute to a greater whole.
Now, I invite you to roll up your sleeves and embark on your own éclair adventure. Don't be intimidated by the seemingly intricate steps; embrace the challenge, savor the process, and revel in the delicious reward. The satisfaction of creating these elegant pastries from scratch is a feeling unlike any other. More importantly, remember that the journey of baking, like life itself, is about embracing the process and enjoying the sweet fruits of your labor. So, gather your ingredients, preheat your oven, and let the sweet symphony of simplicity begin!
Unleash Your Inner Pâtissier: Master the Eclair!
Thanks for taking the time to explore the world of classic chocolate éclairs with us! We hope you've gained the confidence to tackle this delightful challenge. Now it's time to put your newfound skills to the test.
- Bake your masterpiece! Gather your ingredients and follow the recipe—we're confident you’ll create stunning éclairs. Don't forget to share your baking journey on social media using #BakeWithEaseEclairs.
- Experiment with fillings! Try different flavored creams or ganaches to personalize your éclairs. What unique flavor combinations will you dream up?
- Share your success (or even your bloopers!) in the comments below – we love to see your creations and hear your baking stories!
Ready to transform your kitchen into a Parisian patisserie? What unique twist will you add to your perfect eclair?