
Beyond the Dutch Oven: Advanced Steam Techniques for Hearth Baking

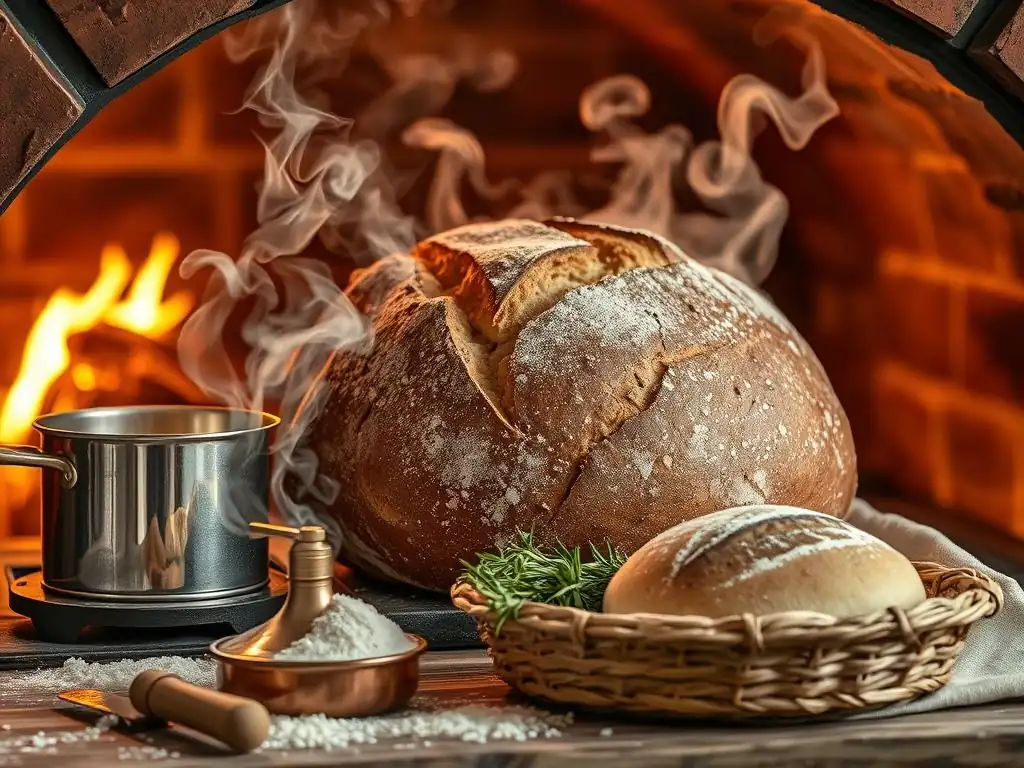
Welcome to BakeWithEase, your trusted companion on your baking journey! Ever wondered how to achieve that perfectly crisp crust and open crumb in your sourdough, without relying solely on a Dutch oven? Our latest article dives deep into advanced techniques, specifically exploring steam baking sourdough starter and unlocking a new dimension of flavor and texture. Prepare to elevate your hearth baking game – the secrets await!
- Mastering Steam Baking for Sourdough: An Introduction
- Understanding the Science of Steam in Sourdough
- Advanced Steam Baking Methods for Hearth Breads
- Optimizing Your Oven for Steam Baking
- Troubleshooting Common Steam Baking Problems
- Advanced Tips and Tricks for Steam Baking Sourdough
- Steam Baking Sourdough: Recipes and Variations
- Conclusion: Elevating Your Sourdough with Advanced Steam
-
Frequently Asked Questions
- How does steam baking benefit sourdough starter bread, especially outside of a Dutch oven?
- What are some alternative methods for creating steam in a home oven without a Dutch oven?
- What's the ideal temperature and duration for the steam phase when baking sourdough starter bread?
- How do I prevent my oven from becoming too wet during steam baking?
- What are the key differences in the final product when using steam baking versus traditional baking methods for sourdough?
- Final Reflection: Mastering the Steam, Mastering the Loaf
- Unlock the Secrets of Steam Baking: Elevate Your Hearth Bread!
Mastering Steam Baking for Sourdough: An Introduction
Why Steam Matters for Perfect Sourdough Crust
Steam is the unsung hero in achieving that coveted, crackly crust on your sourdough loaf. When you introduce steam into a hot oven during the initial phase of baking, it serves a crucial purpose: it keeps the surface of your dough moist and pliable. This prevents the crust from setting too early.
Imagine your dough is like a balloon expanding; if the skin hardens too soon, the balloon can't inflate fully. Steam ensures the "skin" stays soft, allowing the dough, powered by the activity of your steam baking sourdough starter, to expand to its maximum potential, leading to significantly better oven spring.
Beyond just allowing expansion, steam contributes directly to the quality of the crust itself. The moisture on the surface gelatinizes the starches in the flour, creating a thin, elastic layer. As the steam dissipates later in the bake and the temperature increases, this gelatinized layer dries out and hardens into a thin, crisp crust with a beautiful sheen.
Without adequate steam, especially when baking sourdough with steam outside of a Dutch oven, you risk a thick, tough crust that can inhibit rise and lack that desirable texture and appearance. Mastering steam is key to unlocking the full potential of your sourdough steam bake.
Moving Beyond the Basics: Hearth Baking and Steam
While the Dutch oven is a fantastic tool for beginners and provides an excellent self-contained steaming environment, it limits the size and shape of loaves you can bake and doesn't replicate the conditions of a professional bakery hearth oven. Hearth baking, where the loaf bakes directly on a hot surface like a baking stone or steel, offers more flexibility and the potential for even better results, provided you can effectively manage steam in the open oven cavity. This requires moving beyond the enclosed environment of the Dutch oven and actively creating and maintaining a humid atmosphere around your loaf.
Successfully steam baking sourdough on a hearth means understanding how to generate enough steam quickly and safely within your home oven. It involves techniques that introduce significant amounts of water vapor into the hot oven air right as the dough goes in. This phase is critical, typically lasting for the first 15 to 20 minutes of the bake. The methods we will explore aim to replicate the humid environment of a professional steam-injected oven, allowing your sourdough starter to perform optimally and deliver a crust and crumb structure that's truly exceptional.
Understanding the Science of Steam in Sourdough
The Role of Moisture in Crust Development
The initial minutes of baking are often called the "oven spring" phase. During this time, the trapped gases within the dough (primarily carbon dioxide produced by your steam baking sourdough starter) expand rapidly due to the heat. Simultaneously, water in the dough turns to steam, further contributing to expansion. For this expansion to occur smoothly and fully, the dough's exterior must remain pliable.
This is where external moisture from steam comes in. The steam transfers heat to the dough surface, but because water is present, the surface temperature stays relatively low (around 212°F or 100°C) until the steam dissipates. This lower temperature prevents the crust from hardening prematurely, allowing the dough to expand uninhibited.
Furthermore, the moisture from the steam interacts with the starches on the surface of the dough. This process, known as gelatinization, creates a thin, glossy layer. As the bake progresses and the oven environment dries out, this gelatinized layer dehydrates and becomes the crisp, brittle crust we love. Without sufficient steam, this gelatinization is less effective, resulting in a duller, thicker crust that might crack unevenly rather than expanding gracefully with the loaf. Effective sourdough steam management is fundamental to achieving that perfect balance of a soft interior and a crisp exterior.
Steam's Impact on Oven Spring and Loaf Volume
Oven spring is the dramatic increase in volume that occurs during the first part of the bake. It's a direct result of the heat activating the last bit of fermentation activity and causing trapped gases and water vapor to expand. For maximum oven spring, the dough needs to be able to stretch freely. If the crust forms and hardens too early, it acts like a straitjacket, restricting expansion and leading to a denser loaf with less volume. This is a common issue when baking sourdough with steam that is insufficient or not applied correctly.
By keeping the surface moist and flexible, steam allows the dough to expand significantly before the crust sets. This is particularly important for high-hydration doughs, which have a looser structure and rely heavily on a gentle, even expansion facilitated by steam. A successful steam baking sourdough process ensures that the loaf achieves its full potential volume, resulting in a lighter, airier crumb structure. Think of the difference between baking a loaf in a Dutch oven (high steam) versus baking it on a bare oven rack (low steam) – the volume difference is often striking.
Achieving a Shiny, Blistered Crust: The Steam Connection
Beyond texture and volume, steam plays a significant role in the aesthetic appeal of your sourdough crust. The gelatinization of surface starches, facilitated by the presence of steam, is responsible for the beautiful, slightly glossy sheen often seen on professional-quality loaves. As the bake finishes and the crust hardens, this layer becomes translucent and gives the crust its characteristic look.
Additionally, high levels of steam can contribute to the formation of small blisters on the crust surface. These blisters are tiny air pockets that form just beneath the surface as steam condenses and then rapidly expands. While not essential for texture, blisters are often seen as a hallmark of a well-executed sourdough steam bake in a humid environment. Achieving a shiny, blistered crust is a sign that you've successfully managed the initial steaming phase, allowing the surface to develop optimally before drying out.
Advanced Steam Baking Methods for Hearth Breads
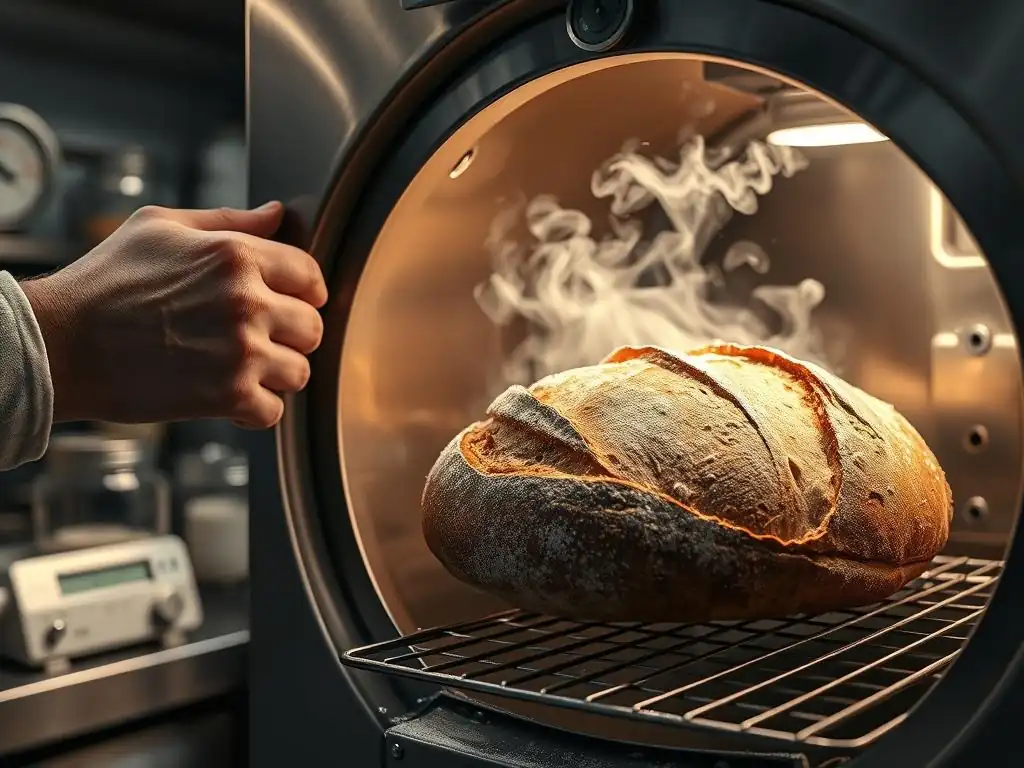
The Hot Water Pan Method: A Detailed Guide
The hot water pan method is one of the simplest and most accessible ways to create steam in a home oven for hearth baking. It involves placing a pan, typically made of metal, in the oven while it preheats and then carefully pouring hot water into it just before or immediately after you load your dough. The intense heat of the pan causes the water to instantly vaporize, filling the oven cavity with steam.
Choosing the Right Pan for Steam
Selecting the right pan is crucial for effective steam generation. You need a sturdy, heat-resistant pan that can withstand extremely high temperatures. A cast iron skillet or an old metal baking pan (like a broiler pan or a sturdy rimmed baking sheet) works well.
Avoid glass or ceramic pans, as they can shatter when exposed to sudden temperature changes or extreme heat. A pan that is at least 1-2 inches deep is ideal to hold enough water for sufficient steam without overflowing. A common choice is a 9x13 inch metal pan placed on the rack below the baking stone or steel.
Placement is Key: Optimizing Pan Position for Even Steam
For the hot water pan method, placement is critical. The pan should be positioned on a rack below your baking stone or steel. This allows the steam to rise and surround the loaf evenly. Place the pan on the lowest oven rack, and your baking surface (stone/steel) on the rack directly above it, typically in the middle of the oven.
Ensure there is enough vertical space for your loaf to rise without hitting the pan or the rack above. Preheating the pan along with the oven is essential for instant steam generation upon adding water. Aim to preheat the pan for at least 30-60 minutes with the oven at your target temperature (often 475-500°F or 245-260°C).
Maintaining Consistent Steam Levels Throughout Baking
While the initial pour provides a burst of steam, maintaining a consistent level for the first 15-20 minutes is important for optimal steam baking sourdough results. For longer bakes or larger loaves, you might need to carefully add more hot water during the first 10 minutes. Use a heat-resistant glove and a steady hand to pour boiling water into the pan.
Avoid adding cold water, which can significantly drop the oven temperature. Aim for about 1-2 cups (240-480 ml) of boiling water for the initial pour. Be cautious of steam escaping the oven when you open the door; work quickly to minimize heat and humidity loss.
Towel Method: Creating a Saturated Steaming Environment
The towel method is another popular technique for generating steam, often used in conjunction with the hot water pan method or as a standalone approach. It involves soaking towels in water, wringing them out slightly, and placing them in a hot pan to generate steam more gradually but over a potentially longer period. This method can create a very humid environment, sometimes even more so than just a water pan alone.
Selecting the Right Towels for Steam Baking
For the towel method, use old, clean kitchen towels or rags made from natural fibers like cotton. Avoid synthetic towels, as they can melt or release harmful fumes at high oven temperatures. Ensure the towels have been washed without fabric softener, which can leave residues that might affect your bread or create off-putting smells. You'll typically need 2-3 medium-sized towels for this method.
Preparing and Positioning the Steaming Towels
To prepare the towels, soak them thoroughly in water. Boiling water is often recommended for immediate steam generation, but hot tap water works too if you place the pan with towels in the oven during the preheat. Wring them out just enough so they aren't dripping excessively, but are still very wet.
Place the wet towels in a sturdy metal pan (like the one used in the hot water pan method). Position this pan on the lowest rack of your oven, similar to the hot water pan method, below your baking stone or steel. For safety, place the pan in the oven before adding the towels, and use tongs or heat-resistant gloves to arrange the hot, wet towels in the hot pan.
Safety Precautions When Using Towels for Steam
Using wet towels in a hot oven requires significant caution. The steam generated is intense and can cause severe burns. Always use long, heat-resistant gloves when handling the hot pan or arranging the towels. Be extremely careful when opening the oven door, as a cloud of scalding steam will escape.
It's advisable to step back from the oven door as you open it. Ensure the towels are fully contained within the pan and do not touch the oven walls or heating elements, which could pose a fire risk. Remove the steam pan and towels after the initial steam phase (typically 15-20 minutes) using your heat-resistant gloves.
Lava Rocks and Water: Intense Steam Generation
Lava rocks offer an excellent surface area for water to vaporize rapidly, generating a significant amount of steam quickly. This method is favored by many bakers for its ability to produce a powerful initial burst of steam, which is critical for maximizing oven spring when steam baking sourdough. It's similar in principle to the hot water pan method but often produces more intense, sustained steam.
Sourcing and Preparing Lava Rocks for Oven Use
You can purchase food-grade lava rocks from specialty baking supply stores or online. Alternatively, plain, untreated lava rocks from a garden center can work, but ensure they are not treated with any chemicals or fertilizers. Rinse the lava rocks thoroughly to remove any dust or debris. Some bakers recommend preheating them in the oven once or twice without water before the first use to burn off any potential residues. You'll need enough rocks to fill a small metal pan about 1-2 inches deep; roughly 1-2 pounds (0.5-1 kg) is a good starting point for a standard home oven.
Safely Introducing Water to the Lava Rocks
Place the lava rocks in a sturdy metal pan (like a cast iron skillet or broiler pan) and put the pan on the lowest rack of your oven during the entire preheating phase. The rocks and pan need to be screaming hot to generate instant steam. Just before or immediately after loading your dough, carefully pour 1-2 cups (240-480 ml) of boiling water directly onto the hot lava rocks. Use a heat-resistant glove and a steady hand, pouring slowly to avoid splashing hot water or steam onto yourself. The water will instantly turn to steam.
Controlling Steam Intensity with Lava Rocks
The amount of water you pour onto the lava rocks directly affects the steam intensity and duration. For a very intense burst, use boiling water. For a slightly less aggressive steam, use hot tap water. You can experiment with the quantity of water (e.g., starting with 1 cup and increasing to 2 cups in future bakes) to find what works best for your oven and the type of crust you want to achieve. Like other methods, remove the steam pan with the lava rocks after the initial 15-20 minute steam period using heat-resistant gloves.
Using a Garden Sprayer for Targeted Steam
A less conventional but effective method for adding a quick burst of steam is using a clean, food-safe garden sprayer filled with water. This allows you to directly mist the oven walls and floor, creating steam rapidly. This method is often used in conjunction with other steam methods to supplement the humidity or for specific purposes like creating a very shiny crust.
Selecting the Right Sprayer for Food Safety
It is absolutely critical to use a brand new, never-used sprayer designated only for baking purposes. Do not use a sprayer that has ever contained chemicals, fertilizers, or cleaning solutions, as residues can be harmful and contaminate your bread. Look for a sprayer made from food-grade plastic if possible, though any new, clean sprayer dedicated solely to water for baking is generally considered safe. Rinse it thoroughly with hot water before the first use.
Applying Steam Directly to the Dough for Enhanced Crust
While the primary target is the oven walls and floor, some bakers lightly mist the surface of the dough itself just before closing the oven door. This can help promote a shinier crust and potentially enhance blistering. However, misting too heavily can lead to a soggy surface that inhibits scoring expansion. A light, even mist is key. This technique is particularly useful when steam baking sourdough loaves like baguettes that benefit from a very direct application of moisture.
Adjusting Spray Technique for Different Sourdough Recipes
The spraying technique can be adjusted based on your loaf and desired outcome. For a general hearth loaf, you might spray the oven walls and floor generously (e.g., 10-15 pumps) just before loading the dough. For baguettes, you might load the loaves, then quickly open the door, mist the walls and floor vigorously, perhaps lightly mist the loaves, and close the door.
Repeat the spraying once or twice more within the first 5-10 minutes of baking. Always work quickly to minimize heat loss. Remember that using a sprayer alone might not provide sufficient steam for all loaves, especially high-hydration ones, and is often best used as a supplementary technique alongside a pan method.
Optimizing Your Oven for Steam Baking
Sealing Your Oven: Minimizing Steam Escape
Home ovens are not designed to be perfectly airtight, and steam can escape, particularly around the door seal and vents. To maximize the effectiveness of your sourdough steam methods, try to minimize steam escape. Ensure your oven door seal is clean and intact. Some bakers place a rolled-up towel in any obvious gaps, though be mindful of fire safety and ensure the towel is nowhere near heating elements.
Identifying and blocking vents (often located on the back or top of the oven) using heat-resistant tape or foil before preheating can also help, but be extremely cautious and ensure you are not blocking safety vents or vents necessary for the oven's proper function. This requires careful assessment of your specific oven model. A well-sealed oven will maintain a higher humidity level for longer, crucial for the initial phase of steam baking sourdough starter loaves.
Preheating for Optimal Steam Performance
Proper preheating is absolutely essential for all advanced steam methods. Your baking stone or steel needs to be fully saturated with heat to transfer it effectively to the dough, and your steam pan/lava rocks need to be intensely hot to instantly vaporize the water you add. Preheat your oven to a high temperature (often 475-500°F or 245-260°C) for at least 45-60 minutes, or even longer for a very thick baking stone or steel.
This ensures that not just the air, but all the internal surfaces and tools are up to temperature. A properly preheated oven allows for maximum oven spring and ensures that the steam you generate is effective from the moment the dough enters the oven.
Monitoring Oven Temperature and Humidity
While most home ovens don't have built-in humidity sensors, monitoring the temperature accurately is vital. Use an oven thermometer to verify your oven's temperature, as built-in thermostats can be inaccurate by as much as 50°F (10°C) or more. Load your dough and add steam quickly to minimize temperature drop.
After the initial steam phase (15-20 minutes), you'll typically vent the oven by opening the door briefly to allow steam to escape, then reduce the temperature (often to 425-450°F or 220-230°C) to finish baking and develop the crust color. Being aware of your oven's actual temperature helps you adjust baking times and temperatures for consistent results when baking sourdough with steam.
Troubleshooting Common Steam Baking Problems
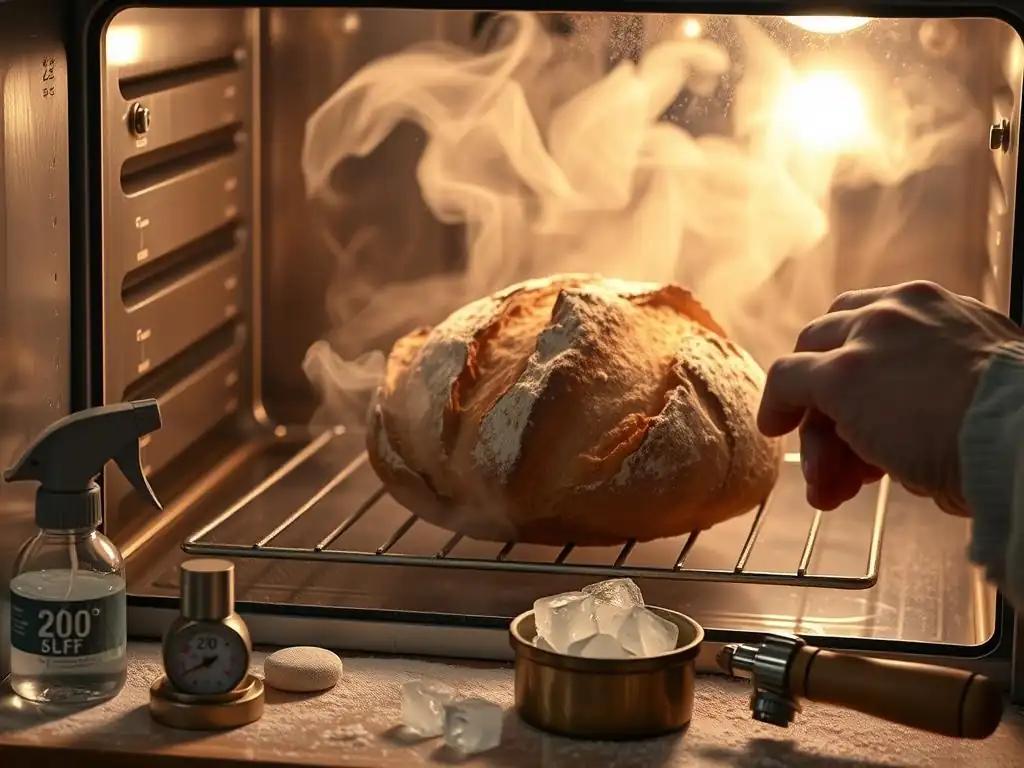
Soggy Crust: Identifying and Correcting Moisture Issues
A common issue when first attempting advanced steam methods is a soggy or rubbery crust. This usually indicates that there was too much moisture present for too long during the bake, or that the oven wasn't vented properly after the initial steam phase. The crust needs a period of dry heat to crisp up.
If your crust is soggy, try reducing the amount of water used for steam (e.g., use 1 cup instead of 2 cups), ensure you are removing the steam pan or venting the oven adequately after 15-20 minutes, and make sure the oven is fully preheated so the steam dissipates correctly after the initial phase. An inadequate final bake temperature can also contribute to a soggy crust, so ensure your temperature is high enough (above 400°F or 200°C) for the final browning phase.
Uneven Crust Color: Achieving Balanced Steam Distribution
Uneven crust color, with some parts pale and others dark, can sometimes be attributed to uneven steam distribution in the oven. If steam is concentrated in one area, that part of the crust might stay moist longer, delaying browning. This can happen if your steam pan is too small, or if your oven has hot spots or uneven airflow.
To address this, try using a larger steam pan that spans more of the oven width, experiment with the pan's position on the rack, or rotate your loaf halfway through the dry baking phase. Ensuring your baking stone or steel is centered in the oven and fully preheated also helps provide a uniform baking surface.
Lack of Oven Spring: Addressing Steam Deficiency
If your loaves are coming out flat or with minimal oven spring despite using an active steam baking sourdough starter, the issue might be insufficient steam during the critical first 15-20 minutes. Without enough steam, the crust sets too early, restricting the dough's expansion. This could be due to not using enough water, the water not being hot enough (not boiling when added to a hot pan), the steam escaping from the oven too quickly (poor seal or open vents), or the oven temperature dropping too much when loading the dough and steam.
Try increasing the amount of boiling water, ensuring your pan/lava rocks are very hot before adding water, checking your oven seal, and working faster when loading the oven to minimize heat loss. A strong, active sourdough steam environment is paramount for maximizing rise.
Advanced Tips and Tricks for Steam Baking Sourdough
Combining Steam Methods for Customized Results
Experienced bakers often combine steam methods to achieve specific results. For instance, you might use the lava rock method for an intense initial burst of steam, followed by a hot water pan on a lower rack for sustained humidity. Or, you could use a hot water pan and supplement it with quick sprays from a garden sprayer just after loading the dough for extra shine.
Experimentation is key here. Try using a hot water pan with 1 cup of water and spraying the walls once, then compare the crust to using lava rocks with 1.5 cups of water and no spraying. Keep detailed notes on your methods and results to refine your technique for different types of loaves and desired crust characteristics.
Experimenting with Different Hydration Levels and Steam
The optimal amount and duration of steam can vary depending on your dough's hydration level. Higher hydration doughs generally benefit from more sustained steam to support their looser structure during the oven spring phase. A high-hydration (75-85%+) country loaf, for example, might thrive with 20 minutes of intense steam from lava rocks or a large water pan.
A lower hydration (60-65%) dough, like a rustic Italian loaf, might require slightly less steam or a shorter steam period (15 minutes) to prevent the crust from becoming too thin or delicate. Adjusting your steam baking sourdough approach based on hydration is an advanced step towards mastery.
Achieving Specific Crust Characteristics Through Steam Control
By manipulating the amount and timing of steam, you can influence the final crust characteristics. More intense and prolonged steam (up to 20-25 minutes) tends to result in a thinner, crispier, and potentially more blistered crust with a pronounced shine. Less steam or shorter steam duration (10-15 minutes) will likely produce a slightly thicker, chewier crust with less shine and fewer blisters.
The temperature at which you vent the oven and transition from steam baking to dry baking also plays a role. Experiment with these variables to achieve the perfect crust for your specific sourdough steam loaf, whether it's a delicate baguette or a robust country boule.
Steam Baking Sourdough: Recipes and Variations
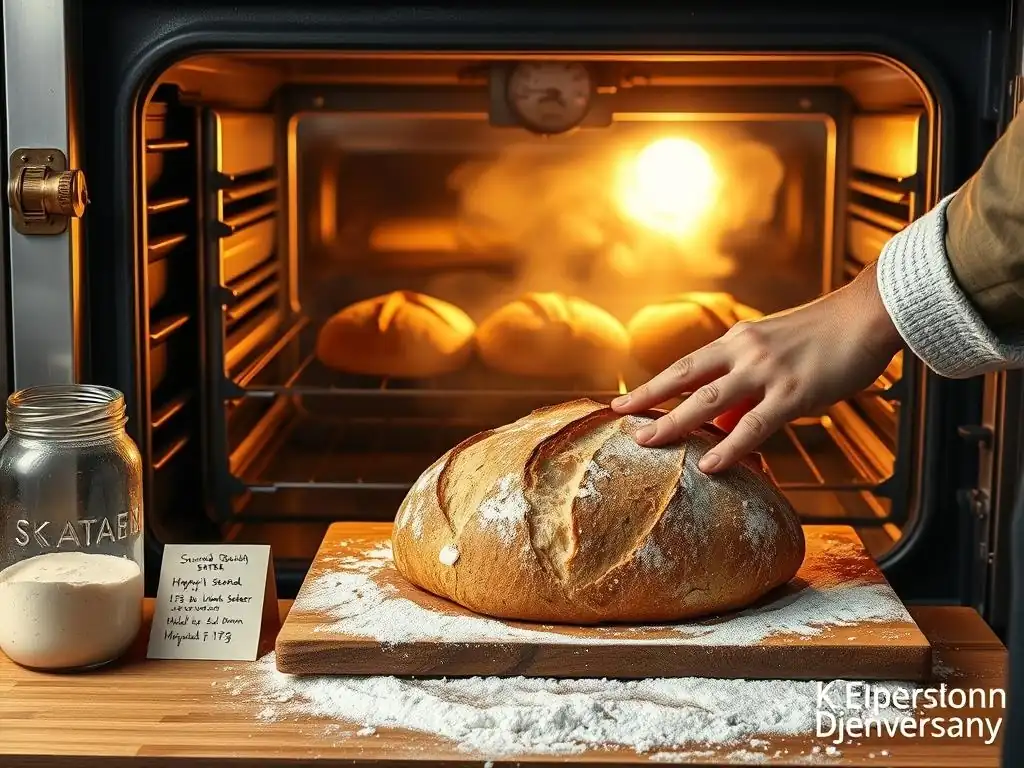
High-Hydration Country Loaf with Lava Rock Steam
- Recipe Concept: A classic 80% hydration sourdough country loaf made with strong bread flour and a well-maintained steam baking sourdough starter.
- Steam Method: Preheat oven to 500°F (260°C) with baking steel/stone on middle rack and pan of lava rocks on lowest rack for 1 hour. Load dough, pour 1.5 cups (360ml) of boiling water onto lava rocks, close oven door.
- Baking Schedule: Bake at 500°F (260°C) with steam for 18 minutes. Vent oven quickly, reduce temperature to 450°F (230°C), remove steam pan. Continue baking for 20-25 minutes until deep golden brown and internal temperature reaches 205-210°F (96-99°C).
- Expected Outcome: Excellent oven spring, thin, crispy crust with good blistering, open and airy crumb structure.
Rustic Boule with Towel Steaming Technique
- Recipe Concept: A simpler 70% hydration rustic boule using an active sourdough steam starter, incorporating a mix of bread and whole wheat flour.
- Steam Method: Preheat oven to 475°F (245°C) with baking stone on middle rack and empty metal pan on lowest rack for 45 minutes. Just before loading dough, place 2-3 hot, wet towels (wrung out) into the hot pan using tongs. Load dough immediately.
- Baking Schedule: Bake at 475°F (245°C) with steam for 15 minutes. Carefully remove steam pan with towels (using gloves), reduce temperature to 425°F (220°C). Continue baking for 20-25 minutes until crust is golden brown and internal temp is 205-210°F (96-99°C).
- Expected Outcome: Good oven spring, slightly thicker but still crisp crust, satisfying chew, classic rustic appearance.
Baguette with Hot Water Pan Method
- Recipe Concept: Lean baguette dough (around 72% hydration) using a vigorous steam baking sourdough starter, shaped into long, thin loaves.
- Steam Method: Preheat oven to 500°F (260°C) with baking steel/stone on middle rack and empty metal pan (e.g., 9x13 inch) on lowest rack for 45-60 minutes. Load baguettes onto stone. Immediately pour 1 cup (240ml) of boiling water into the hot pan. Close oven door quickly.
- Baking Schedule: Bake at 500°F (260°C) with steam for 10 minutes. Reduce temperature to 450°F (230°C), carefully remove steam pan. Continue baking for 15-20 minutes until baguettes are deep golden brown, crisp, and internal temp is 205-210°F (96-99°C).
- Expected Outcome: Excellent crust development with potential for blisters, characteristic open crumb, satisfyingly crisp exterior.
Conclusion: Elevating Your Sourdough with Advanced Steam
The Future of Steam Baking: Continued Experimentation
Moving beyond the Dutch oven opens up a world of possibilities for steam baking sourdough. While these methods require more active management and understanding of your oven's dynamics, they offer greater control over the final outcome – from crust thickness and shine to overall loaf volume.
The journey doesn't end here; continue experimenting with different combinations of steam techniques, varying the amount of water, the timing of venting, and how these factors interact with different hydration levels and flour types in your recipes. Each oven is unique, and finding the perfect sourdough steam routine for yours is a rewarding process.
Mastering steam baking sourdough on a hearth takes practice, but the results are incredibly satisfying. The difference in crust and crumb quality compared to baking without effective steam is significant. Don't be discouraged by early attempts that aren't perfect. Analyze what happened, adjust your technique, and try again. We encourage you to share your experiences, tips, and photos of your beautifully steamed hearth loaves. Join the community of bakers exploring these advanced techniques and elevate your steam baking sourdough starter creations to new heights!
Frequently Asked Questions
How does steam baking benefit sourdough starter bread, especially outside of a Dutch oven?
Steam baking creates a humid environment which allows the bread to fully expand before the crust sets. This leads to a lighter, airier crumb and a crispier crust.
What are some alternative methods for creating steam in a home oven without a Dutch oven?
Common methods include using a preheated baking stone with a tray of water, lava rocks soaked in water, or even spraying water directly into the oven. These methods create the necessary initial burst of steam.
What's the ideal temperature and duration for the steam phase when baking sourdough starter bread?
Typically, the steam phase occurs during the first 15-20 minutes of baking at a high temperature (450-500°F). After that, the steam is released, and the temperature is lowered to finish baking.
How do I prevent my oven from becoming too wet during steam baking?
Ensure proper ventilation by slightly cracking the oven door after the initial steam phase. This allows excess moisture to escape and prevents a soggy crust.
What are the key differences in the final product when using steam baking versus traditional baking methods for sourdough?
Steam baking generally results in a more open crumb structure, a shinier, crispier crust, and a better overall rise compared to baking without steam.
Final Reflection: Mastering the Steam, Mastering the Loaf
The pursuit of the perfect sourdough loaf is a journey, not a destination, and mastering steam is a crucial waypoint on that path. The techniques explored in this article, from understanding the role of steam in crust development to the nuances of different steam application methods, are more relevant than ever in a world increasingly focused on artisanal bread making. The demand for high-quality, flavorful sourdough is booming, and a deep understanding of steam baking is the key to unlocking its full potential.
The impact of steam on sourdough baking extends far beyond mere aesthetics; it profoundly influences the texture, flavor, and overall eating experience. The subtle interplay of heat and moisture creates a complex dance that elevates a simple loaf of bread into a culinary masterpiece. As I've experimented with these techniques, I've been continually struck by the transformative power of controlled steam, echoing the words of renowned baker Chad Robertson: Bread baking is a journey of discovery, a constant refinement of technique and understanding.
This journey, fueled by the mastery of steam, is one I encourage all bakers to embark upon.
Now, it's your turn. Consider the techniques discussed – from the simplicity of a Dutch oven to the precision of a steam injection system. Experiment, adapt, and refine your own approach. Don't be afraid to fail; each failed loaf is a lesson learned, bringing you closer to that perfect, steam-kissed crust and the deeply satisfying crumb within. The journey to mastering steam baking is a rewarding one, filled with the fragrant aroma of freshly baked sourdough and the immense satisfaction of creating something truly special. Embrace the challenge, and let the steam guide you to baking excellence.
Unlock the Secrets of Steam Baking: Elevate Your Hearth Bread!
Thanks for taking the time to explore the world of steam baking! You've just unlocked a whole new level of crusty, flavorful hearth bread. Ready to put your newfound knowledge into practice?
- Master the art of steam: Try baking your next loaf using the techniques we discussed—you'll be amazed by the difference! Experiment with different steam methods and observe the results. Note the impact on crust and crumb.
- Share your steam-baked success: Post a picture of your masterpiece on social media and tag us @BakeWithEase! We love seeing your creations.
- Dive deeper into advanced techniques: Explore our upcoming workshop on sourdough shaping and steam management for truly exceptional results.
What steam baking technique are you most excited to try next? Let us know in the comments!