
Making Pan de Muerto Easy: StepbyStep for Beginners

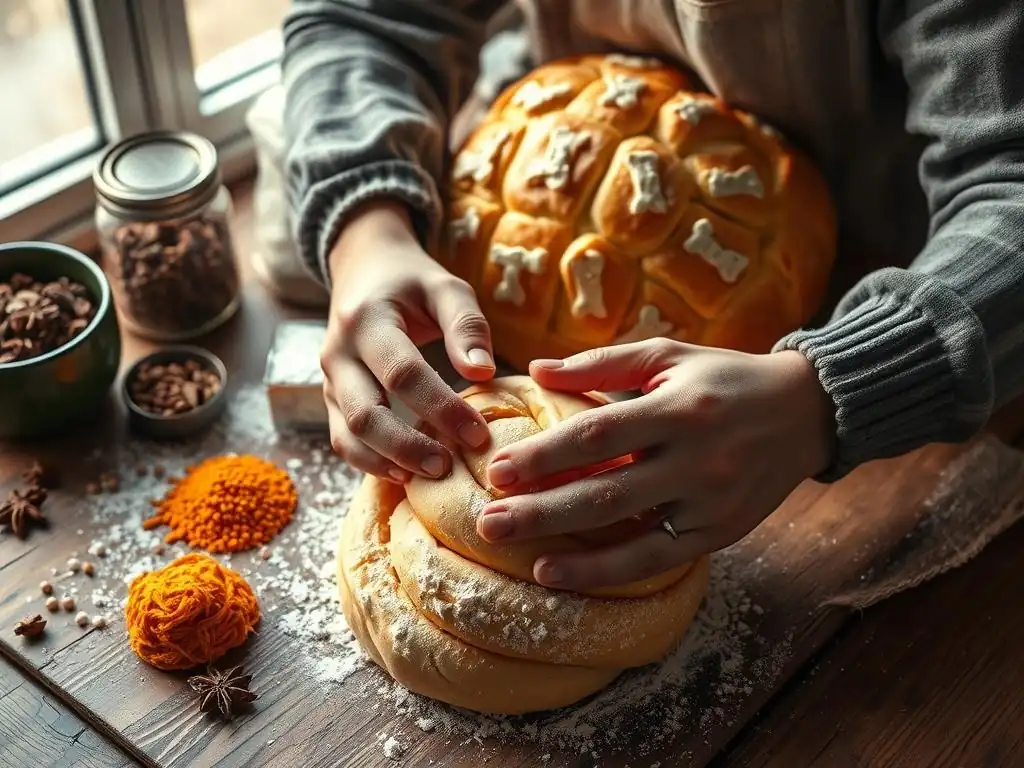
Welcome to BakeWithEase, your kitchen companion for unlocking the joys of baking! Ever dreamt of creating that iconic, sweet bread that embodies the spirit of Día de Muertos? This article dives deep into an easy Pan de Muerto recipe, breaking down each step to make this cultural classic accessible to everyone. Curious how to achieve that perfect orange blossom aroma and tender crumb? Let's get baking!
- Baking Pan de Muerto: A Beginner's Guide
- Understanding Pan de Muerto
- Ingredients for Authentic Pan de Muerto
- Step-by-Step Baking Instructions
- Tips for Baking Success
- Variations and Flavor Enhancements
- Storing and Serving
- Conclusion: Sharing Your Homemade Pan de Muerto
-
Frequently Asked Questions
- What makes this Pan de Muerto recipe considered "easy"?
- What are the key ingredients that differentiate Pan de Muerto from other sweet breads?
- How do I get the "bones" and "tears" shape on top of the Pan de Muerto?
- Can I substitute any of the ingredients in this Pan de Muerto recipe?
- What's the best way to store leftover Pan de Muerto to keep it fresh?
- Final Reflection: The Sweetness of Tradition, the Simplicity of Baking
- Unleash Your Inner Baker: Bake the Perfect Pan de Muerto!
Baking Pan de Muerto: A Beginner's Guide
Understanding Pan de Muerto
What is Pan de Muerto?
Pan de Muerto, or "Bread of the Dead," is a traditional Mexican sweet bread baked specifically for the annual Día de Muertos (Day of the Dead) celebration, typically observed on November 1st and 2nd. This special bread holds deep cultural and symbolic significance, representing a connection between the living and the deceased.
It is commonly placed on altars (ofrendas) as an offering to welcome the spirits of loved ones returning for the celebration. The bread itself is often decorated with shapes resembling bones and a skull, adding to its symbolic representation of death, celebrated not mournfully, but as a natural part of life's cycle.
The basic dough is a rich, slightly sweet bread, often flavored with orange blossom water and anise, giving it a distinctive aroma and taste. While the core components are consistent, variations exist regionally across Mexico. Some regions incorporate different spices like cinnamon, while others might use different types of sugar coatings or glazes. Despite these variations, the underlying purpose and symbolism remain the same: a heartfelt offering and a delicious way to honor memory. Learning an easy pan de muerto recipe allows anyone to participate in this beautiful tradition.
Why Bake Pan de Muerto at Home?
Baking Pan de Muerto at home offers a uniquely rewarding experience that connects you directly with a rich cultural tradition. Beyond the satisfaction of creating something delicious from scratch, making this bread allows for a deeper appreciation of the ingredients and the process involved. It’s an activity that can be shared with family, turning the baking process into a meaningful prelude to the Día de Muertos festivities. Furthermore, homemade Pan de Muerto often surpasses store-bought versions in freshness, flavor, and the ability to customize it to your liking.
Opting for an easy pan de muerto recipe means you can avoid the complexities sometimes associated with traditional baking while still achieving an authentic and flavorful result. You have control over the quality of ingredients, ensuring a pure and vibrant taste. For instance, using fresh orange zest alongside orange blossom water can significantly enhance the citrus notes.
Baking at home also allows you to tailor the sweetness and texture to your preference, making your Pan de Muerto truly unique. It's a wonderful way to bring a piece of Mexican culture and warmth into your own kitchen, regardless of your baking skill level.
Ingredients for Authentic Pan de Muerto
Essential Ingredients: Flour, Yeast, and Orange Blossom Water
Creating a truly authentic Pan de Muerto relies on a few key ingredients that provide its signature texture and flavor. All-purpose flour is the standard base, providing the structure for the dough. You'll typically need around 3 to 4 cups for a standard loaf, though this can vary slightly depending on humidity and flour type. Yeast is crucial for leavening, giving the bread its light and fluffy texture. Both active dry yeast and instant yeast can be used, requiring slightly different activation methods. A typical recipe might call for 1 to 2 teaspoons of yeast.
Perhaps the most distinctive flavor comes from orange blossom water (agua de azahar). This fragrant water, distilled from orange blossoms, imparts a delicate, floral-citrus aroma and taste that is characteristic of traditional Pan de Muerto. Just a tablespoon or two can make a significant difference. Other essential components include sugar, butter (or shortening), eggs, and milk, which enrich the dough and contribute to its tenderness and slightly sweet profile. Understanding the role of each ingredient is key to mastering a simple pan de muerto recipe.
Sourcing Quality Ingredients
The quality of your ingredients directly impacts the final taste and texture of your Pan de Muerto. For flour, opt for a reputable brand of all-purpose flour; some bakers prefer unbleached flour for a slightly different crumb. When it comes to yeast, ensure it is fresh and hasn't expired, as inactive yeast will prevent your bread from rising. Check the expiration date on the packet or jar. Butter should be unsalted, allowing you to control the salt content in the recipe, and ideally, use good quality dairy butter for a richer flavor.
Sourcing orange blossom water might require a trip to a specialty food store, a Middle Eastern or Mexican market, or an online retailer. Ensure you purchase food-grade orange blossom water, not cosmetic or essential oil versions. While less traditional, some recipes might substitute with orange extract or fresh orange zest, but the authentic flavor truly comes from the water. Using fresh, room-temperature eggs and whole milk also contributes positively to the dough's richness and texture, making your easy recipe for pan de muerto yield delicious results.
Adapting the Recipe: Ingredient Substitutions
While sticking to traditional ingredients is ideal for authenticity, it's possible to make certain substitutions if necessary, though they might alter the final outcome slightly. For instance, if orange blossom water is unavailable, you can use a combination of orange zest from one large orange and a teaspoon or two of vanilla extract, or even a bit of orange extract, though the flavor profile will be less floral and more intensely citrus. Be cautious with extracts, as they are potent.
For dietary needs, dairy butter can sometimes be replaced with a plant-based butter alternative or vegetable shortening, though this might affect the richness and browning. Similarly, while less common in traditional recipes, some modern variations of an easy pan de muerto recipe might explore alternative flours, though gluten-free flours would require significant adjustments to the liquid and structure of the dough. Eggs are crucial for structure and richness, and substituting them is challenging in this specific bread; however, some vegan adaptations exist, often using egg replacers or flax eggs, which will definitely change the texture.
Step-by-Step Baking Instructions
Step 1: Activating the Yeast
The first crucial step in many bread recipes, including an easy pan de muerto recipe, is activating the yeast, especially if you are using active dry yeast. You will need warm liquid, typically milk or water, heated to a temperature between 105°F and 115°F (40°C to 46°C). If the liquid is too hot, it can kill the yeast; too cool, and the yeast won't activate properly. Measure about half a cup of this warm liquid into a small bowl, then stir in a teaspoon of sugar (the yeast feeds on sugar) and sprinkle the yeast over the top.
Let this mixture sit for 5 to 10 minutes. You should see the yeast begin to foam and bubble, creating a frothy layer on the surface. This indicates that the yeast is alive and active. If no foam appears after 10-15 minutes, your yeast may be expired or the liquid wasn't the correct temperature, and you'll need to start this step over with fresh yeast. Instant yeast, on the other hand, often doesn't require this separate activation step and can be mixed directly with the dry ingredients, saving a bit of time in a quick pan de muerto recipe.
Step 2: Combining Wet and Dry Ingredients
Once your yeast is active (or if using instant yeast, you've mixed it with the dry ingredients), it's time to combine everything. In a large mixing bowl, whisk together your flour, sugar, and salt. If using instant yeast, add it here. In a separate bowl, whisk together the wet ingredients: the activated yeast mixture (if applicable), melted butter, eggs, and any milk or orange blossom water called for in the recipe. Ensure the melted butter isn't too hot, as it could harm the yeast.
Pour the wet ingredients into the bowl with the dry ingredients. Use a sturdy spoon or a stand mixer fitted with a dough hook to bring everything together. Mix until a shaggy dough forms and most of the flour is incorporated. At this point, the dough will likely be quite sticky. It's better to have a slightly wet dough initially, as you can add a little more flour during kneading if needed, rather than starting with a dry dough which is harder to moisten.
Step 3: The First Proof: Developing the Dough
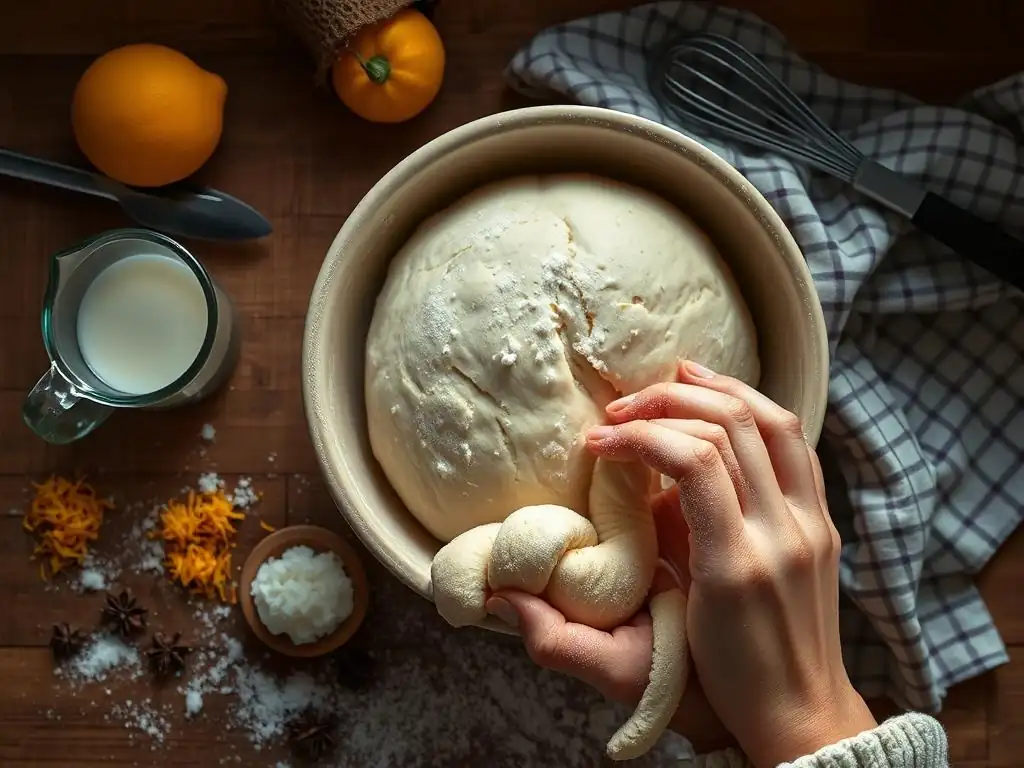
Kneading is essential to develop the gluten structure in the dough, which gives the bread its elasticity and texture. Turn the shaggy dough out onto a lightly floured surface and begin kneading. Push the dough away from you with the heels of your hands, fold it back over, rotate it, and repeat. Knead for about 8-10 minutes by hand, or 6-8 minutes in a stand mixer on medium speed, until the dough is smooth, elastic, and no longer sticky. You should be able to stretch a small piece thin enough to see light through it (the "windowpane test").
Lightly grease a clean bowl with oil or butter. Place the kneaded dough in the bowl, turning it to coat all sides. Cover the bowl tightly with plastic wrap or a damp kitchen towel. Place the bowl in a warm, draft-free place for the first proofing. This could be a slightly warm oven (turned off), near a sunny window, or simply at room temperature if your kitchen is warm. The dough needs to double in size, which typically takes about 1 to 1.5 hours, depending on the temperature of your environment and the yeast activity.
Step 4: Shaping the Bones and Skull
After the first proof, gently punch down the dough to release the air. Reserve about one-quarter of the dough for the decorative "bones" and "skull." Divide the remaining dough into the desired number of loaves and shape each into a smooth ball. Place these balls on a baking sheet lined with parchment paper, spaced several inches apart. These will form the base of your Pan de Muerto.
Now, take the reserved dough. Divide it further and roll pieces into thin ropes. To create the "bones," press down on the ropes with your fingers at intervals to create segmented shapes that resemble finger or bone joints. For the "skull" (often placed on top of the loaf's dome), roll a small piece of dough into a smooth ball.
Arrange the "bones" decoratively over the main dough ball, typically crossing them over the top. Place the "skull" (the small ball) in the center where the bones meet. This shaping step is key to the traditional appearance of any simple pan de muerto recipe.
Step 5: The Second Proof: Preparing for Baking
Once the loaves are shaped and the bone and skull decorations are in place, it's time for the second proof. This allows the dough to rise again, becoming light and airy before baking. Loosely cover the shaped loaves on the baking sheet with plastic wrap or a light kitchen towel. Be careful not to press down on the delicate shapes.
Let the loaves proof in a warm, draft-free place for another 30 to 45 minutes, or until they have visibly increased in size and look puffy. They won't necessarily double this time, but they should look ready to bake. While the loaves are proofing, preheat your oven to the temperature specified in your recipe, typically around 350°F to 375°F (175°C to 190°C). Proper proofing is crucial for achieving a light texture in your easy recipe for pan de muerto.
Step 6: Baking to Golden Brown
With the oven preheated and the loaves fully proofed, they are ready for baking. Carefully place the baking sheet in the preheated oven. The baking time will vary depending on the size of your loaves and your specific oven, but it generally ranges from 20 to 35 minutes. You'll know the Pan de Muerto is done when the tops are golden brown and the bottom sounds hollow when tapped.
For a more accurate check, you can use an instant-read thermometer. The internal temperature of the bread should reach about 190°F to 200°F (88°C to 93°C). Avoid opening the oven door too frequently during baking, especially in the first 15-20 minutes, as this can cause the bread to deflate. Once baked, transfer the loaves to a wire rack to cool completely before applying the sugar coating.
Step 7: The Orange-Infused Sugar Coating
The signature finish for Pan de Muerto is a sweet, often orange-flavored, sugar coating. While the bread is still slightly warm (but not hot), brush the entire surface with melted butter. For an extra layer of flavor, you can melt the butter with a bit of orange zest. Some traditional recipes also use a glaze made from melted butter and orange blossom water.
Immediately after brushing with butter, generously roll the bread in granulated sugar. For an authentic touch, some recipes call for mixing the sugar with a bit of ground anise seed or more orange zest. Ensure the entire surface, including the bones and skull, is evenly coated. The melted butter helps the sugar adhere beautifully. This sweet coating provides a lovely contrast to the rich bread underneath and is a defining characteristic of a classic easy pan de muerto recipe.
Tips for Baking Success
Troubleshooting Common Baking Issues
Even with an easy pan de muerto recipe, you might encounter a few common baking issues. If your dough isn't rising, the most likely culprits are inactive yeast or incorrect liquid temperature during activation. Ensure your yeast is fresh and the liquid is warm, not hot. Another issue can be dense bread; this often happens if the dough wasn't kneaded enough to develop gluten or if it wasn't proofed sufficiently. Make sure your dough passes the windowpane test and doubles in size during the first proof.
If the crust is too hard, it could be due to over-baking or not enough moisture in the dough or oven environment. Placing a pan of hot water on the bottom rack of your oven can create steam, resulting in a softer crust. Cracks on the surface can occur if the dough's skin dries out during proofing; ensure it's well-covered. By identifying the potential cause, you can adjust your technique for a better outcome next time you make a simple pan de muerto recipe.
Achieving the Signature Dome Shape
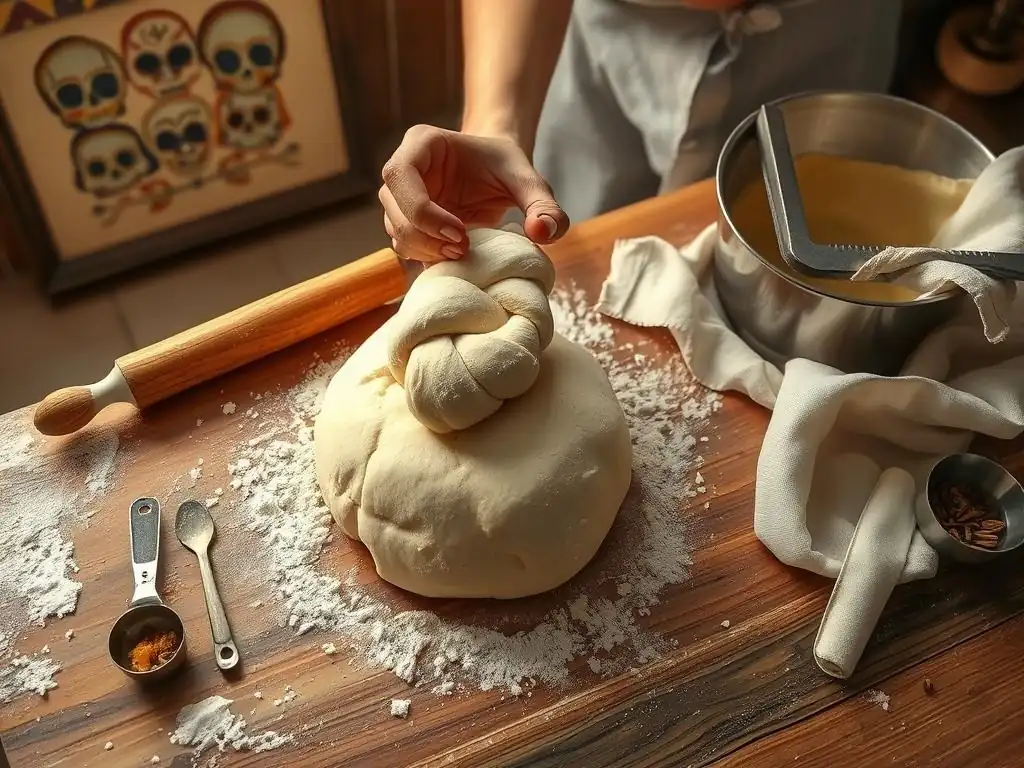
The classic Pan de Muerto often has a beautiful, slightly rounded dome shape, with the bones draped over it. Achieving this shape starts during the initial shaping step. When forming the main body of the bread, aim for a smooth, taut ball. Tuck the edges underneath to create surface tension. This tension helps the dough rise upwards rather than spreading outwards during proofing and baking.
During the second proof, ensure the loaves are placed on a flat surface (like a baking sheet) that won't encourage them to spread. The placement of the bone decorations also plays a role; they should be placed over the top of the formed ball. As the bread proofs and bakes, the main dough ball will rise, lifting the decorations and creating that characteristic domed appearance. Don't flatten the dough too much before adding the decorations in your easy recipe for pan de muerto.
Mastering Baking Time and Temperature
Baking time and temperature are critical for ensuring your Pan de Muerto is cooked through without being dry or burnt. Most recipes suggest a temperature between 350°F and 375°F (175°C and 190°C). Lower temperatures result in a longer baking time and a softer crust, while higher temperatures lead to faster baking and a crispier crust. For a standard-sized loaf (roughly 6-8 inches in diameter), baking typically takes 25-35 minutes. Smaller rolls will take less time, perhaps 15-20 minutes.
Always preheat your oven fully before placing the bread inside. Using an oven thermometer can help verify your oven's actual temperature, as they can sometimes vary. Pay attention to visual cues: the bread should be deeply golden brown on top and around the edges. Tapping the bottom should produce a hollow sound. For absolute certainty, check the internal temperature with a thermometer; it should be 190-200°F (88-93°C). Adjust baking time based on your oven and loaf size to perfect your quick pan de muerto recipe.
Working with Yeast: Active vs. Instant
Understanding the difference between active dry yeast and instant yeast is key to successful bread baking, including your easy pan de muerto recipe. Active dry yeast is granular and requires activation in warm liquid (105-115°F or 40-46°C) with a pinch of sugar before being added to the dry ingredients. This step ensures the yeast is alive and gives it a head start. One packet (about 2.25 teaspoons) is typically enough for a standard loaf of bread using 3-4 cups of flour.
Instant yeast, also known as rapid-rise or quick-rise yeast, is more finely ground and doesn't require prior activation. It can be mixed directly with the dry ingredients. It's designed to work faster, often reducing the proofing time slightly. You can generally substitute instant yeast for active dry yeast 1:1, but some bakers use slightly less instant yeast (about 2 teaspoons per packet equivalent) due to its potency. Always check the package instructions for the specific type of yeast you are using to ensure success with your easy pan de muerto recipe.
Variations and Flavor Enhancements
Adding Traditional Flavors: Anise and Orange Zest
While orange blossom water is a primary flavor, traditional Pan de Muerto often incorporates other complementary notes. Anise is a classic addition, providing a warm, slightly licorice-like flavor. You can add ground anise seed directly to the dry ingredients, typically about 1/2 to 1 teaspoon per loaf, depending on how pronounced you want the flavor. Alternatively, you can steep anise seeds in the warm milk before adding it to the dough and strain them out.
Fresh orange zest, in addition to or instead of orange blossom water, brings a brighter, more intense citrus aroma. Zest from one large orange is usually sufficient for a standard recipe. Ensure you only zest the orange part, avoiding the bitter white pith. Incorporate the zest into the wet ingredients or mix it directly into the dough during kneading. These additions enhance the authentic taste profile of any simple pan de muerto recipe.
Creative Shaping and Decoration Techniques
Beyond the traditional bones and skull, there's room for creativity in shaping and decorating Pan de Muerto. While the basic ball shape is common, some regions create loaves in animal shapes, human figures, or simple rounds without decorations. For the bones, you can experiment with different thicknesses and lengths. Some bakers make more intricate bone shapes or add tears (lágrimas) or teardrops, symbolizing tears shed for the departed.
The sugar coating itself can be varied. Instead of just granulated sugar, you can use superfine sugar for a finer coating. Some recipes call for a glaze made with powdered sugar and orange juice or milk, sometimes colored with natural dyes. While less traditional, some modern interpretations might use chocolate or other sweet glazes. The key is to have fun and make your Pan de Muerto visually appealing for your ofrenda or table, reflecting the spirit of the celebration with your easy recipe for pan de muerto.
Exploring Fillings: A Modern Twist
Traditionally, Pan de Muerto is an unfilled bread, enjoyed for its simple, sweet dough and aromatic coating. However, modern variations sometimes include fillings, offering a delicious surprise inside. Common fillings that pair well with the bread's flavor profile include sweet cream cheese, pastry cream (crema pastelera), or fruit fillings like guava or pineapple.
If adding a filling to your easy pan de muerto recipe, you'll typically flatten the dough ball slightly after the first proof, place a dollop of filling in the center, and then carefully gather the edges to enclose the filling, reshaping it into a ball before the second proof and decoration. Be careful not to overfill, as it can cause the bread to burst during baking. While not traditional, exploring fillings can add a delightful new dimension to this classic bread.
Storing and Serving
Maintaining Freshness
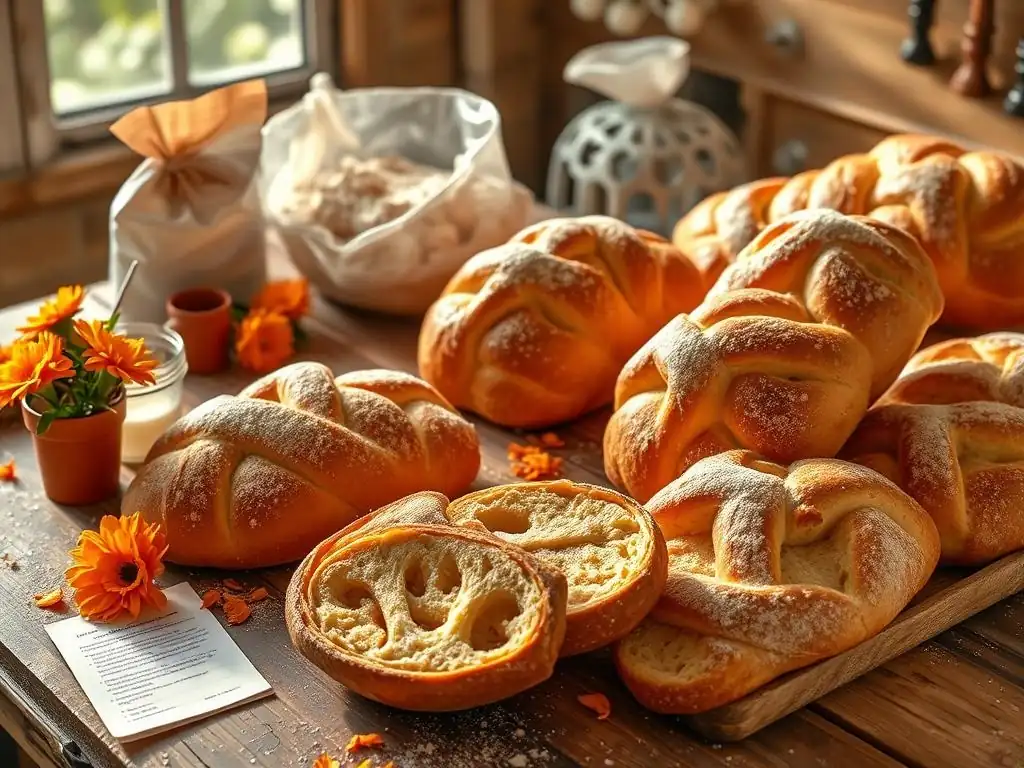
Homemade Pan de Muerto is best enjoyed fresh, ideally within a day or two of baking, when its texture is softest and its aromas are most vibrant. To maintain freshness, store the cooled bread in an airtight container at room temperature. Avoid refrigerating it, as this can cause the bread to dry out quickly. If your climate is very humid, you might need to store it in a container with a paper towel to absorb excess moisture.
If you need to store it for longer, Pan de Muerto freezes exceptionally well before applying the sugar coating. Bake the bread, let it cool completely, then wrap it tightly in plastic wrap and then in aluminum foil or a freezer bag. It can be frozen for up to 2-3 months. Thaw it overnight at room temperature. You can then warm it slightly and apply the melted butter and sugar coating just before serving to replicate that fresh-baked texture and appearance from your easy pan de muerto recipe.
Traditional Ways to Enjoy Pan de Muerto
The most traditional way to enjoy Pan de Muerto is as part of the Día de Muertos celebration, often placed on the ofrenda and later shared among family and friends. It is commonly served alongside a cup of hot chocolate (chocolate caliente) or atole, a warm, thick corn-based drink. The rich, sweet bread pairs beautifully with these warm, comforting beverages.
Sharing the bread is a communal act, reinforcing the theme of family and remembrance central to the holiday. It's typically broken by hand rather than sliced with a knife, further emphasizing its rustic and traditional nature. Enjoying a piece of your easy recipe for pan de muerto with loved ones is a simple yet profound way to connect with the cultural significance of the holiday.
Repurposing Leftovers: Bread Pudding and More
If you find yourself with leftover Pan de Muerto that's starting to become a bit stale, it's perfectly suited for repurposing into other delicious dishes. Its slightly sweet and rich nature makes it an excellent candidate for bread pudding. Simply cut the bread into cubes, let them dry out slightly if not already stale, and use them in your favorite bread pudding recipe, perhaps incorporating some of the same flavors like orange zest or anise.
Another option is to make French toast. Slice the bread and soak it in an egg, milk, and spice mixture before frying until golden brown. The sugar coating adds a lovely caramelized crust. You can also crumble dried Pan de Muerto and use it as a base for a crumb topping on fruit crisps or crumbles. Getting creative with leftovers ensures that none of your hard work mastering an easy pan de muerto recipe goes to waste.
Conclusion: Sharing Your Homemade Pan de Muerto
Baking Pan de Muerto is more than just making a loaf of bread; it's an act of love, remembrance, and cultural connection. By following an easy pan de muerto recipe, even beginners can successfully create this symbolic and delicious treat. From activating the yeast to shaping the iconic bones and applying the sweet sugar coating, each step brings you closer to understanding and participating in a beautiful Mexican tradition.
Sharing your freshly baked Pan de Muerto with family and friends, whether as part of an ofrenda or simply gathered around the table, is a deeply fulfilling experience. The aroma filling your home and the taste of the sweet, orange-infused bread are tangible links to the past and a celebration of life and memory. Embrace the process, savor the results, and proudly share your homemade easy pan de muerto recipe creation.
Frequently Asked Questions
What makes this Pan de Muerto recipe considered "easy"?
This recipe simplifies the traditional process by using readily available ingredients and offering clear, step-by-step instructions designed for beginner bakers. We focus on manageable techniques.
What are the key ingredients that differentiate Pan de Muerto from other sweet breads?
The defining ingredients are orange zest and anise seeds, which contribute to its unique flavor profile. Some recipes may also include orange blossom water.
How do I get the "bones" and "tears" shape on top of the Pan de Muerto?
The "bones" are created by rolling small pieces of dough and arranging them in a cross pattern. The "tears" are formed by pinching the dough along the bone edges, creating a traditional visual representation.
Can I substitute any of the ingredients in this Pan de Muerto recipe?
While substitutions are possible, they can affect the final result. For example, using regular milk instead of whole milk may impact the texture and richness of the bread.
What's the best way to store leftover Pan de Muerto to keep it fresh?
Store it in an airtight container at room temperature for up to three days. You can also freeze it for longer storage, but be aware that it might lose some of its freshness.
Final Reflection: The Sweetness of Tradition, the Simplicity of Baking
The accessibility of baking, once a daunting task, is now within everyone's reach. Making pan de muerto, a bread traditionally associated with complex techniques, has become surprisingly straightforward, opening up a world of culinary exploration and cultural connection for a new generation of bakers. This simple recipe empowers anyone to participate in this beautiful tradition, regardless of their baking experience.
The enduring appeal of pan de muerto lies not just in its delicious taste, but in its ability to connect us to our heritage and loved ones. The act of baking, sharing, and enjoying this bread transcends mere culinary skill; it becomes a powerful symbol of community and remembrance. Food is symbolic of love when words are inadequate.
– Alan D. Wolfelt. This quote perfectly encapsulates the emotional depth woven into the simple act of making and sharing pan de muerto. It's a tangible link to the past, a celebration of life, and a delicious way to build memories with those we cherish.
Now, I invite you to roll up your sleeves, gather your ingredients, and embark on your own pan de muerto journey. Don't be intimidated by the seemingly intricate design; embrace the simplicity of the process and the joy of creation. Let the aroma of warm spices and sweet bread fill your home, and share the fruits of your labor with those you love. The experience, more than the perfect loaf, is what truly matters. Remember the warmth, the connection, and the sweetness of tradition that makes pan de muerto so special.
Unleash Your Inner Baker: Bake the Perfect Pan de Muerto!
Thanks for joining us on this delicious journey into the world of Pan de Muerto! We hope you gained the confidence to tackle this beautiful bread. Now it's time to put your new skills to the test.
- Bake your own Pan de Muerto this weekend! Use the recipe and tips from this article as your guide, and don't be afraid to experiment with different decorations. This is your chance to create a truly special treat.
- Share your baking journey! Post a picture of your masterpiece on social media using #BakeWithEasePanDeMuerto and tag us – we'd love to see your creations!
- Explore other BakeWithEase recipes: We have a whole collection of beginner-friendly baking projects waiting for you. Find your next baking adventure on bakewithease.com!
Ready to transform your kitchen into a fragrant bakery? What unique twist will you add to your Pan de Muerto?