
The Art of the Turn: Essential Folds for Puff Pastry

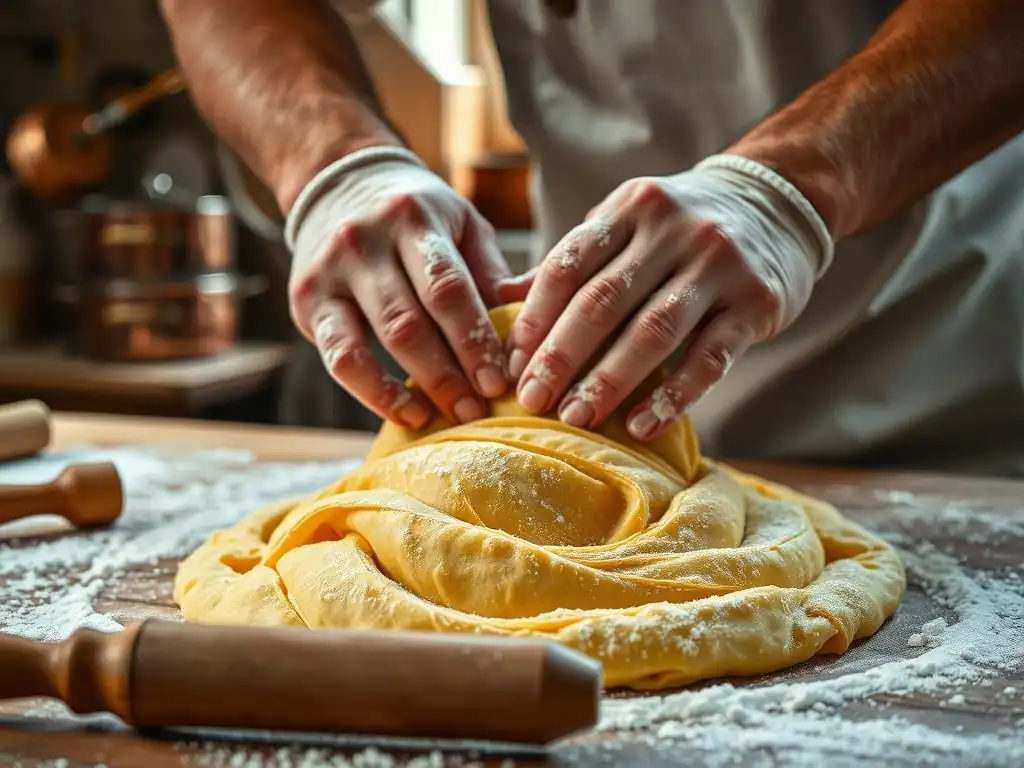
Welcome to BakeWithEase, your trusted guide to unlocking the secrets of baking! Ever wondered how to achieve that flaky, buttery perfection in your pastries? This week, we're diving deep into the heart of intermediate baking with a technique that will elevate your creations: perfecting puff pastry folds. Discover the essential steps and insider tips to master this delicate art and transform your baking. Ready to create layers of deliciousness? Let's get started!
- Mastering Puff Pastry: Essential Folding Techniques
- Understanding Puff Pastry Lamination
- The Single Fold Technique
- The Double Fold Technique
- The Book Fold Technique
- The French Fold Technique
- Resting the Dough: The Importance of Chilling
- Troubleshooting Common Puff Pastry Issues
- Baking Puff Pastry: Achieving Golden Perfection
- Beyond the Basics: Exploring Advanced Techniques
-
Frequently Asked Questions
- How many folds are generally recommended when making puff pastry?
- What is the difference between a single fold and a double fold in puff pastry?
- Why is resting the dough in the refrigerator so important between folds?
- What happens if the butter gets too warm during the folding process?
- Can I use a food processor to make puff pastry dough?
- Final Reflection: Mastering the Fold – A Journey to Puff Pastry Perfection
- Unleash Your Inner Pastry Chef: Master the Fold!
Mastering Puff Pastry: Essential Folding Techniques
Achieving light, airy, and incredibly flaky puff pastry relies on one fundamental principle: lamination. This intricate process involves creating hundreds, sometimes thousands, of alternating thin layers of dough and butter. When baked, the butter melts and releases steam, which pushes the dough layers apart, resulting in that signature rise and delicate texture. Perfecting puff pastry folds technique is key to unlocking this magical transformation in your baking.
Understanding the science behind lamination is crucial for consistently successful results. Each fold and roll multiplies the existing layers. For instance, starting with a simple dough and butter block, a single fold creates 3 layers (dough-butter-dough).
A second single fold on that results in 9 layers (3x3). A typical recipe might call for 4-6 folds, leading to potentially hundreds or even over a thousand layers of dough and butter, depending on the specific folding technique used. This extensive layering is what provides the incredible lift and flakiness when the pastry hits the heat of the oven, making the perfecting puff pastry folds technique a rewarding skill to master.
Understanding Puff Pastry Lamination
The Importance of Lamination in Puff Pastry
Lamination is the heart and soul of puff pastry, directly responsible for its defining characteristics: flakiness, lift, and crispness. Without proper lamination, you simply have dough with butter mixed in, which will not rise into those beautiful, distinct layers. The process traps pockets of butter between thin sheets of dough. As the pastry bakes at a high temperature, the water in the butter turns to steam, forcing the dough layers apart. Simultaneously, the dough bakes and sets around these steam pockets, creating a rigid, airy structure.
Consider the difference between puff pastry and shortcrust pastry. While both use flour and fat, shortcrust pastry incorporates the fat directly into the flour, resulting in a tender, crumbly texture. Puff pastry, however, keeps the fat separate in distinct layers. A well-laminated puff pastry can rise to eight times its original height during baking, a testament to the power of steam trapped between perfectly formed layers. Achieving this level of rise and flakiness is the ultimate goal when perfecting puff pastry folds technique.
Key Ingredients for Optimal Lamination
The success of lamination hinges significantly on the quality and temperature of your ingredients, particularly the butter and flour. High-quality butter, often European-style with a higher fat content (around 82-84%), is preferred because it contains less water than standard butter (typically 80%). This higher fat content means more pure butter to create distinct layers and less water to potentially blend into the dough prematurely. The butter must also be cold and pliable, not hard or melted, to form an even block that can be rolled without breaking or smearing.
Flour choice also plays a role in perfecting puff pastry folds technique. A medium-protein flour, like all-purpose flour (typically 10-12% protein), provides enough gluten structure to create strong, elastic dough layers that can withstand rolling and folding without tearing, but not so much gluten that the dough becomes tough or resistant to rolling. Water or other liquid (like milk) hydrates the flour to develop gluten and bind the dough, while a pinch of salt enhances flavor and helps control gluten development. Maintaining all ingredients at the correct temperature throughout the process is paramount for successful lamination.
The Single Fold Technique
Step-by-Step Instructions for a Single Fold
The single fold, also known as a letter fold, is one of the most common methods for building layers in puff pastry. After encasing your butter block in the dough (detrempe), you roll the dough into a rectangle, typically about three times as long as it is wide. Ensure the thickness is uniform across the entire sheet. Imagine dividing the rectangle into three equal sections visually.
To perform the single fold, take one end of the rolled dough and fold it inwards, covering the middle section. Then, take the other end and fold it over the first folded section, like closing a letter. This results in three layers of dough separated by two layers of butter (or dough and butter if starting with the initial butter block). After completing the fold, rotate the dough 90 degrees so the open seam is to your side, ready for the next rolling step after resting. This methodical approach is fundamental to perfecting puff pastry folds technique.
Achieving Even Layers with a Single Fold
Achieving even layers with the single fold technique requires consistent rolling and careful alignment. Before each fold, the dough must be rolled out to a uniform thickness. If one part of the dough is thicker than another, the layers in that section will be fewer or uneven, leading to poor rise and flakiness in the final product. Use a rolling pin to gently and evenly extend the dough, working from the center outwards and ensuring the corners are as thick as the middle.
When performing the fold itself, make sure the edges you are folding inward meet neatly and are aligned with the edges of the central section. Uneven folding can trap air pockets or create sections with too many or too few layers. After folding, gently press down on the dough to seal the edges and ensure the layers are adhering without being compressed.
Rotating the dough 90 degrees between folds helps to develop the gluten structure evenly in all directions, making subsequent rolling easier and contributing to uniform layers throughout the pastry. This attention to detail is key to perfecting puff pastry folds technique.
The Double Fold Technique
Performing a Double Fold for Increased Layers
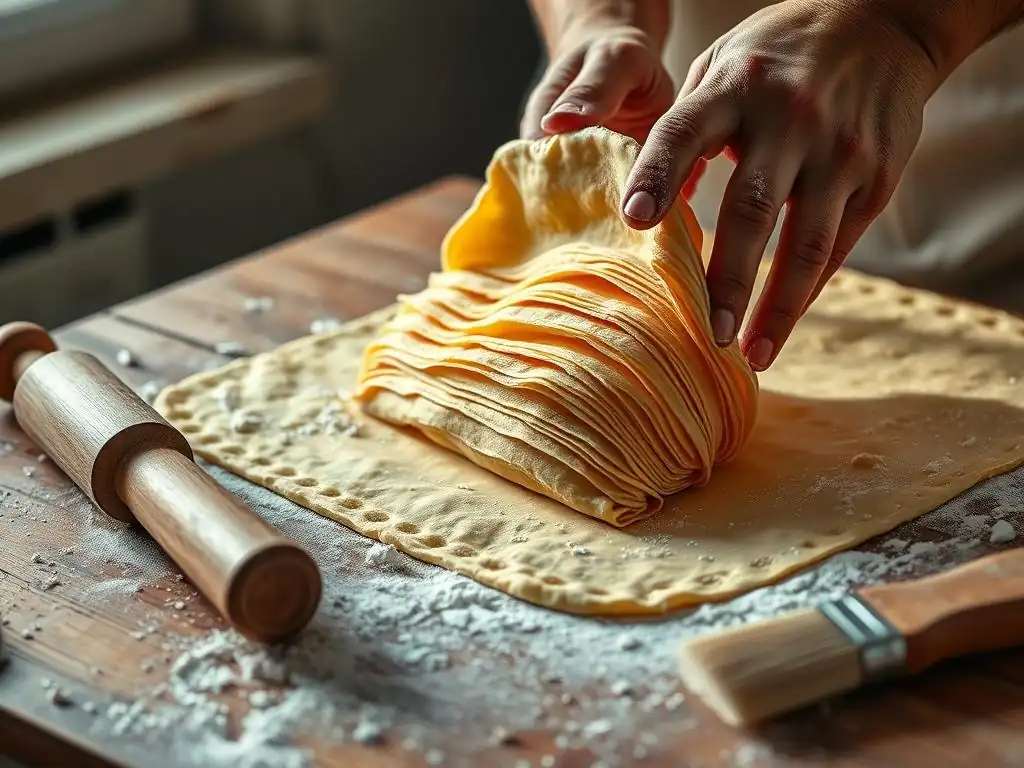
The double fold, sometimes called a book fold or wallet fold, is a technique that builds layers more rapidly than the single fold. After rolling your dough rectangle (this time typically four times as long as it is wide), imagine dividing it into four equal sections. Bring both ends of the dough towards the center, so their edges meet in the middle.
Once the two ends meet in the center, fold the entire dough in half along the central seam, as if closing a book. This results in four layers of dough separated by layers of butter.
A double fold effectively quadruples your layer count with each turn (technically, it creates 4 layers of dough and 3 layers of butter, resulting in 7 layers when folded, but the effect is rapid layer building). This technique allows bakers to reach the desired number of layers (often several hundred) with fewer turns compared to using only single folds, saving time while still perfecting puff pastry folds technique.
Avoiding Common Mistakes During the Double Fold
Several pitfalls can occur when performing the double fold, which can compromise your lamination. One common mistake is not rolling the dough to an even thickness before folding. This results in some parts of the pastry having more layers than others, leading to uneven rise and texture. Always check the dough's thickness across the entire rectangle.
Another issue is failing to align the edges properly when bringing them to the center. If the edges overlap or don't meet precisely, you can create sections with too many layers or trapped air, which can cause blowouts during baking. Ensure the edges meet neatly before folding the dough in half.
Finally, make sure the dough is cold enough. If the butter is too soft, it will smear into the dough rather than remaining in distinct layers during the rolling and folding process. Proper chilling between folds is essential for successfully perfecting puff pastry folds technique, especially with the double fold.
The Book Fold Technique
Step-by-Step Instructions for a Book Fold
The book fold is essentially another name for the double fold technique, often used interchangeably. The process begins by rolling the chilled dough into a rectangle that is approximately four times longer than it is wide. As with the double fold, visualize or lightly mark the dough into four equal sections along its length.
The next steps involve bringing the outer edges inwards. Take the edge from one end and fold it inwards towards the center line. Repeat with the edge from the opposite end, bringing it to meet the first folded edge precisely in the middle of the dough rectangle. Finally, fold the entire dough in half along the central seam where the two edges meet, just like closing a book. This completes one book fold (or double fold), resulting in multiple layers and requiring a 90-degree rotation before the next turn and rest, all part of perfecting puff pastry folds technique.
Maintaining Uniform Thickness During the Book Fold
Maintaining uniform thickness is paramount throughout the book folding process to ensure even layers and a consistent rise. Before you even begin the fold, the rolled-out dough rectangle must have an even thickness from edge to edge and end to end. Use a rolling pin to gently persuade the dough into shape, applying even pressure and focusing on keeping the corners and edges as thick as the center.
After performing the book fold and rotating the dough, it's crucial to rest it adequately before the next rolling step. When you begin rolling again, start gently from the center and work outwards, elongating the dough gradually. Avoid pressing down too hard, which can squeeze butter out or cause layers to stick together. If you encounter resistance or the dough springs back excessively, it's a sign that the gluten needs more time to relax – pop it back in the fridge for another rest. Consistent, gentle rolling is vital for perfecting puff pastry folds technique using the book fold.
The French Fold Technique
Understanding the French Fold and its Texture Impact
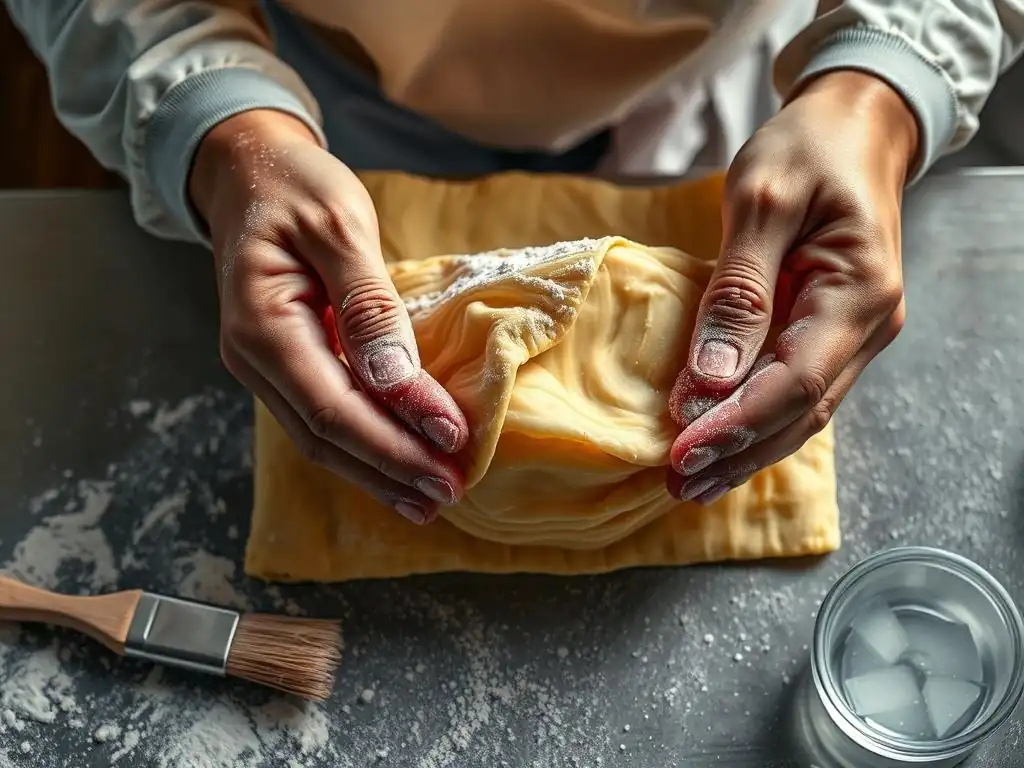
The French fold technique is a variation that results in a slightly different layer structure compared to the standard single or double folds, sometimes leading to a more open, shaggy type of flake rather than extremely fine layers. It involves rolling the dough into a long rectangle and then folding it in a specific way. One method involves folding one end about two-thirds of the way up the rectangle, and then folding the remaining one-third down over the first fold.
Another interpretation of the French fold involves a series of single folds repeated in rapid succession without extended rests, which can build layers quickly but requires a very cold, pliable dough. The exact technique can vary by tradition, but the goal is always to create distinct layers of dough and butter. Understanding the nuances of different folding methods like the French fold is part of perfecting puff pastry folds technique and achieving specific textural results.
Mastering the French Fold: A Visual Guide (Descriptive)
Since I cannot provide actual visuals, let's describe the common two-thirds/one-third French fold method in detail. Start with your chilled dough rolled into a long rectangle, perhaps 18-24 inches long and 8-10 inches wide, depending on the initial dough size. Ensure the edges are relatively straight.
Imagine the rectangle divided into three sections. Take the bottom edge and fold it upwards so it covers approximately two-thirds of the rectangle's length. Now, take the top edge (the remaining one-third) and fold it downwards over the section you just folded. This creates three layers. Rotate the dough 90 degrees and repeat the rolling and folding process after a suitable rest period. The result is a different stacking pattern than the letter fold, contributing to the unique texture sometimes associated with perfecting puff pastry folds technique the French way.
Resting the Dough: The Importance of Chilling
Why Resting is Crucial for Gluten Relaxation
Resting the dough between folds is not just a suggestion; it's a critical step in perfecting puff pastry folds technique. During the rolling process, the gluten in the flour develops and becomes elastic. This elasticity is necessary for the dough layers to hold their structure, but too much tension makes the dough resistant to rolling and causes it to spring back. This resistance can lead to uneven thickness, tearing, and difficulty achieving the desired shape.
Chilling the dough in the refrigerator allows the gluten strands to relax. As the dough chills, the gluten network loosens, making the dough more pliable and easier to roll out thinly in subsequent steps without excessive effort or shrinkage. A properly rested dough will roll out smoothly and evenly, ensuring that the layers are consistent throughout the pastry. This relaxation also helps prevent the dough from tearing, which can cause butter to leak out and disrupt the lamination.
Optimal Chilling Times Between Folds
Determining the optimal chilling time between folds is crucial for perfect puff pastry. Generally, a rest period of at least 30 to 60 minutes in the refrigerator between each fold is recommended. This time allows the gluten to relax sufficiently and, equally important, ensures the butter layer solidifies again. If the butter is too warm and soft, it will smear into the dough during rolling rather than remaining as a distinct layer.
The exact chilling time can vary depending on the ambient temperature of your kitchen, the temperature of your refrigerator, and the thickness of the dough. On a warm day, you might need closer to 60 minutes or even slightly longer. You'll know the dough is ready when it feels firm but still pliable and rolls out without excessive resistance or shrinking back. Rushing this step is a common error when perfecting puff pastry folds technique and can lead to disappointing results.
Troubleshooting Common Puff Pastry Issues
Dealing with Dough Tears and Uneven Lamination
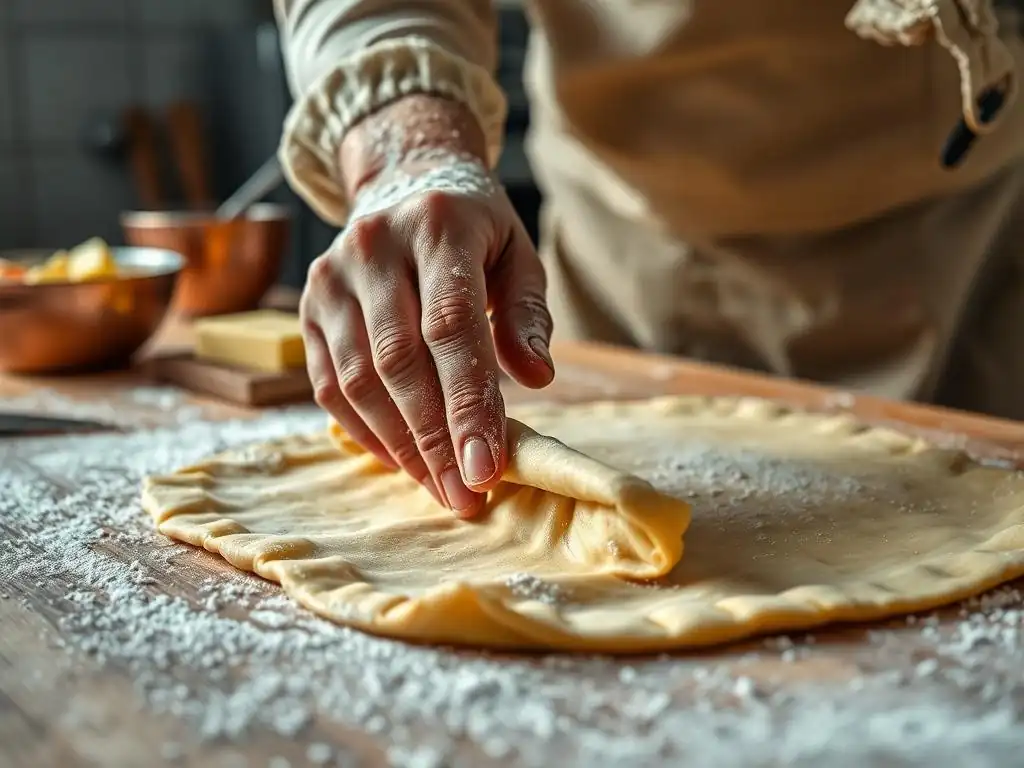
Dough tears are a frustrating issue when working with puff pastry, as they break the butter layer and can cause it to leak out during baking. Tears often occur if the dough hasn't rested long enough and the gluten is too tight, or if the dough is rolled too thin too quickly, or if the butter block wasn't evenly distributed initially. If you notice a small tear, you can often patch it by gently pressing the surrounding dough together or using a small piece of scrap dough moistened slightly with water.
Uneven lamination typically stems from inconsistent rolling or folding. If the dough wasn't rolled to uniform thickness before folding, some sections will have more layers than others. This leads to uneven rise and flakiness after baking. To avoid this, always strive for consistent thickness during rolling and ensure folds are neat and aligned. If you suspect unevenness early on, you might be able to correct it slightly in subsequent rolling and folding steps, but prevention through careful technique is best for perfecting puff pastry folds technique.
Correcting Dough Temperature Problems
Dough temperature is perhaps the most critical factor in successful puff pastry lamination. If the dough (and especially the butter) is too warm, the butter will melt and incorporate into the dough during rolling, destroying the distinct layers needed for flaking. The dough will feel greasy and difficult to handle, and you might see butter squeezing out the sides. If this happens, immediately stop working and return the dough to the refrigerator until it is properly chilled and firm again.
Conversely, if the dough is too cold, the butter block inside can become hard and brittle. When you try to roll, the butter will break into pieces instead of flattening into a smooth layer, creating gaps in the lamination. The dough itself might also be stiff and difficult to roll without cracking.
If the dough is too cold, let it sit at room temperature for just a few minutes until it becomes slightly more pliable, but be careful not to let it get too warm. Finding the sweet spot where the dough is firm but the butter is pliable is essential for perfecting puff pastry folds technique.
Baking Puff Pastry: Achieving Golden Perfection
Temperature and Baking Time Guidelines
Baking puff pastry requires a hot oven to create that explosive lift and golden, crisp exterior. While specific temperatures can vary slightly depending on the recipe and oven, a common approach is to start at a high temperature, often around 400-425°F (200-220°C), for the first 10-15 minutes. This initial high heat rapidly melts the butter and generates steam, causing the layers to puff dramatically.
After the initial rise, the temperature is often reduced to around 350-375°F (175-190°C) to allow the pastry to bake through and achieve a beautiful golden-brown color without burning the exterior. Baking times vary significantly based on the size and shape of the pastry. Small items like turnovers or palmiers might bake in 15-25 minutes, while larger items like vol-au-vent shells or a puff pastry sheet for a tart could take 25-40 minutes or longer. Always bake until deeply golden and firm to the touch for optimal flakiness.
Preventing Shrinkage During Baking
Puff pastry can sometimes shrink significantly during baking, especially if the dough was overworked or not sufficiently rested between folds. Overworking the dough develops excessive gluten elasticity, which causes the dough to contract when exposed to heat. Insufficient chilling between folds also contributes to this, as the gluten hasn't had a chance to relax, and the butter might not be firm enough to hold the shape initially.
To minimize shrinkage, ensure you allow adequate resting time in the refrigerator between each fold, ideally 30-60 minutes. Before baking, give the shaped pastry a final chill for at least 15-30 minutes. This firms up the butter and allows the dough to relax one last time before hitting the hot oven. Avoid stretching the dough excessively when shaping; roll gently and cut cleanly. These steps are vital for perfecting puff pastry folds technique from start to finish and ensuring your baked goods hold their shape.
Beyond the Basics: Exploring Advanced Techniques
Incorporating Herbs into Puff Pastry Dough
Once you've mastered the fundamental puff pastry folds technique, you can begin to experiment with flavor variations. Incorporating finely chopped fresh herbs directly into the detrempe (the initial dough before adding the butter block) is one way to add savory notes. Herbs like chives, parsley, thyme, or rosemary work well. Ensure the herbs are very finely minced so they don't tear the delicate dough layers during rolling.
Alternatively, you can create an herb butter by blending softened butter with finely chopped herbs before chilling it into the block used for lamination. This method distributes the herb flavor within the butter layers. About 1-2 tablespoons of finely chopped herbs per standard batch of puff pastry dough is a good starting point. This simple addition elevates the pastry, making it perfect for savory applications like quiches, tarts, or appetizers.
Achieving a Deeper Flavor with Brown Butter
Using brown butter (beurre noisette) in puff pastry is an advanced technique that imparts a rich, nutty depth of flavor. This isn't typically done by browning the entire butter block used for lamination, as its consistency would change too much. Instead, a portion of the butter used in the detrempe or even a small amount added to the lamination butter block can be browned and then chilled and solidified before use.
To incorporate brown butter, you might brown a portion of the butter required for the detrempe, chill it until solid, and then cream it with the remaining cold butter and flour. Another approach involves browning a small amount of butter, chilling it, and then incorporating small pieces into the main butter block used for lamination. This requires careful temperature control and handling, but the resulting pastry offers a unique, sophisticated flavor profile, taking your perfecting puff pastry folds technique skills to a new level.
Frequently Asked Questions
How many folds are generally recommended when making puff pastry?
The recommended number of folds varies, but generally, six single folds or three double folds are considered ideal for achieving optimal flakiness and layers. This balances the butter distribution and gluten development.
What is the difference between a single fold and a double fold in puff pastry?
A single fold (or book fold) involves folding the dough into thirds, like closing a book. A double fold (or letter fold) folds the dough into quarters, resembling folding a letter. Both contribute to creating distinct layers of butter and dough.
Why is resting the dough in the refrigerator so important between folds?
Resting the dough allows the gluten to relax and the butter to firm up. This prevents the butter from melting into the dough, which is crucial for achieving separate, flaky layers in the final product.
What happens if the butter gets too warm during the folding process?
If the butter gets too warm, it will melt into the dough, resulting in a dense and less flaky puff pastry. Maintaining a cold temperature is vital for successful lamination.
Can I use a food processor to make puff pastry dough?
While a food processor can be used, it's crucial to pulse carefully to avoid overmixing. Overmixing develops too much gluten, leading to a tough and less tender puff pastry. Hand kneading is often preferred for more control.
Final Reflection: Mastering the Fold – A Journey to Puff Pastry Perfection
The precise execution of folds is not merely a technicality in puff pastry baking; it's the very heart of its ethereal lightness and flaky texture. Understanding and mastering these folds elevates the process from a simple recipe to a mindful craft, resulting in pastries that transcend the ordinary. The seemingly simple act of folding becomes a gateway to culinary artistry.
The impact of mastering puff pastry techniques extends far beyond the kitchen. The patience, precision, and attention to detail required mirror the dedication needed in many aspects of life. The rhythmic repetition of folding, the anticipation of the final result, it's a meditative process. The details are not the details. They make the design.
– Charles Eames. This quote perfectly encapsulates the importance of each fold, each turn, in achieving true puff pastry perfection. The beauty lies not only in the final product but in the journey of creation itself.
Now, consider your own journey. What seemingly small details in your life, like the careful folds of a puff pastry, require meticulous attention to achieve a greater outcome? Take a moment to reflect on this. Perhaps it's a project at work, a personal relationship, or even a creative endeavor. Embrace the process, appreciate the precision, and remember that the journey of mastering any skill, just like perfecting the art of the puff pastry fold, is a rewarding one. Dare to experiment, to refine your technique, and to experience the joy of creating something truly exquisite.
Unleash Your Inner Pastry Chef: Master the Fold!
Thanks for taking the time to explore the fascinating world of puff pastry folds! You've now unlocked the secrets to achieving perfectly layered, flaky goodness. Ready to put your new skills to the test?
- Bake your masterpiece! Try one of the recipes mentioned in the article – or get even more creative and experiment with your own fillings. We'd love to see your results!
- Share your baking journey! Post a photo of your creation on social media and tag us – let's inspire each other!
- Explore further: Dive deeper into the world of pastry by searching "advanced puff pastry techniques" online for more inspiration.
What unique filling will you create with your newfound puff pastry expertise?