
Whole Wheat Wonder: Creating a Robust Whole Wheat Starter

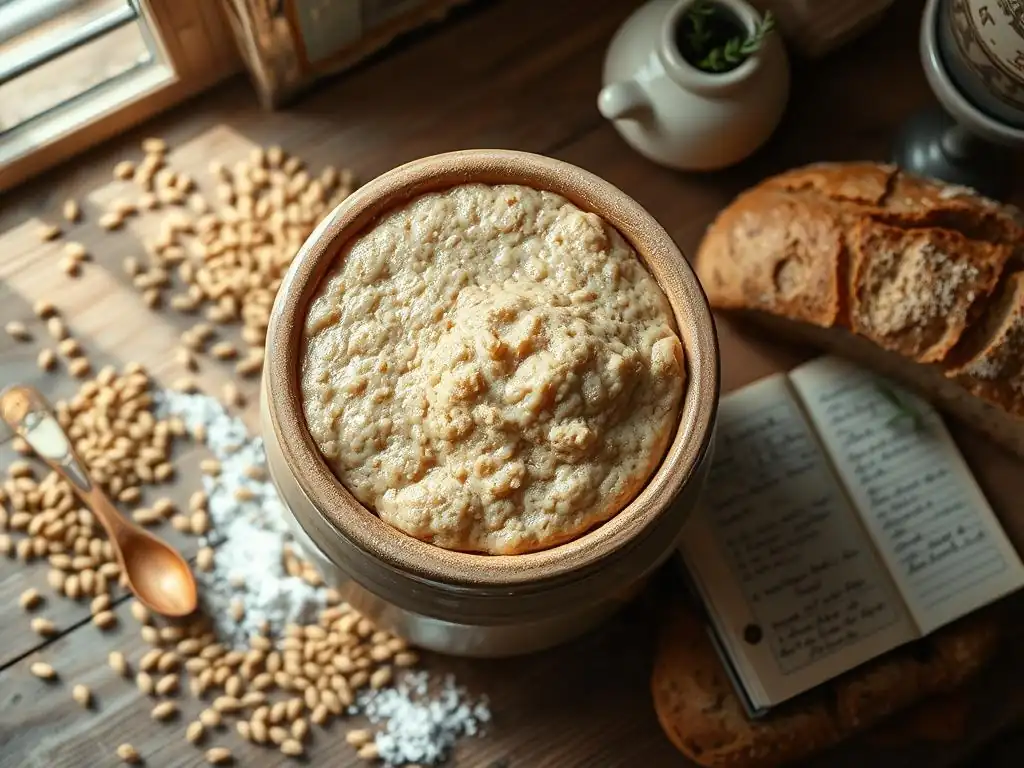
Welcome to BakeWithEase, where even the most complex baking projects become achievable! Are you ready to unlock the secrets to a flavorful and robust loaf? This week, we're diving deep into the world of sourdough with our Whole Wheat Starter Recipe. But what makes a whole wheat starter so special, and how can you cultivate one that yields exceptional results? Discover the answers within, and prepare to elevate your bread-baking game to delicious new heights!
- Rye Starter: Cultivating a Robust Sourdough Culture
- Introduction to Rye Sourdough Starters
- Getting Started: Ingredients & Equipment for Your Rye Starter
- Step-by-Step Guide: Cultivating Your Own Rye Starter
- Troubleshooting Common Rye Starter Problems
- Using Your Rye Starter: Baking Delicious Sourdough Bread
- Tips for Maintaining a Healthy & Active Rye Starter Long-Term
- The Versatility of Rye Starters: Beyond Bread
- Conclusion: Embrace the Flavor of Rye Sourdough
-
Frequently Asked Questions
- How is a whole wheat starter recipe different from a regular starter recipe?
- What makes a whole wheat starter recipe "robust"?
- How often should I feed my whole wheat starter recipe?
- What are some signs that my whole wheat starter recipe is ready to use?
- Can I convert my existing white flour starter to a whole wheat starter recipe?
- Final Reflection: The Enduring Power of the Whole Wheat Starter
- Unleash Your Inner Baker: Craft Your Perfect Whole Wheat Starter!
Rye Starter: Cultivating a Robust Sourdough Culture
Introduction to Rye Sourdough Starters
Why Choose Rye for Your Sourdough Starter?
Rye flour is an exceptional choice for initiating and maintaining a sourdough starter. Its unique composition, particularly its higher levels of enzymes and nutrients compared to white flour, makes it incredibly hospitable to wild yeast and bacteria. This environment encourages rapid and vigorous growth from the very beginning. Many bakers find that a rye starter activates faster and becomes reliably active more quickly than starters made solely with all-purpose or bread flour.
Furthermore, rye flour contains pentosans, complex carbohydrates that absorb significant amounts of water. This creates a sticky, dense environment that wild microbes seem to thrive in. Anecdotal evidence and baker experiences often point to rye starters reaching peak activity, such as doubling in size, within just a few hours after feeding once established, sometimes as quickly as 4-6 hours at room temperature (around 75°F or 24°C). This inherent vitality makes rye an excellent foundation for building a strong, resilient culture.
Understanding the Benefits of a Rye Starter Recipe
Following a rye starter recipe offers distinct advantages for bakers. One primary benefit is the speed of development; due to rye's rich microbial food source, you can often achieve a reliably active starter ready for baking within 7-10 days, sometimes even sooner under optimal conditions. This is often faster than starters made with less nutritious flours. Additionally, rye starters tend to be more resilient to environmental fluctuations and periods of neglect, making them more forgiving for beginners or those with inconsistent baking schedules.
Beyond its robustness, a rye starter imparts a wonderfully complex, tangy flavor to baked goods. While you can convert it for use in any sourdough recipe, including those originally designed for a whole wheat starter recipe, using it in rye or mixed-grain loaves enhances their characteristic depth and aroma. The unique fermentation byproducts from a rye culture contribute a specific sourness and earthy undertone that is highly prized in traditional European-style bread baking.
Getting Started: Ingredients & Equipment for Your Rye Starter
Essential Ingredients for a Thriving Rye Starter
To create a vibrant rye starter, you only need two key ingredients: rye flour and water. The type of rye flour you use can influence the starter's character; dark rye flour, with more of the grain intact, is often preferred for its abundance of nutrients and microbes, leading to a very active starter. However, medium or light rye flour will also work effectively. Consistency is more important than the specific grind initially.
The water you use should be non-chlorinated. Chlorine can inhibit microbial growth. If your tap water is chlorinated, you can leave it out in an open container for 24 hours to allow the chlorine to dissipate, or use filtered or bottled water. Aim for water that is around room temperature (68-78°F or 20-26°C) for ideal mixing conditions. A typical starting ratio might be 50 grams of rye flour and 50 grams of water, creating a 1:1 ratio by weight, which is easy to manage and encourages good activity.
Tools and Equipment Needed for Your Rye Sourdough Journey
Cultivating a rye sourdough starter requires minimal specialized equipment, making it an accessible project. You'll need a clean, clear container, preferably glass, with a capacity of at least 1 quart (about 1 liter) to allow for growth. A straight-sided jar is ideal as it makes it easy to see how much your starter has risen. Avoid metal containers during the initial stages, as some metals can react with the acidic starter.
Other essential tools include a digital kitchen scale for accurate measurement (measuring by weight is far more reliable than volume in baking), a spatula or spoon for mixing, and a loose-fitting lid or cover for the jar (like plastic wrap, a jar lid placed loosely, or a piece of cloth secured with a rubber band) to allow gases to escape while keeping contaminants out. Optional but helpful tools include a thermometer to monitor room temperature and a rubber band or marker to indicate the starter's initial level in the jar.
Step-by-Step Guide: Cultivating Your Own Rye Starter
Day 1: Mixing the Initial Rye Starter
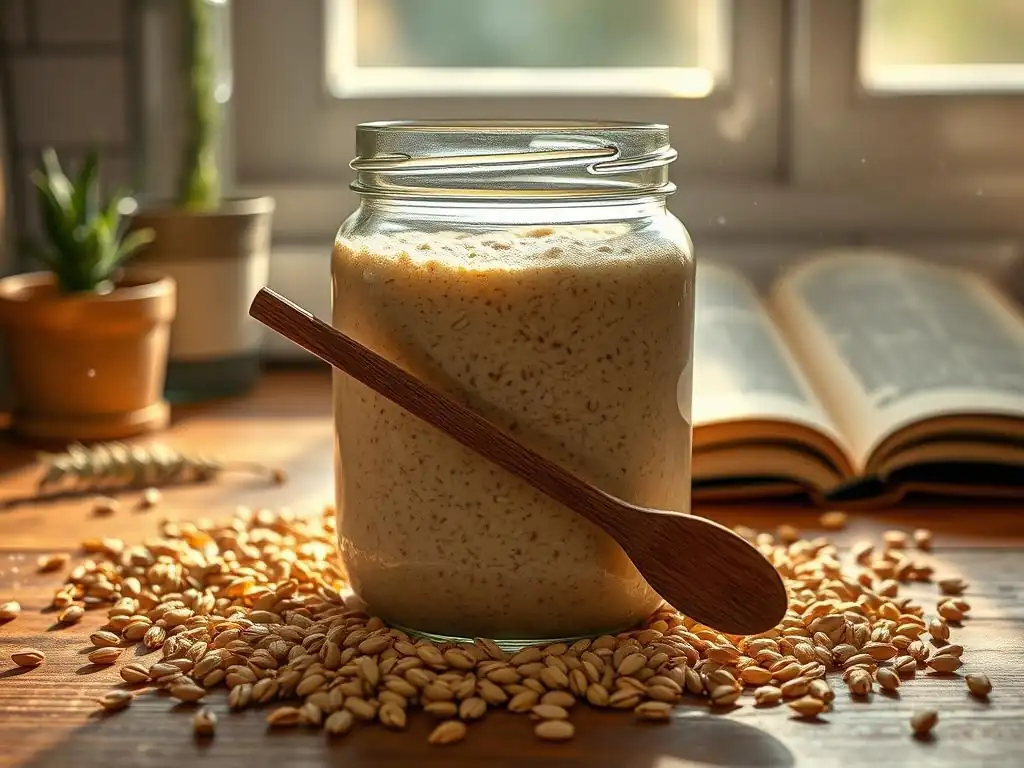
Begin your rye sourdough journey by combining 50 grams of rye flour and 50 grams of lukewarm non-chlorinated water in your clean glass jar. Stir the mixture thoroughly with a spoon or spatula until no dry flour remains and you have a thick, paste-like consistency. Ensure all ingredients are well incorporated into a smooth batter. Scrape down the sides of the jar to keep things tidy.
Cover the jar loosely. This allows the natural gases produced by fermentation to escape while preventing airborne contaminants from entering. Place the jar in a warm spot, ideally between 70-80°F (21-27°C). A kitchen counter away from direct sunlight or inside a turned-off oven with the light on can work. Mark the initial level of the starter on the jar with a rubber band or marker. Leave it undisturbed for 24 hours.
Day 2: Observing and Waiting for Activity in Your Rye Starter
On day two, observe your rye starter. You might notice tiny bubbles forming on the surface or throughout the mixture, or a slight increase in volume. It may also start to smell faintly fermented, perhaps a little like beer or slightly sour. These are all positive signs that microbial activity has begun. However, it's also perfectly normal if you see very little change; starter activity varies based on ambient temperature and the specific microbes present in your flour and environment.
Do not feed the starter on day two. Simply observe its progress. The microbes are still in their initial stages of colonization and proliferation. Giving them another 24 hours without fresh food allows them to work through the available nutrients and establish a stronger population before you begin the regular feeding cycle. Continue to keep the starter in a warm location and covered loosely.
Day 3-7: The Feeding Schedule for a Robust Rye Starter
Starting on Day 3, you will begin a regular feeding schedule, typically once every 24 hours. Before feeding, discard about half (roughly 50 grams) of the starter. This step is crucial as it removes waste products, reduces the starter volume to a manageable size, and ensures there's ample new food for the remaining microbes. Then, add 50 grams of fresh rye flour and 50 grams of lukewarm non-chlorinated water to the remaining starter in the jar. Mix thoroughly until smooth.
Continue this daily feeding routine (discarding roughly half and feeding with 50g flour and 50g water) through Day 7 or until your starter shows consistent signs of readiness. During this period, you'll likely observe fluctuating activity. You might see a significant rise on Day 3 or 4, followed by a lull on Day 5 or 6. This lull is normal as different microbial populations compete and stabilize. By Day 7, a healthy rye starter should be consistently doubling or even tripling in size within 4-8 hours after feeding and have a bubbly texture and a pleasant, tangy aroma.
Recognizing Signs of a Healthy and Active Rye Starter
A healthy and active rye starter exhibits several key indicators. The most obvious is consistent volume increase after feeding. Within a few hours (typically 4 to 8 hours at room temperature), your starter should double or even triple in size, reaching a peak before slowly deflating. You can use a rubber band to mark the level immediately after feeding to easily track its rise.
Visually, an active rye starter will be full of bubbles, both on the surface and throughout the mixture. The texture should be light and airy, not dense and paste-like after it rises. The smell is also a crucial indicator; a healthy starter will have a pleasant, tangy aroma reminiscent of yogurt, ripe fruit, or mild beer.
Avoid strong, unpleasant odors like acetone (nail polish remover) or cheese, which can indicate issues. A reliable test for baking readiness is the float test: drop a small spoonful of starter into a glass of water; if it floats, it's typically ready to use.
Troubleshooting Common Rye Starter Problems
Addressing Slow Activity in Your Rye Starter
If your rye starter is sluggish or not showing much activity, several factors could be contributing. The most common culprit is temperature; sourdough starters thrive in warmer environments, ideally between 75-80°F (24-27°C). If your kitchen is cool, finding a warmer spot is essential. Consider using a proofing box, placing the jar in a warm oven with the light on, or using a seedling heat mat.
Another reason for slow activity can be inconsistent feeding or using chlorinated water. Ensure you are feeding at regular intervals (every 24 hours initially, then perhaps every 12 hours if trying to boost activity) and using non-chlorinated water.
Sometimes, simply giving the starter more time can help; microbial populations take time to establish. If after a week or two of consistent feeding at a good temperature it's still slow, you could try slightly increasing the feeding ratio (e.g., feeding with 100g flour and 100g water instead of 50g/50g for a few days) to provide a larger food source relative to the starter volume.
Dealing with Kahm Yeast or Unpleasant Smells in Your Rye Starter
Occasionally, you might encounter issues like Kahm yeast or off-putting smells. Kahm yeast appears as a white, powdery or film-like layer on the surface of the starter. It's harmless but can impart an off-flavor. Unpleasant smells, particularly strong acetone or cheesy odors, often indicate that the starter is hungry and producing alcohol or other byproducts as it consumes its food.
To address Kahm yeast, simply scrape it off the surface. For off smells, or if Kahm yeast is persistent, it's often best to discard a larger portion of the starter than usual (e.g., discard 80-90%) before feeding. Feed the remaining small amount with fresh flour and water at your regular ratio. Ensure you are feeding frequently enough for your room temperature (daily at room temp, possibly twice daily if very warm). Maintaining a consistent feeding schedule and storing the starter properly (not letting it go too long between feeds) are key to preventing these issues.
Maintaining a Consistent Feeding Schedule for Optimal Rye Starter Growth
Consistency in feeding is perhaps the most critical factor for developing and maintaining a strong, reliable rye starter. Just like following a precise whole wheat starter recipe, a consistent routine allows the yeast and bacteria to thrive and maintain a healthy balance. Skipping feeds or feeding at irregular intervals can weaken the starter, lead to off-flavors, and make its activity unpredictable.
For a starter kept at room temperature, daily feeding is standard. If you want a very active starter for baking or live in a warm environment (above 78°F or 26°C), you might need to feed twice a day, roughly 12 hours apart. When storing the starter in the refrigerator, feeding once a week is usually sufficient. Regardless of the frequency, performing the discard and feed steps around the same time each day helps establish a strong, predictable culture that is ready to bake with when you need it.
Using Your Rye Starter: Baking Delicious Sourdough Bread
Converting Your Rye Starter for Different Sourdough Recipes
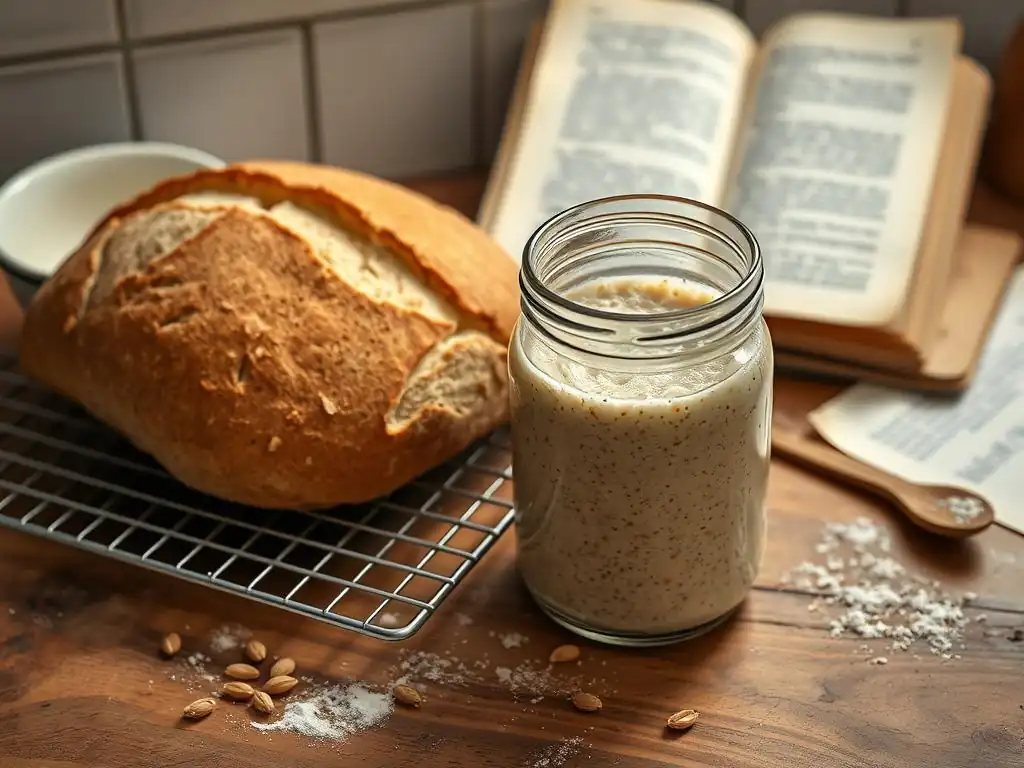
Once your rye starter is active and robust, you can use it in a wide variety of sourdough recipes, not just those specifically calling for rye. Many recipes are written for starters made with white bread flour or a whole wheat starter recipe. When converting, consider the hydration of your rye starter (typically 100% hydration if using equal weights of flour and water) and the recipe's starter hydration. You might need to slightly adjust the total flour and water in the main dough to compensate.
Additionally, remember that rye flour absorbs more water than wheat flour. While your starter is 100% hydration, the rye flour within it holds onto moisture differently. When substituting a rye starter into a recipe designed for a white flour starter, the dough might feel slightly different. Start by substituting the starter 1:1 by weight, then make small adjustments to the water in the main dough if needed based on feel, adding a little less water initially and adding more only if the dough feels too dry.
Baking a 100% Rye Sourdough Loaf
Baking a loaf using 100% rye flour and your rye starter is a rewarding experience that highlights the unique qualities of rye. Unlike wheat, rye flour has very little gluten. This means rye doughs are sticky, don't develop traditional gluten structure through kneading, and won't form a classic airy crumb with large holes. Instead, expect a dense, moist, and flavorful loaf.
A basic approach involves mixing your active rye starter with rye flour, water, and salt. Hydration levels for 100% rye doughs are often lower than wheat doughs, perhaps around 80-90% hydration relative to the total flour weight. Fermentation times can be shorter, and shaping is less about tension and more about forming a cohesive mass.
Baking is often done in a loaf pan to support the structure-less dough, often starting at a high temperature (e.g., 450°F or 230°C) for the first 15-20 minutes, then reducing it (e.g., 375°F or 190°C) to finish baking thoroughly. The result is a deeply flavored, hearty bread.
Tips for Maintaining a Healthy & Active Rye Starter Long-Term
Storing Your Rye Sourdough Starter Properly
Proper storage is key to keeping your rye starter healthy and active long-term, whether you bake daily or occasionally. If you bake frequently (several times a week), keeping your starter at room temperature with daily feeding is ideal for peak activity. Store it in a cool spot on the counter, away from direct sunlight.
For less frequent baking (once a week or less), refrigerator storage is the most convenient method. After feeding, let the starter sit at room temperature for 1-2 hours to start activating, then place it in the fridge. The cold temperatures slow down microbial activity significantly. When stored in the refrigerator, you only need to feed it about once a week. Before baking, take it out and feed it at room temperature for 1-2 cycles until it shows its usual robust activity (doubling within 4-8 hours).
Reviving a Dormant Rye Starter After Storage
Reviving a rye starter that has been stored in the refrigerator is a straightforward process. Take the starter out of the fridge and let it come to room temperature for an hour or two. Discard most of the starter, leaving only a small amount (e.g., 20-30 grams). Feed this remaining starter with fresh rye flour and water, typically using a 1:1:1 ratio (e.g., 20g starter, 20g rye flour, 20g water) or a 1:2:2 ratio (20g starter, 40g rye flour, 40g water) if you want to build volume faster.
Mix well, cover loosely, and place it in a warm spot. Observe its activity over the next 12-24 hours. You may need to feed it again, discarding and feeding with fresh flour and water, every 12 or 24 hours until it consistently doubles or triples in size within a predictable timeframe after feeding. This usually takes 1 to 3 feeding cycles depending on how long it was stored and the temperature. Once it's reliably active, it's ready for baking or returning to its regular feeding schedule.
The Importance of Regular Feeding for a Strong Rye Starter
Regular feeding is the lifeblood of a strong rye sourdough starter. Each feeding cycle provides fresh carbohydrates (sugar from the flour) for the yeast and bacteria to consume and helps dilute the acidic waste products they create. Think of it like tending a garden; consistent watering and nutrients keep the plants healthy and productive. Irregular feeding leads to a buildup of acid and waste, weakening the microbes and resulting in a sluggish or inactive starter.
A consistently fed starter maintains a balanced population of yeast and lactic acid bacteria, which is crucial for reliable rising power and desirable flavor development in your bread. Just as adhering to the steps in a whole wheat starter recipe ensures its success, sticking to a regular feeding routine for your rye starter ensures it's always ready to leaven your loaves. This consistency is what allows your starter to reliably double or triple in size and contribute its unique tang to your baking.
The Versatility of Rye Starters: Beyond Bread

Exploring Other Uses for Your Rye Starter Discard
A natural byproduct of maintaining a healthy, regularly fed rye starter is discard – the portion you remove before adding fresh flour and water. While you can simply discard it (hence the name), this slightly tangy mixture is a fantastic ingredient in its own right. It contains active microbes, but not in sufficient quantity to reliably leaven a loaf on its own, especially after refrigeration.
Rye starter discard adds a pleasant sour note and depth of flavor to many baked goods and dishes without requiring the leavening power of a peak-activity starter. Using discard is also a great way to minimize waste and explore new recipes. Its unique flavor profile works particularly well in recipes where you want a touch of tanginess to complement other flavors.
Rye Starter Discard Crackers
One of the simplest and most popular uses for rye starter discard is making crackers. This is a quick way to use up discard and results in wonderfully crispy, flavorful snacks. A basic recipe involves combining rye starter discard with a bit of flour, salt, and often some fat like olive oil or melted butter. You can also add seeds, herbs, or spices for extra flavor.
A typical ratio might be 1 cup of discard, 1/2 cup of flour, 2 tablespoons of oil, and 1/2 teaspoon of salt, plus any desired additions. The mixture is rolled out very thinly on parchment paper and then baked. Baking time and temperature vary, but often around 325-350°F (160-175°C) for 20-30 minutes, or until golden brown and crisp. The result is a batch of rustic, tangy crackers perfect for pairing with cheese or dips.
Conclusion: Embrace the Flavor of Rye Sourdough
The Rewards of Baking with a Homemade Rye Starter
Creating and baking with your own homemade rye starter is a deeply rewarding aspect of the sourdough journey. You cultivate a living culture that brings unique character, depth, and a wonderfully tangy flavor to your bread and other baked goods. The robust nature of a rye starter often makes it a forgiving and reliable companion in the kitchen, proving that even complex-sounding baking projects like sourdough are achievable with patience and practice.
The satisfaction of pulling a loaf of bread from the oven, knowing it was leavened by a starter you nurtured yourself, is immense. A rye starter, with its distinct qualities and resilience, offers a slightly different, yet equally fulfilling, path in the world of sourdough compared to a whole wheat starter recipe or one made with white flour. It opens the door to exploring traditional rye breads and adding a unique tang to a variety of recipes.
Continue Your Sourdough Journey
Cultivating a rye starter is just one exciting step in the vast world of sourdough baking. As your starter matures and becomes a reliable partner, don't hesitate to experiment. Try adjusting your feeding ratios, exploring different hydration levels in your doughs, or incorporating other flours alongside rye.
Your active rye starter can be the foundation for countless delicious creations, from rustic loaves to pancakes, muffins, and more using the discard. Keep baking, keep experimenting, and enjoy the process of mastering sourdough. There's always something new to learn, whether it's perfecting your shaping technique or exploring how different flours, like those used in a whole wheat starter recipe, impact the final bake.
Frequently Asked Questions
How is a whole wheat starter recipe different from a regular starter recipe?
A whole wheat starter recipe differs from a regular starter recipe primarily due to the type of flour used. Whole wheat flour contains the bran and germ, providing more nutrients and natural yeasts, leading to a faster and more robust starter.
What makes a whole wheat starter recipe "robust"?
The "robustness" of a whole wheat starter recipe refers to its ability to rise quickly and consistently, produce active bubbles, and leaven bread effectively. This is achieved by the higher nutrient content present in whole wheat flour, which feeds the yeast and bacteria.
How often should I feed my whole wheat starter recipe?
Feeding frequency for a whole wheat starter recipe depends on its age and temperature. Generally, feed it once or twice a day at room temperature. Adjust based on the starter's activity; a more active starter may need more frequent feedings.
What are some signs that my whole wheat starter recipe is ready to use?
A ready-to-use whole wheat starter recipe will have doubled in size after feeding, exhibit abundant bubbles throughout, and have a slightly tangy, yeasty aroma. It should also pass the float test.
Can I convert my existing white flour starter to a whole wheat starter recipe?
Yes, you can convert your existing white flour starter by gradually replacing a portion of the white flour with whole wheat flour during each feeding. Over a few days, the starter will adapt to using whole wheat flour and become a whole wheat starter recipe.
Final Reflection: The Enduring Power of the Whole Wheat Starter
The humble whole wheat starter, a cornerstone of sourdough baking, is experiencing a resurgence, proving that age-old techniques are not only relevant today but also offer a pathway to more sustainable and flavorful food. This isn't just about a recipe; it's about connecting with a tradition, understanding the power of fermentation, and creating something truly unique from simple ingredients.
The journey of nurturing a whole wheat starter is a microcosm of the larger human experience: patience, nurturing, and a deep appreciation for the natural world are all required. It's a process that demands attention and care, mirroring the mindful approach we should take with our food systems. Bread is the staff of life,
a simple phrase that speaks volumes about the importance of this fundamental food, and the starter, the very beginning of that journey, holds a special place in that process.
Now, consider your own kitchen. Imagine the possibilities: the aroma of freshly baked bread, the satisfying chew of a perfectly risen loaf, the pride in creating something from scratch. This isn't just about baking a loaf; it's about embracing a slower, more intentional way of life. Will you embark on this journey? Will you nurture your own whole wheat starter and discover the magic within? The answer, my friend, lies in your hands.
Unleash Your Inner Baker: Craft Your Perfect Whole Wheat Starter!
Thanks for diving deep into the world of whole wheat sourdough! You've now got the knowledge to create a truly robust and flavorful starter. Ready to put your newfound skills to the test?
- Begin your whole wheat starter journey today! Gather your ingredients and follow the detailed steps outlined in the article. Don't be afraid to experiment – that's half the fun!
- Share your starter's progress with us! We'd love to see your photos and hear about your experiences on our BakeWithEase forum (we'll add a link later if you want to see it).
- Consider documenting your journey: Start a baking journal to track your starter's evolution and record your bread-making successes (and even the occasional mishaps! ).
What unique flavor profile will your whole wheat starter develop? Let's discuss!