
Easy Steps for a Flaky Tart Crust

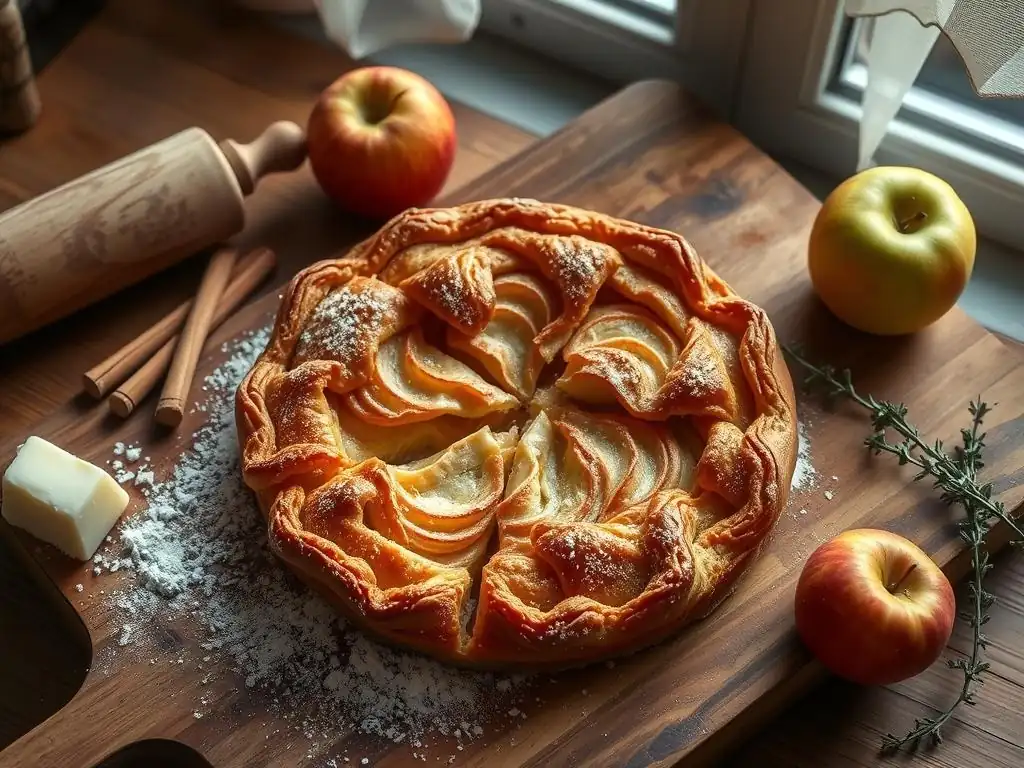
Welcome to BakeWithEase, your kitchen companion for all things baking! Ever dream of creating a perfectly flaky tart crust that melts in your mouth? You're in the right place. We'll guide you through simple steps to achieve baking brilliance, starting with our easy-to-follow flaky tart crust recipe below. Discover the secret to a light, buttery texture and unlock a world of delicious possibilities. Ready to get started?
- Introduction to the Perfect Flaky Tart Crust
- Understanding the Ingredients for a Flaky Tart Crust Recipe
-
Step-by-Step Guide to Making a Flaky Tart Crust
- Step 1: Preparing the Ingredients (Cold Butter, Flour Mixture)
- Step 2: Combining the Ingredients for the Tart Dough
- Step 3: Adding Water and Forming the Dough
- Step 4: Chilling the Tart Dough
- Step 5: Rolling Out the Tart Dough
- Step 6: Transferring the Dough to the Tart Pan
- Step 7: Crimping and Shaping the Tart Crust Edge
- Step 8: Pre-Baking (Blind Baking) Your Tart Crust
- Step 9: Baking the Flaky Tart Crust to Golden Perfection
- Troubleshooting Common Tart Crust Problems
- Tips for a Flaky Tart Crust Every Time
- Variations on the Basic Flaky Tart Crust Recipe
- Serving and Storing Your Flaky Tart Crust
- Conclusion: Enjoy Your Homemade Flaky Tart Crust
-
Frequently Asked Questions
- What makes a tart crust flaky?
- Can I use shortening instead of butter in a flaky tart crust recipe?
- What's the key to keeping the butter cold when making a flaky tart crust?
- Why is it important not to overmix the dough for a flaky tart crust?
- What's the best way to prevent shrinking when blind-baking a flaky tart crust?
- Final Reflection: The Enduring Allure of a Perfectly Flaky Tart Crust
- Unleash Your Inner Pastry Chef!
Introduction to the Perfect Flaky Tart Crust
Why a Flaky Tart Crust is Essential for Baking Success
A truly flaky tart crust is the hallmark of a successful tart, offering a delightful textural contrast to smooth or soft fillings. Imagine biting into a vibrant fruit tart or a rich quiche, and experiencing layers of crisp, buttery pastry yielding under your fork. This desirable flakiness comes from the way fat is incorporated into the flour, creating distinct layers that separate during baking. Without this characteristic texture, a tart can feel heavy, tough, or simply uninspired, diminishing the overall enjoyment of your baked creation.
Mastering the flaky tart crust recipe is a foundational skill for any baker, especially beginners looking to elevate their pastry game. It transforms simple ingredients into something special, providing a sturdy yet delicate vessel for endless sweet and savory fillings. Unlike a crumbly shortcrust or a tough, bread-like dough, a properly made flaky crust is light, airy, and utterly delicious on its own, proving that the crust is just as important as what's inside.
BakeWithEase's Guide to Mastering Tart Crusts
At BakeWithEase, we believe that creating a perfect flaky tart crust recipe shouldn't be intimidating. It relies on understanding a few key principles and executing simple techniques consistently. This guide is designed to walk you through each step, demystifying the process and empowering you to create beautiful, delicious tarts every time. We'll cover everything from selecting the right ingredients to troubleshooting common issues.
Whether you're aiming for a classic apple tart, a savory spinach quiche, or a delicate lemon tart, starting with a reliable, flaky base is crucial. Our step-by-step approach breaks down the process into manageable parts, focusing on the 'why' behind each action. By the end of this guide, you'll feel confident tackling any flaky tart crust recipe and impressing yourself and others with your baking prowess.
Understanding the Ingredients for a Flaky Tart Crust Recipe
The Importance of Cold Butter in a Tart Crust
Cold butter is arguably the most critical ingredient for achieving a flaky tart crust. When cold butter is cut into the flour, it remains in small, distinct pieces. As the dough bakes, these cold butter pieces melt, releasing steam. This steam pushes apart the layers of dough surrounding the butter, creating those desirable air pockets and separation that result in flakiness. If the butter is warm or melted, it blends too thoroughly with the flour, leading to a more cookie-like or tough texture rather than distinct layers.
To maximize flakiness, the butter should be very cold, ideally straight from the refrigerator, or even briefly chilled in the freezer after cubing. Cutting the butter into small, uniform pieces, roughly the size of peas or smaller (about 1/2 inch or 1 cm cubes), helps ensure it's evenly distributed throughout the flour mixture without becoming too warm during the mixing process. Some bakers even recommend grating frozen butter for maximum coldness and even distribution.
Flour Selection for an Extra Flaky Crust
The type of flour you choose also plays a role in the outcome of your flaky tart crust. All-purpose flour is the most common and reliable choice for a flaky tart crust recipe. It contains a moderate amount of protein (typically 10-12%), which allows for some gluten development – just enough to give the dough structure, but not so much that it becomes tough, provided you handle it minimally.
While some recipes might suggest lower-protein pastry flour for tenderness, all-purpose flour provides a good balance of structure and potential flakiness. Avoid using high-protein bread flour, as its higher gluten content will almost certainly result in a tough crust when handled. Precision in measuring flour is also key; spooning flour into your measuring cup and leveling it off, rather than scooping directly from the bag, helps prevent using too much flour, which can make the dough dry and less flaky. Approximately 1 cup of all-purpose flour weighs around 120-130 grams.
The Role of Water in a Perfect Tart Dough
Water is necessary to hydrate the flour, allowing the dough to form and hold together. However, it's also the ingredient that activates gluten development. Therefore, using ice-cold water is essential for a flaky tart crust recipe. Cold water helps keep the butter pieces firm and slows down the hydration of the flour, minimizing gluten formation during the mixing process.
The amount of water needed can vary depending on the flour's moisture content and the humidity in your kitchen, but typically ranges from about 1/4 to 1/2 cup (4-8 tablespoons) for a standard 1.5 to 2 cups of flour. It's crucial to add the water gradually, sprinkling it over the flour/butter mixture and mixing just until the dough barely comes together. Using too much water is a common cause of tough crusts, while too little results in a dry, crumbly dough that's difficult to roll.
Other Key Ingredients: Salt and Sugar
While cold butter, flour, and water are the structural components, salt and sugar contribute significantly to the flavor and texture of a flaky tart crust. Salt is vital for enhancing the overall taste, balancing the richness of the butter and the sweetness (or savoriness) of the filling. Use fine salt, such as table salt or fine sea salt, to ensure it dissolves and distributes evenly throughout the dough, typically around 1/2 teaspoon per standard recipe.
Sugar, while optional in savory crusts, adds a touch of sweetness that complements many fillings and also aids in browning, giving the crust a lovely golden hue. It also contributes to the tenderness of the crust by interfering with gluten development. For a basic flaky tart crust recipe, 1 to 2 tablespoons of granulated sugar is often sufficient, even for savory applications, as it balances the flavor without making the crust overtly sweet. Be mindful that too much sugar can make the dough more fragile and prone to crumbling.
Step-by-Step Guide to Making a Flaky Tart Crust
Step 1: Preparing the Ingredients (Cold Butter, Flour Mixture)
Begin by combining your dry ingredients. In a large bowl, whisk together the measured all-purpose flour, salt, and sugar (if using). Whisking helps to evenly distribute the salt and sugar throughout the flour. For a standard 9-inch tart crust recipe, you might start with around 1.5 to 2 cups of flour, 1/2 teaspoon of salt, and 1-2 tablespoons of sugar.
Next, prepare your cold butter. Cut 1 to 1.5 sticks (about 4-6 ounces or 115-170 grams) of very cold unsalted butter into small cubes, approximately 1/2 inch (1 cm) in size. Add these cold butter cubes directly to the bowl with the dry ingredients. Ensure the butter remains cold during this step; if your kitchen is warm, work quickly or briefly pop the cubed butter back into the fridge.
Tips for Keeping Your Butter Cold
- Use butter straight from the refrigerator or freezer.
- Cut the butter quickly with a sharp knife.
- If working in a warm environment, place the cut butter back in the fridge for 5-10 minutes before adding it to the flour.
- Consider chilling your mixing bowl and pastry blender or food processor blade beforehand.
Step 2: Combining the Ingredients for the Tart Dough
The goal of this step is to cut the cold butter into the flour mixture until it resembles coarse meal with some larger, pea-sized pieces of butter still visible. These larger pieces are key to developing flakiness. You can achieve this using a pastry blender, two forks, your fingertips, or a food processor. If using a pastry blender or forks, work the butter into the flour until the desired texture is reached.
If using your fingertips, work quickly, rubbing the butter into the flour until it forms small flakes and some pea-sized lumps. Avoid overworking, as the heat from your hands can melt the butter. With a food processor, pulse the mixture in short bursts (5-10 pulses) until the desired texture is achieved. The mixture should look uneven – this is good!
The Key to Preventing Gluten Development
- Keep ingredients, especially water, cold.
- Handle the dough as little as possible.
- Do not knead the dough like bread.
- Chill the dough thoroughly before rolling and baking.
Step 3: Adding Water and Forming the Dough
Now, it's time to add the ice-cold water. Start by adding a small amount, perhaps 4 tablespoons (1/4 cup), sprinkling it evenly over the flour and butter mixture. Use a fork or your hands to gently incorporate the water. Continue adding water, 1 to 2 tablespoons at a time, mixing just until the dough begins to clump together and hold its shape when squeezed.
Be cautious not to add too much water. The dough should just come together and still look a bit shaggy, not wet or sticky. You might not need all the water specified in a recipe. The total amount could range from 4 to 8 tablespoons for a typical flaky tart crust recipe. Stop adding water as soon as the dough forms a cohesive mass.
Achieving the Right Dough Consistency
- The dough should hold together when you gently squeeze a handful.
- It should not stick excessively to your hands or the bowl.
- It will still look slightly dry and shaggy, with visible bits of butter.
- If it's too dry and crumbly, add 1/2 to 1 teaspoon more ice water at a time.
- If it's too wet, sprinkle a tiny bit of flour over it and gently incorporate, but avoid adding much more flour.
Step 4: Chilling the Tart Dough
Once the dough has just come together, turn it out onto a lightly floured surface. Gently gather it into a ball, then flatten it into a disc about 1 inch thick. If making a double-crust tart or two smaller tarts, divide the dough in half and form two discs. Wrap the disc(s) tightly in plastic wrap, pressing out any air.
Chilling the dough is a non-negotiable step for a flaky tart crust recipe. It allows the butter to firm up again, ensuring those crucial layers separate during baking. It also gives the gluten time to relax, which makes the dough easier to roll and prevents shrinkage during baking. Chill the dough in the refrigerator for at least 30 minutes, but ideally 1 to 2 hours.
Why Chilling is Crucial for Flakiness
- Firms up the butter pieces, preserving their layered structure.
- Relaxes the gluten, making the dough pliable and preventing toughness.
- Makes the dough easier to handle and roll without sticking.
- Helps prevent the crust from shrinking excessively during baking.
Step 5: Rolling Out the Tart Dough
When you're ready to roll, remove the dough from the refrigerator and let it sit at room temperature for 5-10 minutes if it's too hard (though it should still be quite cold). Lightly flour your work surface and rolling pin. Place the dough disc in the center and begin rolling from the center outwards, rotating the dough frequently to prevent sticking and to help it roll into an even circle.
Roll the dough to a thickness of about 1/8 to 1/4 inch (3-6mm). For a standard 9-inch tart pan, you'll need to roll a circle approximately 12 inches (30 cm) in diameter to account for the sides and overhang. If the dough becomes too soft or sticky while rolling, slide it onto a baking sheet and pop it back into the fridge for 10-15 minutes to firm up before continuing.
Techniques for Even Rolling
- Start rolling from the center of the disc outward.
- Rotate the dough a quarter turn after every few rolls.
- Use light, even pressure on the rolling pin.
- Ensure your surface and rolling pin are lightly floured, but don't use excessive flour, which can make the dough dry.
- For very warm kitchens, consider rolling the dough between two sheets of parchment paper or plastic wrap.
Step 6: Transferring the Dough to the Tart Pan
Carefully transfer the rolled-out dough to your tart pan. A common method is to gently roll the dough around your rolling pin, then position the pin over the tart pan and unroll the dough. Alternatively, you can gently fold the dough in half or quarters before lifting and unfolding it into the pan.
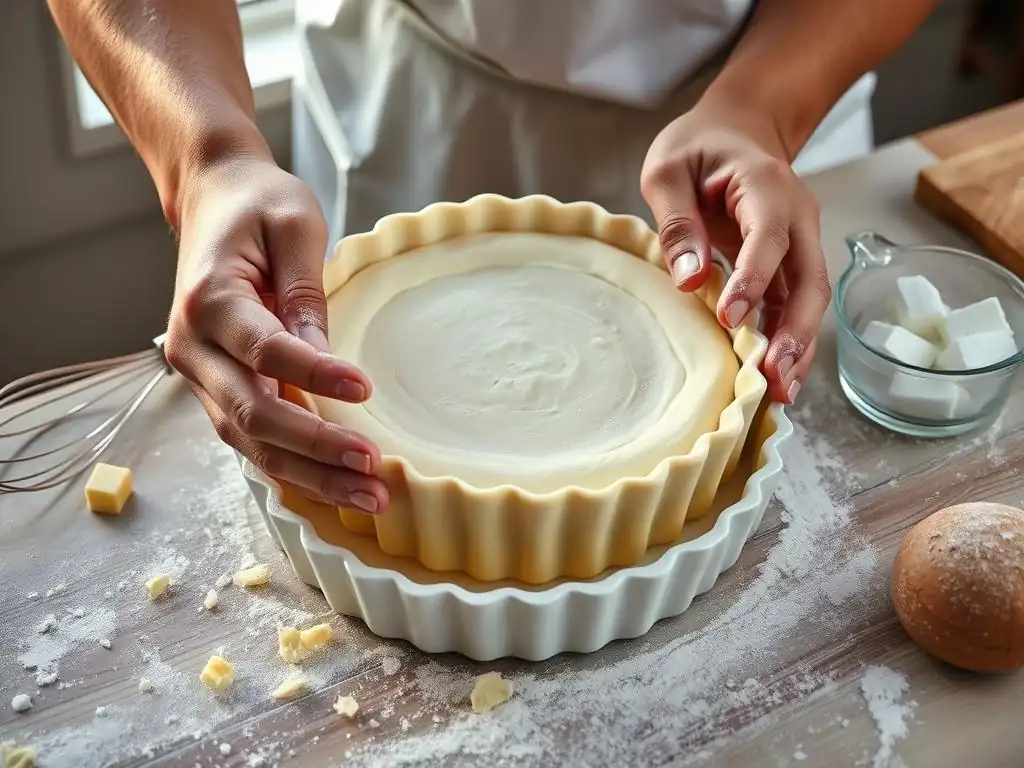
Once the dough is in the pan, gently press it into the bottom and up the sides, ensuring it fits snugly into the flutes (if your pan has them). Be careful not to stretch the dough, as stretching can cause it to shrink back significantly during baking. Allow the dough to settle naturally into the pan shape. Leave a generous overhang of about 1 inch (2.5 cm) around the edge of the pan.
Preventing Cracks and Tears
- Ensure your dough is cold but not brittle before rolling.
- Roll the dough to an even thickness.
- Handle the dough gently during the transfer process.
- If small cracks appear, especially around the edges, you can patch them by wetting the crack slightly with water and pressing a piece of scrap dough over it, blending gently.
Step 7: Crimping and Shaping the Tart Crust Edge
Once the dough is fitted into the pan, trim the excess dough around the edge, leaving about a 1-inch (2.5 cm) overhang. Now, carefully tuck this overhang underneath, pressing it gently against the rim of the tart pan. This creates a reinforced edge that is less likely to slump during baking and provides a nice, substantial border for crimping.
Now, you can shape the edge decoratively. The simplest method is to use the tines of a fork to press indentations all around the rim. For a classic finger crimp, use the thumb and index finger of one hand on the outside of the edge and the index finger of your other hand to push the dough outwards from the inside, creating a wavy pattern. Get creative with different tools or techniques!
Decorative Crimping Techniques
- Finger Crimp: Creates a classic wavy edge by pushing dough outwards from the inside with one finger while supporting the outside with thumb and index finger.
- Fork Crimp: Simple indentations made by pressing the tines of a fork around the edge.
- Rope Edge: Twist two thin strands of dough together and press them onto the rim.
- Cutouts: Use small cookie cutters to create shapes from dough scraps and press them onto the edge.
Step 8: Pre-Baking (Blind Baking) Your Tart Crust
For tarts with wet fillings (like quiches, custards, or some fruit fillings), blind baking is a critical step to prevent a soggy bottom. This involves partially or fully baking the crust before adding the filling. First, chill the shaped tart shell in the refrigerator for at least 30 minutes (or the freezer for 15 minutes) to firm it up.
Preheat your oven to around 375°F (190°C). Line the chilled crust with parchment paper or foil, pressing it gently into the corners and up the sides. Fill the lined crust with pie weights, dried beans, or rice, distributing them evenly and ensuring they go up the sides to support the edges. Bake for 15-20 minutes, or until the edges look set and slightly pale.
Carefully remove the weights and paper. If the bottom looks wet, prick it lightly with a fork a few times. Continue baking for another 10-25 minutes, depending on whether you need a partial bake (bottom still pale) or a full bake (bottom golden brown).
Preventing a Soggy Bottom
- Always blind bake the crust before adding wet fillings.
- Ensure the shaped crust is well-chilled before blind baking.
- Use pie weights, beans, or rice to support the sides during the initial bake.
- Bake at a sufficiently hot temperature (e.g., 375°F / 190°C) to help the bottom set quickly.
- For sweet tarts, brushing the partially baked bottom with a thin layer of egg white or melted chocolate and baking for a few more minutes can create a moisture barrier.
Step 9: Baking the Flaky Tart Crust to Golden Perfection
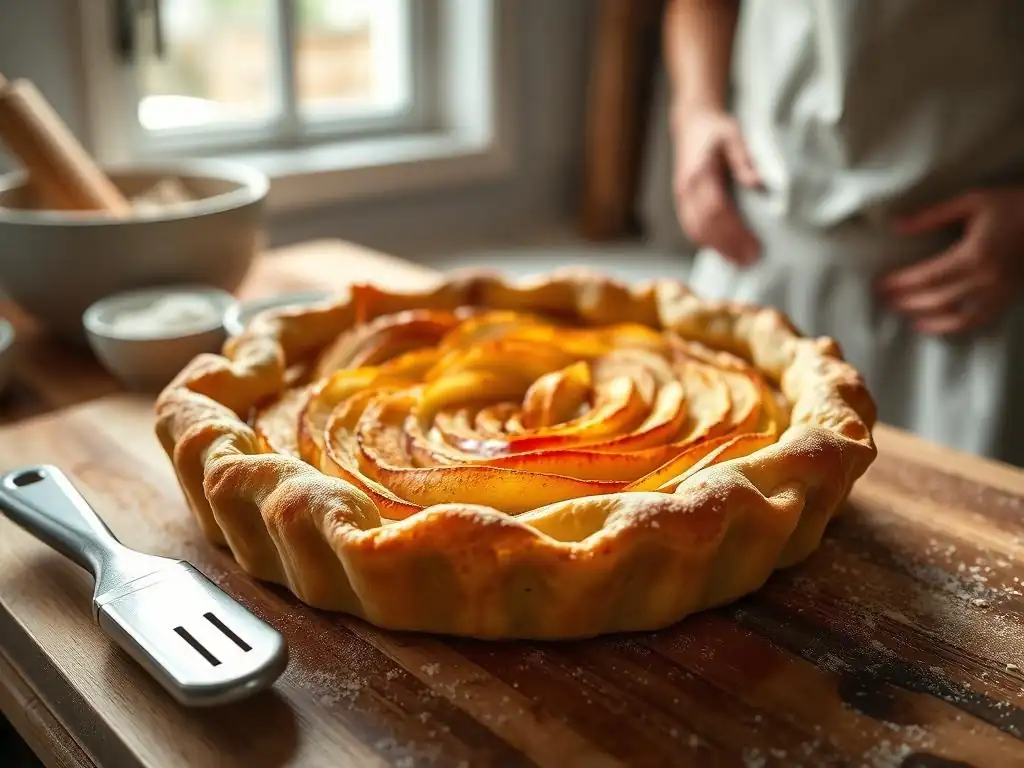
Whether you're finishing a blind bake or baking the crust with a filling, the final step is achieving that perfect golden-brown color. The baking time and temperature will vary significantly depending on whether you're baking an unfilled shell or a filled tart, and what the filling is. However, the visual cue for a properly baked flaky tart crust is a beautiful, even golden hue across the entire surface, including the bottom.
For a fully blind-baked shell, total baking time might be around 30-45 minutes at 375°F (190°C). If baking with a filling, you'll follow the recipe for the filling, but keep an eye on the crust. Baking temperatures often range from 350°F to 400°F (175°C to 200°C). If the edges start browning too quickly before the rest of the crust or filling is done, you can loosely cover the edges with foil strips or a pie shield. A properly baked flaky tart crust recipe will be crisp, layered, and visually appealing.
Baking Time and Temperature Guide
- Blind Baking (with weights): Approximately 15-20 minutes at 375°F (190°C).
- Blind Baking (without weights, partial bake): Approximately 10-15 minutes at 375°F (190°C), until bottom is set but still pale.
- Blind Baking (without weights, full bake): Approximately 20-25 minutes at 375°F (190°C), until bottom is golden brown.
- With Filling: Follow specific recipe instructions, but typical temperatures are 350-400°F (175-200°C) for varying times (35-60+ minutes), until filling is set and crust is golden.
Troubleshooting Common Tart Crust Problems
My Tart Crust is Tough: What Went Wrong?
A tough tart crust is a common frustration and is almost always a result of overdeveloping gluten. Gluten is a protein structure that forms when flour is hydrated and manipulated (mixed, kneaded). While some gluten is needed for structure, too much makes the crust dense and chewy rather than light and flaky.
The main culprits are using too much water, using warm water, or overworking the dough during mixing or rolling. Remember, you only need enough water for the dough to just come together. Handle the dough minimally and gently; stop mixing as soon as it forms a cohesive mass. Ensuring your ingredients are cold and chilling the dough properly also helps prevent excessive gluten development, leading to a tender, flaky tart crust recipe.
Preventing Shrinkage During Baking
Crust shrinkage occurs when the dough is stretched while being fitted into the pan, or when the dough is not sufficiently relaxed before baking. Gluten, once activated, has elastic properties and will try to contract when heated, pulling the dough away from the sides of the pan.
To minimize shrinkage, avoid stretching the dough when pressing it into the tart pan; instead, gently ease it in. Ensure you leave adequate overhang (about 1 inch) before trimming and tucking it under to create a thicker, more stable edge. Most importantly, give the dough ample time to chill and rest in the refrigerator (at least 30 minutes, ideally 1-2 hours) after shaping it in the pan and before baking. Blind baking with weights also helps hold the shape.
Avoiding a Soggy Tart Crust Bottom
A soggy bottom is a frequent issue, particularly with moist or liquid-based fillings like quiches, custards, or juicy fruit. It happens when the moisture from the filling seeps into the bottom crust before it has a chance to fully bake and set.
The most effective way to prevent a soggy bottom is through blind baking. Bake the crust partially or fully until the bottom is set and no longer looks wet before adding the filling. Ensuring your oven is preheated to the correct temperature (often 375-400°F / 190-200°C for blind baking) helps the bottom crust cook quickly. For sweet tarts, brushing a thin layer of egg white, melted butter, or even a very thin layer of melted chocolate onto the partially baked bottom crust and baking for a few more minutes can create a barrier.
Dealing with Cracks in Your Tart Dough
Cracks can appear in tart dough during rolling or transferring if the dough is too cold and brittle, too dry (not enough water), or handled too roughly. While annoying, small cracks are usually fixable.
If you notice cracks while rolling, you can gently press them together with your fingers. If cracks appear when fitting the dough into the pan, or if there are tears, you can patch them using scraps of dough. Lightly wet the edges of the crack with a tiny bit of water and press a piece of scrap dough over it, smoothing it gently to blend. Ensure your dough has adequate moisture initially and is allowed to soften slightly out of the fridge before rolling if it's very stiff.
Tips for a Flaky Tart Crust Every Time
Use Cold Ingredients: The Golden Rule
This is the absolute foundation of a flaky tart crust recipe. Cold butter creates the layers, and cold water prevents gluten development.
- Use butter straight from the fridge (or briefly frozen).
- Use ice water.
- Keep ingredients cold throughout the process.
Don't Overmix the Dough
Mixing too much develops gluten and melts the butter, destroying the potential for flakiness.
- Mix just until the dough barely comes together.
- Stop when it's still a bit shaggy with visible butter pieces.
- Handle gently with hands or use short pulses in a food processor.
Chill, Chill, Chill!
Chilling is essential at multiple stages to firm up butter, relax gluten, and make the dough manageable.
- Chill the dough after mixing (at least 30 mins, ideally 1-2 hours).
- Chill the shaped crust in the pan before blind baking or filling (at least 30 mins).
- If the dough gets warm while rolling, chill it again.
Blind Baking is Your Friend
Blind baking is the best defense against a soggy bottom, ensuring your flaky crust is cooked through and crisp.
- Always blind bake for wet fillings like quiches or custards.
- Use pie weights or beans to support the sides during the initial bake.
- Bake until the bottom is set or golden, depending on the filling.
Variations on the Basic Flaky Tart Crust Recipe
Sweet Tart Crust Recipe Variations
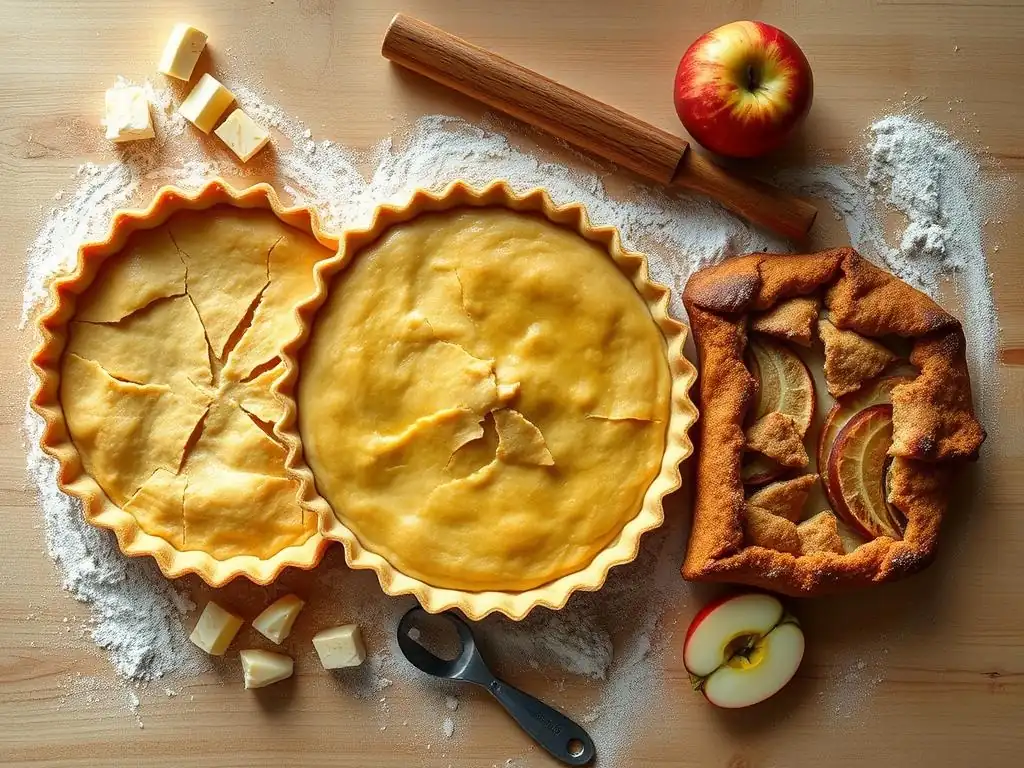
A basic flaky tart crust recipe can easily be adapted for sweet applications. The most common variation involves increasing the amount of sugar used. While a basic crust might use 1-2 tablespoons of sugar per cup of flour, a sweet version might use 3-4 tablespoons or more, depending on the desired sweetness. This extra sugar contributes to a tenderer, more cookie-like texture while still retaining some flakiness from the cold butter technique.
Adding an egg yolk or even a whole egg is another popular way to enrich a sweet tart crust, often resulting in a texture referred to as Pate Sucrée (sweet pastry). An egg adds richness, tenderness, and helps bind the dough, though it can make the crust slightly less dramatically flaky compared to a water-only dough. Flavorings like vanilla extract, almond extract, or citrus zest (lemon or orange) are also wonderful additions to a sweet flaky tart crust recipe, complementing fruit, custard, or chocolate fillings beautifully.
Savory Tart Crust Recipe Variations
For savory tarts like quiches, vegetable tarts, or meat pies, the basic flaky tart crust recipe requires minimal modification – primarily reducing or eliminating the sugar. Use only 1 teaspoon or perhaps no sugar at all per cup of flour, relying solely on the salt for seasoning. The focus remains on achieving a light, flaky texture that provides a pleasing contrast to the often rich or moist savory fillings.
To enhance the flavor of a savory flaky tart crust, consider adding dried herbs (like thyme, rosemary, or chives), freshly ground black pepper, a pinch of cayenne pepper for a subtle kick, or even finely grated hard cheese like Parmesan (add it with the dry ingredients). These additions make the crust an integral part of the savory dish, rather than just a plain container. A well-made savory flaky tart crust is the perfect foundation for a classic Quiche Lorraine or a hearty mushroom and leek tart.
Gluten-Free Flaky Tart Crust Recipe
Creating a truly flaky tart crust recipe without gluten can be more challenging, as gluten provides the structure and elasticity found in traditional wheat-based doughs. However, it is certainly possible with the right blend of gluten-free flours and careful technique. Gluten-free blends often include a mix of flours like rice flour, sorghum flour, or almond flour, combined with starches like tapioca starch, potato starch, or cornstarch.
Many gluten-free pastry recipes rely more heavily on fat (butter, shortening, or a blend) and sometimes include binders like xanthan gum (typically 1/4 to 1/2 teaspoon per cup of gluten-free flour blend) to help the dough hold together. The principles of using cold fat and minimal handling still apply to achieve some level of flakiness, though the texture might be more crumbly or 'short' compared to a wheat flour crust. Specific gluten-free flaky tart crust recipes often require precise measurements and slightly different handling techniques than their wheat counterparts.
Serving and Storing Your Flaky Tart Crust
Best Fillings for a Flaky Tart Crust
A beautifully baked flaky tart crust is a versatile base for a wide array of fillings, both sweet and savory. For sweet applications, classic choices include fruit fillings (think apple, cherry, blueberry, or mixed berry) where the crisp, buttery layers of the crust provide a wonderful contrast to the soft, often slightly tart fruit. Smooth, creamy fillings like lemon curd, pastry cream, chocolate ganache, or various custards also pair exceptionally well, highlighting the delicate texture of the flaky pastry.
On the savory side, a flaky crust is the traditional choice for quiches, from the simple Quiche Lorraine with bacon and cheese to more elaborate vegetable or seafood variations. It's also excellent for savory pies filled with meats, poultry, or roasted vegetables. The richness and flakiness of the crust stand up well to hearty fillings and provide a satisfying bite alongside softer ingredients like eggs or cooked vegetables. The key is that the flaky texture enhances, rather than competes with, the filling.
Proper Storage for Baked and Unbaked Tart Crusts
Proper storage ensures your hard work results in delicious tarts later. Unbaked tart dough is quite forgiving. After forming the disc(s) and wrapping tightly in plastic wrap, it can be stored in the refrigerator for 2-3 days. For longer storage, unbaked dough can be frozen for up to 3-4 months. Thaw frozen dough overnight in the refrigerator before rolling.
Baked tart shells, unfilled, can be stored at room temperature, loosely covered, for 1-2 days. If you need to store them longer, they can be frozen for a month or two; wrap them carefully to prevent breakage. Filled tarts should generally be stored in the refrigerator due to the nature of most fillings (custard, fruit, quiche). Cover the tart loosely with plastic wrap or foil and consume within 2-4 days, depending on the filling's ingredients and freshness. Some fruit tarts or those with stable fillings can sit at cool room temperature for a day, but refrigeration is generally safer.
Conclusion: Enjoy Your Homemade Flaky Tart Crust
Mastering the Art of the Perfect Tart Crust
Creating a flaky tart crust recipe is a rewarding process that elevates any tart you make. While it might seem daunting at first, it boils down to a few core principles: keeping your ingredients, especially butter and water, very cold; incorporating the fat properly to create layers; handling the dough minimally to avoid toughness; and chilling the dough adequately at key stages. Blind baking is also a crucial technique to prevent the dreaded soggy bottom, ensuring your flaky crust is crisp from edge to center.
With practice, these steps will become second nature. Don't be discouraged if your first attempt isn't perfectly flaky; baking is a skill that improves with repetition. By focusing on the techniques outlined in this BakeWithEase guide, you are well on your way to mastering the art of the perfect flaky tart crust. So grab your cold butter, measure your flour, and get ready to create delicious tarts that showcase your newfound pastry skills. Enjoy the process and, most importantly, enjoy the delightful results!
Frequently Asked Questions
What makes a tart crust flaky?
The flakiness comes from layers of fat separating the flour particles. These layers are created by cold butter and minimal mixing, preventing gluten development.
Can I use shortening instead of butter in a flaky tart crust recipe?
Yes, shortening can be used, and often results in a more tender crust. However, butter provides a richer flavor, which many prefer.
What's the key to keeping the butter cold when making a flaky tart crust?
Keep all ingredients as cold as possible. You can even chill the flour and bowl! Work quickly and use cold water when mixing.
Why is it important not to overmix the dough for a flaky tart crust?
Overmixing develops gluten, resulting in a tough, not flaky, crust. Mix only until the dough just comes together, forming a shaggy mass.
What's the best way to prevent shrinking when blind-baking a flaky tart crust?
Prick the bottom of the crust with a fork and use pie weights or dried beans to hold the shape during baking. This prevents the crust from puffing up and shrinking.
Final Reflection: The Enduring Allure of a Perfectly Flaky Tart Crust
The pursuit of the perfect flaky tart crust transcends mere culinary skill; it's a testament to the enduring power of simple ingredients transformed by mindful technique. From humble beginnings in kitchens across the globe, the flaky tart crust remains a symbol of both comfort and sophistication, a delicious canvas for countless sweet and savory creations. Its enduring popularity speaks to a deeper human desire for both beauty and deliciousness, a desire that continues to resonate in today's fast-paced world.
The journey to mastering the flaky tart crust, as detailed in this article, is a microcosm of life itself. It requires patience, attention to detail, and a willingness to embrace imperfection. The best things in life are worth waiting for,
a sentiment that rings particularly true when considering the rewarding experience of biting into a perfectly flaky crust. The subtle nuances of texture – the delicate shatter, the melt-in-your-mouth tenderness – are a testament to the transformative power of careful preparation and a deep understanding of basic ingredients. This process, I believe, mirrors the journey towards achieving any worthwhile goal.
Now, I invite you to step into your kitchen, armed with the knowledge and confidence gained from this article. Don't be afraid to experiment, to adjust the recipe to your own tastes, and to embrace the inevitable imperfections along the way. The true reward lies not just in the perfectly formed tart, but in the journey itself – the satisfaction of creating something beautiful and delicious with your own two hands. So, gather your ingredients, preheat your oven, and embark on your own adventure in flaky tart crust perfection. The journey awaits!
Unleash Your Inner Pastry Chef!
Thanks for taking the time to explore the secrets of a perfect flaky tart crust! We hope you gained valuable insights and are ready to bake something amazing. Now it's time to put your new skills to the test.
- Make your dream tart: Grab those ingredients and bake the tart you've always envisioned! Let the buttery, flaky perfection transport you to pastry heaven. Don't forget to experiment with your favorite fillings.
- Share your baking triumph: Post a picture of your masterpiece on social media and tag us! We'd love to see your creation and celebrate your success. Use #BakeWithEaseTart.
- Explore more baking adventures: Head over to our recipe section to find more delicious recipes to expand your baking repertoire.
What unique twist will you add to your next flaky tart creation? Let's hear your ideas in the comments below!