
Simple NoBake Cheesecake for a StressFree Birthday

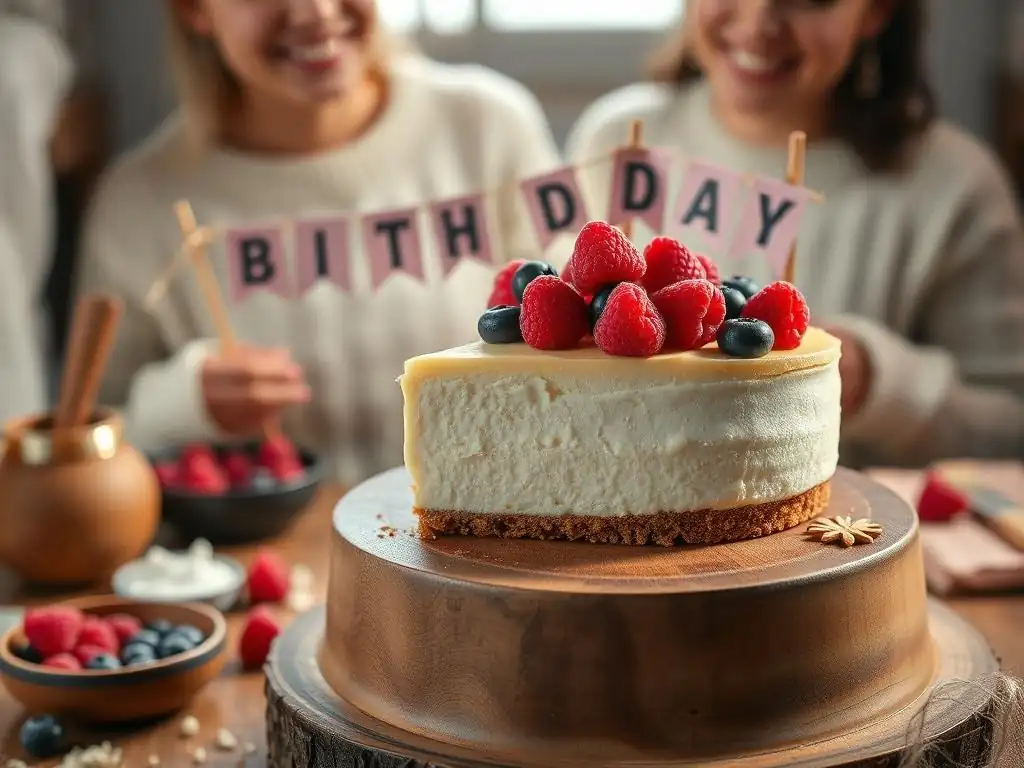
Welcome to BakeWithEase, your sanctuary for stress-free baking! Ever dreamt of a delectable dessert without the oven's heat? Dive into our guide and discover the secrets to a luscious no-bake cheesecake recipe perfect for any celebration. Get ready to impress with minimal effort – your next birthday party just got a whole lot sweeter (and easier!). Intrigued? Keep reading to unlock the simple steps to cheesecake perfection!
- Simple No-Bake Cheesecake for a Stress-Free Birthday: BakeWithEase Recipe
- Why Choose a No-Bake Cheesecake for Your Birthday Celebration?
- The Ultimate No-Bake Cheesecake Recipe: A Step-by-Step Guide
- No-Bake Cheesecake Variations: Customize Your Birthday Cake
- Tips for a Perfect No-Bake Cheesecake Every Time
- Serving and Enjoying Your No-Bake Birthday Cheesecake
- Troubleshooting Your No-Bake Cheesecake: Common Issues and Solutions
- The Joy of Easy Baking: Celebrating with a No-Bake Cheesecake
-
Frequently Asked Questions
- What makes this no-bake cheesecake recipe so simple?
- What kind of crust is best for a no-bake cheesecake?
- How long does a no-bake cheesecake need to set in the refrigerator?
- Can I customize the flavor of this no-bake cheesecake?
- What are some common problems when making a no-bake cheesecake and how can I avoid them?
- Final Reflection: Finding Joy in Simplicity
- Unleash Your Inner Baker: Create Your Dream Cheesecake!
Simple No-Bake Cheesecake for a Stress-Free Birthday: BakeWithEase Recipe
Why Choose a No-Bake Cheesecake for Your Birthday Celebration?
The Ease and Convenience of No-Bake Desserts
Planning a birthday celebration can be hectic, filled with tasks like decorating, guest lists, and meal preparation. Opting for a no-bake dessert, specifically a delicious no bake cheesecake recipe, significantly cuts down on kitchen time and stress. Unlike traditional baked cheesecakes that require careful temperature control and long baking times, a no-bake version typically involves just mixing ingredients and chilling. This means you can often prepare the entire dessert in under 30 minutes of active time, leaving you with more energy and hours free to focus on other party preparations or simply relax before the festivities begin.
The convenience extends beyond just preparation time. There's no need to preheat an oven, worry about water baths, or check for doneness with a finicky thermometer. The process is straightforward: combine the crust ingredients, press them into the pan, mix the filling ingredients until smooth, pour, and chill. This simplicity makes a no bake cheesecake recipe an incredibly attractive option for busy individuals or anyone looking to minimize fuss while still creating a show-stopping dessert. Imagine spending that saved time setting up a photo booth or perfecting your playlist instead of monitoring an oven!
Perfect for Any Skill Level: A Beginner-Friendly Birthday Treat
One of the greatest appeals of a no bake cheesecake recipe is its accessibility to bakers of all levels, especially beginners. If you've ever felt intimidated by the precision required for baking, this recipe is your perfect starting point for a birthday dessert. The steps are intuitive, involving basic techniques like crushing, mixing, and whipping, which are far less daunting than complex baking chemistry. You don't need specialized skills or years of experience to achieve a beautiful and delicious result.
Even if your baking experience is limited to box mixes, you can confidently tackle this no-bake cheesecake. The process builds confidence by delivering impressive results with minimal effort. Think of it as a stepping stone; mastering this simple no bake cheesecake recipe can encourage you to explore other easy desserts. Plus, it’s a fantastic project to involve kids in for their own birthday treats – they can help with crushing cookies for the crust or gently stirring the filling ingredients.
Beat the Heat: A Cool and Refreshing Birthday Cake Alternative
Birthdays often fall during warmer months, and turning on a hot oven for a traditional cake or cheesecake can make your kitchen feel like a sauna. A no-bake cheesecake offers a wonderfully cool and refreshing alternative. It’s served chilled directly from the refrigerator, providing a delightful contrast to warm weather or a hearty birthday meal. The creamy texture and cool temperature make it incredibly appealing on a hot day.
Picture this: a summer birthday party where guests are looking for something light and cooling after enjoying outdoor activities. A slice of chilled no-bake cheesecake is far more inviting than a heavy, warm slice of baked cake. The refreshing quality makes it a crowd-pleaser, offering a palate cleanser and a satisfying sweet ending without adding extra heat to your home. It’s the ideal dessert for spring and summer birthdays, ensuring comfort and enjoyment for everyone.
The Ultimate No-Bake Cheesecake Recipe: A Step-by-Step Guide
Ingredients for Your Easy No-Bake Cheesecake
For the Crust: Graham Cracker Crust
- 1 and 1/2 cups (about 180g) graham cracker crumbs (from about 10-12 full sheets)
- 1/4 cup (50g) granulated sugar
- 1/2 cup (113g) unsalted butter, melted
For the Filling: Creamy Vanilla Filling
- 2 blocks (16 oz or 450g total) cream cheese, softened to room temperature
- 1 cup (200g) granulated sugar
- 1/4 cup (60ml) fresh lemon juice (optional, for tang)
- 1 teaspoon pure vanilla extract
- 1 and 1/2 cups (360ml) heavy whipping cream, cold
Equipment You'll Need for This No-Bake Cheesecake Recipe
- 9-inch springform pan
- Food processor or rolling pin and zip-top bag
- Two large mixing bowls
- Electric mixer (handheld or stand mixer)
- Rubber spatula
- Measuring cups and spoons
Preparing the Graham Cracker Crust: A Simple Start
Crushing the Graham Crackers: Achieving the Perfect Texture
The foundation of any great no bake cheesecake recipe is a solid, flavorful crust. For a graham cracker crust, the first step is to turn your crackers into fine crumbs. The easiest way to achieve a uniform texture is using a food processor. Simply break the graham cracker sheets into pieces and pulse until they resemble fine sand, which usually takes less than 30 seconds. Aim for consistency – no large chunks should remain, as they won't bind properly.
If you don't have a food processor, a rolling pin and a sturdy zip-top bag work just as well. Place the graham crackers in the bag, seal it (removing excess air), and roll over them with the rolling pin, applying firm pressure. Continue rolling and occasionally shaking the bag to redistribute the crumbs until they are uniformly fine. This method might take a few minutes longer, perhaps 3-5 minutes, but is just as effective for creating the perfect base for your no bake cheesecake.
Mixing the Crust Ingredients: Binding it All Together
Once you have your finely crushed graham cracker crumbs, transfer them to a medium mixing bowl. Add the granulated sugar to the crumbs and stir to combine. The sugar not only adds a touch of sweetness but also helps in binding the crust. Next, pour the melted unsalted butter over the crumb mixture. It's crucial that the butter is fully melted but not scorching hot.
Use a fork or a rubber spatula to mix the melted butter into the crumbs until they are evenly moistened. The mixture should resemble wet sand. When you squeeze a handful of the mixture, it should hold its shape without crumbling apart easily. This indicates that there is enough butter to bind the crust together once it's pressed and chilled, preventing it from being too dry or falling apart when you slice your finished no bake cheesecake.
Pressing the Crust: Creating a Solid Foundation
Now it's time to press the prepared crust mixture into your 9-inch springform pan. You can lightly grease the bottom and sides of the pan beforehand, or line the bottom with parchment paper for easier removal, although with enough butter in the crust, it often releases cleanly anyway. Pour the entire crumb mixture into the bottom of the pan.
Use the bottom of a glass or a flat-bottomed measuring cup to firmly and evenly press the crumbs across the bottom and slightly up the sides of the pan. Applying firm pressure is key to creating a compact and stable crust that won't crumble when sliced. Ensure the thickness is consistent throughout. Once pressed, place the pan in the refrigerator for at least 10-15 minutes while you prepare the filling. This brief chill time helps the butter solidify, setting the crust and providing a sturdy base for your creamy no bake cheesecake filling.
Making the Creamy No-Bake Cheesecake Filling
Softening the Cream Cheese: The Key to a Smooth Texture
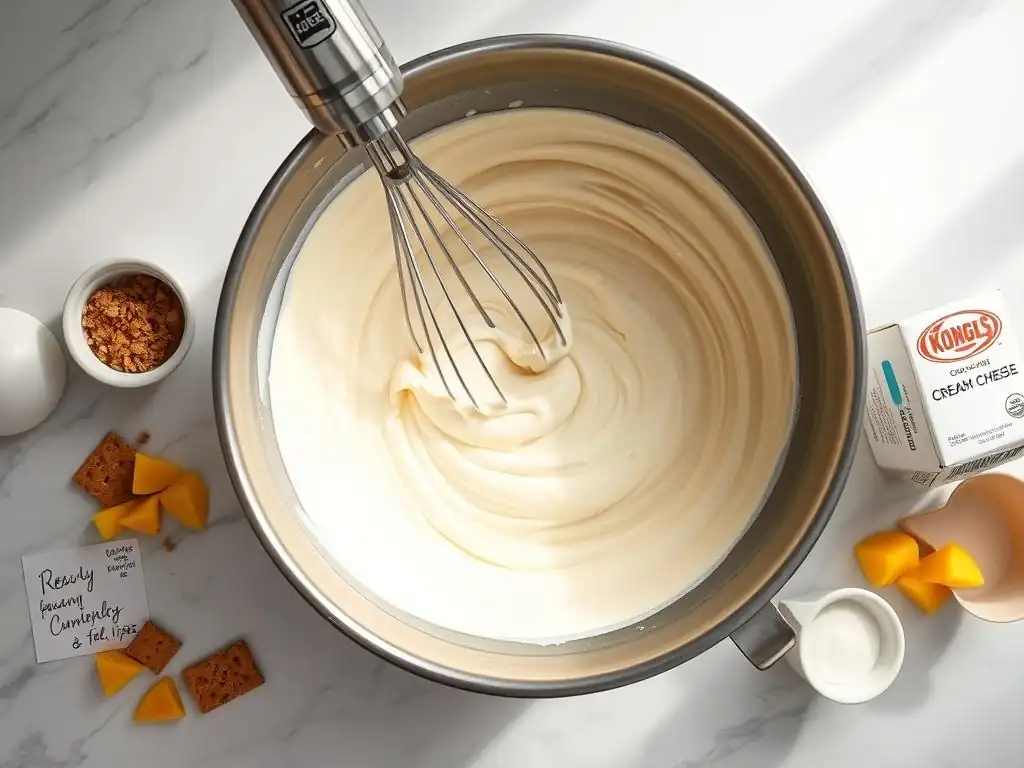
The secret to a velvety smooth no bake cheesecake filling lies in properly softened cream cheese. Cold cream cheese will result in a lumpy filling that is difficult to mix evenly. Take your blocks of cream cheese out of the refrigerator at least 30-60 minutes before you plan to make the filling. They should be soft enough that you can easily indent them with your finger.
If you're short on time, you can speed up the softening process by cutting the cream cheese into smaller cubes and spreading them out on a plate. Leave them at room temperature for about 15-20 minutes. Alternatively, you can gently microwave the unwrapped cream cheese blocks for 10-15 seconds on low power, checking frequently, until they are just softened but not melted. Ensure the cream cheese is pliable and smooth before you begin whipping it.
Whipping the Cream: Achieving Lightness and Volume
Another critical component of a light and airy no bake cheesecake recipe is perfectly whipped heavy cream. The cold, heavy cream is whipped separately to stiff peaks before being folded into the cream cheese mixture. This process incorporates air, giving the filling a light, mousse-like texture rather than a dense, heavy one. Make sure your heavy whipping cream is very cold straight from the refrigerator.
Using an electric mixer fitted with whisk attachments (either a handheld mixer or a stand mixer), whip the cold heavy cream on medium-high speed. It will first become frothy, then thicken to soft peaks, and finally to stiff peaks. Stiff peaks hold their shape firmly when the whisk is lifted. Be careful not to over-whip, or you'll end up with butter! This usually takes about 2-4 minutes with a stand mixer or 3-5 minutes with a handheld mixer, depending on the mixer's power.
Combining the Ingredients: Creating the Cheesecake Magic
In a large mixing bowl, beat the softened cream cheese with an electric mixer on medium speed until it is completely smooth and creamy, with no lumps. This step is crucial for a silky filling. Add the granulated sugar, vanilla extract, and optional lemon juice (if using) to the cream cheese. Continue beating on medium speed until everything is well combined and the mixture is light and fluffy, scraping down the sides of the bowl as needed. This process usually takes about 2-3 minutes.
Finally, gently fold the whipped heavy cream into the cream cheese mixture using a rubber spatula. Add about a third of the whipped cream at a time, folding it in with a gentle motion until just combined. Avoid overmixing, which can deflate the whipped cream and result in a less airy texture. Continue adding the remaining whipped cream in batches until the filling is uniform and smooth. You've now created the magical creamy filling for your simple no bake cheesecake recipe!
Assembling Your No-Bake Birthday Cheesecake
Pouring the Filling: Even Distribution is Key
Once your graham cracker crust is chilled and set, and your creamy no-bake filling is ready, it's time to bring them together. Retrieve the springform pan with the chilled crust from the refrigerator. Carefully pour the entire filling mixture into the pan, directly onto the prepared crust. The filling should be thick but pourable, settling into the pan relatively easily.
Use your rubber spatula to gently spread the filling evenly across the crust, ensuring it reaches the edges of the pan. Try to distribute it as uniformly as possible to ensure an even layer. This step usually takes less than a minute, just guiding the filling into place. Avoid pressing down too hard, which could disturb the crust below.
Smoothing the Top: Achieving a Professional Finish
For a beautifully presented no bake cheesecake, smoothing the top is essential. Once the filling is evenly distributed, use the back of your spatula or an offset spatula to gently smooth the surface of the cheesecake. Start from the center and work your way outwards, creating a flat, even layer. You can rotate the pan as you smooth to help achieve a perfect finish.
For an extra smooth top, you can gently tap the bottom of the pan on a counter a couple of times. This helps to release any trapped air bubbles and allows the filling to settle further, creating a perfectly flat surface. This step takes only a minute or two but makes a significant difference in the final appearance of your simple no bake cheesecake, giving it a professional, bakery-quality look.
Chilling Your Cheesecake: Patience is a Virtue
The most crucial step in any no bake cheesecake recipe is the chilling process. This is where the magic truly happens – the filling sets and firms up, transforming from a soft mixture into a sliceable dessert. Place the assembled cheesecake, still in its springform pan, uncovered, into the refrigerator.
The minimum chilling time required is typically 4-6 hours, but for the best results and easiest slicing, it's highly recommended to chill it overnight, or for at least 8 hours. During this time, the fats in the cream cheese and whipped cream solidify, and the flavors meld together beautifully. Rushing this step will result in a runny or soft cheesecake that won't hold its shape. Patience is truly a virtue here, and the wait is absolutely worth it for a perfectly set, creamy no bake cheesecake.
No-Bake Cheesecake Variations: Customize Your Birthday Cake
Adding Fruit: Fresh and Flavorful Options
Berry Bliss: A Classic Combination
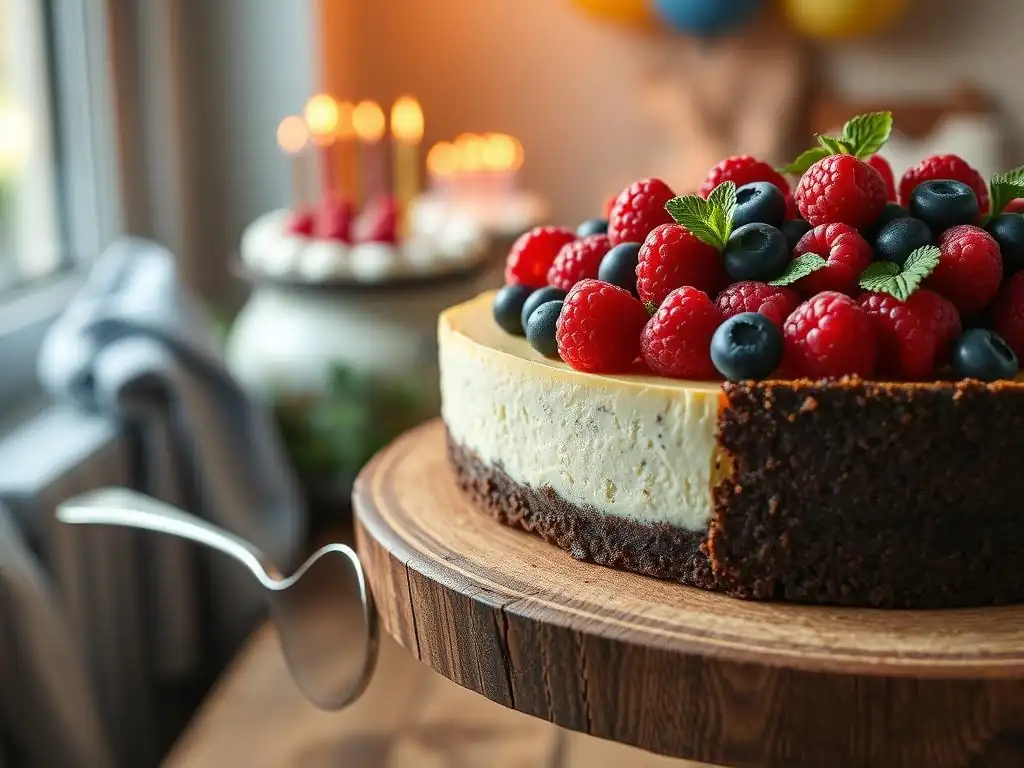
Adding fresh fruit is a fantastic way to brighten up your simple no bake cheesecake and introduce vibrant flavor. A classic choice is a mix of fresh berries like strawberries, blueberries, raspberries, and blackberries. These can be arranged artfully on top of the chilled cheesecake just before serving. For instance, scattering about 1-2 cups of mixed berries provides a beautiful contrast in color and texture.
Alternatively, you can create a simple berry compote by simmering 2 cups of mixed berries with 1/4 cup sugar and a splash of lemon juice until thickened, then cooling it completely before spooning it over the set cheesecake. This adds a burst of sweet and slightly tart flavor that pairs perfectly with the creamy filling of the no bake cheesecake recipe.
Tropical Twist: Mango and Pineapple
For a more exotic flavor profile, consider adding tropical fruits. Diced fresh mango and pineapple are excellent choices, offering sweetness and a pleasant tang. About 1.5 cups of finely diced mango and pineapple can be gently folded into the filling just before pouring it into the crust, or arranged on top after the cheesecake has chilled.
If incorporating into the filling, ensure the fruit is well-drained to avoid adding excess moisture. Another option is to create a vibrant tropical fruit topping by combining diced mango, pineapple, and maybe some passion fruit pulp. This adds a sunny, refreshing element to your no bake cheesecake, perfect for a summer birthday celebration.
Chocolate Swirl No-Bake Cheesecake: A Decadent Delight
For the chocolate lovers, transforming your simple no bake cheesecake recipe into a chocolate swirl version is incredibly easy and adds a layer of decadent richness. Simply melt about 4-6 ounces of good quality semi-sweet or dark chocolate. Let it cool slightly but ensure it remains fluid.
Once your main cheesecake filling is prepared and poured into the crust, drizzle the melted chocolate over the top. Use a knife or skewer to gently swirl the chocolate through the filling, creating beautiful patterns. Be careful not to over-swirl, as this can muddy the design. The result is a visually stunning and deliciously rich chocolate-infused no bake cheesecake that's sure to impress.
Peanut Butter Cup No-Bake Cheesecake: A Rich and Nutty Treat
If you're a fan of the peanut butter and chocolate combination, this variation of the no bake cheesecake recipe is a must-try. You can incorporate peanut butter flavor directly into the filling. Beat 1/2 to 3/4 cup of creamy peanut butter into the softened cream cheese along with the sugar and vanilla before folding in the whipped cream.
To enhance the theme, you can also add chopped peanut butter cups. Gently fold about 1 cup of chopped peanut butter cups into the filling before pouring, or sprinkle them generously over the top of the chilled cheesecake just before serving. This creates a rich, nutty, and utterly indulgent no bake cheesecake perfect for a birthday treat.
Tips for a Perfect No-Bake Cheesecake Every Time
Ensuring a Smooth and Creamy Texture
Achieving that signature smooth and creamy texture is key to a perfect no bake cheesecake recipe. The most important factor is ensuring your cream cheese is fully softened to room temperature before you begin mixing. Cold cream cheese will resist blending and leave you with frustrating lumps. Beat the softened cream cheese on its own for a couple of minutes until it's light and airy before adding other ingredients.
Another tip is to avoid overmixing once the whipped cream is folded in. Overmixing can deflate the air bubbles you worked hard to create by whipping the cream, resulting in a denser filling. Use a gentle folding motion with a spatula until just combined. Finally, ensure you use full-fat cream cheese and heavy whipping cream; low-fat versions often don't set as firmly or provide the same rich texture necessary for a successful no bake cheesecake.
Preventing a Soggy Crust: Essential Tips
A soggy crust can ruin an otherwise perfect no bake cheesecake. The primary culprit is moisture migrating from the filling into the crust. To prevent this, ensure your crust is well-compacted. Pressing the crumb mixture firmly into the pan helps create a dense barrier. Use the bottom of a glass or measuring cup and apply good pressure across the entire surface.
Another crucial step is chilling the crust before adding the filling. A minimum of 10-15 minutes in the refrigerator allows the melted butter in the crust to solidify, creating a more stable layer. For extra protection, some bakers brush a thin layer of melted white chocolate or a very thin layer of softened cream cheese onto the chilled crust before adding the filling, creating a moisture barrier. This adds a small extra step but can be very effective, especially if you plan to make the no bake cheesecake recipe several hours or a day in advance.
Storing Your No-Bake Cheesecake: Keeping it Fresh
Proper storage is essential to maintain the quality and freshness of your no bake cheesecake. Once the cheesecake is fully set after chilling, cover it loosely with plastic wrap or aluminum foil while it remains in the springform pan. If you've removed it from the pan, store it in an airtight container or cover it well with plastic wrap.
No-bake cheesecakes should always be stored in the refrigerator due to their dairy-based filling. They typically last for 3-5 days when stored correctly. For longer storage, you can freeze slices or the entire cheesecake (well-wrapped) for up to 1-2 months. Thaw frozen cheesecake slowly in the refrigerator for several hours before serving. This simple no bake cheesecake recipe keeps beautifully, making it a great make-ahead option for parties.
Serving and Enjoying Your No-Bake Birthday Cheesecake
Garnishing Ideas: Making it Look Festive
Presenting your no bake cheesecake beautifully adds to the birthday celebration. Simple garnishes can elevate its look significantly. Fresh berries, as mentioned earlier, are always a winner. A sprinkle of powdered sugar dusted lightly over the top using a sieve provides a simple, elegant finish.
Other ideas include drizzling chocolate or caramel sauce, adding dollops of whipped cream around the edge, or scattering chocolate shavings, cookie crumbs, or chopped nuts. For a birthday theme, you could add birthday sprinkles around the base or top edge. A few strategically placed candles complete the festive look for your homemade no bake cheesecake recipe.
Pairing Suggestions: Complementary Flavors
The creamy, slightly tangy flavor of a classic no bake cheesecake pairs well with a variety of beverages and accompanying desserts. For drinks, consider serving it with coffee, tea, or a dessert wine like a Moscato. Non-alcoholic options include sparkling cider or simply a glass of milk.
If serving as part of a dessert table, consider pairing it with lighter options that offer contrasting textures or flavors, such as fresh fruit platters, sorbet, or light pastries. Avoid pairing it with overly rich or heavy desserts that might overwhelm the palate. The simplicity of this no bake cheesecake recipe allows it to shine on its own or complement other elements beautifully.
Troubleshooting Your No-Bake Cheesecake: Common Issues and Solutions
Runny Filling: How to Fix It
A runny filling is the most common issue encountered with a no bake cheesecake recipe, and it's usually due to insufficient chilling time or ingredients that weren't properly prepared. If your filling is still soft after the recommended chilling time, the primary solution is more time in the refrigerator. Ensure it chills for a minimum of 6-8 hours, or preferably overnight.
Another potential cause is using low-fat dairy products or not whipping the heavy cream to stiff peaks. Always use full-fat cream cheese and heavy cream for best results. If your filling is slightly soft but not completely liquid, you might try freezing it for an hour or two before serving to help it firm up, though this can slightly alter the texture. Ensure ingredients are at the correct temperature (softened cream cheese, cold heavy cream) before mixing.
Cracked Top: Prevention and Repair
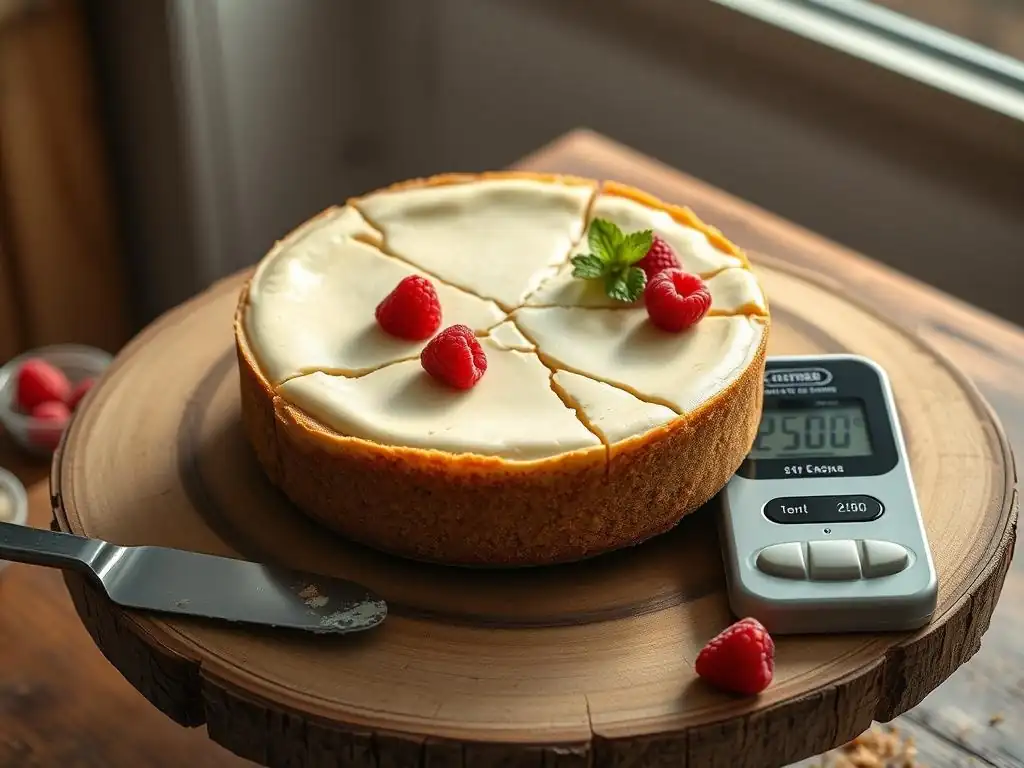
While cracks are much less common in no-bake cheesecakes compared to baked ones, you might encounter slight surface imperfections or tears if the filling is not smoothed properly or if something bumps the cheesecake while chilling. The best prevention is gentle handling and ensuring the filling is spread and smoothed evenly from the start. Don't overmix the filling, as incorporating too much air can sometimes lead to an uneven surface.
If you do end up with minor cracks or surface flaws on your no bake cheesecake, don't worry! Garnishes are your best friend here. Covering the top with fruit, whipped cream, chocolate ganache, or a sprinkle of powdered sugar can easily hide any imperfections. No one will ever know, and the delicious taste of your simple no bake cheesecake recipe will be the star.
Crust Problems: Solving Common Issues
Crust issues in a no bake cheesecake recipe usually involve it being too dry and crumbly or too greasy. If your crust is too dry, it likely didn't have enough melted butter. You can try gently pressing it down again with a glass before adding the filling, or for future attempts, ensure you measure the butter accurately and that it's fully mixed into the crumbs.
If the crust is too greasy, you might have used too much butter or didn't measure the crumbs correctly. Ensure you're using the specified amount of melted butter and that your graham cracker crumbs are packed into the measuring cup if the recipe calls for packed crumbs (though most call for loosely measured crumbs). Chilling the crust properly for at least 15-20 minutes before adding the filling helps solidify the butter and prevent greasiness.
The Joy of Easy Baking: Celebrating with a No-Bake Cheesecake
Making Memories with Simple Recipes
Baking should be a joyful experience, not a source of stress, especially when preparing for a special occasion like a birthday. Embracing simple recipes, like a no bake cheesecake recipe, allows you to focus on the pleasure of creation and the joy of sharing. These easy-to-follow guides free you from complex techniques and lengthy bake times, making the process accessible and fun for everyone.
Think about the memories created around food – the shared moments in the kitchen, the anticipation as a dessert chills, the smiles when the first slice is served. A simple no bake cheesecake makes these memories easier to create. It's a project you can undertake with family members, friends, or even on your own for a moment of calm amidst birthday preparations. The success you'll find with this straightforward recipe will encourage further culinary adventures.
A Stress-Free Birthday Celebration
Ultimately, the goal of choosing a no bake cheesecake recipe for a birthday is to contribute to a stress-free celebration. By opting for a dessert that requires minimal fuss, no oven time, and can be made well in advance, you significantly reduce your workload on the day of the party. This allows you to be a more present and relaxed host or hostess, truly enjoying the company of your guests and the milestone being celebrated.
Instead of worrying about whether the cake is baked through or if it will crack as it cools, you can confidently pull your perfectly chilled no bake cheesecake from the fridge, add a few simple garnishes, and present a beautiful, delicious dessert. This ease translates into less pressure and more fun, ensuring that the focus remains where it should be: on the birthday person and the joy of the occasion. A simple no bake cheesecake recipe is more than just a dessert; it's an ingredient for a happier, more relaxed birthday.
Frequently Asked Questions
What makes this no-bake cheesecake recipe so simple?
This recipe avoids the oven, relying on refrigeration to set the cheesecake. It also uses easily accessible ingredients and straightforward instructions, making it beginner-friendly.
What kind of crust is best for a no-bake cheesecake?
A graham cracker crust is the most popular and easiest choice. You can also use oreo or digestive biscuit crusts for added flavor and texture.
How long does a no-bake cheesecake need to set in the refrigerator?
For the best results, allow the cheesecake to chill for at least 6 hours, but preferably overnight. This ensures a firm and creamy texture.
Can I customize the flavor of this no-bake cheesecake?
Absolutely! You can add fruit purees, extracts, or chocolate chips to the filling. Consider topping it with fresh fruit, chocolate sauce, or a sprinkle of nuts.
What are some common problems when making a no-bake cheesecake and how can I avoid them?
Common issues include a runny filling or a crumbly crust. Ensure your ingredients are at the correct temperature and press the crust firmly into the pan.
Final Reflection: Finding Joy in Simplicity
The pursuit of effortless elegance is more relevant than ever in our fast-paced world. A simple no-bake cheesecake, far from being a culinary shortcut, represents a mindful approach to celebration, proving that deliciousness doesn't require hours of slaving over a hot stove. It's a testament to the power of resourceful creativity and the joy found in savoring the moment, rather than stressing over perfection.
The enduring appeal of no-bake desserts speaks volumes about our collective desire for accessible joy. They represent a bridge between the desire for indulgence and the reality of busy lives. This simple recipe, I hope, has shown that even the most seemingly complex treats can be demystified and enjoyed without sacrificing flavor or quality. The best things in life are simple.
This adage rings especially true when considering the ease and satisfaction of creating this delightful cheesecake.
Now, I invite you to consider the broader implications. Think about the areas in your life where you might be overcomplicating things. Could a simpler approach bring more joy and less stress? Perhaps it's in your work, your relationships, or even your daily routine. This cheesecake recipe is more than just a recipe; it's a gentle reminder to embrace simplicity, to find beauty in the unfussy, and to celebrate life's moments with ease and grace. Try it, and let the simplicity nourish your soul as much as it nourishes your palate.
Unleash Your Inner Baker: Create Your Dream Cheesecake!
Thanks for joining us on this delicious journey to stress-free baking! We hope you found the perfect no-bake cheesecake recipe for your upcoming birthday celebration. Now it's time to put your newfound skills to the test!
- Whip up this dreamy cheesecake: Grab your ingredients and let's get baking! This recipe is simpler than you think.
- Share your creation: Post a picture of your finished masterpiece on social media and tag us! Let's inspire other bakers.
- Try a flavor twist: Experiment with different toppings or fillings to personalize your cheesecake. What unique combination will you dream up?
Ready to transform your birthday into a sweet success?