
Why Your Choux Pastry Isn't Rising (and How to Fix It)

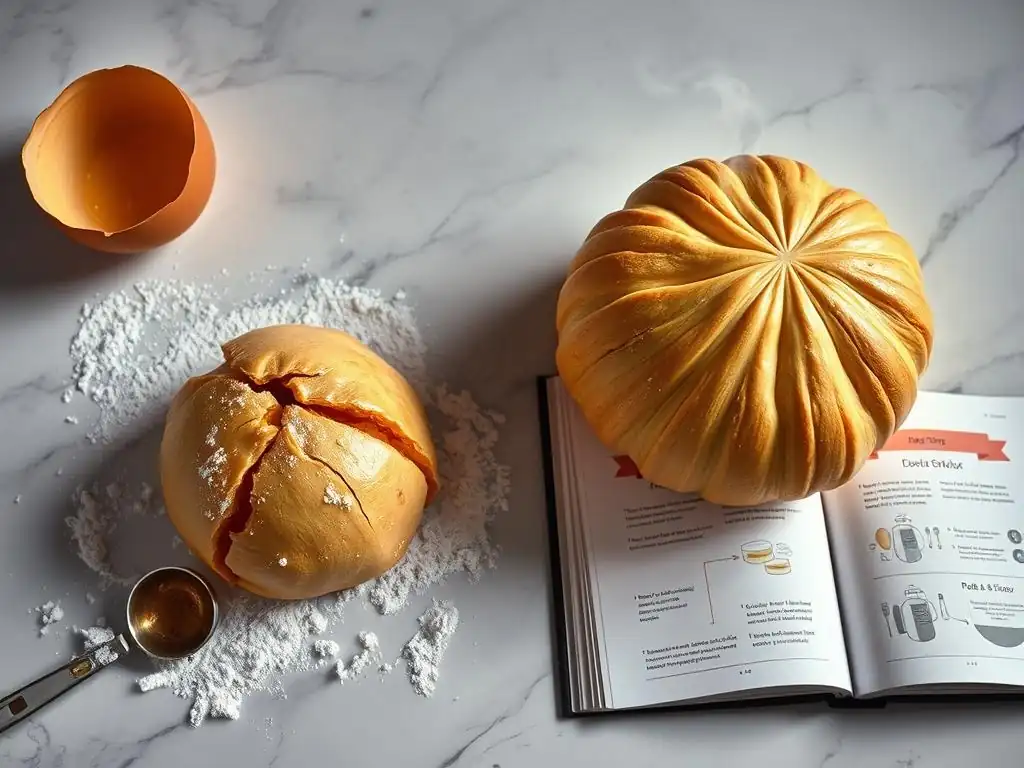
Welcome to BakeWithEase! Are you battling a batch of stubborn choux pastry that just refuses to rise? You're not alone! Many bakers face this frustrating challenge, but fear not. This article dives deep into the common culprits behind a failed choux pastry, offering practical solutions and expert tips to ensure your next attempt soars to new heights. Discover the secrets to achieving that perfect puff and light, airy texture. Ready to unlock the mysteries of perfect choux? Let's get baking!
- Understanding Choux Pastry and the Rising Process
- Troubleshooting: Why Your Choux Pastry Failed to Rise
- Fixing Common Choux Pastry Issues: A Step-by-Step Guide
- Pro Tips for Consistently Perfect Choux Pastry
- Advanced Choux Pastry Techniques for Expert Bakers
- Achieving Choux Pastry Success: A Recap
- Frequently Asked Questions
- Final Reflection: The Triumphant Rise of Choux Pastry
- Unlock Your Choux Pastry Potential!
Understanding Choux Pastry and the Rising Process
What is Choux Pastry? A Baker's Primer
Choux pastry, or pâte à choux as it's known in French, is a light pastry dough used in many desserts and savory dishes. Unlike most pastries that rely on chemical leaveners like baking powder or yeast, choux pastry achieves its incredible rise through steam. Its basic components are simple: water or milk, butter, flour, and eggs.
These humble ingredients are cooked on the stovetop to create a thick, paste-like dough before eggs are incorporated. This initial cooking step is crucial as it gelatinizes the starch in the flour, building a strong structure capable of holding the steam generated during baking.
The beauty of choux pastry lies in its versatility. Once baked, it forms hollow shells that are perfect for filling. Think classic cream puffs (profiteroles), elegant éclairs, savory gougères (cheese puffs), or even the base for a croquembouche. Mastering the basic dough is the first step, and understanding its unique composition helps troubleshoot issues like when your choux pastry won't rise as expected. It requires precision in both preparation and baking, making it a rewarding challenge for intermediate bakers.
The Science Behind Choux Pastry Rising: Steam Power
The magic of choux pastry's rise is primarily due to steam. When the dough is placed in a hot oven, the high water content from the liquid (water/milk) and the eggs rapidly turns into steam. This steam, trapped within the sturdy, gelatinized starch structure of the dough, expands forcefully. Imagine tiny steam engines working inside each puff! This internal pressure inflates the dough, creating that characteristic hollow cavity inside.
Simultaneously, the heat of the oven sets the exterior crust, providing a rigid shell that supports the expanded interior. The egg proteins coagulate and contribute significantly to this structural integrity. If the dough is baked correctly, the steam eventually escapes through small fissures in the crust or when the choux is removed from the oven, leaving behind a stable, puffed shell. If this process is interrupted or the structure isn't strong enough, your choux pastry won't rise properly or will collapse.
Common Choux Pastry Rising Problems: An Overview
When your choux pastry won't rise, it's usually due to a few key culprits that interfere with either the steam generation or the structural integrity needed to capture that steam. The most frequent issues involve the consistency of the dough itself, often linked to the flour-to-liquid ratio or, more commonly, the amount and incorporation of eggs. If the dough is too dry, there isn't enough moisture for sufficient steam; if too wet, the structure is too weak to hold the steam.
Beyond the dough, the baking process plays a critical role. Incorrect oven temperature (too low or too high) or insufficient baking time can severely impact the rise. Opening the oven door too early is another notorious cause of collapsed choux pastry. Understanding these common pitfalls is the first step to diagnosing why your choux pastry didn't rise and how to achieve those perfectly puffed shells next time.
Troubleshooting: Why Your Choux Pastry Failed to Rise
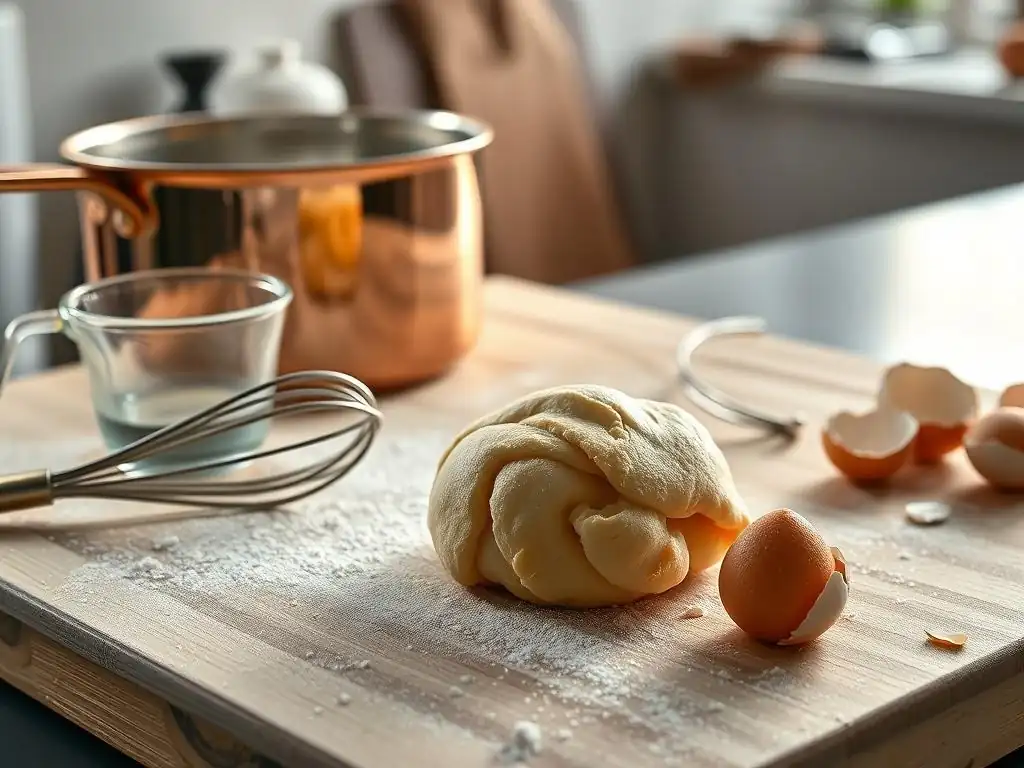
Incorrect Flour to Liquid Ratio: The Foundation for a Good Rise
The initial cooking of the liquid, butter, and flour creates the panade, the base of your choux dough. The ratio of flour to liquid here is fundamental. A typical starting point might be around 1 part butter, 2 parts liquid (water/milk), and 1.2 to 1.5 parts flour by weight, though this varies by recipe. If you add too much flour relative to the liquid, the panade will be too stiff and dry. This results in a dough that's hard to work with and, crucially, lacks sufficient moisture to generate the necessary steam for a good rise.
Conversely, if there's too much liquid or not enough flour, the panade will be too loose and wet. While you might think more moisture means more steam, a dough that's too slack won't develop the strong gluten structure needed during the initial cooking phase. This weak structure won't be able to contain the steam pressure later in the oven, leading to flat or poorly risen choux. Getting this initial ratio right sets the stage for successful egg incorporation and ultimately, a good rise.
Eggs: The Key Ingredient for Choux Pastry Expansion
Eggs are arguably the most variable and critical component in choux pastry after the initial panade is made. They serve multiple purposes: adding moisture for steam, providing fat for tenderness, and most importantly, contributing proteins that strengthen the dough structure as they coagulate in the oven. The number of eggs isn't fixed in many recipes; it's often given as a range because egg sizes vary, and the amount needed depends on how much moisture evaporated during the panade cooking.
Adding the correct amount of eggs is vital. Too few eggs results in a dough that is too stiff and dry, lacking both sufficient moisture for steam and enough protein structure for expansion. This is a primary reason why your choux pastry won't rise – it simply doesn't have the internal power or the scaffolding to puff up. The baked result will be dense, heavy, and flat or only slightly domed.
Too Few Eggs: A Common Mistake
One of the most frequent errors leading to choux pastry won't rise is simply not adding enough egg. Recipes often call for "4-5 large eggs" or similar. If you use small eggs, or only add 4 when 5 were truly needed for the dough's consistency, the dough will be too dry. A dry dough is stiff and resistant; it won't fall easily from a spoon or piping bag.
The consequence of too few eggs is a dough that struggles to expand in the oven. There isn't enough liquid from the eggs to contribute significantly to the steam generation, and the protein network is insufficient to create a large, stable cavity. The resulting choux puffs will be small, dense, and potentially crack excessively without achieving that desired airy interior.
Adding Eggs Too Quickly: Disrupting the Emulsion
While adding enough eggs is important, how you add them is equally crucial. Eggs should always be added one at a time, or in small increments, and beaten thoroughly into the dough before adding the next. This process emulsifies the egg into the cooked flour/butter mixture, creating a smooth, cohesive dough. Adding eggs too quickly, especially if they are cold, can shock the dough and prevent proper incorporation.
When eggs aren't fully emulsified, the dough can appear curdled or greasy. This uneven distribution means the structure is compromised in places, and moisture/protein isn't evenly distributed. This inconsistency makes it difficult for the dough to expand uniformly in the oven, potentially leading to unevenly risen choux or areas that don't rise at all. Patience and thorough mixing after each addition are key.
Insufficient Cooking Time: Underbaked Choux Will Collapse
Even if your dough consistency is perfect, underbaking is a major reason why choux pastry won't rise or collapses after rising. Choux pastry needs sufficient time in the oven to do two things: first, puff up via steam, and second, dry out and set its structure. The initial high heat creates the steam and rapid expansion. The subsequent lower heat (in the typical two-stage baking method) is crucial for drying out the interior walls and setting the crust firmly.
If you remove the choux from the oven too early, the crust may look golden, but the interior walls will still be moist and soft. The internal steam pressure is gone, and the weak, flexible walls cannot support the structure. As the choux cools, it will inevitably deflate and collapse, turning your potential puffs into flat disks. A properly baked choux should feel light and hollow when lifted.
Oven Temperature Problems: Crucial for Choux Pastry Success
Accurate oven temperature is non-negotiable for choux pastry. An oven thermometer is highly recommended, as oven thermostats can be off by 25°F (around 15°C) or more. The high initial temperature is essential for generating that burst of steam quickly, which is the primary leavening agent. If the oven isn't hot enough, the steam production will be too slow and weak.
Maintaining the correct temperature throughout the two-stage baking process is also critical. Starting too low or dropping the temperature too much too soon prevents the choux from achieving its full potential rise and setting the crust properly. This is a common cause when your choux pastry won't rise to its expected height.
Oven Too Cold: Preventing Proper Steam Generation
If your oven temperature is significantly lower than the recipe specifies, especially during the initial high-heat phase (often 400-425°F or 200-220°C), the water in the dough won't convert to steam rapidly enough. The dough will heat up slowly, and the crust will begin to set before the internal steam pressure has built sufficiently to cause a dramatic expansion.
A cold oven also means the crust doesn't set as quickly, allowing steam to potentially escape before it has done its work, or resulting in a softer crust that can't support the rise. The result is often flat, dense choux that looks pale and unimpressive. Ensure your oven is fully preheated – give it at least 15-20 minutes after it signals it's reached temperature.
Oven Too Hot: Burning the Outside Before It Rises
Conversely, an oven that is too hot can be equally detrimental. While high heat is needed for the initial steam burst, excessive heat can cause the exterior of the choux to set and brown too quickly, forming a hard crust before the interior has had a chance to fully expand. This can result in smaller puffs with thick, hard shells.
In extreme cases, an oven that's too hot will simply burn the outside of the choux while the inside remains raw and unrisen. The outside looks dark and done, but when you check, they are heavy and uncooked inside. Using an oven thermometer helps verify your oven's actual temperature against the setting.
Opening the Oven Door Too Early: A Choux Pastry Disaster
This is perhaps the most heartbreaking mistake after you've seen your choux puffing up beautifully. Choux pastry relies on internal steam pressure to maintain its shape during the initial baking phase. Opening the oven door, especially in the first 15-20 minutes, causes a sudden drop in temperature and releases the trapped steam.
This sudden environmental change is often enough to cause the still-fragile, partially set choux structure to collapse. Once deflated at this stage, they usually won't recover. Patience is key! Resist the urge to peek until the choux are significantly puffed, golden brown, and appear stable, typically well into the second, lower-temperature baking phase.
Fixing Common Choux Pastry Issues: A Step-by-Step Guide
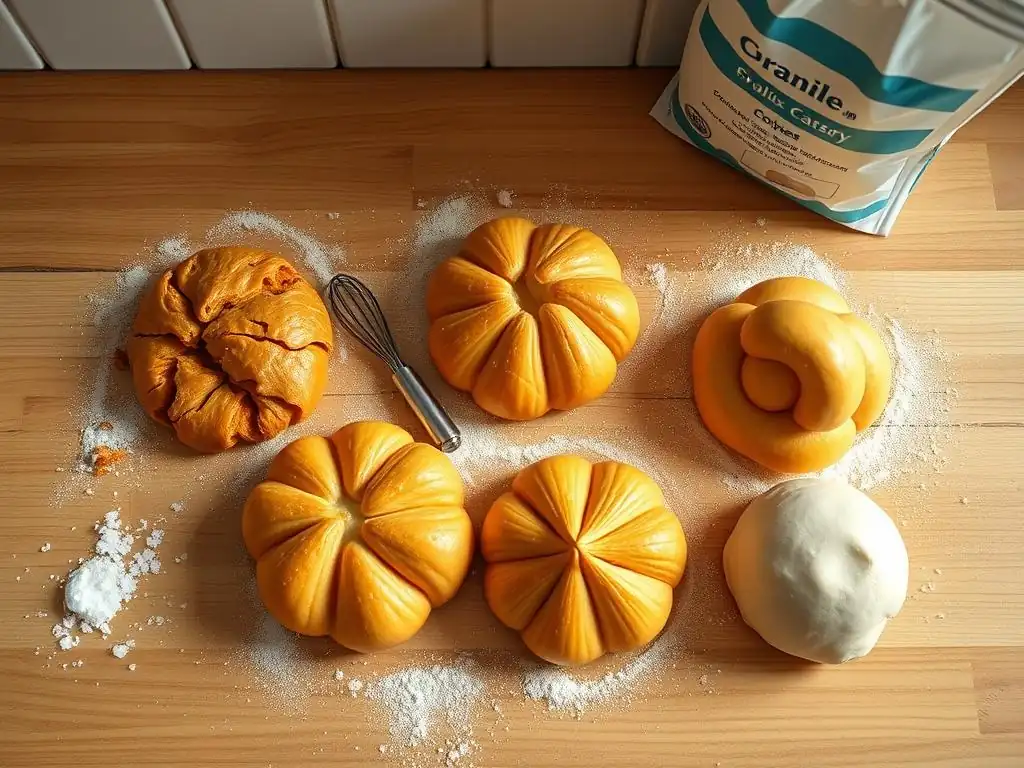
Adjusting the Flour and Liquid Ratio for Optimal Results
While it's difficult to fix the ratio after the panade is made, you can prevent issues by measuring carefully before you start. Weighing your ingredients (liquid, butter, and flour) is far more accurate than using volume measurements (cups), as flour can pack differently. A digital kitchen scale is an invaluable tool for choux pastry success. A common ratio might be 240g liquid, 100g butter, 140g flour, then 4-5 large eggs (around 200-250g).
If your panade feels too stiff and dry after cooking but before adding eggs, you might have used too much flour or cooked it too long, evaporating too much moisture. If it's too wet and sticky, you might not have cooked it long enough to evaporate sufficient moisture or used too little flour. While minor adjustments are risky, ensuring your next batch uses precise measurements based on a reliable recipe is the best solution. Note the consistency of a successful panade for future reference – it should pull away cleanly from the sides and bottom of the pan.
Mastering the Egg Incorporation Technique
Properly incorporating the eggs is perhaps the most crucial step for the final dough consistency. Ensure your panade has cooled slightly (to around 140-160°F or 60-70°C) before adding eggs, so they don't scramble. Beat your eggs lightly in a separate bowl first. Add a small amount (about a quarter of the total volume) to the panade and beat vigorously with a wooden spoon or stand mixer until fully incorporated and the dough looks cohesive again.
Continue adding the beaten egg in small increments, mixing thoroughly after each addition. You are building an emulsion. It might look separated or greasy at first, but keep mixing, and it will come together. Stop adding egg when the dough reaches the correct consistency – you may not need all the egg, or you might need a tiny bit more depending on egg size and panade moisture.
Achieving the Right Dough Consistency: The Ribbon Test
How do you know when you've added enough egg? The "ribbon test" (sometimes called the "volcano test" or "bird's beak test") is the standard method. Lift some dough with your spoon or mixer paddle. The dough should hang from it in a thick, smooth "ribbon" or a V-shape. This ribbon should break and slowly fall back into the bowl, leaving a trail that holds its shape for a moment before settling.
If the dough is too stiff and breaks off in clumps without forming a ribbon, you need to add a little more egg. If it's too loose and runny, falling off the spoon in a thin stream, you've added too much egg. A dough that is too loose lacks the structure to rise properly, which is why choux pastry won't rise well if over-egged.
Unfortunately, an over-egged dough is very difficult to correct; you might try adding a tiny bit more flour and cooking briefly again, but it often doesn't work well. It's better to err on the side of caution and add eggs gradually.
Perfecting Your Baking Time and Temperature
Most choux pastry recipes use a two-stage baking method. Start with a high temperature (e.g., 400-425°F or 200-220°C) for the first 10-15 minutes. This creates the necessary intense heat for rapid steam generation and initial puffing. Ensure your oven is fully preheated beforehand.
After the initial high-heat period, reduce the oven temperature (often to 350-375°F or 180-190°C) and continue baking for another 15-25 minutes or longer. This lower temperature prevents the outside from burning while allowing the inside to cook through and dry out, setting the internal structure. Do not open the oven door during the high-heat phase, and be cautious about opening it during the low-heat phase until the choux are visibly golden and appear stable.
Recognizing the Signs of a Properly Baked Choux Pastry
Knowing when choux pastry is truly done is crucial to prevent collapse. Visually, they should be a deep golden brown color all over, not just on the edges. A pale choux is likely underbaked. They should also look well-puffed and feel light when you gently try to lift one with a spatula (be quick! ).
Some bakers recommend poking a small hole in the base of each puff immediately after removing them from the oven. This allows any residual steam to escape, preventing the shell from becoming soggy and reducing the risk of collapse. If the inside still looks wet or doughy when you do this, they needed more time. An underbaked interior is a primary reason why choux pastry won't rise properly or collapses.
Troubleshooting Specific Choux Pastry Problems
Flat Choux Pastry: Identifying the Cause and Solution
If your choux pastry comes out flat or only slightly domed, the most likely culprits are:
- Insufficient eggs: The dough was too stiff and dry. Solution: Ensure you add enough egg to reach the correct ribbon consistency. Weighing ingredients helps maintain the correct panade ratio before adding eggs.
- Oven not hot enough: Not enough steam was generated quickly. Solution: Use an oven thermometer and ensure your oven is fully preheated to the correct high temperature.
- Opening the oven door too early: Steam escaped before the structure set. Solution: Be patient and avoid opening the oven for at least the first 15-20 minutes.
Collapsed Choux Pastry: Preventing and Correcting
Choux that rise beautifully but then deflate are almost always underbaked. The structure wasn't set firmly enough to support the cavity after the steam dissipated.
- Underbaking: The interior walls were still too moist and weak. Prevention: Bake until deep golden brown and they feel light and hollow. Use the two-stage baking method correctly.
- Opening oven door too early (especially in the second phase): A sudden temperature drop can cause collapse even if partially set. Prevention: Wait until they look fully baked before opening the door.
Once choux pastry has collapsed significantly, it's very difficult to salvage them as perfect puffs. You can sometimes use them as croutons (bake until crisp) or crumble them for other uses.
Unevenly Risen Choux Pastry: Achieving Uniform Results
If some puffs rise well while others are flat or lopsided, consider these factors:
- Inconsistent dough consistency: The dough wasn't mixed thoroughly after adding eggs, leading to variations. Solution: Ensure the ribbon consistency is uniform throughout the batch of dough.
- Uneven piping: Puffs are different sizes or shapes, causing them to bake at different rates. Solution: Use a piping bag and aim for consistent size and spacing on the baking sheet.
- Uneven oven heat: Hot spots in your oven are causing some areas to bake faster than others. Solution: Rotate your baking sheet halfway through the baking time. An oven thermometer can also help identify if your oven has significant temperature fluctuations.
Pro Tips for Consistently Perfect Choux Pastry
Using a Piping Bag for Uniform Choux Pastry Shapes
Using a piping bag fitted with a plain or star tip is highly recommended for shaping choux pastry. While you can dollop dough with spoons, a piping bag allows for much greater consistency in size and shape. Uniformly sized puffs ensure that they all bake evenly. If you have some large and some small puffs on the same sheet, the smaller ones will likely overbake while the larger ones are still underbaked, leading to mixed results where some choux pastry won't rise as well as others, or some collapse.
To use a piping bag effectively, fill it about two-thirds full. Hold it perpendicular to the baking sheet for round puffs (like cream puffs) or at a slight angle for elongated shapes (like éclairs). Apply even pressure as you pipe, and stop pressing just before you finish, lifting the bag with a slight twist. Smoothing down any peaks with a wet finger before baking helps prevent them from burning.
Preheating Your Baking Sheet for Enhanced Rise
Some experienced bakers recommend placing the baking sheet you plan to use into the oven while it preheats. Once the oven is ready, carefully remove the hot sheet (using oven mitts! ), quickly pipe your choux dough onto it (use parchment paper! ), and immediately return it to the oven.
The theory behind this is that the direct heat from the hot baking sheet gives an immediate, intense burst of heat to the base of the choux puff. This helps accelerate the conversion of moisture to steam right from the start, potentially contributing to a stronger initial lift. Be cautious when handling the hot sheet, and work quickly so the sheet doesn't cool down too much before the choux go into the oven.
Storing and Reheating Choux Pastry (If Possible)
Unfilled choux pastry shells can be stored. Once completely cooled, they can be kept in an airtight container at room temperature for a day or two, though they are best eaten fresh. For longer storage, they freeze exceptionally well. Place the cooled, unfilled shells in a single layer on a baking sheet to flash freeze, then transfer them to a freezer bag or container for up to a couple of months.
To serve frozen choux shells, you can reheat them directly from the freezer. Place them on a baking sheet in a moderate oven (around 300-350°F or 150-175°C) for 5-10 minutes until they are crisp again. This reheating step is great for reviving their texture. Filled choux pastry, especially with dairy-based fillings, should be stored in the refrigerator and is generally not recommended for freezing or reheating, as the filling's texture will suffer.
Advanced Choux Pastry Techniques for Expert Bakers
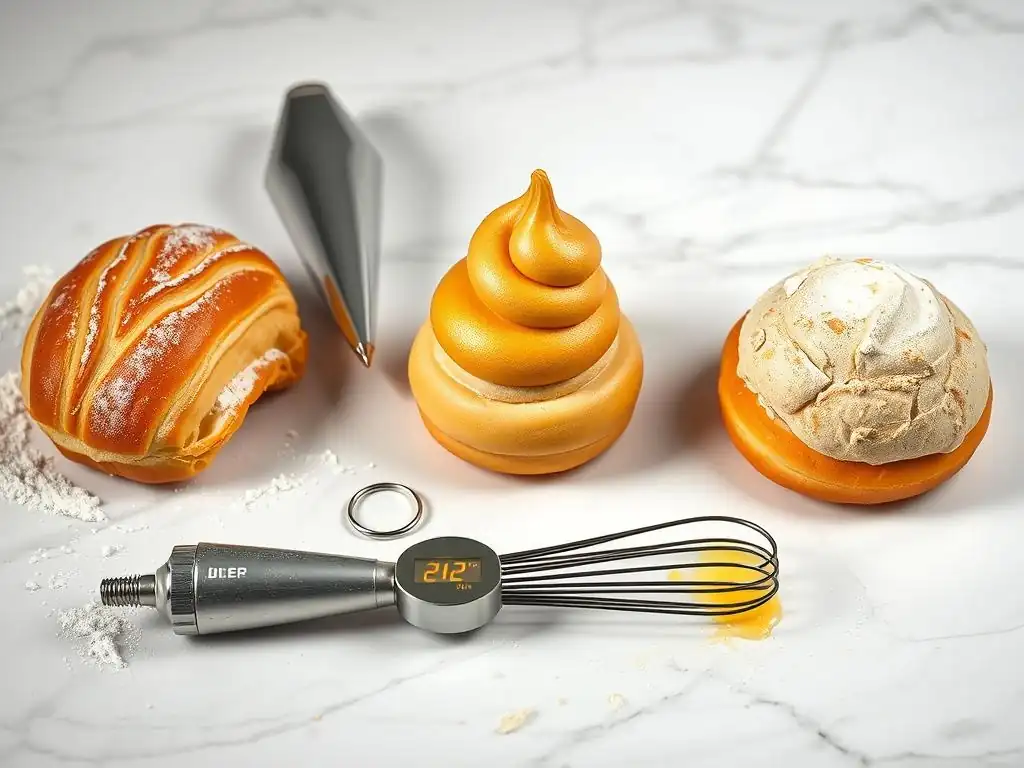
Exploring Different Choux Pastry Variations
Once you've mastered the basic pâte à choux, a world of variations opens up. One popular technique is adding pâte à craquelin, a simple mixture of butter, sugar, and flour rolled thin and placed on top of the piped choux before baking. As the choux rises, the craquelin cracks, forming a beautiful, crisp, and slightly sweet cap that adds texture and visual appeal.
Another delightful variation is gougères, the savory sibling of cream puffs. Made by incorporating grated cheese (like Gruyère or Parmesan) and sometimes herbs into the basic choux dough, gougères are baked and served warm, often as an appetizer. These variations demonstrate the fundamental adaptability of the choux dough.
Flavoring Your Choux Pastry: Sweet and Savory Options
The basic choux dough has a fairly neutral flavor, making it an excellent canvas for incorporating other tastes. For sweet applications, you can add a splash of vanilla extract or almond extract to the dough when adding the eggs. Citrus zest can also provide a lovely aroma and subtle flavor.
For savory choux, cheese is the most common addition, mixed into the dough after the eggs are incorporated. You can also add finely chopped fresh herbs like chives, parsley, or thyme. Spices like black pepper, paprika, or a pinch of cayenne can add warmth and depth. Experimenting with these additions allows you to tailor your choux pastry to various fillings and occasions.
Mastering Éclairs, Cream Puffs, and Other Choux Creations
The shape of your choux pastry dictates its common name and use. Round puffs are typically filled with cream and used for profiteroles or cream puffs. Elongated shapes are classic for éclairs, destined to be filled with pastry cream and topped with glaze. Rings are used for Paris-Brest, and smaller versions can be fried for crullers.
Mastering these forms involves practice with a piping bag to achieve consistent sizes and shapes. Filling techniques also vary, from piping cream through a small hole in the base to slicing the puff horizontally and spooning in the filling. These creations build upon the foundational skill of making a perfectly risen choux dough, proving that a successful choux pastry won't rise problem is the first hurdle to overcome on the path to choux mastery.
Achieving Choux Pastry Success: A Recap
Creating perfect choux pastry requires attention to detail at every stage, from making the dough to baking. If your choux pastry won't rise, revisit the fundamentals: ensure your flour-to-liquid ratio in the panade is correct, measure ingredients accurately (preferably by weight), and cook the panade sufficiently on the stovetop.
Most importantly, pay close attention to the eggs. Add enough to achieve the right ribbon consistency, but add them gradually and mix thoroughly. Finally, master the baking process: preheat your oven properly, use the two-stage temperature method, bake until the choux are deep golden and feel light, and resist the urge to open the oven door too early. With practice and careful execution, you'll overcome the challenge of flat choux and consistently achieve those delightful, airy puffs.
Frequently Asked Questions
Why is my choux pastry not rising in the oven?
The most common reason for choux pastry failing to rise is insufficient steam production during baking. This could be due to an oven that isn't hot enough or a recipe with incorrect liquid ratios.
How important is the oven temperature for choux pastry?
Oven temperature is crucial. A high initial temperature is necessary to quickly create steam, which causes the pastry to puff up. Lowering the temperature later allows the structure to set.
What role do eggs play in getting choux pastry to rise?
Eggs provide structure and moisture. The protein in the eggs sets as the pastry bakes, holding the air that's created by the steam. Insufficient eggs will lead to a flat pastry.
Can overmixing the choux pastry batter affect its rise?
Yes, overmixing can develop the gluten in the flour too much, resulting in a tougher pastry that struggles to rise properly. Mix until just combined.
What if my choux pastry rises initially but then collapses?
This often indicates that the pastry wasn't baked long enough. The internal structure hasn't fully set, so it collapses when removed from the oven. Ensure the pastries are golden brown and feel light before removing them.
Final Reflection: The Triumphant Rise of Choux Pastry
The seemingly simple choux pastry, a testament to the delicate balance of ingredients and technique, continues to challenge even the most experienced bakers. Mastering its secrets unlocks a world of culinary delights, from airy éclairs to elegant profiteroles, but its capricious nature demands respect and understanding. This article has explored the common pitfalls that prevent a successful rise, highlighting the crucial role of proper mixing, cooking, and baking techniques.
The journey of perfecting choux pastry is a microcosm of the larger creative process; it's about embracing imperfection, learning from failures, and celebrating the small victories. The only way to do great work is to love what you do.
- Steve Jobs. This quote resonates deeply because the frustration of a collapsed choux puff can be immense, but the joy of achieving perfectly puffed pastries is equally rewarding, pushing us to refine our skills and appreciate the artistry involved. The enduring popularity of choux pastry, spanning centuries and cultures, speaks to its inherent appeal and the satisfaction derived from mastering its challenges.
Now, it's your turn. Don't let a fallen choux pastry discourage you. Remember the lessons learned here – the importance of precise measurements, the gentle stirring, the crucial steam release. Embrace the process, experiment with different fillings and glazes, and most importantly, enjoy the journey of transforming simple ingredients into exquisite, airy delights. The perfectly risen choux pastry awaits – go forth and conquer!
Unlock Your Choux Pastry Potential!
Thanks for taking the time to learn about the secrets of perfect choux pastry! We hope you gained valuable insights into troubleshooting those frustrating collapses. Now it's time to put your newfound knowledge into action.
- Master the perfect choux: Try the recipe again, paying close attention to the key points we discussed – the temperature of the water, the whisking of the eggs, and the baking time. Document your results!
- Share your choux success (or challenges!): We'd love to see your creations – and hear about any breakthroughs or continued mysteries! Share your photos and experiences in the comments below.
- Challenge yourself: Experiment with different fillings and flavors to create your own signature choux pastry masterpiece. What inventive filling will you try next?
Ready to create those perfectly puffed pastries? Let’s see your choux creations!