
The Autolyse Technique: Effortless Gluten Development for Superior Dough

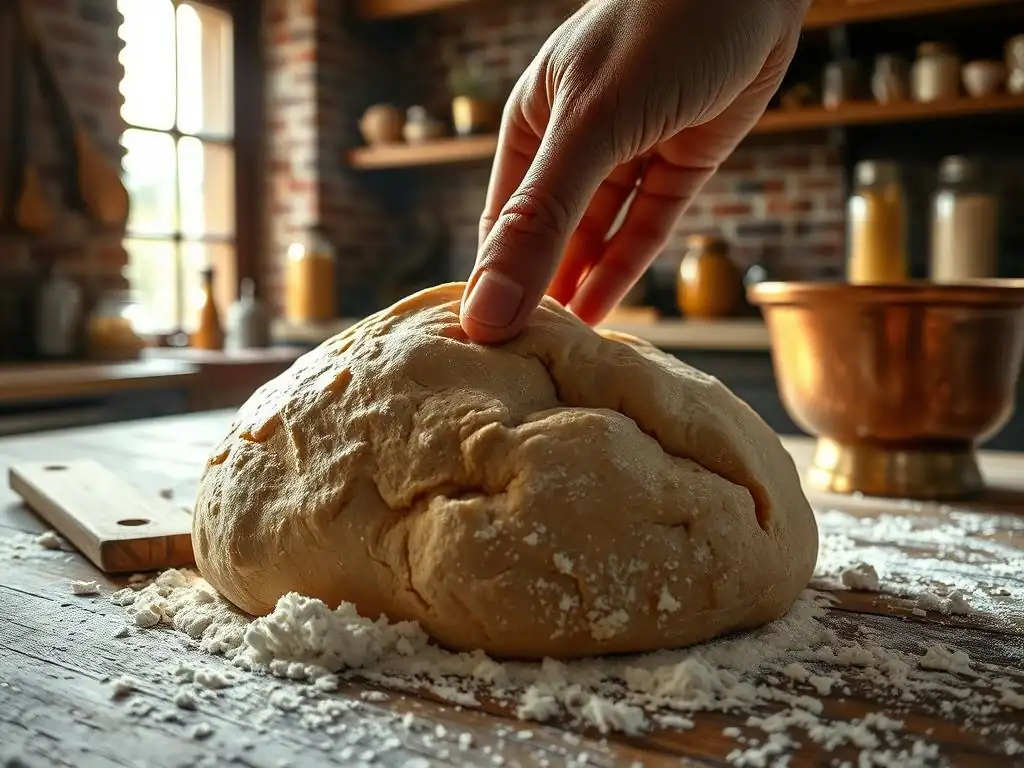
Welcome to BakeWithEase, your guide to simpler, more satisfying baking!
Ever wondered how to achieve that perfectly chewy texture in your bread without endless kneading? We're diving into a technique that does just that: the autolyse. Discover how this simple rest period can dramatically enhance dough gluten development, leading to superior flavor and texture in your loaves. Curious to unlock the secrets of effortlessly amazing bread? Let's explore the autolyse technique and transform your bread baking forever!
- Introduction to Autolyse: Understanding the Science Behind Better Dough
- Autolyse Dough: A Step-by-Step Guide for Various Baked Goods
- Mastering Gluten Development Through Autolyse
- Autolyse for Different Types of Dough: Bread, Pasta, and More
- Troubleshooting Autolyse: Common Mistakes and Solutions
- Recipes Using the Autolyse Technique for Enhanced Flavor
- Advanced Autolyse Techniques for Expert Bakers
- Conclusion: Unleashing the Potential of Autolyse for Superior Baking Results
- Frequently Asked Questions
- Final Reflection: Unleashing the Power of Autolyse
- Unleash Your Inner Baker: Master the Autolyse!
Introduction to Autolyse: Understanding the Science Behind Better Dough
What is Autolyse and Why Use It in Baking?
Autolyse is a simple yet powerful technique used in baking that involves mixing just the flour and water from a recipe and letting them rest before adding the other ingredients, such as salt and yeast. This resting period, typically ranging from 20 minutes up to several hours, allows the flour to fully hydrate and activates enzymes naturally present in the flour, specifically proteases and amylases. Proteases help to break down some of the tough protein bonds in the flour, while amylases convert starch into sugars, providing food for yeast later.
The primary goal of the autolyse technique is to kickstart the process of gluten development with minimal effort. By allowing the flour to soak in the water, the gluten-forming proteins (gliadin and glutenin) begin to bond and align without the mechanical work of kneading. This initial hydration and enzymatic activity softens the dough, making it significantly easier to handle and knead later. It's a foundational step that contributes directly to the structure and texture of the final baked good, leading to a more extensible and manageable autolyse dough.
The Key Benefits of Autolyse for Dough Quality
Using the autolyse technique offers several distinct advantages that contribute to superior dough quality. Firstly, it drastically reduces the total kneading time required. Because the gluten development process begins during the rest period, less mechanical work is needed to achieve a strong, elastic dough structure. This is particularly beneficial when working with larger batches or higher hydration doughs, which can be challenging to knead effectively.
Secondly, autolyse results in dough that is more extensible and less prone to tearing. The enzymatic action during the rest period relaxes the dough, allowing it to stretch further without snapping. This improved extensibility is crucial for shaping loaves, especially for techniques like stretching and folding. Furthermore, the enhanced gluten development leads to a better crumb structure in the finished product, often resulting in a more open, airy texture and improved volume. The flavor can also benefit indirectly, as the enzymatic activity can contribute to more complex flavors developing over time.
Autolyse Dough: A Step-by-Step Guide for Various Baked Goods
Ingredients Needed for the Autolyse Method
Implementing the autolyse technique is remarkably simple, requiring only two ingredients initially from your recipe: flour and water. The type of flour used will depend on the specific baked good you are making, whether it's bread, pizza dough, or pasta. Common bread flours, all-purpose flour, and even whole wheat or spelt flours can be used effectively with autolyse. The water should be the amount specified in your recipe that is intended to hydrate the flour.
It is crucial not to include salt or yeast (or any leavening agent like sourdough starter) during the autolyse phase. Salt can toughen the gluten structure prematurely and inhibit the desired enzymatic activity. Yeast or starter would begin fermentation too early, before the gluten structure has had adequate time to develop effortlessly. Other ingredients like oil, eggs, or enrichments are also added after the autolyse rest period.
Step 1: Mixing Flour and Water for Autolyse
The first step in the autolyse process is to combine the specified amount of flour and water in a mixing bowl. You can use a stand mixer with a dough hook or mix by hand. The goal is simply to bring the ingredients together until there are no dry pockets of flour remaining. The mixture will look shaggy and rough at this stage, which is perfectly normal. There is no need to knead the dough; gentle mixing to ensure all the flour is hydrated is sufficient.
Ensure that all the flour is incorporated and has absorbed moisture. Scrape down the sides of the bowl if necessary to get all the dry bits mixed in. The dough will likely feel quite stiff and potentially sticky, depending on the hydration level of the recipe. Do not worry about developing any smoothness or elasticity at this point; the magic of autolyse happens during the resting period that follows.
Step 2: The Resting Period: Time and Temperature Considerations
Once the flour and water are combined into a shaggy mass, the dough needs to rest. This is the core of the autolyse technique. The resting time can vary significantly depending on the type of flour and the desired outcome, typically ranging from 20 minutes to several hours.
For white flours, a rest of 20-30 minutes is often sufficient to see noticeable benefits in gluten development. Whole grain flours, which absorb water more slowly and contain more active enzymes, can benefit from longer autolyse periods, sometimes up to 1-2 hours or even longer, though caution is needed with very long times to avoid excessive protease activity.
The temperature of the environment can also slightly influence the rate of enzymatic activity. A standard room temperature (around 20-24°C or 68-75°F) is generally ideal for the autolyse rest. For longer autolyse periods (over an hour or two), especially with whole grains or in warmer conditions, some bakers opt to place the dough in the refrigerator to slow down enzymatic activity and prevent over-processing of the gluten structure. Covering the bowl with plastic wrap or a damp towel is essential to prevent the surface of the dough from drying out during the rest.
Step 3: Incorporating Remaining Ingredients After Autolyse
After the autolyse rest period is complete, the dough will look and feel different. It should appear smoother and more relaxed, and if you gently pull a piece, you should notice the beginnings of elasticity. Now it's time to add the remaining ingredients from your recipe, including salt, yeast, sourdough starter, and any enrichments like oil, sugar, or eggs.
Add the salt and yeast (or starter) directly onto the rested dough. If using a stand mixer, mix on a low speed until the new ingredients are fully incorporated. If mixing by hand, gently fold or knead the ingredients in.
You will notice that the dough, which was previously stiff and shaggy, is now much more pliable and easy to work with. Continue kneading (either by hand or mixer) until the dough reaches the desired level of gluten development – it will become smooth, elastic, and pass the windowpane test. The time required for this final kneading stage will be significantly less than if you had skipped the autolyse step, demonstrating the efficiency of this autolyse dough gluten development method.
Mastering Gluten Development Through Autolyse
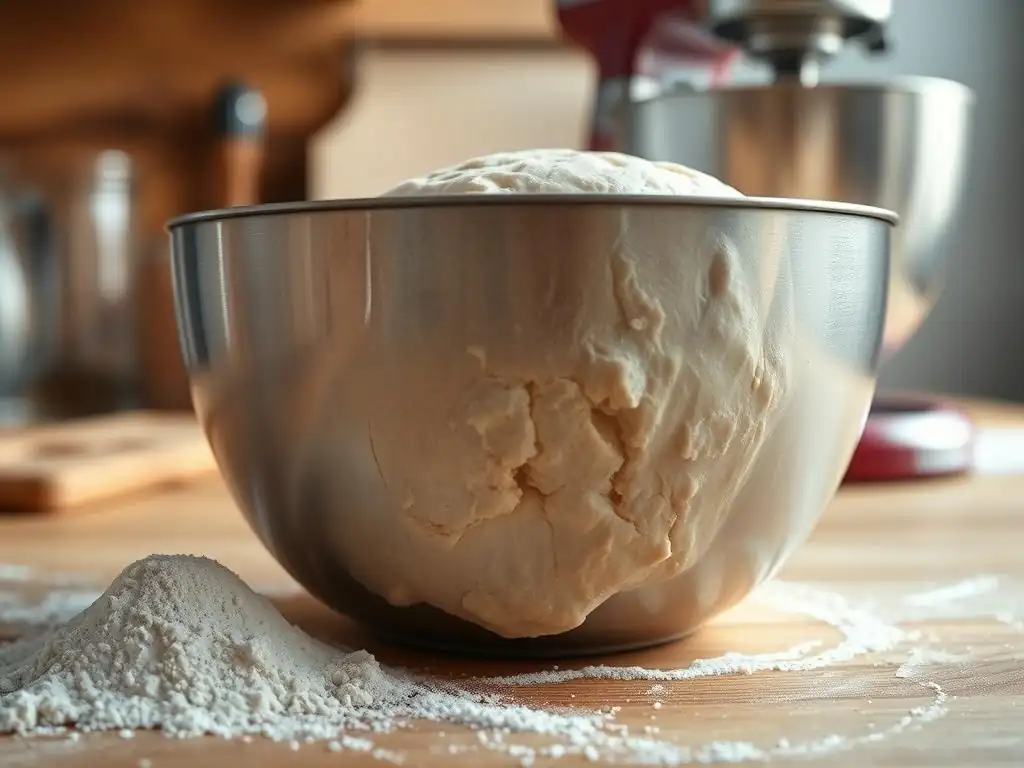
Autolyse vs. Traditional Kneading: A Comparison
Traditional kneading involves mixing all ingredients together from the start and then developing the gluten structure through vigorous mechanical action – stretching, folding, and compressing the dough. This process can be physically demanding, especially for high-hydration doughs, and often requires 10-15 minutes or more of continuous work by hand or mixer to achieve sufficient gluten development. The friction from extensive kneading can also slightly raise the dough's temperature.
In contrast, the autolyse technique front-loads the hydration and enzymatic processes that initiate gluten development before any significant mechanical work begins. By allowing the flour and water to rest, the gluten-forming proteins hydrate and naturally start to form connections.
When you eventually add the salt and yeast and begin kneading, the dough is already partially developed, requiring only a fraction of the time and effort (often just 3-5 minutes of gentle kneading or a few sets of folds) to reach optimal autolyse dough gluten development. This results in a more relaxed dough from the outset and can be gentler on sensitive flours.
How Autolyse Enhances Dough Strength and Elasticity
The magic of autolyse lies in how it allows the flour's proteins to hydrate and align themselves without the stress of kneading alongside other ingredients like salt. During the rest, the gliadin and glutenin proteins absorb water and begin to link up, forming the gluten network. Simultaneously, the protease enzymes modify the protein structure, making it more extensible and less prone to breaking. This initial relaxation and partial breakdown of some protein bonds make the dough much more stretchable.
When you then introduce kneading after the autolyse period, the existing, partially developed gluten network is further strengthened and aligned. The dough develops increased elasticity, meaning it can spring back after being stretched, and greater strength, allowing it to hold its shape and trap gases produced during fermentation. This enhanced strength and elasticity achieved through the autolyse technique directly translates to a dough that is easier to shape, holds its structure better during proofing and baking, and produces a final product with improved volume and a desirable open crumb structure.
Understanding the Role of Hydration in Autolyse
Hydration, the ratio of water to flour, plays a critical role in the effectiveness of the autolyse technique. Water is essential for the gluten-forming proteins (gliadin and glutenin) to absorb moisture and interact, which is the foundation of gluten development. Sufficient hydration allows these proteins to move freely and link up effectively during the rest period. Recipes with higher hydration levels (e.g., 75% water to flour) often benefit significantly from autolyse, as the extra water can make initial mixing and kneading difficult without the pre-hydration step.
While hydration is key, the autolyse itself only uses the water designated for the flour in the recipe. If a recipe includes other liquids like milk or eggs, these are typically added after the autolyse rest along with the salt and yeast.
The level of hydration also influences the required autolyse time; higher hydration doughs might need slightly less time as hydration occurs more rapidly, whereas lower hydration doughs might benefit from a slightly longer rest to ensure full water absorption by the flour particles. Achieving proper hydration during autolyse is fundamental to kickstarting the process of autolyse dough gluten development.
Autolyse for Different Types of Dough: Bread, Pasta, and More
Autolyse in Bread Dough: Improving Texture and Flavor
Autolyse is perhaps most widely known and utilized in bread baking, particularly for artisan loaves like sourdough and baguettes. Applying the autolyse technique to bread dough leads to several improvements. Texturally, it contributes to a more open and airy crumb structure, often desired in rustic breads. The dough becomes more extensible, making shaping easier and allowing for greater oven spring. For example, in a typical white bread recipe, a 30-minute autolyse can noticeably improve the dough's handleability and the final loaf's volume.
Beyond texture, some bakers believe that the enzymatic activity during autolyse, particularly the breakdown of starches into sugars, can subtly contribute to the bread's flavor and the browning of the crust. While this effect might be more pronounced with longer autolyse periods or certain flour types, the primary benefit in bread remains the significant enhancement of autolyse dough gluten development, leading to a stronger, more manageable dough and a better final product.
Autolyse in Pasta Dough: Creating a Smoother, More Elastic Result
While less commonly discussed than in bread making, the autolyse technique can also be beneficial for pasta dough, especially those made with durum wheat or semolina flour. These flours are high in protein but can sometimes result in a stiff, difficult-to-work dough. Mixing just the flour and water for pasta dough and allowing it to rest for 20-30 minutes can make a significant difference.
The rest period allows the proteins in the durum wheat to hydrate fully and relax. When you then knead the dough, it becomes much smoother, more pliable, and elastic compared to dough mixed and kneaded immediately. This improved elasticity is invaluable when rolling out pasta dough, whether by hand or machine, as it reduces tearing and makes it easier to achieve thin sheets. The resulting pasta holds its shape better during cooking.
Adapting the Autolyse Technique for Various Flours (e.g., Whole Wheat, Spelt)
The effectiveness and required duration of autolyse can vary depending on the type of flour used. Whole wheat flour, for instance, contains the bran and germ, which absorb water more slowly than the endosperm. Whole wheat also has higher levels of protease enzymes.
Therefore, whole wheat doughs typically benefit from a longer autolyse period, often 45-90 minutes or even longer, to allow for complete hydration and enzymatic action on the increased protein content. However, caution is needed with very long autolyse times for whole wheat, as excessive protease activity can degrade the gluten structure if left too long, especially in warm conditions.
Spelt flour, another ancient grain, behaves differently from modern wheat. It contains gluten, but the structure is weaker and more easily damaged by over-kneading. Using the autolyse technique with spelt can be particularly advantageous. A shorter autolyse (20-30 minutes) allows hydration and initial gluten development without the risk of overworking the delicate gluten network during the subsequent, shorter kneading phase. Similarly, rye flour, which has very little gluten, might see limited benefits from autolyse primarily related to hydration, but the technique's impact on gluten development will be negligible compared to wheat flours.
Troubleshooting Autolyse: Common Mistakes and Solutions
Over-Autolysing: Recognizing and Correcting the Issue
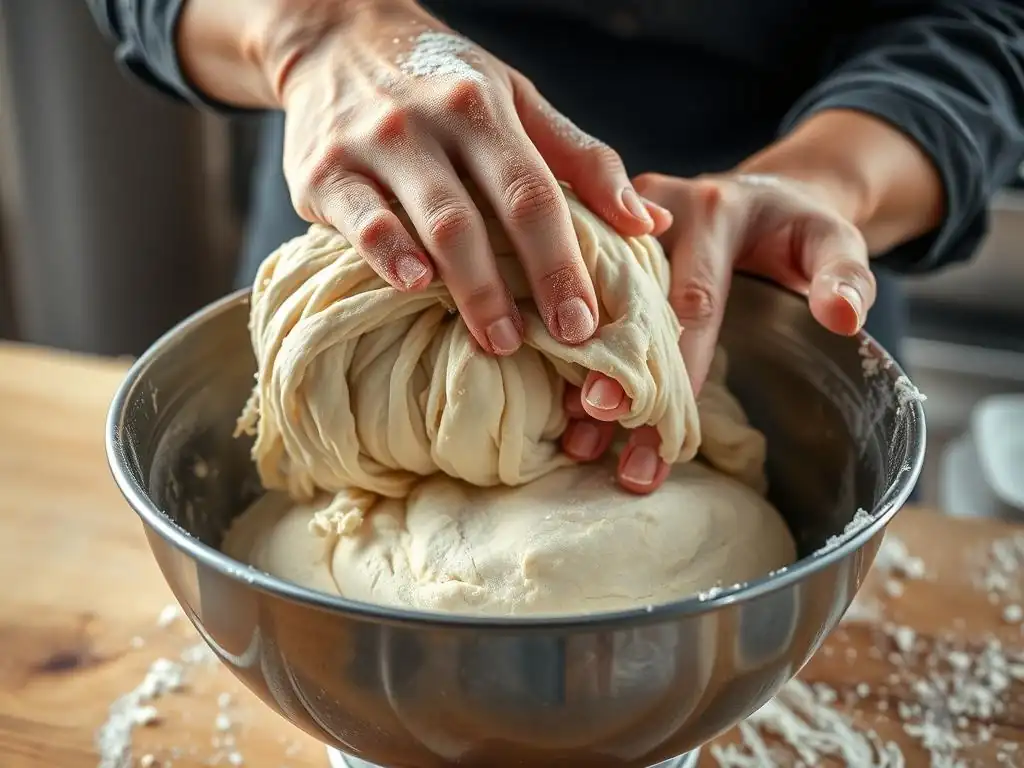
Over-autolysing occurs when the dough rests for too long, particularly with certain flour types or in warm conditions. The protease enzymes, while beneficial in moderation, can start to break down the gluten structure excessively if given too much time. Signs of over-autolysing include dough that becomes overly slack, sticky, and loses its structure, feeling like it's melting or degrading rather than developing elasticity. If you gently pull the dough, it might tear very easily instead of stretching.
Correcting severely over-autolysed dough is difficult, as the protein structure has been damaged. Prevention is key: understand the typical autolyse times for your flour type and environment. If you suspect you've slightly over-autolysed, you might try a few extra sets of stretch and folds during the bulk fermentation phase to help rebuild some structure. However, the final loaf might still have less volume and a denser crumb than intended due to the compromised gluten. Monitoring the dough's feel during the rest is crucial – it should relax, not liquefy.
Under-Autolysing: Identifying and Addressing the Problem
Under-autolysing happens when the rest period is too short. The flour hasn't had sufficient time to fully hydrate, and the enzymes haven't had adequate opportunity to begin their work. The dough after the rest will feel much the same as it did immediately after mixing – shaggy, stiff, and difficult to stretch without tearing. When you begin the final kneading, the dough will still require significant effort and time to develop a smooth, elastic structure, negating much of the benefit of the autolyse technique for gluten development.
If you realize you've under-autolysed, the solution is straightforward: simply continue kneading for longer during the final mixing stage until the dough achieves proper gluten development. You might need to perform more sets of stretch and folds during bulk fermentation as well. While you lose the efficiency benefit of reduced kneading time, you can still achieve a good final dough structure. The key is recognizing that the initial autolyse didn't fully prepare the dough and compensating with more mechanical development.
Adjusting Autolyse Time Based on Flour Type and Environmental Conditions
Successfully using the autolyse technique requires flexibility and understanding that the optimal rest time is not a one-size-fits-all rule. As mentioned, different flour types absorb water at different rates and have varying levels of enzymatic activity. White bread flour might only need 20-30 minutes, while a 100% whole wheat dough could benefit from 60-90 minutes or even longer. Factors like the grind of the flour (finely milled vs. coarse) also play a role in hydration speed.
Environmental conditions, particularly temperature, also influence enzymatic activity. In a warm kitchen (above 25°C/77°F), enzymes are more active, so shorter autolyse times might be necessary to prevent over-processing. In a cooler environment (below 20°C/68°F), enzymatic action is slower, and a longer rest might be beneficial. Experimentation with your specific flour and kitchen temperature is the best way to determine the ideal autolyse duration for achieving optimal autolyse dough gluten development. Starting with the recommended times for your flour type and adjusting based on how the dough feels is a good approach.
Recipes Using the Autolyse Technique for Enhanced Flavor
Autolyse Sourdough Bread Recipe
Using the autolyse technique is a fantastic addition to sourdough baking, enhancing both the texture and manageability of the dough.
- Ingredients:
- Bread Flour (e.g., 500g)
- Water (e.g., 350g - adjust based on flour absorption)
- Active Sourdough Starter (e.g., 100g)
- Salt (e.g., 10g)
- Steps:
- Combine the flour and water in a large bowl until no dry flour remains. This is your autolyse mixture.
- Cover the bowl and let rest for 30-60 minutes at room temperature.
- After the autolyse rest, add the sourdough starter and salt to the dough.
- Mix or knead until the starter and salt are fully incorporated, about 2-5 minutes.
- Begin the bulk fermentation phase, incorporating stretch and folds over the next 2-4 hours to further develop the gluten structure.
- Proceed with shaping, proofing, and baking as per your standard sourdough method.
This autolyse sourdough dough will be noticeably easier to handle and stretch during the folding stages, leading to a better rise and crumb.
Autolyse Pasta Dough Recipe
Applying a short autolyse to pasta dough can yield a silkier, more extensible result.
- Ingredients:
- Durum Wheat Semolina or "00" Flour (e.g., 250g)
- Water (e.g., 100-125g - adjust based on flour absorption)
- Optional: Egg (e.g., 1 large)
- Steps:
- Combine the flour and water (and egg, if using) in a bowl or on a clean surface. Mix until just combined into a shaggy ball. Ensure all flour is hydrated.
- Cover the dough tightly with plastic wrap and let rest for 20-30 minutes at room temperature.
- Unwrap the dough and knead vigorously for 5-10 minutes until it is smooth and elastic. The autolyse makes this much easier.
- Wrap the dough again and let it rest for another 30 minutes before rolling and shaping.
The autolyse step significantly reduces the effort required to achieve a smooth, workable pasta dough, showcasing its benefit beyond just bread.
Advanced Autolyse Techniques for Expert Bakers
Using a Poolish or Biga in Conjunction with Autolyse
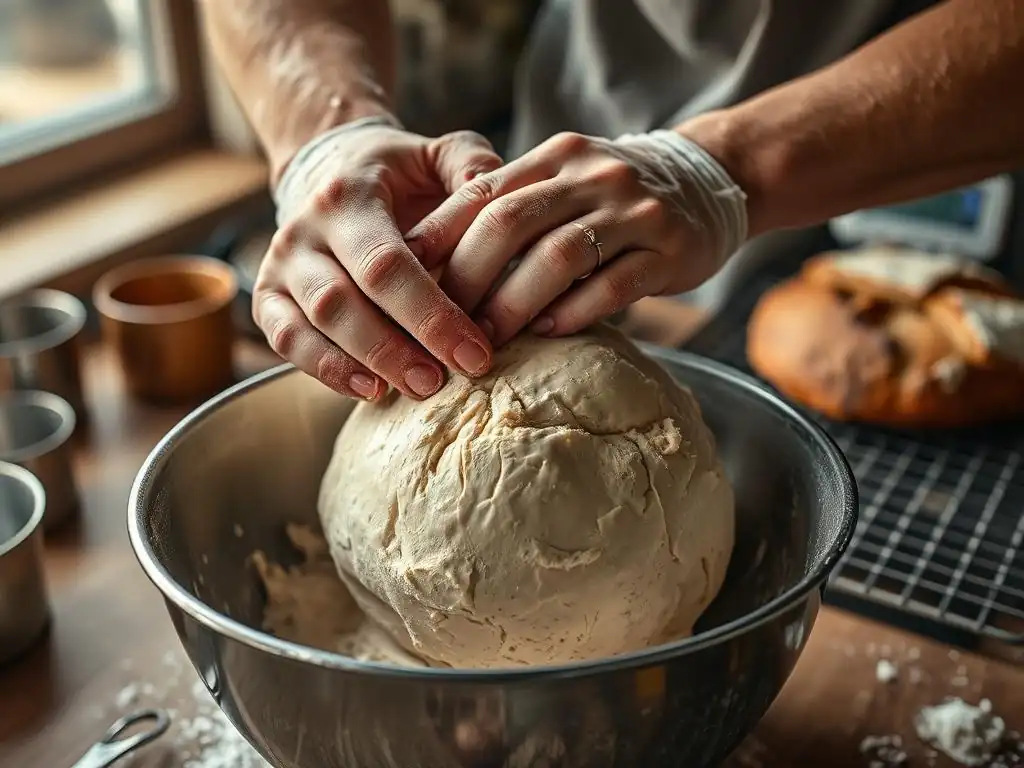
For advanced bakers, the autolyse technique can be combined with preferments like poolish (a wet, liquid starter) or biga (a stiff starter). Traditionally, preferments contain flour, water, and a small amount of yeast, fermenting over several hours or overnight. When using autolyse in this context, you typically perform the autolyse with the main portion of flour and water for the recipe, excluding the preferment, salt, and any additional yeast.
After the autolyse rest period (e.g., 30-60 minutes), you then add the mature poolish or biga, salt, and any remaining ingredients to the autolysed dough. This combination allows you to benefit from both the flavor and structure-building properties of the preferment and the improved handling and gluten development from the autolyse. The dough becomes incredibly extensible and strong, leading to complex flavors and excellent volume and crumb structure in the final bake.
Incorporating Autolyse in Sourdough Baking for Enhanced Rise
Autolyse is particularly synergistic with sourdough baking due to the long fermentation times involved. By performing an autolyse (typically 30-90 minutes) with the main flour and water before adding the sourdough starter and salt, you give the flour a head start on hydration and gluten development. This means that once the starter is added and fermentation begins, the dough is already partially structured and more relaxed.
This enhanced initial autolyse dough gluten development leads to several benefits in sourdough. The dough is easier to handle throughout the bulk fermentation and shaping process. More importantly, the stronger, more extensible gluten network is better equipped to trap the gases produced by the sourdough starter over many hours. This results in greater oven spring and a more open, airy crumb structure, characteristic of high-quality artisan sourdough loaves. Many professional sourdough bakers incorporate autolyse as a standard step in their process.
Conclusion: Unleashing the Potential of Autolyse for Superior Baking Results
The autolyse technique, though simple, is a powerful tool in the baker's arsenal. By merely resting a mixture of flour and water before adding other ingredients, you harness the natural properties of flour to kickstart gluten development effortlessly. This leads to dough that is more relaxed, easier to handle, requires less kneading, and is significantly more extensible and elastic. The resulting baked goods, whether bread, pizza, or pasta, benefit from improved texture, volume, and often a better crumb structure.
The Future of Baking: Embracing Autolyse for Consistent Quality
In the pursuit of baking excellence, embracing techniques like autolyse represents a step towards achieving more consistent and higher-quality results. It shifts some of the work of gluten development from strenuous mechanical effort to a passive, enzymatic process.
For home bakers and professionals alike, understanding and implementing autolyse can elevate their craft, making the baking process more enjoyable and the final products more impressive. As bakers continue to explore ways to optimize dough handling and structure, the autolyse technique stands out as a fundamental and effective method for achieving superior autolyse dough gluten development and unlocking the full potential of their flour.
Frequently Asked Questions
What is the autolyse technique, and why is it used in baking?
Autolyse is a baking technique where you mix only the flour and water of a recipe and let it rest. This resting period promotes gluten development and hydration without the addition of yeast or salt.
How does autolyse contribute to better dough?
Autolyse allows the flour to fully hydrate, leading to increased extensibility and reduced mixing time. This results in a dough that is easier to handle, more elastic, and ultimately yields a better final product.
What types of dough benefit most from the autolyse technique?
Doughs that require significant gluten development, such as artisan breads, sourdough, and pizza dough, benefit the most from autolyse. These doughs often require a strong structure.
How long should the autolyse rest period be?
The autolyse rest period can vary, but typically ranges from 20 minutes to an hour. Some bakers even autolyse for several hours in the refrigerator for enhanced flavor.
Does autolysing affect the final flavor of the baked good?
Yes, autolyse can enhance the flavor. The extended hydration allows enzymes in the flour to break down starches into sugars, resulting in a sweeter and more complex flavor profile in the final baked product.
Final Reflection: Unleashing the Power of Autolyse
The autolyse technique isn't just a baking trick; it's a fundamental shift in understanding gluten development, offering bakers of all levels a pathway to effortlessly superior dough. This simple yet profound method, as detailed throughout this article, allows for a more relaxed and efficient baking process, resulting in dough with improved texture, flavor, and overall quality. Its impact resonates far beyond the kitchen, highlighting the power of understanding fundamental principles to achieve exceptional results.
The influence of autolyse extends beyond the immediate improvement in bread quality. It represents a broader shift in baking philosophy, moving away from rushed techniques towards a more mindful and patient approach. This resonates deeply with my own baking journey; embracing autolyse has not only improved my bread but also fostered a greater appreciation for the slow, transformative processes involved in creating something truly delicious. Patience is a virtue, and in baking, it yields the sweetest rewards.
This quote perfectly encapsulates the essence of autolyse and its impact on the final product.
Now, it's your turn. Consider how incorporating autolyse into your baking routine can transform your experience. Experiment with different hydration levels and resting times, observing the subtle changes in your dough. Don't be afraid to embrace the process, to feel the dough, and to understand its response to this simple yet powerful technique. The journey of mastering autolyse is a journey of understanding, and the reward is bread that is truly exceptional.
Unleash Your Inner Baker: Master the Autolyse!
Thanks for taking the time to explore the magic of autolyse! You've now unlocked a key to creating incredibly light and flavorful bread. Ready to put your newfound knowledge into practice?
- Bake a loaf using the autolyse method: Choose your favorite bread recipe and incorporate the autolyse step – you'll be amazed by the difference! This is your primary action, where the real transformation happens.
- Share your baking journey: Snap a photo of your autolyse-enhanced creation and share it on social media using #BakeWithEaseAutolyse – let's inspire others!
- Experiment with different flours: Try using autolyse with different types of flour (whole wheat, rye, etc.) to discover your new favorite bread.
So, what delicious adventure will your autolyse journey take you on today? What unique flour blend are you most excited to try?