
Mastering Mirror Glaze: Achieve That Perfect Shine on Your Cakes

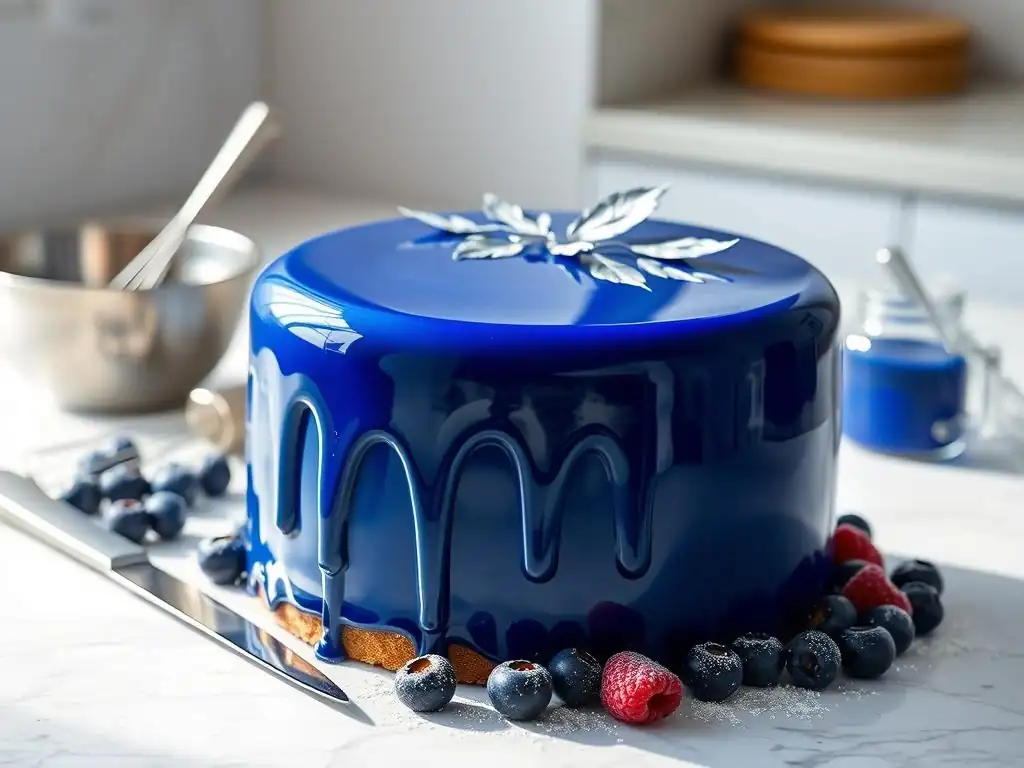
Welcome to BakeWithEase, where baking dreams become delicious realities! Ever wondered how to achieve that perfect, mesmerizing shine on your cakes? Our new article unveils the secrets to a perfect mirror glaze recipe, a technique that will elevate your creations from simple to spectacular. Discover the tips and tricks that transform an ordinary cake into a dazzling masterpiece, and prepare to impress with a finish so smooth, it's practically reflective. Intrigued? Let's unlock the secrets to advanced baking techniques and achieve that flawless shine together!
- Introduction to Mirror Glaze for Cake Decorating
- Understanding the Science Behind a Perfect Mirror Glaze
- Chocolate Mirror Glaze Recipe: A Classic Choice
- Achieving the Perfect Shine: Tips and Techniques
- Variations and Customization of Your Mirror Glaze
- Storing and Handling Mirror Glaze
- Beyond the Basics: Advanced Mirror Glaze Techniques
- Mirror Glaze Recipe: Showcase and Inspiration
- Conclusion: Your Journey to Mirror Glaze Mastery
- Frequently Asked Questions
- Final Reflection: The Enduring Allure of a Perfect Glaze
- Unlock Your Inner Cake Artist: Glaze Your Way to Perfection!
Introduction to Mirror Glaze for Cake Decorating
What is Mirror Glaze and Why Use It?
Mirror glaze, also known as glacage miroir, is a glossy, reflective coating used to finish cakes and pastries, particularly mousse cakes and entremets. Unlike traditional frosting or ganache, mirror glaze sets into a smooth, glass-like surface that provides a stunning visual impact. Its primary purpose is aesthetic, transforming a simple cake into a work of art with its vibrant colors and perfect sheen.
Beyond its striking appearance, mirror glaze offers a clean, professional finish that is difficult to achieve with other decorating methods. It encapsulates the cake, providing a smooth canvas for additional decorations. Mastering a perfect mirror glaze recipe allows you to elevate your baking skills and create desserts that look like they came straight from a high-end patisserie.
The Allure of a Perfect Mirror Glaze Finish
The visual appeal of a perfectly applied mirror glaze is undeniable. It creates a dramatic, almost magical effect, reflecting light and the surrounding environment like a true mirror. This glossy finish highlights the shape of the cake and adds a layer of sophistication that is hard to replicate. It's the kind of finish that makes people pause and admire before they even take the first bite.
Achieving this level of shine requires precision and attention to detail, but the result is incredibly rewarding. A perfect mirror glaze recipe doesn't just taste good; it makes your cake a centerpiece. It's a technique that, once mastered, opens up a world of creative possibilities for cake decoration, from simple, elegant coatings to complex, multi-colored designs.
Understanding the Science Behind a Perfect Mirror Glaze
The Key Ingredients for a Shiny Mirror Glaze
A truly perfect mirror glaze recipe relies on a careful balance of specific ingredients, each playing a crucial role in achieving that desired glassy finish. The foundation typically involves a liquid base (like water or cream), sugar, glucose syrup, gelatin, and white chocolate or condensed milk for opacity and stability. Glucose syrup is particularly important as it prevents sugar crystallization, which can cause a dull or grainy glaze, and contributes to the glaze's elasticity and shine.
Gelatin is the primary setting agent, providing the structure that allows the glaze to set firmly yet remain smooth enough to slice through easily. The amount of gelatin is critical; too little results in a runny glaze, while too much makes it rubbery. High-quality white chocolate or condensed milk adds richness and opacity, creating a uniform base color and contributing to the glaze's ability to coat the cake evenly without being transparent.
How Ingredients Interact to Create a Smooth Glaze
The magic of a perfect mirror glaze recipe happens through the precise interaction and temperature control of its components. When sugar, glucose syrup, and liquid are heated together, they form a syrup. Adding melted white chocolate or condensed milk creates an emulsion, suspending fat particles evenly throughout the mixture. This emulsion is key to the glaze's smooth, opaque consistency.
The bloomed gelatin is then dissolved into this warm mixture. As the mixture cools, the gelatin network begins to form, trapping the liquid and emulsified fats within a stable structure. The specific application temperature (typically between 32°C and 35°C) is vital because it's cool enough for the gelatin to begin setting slightly, allowing the glaze to coat the chilled cake evenly without dripping off too quickly, but warm enough to flow smoothly and self-level, eliminating brush strokes and imperfections for that flawless, mirror-like surface.
Chocolate Mirror Glaze Recipe: A Classic Choice
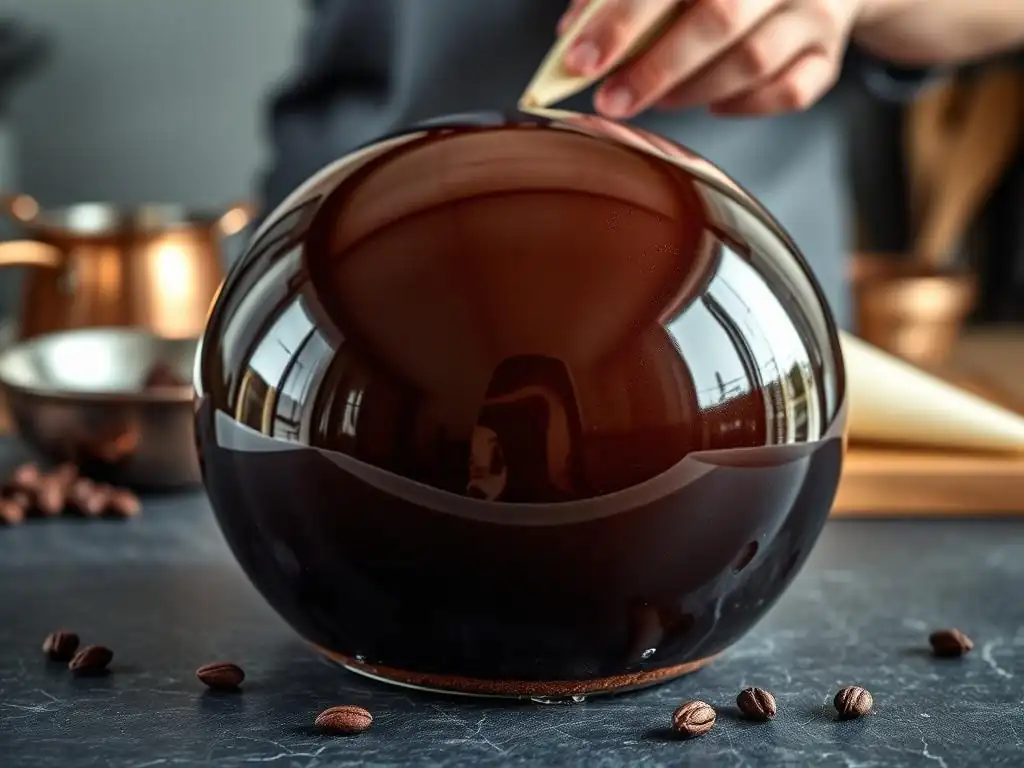
Chocolate mirror glaze is a popular choice for its rich flavor and deep, reflective shine. This perfect mirror glaze recipe is versatile and works beautifully over chocolate, coffee, or even vanilla cakes.
Ingredients List for Chocolate Mirror Glaze
Here are the typical ingredients needed for a batch covering a standard 8-inch round cake:
- 12 grams gelatin powder (approximately 2 sheets)
- 72 grams cold water (for blooming gelatin)
- 150 grams granulated sugar
- 150 grams glucose syrup
- 75 grams water
- 100 grams sweetened condensed milk
- 150 grams high-quality dark or milk chocolate, finely chopped
Step-by-Step Instructions for Preparing Chocolate Mirror Glaze
Follow these steps carefully to achieve a perfect mirror glaze recipe result.
Step 1: Bloom the Gelatin
- [ ] In a small bowl, sprinkle the gelatin powder over the cold water.
- [ ] Stir briefly to ensure all the gelatin is wet.
- [ ] Let it sit for about 5-10 minutes until it becomes a solid, jelly-like mass. This is called blooming.
Blooming gelatin is crucial because it allows the gelatin granules to absorb liquid and swell, ensuring it dissolves smoothly and evenly when heated. Using cold water prevents the outside of the granules from dissolving too quickly and forming clumps.
Step 2: Combine Sugar, Glucose, and Water
- [ ] In a medium saucepan, combine the granulated sugar, glucose syrup, and 75 grams of water.
- [ ] Heat the mixture over medium heat, stirring occasionally until the sugar is completely dissolved.
- [ ] Bring the syrup to a gentle boil and let it simmer for just a minute or two. Do not let it caramelize.
Heating the sugar and glucose syrup mixture creates the base syrup. The glucose syrup is key here, preventing the sugar from crystallizing later and helping to maintain the glaze's elasticity and shine.
Step 3: Add Chocolate and Condensed Milk
- [ ] Remove the saucepan from the heat.
- [ ] Add the sweetened condensed milk to the hot syrup. Stir to combine.
- [ ] Add the finely chopped chocolate to the mixture.
- [ ] Let it sit for a minute or two to allow the chocolate to soften.
- [ ] Gently stir or whisk until the chocolate is completely melted and the mixture is smooth and homogenous.
Adding the chocolate and condensed milk off the heat prevents the chocolate from burning. Stirring gently helps create a smooth emulsion, which is vital for a streak-free, perfect mirror glaze recipe finish.
Step 4: Incorporate the Gelatin Mixture
- [ ] Add the bloomed gelatin to the warm chocolate mixture.
- [ ] Stir gently until the gelatin is completely dissolved. Ensure there are no lumps.
It's important that the mixture is warm enough to dissolve the gelatin but not boiling, as boiling can degrade the gelatin's setting power. Gentle stirring minimizes the introduction of air bubbles.
Step 5: Blend and Strain for a Smooth Texture
- [ ] Pour the entire mixture into a tall, narrow container (like a measuring jug).
- [ ] Use an immersion blender to blend the glaze. Hold the blender at an angle, ensuring the blade is fully submerged and resting on the bottom of the container. Blend without lifting the blade out of the liquid to avoid incorporating air bubbles. Blend until perfectly smooth.
- [ ] Pour the glaze through a fine-mesh sieve into a clean bowl or jug. This removes any potential lumps or undissolved particles, ensuring a perfectly smooth texture.
- [ ] Cover the surface of the glaze directly with plastic wrap to prevent a skin from forming.
- [ ] Let the glaze cool to its application temperature (typically 32-35°C) before use.
Blending is essential for achieving a smooth, emulsified glaze, but it must be done correctly to avoid bubbles. Straining is a non-negotiable step for a flawless finish. Cooling to the precise temperature is the final critical step for a perfect mirror glaze recipe application.
Achieving the Perfect Shine: Tips and Techniques
Temperature Control: The Key to a Flawless Finish
Temperature is arguably the single most critical factor in achieving a perfect mirror glaze recipe result. The glaze needs to be applied when it is at the ideal temperature range, typically between 32°C and 35°C (around 90-95°F). If the glaze is too hot, it will be too thin and run off the cake, leaving a thin, uneven, and potentially translucent coating. If it's too cold, it will be too thick, resulting in a gloopy, uneven finish with visible lines or streaks.
Using an accurate thermometer is essential. Monitor the glaze's temperature as it cools. Once it reaches the target range, it's ready to use. The cake itself also needs to be properly prepared, which involves chilling it to a very cold temperature, ideally frozen solid. The contrast between the warm glaze and the cold cake helps the glaze set quickly and evenly upon contact, locking in that perfect shine.
Preparing Your Cake for Mirror Glaze Application
The cake destined for mirror glaze must be impeccably smooth and very cold. Mirror glaze highlights every bump, divot, or imperfection on the cake's surface. Mousse cakes or entremets are ideal candidates because they can be easily frozen solid, providing a firm, smooth base. If using a traditional sponge cake, it should be coated in a very smooth layer of buttercream or ganache and then frozen solid.
Ensure the cake is placed on a wire rack set over a tray to catch the excess glaze. The cake should be frozen solid – typically requiring at least 4-6 hours in a freezer, or preferably overnight. A solid, frozen cake ensures the glaze sets almost instantly upon contact, creating a thick, even coating and preventing the glaze from melting the cake's surface.
The Best Method for Applying Mirror Glaze
Applying mirror glaze is a swift, fluid process. Once your glaze is at the correct temperature (32-35°C) and your cake is frozen solid on a wire rack, pour the glaze steadily and evenly over the center of the cake, working outwards. Don't stop pouring until the entire top surface is covered and the glaze is flowing down the sides. Aim for one continuous pour.
Avoid spreading the glaze with a spatula or spoon once it's poured, as this can create streaks and dull the shine. Let the excess glaze drip off the cake into the tray below. You can gently tap the wire rack to encourage drips to fall. Once the dripping slows significantly (after a few minutes), use a spatula to carefully swipe away the drips from the bottom edge of the cake before transferring it to its serving plate. This ensures a clean finish around the base.
Troubleshooting Common Mirror Glaze Issues
Even with a perfect mirror glaze recipe, issues can arise. Knowing how to fix them is part of the mastery.
Dealing with Air Bubbles in Mirror Glaze
Air bubbles are a common frustration and can ruin the smooth surface. They are often caused by over-whisking or lifting the immersion blender during the blending process. To minimize bubbles, always use an immersion blender at an angle, keeping the blade fully submerged. After blending, gently tap the container on the counter to help bubbles rise.
The most effective way to deal with bubbles after blending is to strain the glaze through a very fine-mesh sieve, or even multiple layers of cheesecloth. For stubborn surface bubbles just before pouring, you can gently pass a kitchen torch over the surface (briefly!) to pop them, or use a toothpick to carefully remove them.
Fixing a Glaze That's Too Thick or Too Thin
If your glaze is too thick when it cools, it might be too cold or have too much gelatin. You can gently warm it slightly, a few degrees at a time, stirring until it reaches the correct pouring consistency (32-35°C). If it's still too thick at the correct temperature, you might need to thin it slightly with a tablespoon of warm water or simple syrup, stirred in very gently to avoid bubbles, then re-check the temperature.
If the glaze is too thin, it's likely too hot, or there isn't enough gelatin. If it's just too hot, simply let it cool down further, stirring occasionally, until it reaches the correct temperature range.
If it's still too thin at the correct temperature, you may need to add a small amount of additional bloomed gelatin (dissolve it in a tiny bit of warm water first), stir it in gently, and then allow the glaze to cool again. This is harder to correct perfectly mid-process, so it's best to get the gelatin amount right the first time following a reliable perfect mirror glaze recipe.
Preventing a Dull or Cloudy Finish
A dull or cloudy finish can result from several factors: applying the glaze when it's too cold, the cake not being cold enough, too many air bubbles, or using ingredients of poor quality (especially chocolate or gelatin). Ensure your glaze is within the 32-35°C range and your cake is frozen solid.
Using high-quality ingredients, particularly good chocolate and proper strength gelatin, is crucial for shine. Blending correctly to avoid bubbles is also key. Sometimes, condensation forming on the cake after glazing can temporarily dull the finish; allowing the glazed cake to set fully in the refrigerator (typically 2-4 hours) before serving helps the shine return as condensation dissipates.
Variations and Customization of Your Mirror Glaze
Adding Color to Your Mirror Glaze
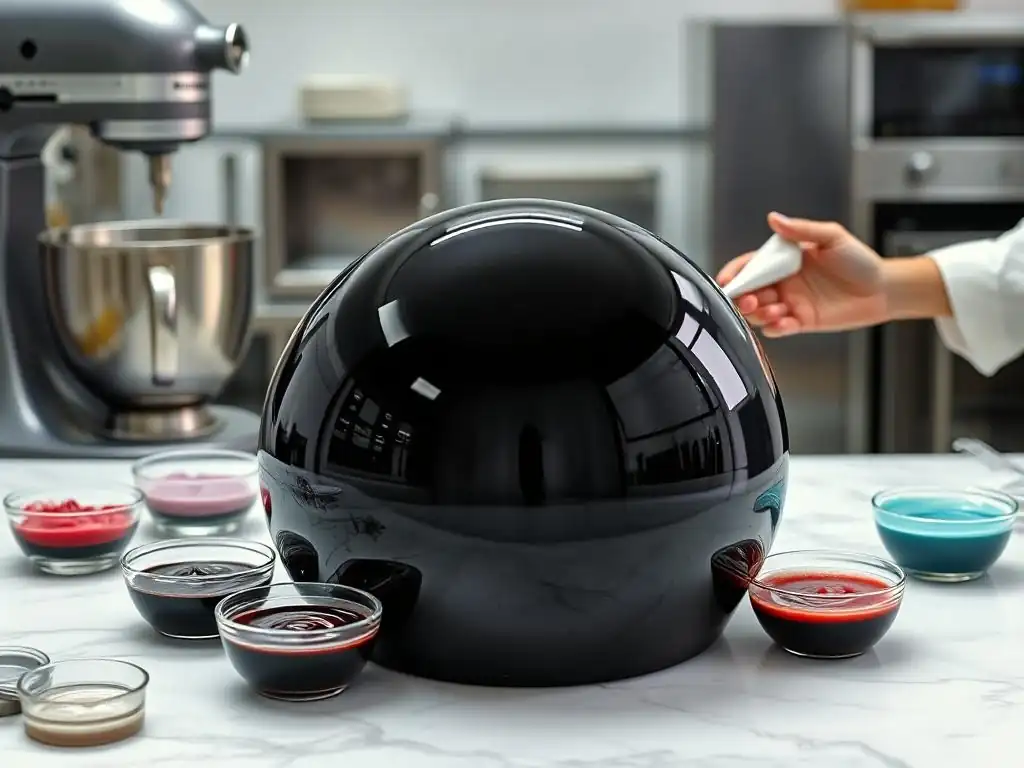
While the chocolate mirror glaze recipe is a classic, mirror glaze can be made in virtually any color. White mirror glaze (using white chocolate and condensed milk as the base) serves as a perfect canvas for gel or powder food coloring. Use high-quality gel food colors, as liquid colors can affect the glaze consistency. Add color gradually, stirring gently until the desired shade is achieved.
For vibrant, true colors, it's often best to start with a white base. You can create pastel shades or deep, saturated hues. Remember that the color may appear slightly different once poured over a cake, especially if the cake's underlying color shows through at all. Experimenting with small batches is a good way to understand how colors will look.
Flavoring Your Mirror Glaze for Unique Cakes
Beyond the base flavor provided by chocolate or white chocolate, you can infuse your mirror glaze with additional flavors. Extracts (like vanilla, almond, or coffee) can be stirred in gently after the glaze has been blended and strained, while it's cooling. Be mindful that some extracts, especially alcohol-based ones, can slightly affect the glaze's set or shine if too much is used.
For more intense flavors, consider using fruit purées (strained and perhaps reduced slightly), coffee or espresso concentrate, or even liqueur. These additions should be incorporated carefully into the liquid phase of the recipe or stirred into the finished glaze while still warm. Ensure any additions are smooth and free of particles that could compromise the glaze's texture.
Creating Marble Effects and Other Decorative Techniques
A stunning marble effect is a popular way to customize your mirror glaze. Start with a base color of glaze (often white or a pale shade) at the correct temperature. Then, drizzle small amounts of one or more contrasting colors (also at the correct temperature) over the surface of the base glaze. Use a skewer or toothpick to gently swirl the colors together just once or twice – over-swirling will muddy the colors.
Pour this marbled glaze over your frozen cake immediately. The swirls will spread as the glaze flows down the cake. Other techniques include pouring stripes of different colors simultaneously or using stencils and airbrushing after the base glaze has set. These techniques build upon the foundation of a reliable, perfect mirror glaze recipe.
Storing and Handling Mirror Glaze
How to Properly Store Leftover Mirror Glaze
It's common to have leftover mirror glaze, as recipes are often designed to provide enough to generously coat a cake without running out. Properly stored, leftover glaze can be saved and reused. Once your glazing is complete, cover the surface of the leftover glaze directly with plastic wrap to prevent a skin from forming.
Transfer the covered glaze to an airtight container and store it in the refrigerator. It will solidify into a jelly-like consistency. Stored this way, mirror glaze can typically last for 5-7 days in the refrigerator. Always check for mold or off smells before reusing.
Reheating and Reusing Mirror Glaze
To reuse stored mirror glaze, gently reheat it. The best way is to place the container of glaze in a warm water bath (a pot of hot, but not boiling, water) and stir occasionally until it melts back into a liquid consistency. You can also microwave it on low power in short bursts (15-30 seconds), stirring between each burst, but be very careful not to overheat it.
Once melted, stir it gently to ensure it's homogenous and free of lumps. Then, let it cool to the correct application temperature (32-35°C) before using it on a cold cake, following the same application steps as before. The setting power of gelatin can slightly decrease over multiple reheating cycles, but it should still work well for one or two reuses from a good perfect mirror glaze recipe.
Beyond the Basics: Advanced Mirror Glaze Techniques
Creating Ombre Mirror Glazes
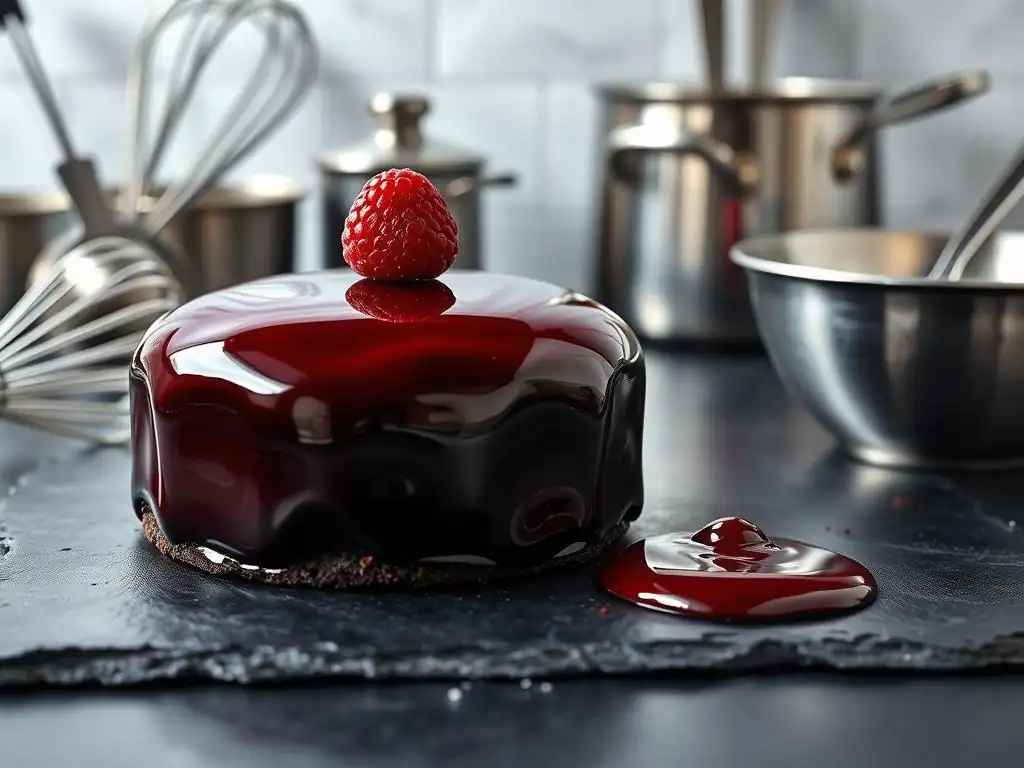
Achieving a smooth ombre effect with mirror glaze requires precise temperature control and swift execution. Typically, you'll prepare several batches of glaze in varying shades of a single color or related colors, all at the correct application temperature. Pour the darkest shade first over the top portion of the cake, then immediately pour the next lighter shade just below it, and continue with the lightest shade at the bottom.
Alternatively, you can prepare one large batch of glaze and divide it, coloring each portion to create the gradient. Pour the colors sequentially from top to bottom, allowing them to blend naturally as they flow down the frozen cake. The key is to work quickly before the glaze starts to set.
Using Multiple Colors for Intricate Designs
Beyond simple marbling, multiple colors can be used to create more complex patterns. This often involves pouring a base color, letting it set slightly in the refrigerator, and then applying patterns (dots, lines, swirls) with other colors using a piping bag or squeeze bottle.
Another method involves preparing several colors of glaze, each at the correct temperature. Pour one color as the base, and while it's still wet, drizzle or pour other colors strategically. Using a skewer or palette knife, you can then gently manipulate the colors to create feathering, abstract swirls, or other designs. Practice is key to mastering these intricate techniques.
Incorporating Edible Glitter and Decorations
Mirror glaze provides a smooth, shiny canvas perfect for additional decorations. Edible glitter or sparkle dust can be lightly sprinkled over the wet glaze immediately after pouring for added shimmer. For more precise designs, edible gold leaf or silver leaf can be carefully applied to the set glaze surface using tweezers.
Fresh fruits, chocolate shards, macarons, or tempered chocolate decorations can be placed on top of the glazed cake after the glaze has fully set in the refrigerator. Be gentle when placing items onto the glaze to avoid damaging the surface. A perfect mirror glaze recipe provides a beautiful base, but adding complementary decorations can truly make your cake spectacular.
Mirror Glaze Recipe: Showcase and Inspiration
Conclusion: Your Journey to Mirror Glaze Mastery
Mastering the perfect mirror glaze recipe is a rewarding skill that transforms your cakes into edible works of art. While it may seem intimidating at first, understanding the science behind the ingredients, practicing precise temperature control, and using proper techniques will set you on the path to success.
From the classic chocolate glaze to vibrant colored variations and intricate designs, the possibilities are vast. Don't be discouraged by initial attempts that aren't perfect; like any baking technique, practice makes perfect. With patience and attention to detail, you'll soon be achieving that stunning, flawless shine that makes mirror-glazed cakes so captivating. Keep baking, keep experimenting, and enjoy the beautiful results of your perfect mirror glaze recipe endeavors!
Frequently Asked Questions
What exactly is a mirror glaze and why is it so popular?
A mirror glaze is a shiny, glossy coating applied to cakes, giving them a smooth, reflective surface. Its popularity stems from its visually stunning aesthetic and professional appearance.
Is a mirror glaze difficult to make, especially for beginners?
While it may seem intimidating, a well-written mirror glaze recipe is achievable for all skill levels. The key is to follow the instructions carefully and use accurate measurements.
What ingredients are essential for a perfect mirror glaze recipe?
Essential ingredients typically include chocolate, glucose syrup, sugar, gelatin, and water. Some recipes also incorporate condensed milk or white chocolate for added flavor and texture.
What kind of cake works best under a mirror glaze?
Cakes with a smooth, even surface are ideal for mirror glazes. Cakes must be properly frozen before glazing to ensure the glaze sets correctly.
How do I prevent air bubbles from forming in my mirror glaze?
Prevent air bubbles by gently stirring the glaze and avoiding vigorous whisking. You can also use an immersion blender carefully to smooth out any bubbles after the glaze is made.
Final Reflection: The Enduring Allure of a Perfect Glaze
The pursuit of the perfect mirror glaze isn't just about aesthetics; it's about the artistry of baking, the meticulous attention to detail, and the undeniable satisfaction of achieving a flawless finish. This seemingly simple element elevates a cake from delicious to breathtaking, transforming a humble dessert into a showstopper. In a world saturated with visual content, the impact of a perfectly mirrored glaze remains undeniable, capturing attention and inspiring awe.
The quest for this glossy perfection reflects a deeper human desire for precision and beauty. It's a testament to the power of patience and practice, mirroring the dedication required in many aspects of life. Perfection is not attainable, but if we chase perfection we can catch excellence.
This quote, often attributed to Vince Lombardi, resonates deeply with the process of mastering mirror glaze. The journey, with its occasional setbacks and triumphs, is as valuable as the final, gleaming result. The subtle variations in color, the depth of the shine, the way the light dances across the surface – these are all testaments to the unique artistry involved.
Now, consider your own creations. What seemingly small detail can you perfect to elevate your work? Don't be afraid to experiment, to embrace the learning process, and to find joy in the pursuit of excellence. The techniques outlined in this article are a starting point, a foundation upon which you can build your own unique style and mastery. Embrace the challenge, refine your skills, and let the radiant shine of your perfect mirror glaze reflect your own inner brilliance.
Unlock Your Inner Cake Artist: Glaze Your Way to Perfection!
Thanks for joining us on this delicious journey into the world of mirror glaze! We hope you've gained the confidence to tackle this stunning technique. Now it's time to put your newfound skills to the test.
- Master the Mirror Glaze: Practice your newly acquired techniques on a cake, and experience the satisfaction of a flawless, glossy finish. Don't be afraid to experiment with different colors and flavors!
- Share Your Success: Post your mirror-glazed masterpiece on social media and tag us—we'd love to see your creations! Use #BakeWithEaseMirrorGlaze to join the conversation.
- Explore Advanced Techniques: Dive deeper into the world of cake decorating by exploring our other tutorials on advanced frosting and design elements. You might be surprised at what you can achieve!
What unique flavor combination will you try with your next mirror-glazed cake? Let's discuss your ideas in the comments below!