
The Ultimate Guide to Food Coloring Techniques for Decorators

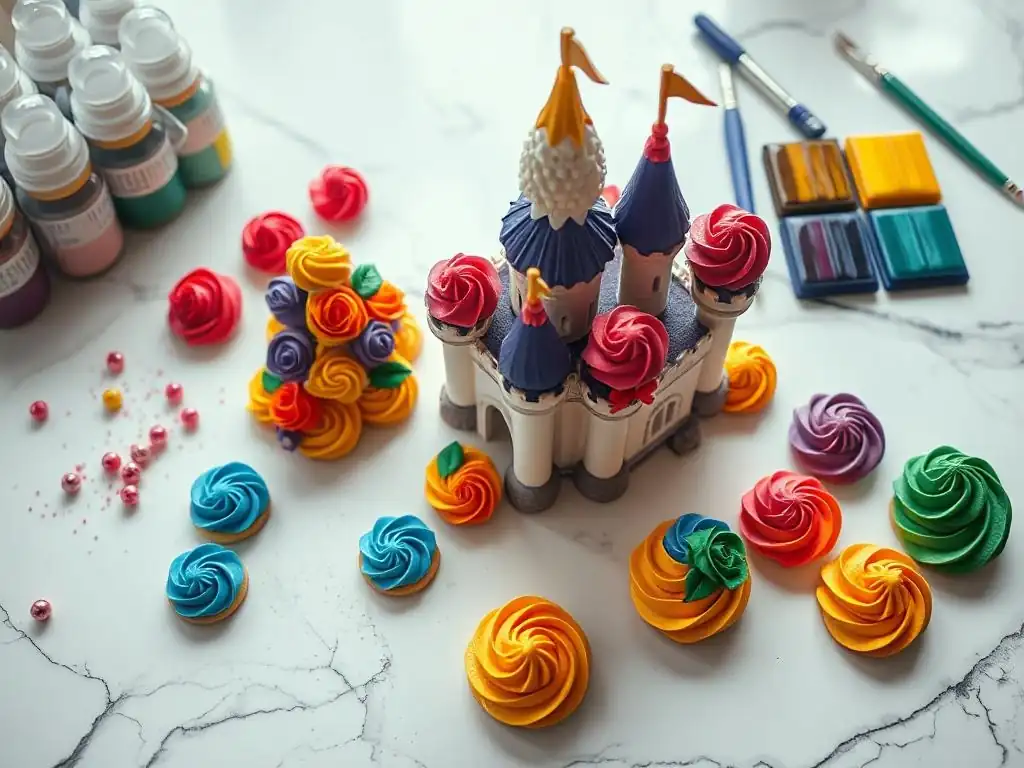
Welcome to BakeWithEase, your kitchen companion for all things baking! Ever wondered how to achieve those stunning, vibrant hues in your baked creations? Dive into our article and unlock the secrets of food coloring decorating techniques, transforming ordinary treats into edible masterpieces. Discover expert tips and tricks to elevate your decorating game and leave your friends and family in awe. Ready to add a splash of color to your baking?
- The Ultimate Guide to Food Coloring Techniques for Cake Decorators
- Introduction to Food Coloring in Cake Decoration
-
Mastering Food Coloring Techniques: A Step-by-Step Guide
- Essential Tools and Supplies: Toothpicks, Bowls, and Gloves
- Technique 1: Coloring Fondant for Smooth Finishes
- Technique 2: Coloring Royal Icing for Detailed Designs
- Technique 3: Airbrushing Cakes and Cookies for Gradient Effects
- Technique 4: Using Gel Food Coloring for Buttercream Frosting
- Technique 5: Natural Food Coloring Options for Health-Conscious Bakers
- Advanced Food Coloring Decoration Techniques
- Troubleshooting Common Food Coloring Problems
- Cake Decorating Ideas and Inspiration
- Conclusion: Elevate Your Cake Decorating with Food Coloring Artistry
-
Frequently Asked Questions
- What types of food coloring are best for different baking applications?
- How do I achieve vibrant colors without affecting the taste or texture of my baked goods?
- What are some common mistakes to avoid when using food coloring?
- Can I mix different food coloring types together?
- How can I use food coloring to create unique decorating effects like marbling or ombre?
- Final Reflection: Mastering the Hues of Culinary Art
- Unleash Your Inner Cake Artist: Master Food Coloring Today!
The Ultimate Guide to Food Coloring Techniques for Cake Decorators
Introduction to Food Coloring in Cake Decoration
Why Use Food Coloring in Cake Decorating? Enhancing Visual Appeal
Food coloring is a fundamental tool for any cake decorator looking to transform simple baked goods into stunning works of art. It allows you to move beyond the natural palette of ingredients like vanilla, chocolate, and butter, opening up a world of vibrant possibilities. Imagine a child's birthday cake adorned with characters in their favorite colors, or an elegant wedding cake featuring delicate floral designs in specific hues to match the theme.
Without food coloring, achieving these personalized and visually striking effects would be impossible. It's not just about making things colorful; it's about telling a story, evoking emotion, and creating a memorable centerpiece that delights the eyes as much as the taste buds. Mastering food coloring decorating techniques is key to elevating your baking from delicious to dazzling.
Beyond mere aesthetics, strategic use of color can enhance the perceived flavor of a dessert. Studies in food psychology have shown that color can influence taste perception; for example, a red strawberry cake might be perceived as sweeter or more intensely flavored than a pale pink one, even if the ingredients are identical. Food coloring also plays a critical role in creating realistic details, such as the subtle blush on a fondant rose petal, the deep green of leaves, or the vibrant hues of sculpted sugar figures.
It provides the artist with a palette to bring their creative vision to life, making it an indispensable component in the modern cake decorator's toolkit. Learning various food coloring decorating techniques guide you towards achieving professional-level results.
Understanding Different Types of Food Coloring: Gel, Liquid, and Powder
Choosing the right type of food coloring is crucial for achieving specific results in cake decoration. The most common types are liquid, gel (or paste), and powder. Liquid food coloring, typically found in small bottles at supermarkets, is water-based and less concentrated.
It's inexpensive and easy to find, making it suitable for light coloring of frostings or batters. However, because it adds moisture, using too much can alter the consistency of sensitive mediums like royal icing or meringue, potentially making them too thin. For example, adding more than a teaspoon or two to a standard batch of buttercream might require adjusting with additional powdered sugar.
Gel or paste food coloring is highly concentrated and comes in small pots or squeeze bottles. It's the preferred choice for most professional decorators because it provides intense color without adding significant moisture. A tiny amount, often just a toothpick's worth, is enough to achieve vibrant shades in fondant, buttercream, royal icing, and doughs. Brands like Americolor or Wilton offer a wide spectrum of colors.
Powdered food coloring is the most concentrated form and is often used for coloring dry ingredients, dusting on surfaces (like fondant or gum paste flowers), or mixing with alcohol-based liquids (like vodka or lemon extract) to create edible paints. It's excellent for achieving deep colors and is less likely to cause issues with consistency, making it ideal for delicate work like coloring meringue or macarons. Understanding these types is foundational to mastering food coloring decorating techniques guide.
Mastering Food Coloring Techniques: A Step-by-Step Guide
Essential Tools and Supplies: Toothpicks, Bowls, and Gloves
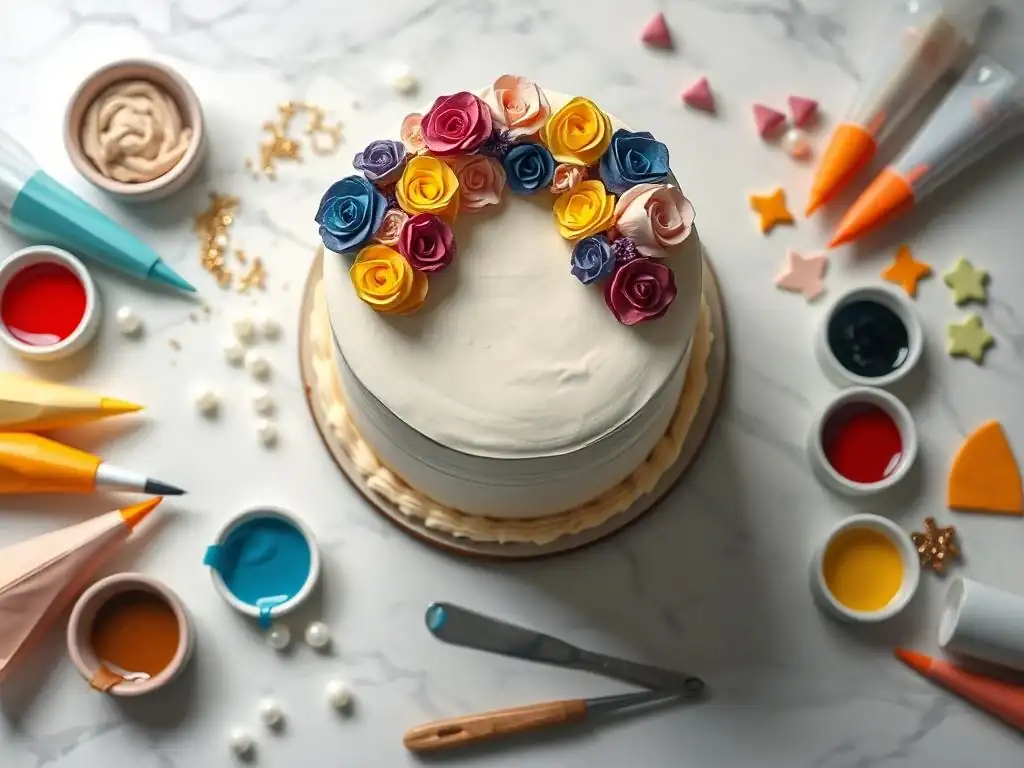
Successful food coloring application relies on having the right tools at hand. One of the most basic yet essential tools is a simple toothpick. It's perfect for transferring small amounts of highly concentrated gel or paste colors, allowing for precise control over the color intensity. Using a fresh toothpick for each dip into the color pot prevents cross-contamination and ensures you don't accidentally add too much color at once. For larger quantities, small spoons or spatulas are useful, but always start with a tiny amount and gradually add more until the desired shade is achieved.
Mixing bowls are indispensable for combining food coloring with frostings, icings, or fondant. Having several small bowls allows you to mix multiple colors simultaneously without needing to wash a single bowl repeatedly. Glass or stainless steel bowls are often preferred as they don't stain as easily as plastic.
Additionally, wearing disposable gloves is highly recommended, especially when working with vibrant or deep colors like red, blue, or black. Food coloring can stain skin and fingernails, and gloves protect your hands, ensuring a clean and professional process. Other helpful supplies include small brushes for painting, airbrush equipment, and various piping tips, depending on the specific food coloring decorating techniques guide you are following.
Technique 1: Coloring Fondant for Smooth Finishes
Achieving Consistent Color in Fondant: Kneading and Patience
Coloring fondant requires patience and thorough kneading to achieve a smooth, consistent hue. Start by adding a small amount of gel or paste food coloring to the center of the fondant. A good starting point for a medium shade might be a pea-sized amount of gel color per pound of fondant, but this varies significantly by brand and desired intensity.
Knead the fondant vigorously, folding it over and over, until the color is evenly distributed with no streaks. This process can take 5-10 minutes or even longer for deep colors. If the color isn't dark enough, add another tiny bit of color and continue kneading.
Be cautious not to add too much color at once, as it's much easier to add more than to remove it. Over-kneading can make the fondant sticky or tough, so try to work efficiently. If the fondant becomes sticky during coloring, you can lightly dust your hands or the work surface with cornstarch or powdered sugar, but use sparingly.
Allow the colored fondant to rest at room temperature for 30 minutes to an hour after kneading. This resting period helps the color deepen slightly and allows the fondant to relax, making it easier to roll out smoothly without cracks. Consistent color is a key aspect of effective food coloring decorating techniques guide.
Marbling Fondant with Food Coloring: Swirls and Patterns
Marbling fondant creates beautiful, organic patterns that resemble natural stone or abstract swirls. To marble fondant, start with a piece of uncolored or lightly colored fondant. Roll out several thin ropes of a contrasting color of fondant (or the same color with a different intensity). Lay these ropes randomly across the main piece of fondant. You can use one or multiple colors.
Gather the fondant together and gently twist or fold it a few times. Avoid excessive kneading at this stage. Roll the twisted log into a thicker rope, then fold it in half and twist again. Repeat this process just a few times – typically 3-5 twists/folds are sufficient – until you see the colors starting to swirl together.
Be careful not to overwork it, or the colors will blend completely, losing the marbled effect. Once you have the desired level of marbling, roll out the fondant as usual for covering a cake or cutting out shapes. The resulting pattern will be unique each time, adding an artistic touch derived from creative food coloring decorating techniques.
Technique 2: Coloring Royal Icing for Detailed Designs
Achieving the Perfect Royal Icing Consistency: Stiff Peak vs. Flooding
Royal icing is a versatile medium used for piping intricate details, outlining, and flooding cookies and cakes. Its consistency is paramount to successful application and is controlled by the amount of liquid (usually water or lemon juice) added to the powdered sugar and meringue powder/egg whites mixture. For detailed piping like outlines, borders, or fine script, you need a stiff peak consistency. This means when you lift the whisk or spoon, the icing forms a peak that stands straight up without drooping. This consistency holds its shape well, preventing piped lines from spreading.
For flooding large areas on cookies or cakes, a thinner consistency is required, often referred to as flooding consistency or 10-second icing. To check this, drop a spoonful of icing back into the bowl; it should take approximately 8-12 seconds for the surface to become smooth again. If it takes longer, add a tiny amount more liquid; if it's faster, add a little more powdered sugar. Achieving the correct consistency is a fundamental step in mastering food coloring decorating techniques guide for royal icing.
Creating Vibrant Colors in Royal Icing: Using Gel Colors
Gel food coloring is the ideal choice for coloring royal icing. Its high concentration means you can achieve vibrant, deep colors without adding significant moisture, which is crucial for maintaining the correct icing consistency. Start by adding a tiny amount of gel color (using a toothpick) to your prepared royal icing. Stir gently but thoroughly until the color is evenly distributed. Remember that colors often deepen slightly as the icing sits, so it's better to mix the color a little lighter than you ultimately want it to be.
For very dark colors like black, navy blue, or deep red, you may need to use a significant amount of gel color. Some brands offer "no-taste" red or black colors specifically formulated to minimize the bitter aftertaste that can occur with large quantities of standard food coloring. If you're aiming for a very dark shade, it's sometimes easier to achieve by starting with a base color – for instance, adding a little cocoa powder to the icing before coloring black, or starting with a pink base for deep red.
Allow the colored icing to sit for 15-30 minutes to see the final color develop before adding more. This careful coloring process is essential for beautiful royal icing designs using food coloring decorating techniques.
Painting with Food Coloring on Royal Icing: Fine Lines and Details
Once royal icing has dried hard on a cookie or cake, you can use food coloring mixed with a liquid to paint intricate details or broad washes of color. Powdered food coloring or highly concentrated gel colors work best for this technique. Mix a small amount of coloring with a clear, alcohol-based liquid like vodka, gin, or lemon extract.
The alcohol evaporates quickly, leaving the color behind without making the icing wet and sticky. Start with a small amount of liquid and add color until you achieve the desired paint consistency – like watercolor or acrylic paint, depending on your need.
Use fine-tipped brushes designed for food use to apply the paint to the dried royal icing surface. This technique allows for incredible detail, shading, and artistic effects that are difficult to achieve with piping alone. You can paint delicate floral patterns, intricate lace designs, or even portraits. If you make a mistake, you can often gently wipe it away with a clean brush dipped in the alcohol mixture before it dries completely. This method opens up a whole new dimension of artistic expression within food coloring decorating techniques.
Choosing the Right Airbrush and Food Coloring: Compressor and Airbrush Ready Colors
Airbrushing offers a unique way to apply food coloring, allowing for smooth gradients, subtle shading, and quick coverage of large areas. An airbrush system typically consists of a compressor, a hose, and the airbrush gun itself. Compressors vary in power and noise level; a compressor with adjustable pressure is beneficial for controlling the spray. The airbrush gun holds a small amount of liquid color and uses compressed air to create a fine mist. For cake decorating, look for airbrushes specifically designed for food use, often made from food-grade materials.
Not all food colorings are suitable for airbrushing. Standard liquid or gel colors are too thick and will clog the airbrush nozzle. You need specialized airbrush food colors, which are pre-thinned to the correct consistency. These colors are typically water-based and come in a wide range of vibrant shades. Ensure you are using colors labeled "airbrush ready" for optimal performance and to avoid damaging your equipment. Investing in quality airbrush colors designed for this specific food coloring decorating technique is crucial for achieving smooth, professional results.
Airbrushing Techniques: Shading, Highlighting, and Creating Depth
Airbrushing allows for sophisticated color application, including shading, highlighting, and creating dimensional effects. Hold the airbrush gun about 6-12 inches away from the cake surface, depending on the desired coverage area. Moving closer creates a more concentrated, darker application, while moving further away produces a softer, wider mist. Use a light, sweeping motion, keeping the airbrush moving to avoid applying too much color in one spot, which can lead to drips or pooling.
To create shading, apply a darker color selectively to areas you want to recede or appear shadowed. For highlighting, use a lighter color or even white airbrush color on raised areas or where you want to simulate light hitting the surface. You can also use stencils with airbrushing to create precise patterns or textures. Practice on paper towels or scrap fondant before working on your final project to get a feel for the pressure and distance needed to achieve your desired effect. Mastering these subtle applications is a key part of the food coloring decorating techniques guide for airbrushing.
Technique 4: Using Gel Food Coloring for Buttercream Frosting
Achieving Rich and Deep Colors in Buttercream: No-Taste Red and Black
Coloring buttercream frosting is one of the most common uses for food coloring in cake decorating. Gel colors are the best choice here due to their concentration and minimal impact on consistency. To achieve rich, deep colors like true red, forest green, or black, you will need to use a significant amount of gel color. Standard red or black food coloring can sometimes impart a bitter or unpleasant taste when used in large quantities.
Many brands now offer "no-taste" red and black food coloring specifically designed for this purpose. These formulations minimize the off-flavor, allowing you to achieve intense hues without compromising taste. For a very deep red, start with a generous amount of no-taste red gel color and consider adding a touch of pink or even brown/burgundy to help deepen the shade.
For black, starting with a chocolate buttercream base can help you achieve a darker black with less coloring. Mix the color thoroughly into the buttercream using a spatula or mixer until no streaks remain. Remember that colors often deepen over time, especially dark ones.
Preventing Buttercream from Becoming Too Thin: Adding Powdered Sugar
While gel food coloring adds minimal liquid compared to traditional liquid colors, using large amounts, especially for deep shades, can still slightly soften buttercream. If your buttercream becomes too thin after adding food coloring, it can be challenging to pipe or spread smoothly. The simple solution is to add a small amount of sifted powdered sugar, one tablespoon at a time, mixing well after each addition, until the desired consistency is restored.
Adding powdered sugar not only thickens the buttercream but also helps maintain its structure for piping intricate designs. Be cautious not to add too much, as this can make the buttercream overly sweet or stiff. Conversely, if your buttercream is too thick after coloring, you can add a tiny amount of milk, cream, or clear extract (like vanilla or almond), a half-teaspoon at a time, until it reaches the right consistency. Adjusting consistency is a common step when using food coloring decorating techniques with buttercream.
Technique 5: Natural Food Coloring Options for Health-Conscious Bakers
Exploring Natural Food Coloring Alternatives: Beet Juice, Spinach Powder
For bakers seeking alternatives to artificial dyes, a variety of natural sources can provide vibrant colors. These options are derived from fruits, vegetables, and plants. For instance, beet juice concentrate or freeze-dried beet powder can create beautiful shades of pink and red. Spinach powder or wheatgrass powder can yield green hues. Turmeric or saffron steeped in liquid produces yellow, while paprika or annatto can provide orange. Purple sweet potato powder or concentrated blueberry juice can give blues and purples.
Extracts like chlorophyll (for green) or activated charcoal (for black) are also gaining popularity. These natural colorings often require larger quantities to achieve the same intensity as artificial dyes and can sometimes impart a subtle flavor from their source material. For example, significant amounts of beet juice might give a slightly earthy undertone. Experimentation is key to understanding the potency and flavor impact of different natural sources when using these food coloring decorating techniques.
Achieving Desired Colors with Natural Food Colorings: Experimentation and Blending
Working with natural food colorings requires a different approach than with artificial dyes. Their color intensity can vary depending on the source, processing, and concentration. Achieving specific shades often involves experimentation and blending. For example, mixing beet powder (red) with turmeric (yellow) might yield orange, but the exact shade will depend on the proportions and the intensity of each natural colorant.
It's advisable to test natural food colorings in a small batch of your frosting or batter before committing to the full recipe. Note the quantities used to replicate the color later. Natural colors can sometimes fade or change hue during baking or over time, especially when exposed to light or certain pH levels in ingredients. For vibrant results in frostings or icings, adding the natural colorant just before decorating can help preserve the intensity. While they may present challenges, using natural food coloring options expands the range of food coloring decorating techniques guide for health-conscious consumers.
Advanced Food Coloring Decoration Techniques
Creating Ombre Effects with Food Coloring: Gradual Transitions
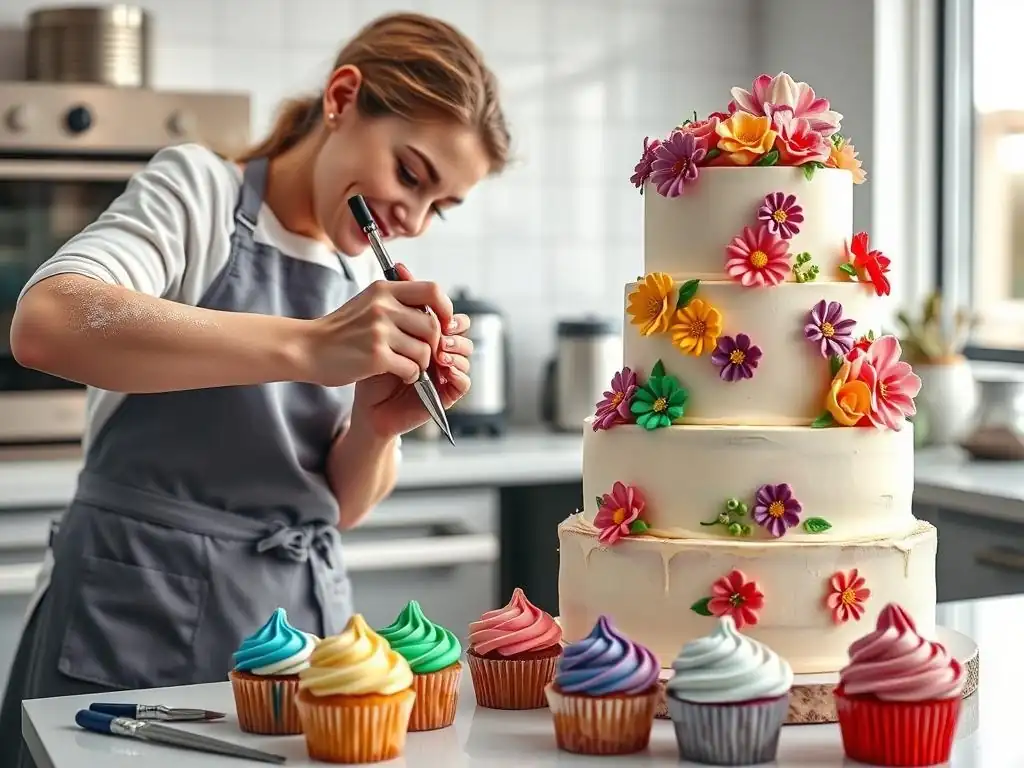
The ombre effect, characterized by a gradual transition from one color shade to another (often from dark to light or one color to a related hue), is a popular and visually stunning food coloring decorating technique. For buttercream, divide your frosting into several portions. Leave one portion uncolored or colored with the lightest shade. Color subsequent portions with progressively increasing amounts of the same color (or a blend of colors) to create a gradient of shades. For example, to create a blue ombre, you might have five bowls: white, very light blue, light blue, medium blue, and dark blue.
Apply the darkest color buttercream to the bottom section of the cake, the next darkest above that, and so on, ending with the lightest color at the top. Use a cake scraper or palette knife to smooth the frosting around the cake, blending the edges where the colors meet with gentle, upward or downward strokes. For a seamless transition, heat your scraper briefly in hot water and dry it before smoothing.
For fondant, you can achieve an ombre effect by coloring strips of fondant in graduating shades and blending them together before rolling out, or by airbrushing a gradient directly onto the covered cake. This technique showcases sophisticated food coloring decorating techniques guide.
Using Food Coloring to Create Realistic Textures: Wood Grain and Stone
Food coloring isn't just for solid blocks of color; it can be used to create incredibly realistic textures like wood grain or stone. For a wood grain effect on fondant, start with a light brown or tan base color. Mix darker brown food coloring (gel or powder mixed with alcohol) to create a paint-like consistency.
Using a food-safe brush with stiff bristles or a wood graining tool, lightly drag the brush or tool through the "paint" and then across the fondant surface in long, slightly wavy strokes. Vary the pressure and direction to mimic natural wood patterns. You can add knots by pressing the brush tip and swirling slightly.
To create a stone effect, color fondant in a base color like grey, white, or black. Mix various shades of grey, black, white, and even hints of green or brown food coloring with alcohol to create washes or splatters. Apply these colors unevenly using brushes, sponges, or even by splattering from a distance. You can also incorporate marbling techniques described earlier, or use edible dusts to add texture and depth. These advanced food coloring decorating techniques guide you in creating lifelike details on your edible canvases.
Mastering Color Mixing for Custom Shades: Color Wheel and Complementary Colors
Understanding basic color theory is invaluable for cake decorators who want to create custom shades beyond the standard bottled colors. A color wheel is an essential tool. Primary colors (red, blue, yellow) cannot be created by mixing others. Secondary colors (green, orange, purple) are made by mixing primaries.
Tertiary colors are made by mixing a primary and a secondary color. By mixing different ratios of primary and secondary colors, you can create virtually any hue. For example, mixing red and white gel color creates pink, while adding a touch of black to red creates a deeper, darker red or even burgundy.
Complementary colors are opposite each other on the color wheel (e.g., red and green, blue and orange, yellow and purple). While mixing complementary colors usually results in brown or grey, adding a tiny amount of a color's complement can be used to mute or deepen its shade. For instance, adding a very small amount of green to red can make the red less bright and more natural.
Practice mixing colors in small batches of frosting or fondant using a toothpick to add tiny amounts of gel color until you achieve your desired custom shade. This skill is fundamental to sophisticated food coloring decorating techniques.
Stenciling with Food Coloring: Precise and Elegant Designs
Stenciling allows you to transfer intricate patterns onto cakes or cookies with precision. Food-safe stencils are available in countless designs, from geometric patterns to delicate lace and floral motifs. To stencil with food coloring, you can use airbrush colors, powdered colors mixed with alcohol, or even thinned gel colors. Position the stencil securely against the surface of the cake (usually covered in smooth buttercream, ganache, or fondant) or cookie.
For airbrushing, hold the airbrush perpendicular to the stencil and spray lightly and evenly over the openings. For painting with powdered colors mixed with alcohol, use a brush or sponge to dab or brush the color through the stencil openings. For thinned gel colors, a small offset spatula can be used to gently spread a thin layer of colored royal icing or buttercream over the stencil. Carefully lift the stencil straight up to reveal the clean pattern underneath. This technique is a fantastic way to add elegant, repeatable designs using food coloring decorating techniques guide principles.
Troubleshooting Common Food Coloring Problems
Dealing with Color Bleeding: Sealing with Piping Gel
Color bleeding occurs when colors migrate and smudge into adjacent colors, ruining clean lines and designs. This is particularly common when a dark color is next to a light color, or when working in humid conditions. One effective way to prevent bleeding, especially with royal icing or painted details on fondant, is to allow each color to dry completely before applying an adjacent color. Patience is key.
Another technique, particularly useful for preventing dark colors from bleeding into white or light colors on fondant, is to apply a thin layer of clear piping gel or edible glue onto the area where the dark color will be applied, just before placing the colored piece or painting. This creates a barrier that helps contain the color.
For intricate designs with high contrast colors, sometimes outlining with a medium consistency white royal icing before flooding adjacent areas can also help create a slight dam to prevent bleeding. Understanding how to manage bleeding is crucial in mastering food coloring decorating techniques.
Preventing Colors from Fading: Storing Away from Light
Certain food colors, particularly some reds, blues, and natural colorings, can fade over time, especially when exposed to light. To preserve the vibrancy of your decorated cakes and cookies, store them away from direct sunlight or strong artificial lights. Displaying cakes in dimly lit areas or covering them with a cake dome can help protect the colors.
If you are preparing components like colored fondant figures or royal icing decorations in advance, store them in airtight containers in a cool, dark place until ready to use. While some fading might be inevitable over extended periods, proper storage significantly minimizes the effect and helps maintain the intended appearance of your food coloring decorating techniques.
Fixing Uneven Color Distribution: More Mixing
Uneven color distribution, appearing as streaks or splotches, is usually a result of insufficient mixing. This is common when coloring buttercream or fondant, especially with darker colors or when adding color incrementally. If you notice streaks while decorating, the best solution is often to return the frosting or fondant to a bowl and continue mixing thoroughly.
For buttercream, use a spatula to scrape down the sides of the bowl and mix until no streaks are visible. If using a stand mixer, mix on medium-low speed for a few minutes, stopping occasionally to scrape the bowl. For fondant, knead the piece vigorously until the color is uniform. While it might be frustrating to stop and re-mix, taking the time to fix uneven color distribution ensures a professional-looking finish and is a necessary step in refining your food coloring decorating techniques.
Addressing Bitter Taste from Excessive Food Coloring: Using Flavor Extracts
Using large quantities of food coloring, particularly certain red, blue, or black artificial dyes, can sometimes leave a noticeable bitter aftertaste. This is more common in mediums that require a lot of color to achieve intensity, like dark black buttercream or vibrant red royal icing. As mentioned earlier, opting for "no-taste" formulations from reputable brands can significantly mitigate this issue.
If you find your colored frosting or icing has a slight bitter note, you can try masking it with flavor extracts. Adding a little extra vanilla extract, almond extract, or even a complementary flavor like a few drops of clear peppermint extract (for chocolate or black frosting) can help to overpower the bitterness without affecting the color or consistency too much. Start with a small amount of extract, mix, and taste, adding more if needed. Balancing flavor and color is an advanced consideration in food coloring decorating techniques guide.
Cake Decorating Ideas and Inspiration
- Rainbow Layers: Color cake batter in vibrant rainbow hues for a stunning surprise when sliced.
- Galaxy Effect: Use airbrushing or sponge techniques with black, navy, purple, and touches of white and silver edible glitter for a cosmic look on buttercream or fondant.
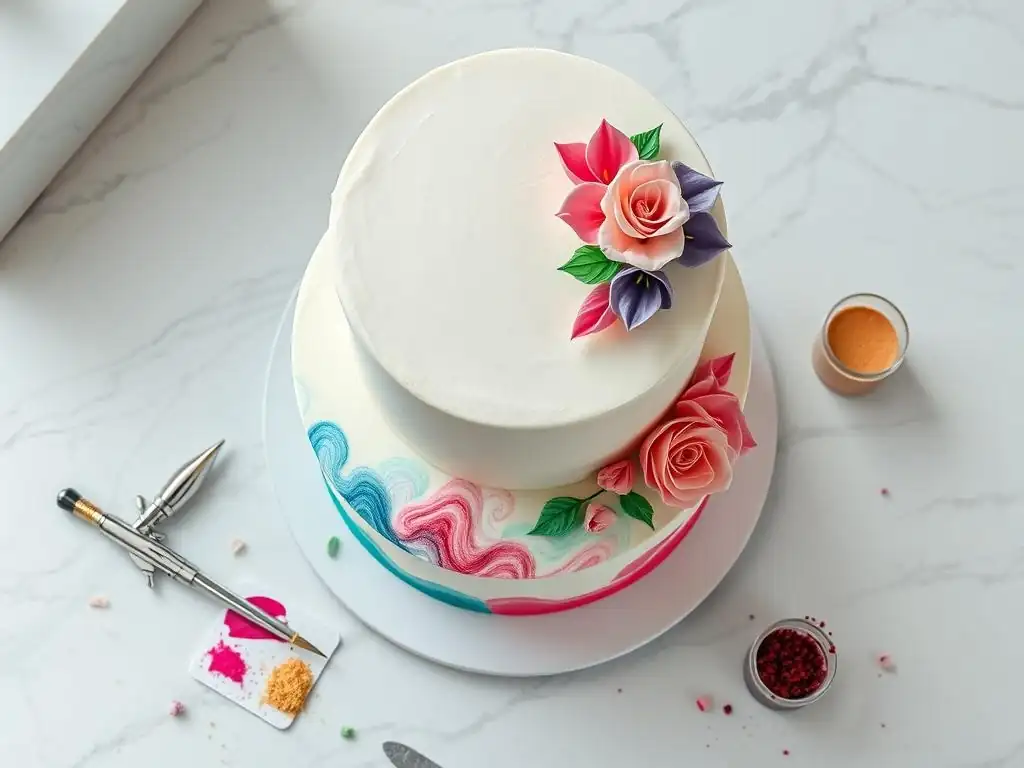
- Watercolor Painting: Mix powdered food coloring with alcohol to paint delicate floral or abstract watercolor designs onto dried royal icing or fondant surfaces.
- Textured Buttercream: Color buttercream in various shades and use different piping tips or palette knives to create textured effects like ruffles, waves, or rosettes in monochromatic or multi-color schemes.
- Edible Flowers: Color gum paste or pastillage using dusts and gel colors to create realistic sugar flowers in any shade imaginable.
- Character Cakes: Use precise coloring of fondant and royal icing to bring beloved characters to life with accurate colors and details.
- Geode Cakes: Create a stunning geode effect by carving into a cake, filling the cavity with colored rock candy, and painting the edges with metallic or vibrant food coloring washes.
- Painted Cookies: Flood cookies with white or light-colored royal icing and use food coloring mixed with alcohol to paint intricate designs once dry.
- Drip Cakes: Color white chocolate ganache with oil-based food coloring (water-based colors will cause chocolate to seize) to create colorful drips down the side of a cake.
- Marbled Effects: Use marbled fondant for elegant cake coverings or marbled royal icing for cookie designs.
Conclusion: Elevate Your Cake Decorating with Food Coloring Artistry
The Future of Food Coloring in Cake Decorating
The world of food coloring in cake decorating is constantly evolving. We're seeing increasing innovation in natural food colorings, with new plant-based sources being explored and techniques developed to enhance their stability and vibrancy. Edible pigments derived from algae or bacteria are areas of ongoing research. Alongside this, artificial dyes continue to be refined, with focus on improving taste profiles for intense colors and developing specialized formulations like oil-based colors for chocolate or fat-based mediums.
Technology is also playing a role, with advancements in edible printers that can transfer complex images directly onto cakes using food-grade inks. While not strictly a coloring technique in the traditional sense, these printers rely on highly specialized food colorings. As demand for both natural options and cutting-edge artistic effects grows, the palette available to cake decorators will undoubtedly continue to expand, offering even more possibilities for creative expression using food coloring decorating techniques guide.
Final Tips for Successful Food Coloring Decoration
Mastering food coloring takes practice, but a few key tips can help you achieve beautiful results every time. Firstly, always start with a very small amount of color, especially with concentrated gel or powder colors, and add more gradually until you reach the desired shade. It's far easier to darken a color than to lighten it. Secondly, mix colors thoroughly – streaks ruin the effect. For buttercreams and fondants, this means patient kneading or mixing.
Thirdly, remember that colors often deepen as they sit, particularly dark colors. Mix slightly lighter than your target shade and let it rest for 15-30 minutes to see the final color. Fourth, consider the medium you are coloring; use gel colors for most applications, airbrush colors for airbrushing, and oil-based colors for chocolate. Finally, don't be afraid to experiment! Practice different food coloring decorating techniques on scrap pieces before applying them to your final project. With patience and practice, you can transform simple ingredients into edible masterpieces using the power of color.
Frequently Asked Questions
What types of food coloring are best for different baking applications?
The best food coloring depends on the application. Gel food coloring is ideal for frostings and icings due to its concentrated pigment and minimal impact on consistency. Liquid food coloring is suitable for lighter tasks like coloring batter, while powdered food coloring is great for dry ingredients or achieving vibrant colors without adding moisture.
How do I achieve vibrant colors without affecting the taste or texture of my baked goods?
Use gel or paste food colorings sparingly, as they are highly concentrated. Start with a small amount and gradually add more until you reach your desired shade. Opt for high-quality brands to minimize any potential off-flavors.
What are some common mistakes to avoid when using food coloring?
Overusing food coloring is a frequent mistake, leading to bitter tastes or a muddy appearance. Also, neglecting to mix the color thoroughly can result in streaks or uneven coloring. Remember to use food-safe gloves to prevent staining your hands.
Can I mix different food coloring types together?
Generally, it's best to stick to the same type of food coloring within a recipe for consistent results. While mixing different brands of the same type (e.g., two different gel colors) is usually fine, mixing liquid and gel can sometimes affect the final consistency of your batter or icing.
How can I use food coloring to create unique decorating effects like marbling or ombre?
For marbling, lightly swirl different colored batters or icings together before baking or applying. For an ombre effect, gradually add more food coloring to your base icing, creating a range of shades from light to dark. Practice and experimentation with layering are key to mastering these techniques.
Final Reflection: Mastering the Hues of Culinary Art
The art of food coloring transcends mere aesthetics; it's a powerful tool for transforming ordinary treats into extraordinary works of edible art. From the vibrant swirls of a professional cake decorator to the simple joy of a child decorating their own cupcakes, the techniques explored in this guide offer a gateway to creativity and self-expression. The ability to precisely control color and texture opens up a world of possibilities, limited only by imagination.
The impact of food coloring techniques on the culinary landscape is undeniable. It's moved beyond simple enhancements, becoming a key element in defining trends and inspiring innovation. We've seen the rise of hyper-realistic cake designs, intricate sugar flower creations, and the explosion of vibrant macarons, all testament to the power of mastering color. The true work of art is but a shadow of the divine perfection.
While this quote might not directly relate to food coloring, it speaks to the aspiration behind the craft – to create something beautiful and meaningful through skill and dedication.
Now, it's your turn to take the reins. Don't just passively consume these techniques; actively experiment. Try blending unexpected colors, explore different mediums, and most importantly, have fun! Let this guide be your springboard to unleashing your inner artist. The world of edible artistry awaits – go forth and create something truly magnificent.
Unleash Your Inner Cake Artist: Master Food Coloring Today!
Thanks for taking the time to explore the world of food coloring with us! We hope you’ve gained some valuable techniques to elevate your baking creations. Ready to put your newfound knowledge into practice?
- Dive into your next baking project: Choose a recipe you love and experiment with the techniques you've learned. Try a new ombre effect, or perfect those intricate details! This is where the real fun begins!
- Share your masterpieces: Show off your vibrant creations on social media using #BakeWithEase and inspire others!
- Consider a food coloring challenge: Set a goal – maybe mastering a specific technique or creating a themed cake – to keep your skills sharp and your creativity flowing.
What innovative food coloring technique will you try first, and what delicious treat will be the lucky recipient? Let's hear about it in the comments!