
Achieving BakeryQuality Dough: Kneading Secrets with Your Stand Mixer

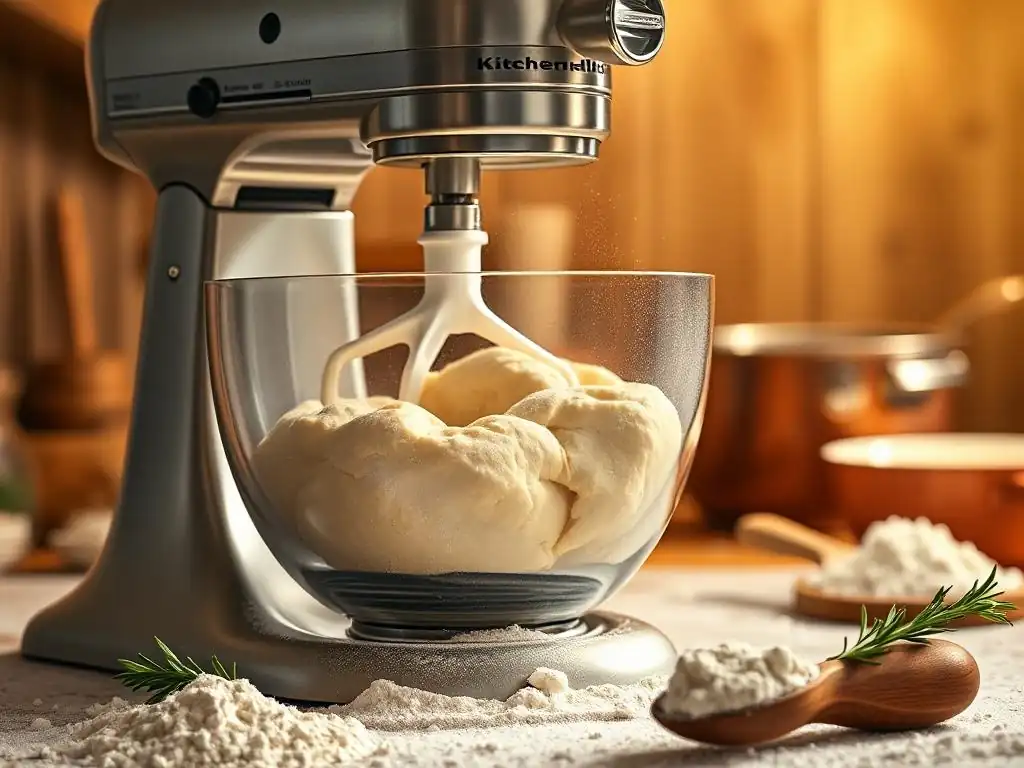
Welcome to BakeWithEase, your guide to effortless baking! Ever wondered how to achieve that perfectly elastic, bakery-quality dough right in your own kitchen? This guide unlocks the secrets to mastering stand mixer kneading techniques for exceptional results. Discover how to transform simple ingredients into culinary masterpieces and elevate your baking game today!
- Achieving Bakery-Quality Dough: Kneading Secrets with Your Stand Mixer - BakeWithEase
- Introduction: Unleash Your Stand Mixer's Dough Kneading Potential
- Understanding Dough Kneading Basics for Optimal Results
- Stand Mixer Kneading Techniques for Different Dough Types
- Stand Mixer Settings and Kneading Time: A Detailed Guide
- Troubleshooting Common Stand Mixer Kneading Problems
- Advanced Stand Mixer Dough Kneading Techniques
- Cleaning and Maintaining Your Stand Mixer for Long-Lasting Performance
- Recipe Examples: Putting Your Stand Mixer Kneading Skills to the Test
- Conclusion: Elevate Your Baking with Perfectly Kneaded Dough
-
Frequently Asked Questions
- How does a stand mixer help with kneading dough for bakery-quality results?
- What are the key stand mixer kneading techniques to avoid over-kneading dough?
- Which stand mixer attachment is best for kneading dough?
- How long should I knead dough in a stand mixer for optimal results?
- Can I use my stand mixer to knead all types of dough, or are there limitations?
- Final Reflection: The Transformative Power of Kneading
- Unlock Your Inner Baker: Master Kneading Today!
Achieving Bakery-Quality Dough: Kneading Secrets with Your Stand Mixer - BakeWithEase
Introduction: Unleash Your Stand Mixer's Dough Kneading Potential
Why Use a Stand Mixer for Dough Kneading? A Baker's Essential Tool
Using a stand mixer for kneading dough is a game-changer for many home bakers, especially when tackling recipes that require significant kneading time or result in sticky doughs. Manual kneading can be labor-intensive and inconsistent, often leading to fatigue before the dough reaches its full potential. A stand mixer, on the other hand, provides consistent power and speed, ensuring that the dough is worked evenly and efficiently. This allows for optimal gluten development, which is crucial for achieving the desired structure, texture, and rise in baked goods like bread, pizza, and enriched doughs.
Beyond the physical effort saved, a stand mixer offers precision and control. You can set a specific speed and time, allowing the machine to do the repetitive work while you focus on other aspects of your baking process. This consistency is particularly valuable when following recipes that require specific kneading times or techniques. For instance, a sourdough bread recipe might call for 10-12 minutes of high-speed kneading after the initial mix, a task much easier and more reliable with a stand mixer. This makes exploring various stand mixer kneading techniques dough types much more accessible and enjoyable.
Mastering Dough Kneading: From Beginner to Confident Baker
Embarking on the journey of mastering dough kneading with your stand mixer opens up a world of baking possibilities. For beginners, it simplifies a potentially intimidating step, allowing them to achieve results that might seem challenging with manual kneading alone. Understanding the basics of how the dough hook interacts with the dough and recognizing the visual and tactile cues of properly kneaded dough are fundamental skills that a stand mixer helps facilitate. You can observe the dough transforming from a shaggy mass into a smooth, elastic ball right in the bowl.
As you gain experience, you'll learn to adapt stand mixer kneading techniques dough to different hydration levels and flour types. You'll become adept at knowing when to increase the speed slightly for stiffer doughs or when to keep it lower for softer, stickier ones. This mastery isn't just about following a recipe; it's about developing an intuition for dough, guided by the reliable performance of your stand mixer. Soon, you'll confidently tackle complex recipes like brioche or ciabatta, knowing your stand mixer is equipped to handle the kneading demands.
Understanding Dough Kneading Basics for Optimal Results
The Science of Kneading: Gluten Development Explained
Kneading is essentially the process of developing gluten, the protein network that gives dough its structure and elasticity. Flour contains two main proteins, glutenin and gliadin. When these proteins are hydrated and agitated through kneading, they link together to form gluten strands. Think of these strands like tiny elastic bands that stretch and trap the carbon dioxide gas produced by yeast or other leavening agents. This trapped gas is what causes dough to rise.
Using a stand mixer dramatically speeds up and standardizes this process. The dough hook's action stretches and folds the dough repeatedly, aligning and strengthening the gluten network. Without sufficient kneading and gluten development, dough will be weak and unable to hold its shape or trap gas effectively, resulting in dense, flat baked goods. The goal of stand mixer kneading techniques dough is to create a strong, extensible, yet elastic structure that can support a good rise and provide a desirable crumb texture.
Identifying the Perfect Dough Consistency: The Windowpane Test
A reliable way to determine if your dough has been kneaded sufficiently is the windowpane test. This simple test involves taking a small piece of dough, roughly the size of a golf ball, and gently stretching it between your fingers. If the dough is properly kneaded and the gluten is well-developed, you should be able to stretch it thin enough to see light pass through it, forming a translucent "windowpane," without it tearing.
If the dough tears easily before becoming thin, it needs more kneading. This indicates the gluten network is not yet strong enough. Continue kneading in your stand mixer for another few minutes and test again. Over-kneaded dough, while less common with home stand mixers than manual kneading, can become very tight and difficult to work with. However, the windowpane test primarily helps identify under-kneaded dough, ensuring you achieve the necessary gluten development for successful baking using your stand mixer kneading techniques dough.
Stand Mixer Kneading Techniques for Different Dough Types
Kneading Bread Dough: Achieving Optimal Texture and Rise
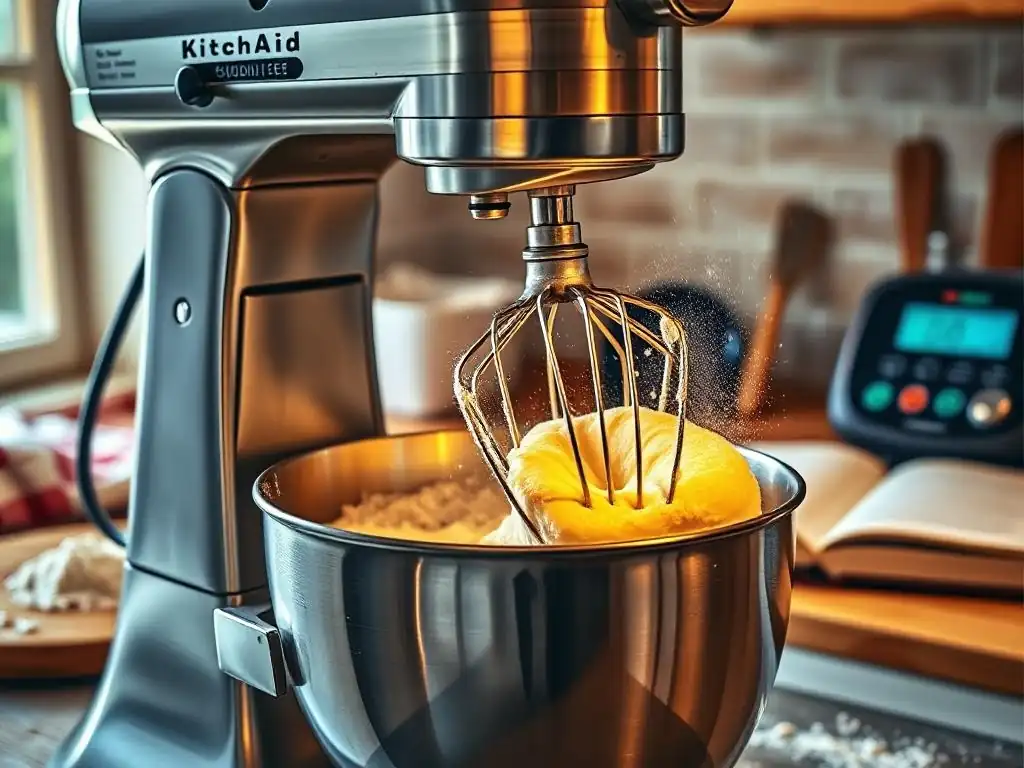
Kneading bread dough in a stand mixer is perhaps its most common application. For standard lean bread doughs (flour, water, yeast, salt), the process typically involves combining ingredients on a low speed until a shaggy dough forms, then increasing the speed to medium (often speed 2 or 3 on many mixers) for 8 to 12 minutes. During this time, the dough should pull away from the sides of the bowl, although it might still stick slightly to the bottom. The goal is a smooth, elastic dough that passes the windowpane test.
Specific stand mixer kneading techniques dough for bread might vary slightly based on hydration. Higher hydration doughs (like ciabatta, often 70-80% water) will remain stickier and may not completely clear the sides of the bowl. For these, slightly longer kneading times or incorporating a series of stretch-and-folds after machine kneading can be beneficial. Conversely, lower hydration doughs (like bagels, around 50-55% water) will be very stiff and may require a strong mixer and potentially a minute or two less kneading time to avoid overworking the tight gluten structure.
Kneading Pizza Dough: The Secret to a Perfect Crust
A great pizza crust relies on a well-developed but relaxed gluten structure. Pizza dough typically requires less aggressive kneading than lean bread doughs. Using your stand mixer, start on a low speed to combine ingredients, then move to a medium-low speed (often speed 1 or 2) for about 6-8 minutes. You want the dough to be smooth and elastic, but not overly tight. The slightly shorter kneading time compared to some breads helps prevent the crust from becoming too chewy or tough.
Allowing the dough to rest and ferment properly after kneading is also crucial for a good pizza crust. The rest period allows the gluten to relax, making the dough easier to shape without snapping back. For Neapolitan-style pizza dough, which uses minimal yeast and undergoes a long, slow fermentation (often 24-72 hours in the refrigerator), the stand mixer helps create the initial structure efficiently, setting the stage for flavor development during the long proof. Mastering stand mixer kneading techniques dough for pizza results in that coveted balance of chewiness and crispness.
Kneading Pasta Dough: Creating a Smooth and Elastic Dough
Traditional pasta dough, made simply from flour and eggs (sometimes with a little water or olive oil), requires significant kneading to become smooth and elastic. This elasticity is essential for rolling the dough very thin without it tearing. Manually kneading pasta dough is quite a workout, making a stand mixer an invaluable tool. The process usually involves mixing the ingredients on low speed until they come together, then kneading on medium speed (speed 2 or 3) for 7 to 10 minutes.
Unlike bread dough, pasta dough is typically quite stiff and dry. It should form a relatively smooth ball that is firm but pliable. The windowpane test can still be applied, but the "window" might be slightly less transparent than with bread dough due to the higher protein content of the eggs.
After kneading, pasta dough absolutely must rest for at least 30 minutes (and often up to 1-2 hours) at room temperature or in the refrigerator. This rest allows the gluten to relax, making the dough much easier to roll and shape into various pasta forms, showcasing the effectiveness of your stand mixer kneading techniques dough skills.
Kneading Enriched Dough: Mastering Brioche and Sweet Breads
Enriched doughs, such as brioche, challah, and other sweet breads, contain significant amounts of fat (butter or oil), sugar, and often eggs and milk. These ingredients interfere with gluten development, making these doughs sticky and requiring longer, more gentle kneading. Using a stand mixer is almost essential for these doughs, as manual kneading would be extremely difficult and messy. The process typically involves developing some gluten first (kneading flour, liquid, yeast, and sugar) before gradually adding softened butter, piece by piece, while the mixer continues to knead.
Kneading enriched dough in a stand mixer often takes longer than lean doughs, potentially 15-25 minutes or even more, especially for very rich brioche. The speed should generally be kept at medium (speed 2 or 3). The dough will be very soft and sticky, initially wrapping around the dough hook and smearing against the sides of the bowl.
As kneading progresses and the butter is fully incorporated and worked in, the dough will eventually start to pull away from the sides and bottom, becoming smooth, shiny, and elastic. Patience is key here; resist the urge to add more flour, trusting your stand mixer kneading techniques dough and the process to develop the necessary strength despite the richness.
Stand Mixer Settings and Kneading Time: A Detailed Guide
Choosing the Right Speed: Finding the Sweet Spot
Choosing the correct speed on your stand mixer for kneading is crucial for optimal gluten development and preventing damage to your machine. Most manufacturers recommend using low to medium speeds for kneading dough. For KitchenAid mixers, this typically means speeds 1 and 2. Speed 1 is ideal for combining ingredients initially and for very stiff doughs (like some pasta or bagel doughs). Speed 2 is the workhorse speed for most bread, pizza, and enriched doughs, providing efficient kneading without overtaxing the motor or causing the dough to climb the hook excessively.
Higher speeds (3 and above) should generally be avoided for kneading dough. These speeds can cause the dough to whip around the bowl violently, potentially putting excessive strain on the motor and gearbox.
While some very sticky, wet doughs might briefly require a slightly higher speed (like 3) to get them to come together initially, the bulk of the kneading should always be done at speed 1 or 2. Always consult your stand mixer's manual for specific speed recommendations tailored to your model, but remember that gentle, consistent work is more effective than high-speed agitation for developing gluten using stand mixer kneading techniques dough.
How Long to Knead: Avoiding Over-Kneading and Under-Kneading
The ideal kneading time varies significantly depending on the dough type, hydration level, flour used, and the specific stand mixer model. However, the feel and appearance of the dough, along with the windowpane test, are better indicators of readiness than a strict timer. Under-kneaded dough will be rough, shaggy, and tear easily, resulting in dense, poor-rising baked goods. Over-kneaded dough, while harder to achieve with typical home stand mixers, can become very tight, less extensible, and potentially even break down, leading to a dense or tough final product.
As a general guideline for stand mixer kneading techniques dough: lean bread doughs often require 8-12 minutes on medium speed; pizza dough 6-8 minutes on medium-low; pasta dough 7-10 minutes on medium; and enriched doughs 15-25 minutes on medium. Always start with the lower end of the time range and begin checking the dough's consistency and performing the windowpane test. Stop kneading as soon as the dough is smooth, elastic, and passes the test. Trust your senses and the dough's behavior over the clock alone.
Stand Mixer Kneading Time Chart: Bread, Pizza, Pasta, and Enriched Doughs
Here is a general guideline for stand mixer kneading times on medium speed (Speed 2 on most mixers). Remember these are approximations and should be adjusted based on dough consistency and the windowpane test.
| Dough Type | Approximate Kneading Time (Minutes) | Recommended Speed (on a 1-10 scale) | Notes |
|---|---|---|---|
| Lean Bread Dough | 8 - 12 | 2 | Aim for smooth, elastic dough passing windowpane test. |
| Pizza Dough | 6 - 8 | 1 - 2 | Dough should be smooth but not overly tight. |
| Pasta Dough | 7 - 10 | 2 - 3 | Dough will be stiff; aim for smoothness and elasticity. |
| Enriched Dough | 15 - 25+ | 2 - 3 | Dough will be soft/sticky; knead until smooth and pulls away from bowl. |
- Check dough consistency frequently, especially towards the end of the recommended time range.
- Factors like room temperature, flour type, and hydration can affect kneading time.
- Always consult your mixer's manual for specific speed recommendations.
Troubleshooting Common Stand Mixer Kneading Problems
Dough Climbing the Dough Hook: Prevention and Solutions
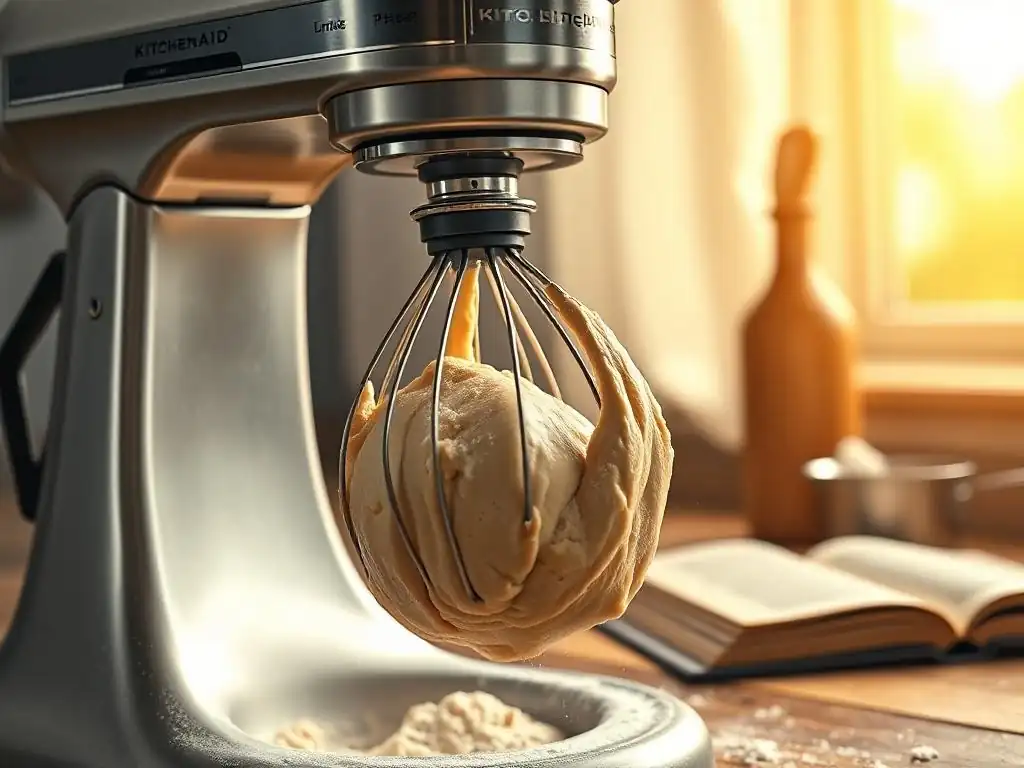
A common issue when using a stand mixer for kneading is the dough climbing up the dough hook and into the mixer head. This happens when the dough is either too sticky, too stiff, or the kneading speed is too high. It's frustrating and inefficient as the dough isn't being properly worked. To prevent this, ensure you're using the correct speed (usually speed 2) for your dough. For very sticky doughs, slightly increasing the speed very briefly might help, or using a spatula to scrape the dough down the hook periodically.
If the dough is consistently climbing, it might indicate the dough is too wet. Try adding a tablespoon or two of flour at a time while the mixer is running on low speed until the dough starts to pull away from the sides of the bowl. For very stiff doughs, ensure you are using the correct dough hook (spiral hooks are often better for stiffer doughs) and stick to speed 1.
If it still climbs, the dough might be too stiff for your mixer's capacity, or it might need a brief rest (autolyse) before full kneading begins. Addressing this issue is key to effective stand mixer kneading techniques dough.
Stand Mixer Overheating: Tips and Tricks
Kneading dough, especially stiff or large batches, is one of the most demanding tasks for a stand mixer motor. If you notice your mixer's motor housing becoming very warm to the touch, or if it starts to emit a burning smell, it's likely overheating. This can happen if you are kneading a batch of dough that is too large for your mixer's capacity, kneading a very stiff dough for too long on a high speed, or if the mixer is older or has a less powerful motor (like those under 300 watts for bread dough).
To prevent overheating, always adhere to your mixer's capacity guidelines (usually listed in the manual, often in terms of cups of flour). For demanding doughs, consider reducing the batch size or kneading in two smaller batches. Ensure you are using the recommended low to medium speeds (Speed 1 or 2).
If you suspect your mixer is overheating, stop the machine immediately and let it cool down completely before resuming. Investing in a mixer with a more powerful motor (e.g., 500 watts or higher for frequent bread baking) can also significantly reduce the risk of overheating during stand mixer kneading techniques dough.
Uneven Dough Mixing: Achieving Consistent Results
Sometimes, especially at the beginning of the kneading process, you might notice that the dough isn't mixing evenly in the bowl. Pockets of dry flour might remain at the bottom or sides, or some parts of the dough seem less worked than others. This often happens during the initial combining stage or with very stiff doughs. The dough hook might just be pushing the mass around rather than incorporating everything uniformly.
To address uneven mixing, start by ensuring you are using a low speed (Speed 1) for the initial combining of ingredients. If dry pockets persist, stop the mixer, use a rubber spatula to scrape the sides and bottom of the bowl, and push the dry ingredients into the main dough mass. You might need to repeat this a couple of times during the first minute or two of kneading.
For very stiff doughs, sometimes briefly increasing the speed to 2 for just 10-15 seconds can help the hook grab the dough more effectively before returning to speed 1 for the bulk of the kneading. Consistent scraping and monitoring are part of effective stand mixer kneading techniques dough.
Advanced Stand Mixer Dough Kneading Techniques
Autolyse Method with Your Stand Mixer: Enhancing Flavor and Texture
The autolyse method, popularized by baker Raymond Calvel, involves mixing just the flour and water in a recipe and letting the mixture rest for 20 minutes to several hours before adding the yeast, salt, and other ingredients and beginning the main kneading. This simple step has several benefits. It allows the flour to fully hydrate, which helps kickstart gluten development naturally without mechanical work. It also allows enzymes in the flour to begin breaking down starches into sugars, which provides more food for the yeast and can enhance crust browning and flavor.
Implementing autolyse with your stand mixer is straightforward. Add the flour and water to the mixing bowl and mix on the lowest speed (Speed 1) with the dough hook just until no dry flour remains, usually less than a minute. The mixture will look shaggy and not smooth. Cover the bowl and let it rest for the specified time (e.g., 30 minutes is a common starting point).
After the rest, add the remaining ingredients (yeast, salt, etc.) and proceed with your usual stand mixer kneading techniques dough. You might find that the total kneading time required after the autolyse is slightly reduced.
Incorporating Ingredients During Kneading: A Seamless Process
Many recipes, particularly enriched doughs like brioche or doughs with additions like nuts, fruits, or cheese, require incorporating ingredients after the initial mixing or even during the kneading process. Your stand mixer is perfectly suited for this. For enriched doughs where butter is added gradually, ensure the butter is softened but not melted.
Add small pieces (about a tablespoon at a time) to the bowl while the mixer is running on medium speed (Speed 2). Wait until each piece is mostly incorporated before adding the next. This slow addition allows the dough to absorb the fat properly, resulting in a smooth, rich dough.
For adding solid ingredients like dried fruit, nuts, or chocolate chips to a bread or cookie dough being mixed in the stand mixer, wait until the dough has been kneaded to the desired point or is mostly mixed. Then, add the additions gradually on the lowest speed (Speed 1) just until they are evenly distributed. Over-mixing at this stage can break down the additions or toughen the dough. Using your stand mixer for this step ensures even distribution without overworking the main dough structure, refining your stand mixer kneading techniques dough application.
Choosing the Right Dough Hook: Spiral vs. C-Hook
Stand mixers typically come with one of two types of dough hooks: the C-shaped hook or the spiral hook. The type of hook can influence how effectively your mixer kneads certain doughs. The C-shaped hook is the older design and works by pushing and pulling the dough against the sides of the bowl. It is effective for many standard doughs but can sometimes struggle with very stiff or large batches, occasionally causing the dough to ride up the hook.
The spiral hook, often found on more powerful or professional-style stand mixers, is designed to work the dough more efficiently by pushing it down and against the bottom of the bowl while rotating. This action is generally more effective at keeping the dough in the bowl and preventing it from climbing the hook, especially with larger batches or stiffer doughs like bagels or some artisan bread doughs. If you frequently make dense or high-volume doughs, a spiral hook (if compatible with your mixer) might be a worthwhile upgrade to enhance your stand mixer kneading techniques dough performance.
Cleaning and Maintaining Your Stand Mixer for Long-Lasting Performance
Proper Cleaning Techniques for Dough Hooks and Bowls
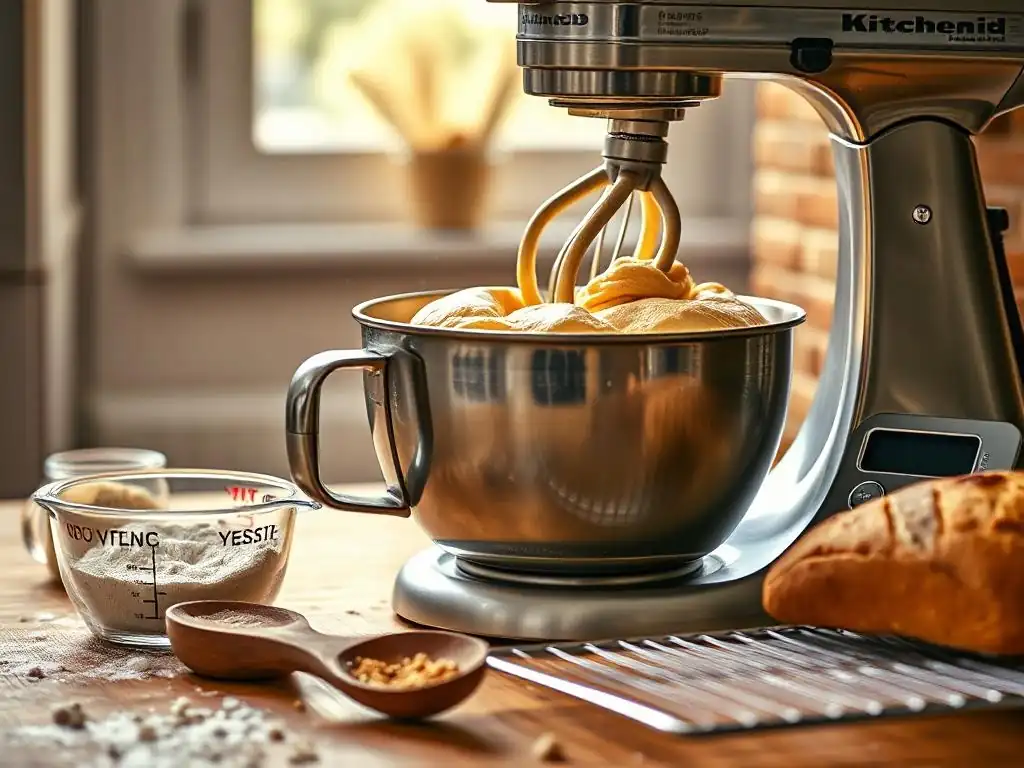
Keeping your stand mixer clean is essential for hygiene and maintaining the longevity of your equipment. Immediately after kneading dough, remove the dough hook and bowl from the mixer. It's easiest to clean dough before it dries and hardens. Scrape off any excess dough with a spatula. For dough hooks and stainless steel bowls, warm, soapy water is usually sufficient. Scrub gently to remove all dough residue. Some dough hooks (check your manual) and stainless steel bowls are dishwasher safe, but handwashing is often recommended to preserve their finish and prevent potential damage.
For the mixer head and base, wipe them down with a damp cloth to remove any flour dust or dough splatters. Never submerge the mixer base in water. Pay special attention to the area where the dough hook attaches to ensure no dough has climbed up and dried in the mechanism. Regular and thorough cleaning after each use not only keeps your mixer looking good but also prevents dried dough from interfering with its function during future stand mixer kneading techniques dough sessions.
Preventing Damage: Avoiding Overloading Your Mixer
One of the most significant factors contributing to stand mixer damage is overloading the machine. Every stand mixer has a maximum capacity, usually specified in the manual in terms of the maximum number of cups of flour or total dough weight it can handle. Exceeding these limits, especially with stiff doughs, puts excessive strain on the motor and gears, potentially leading to premature wear or failure. For example, a typical KitchenAid Artisan mixer might handle dough made with up to 7-8 cups of all-purpose flour, while a more powerful Pro Line model could handle 14 cups.
Always check your mixer's specifications before starting a large batch of dough. If your recipe exceeds the recommended capacity, divide the dough into smaller batches and knead them separately. Also, avoid running the mixer at high speeds (above 2) for kneading dough, as this also stresses the motor. By respecting your mixer's limits and using appropriate speeds, you ensure its longevity and reliable performance for all your stand mixer kneading techniques dough needs.
Regular Maintenance: Keeping Your Stand Mixer in Top Condition
Beyond daily cleaning, stand mixers benefit from occasional maintenance to ensure they continue to operate smoothly. Consult your mixer's manual for specific maintenance recommendations. Some older models or certain brands might require occasional lubrication of internal gears, although many modern mixers are designed to be maintenance-free in this regard. However, keeping the mixer clean externally and internally (as much as accessible) is key.
Periodically inspect the power cord for any signs of wear or damage. Ensure the attachment hub and the area where the bowl locks in are free of debris. If you notice any unusual noises, vibrations, or smells during operation, stop using the mixer and consult the manual or contact the manufacturer's support. Proper care and attention to these details will keep your stand mixer in excellent working condition for years, allowing you to confidently explore various stand mixer kneading techniques dough recipes.
Recipe Examples: Putting Your Stand Mixer Kneading Skills to the Test
Sourdough Bread Recipe using Stand Mixer
Achieving a great sourdough loaf requires significant kneading to build strength in the dough's gluten structure, allowing it to hold its shape and develop a good oven spring. While some prefer manual kneading or stretch-and-folds, a stand mixer can handle the bulk of the work efficiently.
- Ingredients: Active sourdough starter, bread flour, water, salt.
- Method:
- Combine water and active starter in the stand mixer bowl. Add flour and salt.
- Mix on low speed (Speed 1) until a shaggy dough forms, about 1-2 minutes. Scrape down sides if needed.
- Increase speed to medium (Speed 2) and knead for 8-12 minutes, or until the dough is smooth, elastic, and passes the windowpane test. It should pull away from the sides but may stick slightly to the bottom.
- Proceed with bulk fermentation, shaping, and baking as per your preferred sourdough method.
- Note: High hydration sourdoughs (75%+ water) may remain stickier; focus on dough strength rather than it completely clearing the bowl.
New York Style Pizza Dough Recipe using Stand Mixer
A classic New York style pizza crust is relatively thin, chewy, and develops nice bubbling. This requires a dough with good elasticity but not excessive toughness. A stand mixer makes this dough quick and easy.
- Ingredients: Bread flour or high-gluten flour, water, yeast, salt, sugar (optional), olive oil (optional).
- Method:
- Combine water, yeast, sugar (if using) in the stand mixer bowl and let stand for 5 minutes.
- Add flour and salt (and oil if using). Mix on low speed (Speed 1) until ingredients are just combined, about 1 minute. Scrape down sides.
- Increase speed to medium-low (Speed 1 or 2) and knead for 6-8 minutes, or until the dough is smooth and elastic but still soft. It should pass a reasonable windowpane test.
- Shape the dough into a ball, place in an oiled bowl, cover, and refrigerate for at least 24 hours (up to 72 hours) for best flavor and texture development.
- Allow dough to come to room temperature for 1-2 hours before shaping and baking.
Classic Brioche Recipe using Stand Mixer
Brioche is a rich, buttery bread that requires extended kneading to incorporate a large amount of fat. This is where a stand mixer truly shines, making an otherwise challenging dough manageable.
- Ingredients: Bread flour, yeast, sugar, salt, eggs, milk, softened butter.
- Method:
- In the stand mixer bowl, combine flour, yeast, sugar, and salt. Add eggs and milk.
- Mix on low speed (Speed 1) until a shaggy dough forms, about 2 minutes.
- Increase speed to medium (Speed 2 or 3) and knead for about 5-7 minutes, until the dough starts to develop some strength and pulls away from the sides slightly.
- Begin adding the softened butter, one tablespoon at a time, while the mixer continues to run on medium speed. Wait until each piece is mostly incorporated before adding the next. This process can take 10-15 minutes.
- Continue kneading after all the butter is added for another 5-10 minutes, or until the dough is smooth, shiny, very elastic, and pulls away cleanly from the sides of the bowl. It will be soft but should pass the windowpane test.
- Proceed with proofing and baking as per your brioche recipe.
Conclusion: Elevate Your Baking with Perfectly Kneaded Dough
Mastering the Art of Dough Kneading: A Rewarding Baking Journey
Mastering dough kneading with your stand mixer is a skill that will significantly improve the quality of your baked goods. From achieving the perfect airy crumb in a loaf of bread to creating an ideally chewy pizza base or silky smooth pasta, the ability to efficiently and consistently develop gluten is fundamental. Your stand mixer is a powerful ally in this process, taking the physical strain out of kneading and allowing you to focus on the nuances of dough development.
By understanding the science behind gluten, recognizing the signs of properly kneaded dough through tests like the windowpane, and applying the correct stand mixer kneading techniques dough for various types, you gain confidence and control over your baking. This journey transforms kneading from a chore into an enjoyable and rewarding part of the baking process, opening doors to more complex and satisfying recipes.
Final Tips for Achieving Bakery-Quality Results Every Time
To consistently achieve bakery-quality results using your stand mixer for kneading, remember these key tips. Always start with accurate ingredient measurements, ideally using a kitchen scale, as dough hydration is critical. Get to know your specific stand mixer – its speeds, power, and how different doughs behave in its bowl. Don't rely solely on time; learn to read the dough itself – its look, feel, and how it performs in the windowpane test.
Use the recommended speeds (primarily 1 and 2) and avoid overloading your machine to ensure its longevity. Practice makes perfect; the more you use your stand mixer for different doughs, the better you'll become at identifying when the kneading is just right. With these stand mixer kneading techniques dough insights and consistent practice, you'll be well on your way to producing perfectly kneaded doughs that lead to truly exceptional baked goods.
Frequently Asked Questions
How does a stand mixer help with kneading dough for bakery-quality results?
A stand mixer provides consistent and efficient kneading, developing the gluten in the dough more effectively than manual kneading. This leads to a superior texture and rise, essential for bakery-quality goods.
What are the key stand mixer kneading techniques to avoid over-kneading dough?
Avoid over-kneading by using the windowpane test to check gluten development. Start with a lower speed and monitor the dough's consistency; stop when it's smooth and elastic.
Which stand mixer attachment is best for kneading dough?
The dough hook attachment is specifically designed for kneading dough in a stand mixer. It mimics the hand-kneading process by pushing and folding the dough, ensuring even gluten development.
How long should I knead dough in a stand mixer for optimal results?
Kneading time varies, but generally, aim for 6-8 minutes on medium-low speed. Always check the dough's texture and elasticity to determine if it's adequately kneaded, regardless of time.
Can I use my stand mixer to knead all types of dough, or are there limitations?
While versatile, very stiff doughs may strain some stand mixers. Refer to your mixer's manual for recommended dough capacity and avoid overfilling or overworking the machine.
Final Reflection: The Transformative Power of Kneading
Mastering the art of kneading with your stand mixer isn't just about achieving bakery-quality dough; it's about unlocking a world of culinary possibilities. The techniques explored in this article, from understanding gluten development to mastering the nuances of different dough hydration levels, are directly applicable to your everyday baking, transforming even the simplest recipes into extraordinary experiences. This isn't just about better bread; it's about empowerment in the kitchen.
The journey of learning to knead perfectly with a stand mixer is a testament to the power of precision and patience in cooking. It's a process that mirrors life itself – requiring careful attention to detail and a willingness to adapt to unexpected challenges. As Julia Child wisely said, Find something you're passionate about and keep tremendously interested in it.
This passion for baking, fueled by a deeper understanding of the kneading process, allows us to create not just food, but memories, connections, and a sense of accomplishment that extends far beyond the kitchen table.
Now, consider the possibilities. What will you bake next? Will you experiment with a new bread recipe, confident in your newfound kneading skills? Will you tackle that challenging pasta dough you've always avoided? The knowledge you've gained here is a key to unlocking your culinary potential. Embrace the process, experiment fearlessly, and savor the delicious rewards of your efforts. The journey of mastering stand mixer kneading techniques is a continuous one, filled with learning, growth, and the undeniable satisfaction of creating something truly wonderful with your own hands.
Unlock Your Inner Baker: Master Kneading Today!
Thanks for diving into the world of perfect dough! We hope you now feel confident in achieving bakery-quality results using your stand mixer. Ready to put your new skills to the test?
- Bake your dream loaf: Try the recipe we shared (or your own favorite!) and experience the difference that proper kneading makes. Share your results with us – we'd love to see them!
- Experiment with different flours: Explore how various flours (like whole wheat or rye) impact your dough’s texture and flavor. Document your findings for future baking adventures.
- Join our Baking Community: Connect with fellow bakers on our forum and share your kneading tips and triumphs! Let's inspire each other to bake even better bread.
What delicious creation will you knead next?