
Mastering the Dough Cycle: Use Your Machine for Pizza & Rolls

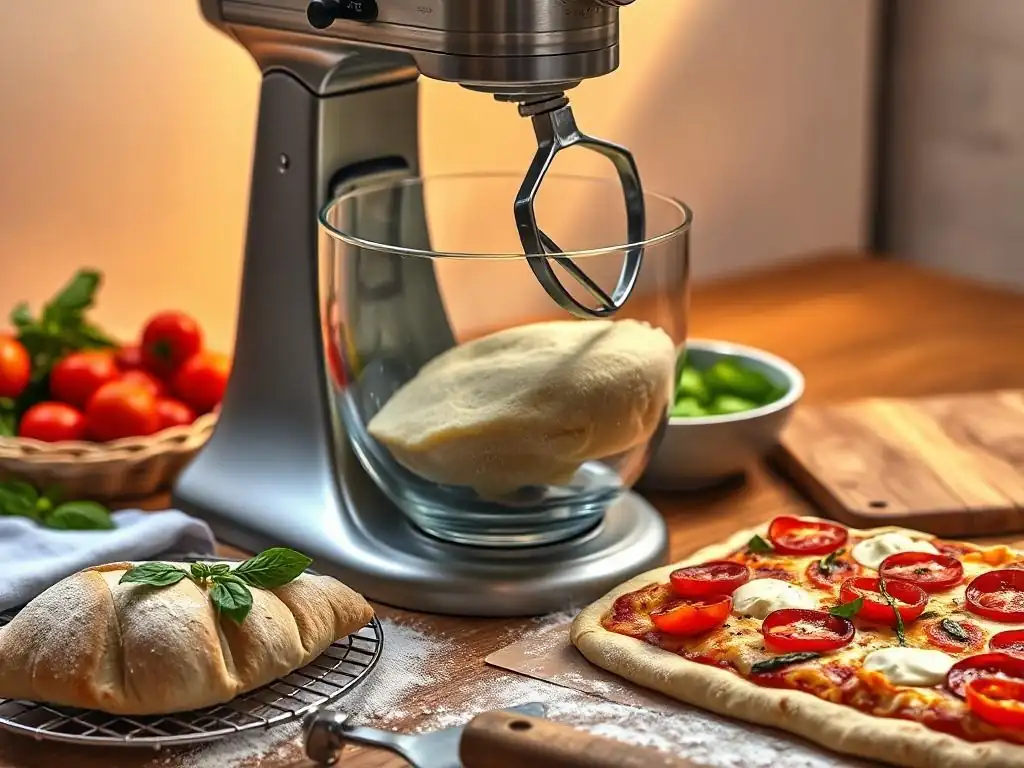
Welcome to BakeWithEase.com, your trusted guide to baking bliss! Ever wondered if your bread machine could be the secret to effortless, restaurant-quality pizza? Dive into this guide and discover how to unlock the power of your machine to create the perfect easy pizza dough machine recipe, plus so much more. Prepare to be amazed at the versatility – from crusty pizzas to soft, fluffy rolls, the possibilities are endless! Let's get baking!
- BakeWithEase: Your Guide to Easy Dough with a Bread Machine
- Unleashing the Potential of Your Bread Machine: Pizza and Rolls
- Step-by-Step: Making Easy Pizza Dough with Your Machine
- From Dough to Delicious: Baking Your Homemade Pizza
- Crafting Fluffy Rolls: Using Your Bread Machine for Soft, Delicious Rolls
- Troubleshooting Common Bread Machine Dough Issues
- Easy Pizza Dough Machine: Recipe Variations and Customizations
- Cleaning and Maintaining Your Bread Machine for Optimal Dough Results
- Conclusion: Enjoying Homemade Pizza and Rolls Made Easy with Your Bread Machine
-
Frequently Asked Questions
- How can my bread machine simplify making pizza dough?
- What kind of flour is best when using a bread machine for pizza dough?
- Can I use the same dough recipe for both pizza and rolls in my bread machine?
- What is the ideal dough cycle setting on my bread machine for pizza dough?
- How long should I let the dough rise in the bread machine before using it for pizza?
- Final Reflection: The Joy of Effortless Baking
- Unleash Your Baking Potential Today!
BakeWithEase: Your Guide to Easy Dough with a Bread Machine
Welcome to BakeWithEase, where we believe that baking should be accessible and enjoyable for everyone! While bread machines are often seen as tools solely for baking a loaf from start to finish, their true potential extends far beyond that. One of the most valuable functions on your machine is the dedicated "dough" cycle, designed to perfectly mix, knead, and complete the first rise of various dough types. This opens up a world of possibilities, transforming your bread machine into a versatile assistant for creating everything from rustic pizza crusts to fluffy dinner rolls.
Using the dough cycle significantly reduces the manual effort involved in baking. Gone are the days of tiring hand kneading or relying on large, expensive stand mixers for smaller batches. Your bread machine handles the hard work consistently, ensuring the dough develops the proper gluten structure needed for a light, airy texture in your finished baked goods. This efficiency makes it incredibly easy to whip up fresh dough for pizza night or a batch of rolls to accompany dinner, even on busy weeknights.
Unleashing the Potential of Your Bread Machine: Pizza and Rolls
Your bread machine isn't just for baking loaves; it's a fantastic workhorse for preparing dough. The "dough" cycle is specifically engineered to manage the precise mixing, kneading, and initial fermentation stages that are crucial for developing flavorful and properly structured doughs for items like pizza and rolls. This cycle typically runs for about 1.5 to 2 hours, depending on your machine model, and includes warm rest periods that encourage yeast activity, leading to a perfect first rise.
By leveraging the dough cycle, you bypass the most labor-intensive parts of dough making. This means less time with flour on your hands and more time planning your pizza toppings or envisioning your dinner table with warm, homemade rolls. The consistency provided by the machine ensures reliable results every time, making it an ideal tool for both novice and experienced bakers looking for an easier way to prepare dough bases for a variety of recipes.
Beyond Bread: Exploring Dough Recipes in Your Bread Machine
The versatility of the bread machine's dough cycle allows you to explore a wide array of recipes beyond traditional sandwich loaves. Think about the possibilities: bagel dough, pretzel dough, even sweet dough for cinnamon rolls or brioche. Each type of dough has specific hydration levels and kneading requirements, and the bread machine's programmed cycles are often adaptable enough to handle these variations with minor adjustments to ingredient ratios.
For instance, a standard pizza dough might use a hydration level (water relative to flour weight) of around 60-65%, resulting in a manageable, slightly sticky dough. Roll dough might be slightly richer, potentially including milk, eggs, or butter, which affects the texture and requires careful kneading to develop strength without becoming tough. Your easy pizza dough machine, with its reliable cycle, provides the foundational mixing and kneading needed for these different dough types, leaving you to focus on shaping and baking.
Why Use a Bread Machine for Pizza and Roll Dough?
Using an easy pizza dough machine offers several compelling advantages. Firstly, it's incredibly convenient. You simply add the ingredients in the specified order (usually liquids first, then dry ingredients, with yeast last), select the dough cycle, and walk away. The machine does all the heavy lifting – the mixing, the vigorous kneading, and the first rise – without you having to constantly monitor or intervene.
Secondly, the results are consistently good. Bread machines maintain optimal temperatures for yeast activity during the rise period, ensuring your dough develops properly. The kneading action is also consistent, leading to well-developed gluten, which is essential for chewy pizza crusts and fluffy rolls. This reliability makes your easy pizza dough machine a valuable asset, reducing the guesswork and potential for errors that can occur with manual dough preparation, especially for beginners.
Step-by-Step: Making Easy Pizza Dough with Your Machine
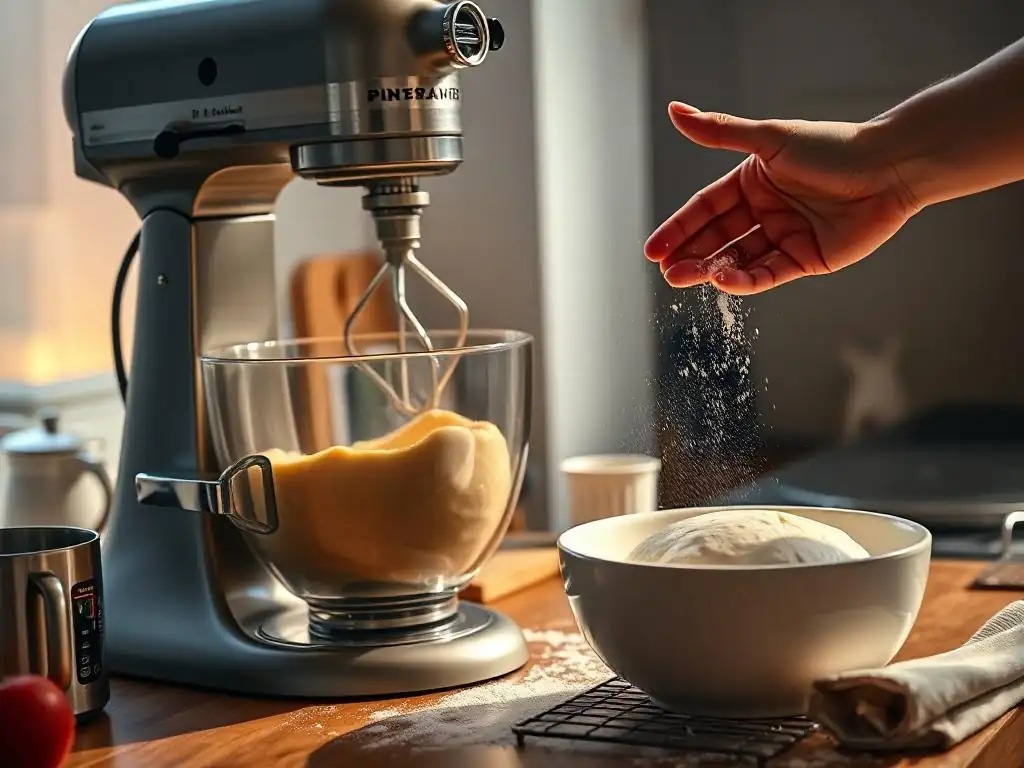
Creating delicious pizza dough with your bread machine is surprisingly simple. The key is to follow the correct sequence for adding ingredients and trust the machine's process. This section breaks down the steps, ensuring your easy pizza dough machine delivers perfect results every time.
Ingredients for Perfect Pizza Dough in a Bread Machine
Gathering the right ingredients is the first step to success with your easy pizza dough machine. A standard recipe typically includes warm water (around 105-115°F or 40-46°C), bread flour (or all-purpose flour), yeast (active dry or instant), salt, and often a little sugar or olive oil.
For one standard 1.5 lb machine, you might use approximately 1 to 1.25 cups of warm water, 3 to 3.5 cups of flour, 1.5 to 2 teaspoons of yeast, 1 teaspoon of salt, and 1 tablespoon of olive oil. These proportions can yield enough dough for one large 14-16 inch pizza or two smaller ones.
It's crucial to measure your ingredients accurately, especially the liquids and flour. Using a kitchen scale for flour (approximately 420-490 grams for the amount above) provides the most consistent results, avoiding the variability of volume measurements. Ensure your yeast is fresh; expired yeast is a common culprit for dough that doesn't rise. The olive oil adds flavor and helps create a tender crust, while a pinch of sugar gives the yeast a little boost.
Setting Up Your Bread Machine for Pizza Dough
Setting up your easy pizza dough machine is straightforward. First, ensure the bread pan and kneading paddle are clean and correctly inserted into the machine. Most recipes recommend adding the wet ingredients first, followed by the dry ingredients, and finally the yeast placed in a small well on top of the flour. This order helps prevent the yeast from activating prematurely if it comes into direct contact with salt or sugar before the kneading begins.
Carefully pour in the warm water (and olive oil, if using). Then, add the salt, followed by the flour, ensuring it covers the liquid. Make a small indentation in the center of the flour with your finger and add the yeast there. Close the lid and select the "Dough" cycle. This cycle is specifically designed for mixing, kneading, and the initial rise, stopping before any baking takes place.
The Dough Cycle: Monitoring and Adjusting
Once the dough cycle begins on your easy pizza dough machine, the machine will go through stages of mixing and kneading. During the first few minutes of kneading, it's a good idea to check the consistency of the dough. It should form a relatively smooth ball that cleans the sides of the pan but is still slightly sticky to the touch. If the dough appears too dry and isn't coming together, add a tablespoon of water at a time. If it looks too wet and is sticking excessively to the sides, add a tablespoon of flour at a time.
Most bread machines will knead for about 20-30 minutes, followed by a rest period and then the rise cycle, which typically lasts about 60-90 minutes. During the rise, the dough should roughly double in size. Resist the urge to open the lid frequently, as this can affect the temperature and humidity inside, potentially hindering the rise. The easy pizza dough machine maintains the ideal environment for yeast activity, so trust the process.
Removing and Preparing Your Pizza Dough
Once the dough cycle is complete on your easy pizza dough machine, the machine will usually beep to alert you. Open the lid and you should see a nicely risen ball of dough. It will feel soft and elastic. Gently punch down the dough in the pan to release the air. This step is important for creating a good texture in your final pizza crust.
Carefully remove the dough from the bread pan and place it onto a lightly floured surface. The dough will be warm and pliable, ready for shaping. At this point, you can divide the dough if you plan to make multiple smaller pizzas. Cover the dough with a clean kitchen towel or plastic wrap and let it rest for about 10-15 minutes. This rest period allows the gluten to relax, making the dough much easier to stretch and shape without it springing back.
From Dough to Delicious: Baking Your Homemade Pizza
With your perfectly prepared dough from the easy pizza dough machine, the next step is transforming it into a delicious homemade pizza. This stage involves shaping, topping, and baking, turning the humble dough ball into a culinary masterpiece.
Preheating Your Oven for Pizza Perfection
Achieving a crispy crust and perfectly cooked toppings requires a hot oven. For most pizzas, preheating your oven to a high temperature, typically between 450°F and 500°F (230°C and 260°C), is recommended. This high heat helps the crust cook quickly, creating that desirable chewy interior and crisp exterior, while melting the cheese and cooking the toppings efficiently.
If you're using a pizza stone or steel, place it in the oven during the preheating phase. These surfaces absorb heat and provide a very hot base for the pizza, mimicking the conditions of a professional pizza oven. Allow at least 30-60 minutes for the stone or steel (and the oven cavity itself) to reach the target temperature. This ensures even cooking and a superior crust texture.
Stretching and Shaping Your Pizza Dough
After the dough has rested, it's ready to be shaped. You can gently stretch it by hand, starting from the center and working outwards, leaving a slightly thicker rim for the crust. Avoid using a rolling pin if you want a light and airy crust, as rolling can push out too much air. If the dough resists stretching, cover it again and let it rest for another 5-10 minutes. This indicates the gluten needs more time to relax.
Aim for your desired thickness, whether that's thin and crispy or thicker and chewier. Dust your work surface and hands lightly with flour or semolina to prevent sticking. Semolina can also add a nice texture to the bottom of the crust. Once shaped, carefully transfer the dough to your preheated pizza stone/steel (using a pizza peel dusted with flour/semolina) or a baking sheet lined with parchment paper.
Topping Your Pizza: Tips and Ideas
With your dough shaped and on its baking surface, it's time for the fun part: adding the toppings! Start with your sauce, spreading it evenly over the dough, leaving a border for the crust. Don't overload the pizza with sauce, as this can make the crust soggy. About 1/4 to 1/2 cup of sauce is usually sufficient for a 14-inch pizza.
Next, add your cheese. Mozzarella is classic, but feel free to experiment with other cheeses like provolone, cheddar, or a sprinkle of Parmesan. Add your desired toppings – vegetables, cooked meats, herbs. Distribute toppings evenly to ensure they cook properly and the pizza isn't weighted down in one spot. Remember that less is often more with pizza toppings; overcrowding can lead to an undercooked or soggy center.
Baking Your Pizza to Golden Brown
Slide your topped pizza into the preheated oven. Baking times will vary depending on your oven temperature, the thickness of your crust, and your toppings, but a pizza baked at 475°F (245°C) on a stone might take anywhere from 8 to 15 minutes. Keep an eye on it, especially the crust.
You'll know the pizza is done when the crust is golden brown and puffed up, the cheese is melted and bubbly, and any meat toppings are cooked through. If the top seems to be browning too quickly while the bottom crust is still pale, you can move the pizza lower in the oven or place a piece of foil loosely over the top. Once baked, carefully remove the pizza from the oven and let it cool slightly on a wire rack for a few minutes before slicing and serving.
Crafting Fluffy Rolls: Using Your Bread Machine for Soft, Delicious Rolls
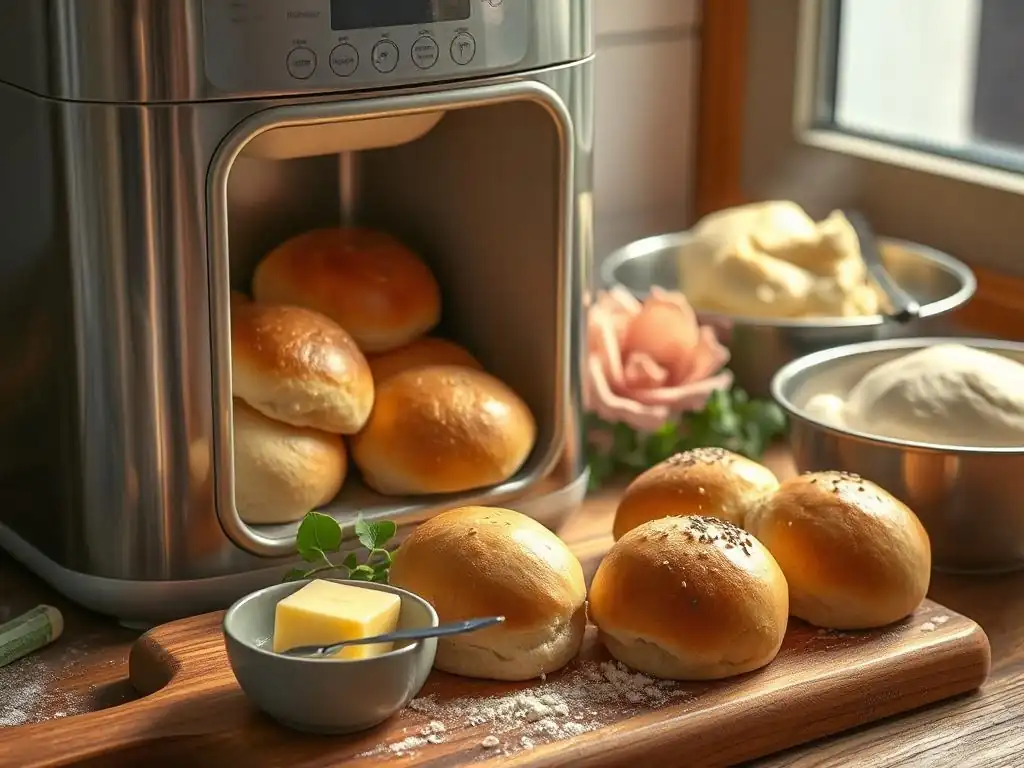
The bread machine's dough cycle is equally adept at creating soft, fluffy dough for dinner rolls, hamburger buns, or sweet rolls. The process is similar to pizza dough but often involves a slightly richer dough recipe.
Ingredients for Bread Machine Roll Dough
A typical recipe for soft rolls made in an easy pizza dough machine might include warm milk or water, butter (melted or softened), eggs, sugar, salt, flour, and yeast. For a 1.5 lb machine batch, you might use about 1 cup of warm milk, 1/4 cup melted butter, 1 egg, 2-3 tablespoons sugar, 1 teaspoon salt, 3 to 3.5 cups of flour (around 420-490 grams), and 2 teaspoons of active dry or instant yeast. The milk, butter, and egg contribute to the richness and tenderness of the rolls.
As with pizza dough, precise measurement, especially of flour and liquid, is key. Using milk instead of water can result in a softer crumb and richer flavor. Ensure your dairy and eggs are at room temperature before adding them to the warm liquid to avoid shocking the yeast. The sugar provides food for the yeast and adds a touch of sweetness to the rolls.
Selecting the Right Bread Machine Cycle for Rolls
Just like with pizza dough, you will use the "Dough" cycle on your easy pizza dough machine for making roll dough. This cycle performs the necessary mixing, kneading, and initial rise. Ensure your ingredients are added in the correct order as specified by your machine's manual (usually liquids first, then dry, yeast last).
Once the ingredients are in and the cycle is selected, the machine will handle the rest. The kneading will develop the gluten structure required for light and airy rolls, and the warm rise period will allow the dough to expand and develop flavor. The total cycle time will be approximately 1.5 to 2 hours, depending on your machine model.
Shaping Your Rolls: From Machine to Baking Sheet
When the dough cycle finishes, your easy pizza dough machine will alert you, and you'll find a beautifully risen ball of dough in the pan. Gently punch down the dough to deflate it and transfer it to a lightly floured surface. The dough should be soft, smooth, and elastic.
Divide the dough into equal portions, depending on the size of rolls you desire. For standard dinner rolls, dividing the dough into 12-16 pieces is common. Shape each piece into a smooth ball by gently pulling the edges under and pinching them together at the bottom, or by rolling it between the palm of your hand and the work surface. Place the shaped rolls onto a baking sheet lined with parchment paper, spacing them about 1-2 inches apart if you want individual rolls, or closer together if you prefer pull-apart rolls.
Achieving the Perfect Rise and Bake for Your Rolls
After shaping, the rolls need a second rise (often called proofing). Cover the baking sheet loosely with plastic wrap or a clean kitchen towel and let the rolls rise in a warm, draft-free place until they are about double in size and look puffy. This usually takes about 30-60 minutes, depending on the room temperature. The easy pizza dough machine provided the first rise; this second rise is crucial for achieving a light and airy texture in the final baked roll.
While the rolls are proofing, preheat your oven to the temperature specified in your recipe, typically around 375°F to 400°F (190°C to 200°C). Once the rolls have doubled, you can brush them with an egg wash (egg mixed with a little water or milk) for a golden, shiny crust, or with melted butter for a softer crust. Bake the rolls for 15-25 minutes, or until they are golden brown on top and sound hollow when tapped on the bottom.
Troubleshooting Common Bread Machine Dough Issues
Even with the reliability of an easy pizza dough machine, occasionally you might encounter issues with your dough. Knowing how to troubleshoot common problems can save your batch and improve your results.
Dough Too Sticky? Solutions for Pizza and Roll Dough
If, during the initial kneading phase in your easy pizza dough machine, you notice the dough is excessively sticky and not forming a cohesive ball, it means there is too much liquid or not enough flour. This is a common issue, but easily fixable.
- Solution: Add flour, one tablespoon at a time, allowing the machine to knead for a minute or two after each addition, until the dough forms a ball that cleans the sides of the pan. Avoid adding too much flour at once, as this can result in a dense, dry dough. Observing the dough during the first 5-10 minutes of kneading is key to catching this early.
Dough Too Dry? Hydration Adjustments for Bread Machines
Conversely, if your dough appears dry, crumbly, or isn't coming together into a ball during the kneading cycle in your easy pizza dough machine, it indicates too little liquid or too much flour. This will prevent proper gluten development and result in a tough dough.
- Solution: Add warm water or milk (depending on your recipe), one tablespoon at a time, allowing the machine to knead after each addition, until the dough becomes pliable and forms a cohesive ball. Again, observe the dough's consistency and stop adding liquid once it looks right. Using slightly less flour than the recipe calls for initially and adding more only if needed can help prevent this issue.
Dough Not Rising? Addressing Yeast and Temperature Issues
A dough that doesn't rise after the cycle in your easy pizza dough machine is frustrating, but the cause is usually related to the yeast or temperature. Yeast is a living organism and needs the right conditions to thrive.
- Solution:
- Check Yeast Freshness: Ensure your yeast is not expired. You can test active dry yeast by dissolving 1 teaspoon in 1/4 cup warm water with a pinch of sugar; it should bubble vigorously within 5-10 minutes.
- Check Water/Liquid Temperature: Water that is too hot (above 130°F / 55°C) will kill the yeast, while water that is too cold will make it sluggish. Aim for 105-115°F (40-46°C).
- Check Salt/Sugar Contact: Ensure salt or sugar did not come into direct contact with the yeast when added to the pan before the cycle started.
- Consider Room Temperature: While the bread machine provides a warm environment during the rise, extremely cold ingredients or a very cold room might impact the overall process.
Easy Pizza Dough Machine: Recipe Variations and Customizations
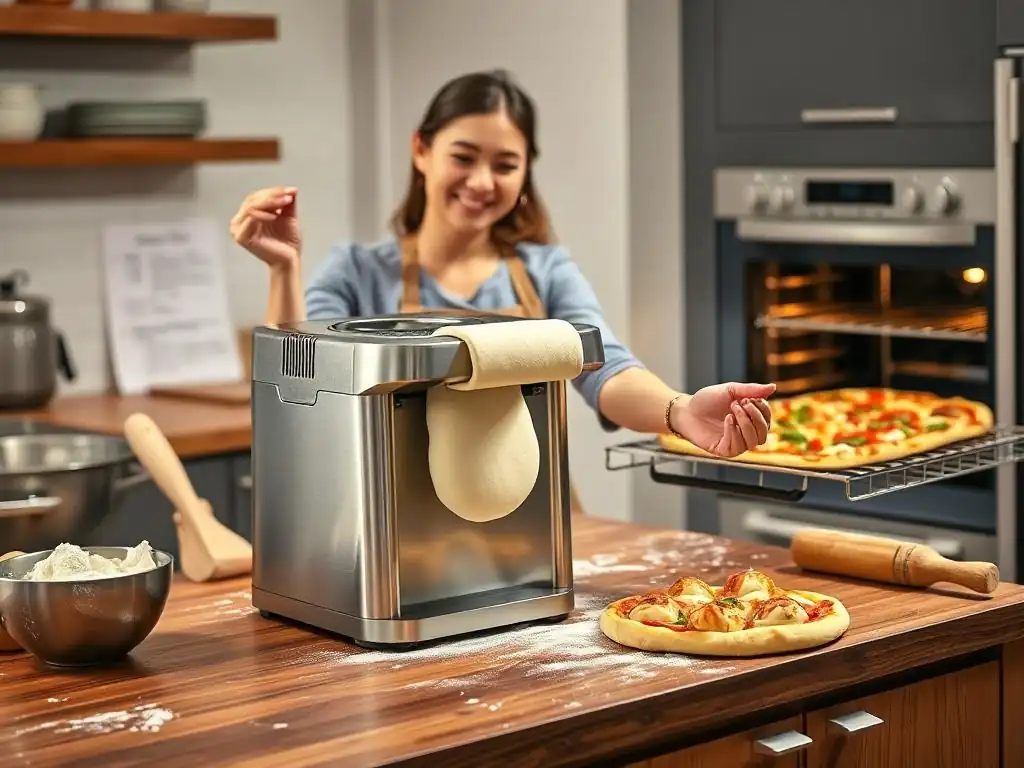
Once you've mastered the basic dough cycle with your easy pizza dough machine, you can start experimenting with variations to create unique flavors and textures for your pizza and rolls.
Gluten-Free Pizza Dough in Your Bread Machine
Adapting gluten-free recipes for an easy pizza dough machine requires specific gluten-free flour blends and often additional ingredients like xanthan gum, which helps provide structure in the absence of gluten. Standard wheat-based bread machine recipes won't work directly with gluten-free flour.
- Approach: Look for bread machine-specific gluten-free dough recipes. These recipes account for the different properties of gluten-free flours, which typically require less kneading and a different hydration level. The machine's gentle mixing and controlled rise can actually work well for gluten-free doughs, which can be sticky and difficult to handle manually. You'll still use the dough cycle, but the ingredient ratios and possibly the technique for handling the dough after the cycle will differ significantly from wheat dough.
Adding Herbs and Flavors to Your Pizza Dough
Infusing your pizza dough with herbs and spices is a simple way to add an extra layer of flavor. This is easily done when using your easy pizza dough machine.
- Method: Add dried herbs like oregano, basil, rosemary, or garlic powder to the flour along with the salt and yeast. A common ratio might be 1-2 teaspoons of dried herbs or 1/2 teaspoon of garlic powder per 3 cups of flour. You can also add a tablespoon or two of finely grated Parmesan cheese for a savory boost. For fresh herbs, it's often better to knead them in by hand after the dough cycle is complete to preserve their flavor and color. Consider adding a pinch of red pepper flakes for a bit of heat.
Sweet Roll Dough: Expanding Your Bread Machine Repertoire
The dough cycle on your easy pizza dough machine isn't limited to savory applications. It's perfect for preparing sweet dough for cinnamon rolls, sticky buns, or even basic sweet breads.
- Recipe Adaptations: Sweet dough typically includes more sugar and often incorporates eggs and butter, resulting in a richer, softer dough compared to standard bread or pizza dough. You'll still use the dough cycle, but the ingredient quantities will be adjusted. For example, a sweet dough recipe might use 1/4 to 1/3 cup of sugar and up to 1/2 cup of butter for a 1.5 lb batch. The higher sugar content can sometimes slow yeast activity slightly, but the machine's warm environment helps compensate. After the cycle, you'll roll, fill, and shape the dough before the second rise and baking.
Cleaning and Maintaining Your Bread Machine for Optimal Dough Results
Proper care of your easy pizza dough machine is essential to ensure it continues to produce excellent dough batches and has a long lifespan. A clean machine performs better and prevents off-flavors from transferring to your dough.
Keeping Your Bread Machine Clean and Ready for Dough Making
Cleaning your bread machine after each use, especially after making dough, is crucial. The bread pan and kneading paddle should be cleaned promptly to prevent dough residue from hardening, which can make removal difficult and potentially damage the non-stick coating.
- Cleaning Process: After removing the dough, unplug the machine and allow the pan to cool slightly. Remove the kneading paddle from the shaft (sometimes it stays in the pan, other times it comes off with the dough). Soak the pan and paddle in warm, soapy water for a few minutes to loosen any stuck-on dough. Use a non-abrasive sponge or cloth to gently clean them. Avoid putting the bread pan or paddle in the dishwasher unless explicitly stated in your machine's manual, as this can damage the non-stick coating. Wipe down the interior and exterior of the machine with a damp cloth, ensuring no water gets into the mechanical parts.
Extending the Life of Your Bread Machine with Proper Maintenance
Regular maintenance, though minimal for most bread machines, can help ensure your easy pizza dough machine remains in good working order for years.
- Maintenance Tips: Periodically check the kneading paddle shaft for any buildup of dough or debris and clean it thoroughly. Ensure the pan clicks securely into place in the machine. If you notice any grinding sounds or unusual noises during the kneading cycle, consult your machine's manual or the manufacturer's support. Storing the machine in a dry, clean place away from extreme temperatures also helps preserve its components. Following the manufacturer's specific care instructions is always the best approach.
Conclusion: Enjoying Homemade Pizza and Rolls Made Easy with Your Bread Machine
Using the dough cycle on your bread machine is a game-changer for home baking. It takes the effort out of mixing, kneading, and the first rise, giving you perfectly prepared dough ready for shaping and baking into delicious pizza and rolls. Whether you're craving a classic Margherita or warm, fluffy dinner rolls, your easy pizza dough machine makes the process accessible and enjoyable.
The reliability and convenience offered by the dough cycle mean you can enjoy fresh, homemade baked goods more often without the hassle of traditional methods. Experiment with different recipes, customize with your favorite flavors, and delight in the satisfaction of serving warm pizza and rolls made with ease right in your own kitchen.
BakeWithEase: Your Partner in Bread Machine Baking Success
At BakeWithEase, we are passionate about helping you unlock the full potential of your baking equipment. Our guides and recipes, like this exploration of the easy pizza dough machine's dough cycle, are designed to empower you with the knowledge and confidence to create wonderful baked goods. Keep exploring our resources for more tips, techniques, and delicious recipes to make your baking journey smooth and rewarding. Happy baking!
Frequently Asked Questions
How can my bread machine simplify making pizza dough?
Your bread machine automates the kneading and first rise processes, saving you time and effort. It ensures a consistent dough consistency which is crucial for pizza.
What kind of flour is best when using a bread machine for pizza dough?
Bread flour is generally recommended due to its high gluten content, which creates a chewier and more elastic pizza crust. All-purpose flour can also be used, but the texture might be slightly different.
Can I use the same dough recipe for both pizza and rolls in my bread machine?
Yes, most basic pizza dough recipes are versatile enough for both pizza and rolls. The difference lies in shaping and baking time. You can easily adjust the recipe found on BakeWithEase.com.
What is the ideal dough cycle setting on my bread machine for pizza dough?
Most bread machines have a "dough" setting specifically designed for kneading and rising dough without baking. This is the ideal setting for pizza dough.
How long should I let the dough rise in the bread machine before using it for pizza?
Typically, the dough cycle will include a rise, often lasting around 1 to 1.5 hours. You'll know it's ready when it has roughly doubled in size.
Final Reflection: The Joy of Effortless Baking
Mastering the dough cycle with a machine isn't just about convenience; it's about unlocking a world of culinary creativity. The ease of using a machine to create perfect pizza dough and fluffy rolls opens up possibilities for even the busiest home cooks, allowing them to enjoy the satisfaction of homemade bread without the hours of kneading and proofing. This accessibility democratizes baking, making it a joyful pastime for everyone.
The impact of readily available, easy-to-use baking technology is profound. It's not just about faster recipes; it's about fostering a deeper connection with food. We're seeing a resurgence in home baking, a return to simpler pleasures and the satisfaction of creating something delicious from scratch. This trend speaks to a desire for authenticity and control in a fast-paced world. The best things in life are homemade.
This simple sentiment perfectly encapsulates the heart of this article – the joy of creating something delicious and personal, effortlessly.
Now, I invite you to consider your own kitchen. What delicious creations could you bring to life with the help of a simple machine? Don't be intimidated by the thought of homemade bread; embrace the ease and joy of the process. Experiment with different recipes, share your creations with loved ones, and savor the satisfaction of mastering the dough cycle. The possibilities are as endless as your imagination.
Unleash Your Baking Potential Today!
Thank you for diving into the delicious world of bread-making with us! You've taken a big step toward mastering the dough cycle, and now it’s time to put those skills into action. Let’s turn your newfound knowledge into mouthwatering pizza and rolls that will impress everyone at your table.
Here are a few tasty actions you can take right now:
- Get your hands dirty! Try making your first batch of homemade pizza or rolls tonight. Grab your ingredients and let your machine do the work.
- Share the joy of baking by inviting a friend to join you in your next baking session. Cooking together is a great way to bond and learn!
- Experiment with a surprising twist by adding unique toppings to your pizza or incorporating different herbs into your roll recipe. Get creative and make it your own!
What new flavor combination are you excited to try in your next baking adventure?