
The MustHave Tools for Crafting Perfect Sourdough Loaves

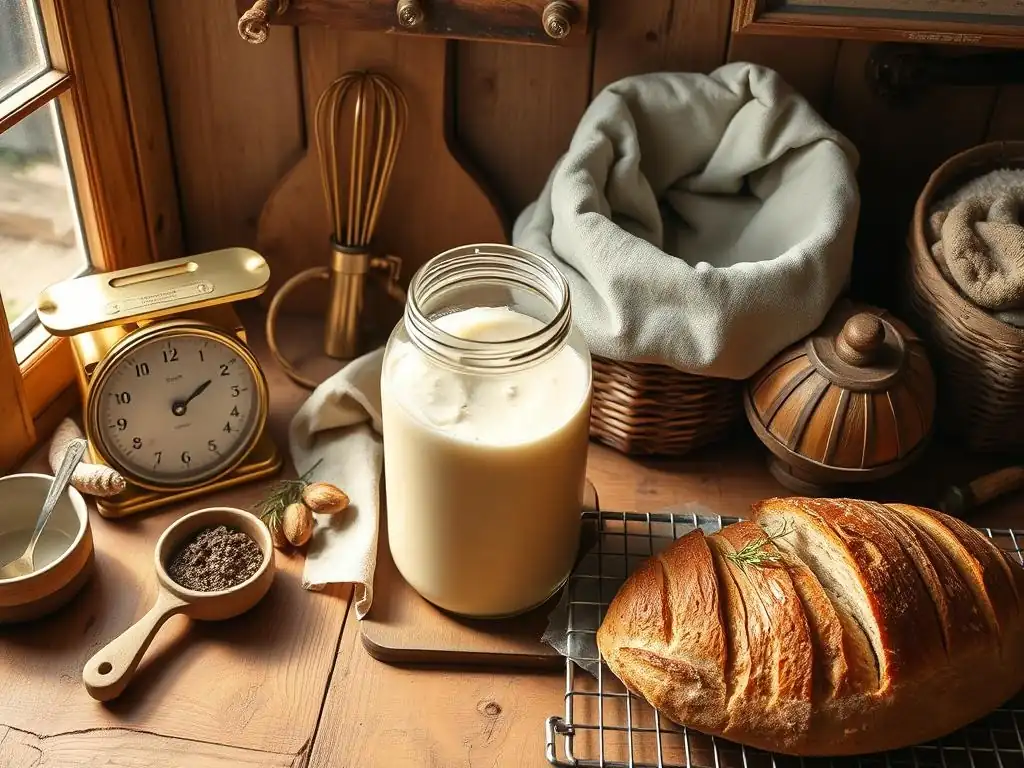
Welcome to BakeWithEase, your trusted guide in the delightful world of baking! Ever wondered if you're truly giving your sourdough the TLC it deserves? Dive in and discover our essential sourdough starter maintenance tips that will unlock the secrets to consistently exceptional loaves. Uncover the simple techniques that will transform your baking, and learn how to keep your starter thriving, no matter your skill level!
- Introduction: Elevate Your Sourdough Baking with Essential Equipment
- Section 1: Essential Sourdough Starter Equipment and Maintenance
- Section 2: Tools for Shaping and Baking the Perfect Sourdough Loaf
- Section 3: Maintaining Your Sourdough Tools for Longevity
- Section 4: Advanced Sourdough Baking Tools (Optional)
- Conclusion: Investing in Quality Tools for Sourdough Success
-
Frequently Asked Questions
- What are the absolute essential tools for maintaining a sourdough starter, according to BakeWithEase.com?
- How often should I feed my sourdough starter, according to BakeWithEase.com's Sourdough Starter Maintenance Tips?
- What does BakeWithEase.com consider to be the ideal consistency of a well-maintained sourdough starter?
- What are some common mistakes people make when maintaining a sourdough starter, as highlighted by BakeWithEase.com?
- How can BakeWithEase.com's Sourdough Starter Maintenance Tips help me troubleshoot a sluggish or inactive sourdough starter?
- Final Reflection: The Enduring Art of Sourdough, One Loaf at a Time
- Unleash Your Inner Baker: Craft Your Perfect Loaf!
Introduction: Elevate Your Sourdough Baking with Essential Equipment
Embarking on the journey of sourdough baking is incredibly rewarding, yielding loaves with complex flavors and textures unmatched by commercial yeast breads. While the magic truly begins with a vibrant sourdough starter, having the right tools is equally crucial for transforming that bubbling culture into a beautiful, crusty loaf. Think of these tools not as optional accessories, but as essential partners in your baking process, helping you manage everything from the sticky dough to achieving that ideal oven spring and golden crust.
This guide will walk you through the key equipment that will make your sourdough baking experience smoother and more successful. We'll cover everything from the basic necessities for keeping your sourdough starter happy and healthy to the specialized gear that ensures your finished loaf looks and tastes professional. Whether you're just starting out or looking to refine your process, investing in quality tools is a step towards consistently achieving perfect sourdough loaves right in your own kitchen.
Section 1: Essential Sourdough Starter Equipment and Maintenance
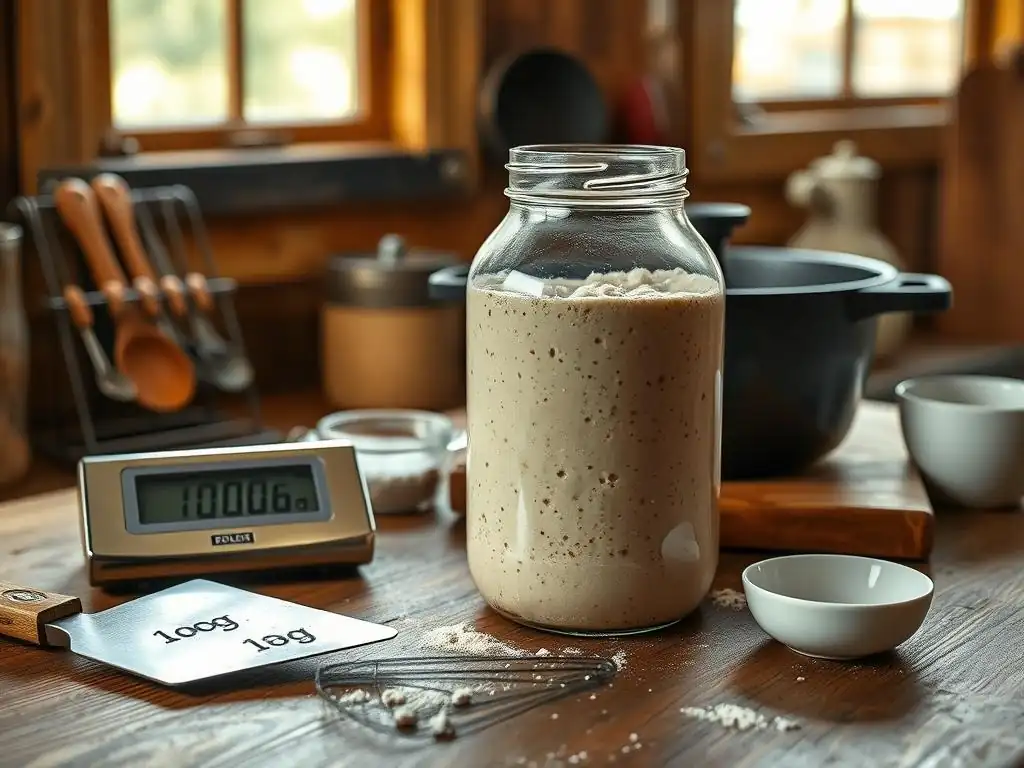
1.1. The Right Jar: Optimizing Your Sourdough Starter's Home
Choosing the correct container for your sourdough starter is more important than you might think, directly impacting its health and your ability to monitor its activity. Glass jars are widely recommended because they are non-reactive, easy to clean, and allow you to clearly see the starter's rise and fall, which is vital for understanding its fermentation cycle. A straight-sided jar is particularly useful, as it makes it easy to mark the starter's level and observe how much it has grown between feedings.
For typical home baking, a jar with a capacity of at least one liter (around 34 ounces) is ideal, especially if you maintain a starter volume of 100-200 grams. This size provides ample room for the starter to double or even triple in volume during its peak activity after feeding. Using a jar that is too small can lead to messy overflows, while one that is excessively large might make it harder to see subtle changes in activity. Proper sourdough starter maintenance tips often begin with selecting an appropriate, clean vessel that allows for easy observation and feeding.
1.2. Accurate Scales: Precise Measurements for Sourdough Starter and Dough
Precision is paramount in sourdough baking, particularly when it comes to feeding your sourdough starter and formulating your dough. Using a digital kitchen scale that measures in grams is highly recommended over volume measurements (like cups). This is because flour, water, and starter can vary significantly in density depending on how they are scooped or packed, leading to inconsistencies. Scales eliminate this variability, ensuring you follow recipes accurately.
For maintaining your sourdough starter, a scale allows you to feed it using precise ratios, such as 1:1:1 (equal parts starter, flour, and water by weight) or 1:2:2. This level of accuracy is fundamental for consistent sourdough starter maintenance tips, helping you understand how different feeding ratios affect your starter's strength and activity.
When mixing dough, scales enable you to hit target hydration levels, like a 70% hydration dough (700g water for every 1000g flour), which is crucial for managing dough consistency and achieving desired loaf characteristics. Aim for a scale that measures down to 1 gram, and ideally 0.1 grams for smaller starter feedings.
1.3. Thermometer: Controlling Temperature for Optimal Fermentation
Temperature plays a critical role in the activity of your sourdough starter and the fermentation of your dough. The wild yeasts and bacteria in a sourdough starter thrive within specific temperature ranges. While room temperature works, knowing the exact temperature helps you predict activity and troubleshoot issues. An ideal temperature range for active fermentation is typically between 70°F and 80°F (21°C and 27°C). Temperatures below this range will slow down fermentation considerably, while much higher temperatures can over-ferment the dough quickly or even harm the microbial balance.
A simple probe thermometer or even an infrared thermometer can be invaluable for checking the temperature of your starter, your dough during bulk fermentation and proofing, and even the ambient temperature of your kitchen. Monitoring these temperatures allows you to adjust feeding schedules or proofing times accordingly. For instance, if your kitchen is cooler, you might need longer proofing times. Understanding and controlling temperature is a key component of effective sourdough starter maintenance tips and overall dough development.
1.4. Mixing Bowls: Choosing the Right Vessel for Sourdough
You'll need several mixing bowls of various sizes when baking sourdough. Large bowls are essential for mixing the dough, performing autolyse, and conducting bulk fermentation. A bowl with a capacity of at least 4-5 liters (around 4-5 quarts) is suitable for a standard loaf made with 500 grams of flour, providing enough space for the dough to expand significantly during fermentation. Material options include glass, plastic, stainless steel, or ceramic.
While the material doesn't drastically affect the dough itself, some bakers prefer non-reactive materials like glass or stainless steel. Plastic is lightweight and durable but can sometimes retain odors. Having multiple bowls allows you to manage different stages of the process, such as autolysing dough in one bowl while your starter ripens in another jar, or handling folds during bulk fermentation.
Section 2: Tools for Shaping and Baking the Perfect Sourdough Loaf
2.1. Banneton Baskets: Achieving Professional-Looking Sourdough
Banneton baskets, also known as proofing baskets, are used for the final rise (proofing) of your shaped sourdough loaf. They provide structure to the dough as it proofs, preventing it from spreading outwards and helping it maintain a round or oval shape. The baskets are typically made from cane, but wood pulp and plastic versions are also available. They often impart a lovely pattern on the dough's surface, adding to the artisan look.
To use a banneton, you generously flour it, usually with rice flour (which is less likely to be absorbed by the dough), before placing the shaped dough seam-side up (if baking in a Dutch oven) or seam-side down (if baking on a baking stone). A common size for a standard loaf (using 500g of flour) is a 9-inch round or a 10-12 inch oval basket. The basket supports the dough during its final expansion before baking, contributing to a better rise and shape in the oven.
2.2. Dough Scrapers: Essential for Handling Sticky Dough
Sourdough dough, especially high-hydration varieties, can be quite sticky and challenging to handle. Dough scrapers are indispensable tools that make working with this type of dough much easier. You'll typically find two types: a bench scraper (usually metal with a wooden or plastic handle) and a bowl scraper (flexible plastic).
A bench scraper is perfect for dividing dough on your work surface, moving portions of dough, and cleaning sticky residue from your counter. A flexible bowl scraper is invaluable for getting every last bit of dough out of your mixing bowl and for performing stretch and folds or coil folds during bulk fermentation without the dough sticking excessively to your hands. These simple tools dramatically improve your ability to manage and shape sticky sourdough.
2.3. Dutch Oven: The Secret to a Crispy Crust and Soft Interior
For many home bakers, a heavy-duty Dutch oven is the key to achieving that coveted crispy crust and light, open interior characteristic of artisan sourdough. A Dutch oven, typically made of cast iron (enameled or bare), creates a self-contained environment that traps steam released by the dough as it bakes. This trapped steam keeps the surface of the dough moist for the crucial initial phase of baking, allowing it to expand fully before the crust sets.
Once the crust sets later in the bake (usually after removing the lid), the dry heat allows the crust to crisp up beautifully. A 5-quart or 7-quart Dutch oven is a common size that comfortably fits a standard-sized sourdough loaf. Preheating the Dutch oven in a hot oven (often 450-500°F or 230-260°C) before carefully placing the dough inside is essential for maximizing oven spring.
2.4. Bread Lame: Scoring for Expansion and Aesthetics
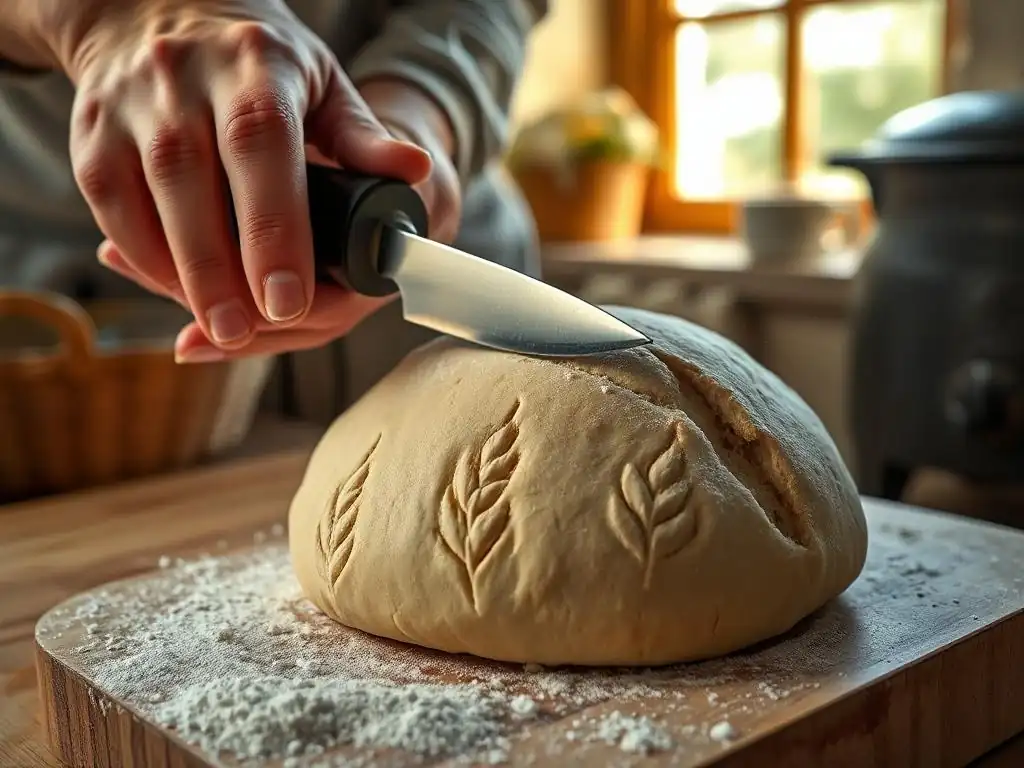
A bread lame (pronounced "lam") is a tool used to score or slash the surface of the shaped dough just before it goes into the oven. Scoring serves two primary purposes: it allows the dough to expand in a controlled manner during oven spring, preventing blowouts in undesirable places, and it creates decorative patterns on the loaf.
A sharp blade is crucial for a clean cut that allows the dough to open up properly. Lames typically use a standard double-edged razor blade, held in a handle. Different styles of lames allow for straight or curved cuts. Mastering scoring takes practice, but a good lame is essential for achieving both functional expansion and beautiful aesthetics on your finished sourdough loaf.
2.5. Cooling Rack: Allowing Airflow After Baking
Once your sourdough loaf emerges from the oven, golden brown and fragrant, it's critical to cool it properly on a wire cooling rack. Placing the hot loaf directly on a solid surface will trap steam underneath, leading to a soggy bottom crust.
A wire rack elevates the loaf, allowing air to circulate freely around all sides. This airflow prevents condensation and ensures that the crust remains crisp as the loaf cools completely. While it's tempting to slice into a warm loaf, allowing it to cool for at least 1-2 hours (preferably longer for larger loaves) is important for the internal structure and flavor to set properly.
Section 3: Maintaining Your Sourdough Tools for Longevity
3.1. Cleaning and Caring for Your Banneton Baskets
Keeping your banneton baskets clean is important for hygiene and preventing dough from sticking. After each use, allow the basket to dry completely. Once dry, use a stiff brush (like a pastry brush or a dedicated cleaning brush) to brush out any excess flour and dried dough bits. It's generally recommended to avoid washing cane bannetons with water and soap, as this can damage the cane and make future sticking worse.
If your basket does require a deeper clean due to residue buildup, you can gently wipe it with a damp cloth (no soap) and then place it in a warm oven (turned off, but still warm from baking) or in the sun to dry thoroughly. Proper care extends the life of your bannetons and contributes to successful sourdough starter maintenance tips by ensuring your proofing environment is clean.
3.2. Seasoning and Maintaining Your Dutch Oven
Bare cast iron Dutch ovens require seasoning to maintain a non-stick surface and prevent rust. This involves applying a thin layer of oil and heating it until it polymerizes into a hard coating. After use, clean bare cast iron by scraping out any stuck-on bits (avoiding soap if possible, or using minimal soap followed by thorough rinsing) and drying it completely on the stovetop or in a warm oven. Apply a very thin layer of oil before storing.
Enameled cast iron is easier to clean but can still benefit from proper care. Avoid using metal utensils that can scratch the enamel. For stuck-on food, you can often simmer some water in the pot to loosen it. While enameled pots don't require seasoning, keeping them clean and dry ensures their longevity, complementing your efforts in consistent sourdough starter maintenance tips and overall baking success.
3.3. Sharpening Your Bread Lame for Consistent Scoring
A dull lame is worse than no lame at all, tearing the dough instead of making a clean cut. Standard bread lames use double-edged razor blades, which are inexpensive and easily replaceable. You should replace the blade frequently, ideally every few baking sessions or whenever you notice it dragging or tearing the dough rather than slicing cleanly.
While you can technically sharpen a razor blade, it's often more practical and effective to simply insert a fresh one for each baking session that requires scoring. Always handle razor blades with extreme caution. Proper maintenance of your lame ensures clean, controlled cuts, which are vital for achieving optimal oven spring and beautiful patterns on your sourdough loaves.
Section 4: Advanced Sourdough Baking Tools (Optional)
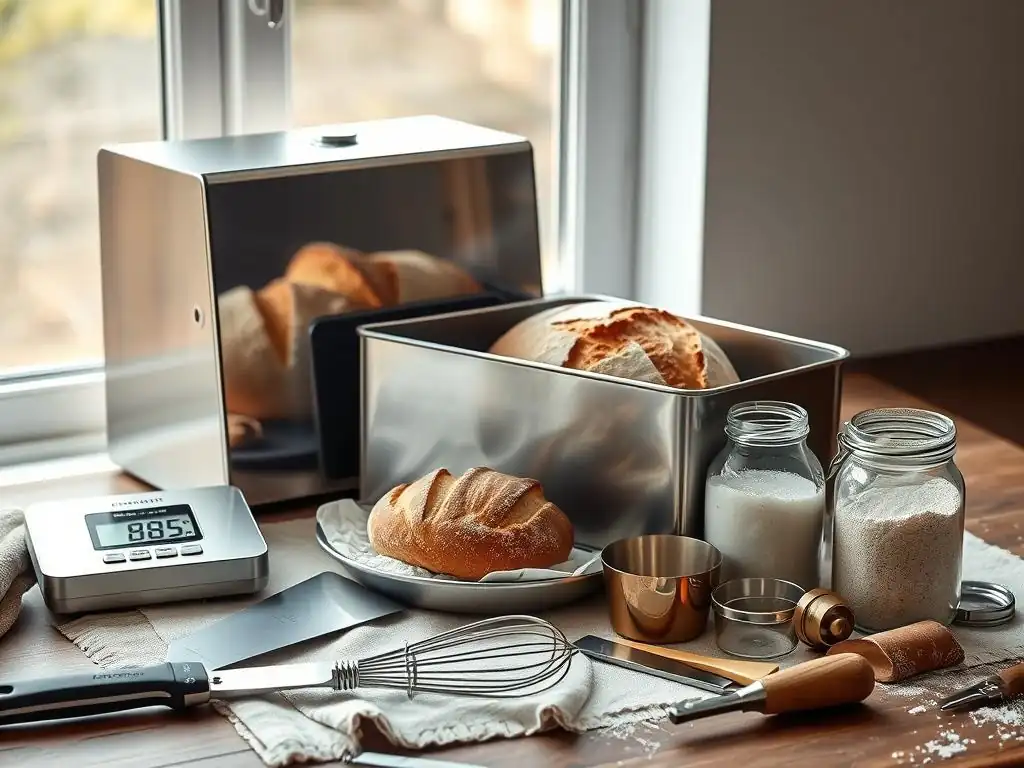
4.1. Proofing Box: Controlling Fermentation Environment
For bakers seeking ultimate control over their fermentation process, a proofing box can be a valuable investment. These devices provide a temperature and sometimes humidity-controlled environment for your sourdough starter and dough. Maintaining a consistent temperature, such as 75-80°F (24-27°C), ensures predictable fermentation times, which is incredibly helpful for scheduling your baking and achieving consistent results.
Proofing boxes are particularly useful in cold kitchens where achieving optimal fermentation temperatures can be challenging. They allow you to fine-tune proofing times based on specific recipes or desired outcomes. While not strictly necessary for good sourdough, a proofing box elevates your ability to manage the fermentation variables, complementing your diligent sourdough starter maintenance tips.
4.2. Stand Mixer with Dough Hook: For Large Batches
While many sourdough bakers prefer the hands-on approach of mixing and folding dough by hand, a stand mixer equipped with a dough hook can be a significant time and effort saver, especially when baking large batches or working with very high-hydration doughs that are difficult to handle manually. A good stand mixer can effectively develop gluten through kneading.
A mixer with at least 5-quart capacity and a robust motor (e.g., 300 watts or more) can handle dough made with 500g to 1kg of flour. Using a mixer reduces the physical effort required for kneading and can achieve gluten development quickly and consistently. While not essential for everyone, it's a tool that can make the process more accessible for some bakers or those baking frequently.
Conclusion: Investing in Quality Tools for Sourdough Success
Crafting perfect sourdough loaves is a journey that combines the art of fermentation with the science of baking. While your active and robust sourdough starter is the heart of your bread, the tools you use are the hands that shape its potential. From the humble jar that houses your starter and the precise scale that guides your measurements, to the specialized banneton and Dutch oven that define the final form and texture, each tool plays a vital role.
Investing in quality equipment not only makes the baking process more efficient and enjoyable but also contributes directly to the consistency and quality of your results. Coupled with diligent sourdough starter maintenance tips and a growing understanding of the process, these tools will empower you to repeatedly bake delicious, beautiful sourdough bread that you'll be proud to share. Happy baking!
Frequently Asked Questions
What are the absolute essential tools for maintaining a sourdough starter, according to BakeWithEase.com?
The most crucial tools are a jar or container, a kitchen scale for accurate measurements, and a thermometer to monitor temperature. These ensure proper fermentation and consistent results.
How often should I feed my sourdough starter, according to BakeWithEase.com's Sourdough Starter Maintenance Tips?
Feeding frequency depends on the environment. BakeWithEase.com recommends feeding your starter once or twice daily at room temperature, or less frequently in the fridge.
What does BakeWithEase.com consider to be the ideal consistency of a well-maintained sourdough starter?
A well-maintained starter should have a smooth, bubbly consistency, similar to pancake batter. This indicates active fermentation and readiness for baking.
What are some common mistakes people make when maintaining a sourdough starter, as highlighted by BakeWithEase.com?
Common errors include inaccurate measurements, using the wrong type of flour, and improper temperature control, all of which can inhibit starter activity.
How can BakeWithEase.com's Sourdough Starter Maintenance Tips help me troubleshoot a sluggish or inactive sourdough starter?
BakeWithEase.com offers tips on adjusting feeding ratios, optimizing temperature, and identifying potential contaminants to revive a weak starter.
Final Reflection: The Enduring Art of Sourdough, One Loaf at a Time
The meticulous care required for a thriving sourdough starter mirrors the dedication needed to cultivate anything truly worthwhile. From the initial bubbling excitement of a new starter to the satisfying crust of a perfectly baked loaf, the journey is a testament to patience and precision. This isn't just about baking bread; it's about nurturing a living organism and understanding the delicate balance of nature within our kitchens.
The enduring appeal of sourdough lies not only in its delicious taste but also in its connection to a timeless tradition. It's a practice that transcends generations, a living link to the past that continues to shape our culinary landscape today. Bread is the staff of life,
they say, and in the case of sourdough, it's a staff imbued with history, patience, and a deep connection to the earth. This process, with its ups and downs, its successes and failures, mirrors the unpredictable yet rewarding nature of life itself. It's a humbling experience that teaches us the importance of observation, adaptation, and the acceptance of imperfection.
Now, consider your own sourdough journey. What lessons have you learned from your starter? What challenges have you overcome? More importantly, what will you bake next? Don't be afraid to experiment, to push your boundaries, and to embrace the unexpected. The world of sourdough is vast and endlessly rewarding; the only limit is your imagination. So, grab your starter, gather your ingredients, and embark on your next baking adventure. The perfect loaf awaits.
Unleash Your Inner Baker: Craft Your Perfect Loaf!
Thanks for taking the time to explore the world of sourdough with us! We hope you now feel equipped to tackle those yeasty adventures. Ready to put your new knowledge into practice?
- Bake your dream sourdough: Grab your ingredients and try out one of the recipes mentioned – the journey to perfectly risen bread starts now!
- Share your baking journey: Post a picture of your creation on social media using #BakeWithEaseSourdough and tag us! We'd love to see your results.
- Experiment with different flours and techniques – what unique flavors can you create?
What unexpected ingredient are you going to try in your next sourdough loaf? Let's discuss in the comments!