
High Altitude Baking: Adjusting Fermentation Times and Temperatures

Welcome to BakeWithEase, your trusted guide to baking brilliance! Ever wondered why your cakes fall flat at higher altitudes? This article dives deep into the science of high altitude baking times, revealing the secrets to perfectly adjusted fermentation and oven temperatures. Unlock the key to consistently delicious results, no matter where you live, and say goodbye to baking frustration. Ready to elevate your baking game? Let's get started!
- High Altitude Baking: Adjusting Fermentation Times and Temperatures for Perfect Results
- Introduction to High Altitude Baking and Yeast Fermentation
- The Science Behind Fermentation at Higher Elevations
- Adjusting Fermentation Times for High Altitude Baking
- Temperature Considerations for Yeast Fermentation at High Altitude
- Specific Recipe Adjustments for High Altitude Yeast Breads
- Troubleshooting Common High Altitude Baking Problems
- Tools and Equipment for Successful High Altitude Baking
- Tips for Perfect High Altitude Fermentation Every Time
- Conclusion: Mastering High Altitude Baking with Ease
-
Frequently Asked Questions
- What is High Altitude Baking and why does it require adjustments?
- How does altitude specifically affect fermentation times in bread making?
- What temperature adjustments are generally needed for high altitude baking?
- Besides time and temperature, what other adjustments might be necessary when baking at high altitude?
- Where can I find more detailed step-by-step instructions for adjusting specific recipes for high altitude?
- Final Reflection: The Rising Crust of High-Altitude Baking
- Unlock Your High-Altitude Baking Secrets!
High Altitude Baking: Adjusting Fermentation Times and Temperatures for Perfect Results
Introduction to High Altitude Baking and Yeast Fermentation
Why Baking at High Altitude Requires Adjustments
Baking at higher elevations presents unique challenges compared to sea level. As altitude increases, air pressure decreases significantly. This lower pressure has a profound impact on how dough behaves, particularly during the crucial fermentation and baking stages. Without proper adjustments, bakers often encounter issues like dough rising too quickly and then collapsing, dry or dense final products, and uneven baking results. Understanding these fundamental differences is the first step towards mastering high altitude baking times and achieving consistently excellent loaves and pastries.
The science behind these challenges revolves around gas expansion and moisture evaporation. At lower atmospheric pressure, the carbon dioxide gas produced by yeast expands more readily and rapidly. While this might sound beneficial, it can lead to the dough over-proofing before the gluten structure is strong enough to support the expansion. Simultaneously, the air is often drier at higher altitudes, and water evaporates more quickly from the dough's surface and during baking. These factors combined necessitate specific modifications to recipes, techniques, and especially to high altitude baking times and temperatures, to compensate for the environmental differences.
Understanding the Impact of Altitude on Yeast Activity
Yeast activity is directly influenced by its environment, including temperature, hydration, and available food sources, but also by the surrounding air pressure. While yeast itself doesn't necessarily reproduce faster at high altitude, the effects of its gas production are amplified. The lower external pressure offers less resistance to the expanding gas bubbles within the dough. This causes the dough to rise more dramatically and quickly than it would at sea level, potentially leading to the dough reaching its peak volume much sooner.
This accelerated rise means that the traditional high altitude baking times for fermentation, which are often based on sea-level conditions, must be significantly shortened. If dough is allowed to proof for the standard time, it will likely become over-proofed, resulting in a weak structure that cannot hold its shape during baking. The rapid expansion can also stretch the gluten network too thin, causing it to break and leading to a dense crumb structure or even collapse. Therefore, closely monitoring the dough's visual cues rather than strictly adhering to time is paramount when working with yeast at high altitude.
The Science Behind Fermentation at Higher Elevations
Lower Air Pressure: Its Effect on Dough Expansion
The relationship between altitude and air pressure is inversely proportional: as altitude increases, air pressure decreases. At sea level, the atmospheric pressure is approximately 14.7 pounds per square inch (psi), while at 5,000 feet (about 1,500 meters), it drops to around 12.2 psi, and at 10,000 feet (about 3,000 meters), it's closer to 10.2 psi.
This reduction in external pressure allows the gases produced by yeast during fermentation to expand more freely within the dough matrix. Think of it like blowing up a balloon in a vacuum versus at sea level – in lower pressure, the balloon expands with less effort.
In dough, this translates to a more vigorous and rapid rise. The carbon dioxide bubbles within the dough expand more forcefully, pushing the gluten network outward faster. While this rapid expansion can be exciting to watch, it puts significant stress on the developing gluten structure. If the gluten hasn't developed sufficient strength and elasticity through kneading and proper rest, it can't contain the rapidly expanding gas, leading to tearing or weakening of the cell walls. This is a key factor influencing the need to adjust high altitude baking times for proofing.
Faster Evaporation: Managing Moisture Loss in High Altitude Baking
Higher altitudes are often associated with lower humidity levels compared to sea level. Additionally, the lower boiling point of water at reduced atmospheric pressure contributes to faster evaporation. At sea level, water boils at 212°F (100°C), but at 5,000 feet, it boils around 203°F (95°C), and at 10,000 feet, it's approximately 194°F (90°C). This means that moisture in the dough and during baking turns to steam and escapes more readily.
Faster evaporation affects dough in several ways. During fermentation, the surface of the dough can dry out quickly, forming a skin that restricts expansion and can lead to a tough crust. During baking, the dough loses moisture more rapidly, potentially resulting in a drier final product. To counteract this, bakers at high altitude often need to increase the hydration of their dough slightly and implement strategies to maintain moisture during proofing, such as covering the dough tightly or using a humid environment. Managing this moisture loss is critical alongside adjusting high altitude baking times.
Adjusting Fermentation Times for High Altitude Baking
Reducing Proofing Times: Preventing Over-Proofing at Altitude
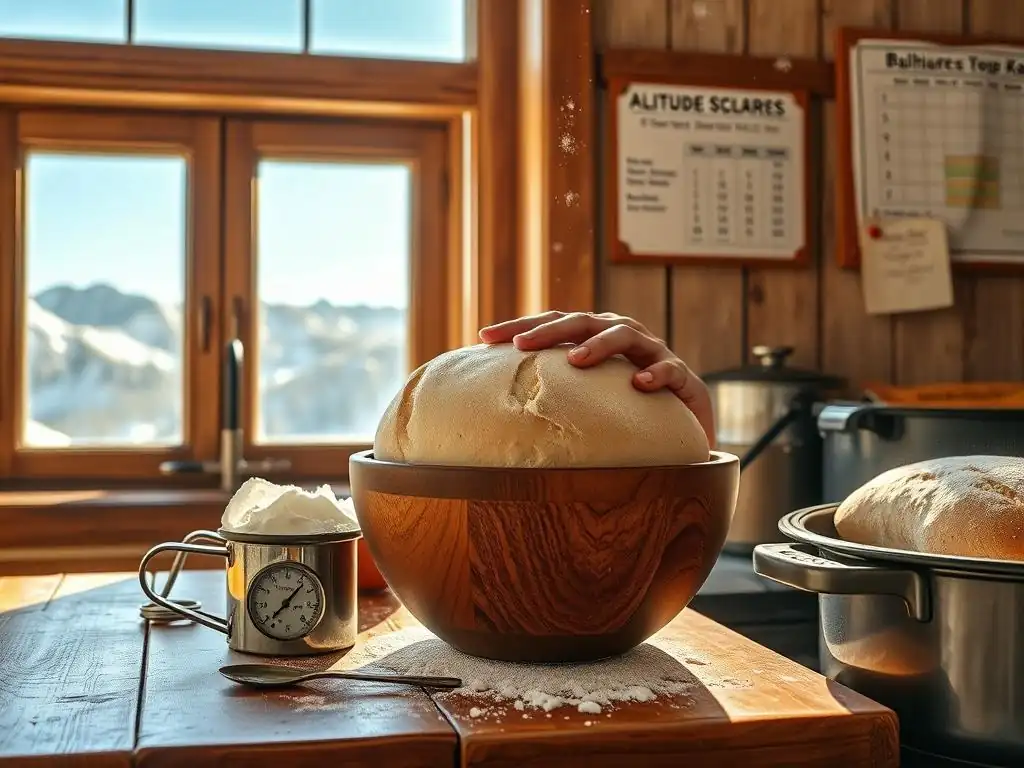
The most significant adjustment to high altitude baking times involves shortening the fermentation periods. Due to the lower air pressure allowing faster gas expansion, dough will typically reach full proof much quicker than a recipe intended for sea level. Allowing the dough to proof for the standard time will almost certainly result in over-proofing. Over-proofed dough often collapses during baking because the gluten structure has been stretched too thin and can no longer support the gas.
A common starting point for adjustment is to reduce the first rise (bulk fermentation) time by 20-30% and the second rise (proofing after shaping) time by an even greater percentage, sometimes up to 50% or more, especially at elevations above 5,000 feet (approx. 1,500 meters). However, these are just approximations. The exact reduction needed depends on the specific recipe, ingredients, kitchen temperature, and precise altitude. The key is to shift focus from the clock to the dough's appearance and feel.
Visual Cues for Optimal Fermentation at High Altitudes
Since strict adherence to time is unreliable at high altitude, learning to read the dough is essential for successful fermentation. For the first rise (bulk fermentation), the dough should increase significantly in volume, often doubling or nearly doubling, depending on the recipe and desired outcome. However, at high altitude, it might reach this volume faster but feel lighter and more airy than sea-level dough. The "poke test" is a reliable indicator: gently press two fingers into the dough about half an inch deep.
If the indentations remain, the dough is likely ready for shaping. If they spring back immediately, it needs more time. If the dough deflates easily, it's likely over-proofed.
For the second rise (final proof), the dough should again increase in volume, becoming visibly puffy and light. The poke test is even more critical here. Gently poke the dough with a floured finger.
- If the indentation springs back immediately, it needs more time.
- If the indentation springs back slowly, leaving a slight indent, it's perfectly proofed.
- If the indentation remains fully without springing back, it is likely over-proofed.
Observing these cues ensures you bake the dough at its optimal point, regardless of the high altitude baking times listed in a sea-level recipe.
Calculating Adjusted Fermentation Times: A Practical Guide
While there's no single formula that works for every recipe and altitude, you can develop a practical approach to adjusting high altitude baking times. Start by finding a reliable sea-level recipe. Note the recommended fermentation times for the first and second rises.
For elevations between 3,000 and 5,000 feet (approx. 900-1,500 meters):
- Reduce the first rise time by roughly 10-20%.
- Reduce the second rise time by roughly 20-30%.
For elevations between 5,000 and 8,000 feet (approx. 1,500-2,400 meters):
- Reduce the first rise time by roughly 20-30%.
- Reduce the second rise time by roughly 30-50%.
For elevations above 8,000 feet (approx. 2,400 meters):
- Reduce the first rise time by roughly 30-50%.
- Reduce the second rise time by roughly 50% or more.
These are starting points. Always monitor the dough using visual cues and the poke test. Keep detailed notes on what worked for specific recipes at your altitude. For example, if a sea-level recipe calls for a 2-hour bulk ferment and a 1-hour final proof, at 6,000 feet you might try reducing the bulk ferment to 1.5 hours and the final proof to 30-40 minutes, then adjust further on subsequent bakes based on results.
Temperature Considerations for Yeast Fermentation at High Altitude
Ideal Dough Temperatures for High Altitude Baking
Controlling dough temperature is a critical lever for managing the speed of yeast activity, especially when adjusting high altitude baking times. Warmer temperatures accelerate yeast fermentation, while cooler temperatures slow it down. Since the lower air pressure at high altitude already promotes faster gas expansion, slightly cooler dough temperatures can help moderate the rise and give the gluten structure more time to strengthen relative to the gas production.
While sea-level recipes might aim for a dough temperature of 75-80°F (24-27°C) for rapid fermentation, bakers at high altitude might find better results by aiming for a slightly cooler range, perhaps 70-75°F (21-24°C). This small adjustment can help prevent the dough from over-proofing too quickly, allowing for a more controlled rise and better development of flavor. Using a dough thermometer is highly recommended to ensure accuracy.
Controlling Dough Temperature: Tips and Techniques
Maintaining a consistent and slightly cooler dough temperature at high altitude can be achieved through various techniques. The temperature of your ingredients, particularly the water, is the easiest factor to control. Calculate your desired water temperature based on the ambient room temperature and the temperature of your flour using standard dough temperature formulas, but aim for a slightly lower target dough temperature overall (e.g., 72°F/22°C).
During bulk fermentation and proofing, find a cooler spot in your kitchen. Avoid placing dough near warm appliances, in direct sunlight, or on top of a warm oven. If your kitchen is consistently warm, you might need to refrigerate the dough for short periods during the bulk ferment, or even perform a significant portion of the bulk ferment in the refrigerator overnight (cold fermentation), which dramatically slows yeast activity and improves flavor. Using a proofing box with adjustable temperature control is an ideal solution for precise management of high altitude baking times and temperatures.
Adjusting Oven Temperatures for Optimal Baking at High Altitudes
Beyond fermentation, oven temperature also requires consideration at high altitude. Due to the lower boiling point of water and drier air, dough tends to dry out and brown faster in the oven. While some sources suggest increasing oven temperature to set the crust quickly before the interior dries out, others recommend slightly decreasing it to prevent burning and allow the interior to cook thoroughly. There isn't a universal rule, and experimentation is often needed.
A common approach is to start by increasing the oven temperature by 15-25°F (8-14°C) compared to a sea-level recipe, especially for lean doughs like artisan bread, to promote a strong initial oven spring before the gas expands too much. However, for enriched doughs like cakes or sweet breads which are more prone to burning, a slight decrease in oven temperature, perhaps by 10-15°F (5-8°C), might be necessary, coupled with potentially increasing the high altitude baking times slightly.
Using an oven thermometer is crucial to ensure your oven is actually reaching and maintaining the desired temperature, as oven thermostats can be inaccurate, especially at different altitudes.
Specific Recipe Adjustments for High Altitude Yeast Breads
Adjusting Hydration Levels in High Altitude Doughs
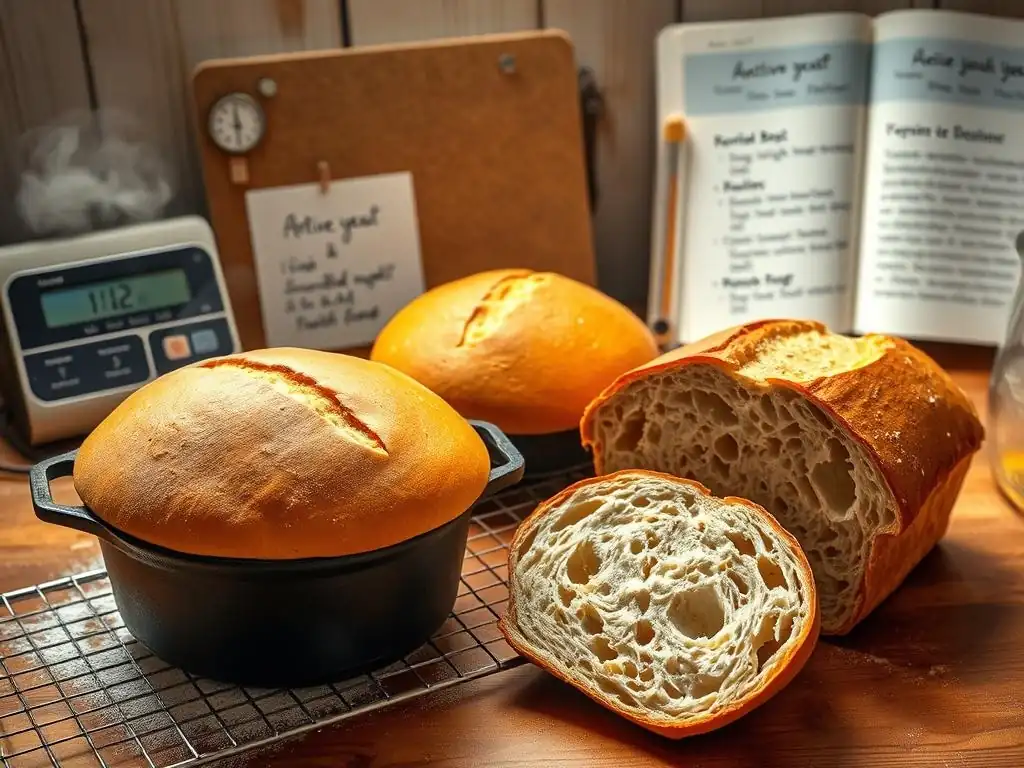
As mentioned earlier, faster evaporation at high altitude means dough can dry out more quickly during mixing, fermentation, and baking. To counteract this, recipes often benefit from a slight increase in hydration. This typically involves adding a small amount of extra liquid (water or milk) to the dough formula.
A good starting point is to increase the liquid by 1-3% of the flour weight. For example, if a recipe uses 500g of flour and 350g of water (70% hydration), you might try adding an extra 5g to 15g of water, bringing the total liquid to 355g-365g. This extra moisture helps keep the dough pliable during fermentation and contributes to a moister crumb in the final bake.
However, be careful not to add too much liquid, as excessively wet dough can be difficult to handle and may collapse more easily at high altitude, even with adjusted high altitude baking times. Assess the dough's feel; it should be slightly stickier than you might expect from a sea-level recipe.
Strengthening Gluten Development in High Altitude Recipes
With the rapid expansion of gas at lower pressure, the gluten network needs to be robust enough to contain it without tearing. This means focusing on excellent gluten development is even more critical at high altitude. Kneading, whether by hand or mixer, should be thorough until the dough passes the windowpane test – stretching a small piece of dough until it's thin enough to see light through without tearing.
Some high-altitude recipes also recommend adding a small amount of vital wheat gluten (typically 1-2 teaspoons per cup of flour). Vital wheat gluten is a concentrated protein that boosts the overall gluten content and strength of the flour, providing extra structural support for the dough's rapid rise and helping prevent collapse. Pairing strong gluten development with appropriately adjusted high altitude baking times for proofing is key to preventing dense or collapsed loaves.
High Altitude Sourdough Bread Adjustments
Sourdough starters, being natural cultures, can be particularly sensitive to environmental changes like altitude. Starters often become more vigorous at high altitude due to the faster gas expansion, meaning they may peak sooner after feeding. This requires adjusting the feeding schedule or using the starter sooner after feeding than you would at sea level.
When making sourdough bread at high altitude, managing fermentation speed is crucial. You'll likely need to significantly shorten both the bulk fermentation and proofing high altitude baking times. Consider using cooler water for mixing, performing a longer autolyse (rest period after mixing flour and water) to promote gluten development without yeast activity, and potentially reducing the amount of starter used.
Cold proofing in the refrigerator is an excellent technique for high altitude sourdough, allowing for flavor development while slowing down the rapid rise. Monitor your starter and dough closely, relying on visual cues and the poke test rather than strict adherence to time.
High Altitude Sandwich Bread Adjustments
Sandwich bread recipes, which are often enriched with milk, butter, and sugar, also require specific adjustments for high altitude. The enrichment can sometimes weigh down the dough, but the rapid rise still poses a risk of over-proofing and collapse.
For high altitude sandwich bread, reduce the yeast slightly (e.g., by 10-20%). Increase the liquid slightly (1-2% of flour weight). Ensure thorough kneading for good gluten development. Most importantly, drastically shorten the high altitude baking times for proofing.
The dough will likely double in the pan much faster than expected. Watch for the dough to just crest above the rim of the pan before baking, rather than rising high above it as you might see at sea level. Baking at a slightly lower temperature initially, then increasing it, or simply using a slightly lower consistent temperature, can help prevent the crust from setting too quickly before the interior is fully baked and risen.
Troubleshooting Common High Altitude Baking Problems
Dealing with Sticky Dough at High Altitude
One common issue encountered when adjusting high altitude recipes is sticky dough. This can happen if you've increased the hydration too much or if the flour behaves differently at altitude. While a slightly stickier dough is often desirable at high altitude to combat dryness, excessively sticky dough is hard to handle and may not develop sufficient structure.
- Possible Causes: Too much added liquid, flour with lower protein content than expected, over-mixing, or not enough gluten development.
- Solutions:
- Start by adding the recommended amount of extra liquid gradually, assessing the dough's feel.
- Ensure you are using a bread flour with adequate protein content (typically 12-14%).
- Knead the dough thoroughly until it is smooth and elastic, passing the windowpane test.
- If the dough is still too sticky after kneading, try incorporating a tablespoon of flour at a time until it reaches a manageable consistency, but avoid adding excessive amounts that will dry the dough.
- Ensure you are adhering to adjusted high altitude baking times for mixing, as over-mixing can sometimes break down gluten and make dough sticky.
Preventing Collapse During Baking at High Altitude
Dough collapsing in the oven is a classic sign of over-proofing, a common issue when not properly adjusting high altitude baking times. Over-proofed dough has exhausted its yeast and its gluten structure is too weak to support the gas expansion during oven spring.
- Possible Causes: Proofing for too long, proofing at too warm a temperature, insufficient gluten development, or too much yeast.
- Solutions:
- Significantly reduce your proofing high altitude baking times. Rely on the poke test and visual cues (dough should be puffy, but not overly so, and the poke test should spring back slowly).
- Proof at a slightly cooler temperature (70-75°F / 21-24°C).
- Reduce the amount of yeast in the recipe slightly (e.g., by 10-20%).
- Ensure you have developed sufficient gluten strength through kneading.
- Consider baking the dough slightly under-proofed compared to sea-level standards; it will get plenty of oven spring at high altitude.
Addressing Uneven Baking at High Altitude
Uneven baking – where the crust browns too quickly while the interior is undercooked, or one side of the loaf bakes faster than the other – can also occur at high altitude due to faster evaporation and potentially less efficient ovens at lower pressure.
- Possible Causes: Oven temperature too high, rapid surface drying, inaccurate oven thermostat, uneven oven heating.
- Solutions:
- Verify your oven temperature with a reliable oven thermometer. Ovens can be off by 25-50°F (14-28°C) or more.
- Consider slightly reducing the oven temperature (e.g., by 10-15°F / 5-8°C) or increasing the high altitude baking times slightly to ensure the interior cooks through.
- Use steam in the oven during the initial phase of baking (e.g., by placing a tray of water on the bottom rack or using a Dutch oven) to keep the crust pliable and prevent it from setting too quickly, allowing for better oven spring and more even cooking.
- Rotate your loaf or baking sheet halfway through the baking time to promote even browning, especially if your oven has hot spots.
Tools and Equipment for Successful High Altitude Baking
Dough Thermometers: Ensuring Accurate Temperature Control
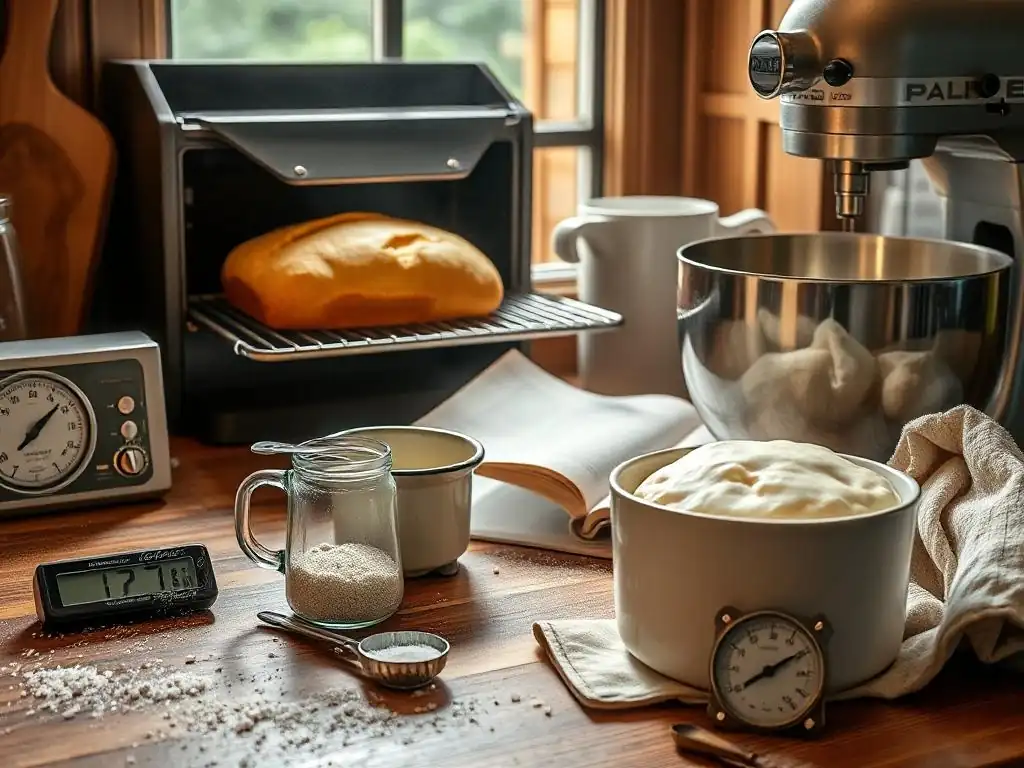
A simple digital thermometer with a probe is an invaluable tool for any baker, but especially at high altitude where temperature control is key to managing high altitude baking times and yeast activity. Measuring the temperature of your ingredients (especially water) allows you to calculate and achieve a desired dough temperature.
Knowing the precise temperature of your dough during bulk fermentation and proofing helps you understand how quickly or slowly the yeast is working. If your dough is warmer than intended, you know to shorten your high altitude baking times; if cooler, you might need to extend them slightly (though shortening is more common at altitude). Aiming for a specific dough temperature and monitoring it provides a level of control that guessing cannot match, leading to more consistent and predictable results.
Humidifiers and Water Baths: Maintaining Moisture Levels
Combating the dry air common at high altitude is essential for preventing dough from forming a dry skin during fermentation, which inhibits rise and results in a tough crust. Creating a humid environment for your dough during proofing can make a significant difference.
- Methods:
- Place a bowl of hot water in a cold oven or microwave alongside your covered dough container during proofing.
- Use a proofing box with a humidity setting.
- For bulk fermentation in a large container, place a damp towel over the top of the container before covering it tightly with plastic wrap.
- If your climate is consistently dry, consider running a room humidifier near your proofing area.
Maintaining surface moisture helps the dough expand evenly and prevents premature crust formation before baking, complementing your adjustments to high altitude baking times.
Oven Thermometers: Verifying Accurate Oven Temperature
Oven thermostats are notoriously inaccurate, and this inaccuracy can be compounded by altitude differences. Using a separate, reliable oven thermometer placed inside your oven is crucial for knowing the true baking temperature. This allows you to make informed decisions about adjusting oven temperatures for high altitude baking.
If a recipe calls for baking at 450°F (230°C) and your oven thermometer shows it's only reaching 425°F (220°C), you know you need to adjust your oven's setting accordingly. Conversely, if it's running hot, you might need to set it lower. Accurate oven temperature is vital for achieving proper oven spring, crust development, and ensuring the interior is cooked through without burning the exterior, completing the picture alongside optimized high altitude baking times for fermentation.
Tips for Perfect High Altitude Fermentation Every Time
Measuring Ingredients Accurately for Consistent Results
Precision in measuring ingredients is always important in baking, but even more so when making altitude adjustments. Small variations in flour, liquid, or yeast can have a magnified impact when dealing with the challenges of lower pressure and faster evaporation.
Using a kitchen scale to weigh ingredients, especially flour and water, is significantly more accurate than using volume measurements (cups and spoons). Weighing ensures you are using the exact ratios intended by the recipe (or your adjusted recipe), leading to more consistent dough hydration and fermentation behavior. This consistency makes it easier to troubleshoot and fine-tune your high altitude baking times and techniques over successive bakes.
Monitoring Dough Development Closely
As repeatedly emphasized, time is a less reliable indicator at high altitude. Learning to monitor the dough's physical characteristics is the most important skill to develop. Pay attention to:
- Volume Increase: How much has the dough grown?
- Texture: Is it smooth and elastic after kneading? Is it airy and puffy after rising?
- Feel: Is it slightly tacky but manageable? Does it spring back appropriately during the poke test?
- Appearance: Does it look bubbly and alive? Is the surface starting to dry out?
Regularly checking your dough throughout the fermentation process allows you to catch signs of under- or over-proofing early and adjust your high altitude baking times or conditions (like temperature) on the fly.
Keeping Detailed Baking Notes for Future Reference
Mastering high altitude baking is often an iterative process of trial and error. What works perfectly for one recipe at your altitude might need slight tweaks for another. Keeping detailed notes is invaluable for learning and improving.
For each bake, record:
- The original recipe and any adjustments made (ingredients, high altitude baking times, temperatures).
- Your altitude (approximate or exact).
- The ambient kitchen temperature.
- The measured dough temperature.
- The actual fermentation times and how the dough looked/felt at each stage (e.g., "Bulk ferment 1 hr 15 min, dough doubled," "Final proof 30 min, poke test left slight indent").
- Oven temperature used and actual baking time.
- Results (crust color, crumb structure, flavor, any issues like collapse or dryness).
Reviewing these notes will help you identify patterns, refine your high altitude baking times for specific types of bread, and build a repertoire of recipes that consistently work well at your elevation.
Conclusion: Mastering High Altitude Baking with Ease
Baking at high altitude presents a unique set of challenges, primarily driven by lower atmospheric pressure and faster evaporation. These environmental factors significantly impact yeast fermentation and dough behavior, often leading to dough that rises too quickly and collapses or results in dry, dense bread. However, by understanding the science behind these effects and implementing specific adjustments, particularly to high altitude baking times and temperatures, you can consistently produce delicious, well-structured baked goods.
The key is to adapt your approach: reduce fermentation times significantly, monitor the dough's visual and tactile cues rather than relying solely on the clock, manage dough temperature to control yeast activity, and address moisture loss through hydration adjustments and creating humid proofing environments. While there's a learning curve, armed with knowledge, tools like thermometers, and a commitment to observing and documenting your results, you can confidently tackle high altitude baking and enjoy perfect loaves every time. Happy baking!
Frequently Asked Questions
What is High Altitude Baking and why does it require adjustments?
High altitude baking refers to baking at elevations typically above 3,000 feet. Adjustments are necessary because the lower air pressure affects leavening and moisture retention, causing baked goods to rise too quickly and dry out.
How does altitude specifically affect fermentation times in bread making?
At higher altitudes, fermentation may occur faster due to the lower air pressure, leading to over-proofing if not carefully monitored. Therefore, reducing fermentation times is often recommended.
What temperature adjustments are generally needed for high altitude baking?
While not always necessary, you might need to increase oven temperature slightly (around 15-25°F) to help set the structure of the baked goods faster and prevent collapse. This also helps compensate for faster evaporation.
Besides time and temperature, what other adjustments might be necessary when baking at high altitude?
Other common adjustments include reducing leavening agents (like baking powder or yeast) and increasing the liquid content of the recipe to combat dryness. Sometimes adding an extra egg can help.
Where can I find more detailed step-by-step instructions for adjusting specific recipes for high altitude?
BakeWithEase.com offers a variety of resources, including recipe-specific guides, that detail the precise adjustments needed for various baked goods at different altitudes. Look for articles tagged with "High Altitude Baking."
Final Reflection: The Rising Crust of High-Altitude Baking
Mastering high-altitude baking isn't just about adjusting recipes; it's about understanding the fundamental science behind a perfectly risen loaf. The subtle shifts in atmospheric pressure dramatically impact fermentation, requiring a keen eye and adaptable techniques to achieve consistent results. Ignoring these nuances leads to dense, disappointing bakes – a frustrating reality for many home bakers at higher elevations.
The challenge of high-altitude baking has profoundly shaped my own approach to cooking. It's taught me patience, precision, and the importance of observation. Baking is a science, but it's also an art. You must understand the science to create the art.
This quote perfectly encapsulates the journey of adapting baking to higher elevations. The struggle to overcome the unique challenges has deepened my appreciation for the delicate balance of ingredients and environment, fostering a deeper connection to the process itself.
Now, it's your turn. Consider the lessons learned here – the importance of extended fermentation times, the need for lower temperatures, and the value of careful observation. Don't let the altitude limit your baking aspirations. Experiment, adapt, and embrace the unique characteristics of your high-altitude kitchen. The reward? Light, airy, and delicious baked goods that will be the envy of even the most seasoned low-altitude bakers. Your next high-altitude baking adventure awaits!
Unlock Your High-Altitude Baking Secrets!
Thanks for exploring the world of high-altitude baking with us! You've now got the tools to conquer those tricky altitude adjustments. Let's put this newfound knowledge into action!
- Master your next high-altitude recipe: Try adjusting a favorite recipe using the techniques we discussed, and share your results in the comments below! We'd love to see your triumphs (and learn from any challenges! ).
- Experiment with different flours and yeasts: See how varying ingredients affect your results at higher altitudes. This is where the real baking magic happens!
- Share this article with a fellow high-altitude baker: Help them achieve perfectly risen loaves too!
What surprising ingredient adjustments have you discovered work best for high-altitude baking?