
Hydrating Yeast Right: Essential for Kickstarting Fermentation

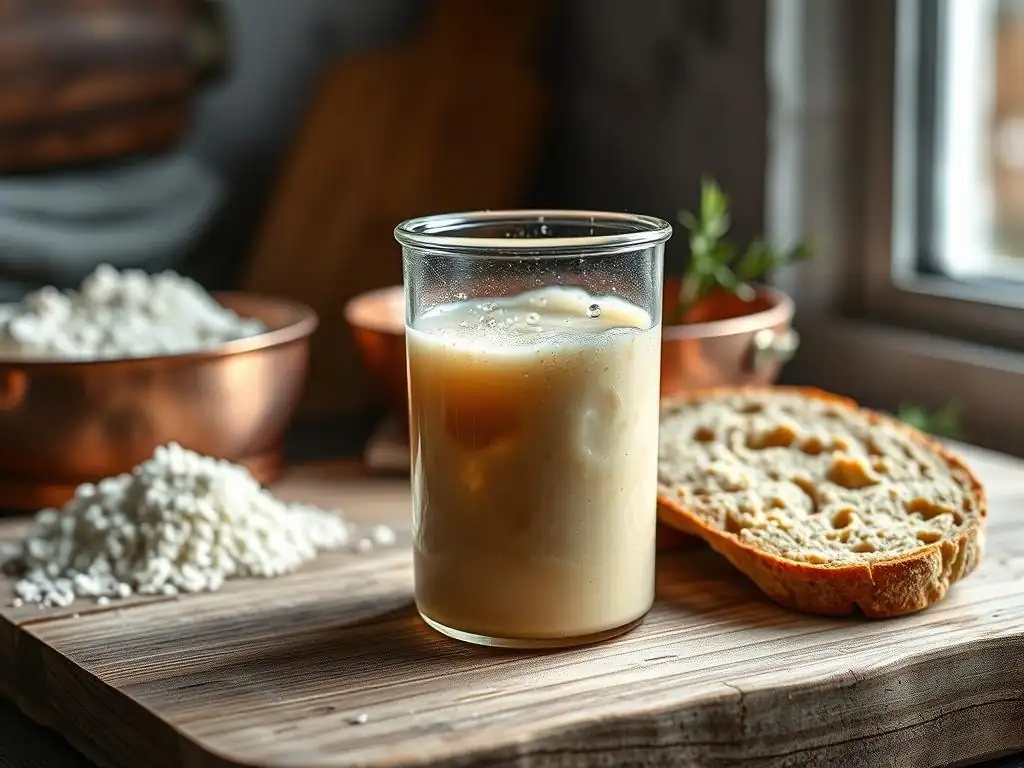
Welcome to BakeWithEase, your trusted guide to baking perfection! Ever wondered if you're truly unlocking the full potential of your sourdough starter? Hydrating yeast correctly is the unsung hero of successful fermentation, and we're about to reveal the secrets behind it. Intrigued? Discover how a simple step can dramatically improve your sourdough's rise and flavor profile in our latest Baking Science Deep Dive.
- Hydrating Yeast for Baking Bread: Essential for a Good Rise
- Why Proper Yeast Hydration Matters for Bread Baking
- Step-by-Step Guide to Hydrating Active Dry Yeast (Best Practices)
- Troubleshooting Common Yeast Hydration Problems
- Optimizing Your Hydration Technique for Different Bread Types
- Advanced Techniques: Pre-Ferments and Flavor Development
- Storing and Handling Yeast for Optimal Hydration and Fermentation
- Hydrated Yeast vs. Sourdough Starter: Considerations for Baking
- Mastering Yeast Hydration for Bread Baking Success
-
Frequently Asked Questions
- How crucial is hydrating yeast before adding it to my sourdough starter?
- What's the best liquid to use for hydrating yeast when making sourdough?
- How long should I let the yeast sit in the water before adding it to my sourdough recipe?
- Can I use instant dry yeast directly in my sourdough dough without hydrating?
- What happens if I use tap water that contains chlorine to hydrate my yeast?
- Final Reflection: The Unsung Hero of Sourdough Success
- Unleash Your Inner Baker: Perfect Yeast, Perfect Bread!
Hydrating Yeast for Baking Bread: Essential for a Good Rise
Baking bread is a delightful process, and at its heart lies the magical transformation brought about by yeast. This tiny single-celled organism is responsible for the dough's rise, contributing to the texture and flavor we all love. However, yeast needs a little help to get going, and that's where proper hydration comes in. Think of it as waking the yeast up from its sleepy state, preparing it to feast on sugars and produce the carbon dioxide gas that makes your bread light and airy.
Getting the hydration step right is fundamental, especially when working with active dry yeast. It ensures the yeast is viable and ready to work efficiently throughout the fermentation process. Without adequate hydration, or if done incorrectly, the yeast might not activate fully, leading to a sluggish rise, dense texture, and ultimately, a disappointing loaf. Mastering this simple technique sets the stage for successful baking, whether you're a beginner or looking to improve your bread-making consistency.
Why Proper Yeast Hydration Matters for Bread Baking
Proper hydration of yeast is a critical first step in unlocking its full potential for leavening your bread. When yeast is rehydrated correctly, it transitions from a dormant state to an active one, ready to metabolize sugars in the flour and produce carbon dioxide and ethanol. This initial boost of activity is essential for kickstarting the fermentation process, ensuring a consistent and vigorous rise throughout the bulk fermentation and proofing stages.
Moreover, adequate hydration helps distribute the yeast evenly throughout your dough. If dry yeast granules are added directly to flour without proper rehydration, they might not disperse uniformly. This can lead to pockets of inactive yeast and uneven rising, resulting in a bread with an inconsistent crumb structure. By hydrating the yeast in a liquid first, you create a suspension that can be easily mixed into the dough, guaranteeing that the yeast is present and active in every part of the mixture.
Understanding Active Dry Yeast and Instant Dry Yeast Differences
There are two main types of commercial dry yeast commonly used by home bakers: active dry yeast and instant dry yeast. Active dry yeast typically comes in granules that are slightly larger than instant yeast granules. It requires rehydration in warm water before being added to the rest of the ingredients. This step is crucial because the drying process used to produce active dry yeast is harsher, leaving more dead or damaged cells, and the rehydration step helps to revive the viable cells and check their activity.
Instant dry yeast, on the other hand, is processed differently, resulting in smaller, more porous granules. This allows it to be added directly to the dry ingredients (like flour and salt) without the need for prior rehydration. Its structure allows it to absorb liquid from the dough mixture more quickly and begin fermentation almost immediately. While instant yeast is often more convenient, many bakers still prefer the active dry type, finding the rehydration step a reliable way to ensure the yeast is alive and active before committing to a full recipe.
The Impact of Hydration on Yeast Activity and Dough Rise
The hydration process directly impacts how quickly and effectively yeast begins its work. When active dry yeast is introduced to water within the optimal temperature range (typically 105-115°F), its cells absorb the liquid, re-activating their metabolic processes. This rehydration is like flipping a switch; the yeast wakes up and is ready to consume the simple sugars present in the water (if added) or those derived from the flour. The speed and vigor of this initial activation significantly influence the subsequent fermentation rate and the overall rise of your dough.
Insufficient hydration, or using water that is too cold, will result in slow or incomplete activation, leading to a sluggish fermentation and a poor rise. Conversely, water that is too hot will kill the yeast cells, rendering them inactive and incapable of leavening the dough at all. A successful hydration step confirms that you have a healthy, active colony of yeast ready to get to work, providing the necessary power for your dough to double (or even triple) in volume during fermentation, resulting in a light, well-risen loaf.
Step-by-Step Guide to Hydrating Active Dry Yeast (Best Practices)
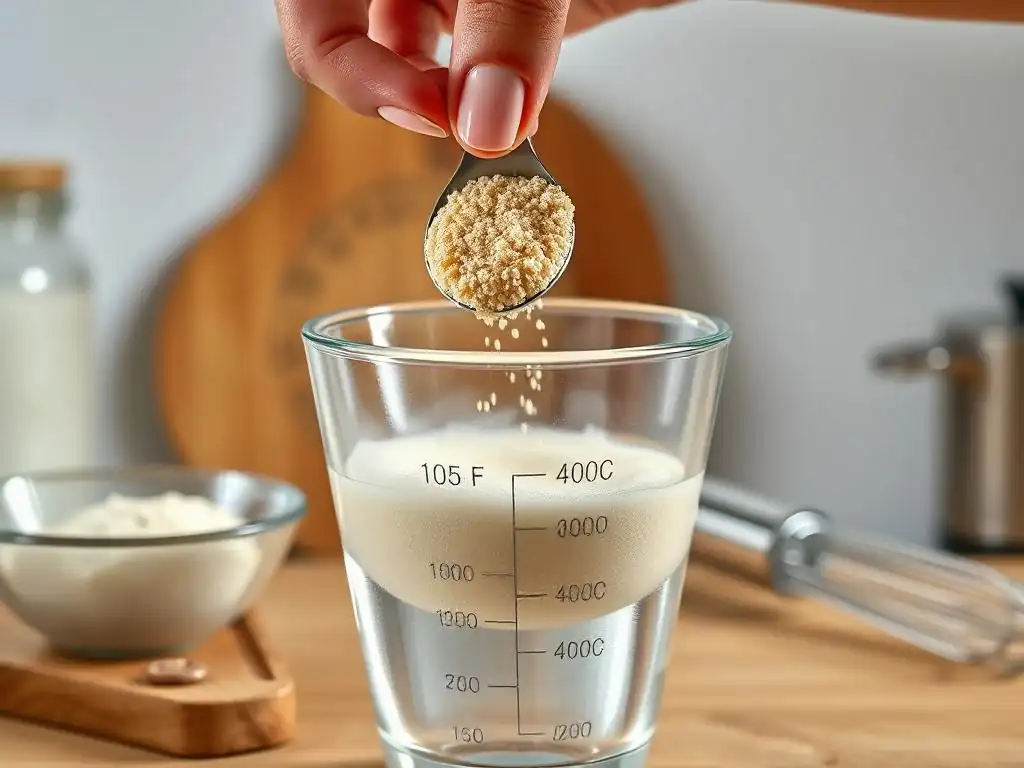
Hydrating active dry yeast is a simple process, but following a few key steps ensures success every time. This method, often called "proofing the yeast," confirms its viability before you mix your dough, saving you from potential disappointment later on. It’s a fundamental skill for anyone baking with this type of yeast.
By consistently following these steps, you establish a reliable foundation for your bread baking. This process not only activates the yeast but also gives you visual confirmation that it is alive and ready to perform. It takes just a few minutes but makes a significant difference in the outcome of your bread.
Step 1: Gathering Your Supplies: Yeast, Water, and Thermometer
Before you begin, ensure you have everything you need readily available. You will require your active dry yeast, the specified amount of warm water from your recipe (usually a portion of the total liquid), and a reliable thermometer. A digital instant-read thermometer is ideal for accurately measuring the water temperature. Using clean bowls or measuring cups is also important to avoid introducing contaminants that could harm the yeast.
Having your supplies measured and ready minimizes delays and helps maintain the correct water temperature during the process. It's also a good practice to check the expiration date on your yeast packet to ensure it hasn't passed its prime. While expired yeast might still show some activity, its performance will likely be significantly diminished compared to fresh yeast.
Step 2: Measuring the Correct Water Temperature (105-115°F)
The temperature of the water is perhaps the most critical factor in successfully hydrating active dry yeast. The optimal range is typically between 105°F and 115°F (or approximately 40°C to 46°C). Water cooler than this range will slow down or prevent the yeast from activating efficiently. Water hotter than 120°F (about 49°C) begins to kill the yeast cells, and temperatures above 140°F (about 60°C) can kill them almost instantly.
Use your thermometer to verify the water temperature. It's better to be slightly on the cooler side of the range than too hot. Pour the measured water into a clean container and check its temperature. Adjust with a little hot or cold water until it falls within the 105-115°F range. This specific temperature range provides a hospitable environment for the dormant yeast cells to absorb water and begin their metabolic processes without being damaged by excessive heat.
Step 3: Gently Stirring Yeast into Warm Water
Once your water is at the correct temperature, sprinkle the active dry yeast evenly over the surface of the water. Avoid dumping it all in one clump. Use the amount of yeast specified in your recipe, which is commonly 1 teaspoon or 2.25 teaspoons (one standard packet) for typical bread recipes.
After sprinkling, gently stir the yeast into the warm water using a spoon or whisk until it is mostly dissolved. Don't worry if a few granules remain visible; the goal is to ensure most of the yeast comes into contact with the water. This initial stirring helps to disperse the yeast and initiate the hydration process, allowing the water to penetrate the cell walls and rehydrate the dormant organisms.
Step 4: Allowing the Yeast to Bloom: Observing for Foam
After stirring, let the mixture sit undisturbed for about 5 to 10 minutes. During this time, the yeast cells will absorb the water and become active. As they begin to metabolize any sugars present (either from the water itself or added sugar/honey), they will produce carbon dioxide gas. This gas will cause a foamy layer to form on the surface of the water. This foamy layer, often called the "bloom," is your visual confirmation that the yeast is alive and active.
A healthy bloom will be thick and bubbly, covering a significant portion of the water's surface. If after 10 minutes you see little to no foam, or only a few weak bubbles, it's a strong indication that your yeast is dead or inactive. In such a case, it's best to discard the mixture and start over with fresh yeast. Seeing a robust bloom is a satisfying moment, signaling that your yeast is ready to leaven your bread dough effectively.
Step 5: Incorporating the Hydrated Yeast into Your Dough Recipe
Once your yeast has bloomed beautifully, it is ready to be added to the rest of your bread ingredients. This hydrated mixture contains the active yeast culture needed for fermentation. Carefully pour the entire yeast-water mixture into the bowl with your flour, salt, and any other dry ingredients as specified by your recipe.
Ensure you mix the dough thoroughly to distribute the hydrated yeast evenly throughout the mass. Whether you are kneading by hand or using a stand mixer, adequate mixing ensures that the active yeast cells are in contact with the flour's starches (which break down into sugars) and moisture, allowing fermentation to begin uniformly. This step integrates the now-active leavening agent into the main body of the dough, setting the stage for the rise.
Troubleshooting Common Yeast Hydration Problems
Even with careful attention, sometimes yeast doesn't behave as expected during hydration. Recognizing common issues and knowing how to address them can save your bake. Most problems stem from issues with the yeast itself or the temperature of the water used for rehydration.
Being able to troubleshoot these common issues is a valuable skill for any baker. It helps you identify the root cause of a failed rise and prevents you from repeating the same mistake in future baking endeavors. A little detective work can often salvage your baking plans or at least inform your next attempt.
Identifying Dead Yeast: Lack of Foaming or Activity
The most definitive sign of dead or inactive yeast is the absence of a significant foamy "bloom" after 5-10 minutes of hydrating in warm water (105-115°F). If you see only a few sparse bubbles or the surface remains relatively flat and murky, your yeast is likely no longer viable. This can happen if the yeast is old, improperly stored, or exposed to moisture or excessive heat before use.
Using dead yeast will result in a dough that simply does not rise, no matter how long you let it sit. Instead of proceeding with the recipe, it is best to discard the inactive yeast mixture and start over with a fresh packet or jar of active dry yeast. This simple "proofing" step acts as a quality control check, confirming the yeast's liveliness before you invest time and ingredients in mixing the full dough.
Addressing Issues with Water Temperature: Too Hot or Too Cold
Using water that is too hot is a common mistake that can kill yeast instantly. As mentioned, temperatures above 120°F start damaging yeast, and above 140°F, they are quickly destroyed. If you accidentally used water that felt very hot to the touch or registered above the recommended range, the yeast is likely dead, and you will see no bloom.
Conversely, using water that is too cold (below 100°F) won't kill the yeast, but it will dramatically slow down or prevent its activation during the hydration step. The yeast cells need warmth to become active quickly. If your water was cool and you see minimal activity, you can sometimes gently warm the mixture slightly (being careful not to overheat) to encourage a bloom, but it's often more reliable to start over with water in the correct temperature range.
Solutions for Inconsistent Yeast Hydration: Ensure Fresh Yeast
Inconsistent results during yeast hydration, even when following temperature guidelines, can often be traced back to the yeast itself. Yeast has a shelf life, and its viability decreases over time, especially after the package has been opened. Exposure to air and moisture degrades the yeast cells. An opened packet of active dry yeast stored at room temperature might only remain fully potent for a few weeks, whereas properly stored yeast can last much longer.
To ensure consistent hydration and fermentation, always check the expiration date on your yeast packaging. Once opened, store active dry yeast in an airtight container in the refrigerator (for up to ~4 months) or freezer (for up to ~6 months). If you suspect your yeast might be old or has been stored improperly, it's wise to purchase a new packet. Using fresh, properly stored yeast significantly increases your chances of a successful bloom and a vigorous dough rise.
Optimizing Your Hydration Technique for Different Bread Types
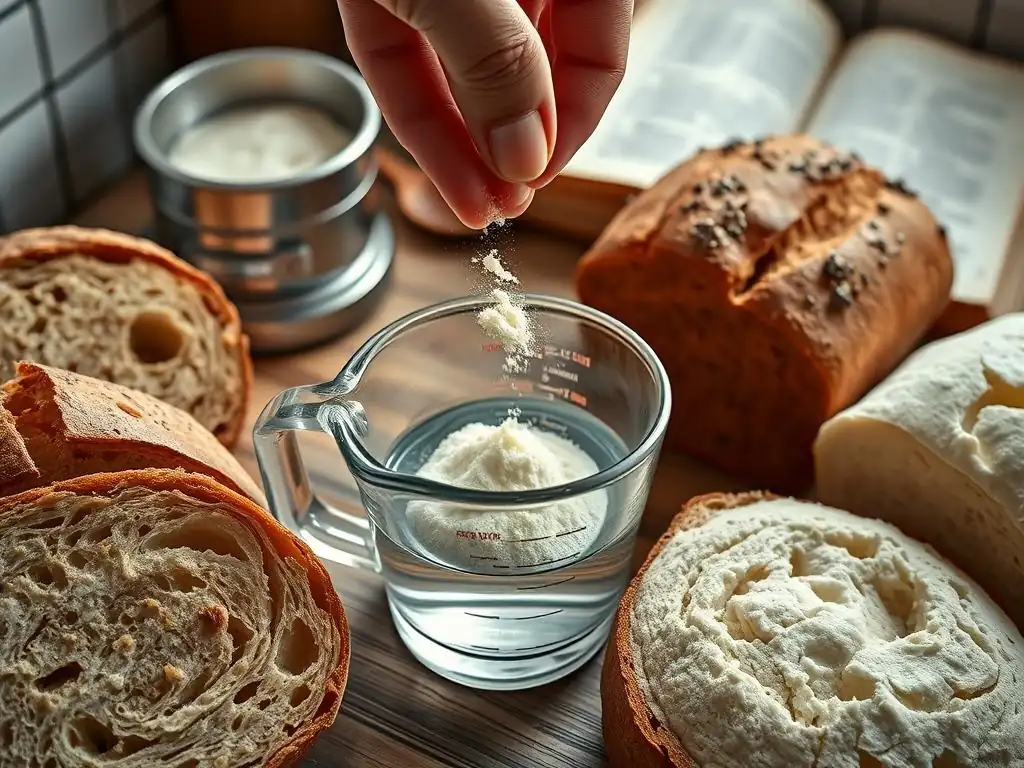
While the basic principles of hydrating active dry yeast remain consistent, understanding how variables like water quality, the recipe's overall hydration level, and the presence of sugars affect yeast activity can help you optimize your technique. Different bread types might benefit from slight adjustments or considerations during the hydration phase to achieve the desired outcome.
Optimizing your hydration technique means being mindful of the specific requirements of your recipe and ingredients. It's about creating the most favorable environment for the yeast to thrive, ensuring it contributes effectively to the structure, texture, and flavor of your final loaf, whether it's a rustic boule or a soft sandwich bread.
Using Filtered Water for Yeast Rehydration
Tap water in many areas contains chlorine or chloramines, chemicals added to make the water safe for drinking. While generally harmless to humans in these concentrations, these chemicals can be detrimental to sensitive microorganisms like yeast. High levels of chlorine can inhibit yeast activity or even kill a portion of the yeast cells during the hydration process, leading to a slower or weaker rise.
For best results, consider using filtered water, bottled water, or simply leaving tap water uncovered at room temperature for 24 hours to allow chlorine to dissipate before using it for yeast hydration. This is particularly important if you live in an area with heavily treated water. Using chlorine-free water ensures that the yeast cells are not negatively impacted during their crucial rehydration phase, allowing them to activate fully and consistently.
Adjusting Hydration Based on Recipe and Flour Type
The total amount of water used in a bread recipe, often expressed as a baker's percentage relative to the flour weight (hydration percentage), significantly impacts the dough's consistency and the final bread's texture. While the yeast hydration step uses only a portion of this water, the overall hydration level of the dough affects how the yeast behaves once incorporated. Higher hydration doughs (e.g., 75% or more) are wetter and can sometimes feel less resistant, allowing yeast activity to be more visible.
Different flour types also absorb water differently. Whole wheat flour, for example, typically requires more water than white bread flour to achieve a similar dough consistency due to the presence of bran and germ. While the initial yeast hydration temperature remains constant (105-115°F), understanding the overall hydration needs of your recipe and flour type helps you anticipate the dough's behavior and ensures the yeast has adequate moisture to continue working effectively throughout the fermentation period.
The Role of Sugar or Honey in Enhancing Yeast Activation
While yeast can activate using sugars naturally present in water or derived from flour, adding a small amount of sugar or honey (typically a pinch up to 1 teaspoon per packet of yeast) to the warm hydration water can help jump-start the process. Sugar provides an immediate, easily accessible food source for the yeast as it wakes up. This can lead to a more vigorous and faster bloom, providing extra confidence in the yeast's viability.
This practice is particularly useful when you want to be absolutely sure your yeast is active quickly, or if you're using yeast that might be nearing its expiration date. The sugar acts as a catalyst for the initial metabolic activity. However, it's not strictly necessary if your yeast is fresh and your water temperature is correct; the yeast will eventually find sugars in the flour. But for a visibly strong bloom, a touch of sugar can be beneficial.
Advanced Techniques: Pre-Ferments and Flavor Development
Beyond simply hydrating yeast, bakers often employ advanced techniques involving pre-ferments to enhance the flavor, texture, and overall rise of their bread. These methods involve mixing a portion of the flour, water, and yeast (or starter) hours or even days before the main dough mix. While they differ from the basic hydration of active dry yeast, they represent a more complex way of managing yeast activity and fermentation for superior results.
Exploring pre-ferments opens up a new dimension in bread baking. They allow for longer, slower fermentation periods in a controlled environment, which develops complex flavors and contributes to a more open crumb structure in the final bread. Understanding how yeast interacts with flour and water over extended periods in these pre-mixes is key to mastering advanced bread techniques.
Exploring Preferments: Poolish, Biga, and Sponge
Three common types of commercial yeast pre-ferments are poolish, biga, and sponge. A poolish is a very wet pre-ferment, typically made with equal weights of flour and water (100% hydration) and a very small amount of yeast. It's usually fermented for 8-16 hours at room temperature or longer in the refrigerator. A biga is a stiffer pre-ferment, often made with a lower hydration (e.g., 50-60% water to flour by weight) and a small amount of yeast, fermented for a similar duration.
A sponge is another type of pre-ferment, often using a portion of the recipe's flour, all of the yeast, and enough liquid to make a thick batter. It's typically fermented for a shorter time (1-2 hours) until bubbly and doubled, then added to the remaining ingredients. Each type of pre-ferment contributes different qualities to the final dough – poolish for tenderness and flavor, biga for structure and nutty notes, and sponge for a quick boost and soft texture.
Using a Sponge for Enhanced Flavor and Texture
The sponge method is a straightforward pre-ferment that is relatively easy to incorporate into many standard bread recipes. It involves mixing all the yeast called for in the recipe with a portion of the flour (often about half) and enough liquid (usually water or milk) to create a thick, pourable batter consistency. This mixture is left to ferment until it becomes light, airy, and significantly increased in volume, often doubling or tripling, which typically takes 1-2 hours at room temperature.
By giving the yeast a head start with a readily available food source (flour and water), the sponge develops more complex flavors through fermentation than if the yeast were added directly to the final dough. The active, bubbly sponge also contributes to a more vigorous and reliable rise in the main dough. The resulting bread often has a softer crumb and a more pronounced, pleasant fermented flavor compared to bread made without a pre-ferment.
Experimenting with Different Liquids for Unique Bread Flavors
While water is the most common liquid used for hydrating yeast and in bread doughs, experimenting with other liquids can add unique flavors and textures. Milk, for instance, contains sugars and fats that can contribute to a softer crumb and a richer flavor profile, often used in enriched breads like challah or brioche. It's important to scald and cool milk before adding yeast directly to it, as enzymes in raw milk can sometimes interfere with gluten development.
Other liquids like buttermilk, yogurt, fruit juice, or even beer can be used, each imparting distinct characteristics. Buttermilk and yogurt add tanginess and tenderize the crumb due to their acidity. Fruit juices (like apple or orange) add sweetness and subtle fruit notes, while beer can contribute malty flavors and help with crust development. When using liquids other than water for the initial yeast hydration, ensure they are warmed to the correct temperature range (105-115°F) and are free of preservatives that might inhibit yeast activity.
Storing and Handling Yeast for Optimal Hydration and Fermentation
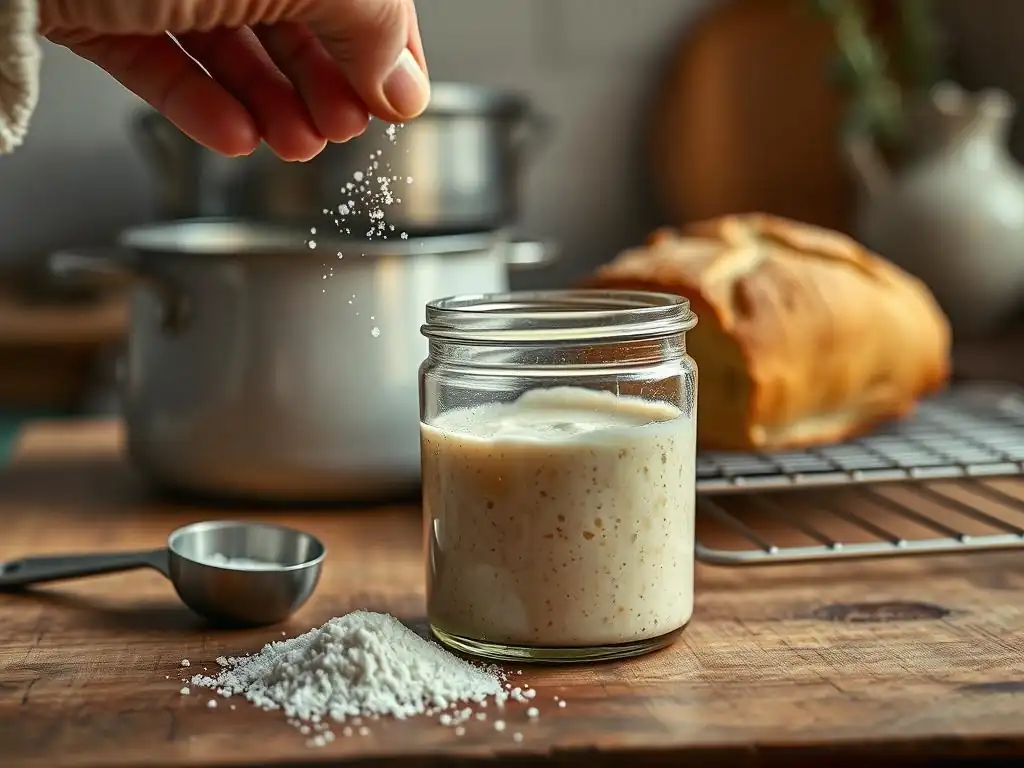
Proper storage is key to maintaining the viability and potency of your active dry yeast. Yeast is a living organism, and its longevity is significantly impacted by how it is stored after the package is opened. Incorrect storage can lead to inactive or weak yeast, resulting in failed hydration and a lack of fermentation in your dough.
Taking the time to store your yeast correctly ensures that every time you reach for it, it's ready to perform at its best. This simple practice is fundamental to consistent bread baking success and helps you avoid the frustration of a dough that doesn't rise.
Proper Storage Methods: Airtight Container in Fridge or Freezer
Once a package of active dry yeast is opened, exposure to air and moisture begins to degrade the yeast cells. To protect its viability, transfer any unused yeast to an airtight container immediately after opening. A small jar with a tight-fitting lid or a zip-top freezer bag with the air squeezed out works well.
The best places to store opened active dry yeast are the refrigerator or the freezer. Storing it in the refrigerator can keep it potent for up to four months, while the freezer can extend its life for six months or even longer, though performance might gradually decline over time. Storing yeast in a cool, dry environment slows down the rate at which the cells die, preserving their ability to activate and leaven your bread effectively.
Understanding Yeast Expiration Dates and Replacing as Needed
Commercial yeast packaging includes an expiration date, which indicates the timeframe during which the yeast is guaranteed to be fully potent if stored correctly in its unopened package. While yeast might still be partially active past this date, its performance will likely diminish, leading to slower or less vigorous fermentation.
If your yeast is past its expiration date, or if it has been stored improperly for an extended period, it's highly recommended to purchase new yeast. Attempting to bake with old or questionable yeast is a gamble that often results in a poor rise. Always proof (hydrate) your active dry yeast before using it, especially if you have any doubts about its age or storage history; a lack of bloom is a clear sign it's time for a replacement.
Hydrated Yeast vs. Sourdough Starter: Considerations for Baking
While this article focuses on hydrating commercial active dry yeast, it's worth noting that sourdough baking relies on a naturally occurring wild yeast and bacteria culture, known as a sourdough starter. Both commercial yeast and sourdough starter serve the purpose of leavening bread, but they differ significantly in their composition, behavior, and the characteristics they impart to the final loaf. Understanding these differences can help you choose the right leavening agent for your desired baking outcome.
Whether you choose to use properly hydrated commercial yeast or a vibrant sourdough starter, both require careful handling and understanding to achieve a successful rise. The principles of providing a hospitable environment and adequate food apply to both, though the specific needs and timelines differ.
A Comparison of Rise Times and Flavor Profiles
Commercial active dry yeast, once properly hydrated and added to dough, typically provides a rapid and predictable rise. Doughs made with commercial yeast often double in volume within 1 to 2 hours during the initial bulk fermentation, depending on the recipe and ambient temperature. The flavor profile is generally mild and yeasty, serving primarily as a leavening agent without contributing significant complex flavors beyond the basic bread taste.
Sourdough starters, being a mix of wild yeast and lactic acid bacteria, work much more slowly. Sourdough fermentation can take anywhere from 4 to 12 hours or even longer for the initial rise, depending on the starter's activity, temperature, and hydration level. This slower process develops a wider range of organic acids, which give sourdough bread its characteristic tangy flavor and contribute to its unique texture and crust. Hydrating yeast for sourdough supplementation (if using a touch of commercial yeast alongside starter) requires the same principles as hydrating for a purely commercial yeast loaf.
When to Use Commercial Yeast vs. Sourdough Starter in Bread
The choice between using hydrated commercial yeast and a sourdough starter depends on your goals for the bread. If you need a fast, reliable rise and a consistent, mild-flavored loaf (like sandwich bread, rolls, or quick pizza dough), commercial yeast is the ideal choice. It's convenient, predictable, and requires less maintenance than a sourdough starter.
If you are seeking complex flavors, a chewier texture, a thicker crust, and are willing to invest more time in the fermentation process, then a sourdough starter is the way to go. Sourdough is perfect for rustic loaves, country bread, and recipes where the unique tangy flavor is desired. Some recipes even combine a small amount of hydrated commercial yeast with a sourdough starter to achieve a quicker rise while still benefiting from some sourdough flavor development.
Mastering Yeast Hydration for Bread Baking Success
Mastering the simple yet crucial step of hydrating active dry yeast is fundamental to consistent and successful bread baking. It's the initial wake-up call for the tiny powerhouses that will leaven your dough, ensuring they are alive, active, and ready to perform their magic. Paying close attention to water temperature, using fresh yeast, and observing the "bloom" are key practices that build confidence and reliability into your baking routine.
From understanding the difference between active dry and instant yeast to troubleshooting common issues like inactive yeast or incorrect water temperature, each piece of knowledge contributes to your overall baking skill. While hydrating yeast for sourdough is a different process involving maintaining a living culture, the core principle of ensuring yeast activity remains vital across all leavening methods. By perfecting your yeast hydration technique, you lay a solid foundation for delicious, well-risen bread every time you bake.
Frequently Asked Questions
How crucial is hydrating yeast before adding it to my sourdough starter?
Hydrating yeast is absolutely essential for successful sourdough baking. It awakens the yeast and allows it to properly activate, leading to better fermentation. Without hydration, the yeast may not properly integrate into the dough.
What's the best liquid to use for hydrating yeast when making sourdough?
Use lukewarm water (around 105-115°F or 40-46°C) for hydrating your yeast. This temperature range is ideal for activating the yeast without damaging it. Avoid using hot water, as it can kill the yeast.
How long should I let the yeast sit in the water before adding it to my sourdough recipe?
Allow the yeast to sit in the lukewarm water for about 5-10 minutes. You should see it begin to foam or become bubbly, indicating that it's active and ready to use.
Can I use instant dry yeast directly in my sourdough dough without hydrating?
While some recipes allow for instant dry yeast to be added directly, hydrating is generally recommended, especially for sourdough. Hydrating improves the overall fermentation process and ensures more consistent results.
What happens if I use tap water that contains chlorine to hydrate my yeast?
Chlorine in tap water can harm or kill the yeast. Therefore, it's best to use filtered water or let tap water sit out for a few hours to allow the chlorine to dissipate before hydrating the yeast.
Final Reflection: The Unsung Hero of Sourdough Success
Proper yeast hydration is not merely a technicality; it's the cornerstone of a thriving sourdough starter and the key to unlocking the magic of fermentation. Ignoring this crucial step can lead to sluggish fermentation, disappointing results, and a frustrating baking experience. The seemingly simple act of hydrating yeast correctly is, in reality, a gateway to unlocking the full potential of this ancient process.
The impact of understanding yeast hydration extends far beyond the individual baker's kitchen. It speaks to a deeper appreciation for the intricate biological processes at play in food production. We often take for granted the microscopic organisms that contribute so much to our culinary landscape. The yeast is the soul of the bread,
a baker once told me, and I've come to understand the profound truth in those words. Understanding how to properly nurture this "soul" is essential to creating truly exceptional bread. This knowledge empowers us to connect more deeply with our food, appreciating the artistry and science behind even the simplest loaf.
Now, consider your own baking journey. Have you ever experienced a disappointing sourdough bake? Perhaps your starter was sluggish, or your bread lacked the characteristic rise and tang. Take a moment to reflect on your yeast hydration techniques.
This article serves as a reminder that even the smallest details can make a world of difference. Experiment with different hydration methods, observe the results, and refine your technique. Embrace the learning process, for the rewards – a perfectly risen, tangy sourdough loaf – are well worth the effort. The journey of mastering sourdough is a continuous one, and proper yeast hydration is your first, crucial step.
Unleash Your Inner Baker: Perfect Yeast, Perfect Bread!
Thanks for diving into the world of yeast hydration with us! You've now got the knowledge to unlock perfectly risen loaves every time. Ready to put your new skills to the test?
- Bake a test loaf today! Use your newfound knowledge to experiment with different hydration levels and see the difference it makes in your bread's texture and rise. This is your chance to become a true bread-making master!
- Share your baking journey! Post a picture of your creation on social media and tag us – we’d love to see your results.
- Explore advanced techniques! Dive deeper into our other articles on fermentation to master the art of bread baking.
What unique twist will you add to your next loaf now that you understand yeast hydration? Let's discuss in the comments!