
Hydration Nation: How Water Activates Gluten Power

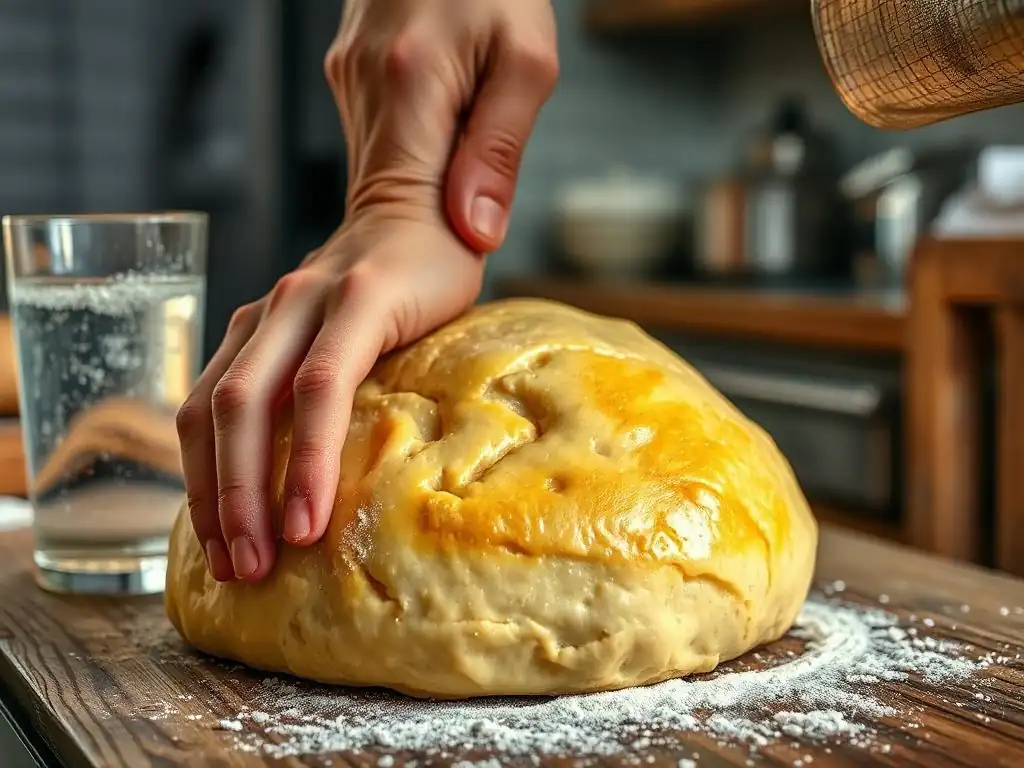
Welcome to BakeWithEase, your haven for simplified baking! Ever wondered about the secret ingredient that unlocks truly amazing texture in your baked goods? Our Baking Science Deep Dive explores the often-overlooked power of water, specifically how it impacts gluten. Dive into "Hydration Nation" and discover essential gluten hydration tips for beginners, and learn how mastering this technique can transform your breads, pastries, and more from ordinary to extraordinary. Get ready to unlock the full potential of your recipes!
- Mastering Gluten Hydration for Baking Excellence
- Understanding Gluten and Its Crucial Role in Baking
- Basic Gluten Hydration Techniques for Home Bakers
- Advanced Hydration Strategies for Various Doughs
- Common Gluten Hydration Issues and Their Solutions
- Advanced Techniques for Experienced Bakers
- Flour Types and Their Specific Hydration Needs
- The Science of Gluten Hydration: A Detailed Explanation
- Tips for Consistent Gluten Hydration
- Achieving Superior Baked Goods Through Optimized Gluten Hydration
- Frequently Asked Questions
- Final Reflection: Unlocking the Power of Hydration for Gluten-Free Baking
- Unlock Your Gluten's Potential: Bake Brilliantly!
Mastering Gluten Hydration for Baking Excellence
Welcome to BakeWithEase, where we demystify baking science to help you create incredible treats! Today, we're diving deep into a fundamental concept often overlooked by beginner bakers: gluten hydration. Understanding how water interacts with flour is key to unlocking the full potential of your dough, leading to better structure, texture, and flavor in your baked goods. Mastering gluten hydration is one of the most valuable gluten hydration tips beginners can learn to elevate their baking game right from the start.
Proper gluten hydration is the foundation upon which many successful baking projects are built. It's not just about adding liquid; it's about understanding the science behind how flour and water come together to create a cohesive, elastic structure. Whether you're aiming for a light, airy loaf of bread or a tender cake, getting the hydration right is paramount.
Understanding Gluten and Its Crucial Role in Baking
Gluten is the protein network that gives structure and elasticity to baked goods, particularly those made with wheat, barley, or rye flour. Without sufficient gluten development, bread would be dense and crumbly, and cakes might lack the desired rise. The process begins the moment flour meets water, initiating the crucial step of hydrating gluten.
This protein network, primarily formed by gliadin and glutenin, acts like a scaffolding within your dough or batter, trapping gases produced by leavening agents (like yeast or baking powder) and allowing your baked goods to rise. The strength and elasticity of this network are directly dependent on how effectively the gluten proteins are hydrated and subsequently developed through mixing or kneading. For beginner bakers, grasping this basic concept of hydrating gluten is a critical first step.
What is Gluten and Why is Hydration Essential?
Gluten is not a single substance but rather a complex of proteins found in certain grains. When flour is mixed with water, two main proteins, gliadin and glutenin, absorb the liquid. This absorption process is the initial stage of gluten hydration. As these proteins hydrate, they begin to link together, forming a network of interconnected strands.
Hydration is essential because dry proteins remain inert. Water acts as a solvent, allowing the gliadin and glutenin molecules to move and interact with each other. Without sufficient water, the gluten proteins cannot properly unfold and bond, resulting in a weak or underdeveloped network.
Think of it like trying to build with dry sand versus damp sand – the damp sand holds its shape and can be molded because the water allows particles to stick together. Similarly, water allows gluten proteins to form a strong, elastic structure. Proper gluten hydration tips beginners often receive emphasize the importance of accurate water measurement.
The Science of Water's Interaction with Gluten
At a molecular level, water molecules interact with the amino acid chains that make up the gliadin and glutenin proteins. These proteins have both hydrophilic (water-attracting) and hydrophobic (water-repelling) regions. When water is introduced, the hydrophilic regions of the proteins bond with water molecules through hydrogen bonds. This causes the protein chains to swell and become more flexible.
As mixing or kneading occurs, the mechanical action helps these hydrated protein chains align and cross-link, primarily through disulfide bonds between cysteine amino acids. This cross-linking is what forms the continuous, elastic gluten network. The extent of this network development is directly related to the initial hydration level and the subsequent mechanical work. Insufficient water means fewer hydrogen bonds form, limiting the flexibility and interaction of the protein chains and hindering the formation of a strong network. This is why effective gluten hydration is non-negotiable for many recipes.
Basic Gluten Hydration Techniques for Home Bakers
For those new to baking, mastering the basics of hydration is key. It starts with understanding that water is not just an ingredient to dump in, but a precise component that needs careful measurement and thoughtful incorporation. These fundamental gluten hydration tips beginners can implement immediately will significantly improve results.
The goal is to ensure every particle of flour has the opportunity to absorb water. Simply adding all the water at once and giving a quick stir often leads to uneven hydration, with some flour particles remaining dry while others are oversaturated. Learning how to effectively combine the two is a foundational skill.
Step-by-Step Guide to Achieving Optimal Hydration
The simplest way to ensure good initial hydration is to mix the liquid ingredients into the dry ingredients gradually or to combine them thoroughly until no dry pockets of flour remain. Start by weighing your flour and water accurately – this is perhaps the single most important step. Pour most of the measured water into the bowl with the flour.
Using a Danish dough whisk, spatula, or your hands, begin mixing until the flour is mostly incorporated and there are no large dry clumps. At this stage, the mixture might look shaggy and uneven. Allow the mixture to rest for 10-20 minutes (this is a mini-autolyse, which we'll discuss later). This rest period allows the water ample time to penetrate the flour particles and initiate gluten hydration without any mechanical help. After the rest, the dough will be less shaggy and easier to handle, ready for kneading or further mixing to develop the gluten network.
Accurate Water Measurement for Consistent Results
Accuracy in measuring water is paramount for consistent baking outcomes. While volume measurements (cups) are common for many ingredients, they can be imprecise for liquids and especially for flour. Using a digital kitchen scale to measure water by weight provides far greater accuracy. Water has a density very close to 1 gram per milliliter or cubic centimeter, meaning 100 grams of water is approximately 100 milliliters.
Recipe writers often specify water in grams precisely because it ensures consistency regardless of humidity or how densely flour is packed. For example, a recipe calling for 300 grams of flour and 200 grams of water has a hydration level of about 67% (200/300 * 100). Using a scale guarantees you hit that exact hydration percentage every time, removing guesswork and variability. This is one of the most practical gluten hydration tips beginners can adopt early on.
The Influence of Water Temperature on Gluten Formation
The temperature of the water used in dough can significantly impact the rate of gluten hydration and yeast activity. Warm water (around 95-105°F or 35-40°C) is often recommended because it helps activate yeast quickly and slightly speeds up the initial hydration process. The gentle warmth encourages the flour particles to absorb water more readily.
However, very hot water should be avoided as it can kill yeast and potentially denature some proteins, negatively affecting gluten development. Conversely, cold water (straight from the tap) slows down yeast activity and also slows down gluten hydration. While this can be beneficial in long, cold fermentation processes (allowing for slower, more complete hydration and flavor development), for standard same-day baking, lukewarm water is generally preferred for its balance between hydration efficiency and yeast activation. Consider the overall dough temperature needed when choosing your water temperature.
Advanced Hydration Strategies for Various Doughs
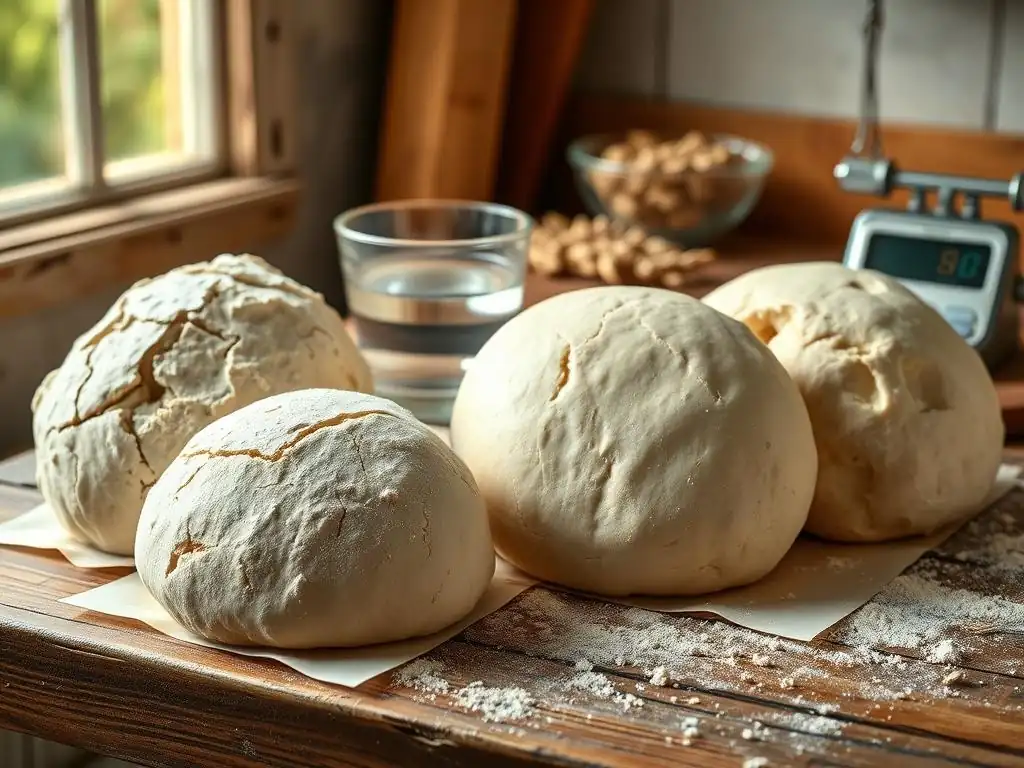
Once you've mastered the basics, you can explore how hydration levels and techniques vary significantly depending on the type of dough and the desired outcome. Different recipes call for vastly different hydration percentages, from relatively low hydration in bagels to very high hydration in ciabatta. Understanding these differences is crucial for advanced gluten hydration tips beginners might explore as they gain experience.
The structure required for a chewy bread is different from the delicate structure needed for a flaky pastry or a light cake. This necessitates different approaches to how water is incorporated and how the gluten is subsequently handled or even minimized.
Hydrating Gluten in Sourdough Bread Dough
Sourdough bread dough often utilizes higher hydration levels compared to commercial yeast loaves, sometimes ranging from 70% to over 85% hydration relative to the flour weight. The water content of the sourdough starter itself must also be factored into the total hydration. Hydrating gluten in high-hydration sourdough can be challenging because the dough is very wet and sticky.
Techniques like the autolyse (mixing flour and water/starter and resting) are particularly useful in sourdough. A 30-60 minute autolyse allows the flour to fully hydrate and the gluten to start developing passively before salt (which tightens gluten) and the rest of the starter (if not included initially) are added and kneading/folding begins. This initial hydration makes the subsequent handling of the wet dough much easier and promotes extensibility.
Hydrating Gluten in Puff Pastry Dough
Puff pastry is unique because it relies on layers of butter and dough for its rise and flakiness, rather than significant gluten development for structure. The dough itself is typically low hydration, often around 50-55% water relative to the flour. This low hydration results in a firm, less extensible dough compared to bread dough.
The minimal water hydrates the flour just enough to bring it together into a workable dough. Over-hydrating would make the dough too soft and difficult to laminate (fold with butter). The goal is to create a dough that is strong enough to withstand rolling and folding without tearing, but not so elastic that it resists being rolled thin. The hydration here serves to bind the dough components, not to create a strong, airy network like in bread.
Hydrating Gluten in Angel Food Cake Batter
Angel Food Cake is another example where the role of hydration is different. This cake gets its structure almost entirely from whipped egg whites, not from gluten development. Angel food cake batter contains flour, but in a relatively small proportion, and it's mixed gently into the voluminous egg white foam. The hydration level here is very high due to the large amount of liquid from the egg whites.
The small amount of flour is added primarily for structure and tenderness, but vigorous mixing that would develop gluten is avoided to keep the cake light. The water from the egg whites hydrates the flour proteins, but the focus is on incorporating the dry ingredients without deflating the foam. The hydration allows the flour proteins to interact, but the goal is not a strong, elastic network; rather, it's about the flour setting within the egg white structure during baking.
Common Gluten Hydration Issues and Their Solutions
Even with careful measurement, bakers can encounter issues related to hydration. Recognizing these problems and knowing how to fix them is part of the learning process. Understanding common pitfalls is essential for mastering gluten hydration tips beginners will find useful.
Problems like dry or sticky dough are often direct results of incorrect hydration levels or insufficient mixing/resting time. Addressing these issues promptly can save a batch of dough and improve your understanding of how hydration affects texture.
Addressing Dry Dough: Causes and Remedies
Dry dough is typically the result of insufficient liquid or flour that is particularly thirsty (e.g., whole wheat or flour from a dry climate). It will feel stiff, crumbly, and difficult to bring together into a cohesive mass. It won't stretch easily and may tear when kneaded.
To remedy dry dough, you can add small amounts of water gradually. Stop kneading, flatten the dough slightly, and sprinkle a teaspoon or two of water over the surface. Fold the dough over itself and gently knead or squeeze the water in. Repeat this process, adding only small amounts at a time, until the dough reaches the desired consistency – it should feel pliable and slightly tacky, but not sticky. Be patient; it takes time for the dough to absorb the added water.
Managing Sticky Dough: Causes and Remedies
Sticky dough is usually caused by too much liquid relative to the flour, or sometimes by insufficient mixing or gluten development. Freshly mixed dough that hasn't rested or been kneaded enough can also feel sticky because the gluten hasn't had time to fully hydrate and form a network.
If the dough is simply too wet, you can add flour, but do so cautiously, adding only a tablespoon or two at a time and working it in completely before adding more. If the dough feels sticky but also seems underdeveloped (not smooth or elastic), it might just need more mixing or kneading to allow the gluten to fully form and absorb the available water. Sometimes, simply letting a sticky dough rest for 20-30 minutes can make it much easier to handle, as it allows the water to finish hydrating the gluten.
Correcting Uneven Gluten Development: Identification and Solutions
Uneven gluten development occurs when parts of the dough are properly hydrated and developed while others are not. This can happen if ingredients weren't mixed thoroughly, leaving dry pockets of flour, or if the dough wasn't kneaded or folded consistently. You might notice lumps of dry flour or areas that feel much stiffer or looser than others.
The best solution is thorough initial mixing to ensure all flour is hydrated. When kneading by hand, ensure you are working the entire mass of dough evenly. In a stand mixer, scrape down the sides of the bowl periodically to ensure all ingredients are incorporated into the mixing dough. For very wet doughs, techniques like stretch and folds, performed over time, help to gently develop gluten throughout the mass without aggressive kneading, encouraging even hydration and development.
Advanced Techniques for Experienced Bakers
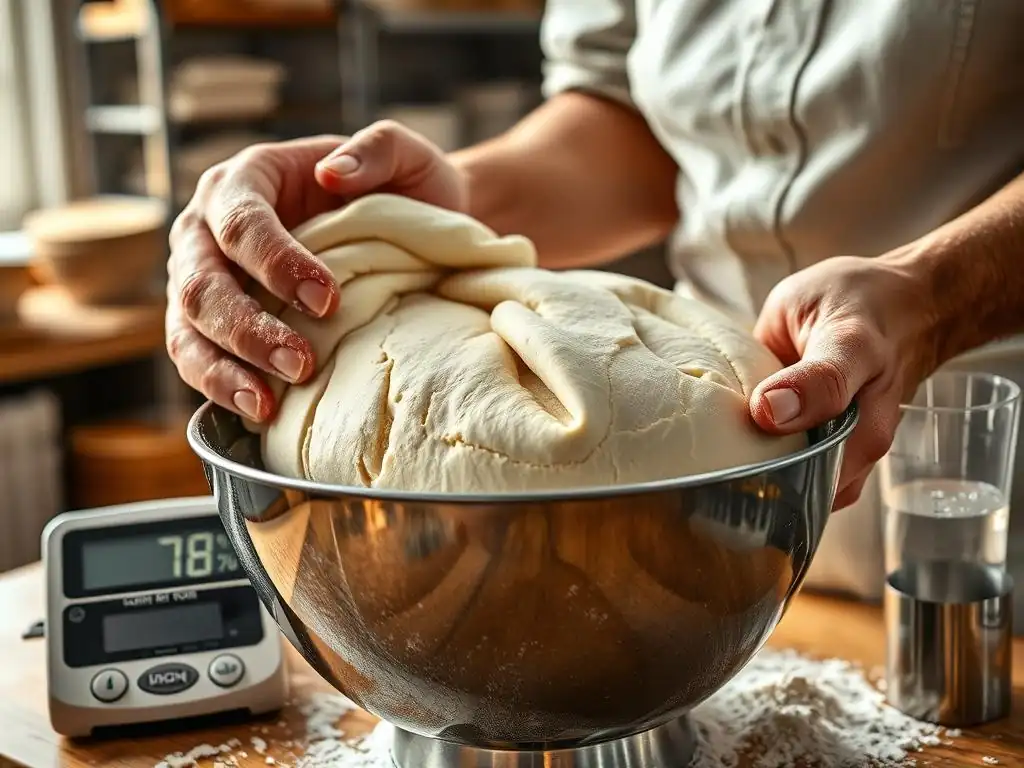
For those looking to push their skills further, several advanced techniques leverage controlled hydration and time to improve dough structure, flavor, and handling characteristics. These methods build upon basic gluten hydration tips beginners learn and apply them in more sophisticated ways.
These techniques often involve manipulating when and how water is introduced to the flour, or extending the time over which hydration and fermentation occur, leading to more complex doughs and superior finished products.
Autolyse: Enhancing Dough Strength Through Pre-Hydration
The autolyse technique involves mixing only the flour and water from a recipe (and sometimes the starter in sourdough) and letting the mixture rest for 20 minutes up to several hours before adding the salt and other ingredients (like commercial yeast or enrichment). This initial rest period is a passive hydration phase.
During the autolyse, the flour particles fully absorb the water, and enzymatic activity begins to break down starches into simpler sugars. Crucially, the gluten proteins start to hydrate and align themselves without any mechanical work. This makes the dough more extensible and easier to knead later, reducing the required kneading time and resulting in a smoother, stronger dough with better structure and oven spring. It's a highly effective way of kick-starting gluten hydration.
Poolish and Biga: Utilizing Pre-Ferments for Improved Gluten Structure
Poolish and biga are types of preferments – a portion of the flour and water (and often yeast) from a recipe that is mixed ahead of time and allowed to ferment for several hours or overnight before being added to the final dough mix. A poolish is typically liquid (100% hydration), while a biga is stiffer (around 50-65% hydration).
Using a preferment means a portion of the flour undergoes a long, slow hydration process. This extended contact with water allows for more complete hydration of the gluten proteins compared to mixing all ingredients at once. The fermentation also contributes organic acids, which can strengthen the gluten network. The result is often a dough with better structure, increased extensibility, improved flavor, and enhanced keeping quality in the final baked good.
Cold Fermentation: Slow Hydration for Enhanced Flavor
Cold fermentation involves refrigerating the dough for an extended period, typically from 12 hours up to several days, after the initial mixing and kneading. The cold temperature significantly slows down yeast activity, but the enzymatic processes and gluten hydration continue at a reduced pace.
This slow, extended contact between flour and water allows for very thorough gluten hydration and relaxation. The slower enzyme activity also leads to the development of more complex flavors and aromas. Dough that has undergone cold fermentation is often easier to handle, less sticky, and has a smoother texture due to the prolonged hydration and gluten development/relaxation. It's a great way to improve both texture and flavor while managing the baking schedule.
Flour Types and Their Specific Hydration Needs
Not all flours are created equal when it comes to how much water they can absorb. Different types of flour have varying protein contents and compositions, as well as different amounts of bran and germ, all of which affect their hydration requirements. Understanding these differences is vital for successful gluten hydration regardless of the flour you choose.
Using the same hydration percentage for different types of flour will yield vastly different dough consistencies. Adjusting your water based on the flour type is a key skill for any baker.
Hydration Requirements of All-Purpose, Bread, and Pastry Flour
- All-Purpose Flour: This is a versatile flour with a moderate protein content (typically 10-12%). It generally requires around 55-65% hydration for standard doughs, depending on the brand and application. It absorbs a moderate amount of water and is suitable for a wide range of baked goods.
- Bread Flour: With a higher protein content (12-14% or more), bread flour is designed for strong gluten development. It can absorb more water than all-purpose flour and often requires 60-70% hydration or even higher, especially for artisan breads. The higher protein needs more water to form that robust network.
- Pastry Flour: This is a low-protein flour (8-10%) designed for tender baked goods like cakes, biscuits, and pastries where minimal gluten development is desired. It absorbs less water than all-purpose or bread flour and typically uses lower hydration levels, often below 55%, to keep the dough soft and crumbly.
Adjusting hydration based on flour type ensures you achieve the correct dough consistency for the intended bake.
The Impact of Whole Wheat Flour on Gluten Development
Whole wheat flour includes the bran and germ of the wheat kernel, in addition to the endosperm (which is used for white flour). The presence of bran and germ significantly impacts hydration. Bran particles are very absorbent and soak up a lot of water, but they don't contribute to gluten formation. In fact, the sharp edges of bran can actually interfere with gluten development by cutting the gluten strands.
Because bran absorbs so much water, whole wheat doughs typically require higher overall hydration levels than white flour doughs, often 70-80% or more, just to achieve a similar handling consistency. Even with higher hydration, the bran's interference means whole wheat doughs are often less extensible and elastic than white flour doughs at the same hydration percentage. Techniques like autolyse or extended fermentation can help mitigate the negative effects of bran on gluten development and improve hydration in whole wheat doughs.
Hydration Considerations for Gluten-Free Baking
In gluten-free baking, the concept of hydrating "gluten" is obviously not applicable as these flours lack the proteins gliadin and glutenin. However, hydration is still crucial, but for different reasons and with different considerations. Gluten-free flour blends are typically made from a mix of grains (rice, sorghum, millet), starches (tapioca, potato, corn), and sometimes binders like xanthan gum or psyllium husk.
These different components absorb water at different rates. Starches absorb water and gelatinize when heated, contributing to structure. Binders like xanthan gum are highly absorbent and mimic some of the properties of gluten by creating a gummy, cohesive structure. Gluten-free doughs often require more liquid than wheat doughs, and achieving the correct hydration level is critical for preventing crumbly or gummy textures. The hydration process focuses on allowing these alternative ingredients and binders to properly absorb liquid to create a workable dough or batter that holds together.
The Science of Gluten Hydration: A Detailed Explanation
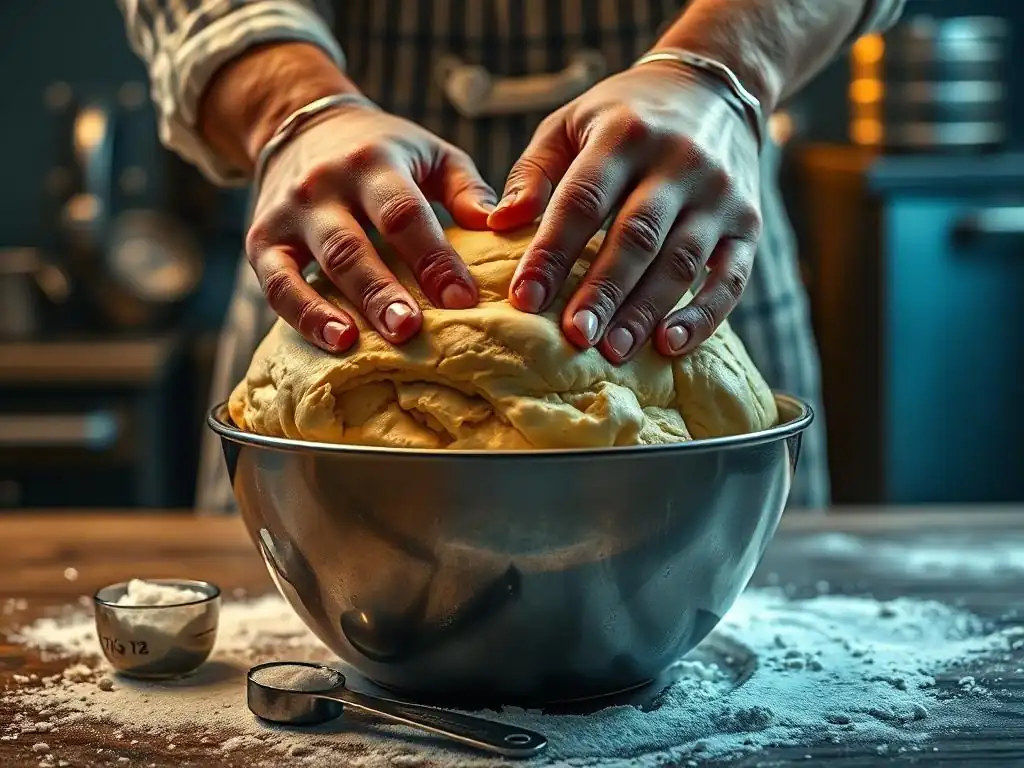
Let's take a closer look at the scientific processes that occur when water meets flour and how mechanical action transforms this mixture into a usable dough. Understanding the 'why' behind gluten hydration can make the 'how' much clearer for beginner bakers.
This is where the proteins truly come to life, changing from a dry, dormant state into an active, interconnected network capable of trapping gases and providing structure.
Water Absorption and Protein Interaction
When water is added to flour, it is absorbed by both the starch granules and the protein matrix. Starch granules absorb about one-third of their weight in water, causing them to swell slightly. However, the gliadin and glutenin proteins are the real focus for gluten hydration. They absorb about twice their weight in water. This absorption is facilitated by the hydrophilic parts of the protein molecules forming hydrogen bonds with water.
As the proteins hydrate, they unfold from their compact, dry state. This allows the gliadin (which is more fluid and extensible) and glutenin (which is more elastic and forms larger polymers) molecules to come into contact with each other. Without sufficient water, this unfolding and interaction cannot happen effectively, limiting the potential for gluten network formation. The extent of water absorption by the proteins directly correlates with the potential strength of the gluten network that can be formed.
The Role of Kneading in Gluten Development
While initial hydration allows the gluten proteins to interact, mechanical energy, typically provided by kneading or mixing, is necessary to fully develop the gluten network. Kneading serves two primary purposes: it continues to hydrate any remaining dry spots and, more importantly, it aligns the hydrated gliadin and glutenin proteins.
As the dough is stretched and folded during kneading, the protein chains are manipulated. This physical action helps the gliadin and glutenin molecules link together, primarily through disulfide bonds between cysteine amino acids, forming long, elastic strands. The more the dough is kneaded (up to a point), the more these strands align and cross-link, creating a stronger, more cohesive, and elastic network capable of trapping carbon dioxide gas produced by yeast or other leaveners. Proper hydration makes the dough pliable enough to be kneaded effectively.
Assessing Gluten Strength: Methods and Techniques
Knowing how to tell if your gluten is sufficiently developed is crucial. There are several ways to assess gluten strength, ranging from simple observation to specific tests. These methods help bakers determine if enough hydration and kneading have occurred.
- Windowpane Test: This is the most common method. Take a small piece of dough, gently stretch it outwards from the center with your fingers. If the dough can be stretched thin enough to see light through it without tearing easily, it has developed a strong, elastic gluten network. If it tears quickly, it needs more kneading or resting time for further hydration and development.
- Poke Test: Gently poke the surface of the dough with a floured finger. If the indentation springs back slowly, the gluten is developing well. If it springs back immediately, the gluten might be too tight (needs rest), and if it stays indented, it's likely underdeveloped.
- Observation: A well-developed dough will look smooth and satiny, feel elastic and resilient, and pull away cleanly from the sides of the bowl (in a mixer) or your hands (when kneading by hand).
These tests provide practical gluten hydration tips beginners can use to gauge their progress.
Tips for Consistent Gluten Hydration
Achieving consistent results batch after batch requires attention to detail and a systematic approach. Beyond just measuring water, several practices can help ensure optimal and repeatable gluten hydration every time you bake.
Developing good habits in the kitchen, especially regarding ingredient handling and observation, is key to mastering hydration and improving your baking consistency.
Using a Kitchen Scale for Precision
As mentioned earlier, using a digital kitchen scale is the most reliable way to measure both flour and water for consistent gluten hydration. Flour density can vary significantly depending on how it's stored and scooped; a cup of flour can weigh anywhere from 120g to 150g or more. Water measured by volume in a liquid measuring cup is more accurate than flour by volume, but weighing both ingredients eliminates any variability related to density or measuring technique.
Weighing ensures you are always working with the exact hydration percentage specified in the recipe. This precision takes the guesswork out of hydration and is one of the best gluten hydration tips beginners can adopt early on to build a foundation for consistent results.
Observing Visual Cues and Dough Texture
Beyond precise measurement, learning to read your dough is an invaluable skill. Dough consistency is affected by factors like flour type, humidity, and mixing method. Even if you weigh precisely, you may need slight adjustments.
Pay attention to how the dough looks and feels. Is it coming together smoothly? Is it too dry and shaggy, or too wet and sticky? Does it pass the windowpane test after kneading? Observing these visual and tactile cues allows you to make minor adjustments – adding a tiny bit more water if it feels too stiff, or letting it rest if it's sticky but underdeveloped. This intuitive understanding complements precise measurement.
Maintaining a Baking Log for Tracking Results
Keeping a baking log is an excellent way to track variables and learn what works best for you and your ingredients. Note down key details for each bake: the recipe used, flour type and brand, hydration percentage (calculated from weight), water temperature, mixing time, fermentation times and temperatures, and observations about the dough's feel and the final baked good.
If a bake turns out particularly well (or poorly), you can look back at your notes to identify potential reasons related to hydration or other factors. Over time, this log becomes a valuable resource, helping you understand how different hydration levels affect specific recipes and flours, and allowing you to refine your process for consistent success.
Achieving Superior Baked Goods Through Optimized Gluten Hydration
Mastering gluten hydration is a fundamental skill that unlocks the door to baking better bread, pastries, and cakes. It's the invisible force that gives structure, texture, and tenderness to countless baked goods. By understanding the science of how water interacts with gluten and practicing accurate measurement and observation, even beginner bakers can significantly improve their results.
From the initial mixing bowl to the final rise in the oven, the level and method of hydration play a critical role. Embrace the learning process, experiment with different hydration levels for various recipes and flours, and pay attention to how your dough responds. With practice and a focus on proper gluten hydration, you'll be well on your way to creating superior baked goods that you'll be proud to share.
Frequently Asked Questions
How crucial is water in gluten development?
Water is absolutely crucial. It's the essential liquid that allows gluten proteins to hydrate and form the stretchy network necessary for bread structure. Without proper hydration, gluten cannot develop effectively.
What happens if I don't hydrate my gluten enough?
Insufficient hydration leads to a weak gluten network, resulting in a dense and crumbly final product. The dough will likely be difficult to work with and lack elasticity.
Can I over-hydrate my gluten?
Yes, over-hydration can also be detrimental. Too much water weakens the gluten structure, creating a sticky, unmanageable dough and a flat, potentially gummy baked good.
What are some simple ways for beginners to ensure proper gluten hydration?
Start by carefully measuring your liquids. Gradually add water while mixing, and allow for an autolyse rest period to help the flour fully absorb the water. This allows natural enzymes to activate and improves dough handling.
Are there different hydration levels for different types of flour?
Yes, different flours absorb water differently. Stronger bread flours typically require higher hydration levels than weaker pastry flours. Pay attention to recipe instructions and adjust accordingly based on your flour type.
Final Reflection: Unlocking the Power of Hydration for Gluten-Free Baking
The science of gluten hydration isn't just a niche baking technique; it's the key to unlocking delicious, texture-rich gluten-free bread and baked goods for everyone. Mastering this fundamental aspect transforms the gluten-free baking experience from frustrating to fulfilling, proving that delicious, satisfying results are entirely achievable.
The journey of understanding gluten hydration has profoundly changed my own approach to baking, moving me from a place of frustration with crumbly, dense results to one of confident creation. The most important ingredient in any recipe is the baker's confidence.
This quote, though not specifically about gluten hydration, perfectly encapsulates the shift in perspective that mastering this technique provides. It's not just about following a recipe; it's about understanding the why behind each step, empowering you to adapt and innovate.
Now, it's your turn. Don't let the challenges of gluten-free baking hold you back. Take the time to experiment with different hydration levels, observe the changes in your dough, and discover the perfect balance for your favorite recipes. Embrace the process, celebrate your successes, and remember that every perfectly risen loaf is a testament to your dedication and understanding. The world of delicious gluten-free baking awaits – go forth and hydrate!
Here's a CTA for an article titled "Hydration Nation: How Water Activates Gluten Power" on BakeWithEase.com:
Unlock Your Gluten's Potential: Bake Brilliantly!
Thanks for diving into the world of hydrated gluten! You've now learned how a simple ingredient like water can dramatically improve your baking. Ready to put this knowledge into practice?
- Bake a test loaf: Try adjusting your favorite bread recipe by adding just a little extra water – you'll be amazed by the difference! This is your primary action; it directly ties into the article’s theme.
- Share your results: Post a picture of your improved loaf on social media and tag us! #BakeWithEase #HydratedGluten
- Explore our water-centric recipes: Check out our recipe section for more inspiration on harnessing the power of hydration.
What amazing bread creations will you unleash with your newfound gluten-hydration expertise?