
Resting Dough: How Time Relaxes and Develops Gluten

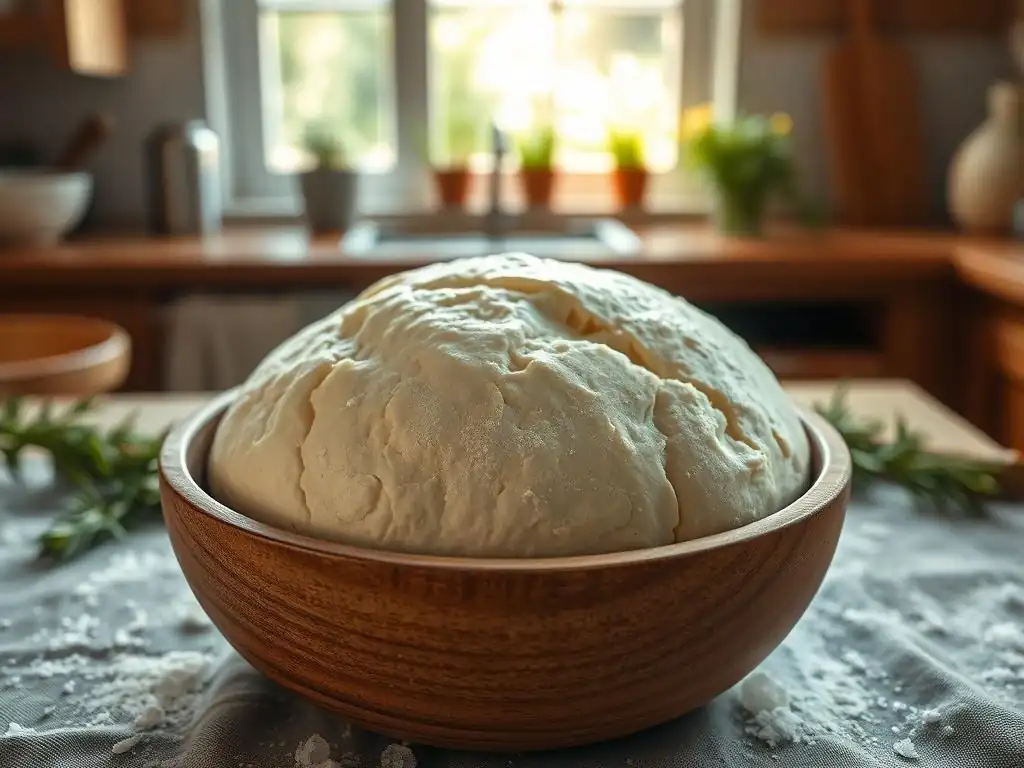
Welcome to BakeWithEase, where we unlock the secrets to baking success! Ever wondered how a simple ball of dough transforms into a perfectly textured masterpiece? Today, we're diving deep into the science behind one crucial step: resting dough. Discover how this often-overlooked technique dramatically impacts gluten development, flavor, and the overall quality of your baked goods. Are you ready to elevate your baking game?
- Resting Dough: How Time Relaxes and Develops Gluten (BakeWithEase.com)
- Introduction to Resting Dough for Baking: The Key to Better Baking
- The Science of Gluten Development and Relaxation
- Different Resting Techniques for Various Doughs
- The Impact of Resting Time on Different Baked Goods
- Troubleshooting Dough Resting Issues
- Advanced Dough Resting Techniques for Expert Bakers
- Tips and Tricks for Successful Dough Resting
- Conclusion: Mastering the Art of Resting Dough for Baking Success
-
Frequently Asked Questions
- How does resting dough contribute to better baking results?
- What exactly happens to the gluten during the resting period?
- How long should I typically rest my dough for the best results?
- Can I over-rest my dough? What are the consequences?
- Does resting dough only benefit bread recipes, or does it apply to other baked goods too?
- Final Reflection: The Transformative Power of Patience in Baking
- Unleash Your Dough's Potential: Bake Better Bread Today!
Resting Dough: How Time Relaxes and Develops Gluten (BakeWithEase.com)
Introduction to Resting Dough for Baking: The Key to Better Baking
Why Resting Dough Matters for Baking Quality
Resting dough for baking is one of the most crucial, yet often overlooked, steps in creating truly exceptional baked goods. It's not just about letting the dough sit; it's a vital process where time works its magic on the gluten structure and flavor development. Skipping or rushing this step can result in tough, dense, or poorly risen bakes, whether you're making a simple loaf of bread or delicate pastries. Proper resting allows the gluten network, formed during mixing and kneading, to relax, making the dough easier to handle and shape.
Furthermore, the resting phase gives enzymes within the dough time to break down starches into simpler sugars. These sugars are essential food for the yeast (if present), fueling fermentation and contributing to rise. More importantly, this enzymatic activity and fermentation process build complex flavors and aromas that are simply impossible to achieve through rapid baking alone. Think of the difference between a quick-rise pizza dough and a slow-fermented sourdough; the depth of flavor is a direct result of extended resting and fermentation.
BakeWithEase.com: Your Guide to Perfect Dough Resting Techniques
At BakeWithEase.com, we understand that mastering resting dough for baking can seem intimidating, but it's a fundamental skill that elevates your results dramatically. We break down the science and techniques into easy-to-follow steps suitable for bakers of all levels. Our goal is to empower you with the knowledge to understand why resting is important and how to apply the right resting techniques for various recipes, from rustic loaves to tender cookies.
We provide detailed guides on different resting stages, such as autolyse, bulk fermentation, and proofing, explaining what happens during each phase and how to tell when your dough is perfectly rested. Whether you're dealing with high-hydration doughs or low-hydration cookie doughs, BakeWithEase.com offers practical tips and visual cues to ensure your resting dough for baking is always on point, leading to consistently beautiful and delicious outcomes.
The Science of Gluten Development and Relaxation
Understanding Gluten Strands: The Foundation of Dough Structure
Gluten is a complex protein structure that forms when two proteins, glutenin and gliadin, found in wheat flour, combine with water and are agitated through mixing or kneading. Glutenin provides elasticity and strength, allowing dough to stretch without breaking, while gliadin provides extensibility and fluidity, enabling the dough to be shaped. Together, they form a viscoelastic network that traps gases produced by yeast or other leavening agents, causing the dough to rise.
The development of strong gluten strands is crucial for creating baked goods with good structure and texture. In a well-kneaded dough, these protein strands form long, interconnected chains. However, immediately after kneading, these strands are often tight and coiled. This is where the resting phase becomes essential; it allows these strands to untangle and align, creating a more relaxed yet robust network capable of holding its shape and achieving optimal volume during baking.
How Hydration Affects Gluten Development During Resting
Hydration, the ratio of water to flour, plays a significant role in how gluten develops and relaxes during resting. In doughs with higher hydration (more water), the gluten proteins have more freedom to move and align themselves. This often leads to faster initial gluten development during mixing and more efficient relaxation during rest. For example, a ciabatta dough at 80% hydration will develop gluten differently than a bagel dough at 50% hydration.
Higher hydration also allows for greater enzymatic activity, which contributes to breaking down starch and protein. While this helps in flavor development, it can also weaken the gluten structure over very long resting periods if not managed correctly. Conversely, lower hydration doughs develop gluten more slowly and require more mechanical effort (kneading) or longer resting times to become pliable. Understanding the hydration level of your dough is key to determining the appropriate resting dough for baking times.
The Role of Time in Gluten Relaxation and Strengthening
Time is the silent partner in gluten development and relaxation. Immediately after mixing or kneading, the gluten network is taut and resistant. A short rest period, even just 10-20 minutes (often called bench rest), allows the gluten to relax, making the dough easier to shape without tearing. This relaxation is a physical process where the strained protein chains untangle.
Over longer resting periods, especially during bulk fermentation, enzymes continue to work, and if yeast is present, fermentation produces gases and organic acids. These acids actually help to strengthen the gluten network, making it more resilient and capable of holding a larger volume of gas. This combination of relaxation and strengthening through time is what gives bread dough its characteristic chewiness and structure. Proper resting dough for baking ensures this balance is achieved before the final shaping and proofing stages.
Different Resting Techniques for Various Doughs
Autolyse: Resting Flour and Water for Enhanced Dough
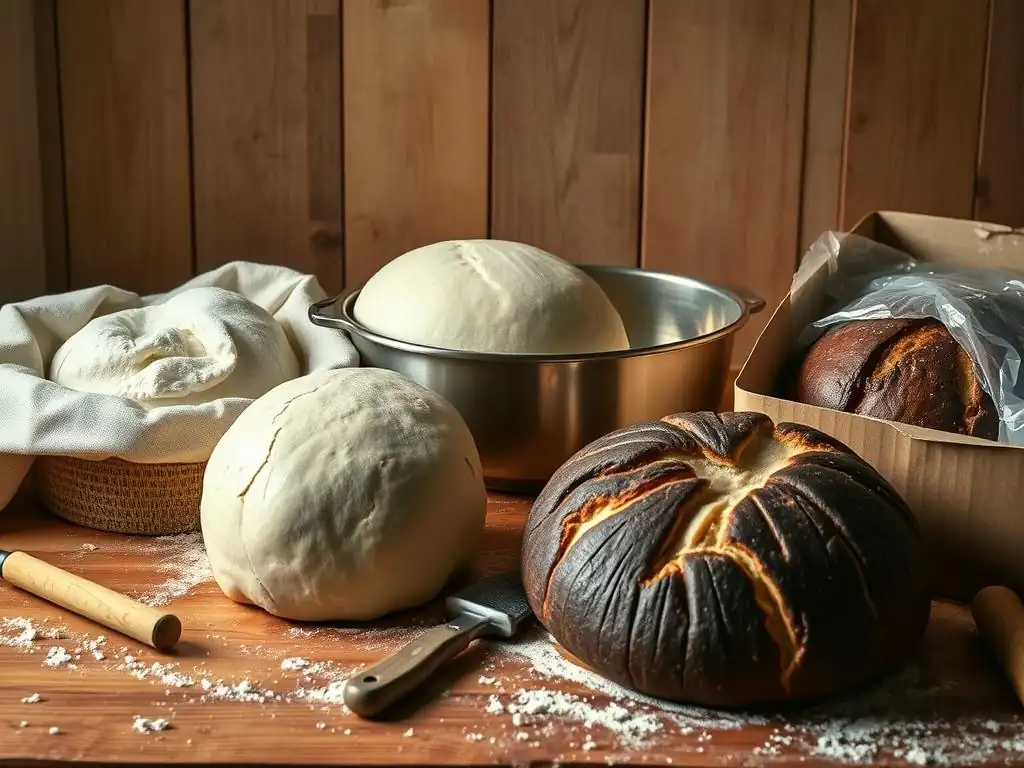
Autolyse is a specific resting technique where you mix just the flour and water from a recipe and let it rest for a period, typically 20 minutes to an hour, before adding other ingredients like salt or yeast. This simple step allows the flour to fully hydrate and activates enzymes that begin breaking down proteins and starches. During this resting period, gluten development begins naturally without any kneading, making the dough much easier to work with later.
Benefits of Autolyse for Gluten Development
The primary benefit of autolyse is enhanced gluten development with less effort. By allowing the flour and water to rest together, the gluten proteins hydrate thoroughly and start forming connections on their own. This reduces the amount of kneading required to achieve a strong gluten network. For instance, a dough that might typically need 10-15 minutes of intense kneading might only need 3-5 minutes after a 30-minute autolyse.
Another significant benefit is improved dough extensibility. The enzymatic activity during the autolyse period makes the dough stretchier and less prone to tearing. This is particularly helpful for high-hydration doughs or those made with weaker flours. Implementing an autolyse step is a simple way to improve the handling characteristics and overall structure of your resting dough for baking, leading to better volume and texture in the final product.
Autolyse Technique: A Step-by-Step Guide
Implementing autolyse is straightforward.
- Weigh out your flour and water according to your recipe.
- Combine only the flour and water in your mixing bowl.
- Mix just until there are no dry pockets of flour left. The mixture will look shaggy and rough – this is perfectly normal.
- Cover the bowl with plastic wrap or a damp towel to prevent the surface from drying out.
- Let the mixture rest at room temperature for the time specified in your recipe, or typically between 20 minutes and 1 hour. For whole wheat flours, you might extend this to 1-2 hours.
- After the rest, add the remaining ingredients (salt, yeast, starter, etc.) and proceed with mixing or kneading until the dough is fully developed. You'll notice the dough is much softer and more pliable from the start.
Bulk Fermentation: Resting Dough for Flavor and Texture
Bulk fermentation, also known as the first rise, is the period of resting dough for baking after mixing and kneading (and autolyse, if used) but before shaping. This is a critical phase where yeast is most active, producing carbon dioxide gas that causes the dough to expand, and alcohol and organic acids that contribute significantly to the flavor and aroma of the final product. The gluten network strengthens during this time, becoming more capable of holding the expanding gas.
The Importance of Bulk Fermentation in Bread Making
Bulk fermentation is arguably the most important resting period for bread dough. It allows for significant volume increase, which is necessary for a light and airy crumb structure. As the dough ferments, the gluten network matures, gaining strength and elasticity. This maturity is what allows bakers to shape the dough effectively without degassing it completely and ensures it can hold its structure during baking.
Beyond structure, bulk fermentation is where flavor development truly shines. The longer and slower the fermentation (within limits), the more complex the flavors become. For example, a standard white loaf might bulk ferment for 1-2 hours at room temperature, while a sourdough might undergo a bulk ferment of 4-6 hours at room temperature followed by an overnight cold ferment in the refrigerator (12-16 hours or more) to develop its characteristic tang and complex aroma.
Managing Time and Temperature During Bulk Fermentation
Managing time and temperature is key to successful bulk fermentation. Yeast activity is highly dependent on temperature: warmer temperatures (around 75-80°F or 24-27°C) accelerate fermentation, while cooler temperatures slow it down. A standard room temperature bulk ferment might take 1-3 hours, with the dough roughly doubling in size. Indicators of sufficient bulk fermentation include visible gas bubbles, a dome shape with a rounded edge at the bottom, and the dough passing the "poke test" (gently poke the dough; if the indentation slowly springs back about halfway, it's ready).
- Warm Room (75-80°F / 24-27°C): Expect faster fermentation, potentially 1-2 hours.
- Cool Room (68-72°F / 20-22°C): Fermentation will be slower, possibly 2-3 hours or more.
- Cold Fermentation (35-40°F / 2-4°C): Fermentation is significantly slowed, taking 12-48 hours or even longer, resulting in maximum flavor development.
Careful observation of the dough's volume increase and structure, rather than sticking rigidly to a time, is the best way to determine when bulk fermentation is complete.
Proofing: The Final Rest Before Baking
Proofing, or the final rise, is the resting dough for baking period after the dough has been shaped but before it goes into the oven. During proofing, the yeast continues to produce gas, causing the shaped dough to expand further and achieve its final volume and structure. This stage is crucial for developing a light texture and ensuring the loaf or roll has sufficient oven spring (the final burst of rising in the hot oven).
Understanding Proofing and Dough Rise
Proofing allows the shaped dough to relax after the tension created during shaping and to inflate with carbon dioxide. While bulk fermentation develops overall volume and flavor, proofing is about achieving the final desired volume and internal structure before the gluten network is set by heat. The dough becomes airy and fragile during this stage, requiring gentle handling.
The ideal proofing environment is warm and humid, which encourages yeast activity and prevents the dough surface from drying out and forming a skin. A proofer set to around 75-85°F (24-30°C) with high humidity is ideal, but covering the dough and placing it in a warm spot (like a turned-off oven with the light on) works well. The duration of proofing varies greatly depending on the dough type, temperature, and desired outcome, typically ranging from 30 minutes to several hours at room temperature, or significantly longer in the refrigerator.
Visual Cues for Properly Proofed Dough
Determining when proofing is complete is vital; under-proofed dough results in dense texture and potential blowouts, while over-proofed dough can collapse or have poor oven spring. The most reliable method is the poke test: gently press the dough with a floured finger.
- If the indentation springs back immediately, the dough is under-proofed. It needs more time.
- If the indentation slowly springs back about halfway, the dough is properly proofed. It's ready to bake.
- If the indentation remains completely or mostly, the dough is over-proofed. It's fragile and may collapse.
Other visual cues for properly proofed dough include a visibly increased volume (though not necessarily doubled, unlike bulk fermentation), a smooth, airy surface, and a feeling of lightness when gently lifted. Learning these cues is essential for successful resting dough for baking at the final stage.
The Impact of Resting Time on Different Baked Goods
Resting Dough for Bread: Achieving Optimal Rise and Crust
Resting dough for baking bread is perhaps where the impact of time is most evident. The combination of autolyse, bulk fermentation, and proofing directly influences the bread's crumb structure, volume, and crust. A sufficient bulk fermentation, for instance, allows the gluten network to become strong enough to support a large, open crumb, as seen in artisan loaves like ciabatta or sourdough. Without proper resting, the dough remains tight and unable to expand fully.
The duration and temperature of resting also impact the crust. Longer, cooler bulk fermentation and cold proofing lead to more complex sugar development on the dough's surface. These sugars caramelize during baking, contributing to a darker, more flavorful, and often crisper crust. Conversely, a rushed, warm proof can lead to a pale crust and less depth of flavor. Achieving that perfect balance of airy interior and robust crust relies heavily on respecting the necessary resting dough for baking times.
Resting Dough for Pizza: Enhancing Stretch and Flavor
For pizza dough, resting is key to achieving both stretchability and that signature chewy texture and flavorful crust. A minimum bulk fermentation of 1-2 hours at room temperature is essential to relax the gluten, making the dough easy to stretch thin without tearing. Many pizzerias use cold fermentation, resting the dough in the refrigerator for 24-72 hours.
This extended cold rest significantly develops flavor through slow fermentation and enzyme activity. It also further relaxes the gluten, resulting in a dough that is incredibly pliable and easy to handle, allowing for those large, thin crusts characteristic of Neapolitan-style pizza. The sugars developed during this long resting dough for baking period also contribute to a beautiful charring on the crust when baked at high temperatures.
Resting Dough for Pastries: Creating Flaky Layers
While bread relies on gluten development for structure, pastries like croissants, puff pastry, and pie crusts often aim for minimal gluten development to ensure tenderness and flakiness. However, resting is still crucial, but for different reasons. For laminated doughs (croissants, puff pastry), resting periods between folds are vital to relax the gluten that has developed.
If the dough isn't rested between folds, the gluten network resists stretching, making it impossible to roll out thinly without tearing. These rest periods, often 30-60 minutes in the refrigerator, allow the gluten to relax, preventing shrinkage and enabling the creation of numerous thin layers of dough and butter. For pie crust, a rest in the refrigerator before rolling chills the fat (butter/shortening), which is essential for flakiness, and also relaxes the minimal gluten, making the dough easier to roll and preventing tough crusts. Proper resting dough for baking pastries is about managing gluten and temperature for optimal texture.
Even cookie dough benefits from resting! Chilling cookie dough in the refrigerator for at least 30 minutes, or even overnight, is a common technique. This rest period solidifies the fat in the dough. When the chilled dough hits a hot oven, the fat takes longer to melt, causing the cookies to spread more slowly. This controlled spread often results in thicker cookies with chewier centers and crispier edges.
Furthermore, resting allows the flour to fully hydrate, which can improve texture. It also gives flavors time to meld. For example, resting chocolate chip cookie dough overnight can deepen the flavors of the chocolate and brown sugar. While not involving significant gluten development like bread, resting dough for baking cookies dramatically impacts their final shape, texture, and flavor profile.
Troubleshooting Dough Resting Issues
Over-Rested Dough: Signs and Solutions
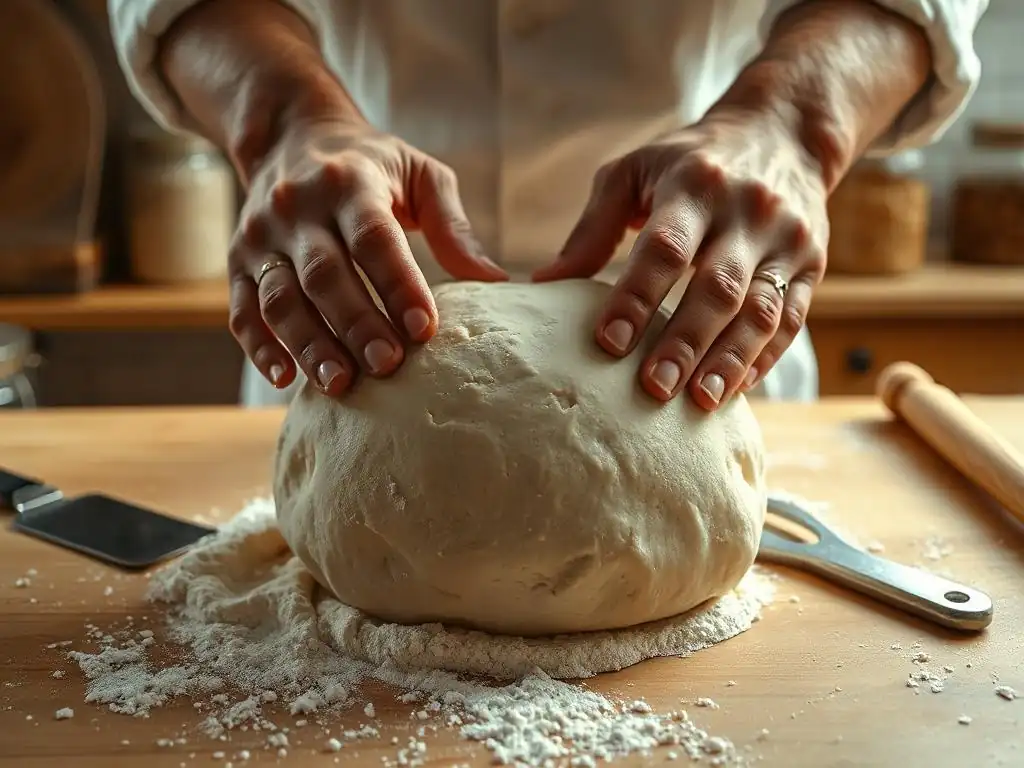
Over-rested dough, particularly during bulk fermentation or proofing, occurs when the yeast has consumed most of the available sugars and the gluten structure begins to weaken. Signs include a very large, potentially deflated appearance, a strong alcoholic or overly sour smell, and a dough that feels very slack and tears easily when handled. In the poke test, the indentation will remain completely.
If your dough is slightly over-rested during bulk fermentation, you can often salvage it by gently punching it down, reshaping, and giving it a shorter second bulk ferment or proceeding directly to shaping and a very short proof. If it's significantly over-proofed before baking, you might try gently reshaping it (degassing it significantly) and giving it a very short, watchful final proof, but it may still result in a flatter bake with a less desirable texture.
For severely over-proofed bread dough, sometimes the best option is to turn it into focaccia or flatbread, which don't rely as heavily on internal structure for height.
Under-rested dough is characterized by a tight, resistant texture that is difficult to shape without tearing. It hasn't expanded sufficiently during bulk fermentation or proofing and feels dense. In the poke test, the indentation springs back immediately. Baking under-rested dough results in poor oven spring, a dense crumb, and potentially a tough texture.
If your dough is under-rested during bulk fermentation, simply give it more time to rest in a warm place until it shows the proper signs (volume increase, poke test). If you've already shaped it and it's under-proofed, cover it and let it proof longer until it passes the poke test. Resist the urge to bake it early. Patience is key when resting dough for baking; allowing the full time needed for proper development is crucial for a successful outcome.
Adapting Resting Times for Different Environments
Environmental factors, primarily temperature, significantly impact resting dough for baking times. A recipe developed for a kitchen at 75°F (24°C) will require adjustments if you're baking in a cooler kitchen at 65°F (18°C) or a warmer one at 85°F (30°C). In cooler environments, fermentation and relaxation slow down, meaning you'll need to increase resting times. Conversely, in warmer environments, times will be shorter.
Humidity also plays a role; very dry air can cause the surface of the dough to dry out and form a skin, hindering expansion. Always cover your dough to prevent this. Learning to read the dough itself (its volume, texture, and response to the poke test) is more reliable than strictly following recipe times, as your environment is unique. Think of recipe times as guidelines, and let the dough tell you when it's ready for the next step. This adaptability is a key skill in mastering resting dough for baking.
Advanced Dough Resting Techniques for Expert Bakers
Cold Fermentation: Slowing Down Gluten Development
Cold fermentation involves resting dough for baking in a refrigerated environment, typically between 35-40°F (2-4°C), for an extended period, often 12 to 72 hours or even longer. At these low temperatures, yeast activity is drastically slowed but not stopped entirely. This slow activity results in a gradual production of carbon dioxide and, more importantly, allows enzymes (proteases and amylases) more time to break down proteins and starches.
The primary benefits of cold fermentation are significantly enhanced flavor development and improved dough handling. The slow breakdown of starches creates more complex sugars, leading to richer taste and better crust caramelization. The extended rest also allows the gluten network to relax and align more completely, resulting in a very extensible dough that is a joy to work with, particularly for pizzas, baguettes, and artisan loaves. This technique requires planning but yields exceptional results.
Using a Dough Proofer for Precise Temperature Control
A dough proofer is an appliance designed to create a consistent, controlled environment for resting and proofing dough, typically maintaining temperatures between 75°F and 95°F (24-35°C) and often allowing for humidity control. While not strictly necessary, using a proofer eliminates the variability caused by ambient room temperature, leading to more predictable and consistent results, especially important for professional bakers or those working with sensitive doughs.
Using a proofer allows for precise control over the rate of fermentation and proofing. This means you can reliably hit specific resting dough for baking times outlined in recipes or your own baking schedule. For example, if a recipe calls for a 60-minute proof at 80°F, a proofer ensures you meet that condition regardless of how cold your kitchen might be. This consistency is invaluable for developing reproducible results and troubleshooting specific issues.
Experimenting with Different Resting Times for Unique Flavors
Once you understand the fundamentals of resting dough for baking, you can begin experimenting with varying resting times and temperatures to influence the final flavor and texture of your baked goods. For instance, trying a longer bulk fermentation at a slightly cooler room temperature (say, 4 hours at 68°F instead of 2 hours at 78°F) will develop more complex flavors.
Consider baking the same recipe with different resting protocols: one with a standard room temperature bulk ferment and proof, and another with an overnight cold bulk ferment followed by a shorter proof. Taste the difference! Some doughs benefit from extremely long cold ferments (up to 5 days for certain pizza doughs), while others are best with shorter, warmer rests. Documenting your experiments and results is key to understanding how resting time impacts your specific recipes and developing your signature style.
Tips and Tricks for Successful Dough Resting
Choosing the Right Resting Container
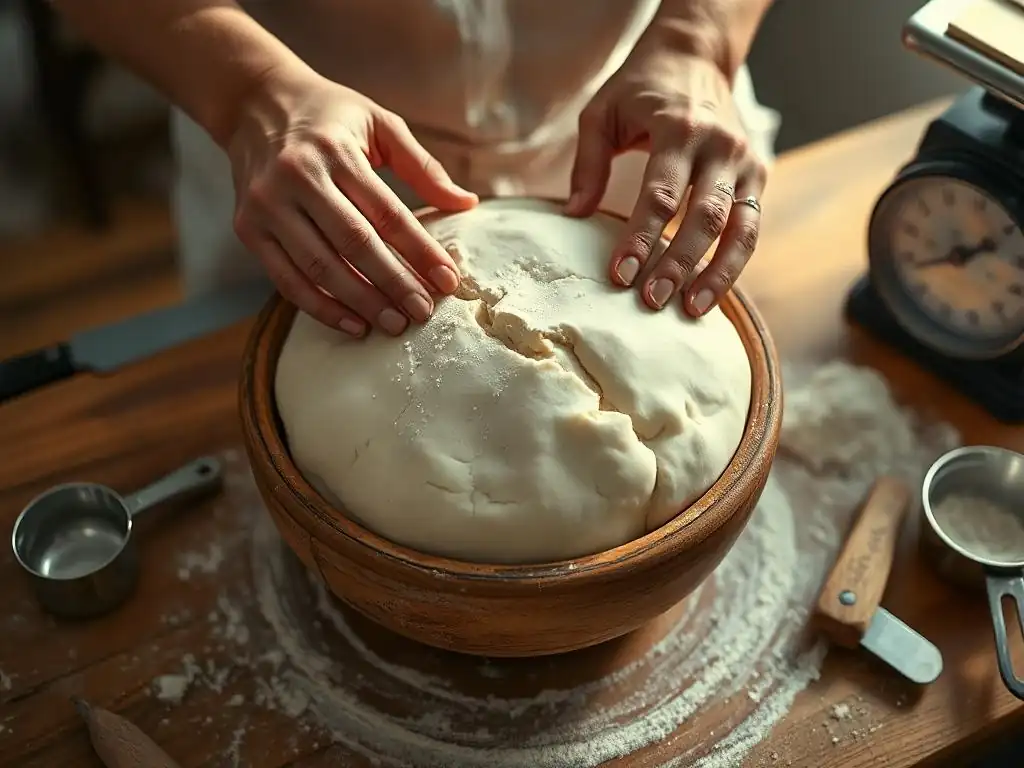
Selecting the appropriate container is important for successful resting dough for baking. For bulk fermentation, an ideal container is one that is large enough to accommodate at least a doubling (and preferably tripling) of the dough's volume, allowing you to easily see how much it has grown. Clear containers are excellent for this purpose. The container should also have straight sides to make it easier to judge the volume increase accurately.
Ensure the container can be covered tightly to prevent the dough surface from drying out. Plastic wrap, a fitted lid, or even a damp towel followed by plastic wrap works well. For cold fermentation in the refrigerator, a container with a tight-fitting lid is essential to prevent the dough from absorbing odors from other food items. Lightly oiling the container before adding the dough prevents sticking.
Maintaining Consistent Temperature During Resting
Maintaining a consistent temperature during resting is crucial for predictable results. Fluctuating temperatures will lead to uneven fermentation. If your kitchen is cool, find a warmer spot, such as near a warm appliance (but not directly on it), inside a turned-off oven with the light on, or in a microwave (the enclosed space helps maintain temperature).
If your kitchen is too warm and speeding up fermentation excessively, consider using cooler water when mixing the dough or opting for cold fermentation in the refrigerator. For longer rests, especially overnight, the refrigerator is the most reliable way to achieve a stable, cool temperature that slows down fermentation for flavor development. Using a kitchen thermometer to check the ambient temperature where your dough is resting can be helpful.
Adjusting Resting Times Based on Flour Type
Different flour types have varying protein content and absorption rates, which affects how gluten develops and how the dough behaves during resting. High-protein bread flours develop strong gluten networks and can often handle longer resting times, especially cold fermentation, which further strengthens the structure. Whole wheat and other whole grain flours absorb more water and contain bran particles that can interfere with gluten development; they often benefit from longer autolyse periods to ensure full hydration and enzymatic activity before the main rest.
Lower-protein flours like cake or pastry flour develop weaker gluten and require minimal mixing and significantly shorter resting times, if any, to prevent toughness. Enriched doughs (with eggs, butter, sugar) also ferment and rest differently; the added fat and sugar can slow down gluten development and yeast activity. Always consider the flour type and recipe composition when determining the appropriate resting dough for baking schedule.
Conclusion: Mastering the Art of Resting Dough for Baking Success
BakeWithEase: Elevate Your Baking with Proper Dough Resting
Mastering the art of resting dough for baking is a transformative skill that will undoubtedly elevate the quality of your homemade bread, pizza, pastries, and cookies. It's a process that requires patience and observation, but the rewards – superior texture, structure, and depth of flavor – are well worth the investment of time. Understanding why resting is important and how different techniques impact your dough empowers you to move beyond simply following recipes and truly understand the craft of baking.
At BakeWithEase.com, we are committed to providing you with the clear, detailed information and practical tips you need to confidently incorporate proper resting techniques into your baking routine. From the initial autolyse to the final proof, we guide you through each stage, helping you recognize the signs of perfectly rested dough. Embrace the power of time in your baking, and discover the incredible difference it makes in achieving consistently delicious results.
Further Exploration: Resources for Learning More About Gluten and Dough
To deepen your understanding of gluten development, dough rheology, and the science behind resting dough for baking, there are many excellent resources available. Look for reputable baking books that delve into the science, online forums where experienced bakers discuss techniques, and articles that explain the complex interactions happening within your dough.
Exploring topics like enzymatic activity, the role of pH in fermentation, and the specific characteristics of different flour proteins can provide a fascinating insight into why resting dough behaves the way it does. The more you understand the underlying principles, the better equipped you will be to troubleshoot issues, adapt recipes, and develop your own unique baking practices centered around the crucial process of resting your dough.
Frequently Asked Questions
How does resting dough contribute to better baking results?
Resting dough allows the gluten to relax, which leads to a more tender and extensible dough. This, in turn, improves the texture and overall quality of your baked goods.
What exactly happens to the gluten during the resting period?
During resting, the gluten strands hydrate and unwind. This process creates a more elastic and manageable dough, preventing it from tearing during shaping.
How long should I typically rest my dough for the best results?
Resting times vary depending on the recipe. However, a general guideline is to rest dough for at least 20-30 minutes. Some recipes benefit from even longer resting periods, sometimes overnight.
Can I over-rest my dough? What are the consequences?
Yes, you can over-rest dough. Over-resting can lead to a weak, sticky dough that is difficult to handle and may result in a flat or dense final product.
Does resting dough only benefit bread recipes, or does it apply to other baked goods too?
While often associated with bread, resting dough benefits various baked goods. It can improve the texture of pastries, cookies, and even some cake batters by allowing ingredients to fully hydrate and flavors to meld.
Final Reflection: The Transformative Power of Patience in Baking
The art of baking is not merely a science of precise measurements; it's a dance with time, a testament to the transformative power of patience. Understanding the crucial role of resting dough, as explored throughout this article, is key to unlocking the full potential of your baking endeavors. The seemingly simple act of allowing dough to rest profoundly impacts the final product, yielding a texture and flavor that simply cannot be replicated through rushed methods.
The impact of resting dough extends far beyond the immediate result of a perfectly risen loaf or flaky pastry. It speaks to a broader cultural appreciation for slow processes and the rewards of mindful creation. We live in a world that often prioritizes speed and efficiency, but the quiet act of allowing dough to rest reminds us of the beauty found in deliberate action and the unexpected magic that unfolds when we allow time to work its wonders. The best things in life are worth waiting for,
a sentiment perfectly embodied in the transformative process of resting dough.
Consider this: the next time you're preparing your dough, take a moment to appreciate the quiet transformation happening before your eyes. Embrace the pause, the stillness, the slow unfolding of flavor and texture. Don't rush the process; instead, allow yourself to be present, to observe, and to learn from the subtle changes that occur as the gluten relaxes and develops. This mindful approach will not only improve your baking but also enrich your connection to the craft itself, reminding you that sometimes, the most rewarding journeys are the ones that take their time.
Unleash Your Dough's Potential: Bake Better Bread Today!
Thanks for taking the time to learn about the magic of resting dough! You've now unlocked a key to creating lighter, airier, and more flavorful bread. Ready to put this knowledge into practice?
- Bake a test loaf: Use your newfound understanding to bake a loaf of your favorite bread recipe, paying close attention to the resting times. Note the differences in texture and taste!
- Share your baking journey: Post a picture of your improved loaf on social media and tag us @BakeWithEase – we'd love to see your success!
- Experiment with different resting techniques: Try cold fermentation, or play with different hydration levels to see how resting impacts your results. Let us know what works best for you.
What surprising texture or flavor improvements did you notice by simply letting your dough rest?