
Saving Seized Sugar: Is There Hope for Your Caramel?

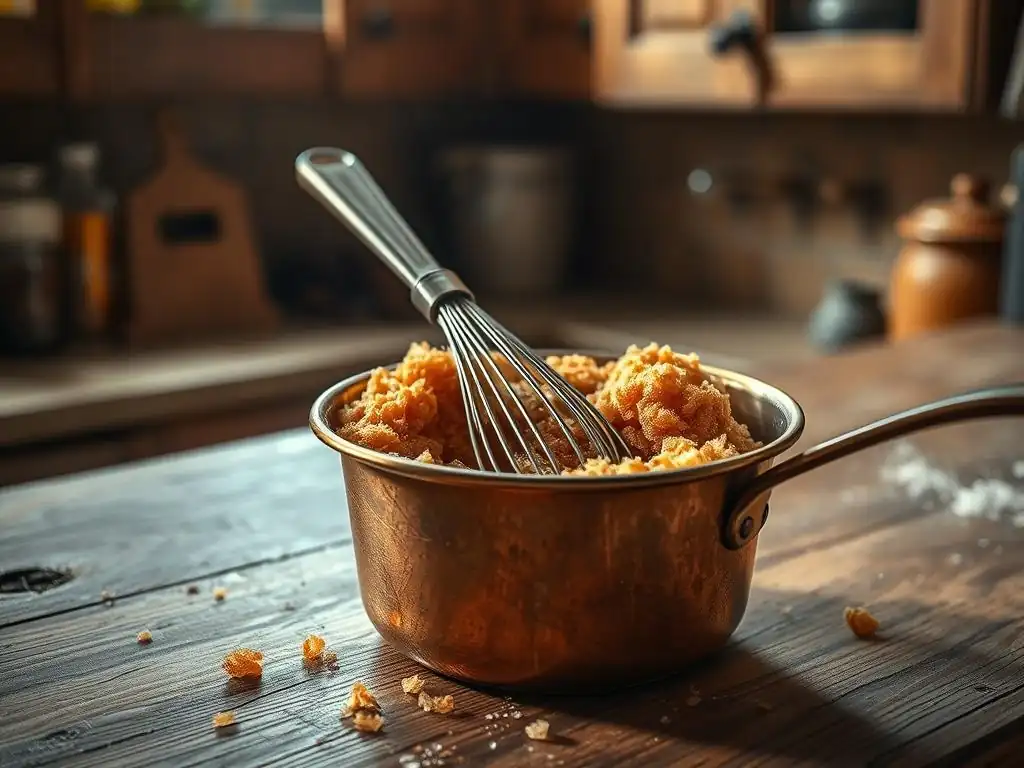
Welcome to BakeWithEase, your guide to conquering the kitchen and creating delectable treats! Ever stared in dismay at a grainy, unyielding mass of what should have been luscious caramel? Don't despair! In this Baking Science Deep Dive, we'll explore a common kitchen mishap and unveil the secrets to how to revive seized caramel. Curious to know if there's hope for your sugary creation? Read on to discover the science behind the seizure and the surprisingly simple techniques that might just save the day!
- Saving Seized Caramel: Is There Hope for Your Batch?
- Understanding Caramel Seizing and Crystallization
- How to Revive Seized Caramel: Rescue Techniques
- Preventing Caramel Seizing: Best Practices for Smooth Caramel
- Troubleshooting Common Caramel Problems
- Beyond Revival: Using Slightly Seized Caramel
- Conclusion: Caramel Rescue is Possible!
- Frequently Asked Questions
- Final Reflection: The Sweetness of Perseverance – Reclaiming Caramel's Potential
- Rediscover Your Caramel Confidence!
Saving Seized Caramel: Is There Hope for Your Batch?
Caramel making can feel like a delicate dance between beautiful amber liquid and a frustrating, grainy mess. If you've ever watched your perfectly melting sugar suddenly clump up and solidify, you've experienced the dreaded "seizing." But don't despair! Learning how revive seized caramel is often possible, saving your sugary creation from the bin. This article will guide you through understanding why caramel seizes and practical techniques to bring it back to life.
Understanding Caramel Seizing and Crystallization
Caramel seizing is fundamentally a process of sugar crystallization gone wrong. Instead of remaining a smooth, molten liquid, the sugar reverts back to its crystalline form, often in large, hard clumps.
What Causes Caramel to Seize? The Science Behind Sugar Crystallization
At its core, caramel is simply heated sugar (sucrose). When sugar is heated and melted, the sucrose molecules break down into simpler sugars like glucose and fructose, a process called inversion. This inversion helps prevent crystallization. However, if conditions aren't right, the sucrose molecules can find each other and link back up, forming crystals. Think of it like building blocks – when melted, they're scattered; seizing is when they suddenly snap back into a structured grid.
Several factors can trigger this unwelcome crystallization. Introducing even a tiny seed crystal – perhaps a stray grain of sugar on the side of the pan or leftover from previous use – can start a chain reaction, causing the entire batch to seize. Similarly, stirring the sugar before it has fully melted and reached a significant temperature (typically above 320°F or 160°C) can introduce seed crystals from undissolved sugar or scrape them from the sides of the pan. Even rapid temperature changes or impurities can encourage crystallization.
Identifying Seized Caramel: Recognizing the Signs of Sugar Crystallization
Recognizing seized caramel is usually quite straightforward. Instead of a smooth, flowing liquid, the sugar will become opaque, grainy, and lumpy. It might look like wet sand or hard candy chunks. The color will also stop deepening evenly; instead, you'll see patches of solid sugar mixed with potentially still-liquid areas.
The texture is the most telling sign. If you try to stir it, it won't flow smoothly but will resist, feeling gritty and solidifying rapidly as it cools slightly. A seized batch will lose its characteristic viscous, pourable quality. It's essentially turning back into hard sugar candy, but unevenly and prematurely.
How to Revive Seized Caramel: Rescue Techniques
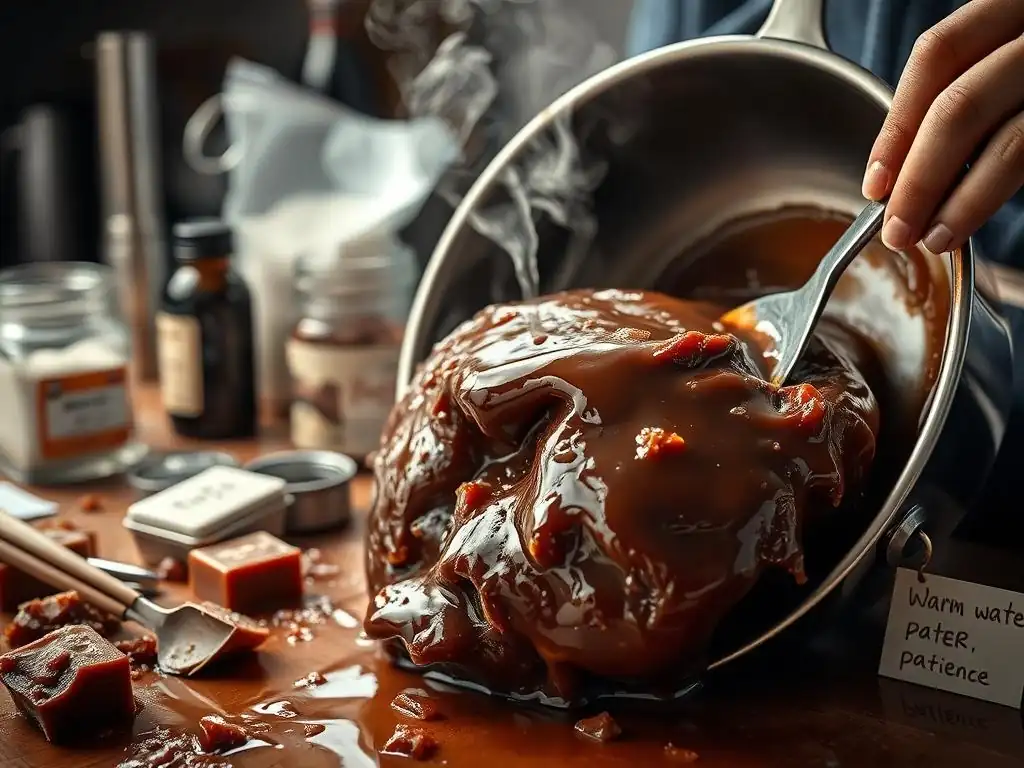
If your caramel has seized, don't panic! There are a few methods you can try to how revive seized caramel. The key is to gently re-dissolve the sugar crystals.
Technique 1: The Water Method for Rescuing Crystallized Caramel
Adding a small amount of hot water can sometimes help dissolve the sugar crystals that caused the seizing. This works by providing a solvent to break down the crystal structure.
Step-by-Step Guide to Using Water to Dissolve Sugar Crystals
- Remove the seized caramel from the heat immediately.
- Carefully add a small amount of hot water to the pan. Start with just 1-2 tablespoons (around 15-30ml) per cup of sugar you originally used. Using hot water helps prevent a drastic temperature drop.
- Return the pan to very low heat.
- Gently and patiently stir the mixture. The water will mix with the sugar, and as it heats, it should begin to dissolve the crystals. This might take several minutes.
- If after a few minutes of gentle heating and stirring, the crystals haven't dissolved, add another tablespoon of hot water and continue stirring on low heat.
- Once the sugar has completely dissolved and the mixture is smooth again, you can increase the heat slightly to continue the caramelization process (if needed) or proceed with adding other ingredients like cream or butter for a sauce.
Important Considerations When Using the Water Method
Using the water method requires patience and careful observation. Adding too much water at once can make the caramel too liquidy, requiring much longer cooking to evaporate the excess water and reach the desired consistency. It can also lower the temperature too quickly, potentially worsening the problem.
It's crucial to use hot water to minimize the thermal shock. Also, ensure the heat is kept very low during the dissolving process to avoid burning the sugar that has already caramelized while you work on dissolving the seized crystals. Be prepared that this method might slightly dilute the flavor compared to a perfect batch, but it's often a worthwhile trade-off to salvage the caramel.
Technique 2: Adding an Acid to Prevent Further Crystallization
Introducing an acidic ingredient can help prevent further crystallization and sometimes aid in dissolving existing small crystals by promoting the inversion of sucrose into glucose and fructose.
The Role of Acids (Lemon Juice, Cream of Tartar) in Caramel Making
Acids like lemon juice or cream of tartar (which becomes acidic when heated) catalyze the hydrolysis of sucrose. This means they help break down the complex sucrose molecule into its simpler components, glucose and fructose. Glucose and fructose are less prone to crystallization than sucrose. By increasing the proportion of these simpler sugars in the mix, you make the overall solution more stable and resistant to seizing.
This is why many caramel recipes for things like candies or sauces that need to remain liquid for a long time include a small amount of acid from the start. It acts as an insurance policy against crystallization.
How Much Acid to Add for Optimal Results
If your caramel has seized and you want to try adding acid, use a very small amount. For a batch made with about 1 cup (200g) of sugar, start with just 1/4 to 1/2 teaspoon (1-2ml) of lemon juice or a tiny pinch (less than 1/4 teaspoon) of cream of tartar.
Add the acid after you've removed the seized caramel from the heat. Stir it in carefully. Then, return the pan to very low heat and stir gently but continuously. The acid, combined with the low heat, may help dissolve the crystals over time. Be aware that adding acid can slightly alter the flavor, adding a hint of tanginess, but this is often masked by the rich caramel flavor or other ingredients added later.
Technique 3: Gentle Heating and Patience: A Slow Recovery Approach
Sometimes, simply applying very low, even heat and resisting the urge to stir vigorously can help resolve minor seizing issues.
The Importance of Low Heat and Constant Stirring
If the seizing is minor, perhaps just a bit of graininess appearing, you can try putting the pan back on the lowest possible heat setting. Do not stir initially. Allow the heat to slowly work on the crystals. You can gently swirl the pan occasionally to distribute the heat, but avoid introducing a spoon or spatula until you see signs of the crystals melting. The idea is to let the heat slowly dissolve the sugar back into a liquid state without mechanical disturbance that could create more seed crystals.
Once the sugar appears mostly liquefied and smooth again, you can then gently stir to ensure even consistency. This method is best for slight graininess rather than a fully seized, solid block.
Monitoring the Caramel's Progress: When to Stop Stirring
During this gentle heating phase, watch the caramel closely. As the crystals dissolve, the mixture will become clearer and smoother. Once it returns to a uniform, liquid state with no visible graininess or lumps, you can stop the low-heat melting process.
If you are making caramel candy or adding other ingredients, you can then proceed with the recipe. If you are simply trying to rescue it for later use as a sauce base, ensure it reaches a smooth consistency before removing it from the heat entirely. Overheating during this stage can easily lead to burning, so vigilance is key.
Preventing Caramel Seizing: Best Practices for Smooth Caramel
While knowing how revive seized caramel is useful, preventing it in the first place is even better! Following a few best practices significantly reduces the risk of crystallization.
Using the Right Sugar: Granulated vs. Other Types
For most caramel recipes, standard granulated sugar (sucrose) is the preferred choice. Its purity and uniform crystal size help in achieving smooth melting. While other sugars like brown sugar contain molasses and other compounds that inhibit crystallization to some extent, they also introduce moisture and flavor complexity.
Confectioners' sugar contains cornstarch, which would prevent caramelization entirely. Liquid sugars like corn syrup or glucose syrup are excellent for preventing crystallization because they contain high amounts of glucose, a simple sugar that resists forming large crystals. Many professional recipes add a small amount of corn syrup (e.g., 1/4 cup or about 85g per 2 cups of sugar) precisely for this anti-crystallization benefit.
The Importance of Clean Equipment: Preventing Seed Crystals
This is perhaps the most critical step in preventing seizing. Any microscopic sugar crystal left on your pan, spoon, or stirring utensil can act as a seed, triggering crystallization in the entire batch.
- Always start with a spotlessly clean, dry heavy-bottomed pan.
- Avoid using wooden spoons, as they can harbor tiny sugar crystals in their pores. Metal or silicone spatulas are generally preferred.
- If you need to brush down sugar crystals that climb the sides of the pan (which can happen, especially with dry sugar methods), use a clean pastry brush dipped in hot water.
Consider using a heavy-bottomed saucepan. The thick base distributes heat more evenly, reducing the risk of hot spots that can cause sugar to burn or crystallize prematurely.
Mastering the Caramelization Process: Temperature Control and Timing
Caramelization is a chemical process that occurs when sugar is heated to high temperatures. For sucrose, this typically starts around 320°F (160°C) and progresses through various stages of browning and flavor development as the temperature increases, often reaching 340-350°F (170-175°C) for a rich, amber caramel.
- Resist Stirring: The most common mistake is stirring the sugar before it has fully melted and started to color. With dry sugar methods, simply add the sugar to the pan and let it melt on medium heat. You can swirl the pan gently to encourage even melting, but avoid stirring with a utensil until a significant portion has turned liquid.
- Wet vs. Dry Method: Using the wet method (dissolving sugar in water first, using about 1/2 cup or 120ml water per cup of sugar) is more forgiving for beginners. The water helps dissolve the sugar evenly before high-temperature caramelization begins, reducing the risk of seed crystals forming. You boil the water off first, then the sugar caramelizes.
- Monitor Temperature: Using a candy thermometer is highly recommended for precision. It helps you track the caramel's progress and remove it from the heat at the desired color and temperature before it burns.
Troubleshooting Common Caramel Problems
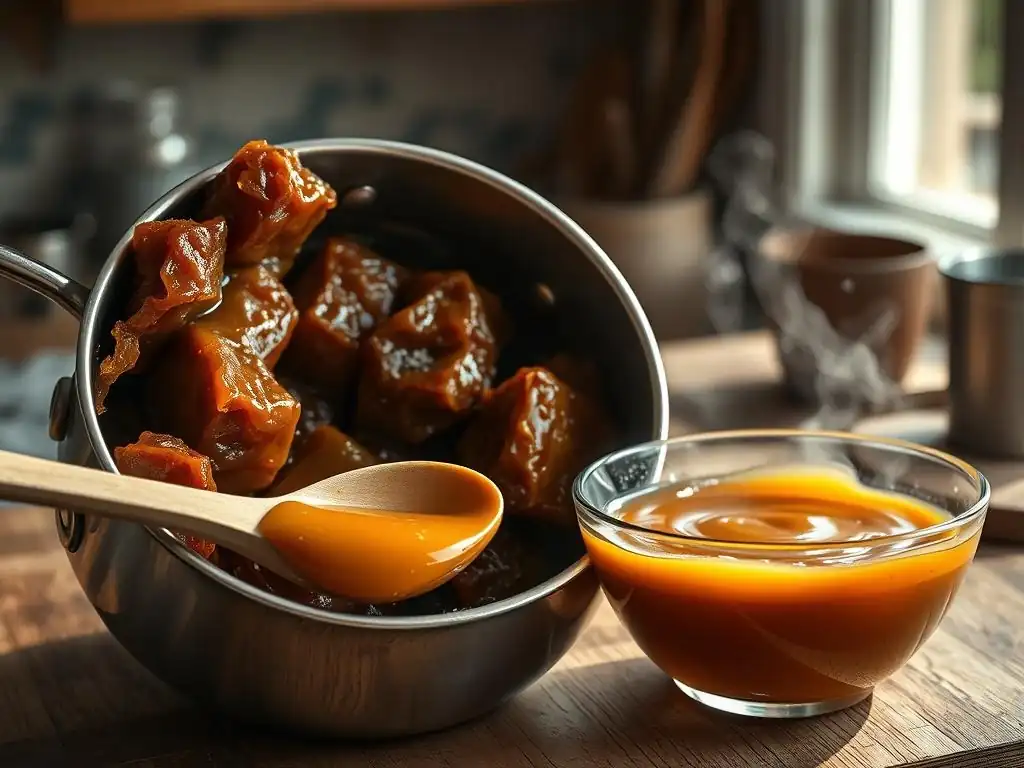
Even with best practices, sometimes issues arise. Knowing how revive seized caramel is just one part of troubleshooting.
Dealing with Lumpy Caramel After Revival
If, after attempting revival techniques, your caramel is still slightly lumpy, it likely means some sugar crystals didn't fully dissolve.
- Return the caramel to very low heat.
- Add another small splash of hot water (1-2 teaspoons).
- Stir very gently and patiently on low heat until the lumps disappear.
- Alternatively, if you are making a sauce, adding your warm cream/butter mixture slowly while stirring on low heat can sometimes help dissolve residual crystals.
What to Do if Your Caramel Tastes Burnt
Unfortunately, burnt caramel is usually irrecoverable. Once sugar burns, the chemical changes are irreversible, and the bitter flavor cannot be masked.
Blockquote: A burnt caramel is a lost cause. The bitter compounds created during burning cannot be undone or covered up.
If your caramel has just a hint of bitterness on the edges, you might be able to scrape out the good parts from the center, but if the bitter taste permeates the batch, it's best to discard it and start over. Trying to how revive seized caramel won't fix a burnt flavor.
Addressing Grainy Texture Issues in Revived Caramel
Graininess, as discussed, is a sign of sugar crystallization. If your revived caramel still feels grainy, it means the crystals weren't fully dissolved.
- Return to the water method or acid method on very low heat. Patience is key here. Continue stirring gently until the mixture is completely smooth.
- Ensure you are using low heat. High heat can cause the water to evaporate too quickly before the crystals have time to dissolve.
- If making a sauce, adding a fat like butter or cream can sometimes help coat the sugar crystals and make the texture less noticeable, although it won't truly dissolve them.
Beyond Revival: Using Slightly Seized Caramel
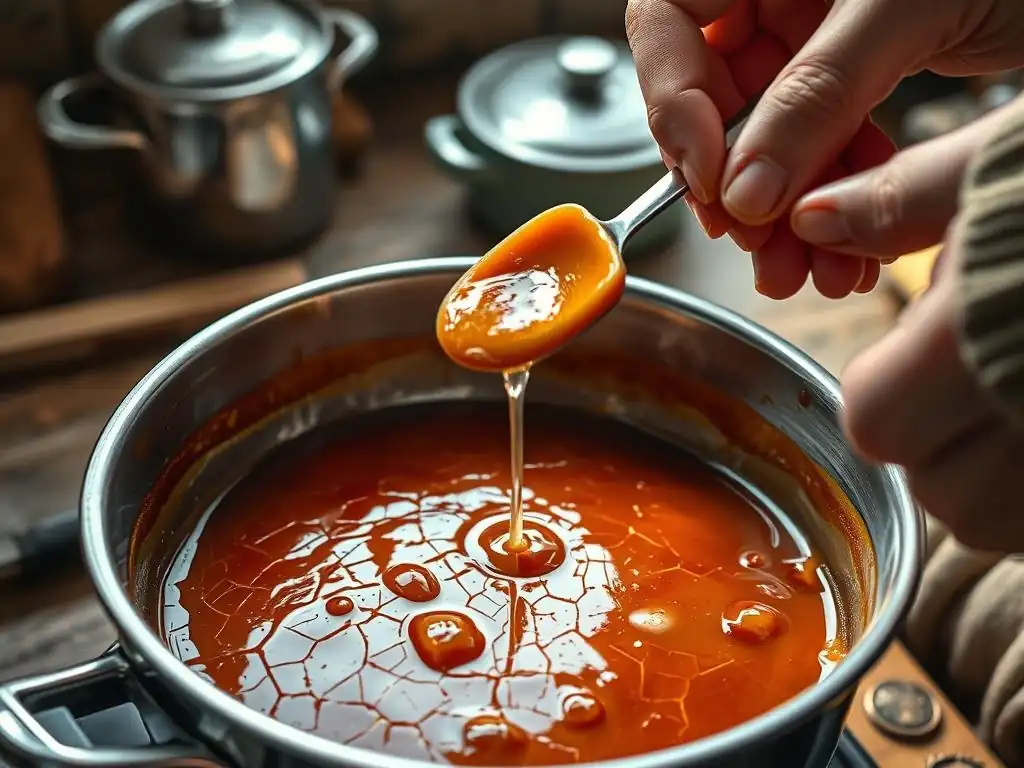
Sometimes, despite your best efforts, the caramel might not return to a perfectly smooth consistency, or perhaps you decide the effort isn't worth the risk of burning. Even a slightly seized or grainy caramel isn't always wasted.
Turning Seized Caramel into Caramel Sauce
This is one of the easiest ways to salvage a less-than-perfect batch. The addition of liquid ingredients like cream, milk, or butter can often help dissolve remaining sugar crystals or, at the very least, suspend them in the liquid, making the grainy texture far less noticeable, especially once cooled.
Task List:
- [x] Gently reheat the seized caramel on low heat.
- [ ] While stirring slowly, gradually whisk in warm heavy cream (about 1/2 to 1 cup per cup of original sugar).
- [ ] Add butter (optional, usually 1/4 to 1/2 cup) and a pinch of salt.
- [ ] Continue stirring on low heat until everything is combined and smooth (or as smooth as it will get).
- [ ] Strain the sauce if desired to remove any stubborn lumps.
The liquid and fat help create a smooth emulsion, often forgiving small imperfections in the sugar's texture.
Incorporating Slightly Crystallized Caramel into Brownies
If your caramel is still a bit chunky or grainy after revival attempts, you can use it in baked goods where texture is less critical.
- Swirling it into brownie batter: The heat of baking can sometimes further melt the sugar crystals, and the overall texture of brownies is forgiving.
- Adding it to cookie dough: Small pieces of caramel can melt and create chewy pockets.
- Using it as a layer in bar cookies: Spread a layer of the slightly chunky caramel over a crust layer, then top with crumble or batter.
While you might not achieve a silky-smooth caramel layer, the flavor will still be present, and the texture might even add an interesting element.
// Example of how you might describe adding seized caramel to brownie batter
// (This is illustrative and not a direct code block for execution)
// Ensure the seized caramel is softened slightly by gentle heating.
// Pour ribbons of the softened, slightly chunky caramel over the brownie batter
// in the pan before baking. Use a knife to swirl it through the batter.
Using seized caramel creatively allows you to save ingredients and still enjoy the delicious flavor you worked to create.
Conclusion: Caramel Rescue is Possible!
Witnessing your caramel seize can be disheartening, but it's a common issue even experienced bakers face. Understanding the science behind crystallization provides valuable insight into both prevention and cure. By patiently applying techniques like the water method, adding a touch of acid, or using gentle heat, you can often how revive seized caramel and bring it back from the brink.
Remember the importance of starting with clean equipment and controlling temperature to prevent seizing in the first place. And even if perfect smoothness remains elusive, a slightly grainy batch can still be transformed into delicious sauces or incorporated into other baked treats. So, next time your sugar misbehaves, take a deep breath and try these rescue missions – there's often hope for your caramel!
Frequently Asked Questions
How can I identify if my caramel has seized?
Seized caramel will appear grainy and clumped together, rather than being smooth and liquid. It may also form a hard mass on the bottom of the pan.
Why does caramel seize in the first place?
Caramel seizes due to sugar crystals forming and solidifying. This usually happens when sugar is not fully dissolved at the beginning, or when undissolved sugar splashes onto the sides of the pan.
Can all seized caramel be saved?
While not always guaranteed, most seized caramel can be revived. The success depends on the severity of the seizing and how quickly you react.
What's the main trick to reviving seized caramel?
The primary method is to add a small amount of liquid, such as water or cream, and gently heat the mixture while stirring constantly until the sugar crystals dissolve.
What precautions can I take to prevent caramel from seizing in the first place?
Use a clean pan, ensure all sugar dissolves before it boils, and avoid stirring unless absolutely necessary. You can also wash down the sides of the pan with a wet pastry brush to prevent crystallization.
Final Reflection: The Sweetness of Perseverance – Reclaiming Caramel's Potential
The battle against seized caramel is far from over, and the fight for its revival is a microcosm of our own struggles with imperfection. We often face setbacks, moments where our carefully crafted creations seem irrevocably ruined. But just as a seized caramel can often be salvaged, so too can our own projects, dreams, and even relationships. The techniques outlined in this article offer more than just a solution to a culinary conundrum; they represent a broader philosophy of resilience and resourcefulness.
The journey of rescuing seized caramel is a potent metaphor for life's challenges. It highlights the importance of patience, attention to detail, and a refusal to give up on something we value. The greatest glory in living lies not in never falling, but in rising every time we fall.
This quote perfectly encapsulates the spirit of caramel revival, and indeed, the spirit of overcoming any obstacle. The process of rescuing our culinary creations mirrors the process of self-improvement and the persistent pursuit of our goals, reminding us that even from apparent failure, sweetness can be rediscovered.
Now, consider your own "seized caramel" moments. What projects, dreams, or relationships have felt irrevocably broken? Remember the techniques you've learned here – the gentle heat, the strategic additions, the unwavering patience. Apply these principles to your own life. Don't discard your dreams at the first sign of difficulty. Instead, embrace the challenge, experiment with solutions, and rediscover the potential for sweetness within. You might be surprised at what you can salvage, and the profound satisfaction that comes with the revival.
Rediscover Your Caramel Confidence!
Thanks for diving into the world of caramel rescue! We hope you've gained some valuable tips and tricks to save those precious batches from sugary doom. Ready to put your new skills to the test?
- Attempt a Caramel Revival: Don't let those seized batches go to waste! Try the methods outlined above to see if you can bring them back to life. You might be surprised at the results!
- Share Your Success (or Failure!): Let's learn from each other. Share your caramel rescue stories – both triumphs and disasters – in the comments below! We'd love to hear about your experiences.
- Experiment with a New Recipe: Feeling brave? Try one of our many caramel recipes on BakeWithEase.com to master this delightful treat.
What caramel creation are you ready to tackle next?