
Beginner Baking Bliss: Easy SliceandBake Cookie Recipes

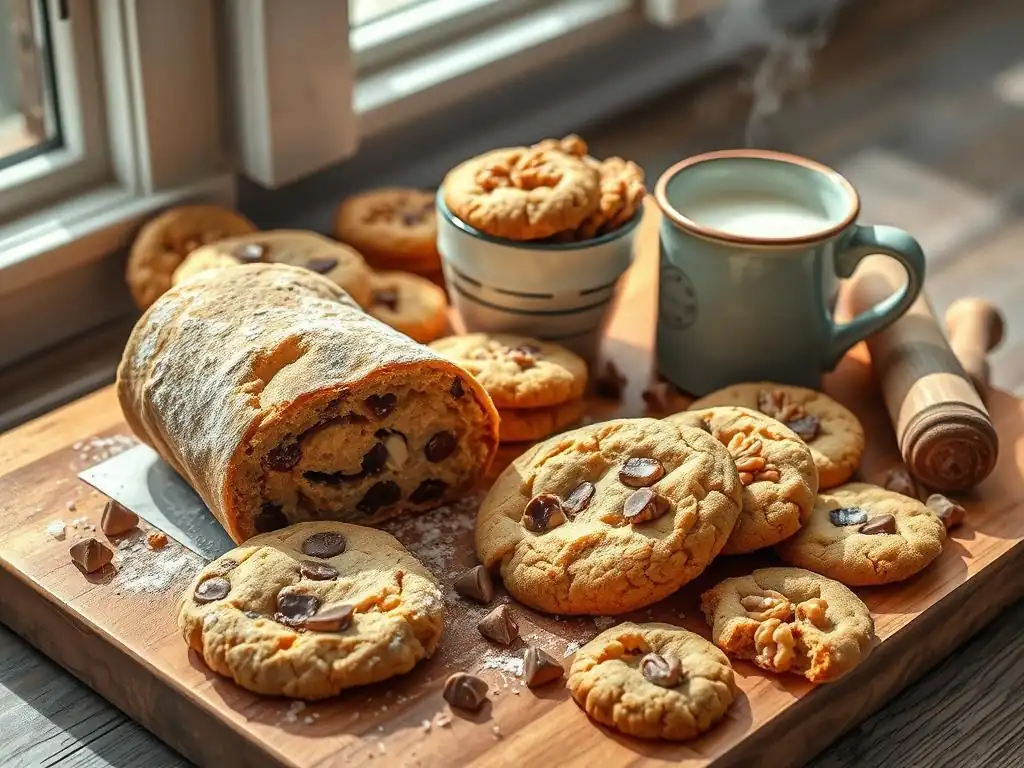
Welcome to BakeWithEase, your kitchen companion for delicious adventures! Ever dreamed of effortlessly creating perfect cookies? Then you're in the right place. Discover the secrets to easy slice and bake cookies – a foolproof way to satisfy your sweet tooth with minimal fuss. Ready to unlock baking bliss? Let's get started!
- Effortless Cookie Creations: Mastering Slice-and-Bake Recipes
- Introduction to Slice-and-Bake Cookies
- Essential Techniques: Creating Perfect Slice-and-Bake Dough
- Recipe 1: Buttery Shortbread Slice-and-Bake Cookies
- Recipe 2: Peanut Butter Slice-and-Bake Cookies
- Recipe 3: Cranberry Pistachio Slice-and-Bake Cookies
- Troubleshooting Common Slice-and-Bake Challenges
- Storing and Preserving Your Cookies
- Expanding Your Skills: Advanced Slice-and-Bake Techniques
- Conclusion: Celebrating Homemade Slice-and-Bake Cookies
-
Frequently Asked Questions
- What makes slice-and-bake cookies so appealing for beginner bakers?
- Can I customize the flavors of my slice-and-bake cookie dough?
- How long can I store slice-and-bake cookie dough in the refrigerator?
- What is the best way to ensure even baking for slice-and-bake cookies?
- What if my slice-and-bake cookie dough is too hard to slice?
- Final Reflection: The Enduring Sweetness of Simple Baking
- Unleash Your Inner Baker: Delicious Cookies Await!
Baking cookies from scratch doesn't have to be complicated or time-consuming. For anyone looking for a simple entry point into the world of homemade treats, easy slice and bake cookies are a game-changer. This method simplifies the process significantly, allowing you to prepare dough ahead of time and bake fresh cookies whenever a craving strikes. It's the ultimate in convenience without sacrificing that delicious, homemade taste.
Slice-and-bake is perfect for busy schedules or spontaneous baking sessions. Imagine having perfectly shaped cookie dough ready in your freezer, just waiting to be sliced and baked in under 15 minutes. This approach eliminates the mess and effort of scooping or rolling individual cookies every time, making it ideal for novice bakers or even kids wanting to help in the kitchen.
Slice-and-bake cookies represent one of the most approachable methods in baking. The core concept involves preparing a firm dough, shaping it into logs or cylinders, chilling it thoroughly, and then simply slicing off rounds to bake. This technique bypasses the need for cookie cutters or extensive shaping, making it incredibly efficient. It's a favorite for classic recipes like shortbread, sugar cookies, and even some chocolate chip variations designed for this method.
The beauty of easy slice and bake cookies lies in their make-ahead potential. You can prepare several logs of different doughs and store them, ready to bake on demand. This is particularly useful for entertaining, holiday baking, or simply ensuring you always have fresh cookies within minutes. The chilling step isn't just for ease of slicing; it also helps meld flavors and results in cookies with a consistent shape and often a delightful crisp edge.
The primary appeal of slice-and-bake is its unparalleled convenience. Unlike drop cookies that require scooping or rolled cookies that demand chilling, rolling, and cutting, this method streamlines the process into a few key steps: mix, shape, chill, slice, and bake. This significantly reduces hands-on time right before baking, making it possible to have fresh cookies even on weeknights. For example, preparing dough on a Sunday evening can yield fresh cookies throughout the week.
Furthermore, the simplicity extends to the equipment needed. You don't need specialized cookie scoops, rolling pins, or an array of cutters. A mixing bowl, a spatula or mixer, some plastic wrap, a sharp knife, and a baking sheet are typically all that's required. This minimal tool requirement, combined with straightforward recipes, makes mastering easy slice and bake cookies an achievable goal for beginner bakers looking for reliable results with minimal fuss.
Mastering easy slice and bake cookies is really about understanding a few foundational principles. The first is achieving the correct dough consistency – it needs to be firm enough to hold its shape when chilled but not so dry it crumbles. This balance is key to forming tight logs that slice cleanly. Using room-temperature butter is often crucial for proper creaming and dough structure.
The second principle is adequate chilling. This isn't just a suggestion; it's a necessity for clean slicing and preventing excessive spread during baking. Chilling allows the fats in the dough to solidify, which helps the cookies maintain their shape and prevents them from turning into thin puddles on the baking sheet. Typically, chilling for at least 1-2 hours is recommended, but longer chilling (even overnight) can yield even better results and make slicing effortless.
Essential Techniques: Creating Perfect Slice-and-Bake Dough
Creating the perfect dough for slice-and-bake cookies hinges on precision and technique. Unlike some freeform cookies where minor inconsistencies are forgivable, slice-and-bake relies on a stable, uniform dough structure. This starts with accurately measuring your ingredients, particularly flour and leavening agents, as too much or too little can drastically affect the dough's texture and spread. Using a kitchen scale for accuracy is highly recommended, aiming for about 120-125 grams per cup of flour.
Another essential technique is properly creaming the butter and sugar. This process incorporates air into the mixture, which contributes to the cookie's texture and helps prevent excessive spread. Creaming should continue until the mixture is light and fluffy, often taking 2-3 minutes with an electric mixer. Overmixing once flour is added, however, can develop too much gluten, resulting in tough cookies, so mixing should stop as soon as the flour is just combined.
The foundation of most easy slice and bake cookies includes butter, sugar, eggs, flour, leavening (baking powder or soda), and flavorings like vanilla extract. Butter is critical for texture and flavor; using unsalted butter gives you control over the saltiness. Granulated sugar provides sweetness and contributes to crispness, while brown sugar adds moisture and chewiness. Eggs bind the ingredients and add richness.
Flour provides the structure. All-purpose flour is standard for most recipes, but precise measurement is vital. Leavening agents provide lift and spread; baking powder generally results in a lighter, more open crumb, while baking soda (often used with an acidic ingredient like brown sugar or buttermilk, though less common in basic slice-and-bake) promotes spread and chewiness. High-quality vanilla extract makes a significant difference in flavor intensity.
Step-by-Step Guide to Consistent Slice-and-Bake Dough
Begin by creaming the softened, unsalted butter with the sugar until pale and fluffy. This takes approximately 2-3 minutes with a stand mixer on medium speed or 3-5 minutes with a hand mixer. Scrape down the sides of the bowl periodically to ensure even mixing. Next, beat in the egg(s) one at a time, mixing until fully incorporated after each addition. Stir in the vanilla extract or other liquid flavorings.
In a separate bowl, whisk together the dry ingredients: flour, salt, and leavening agent. Gradually add the dry ingredients to the wet mixture, mixing on low speed just until no dry streaks remain. Avoid overmixing. At this point, any solid add-ins like chocolate chips, nuts, or dried fruit should be gently folded in by hand. The dough should come together but still be slightly soft.
Achieving Uniformity in Dough Texture
Uniformity in dough texture is paramount for slice-and-bake success. An overly dry dough will crumble when you try to slice it, while a sticky or wet dough will flatten excessively during baking. If your dough feels too dry and isn't coming together, you can add a tablespoon of milk or cream and mix it in. If it's too wet, add a tablespoon or two of flour, mixing just until it reaches the desired consistency.
Once the dough is mixed, divide it into portions appropriate for your desired log size (typically 1-2 logs per batch, depending on the recipe yield). Shape each portion into a uniform cylinder, about 1.5 to 2 inches in diameter. Roll the dough gently on a clean surface or directly on plastic wrap, pressing and shaping it with your hands to create a smooth, even log. Aim for a consistent diameter along the entire length for even cookie sizes.
The Importance of Chilling for Clean Slices
Chilling the dough is the non-negotiable step that transforms a soft dough into a sliceable log. As the dough chills, the butter solidifies, making the log firm and easy to cut cleanly without squishing or deforming the shape. Adequate chilling (at least 1-2 hours in the refrigerator) ensures that your easy slice and bake cookies hold their shape beautifully during baking, resulting in perfect rounds.
For the best results and easiest slicing, chill the dough logs wrapped tightly in plastic wrap for at least 2 hours, or even better, overnight. If you're in a hurry, you can place the logs in the freezer for 30-45 minutes until firm but not frozen solid. A well-chilled log will slice cleanly with a sharp knife, yielding uniform rounds that will bake evenly. Insufficient chilling is a common cause of cookies spreading too much.
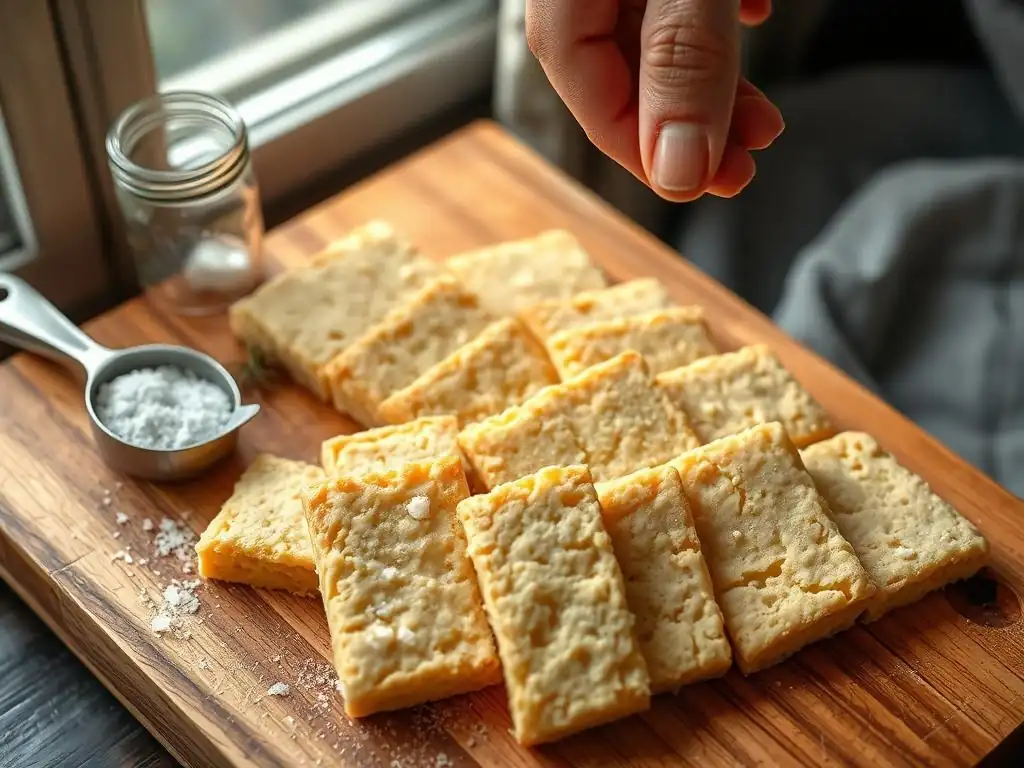
Classic shortbread is a perfect candidate for the slice-and-bake method. Its simple composition highlights the quality of the butter and results in a tender, crumbly cookie that pairs beautifully with tea or coffee. This recipe focuses on the core ingredients to achieve that signature melt-in-your-mouth texture with minimal effort, making it one of the most satisfying easy slice and bake cookies you can make.
This shortbread dough is forgiving and comes together quickly. Once chilled and baked, these cookies offer a delicate sweetness and rich buttery flavor. They are less prone to excessive spread than some other cookie types, making them reliable for achieving consistent shapes. With just a few pantry staples, you can create a batch of these elegant and simple treats.
To make classic buttery shortbread slice-and-bake cookies, you'll typically need:
- 1 cup (2 sticks) unsalted butter, softened
- ½ cup granulated sugar
- 2 cups all-purpose flour
- ¼ teaspoon salt
These simple proportions are the backbone of traditional shortbread. The high ratio of butter to flour is what gives shortbread its distinctive tender, crumbly texture. Using good quality butter is essential here, as its flavor is prominent in the final cookie. Ensure the butter is truly softened, not melted, for proper creaming and dough structure.
Sometimes, a recipe might include a small amount of cornstarch or rice flour (e.g., replacing ¼ cup of the all-purpose flour) to achieve an even more tender crumb. However, for a basic and reliable easy slice and bake cookies recipe, the four core ingredients listed above are sufficient. The salt is crucial for balancing the sweetness and enhancing the buttery flavor, so don't omit it.
Once your shortbread dough log is well-chilled (at least 2 hours), preheat your oven to 325°F (160°C). Line baking sheets with parchment paper. Use a sharp knife to slice the log into rounds about ½ inch thick. Place the slices on the prepared baking sheets, leaving about 1 inch between cookies as they won't spread significantly.
Bake the cookies for 15-20 minutes, or until the edges are lightly golden. The centers should still look pale. Baking at a slightly lower temperature than many cookies helps shortbread maintain its tenderness and prevents it from browning too quickly. Let the cookies cool on the baking sheets for a few minutes before carefully transferring them to a wire rack to cool completely.
Tips for Achieving Tender Shortbread
The key to tender shortbread lies in minimal handling of the dough once the flour is added and baking at a moderate temperature. Overmixing the flour develops gluten, which leads to a tougher cookie. Mix just until the dry ingredients are incorporated. Also, don't overwork the dough when shaping the log; gentle pressing and rolling are sufficient.
Baking shortbread at 325°F (160°C) instead of a higher temperature allows the cookie to bake through without browning too much, preserving its delicate crumb structure. Watch the edges carefully; they should just be turning a light golden color when they are done. Allowing them to cool on the baking sheet initially helps them firm up before moving, reducing the risk of breakage due to their tender nature.
Peanut butter cookies are a classic comfort food, and adapting them to the slice-and-bake method makes them incredibly convenient. These easy slice and bake cookies deliver that rich, nutty flavor and satisfying chewiness with minimal effort. The dough comes together easily and is simple to form into logs, ready for chilling and baking whenever you're ready for a warm treat.
This recipe yields cookies with a perfect balance of peanut butter richness and sweetness. The slice-and-bake format means you can have fresh, warm peanut butter cookies in under 20 minutes from freezer to plate. It's a fantastic option for impromptu snacks or satisfying a sudden cookie craving without the fuss of traditional methods.
For classic peanut butter slice-and-bake cookies, you'll typically need:
- ½ cup (1 stick) unsalted butter, softened
- ½ cup creamy or crunchy peanut butter
- ½ cup granulated sugar
- ½ cup packed light brown sugar
- 1 large egg
- 1 teaspoon vanilla extract
- 1 ¼ cups all-purpose flour
- ½ teaspoon baking soda
- ¼ teaspoon salt
Using a standard commercial peanut butter (like Jif or Skippy) works best for this recipe, as natural peanut butters can sometimes be too oily and affect the dough's structure. The combination of granulated and brown sugar contributes to both crispness and chewiness, creating a delightful texture contrast. Ensure your butter and peanut butter are at room temperature for smooth incorporation.
Once your peanut butter dough log is well-chilled (at least 2 hours), preheat your oven to 350°F (175°C). Line baking sheets with parchment paper. Slice the log into rounds about ½ inch thick using a sharp knife. Place the slices on the prepared baking sheets, leaving about 2 inches between cookies to allow for moderate spread.
Bake for 10-12 minutes, or until the edges are set and lightly golden, but the centers still look slightly soft. Peanut butter cookies can go from perfectly baked to dry very quickly, so watch them closely towards the end of the baking time. Let the cookies cool on the baking sheets for 5-10 minutes before transferring them to a wire rack to cool completely.
Variations: Chocolate Chips, Pretzels, or a Peanut Butter Swirl
The beauty of easy slice and bake cookies is how easily they can be customized. For peanut butter cookies, folding in ½ cup of mini chocolate chips or chopped pretzels (about ¼ cup) into the dough after the flour is incorporated adds a delightful texture and flavor contrast. This creates a more complex cookie with minimal extra effort during the dough-making stage.
Another fun variation is creating a peanut butter swirl. Prepare a basic vanilla or sugar cookie dough and a batch of peanut butter dough. Flatten each dough into a rectangle, layer the peanut butter dough over the vanilla dough, and then roll them together tightly into a log. Slice and bake as directed. This creates a visually appealing cookie with a swirl of flavors.
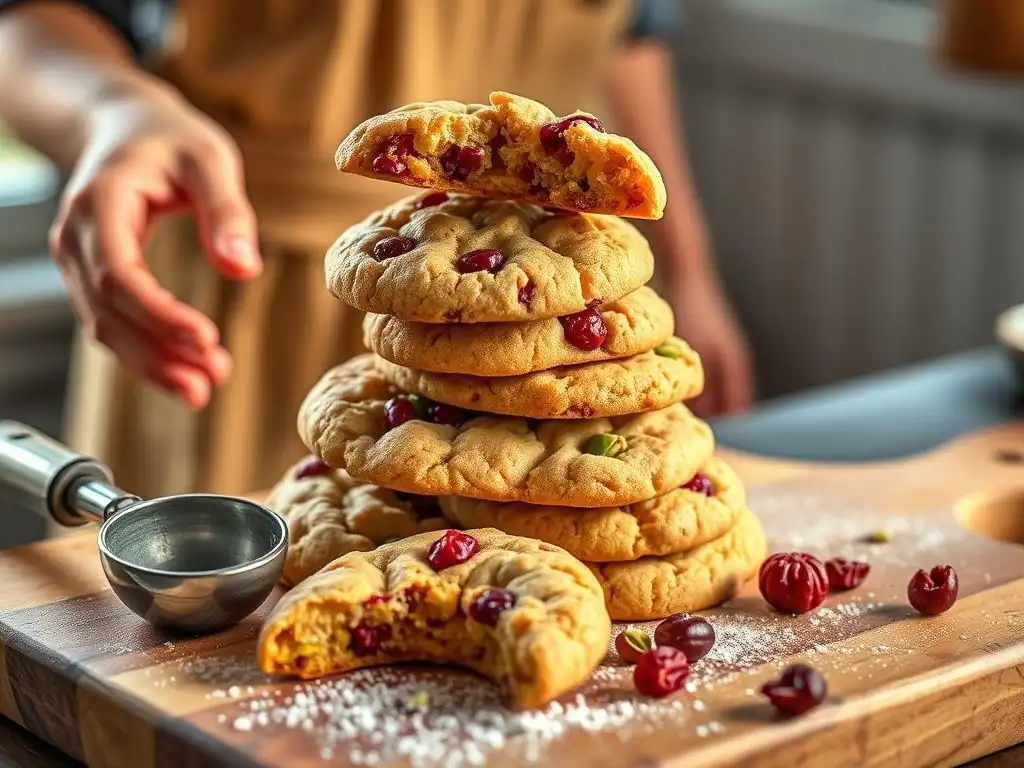
For a touch of elegance and festive color, cranberry pistachio slice-and-bake cookies are an excellent choice. The combination of tart cranberries and crunchy pistachios adds layers of flavor and texture to a simple buttery dough. These easy slice and bake cookies are not only delicious but also visually appealing, making them perfect for holiday platters or gifting.
This recipe is a wonderful way to elevate the basic slice-and-bake technique. The vibrant red and green from the cranberries and pistachios are naturally festive, and their distinct flavors complement the rich cookie base beautifully. Preparing the dough ahead of time means you can have these sophisticated cookies ready with minimal last-minute effort for any occasion.
To make cranberry pistachio slice-and-bake cookies, you'll need:
- 1 cup (2 sticks) unsalted butter, softened
- ¾ cup granulated sugar
- 1 large egg
- 1 teaspoon vanilla extract
- 2 cups all-purpose flour
- ½ teaspoon baking powder
- ¼ teaspoon salt
- 1 cup dried cranberries
- 1 cup shelled pistachios, roughly chopped
Using unsalted butter allows the distinct flavors of the cranberries and pistachios to shine through without competing with excess salt. Ensure your dried cranberries are plump; if they seem dry, you can soak them in warm water for 10 minutes and drain thoroughly before adding to the dough. Roughly chopping the pistachios ensures good distribution throughout the cookie.
Once your cranberry pistachio dough log is well-chilled (at least 2 hours), preheat your oven to 350°F (175°C). Line baking sheets with parchment paper. Use a sharp knife to slice the log into rounds about ½ inch thick. Place the slices on the prepared baking sheets, leaving about 1.5 inches between cookies to allow for slight spread.
Bake for 12-14 minutes, or until the edges are lightly golden and the centers appear set. Because of the additions, these might take slightly longer than a plain cookie. Let the cookies cool on the baking sheets for 5-10 minutes before carefully transferring them to a wire rack to cool completely. The colors of the cranberries and pistachios will become more vibrant as they cool.
Cranberry pistachio slice-and-bake cookies are naturally festive, but you can enhance their holiday appeal further. After slicing, you can lightly press the edges of each cookie into granulated sugar or a mix of sugar and finely chopped pistachios before baking for a sparkling finish. This adds both visual interest and a touch of extra crunch.
For gifting or serving on a holiday platter, consider drizzling the cooled cookies with melted white chocolate or dark chocolate. You can use a piping bag with a fine tip or simply drizzle with a spoon for a rustic look. Arranging the cookies with other festive treats, like gingerbread or sugar cookies decorated with simple icing, creates a beautiful and inviting display.
Troubleshooting Common Slice-and-Bake Challenges
Even with easy slice and bake cookies, sometimes things don't go exactly as planned. Understanding common issues and how to fix them can save your batch and build your baking confidence. Most problems relate to dough consistency or baking temperature, which are relatively easy to adjust once you know what to look for.
Common challenges include dough that's too dry to form logs, cookies that spread too much or too little, and uneven baking. Addressing these issues often involves small tweaks to the dough or adjusting your oven settings. Don't be discouraged if your first attempt isn't perfect; baking is a learning process, and troubleshooting is part of mastering any technique.
Dough Too Dry? How to Rehydrate
If your cookie dough is too dry and crumbly to form a cohesive log, it likely needs a little more moisture. This can happen if you added too much flour or if your ingredients were very cold. The easiest fix is to add a very small amount of liquid, like milk or cream, one teaspoon at a time. Mix it in gently until the dough just comes together and can be shaped without crumbling excessively.
Alternatively, if the dough is only slightly dry, sometimes kneading it gently with your hands for a minute or two can help. The warmth from your hands can slightly soften the butter and help bind the ingredients. However, be careful not to overwork the dough, as this can develop gluten and lead to tough cookies. Adding liquid is usually the most effective method for significantly dry dough.
Unevenly baked cookies often result from inconsistent dough thickness or hot spots in your oven. First, ensure your dough logs are of a uniform diameter and you are slicing them into rounds of consistent thickness (aim for ½ inch). Thinner cookies will bake faster and potentially burn before thicker ones are done. Using a sharp knife helps achieve uniform slices.
Second, most ovens have hot spots. To combat this, rotate your baking sheet halfway through the baking time. If you're baking multiple sheets at once, swap their positions in the oven (top rack to bottom, bottom to top) and rotate them. Using a reliable oven thermometer can also help ensure your oven is actually at the temperature you set it to, as calibrations can sometimes be off by 25°F or more.
Over-browning usually indicates that the oven temperature is too high or the cookies are baking for too long. Ensure your oven temperature is accurate using an oven thermometer. If the tops or bottoms of your easy slice and bake cookies are browning too quickly while the centers are still soft, try reducing the oven temperature by 25°F and extending the baking time slightly.
Using parchment paper on your baking sheets helps prevent the bottoms from browning too fast compared to the tops. If the tops are browning rapidly, you can tent the baking sheet loosely with aluminum foil for the last few minutes of baking. Also, ensure your cookie slices are of uniform thickness, as thinner slices will bake faster and are more prone to over-browning.
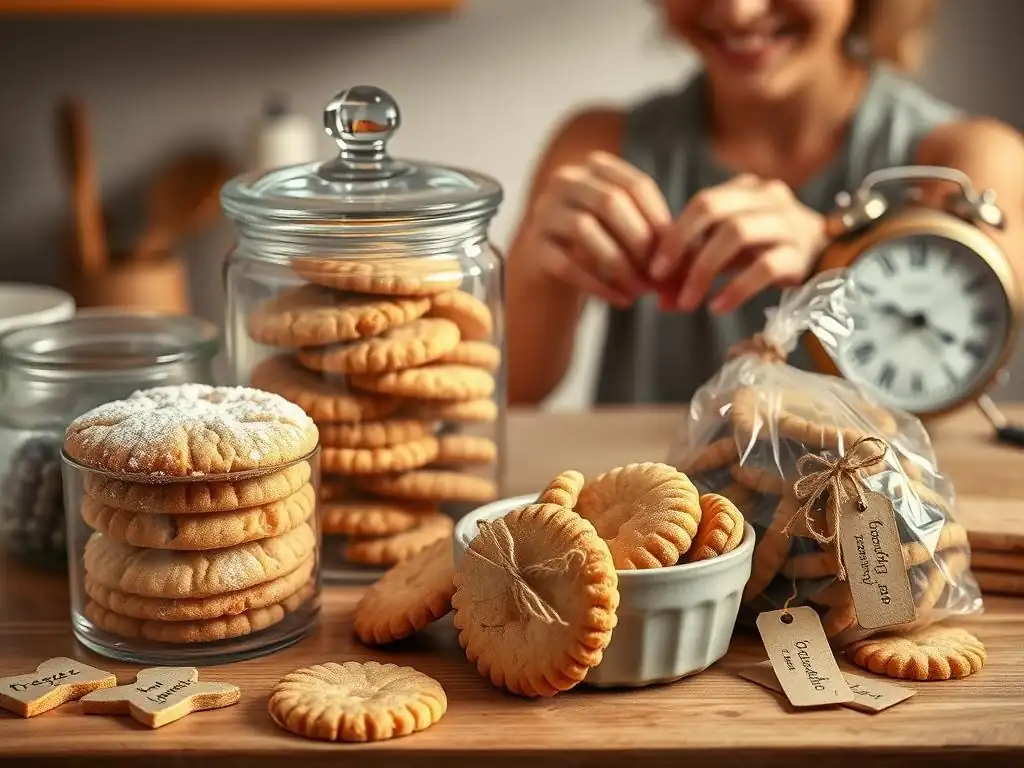
One of the major advantages of easy slice and bake cookies is their excellent storage potential, both before and after baking. Knowing how to properly store your dough and baked cookies ensures you can enjoy fresh, delicious treats for days or even weeks. Proper storage also helps maintain the texture and flavor you worked to achieve.
Whether you've baked a whole batch or just a few at a time, correct storage methods prevent staling and preserve quality. From keeping baked cookies fresh at room temperature to freezing dough logs for future use, these simple steps maximize the convenience and enjoyment of your homemade treats.
Once your slice-and-bake cookies have cooled completely on a wire rack, store them in an airtight container at room temperature. Layering them between sheets of parchment or wax paper can prevent them from sticking together, especially if they have any soft spots or additions like chocolate. Stored properly, most slice-and-bake cookies will stay fresh for 3-5 days.
For longer storage of baked cookies, you can freeze them. Place the cooled cookies in a single layer on a baking sheet and freeze until solid (about 1-2 hours). Then, transfer the frozen cookies to a freezer-safe airtight container or zip-top bag, layering them with parchment paper. Frozen baked cookies can last for 2-3 months. Thaw at room temperature before serving.
Freezing Dough Logs for Future Baking
Freezing dough logs is the ultimate convenience feature of easy slice and bake cookies. After shaping your dough into logs and chilling them for at least 30-60 minutes to firm up slightly, wrap each log tightly in plastic wrap. Ensure there are no air pockets. For extra protection against freezer burn, wrap the plastic-wrapped log again in aluminum foil or place it in a freezer-safe bag.
Label the wrapped logs with the cookie type and the date. Frozen dough logs can be stored in the freezer for up to 3 months. When you're ready to bake, simply remove the log from the freezer, let it sit at room temperature for about 10-15 minutes to make it easier to slice (though some find it easiest to slice when still very firm), slice into rounds, and bake directly from frozen. You may need to add an extra minute or two to the baking time.
Expanding Your Skills: Advanced Slice-and-Bake Techniques
Once you've mastered the basics of easy slice and bake cookies, you can explore more advanced techniques to add complexity and visual flair. These methods build upon the core principles but introduce creative ways to infuse flavors or create stunning patterns within the dough itself. It's a great way to impress friends and family with cookies that look as good as they taste.
From incorporating fresh ingredients for vibrant flavors to manipulating dough layers for intricate designs, these techniques offer exciting possibilities. They demonstrate the versatility of the slice-and-bake method beyond simple rounds, turning your cookies into edible art with just a little extra effort during the dough preparation phase.
Flavor Infusions: Incorporating Zests and Fresh Herbs
Beyond vanilla, the slice-and-bake dough base is excellent for incorporating fresh flavors. Citrus zests (like lemon, orange, or lime) can be rubbed into the sugar at the beginning of the recipe to release their oils and infuse the dough with bright, fresh notes. Use about 1-2 tablespoons of zest per batch.
For a more unusual but delightful twist, consider incorporating finely minced fresh herbs like rosemary or thyme into the dough. These pair surprisingly well with buttery cookies, especially those with nutty or citrus elements. Add about 1-2 teaspoons of finely chopped herbs to the dough along with the dry ingredients. This works particularly well in shortbread-style easy slice and bake cookies.
Creating visual patterns like checkerboards or pinwheels is a fun way to elevate your slice-and-bake game. For a checkerboard, divide the dough into two portions. Tint one portion with cocoa powder or food coloring. Form each portion into flat rectangles. Layer the rectangles, cut into strips, and assemble alternating colors to form a checkerboard pattern before shaping into a log.
Pinwheel cookies involve combining two different colored or flavored doughs (like vanilla and chocolate). Roll each dough into a thin rectangle of the same size. Layer one dough sheet on top of the other, then carefully roll the layered dough tightly into a log, starting from one long edge. This creates a spiral effect when sliced. Chill and bake as usual.
Marbling adds a beautiful, swirled effect to your easy slice and bake cookies. Prepare two doughs of contrasting colors or flavors (e.g., plain sugar cookie dough and a chocolate version, or a plain dough with one portion tinted with food coloring). Take chunks of each dough and loosely combine them, twisting or swirling them together a few times.
Avoid overmixing; you want distinct swirls, not a uniform color. Gently form the marbled dough into a log, twisting slightly as you shape it to enhance the marble effect. Chill and slice as usual. Each cookie will have a unique, artistic pattern, making a simple cookie feel special and visually appealing.
Mastering easy slice and bake cookies opens up a world of convenient, delicious, and versatile baking possibilities. This method simplifies the process, reduces cleanup, and allows for spontaneous baking, making homemade treats accessible to everyone, regardless of skill level or time constraints. From classic buttery shortbread to creative cranberry pistachio or patterned variations, the slice-and-bake technique is a cornerstone for any home baker seeking efficiency and consistent results.
The make-ahead nature and freezer-friendly dough logs mean you're never far from a warm, comforting cookie. It's a technique that encourages experimentation with flavors and additions while providing a reliable structure. Embrace the simplicity, enjoy the process, and savor the delightful results of your effortless cookie creations.
Final Tips for Slice-and-Bake Success
Always start with room-temperature butter for proper creaming. Measure your flour accurately, preferably using a kitchen scale (around 120-125 grams per cup). Chill your dough logs thoroughly for at least 2 hours; this is the most crucial step for clean slicing and shape retention. Use a sharp, non-serrated knife for slicing the chilled dough to get clean, uniform rounds.
Don't overcrowd your baking sheets, leaving enough space for slight spread. Keep a close eye on the cookies while baking, as times can vary based on thickness and oven calibration. Most easy slice and bake cookies are done when the edges are lightly golden and the centers look set but not deeply browned. Allow cookies to cool on the baking sheet for a few minutes before transferring to a rack.
We hope this guide inspires you to try your hand at easy slice and bake cookies. They are a fantastic way to enjoy fresh, homemade treats with minimal fuss. Whether you stick to the classics or experiment with new flavors and patterns, the process is rewarding and the results are always delicious.
We love seeing what you bake! Share photos of your beautiful and delicious slice-and-bake cookies. Tell us about your favorite recipes, variations you've tried, or any tips you've discovered along the way. Baking is a joy best shared, and your creations might just inspire another baker to discover the bliss of easy slice-and-bake cookies!
Frequently Asked Questions
Slice-and-bake cookies are appealing because they require minimal effort and offer consistent results. The dough is prepared in advance and chilled, allowing for easy slicing and baking when you're ready for a treat.
Absolutely! Slice-and-bake cookie dough is highly customizable. You can add extracts, spices, chocolate chips, nuts, or dried fruit to create a variety of flavor combinations.
Typically, slice-and-bake cookie dough can be stored in the refrigerator for up to 5 days. Make sure to wrap the dough tightly in plastic wrap to prevent it from drying out.
To ensure even baking, preheat your oven thoroughly and use a baking sheet lined with parchment paper. Also, slice the dough into uniform thickness for consistent cooking.
If your slice-and-bake cookie dough is too hard, let it sit at room temperature for 5-10 minutes to soften slightly. Avoid letting it get too soft, or it will be difficult to slice cleanly.
Final Reflection: The Enduring Sweetness of Simple Baking
The joy of baking shouldn't be confined to professional kitchens; it's a skill accessible to everyone, and these easy slice-and-bake cookies prove it. The simplicity of these recipes allows even the most novice baker to experience the satisfaction of creating something delicious and shareable, a feeling increasingly valuable in our fast-paced world.
The enduring appeal of homemade treats lies not just in their taste, but in the connection they foster. These simple cookies, with their minimal ingredients and straightforward methods, represent a return to a slower, more mindful approach to food preparation. They offer a tangible way to connect with tradition and create something beautiful, even if it's just for yourself. Baking is at once child's play and adult joy. And love, of course.
- Alma Flor Ada. This quote perfectly encapsulates the magic of baking, especially when it’s as accessible as these recipes make it.
Now, I invite you to roll up your sleeves, gather your ingredients, and experience the beginner baking bliss for yourself. Don't be intimidated by the process; embrace the imperfections, savor the aroma, and share the joy of these simple cookies with loved ones. Remember, the most important ingredient isn't listed on the recipe card – it's the love and care you put into the baking process. Let the sweet scent of freshly baked cookies fill your home and your heart.
Thanks for joining us on this baking adventure! We hope you've discovered the joy of creating simple yet scrumptious slice-and-bake cookies. Ready to take your newfound skills to the next level?
- Bake your favorite recipe from the article today! Grab your ingredients and let the sweet aroma fill your kitchen. It’s easier than you think!
- Share your baking creations with us on social media – we'd love to see your delicious results! Use #BakeWithEase to connect with our community.
- Experiment with different flavor combinations and share your own unique twist on a classic slice-and-bake cookie. Let your creativity shine!
What surprising ingredient will you add to your next batch of slice-and-bake cookies?