
Foolproof Sugar Cookies: Simple Steps for Your First Batch

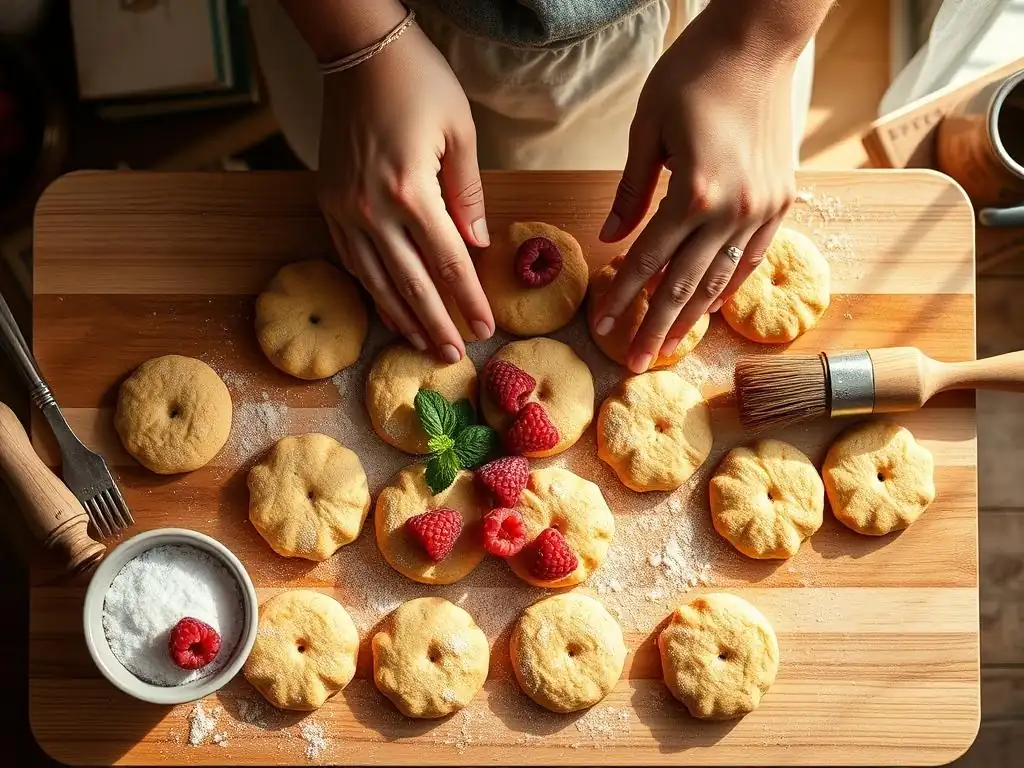
Welcome to BakeWithEase, your guide to baking bliss! Ever dreamt of creating perfectly soft, delightfully sweet sugar cookies? Forget the intimidation – we're demystifying the process. Dive into our article on a foolproof sugar cookies beginner recipe, and discover how easily you can bake up a batch of unforgettable treats. What secrets await in mastering the perfect dough consistency and achieving that golden-brown perfection? Let's find out together!
- BakeWithEase' Guide to Easy Sugar Cookies for Beginners
- Why This Foolproof Sugar Cookie Recipe is Perfect for Beginner Bakers
- Mastering the Basics: Your First Sugar Cookie Dough
- Baking Your Sugar Cookies: Achieving Golden Perfection
- Decorating Your Sugar Cookies: Unleash Your Creativity
- Troubleshooting Your Sugar Cookies: Common Beginner Mistakes and How to Fix Them
- Storing Your Foolproof Sugar Cookies: Keeping Them Fresh
- More Beginner Baking Recipes from BakeWithEase
-
Frequently Asked Questions
- What makes this sugar cookie recipe foolproof for beginners?
- Are there any special tools needed for this beginner sugar cookie recipe?
- Can I substitute ingredients in this foolproof sugar cookie recipe?
- How do I prevent my sugar cookies from spreading too thin while baking?
- What's the best way to store leftover foolproof sugar cookies to keep them fresh?
- Final Reflection: Embracing the Sweet Simplicity of Baking
- Unlock Your Inner Baker: Perfect Sugar Cookies Await!
Welcome to BakeWithEase, your friendly guide to the wonderful world of baking! If you've ever dreamed of baking beautiful, delicious cookies from scratch but felt intimidated, you're in the right place. This guide is specifically designed for you. We're going to walk you through creating a batch of classic sugar cookies using a foolproof sugar cookies beginner recipe that is genuinely simple and rewarding. Forget complicated techniques; we focus on clarity and ease.
This recipe is perfect for anyone just starting their baking journey. Sugar cookies are a fantastic foundation because they teach you essential dough-making skills, how to handle and roll dough, and the basics of baking until golden perfection. Plus, they are incredibly versatile and fun to decorate! By the end of this guide, you'll have the confidence to tackle your first batch of easy sugar cookies and impress yourself and others with your new baking skills.
One of the greatest advantages of this particular foolproof sugar cookies beginner recipe is its reliance on basic pantry staples. You won't need any fancy, hard-to-find ingredients. The core of these classic cookies includes readily available items like all-purpose flour, granulated sugar, unsalted butter, eggs, vanilla extract, baking powder, and a pinch of salt. These are ingredients you likely already have or can easily find at any grocery store.
Using simple ingredients also means the flavors are clean and classic. The quality of your butter and vanilla will shine through, giving you that comforting, familiar sugar cookie taste. For a standard batch yielding about 2-3 dozen cookies (depending on size), you'll typically need around 2.5 cups of flour, 1 cup of granulated sugar, 1 cup (two sticks) of unsalted butter, 1 large egg, and about 1-2 teaspoons of vanilla extract. These simple quantities make measuring straightforward for beginners.
Easy-to-Follow Instructions: No Baking Experience Needed
This simple sugar cookie recipe is designed with clarity in mind, breaking down each step into manageable actions that require absolutely no prior baking experience. We avoid complex terminology and focus on what you need to do and why. From creaming the butter and sugar to adding the dry ingredients, each phase is explained simply. The process typically involves just a few main steps: creaming, mixing in wet ingredients, adding dry ingredients, chilling, rolling, cutting, and baking.
The instructions emphasize visual cues and tactile feelings – like how the dough should look and feel when properly mixed, or what the cookies should look like when they are perfectly baked. We also provide tips on common pitfalls and how to avoid them, ensuring your first attempt is successful. This beginner sugar cookie recipe builds confidence by providing clear guidance at every turn, making the journey from ingredients to delicious cookies smooth and enjoyable.
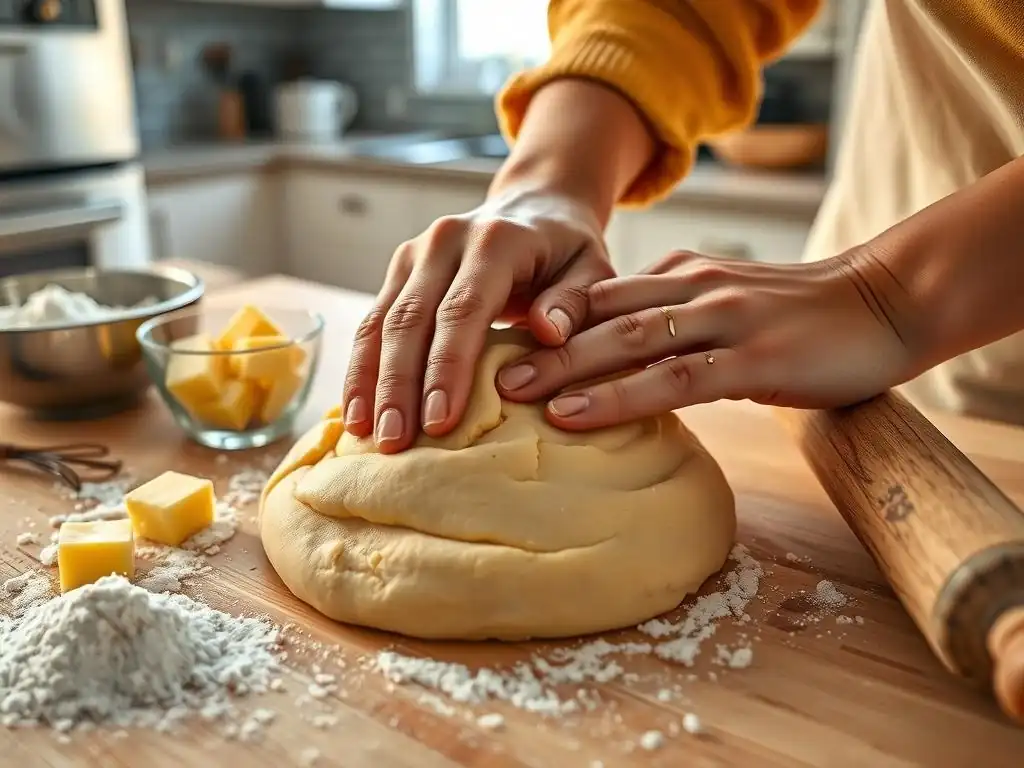
Before you even turn on your mixer, the first crucial step in this foolproof sugar cookies beginner recipe is to gather and prepare all your ingredients. This process, often called "mise en place" in professional kitchens, simply means having everything ready before you start mixing. It prevents you from scrambling mid-recipe and ensures you don't forget anything. Ensure your butter is softened to room temperature – this is key for proper creaming. Your egg should also be at room temperature; you can achieve this quickly by placing it in a bowl of warm water for 5-10 minutes.
Here’s a simple checklist to help you get started:
- [ ] All-purpose flour (measured correctly!)
- [ ] Granulated sugar
- [ ] Unsalted butter, softened
- [ ] Large egg, room temperature
- [ ] Vanilla extract
- [ ] Baking powder
- [ ] Salt
Pro Tip: Measuring flour correctly is vital! Use the "spoon and level" method: gently spoon flour into your measuring cup until it overflows, then level off the excess with a straight edge. Do not scoop directly from the bag, as this packs the flour and results in using too much.
Mixing sugar cookie dough is straightforward, following a standard creaming method. Start by creaming the softened butter and granulated sugar together in a large bowl using an electric mixer (handheld or stand mixer) until the mixture is light and fluffy, typically taking about 3-5 minutes. This process incorporates air, which contributes to the cookie's texture. Scrape down the sides of the bowl occasionally to ensure everything is evenly combined.
Next, beat in the room-temperature egg and vanilla extract until just combined. Don't overmix at this stage. In a separate bowl, whisk together your dry ingredients: the measured flour, baking powder, and salt. Gradually add the dry ingredients to the wet ingredients, mixing on low speed until just combined. Stop mixing as soon as you no longer see streaks of dry flour. Overmixing develops too much gluten, which can result in tough cookies. The dough might be slightly crumbly at this point, but it should come together when pressed.
The Chill Factor: Why Chilling Your Dough is Crucial
Chilling the dough is a non-negotiable step for achieving perfect, non-spreading sugar cookies, especially with a beginner sugar cookie recipe. As you mix the dough, the butter softens further from the friction and heat. Chilling the dough solidifies the butter again. When the cold dough goes into the hot oven, the butter melts more slowly, helping the cookies hold their shape rather than spreading into flat puddles.
Beyond preventing spread, chilling also makes the dough much easier to handle. Rolling and cutting warm, soft dough can be frustratingly sticky. Chilled dough is firm and pliable, allowing you to roll it evenly and cut crisp shapes. For this easy sugar cookies recipe, aim to chill the dough for at least 30-60 minutes. For best results, wrap the dough tightly in plastic wrap and flatten it into a disk before chilling; this helps it chill faster and makes rolling easier later. You can even chill it overnight if needed.
Rolling Out the Dough: Tips for Even Thickness
Once your dough is properly chilled, it's time to roll it out. For a foolproof sugar cookies beginner recipe, achieving even thickness is key to ensuring your cookies bake uniformly. If some cookies are thick and others are thin, the thin ones will burn before the thick ones are done. Start by lightly flouring your work surface and your rolling pin. Take about half of the chilled dough disk (keep the rest chilled) and place it on the floured surface.
Begin rolling from the center outwards, rotating the dough occasionally and adding just a little more flour if needed to prevent sticking. Aim for a thickness of about 1/4 inch (around 6mm). This thickness provides a good balance between a sturdy cookie for decorating and a pleasant texture. You can use rolling pin guides or stack two coins on either side of your dough as visual guides if you want extra precision. Lift and rotate the dough periodically to ensure it's not sticking to the surface.
Cutting shapes from your rolled dough is one of the most fun parts of making easy sugar cookies! The type of cookie cutter you choose can impact the ease of cutting and the final look. Simple shapes like circles, squares, or classic gingerbread men are great for beginners as they are less likely to stick or tear the dough. Avoid cutters with very intricate details or sharp points for your first batch, as these can be trickier to work with.
Dip your cookie cutter in flour before pressing it firmly into the dough. This helps prevent the dough from sticking inside the cutter. Press straight down, don't twist. Carefully lift the cutter, and then use a thin spatula or offset spatula to transfer the cut dough shapes to your prepared baking sheet (lined with parchment paper is recommended for easy cleanup and preventing sticking). Re-roll the scraps gently, chill again briefly if they become warm, and cut more shapes.
Getting the baking time and temperature right is crucial for achieving the desired texture in your foolproof sugar cookies beginner recipe. A common temperature for sugar cookies is 350°F (175°C). Ensure your oven is fully preheated before placing the cookies inside. For 1/4-inch thick cookies, baking typically takes between 8 and 12 minutes. The exact time will vary depending on your oven and the size of your cookies.
Keep a close eye on your cookies as they bake. They are done when the edges look set and are just beginning to turn a very light golden brown. The centers should still look pale and slightly soft. Do not wait for the entire cookie to look golden, as this means they will be over-baked and hard. Remove the baking sheet from the oven and let the cookies cool on the sheet for 2-3 minutes before carefully transferring them to a wire rack to cool completely. This initial cooling on the hot sheet helps them firm up without overcooking.
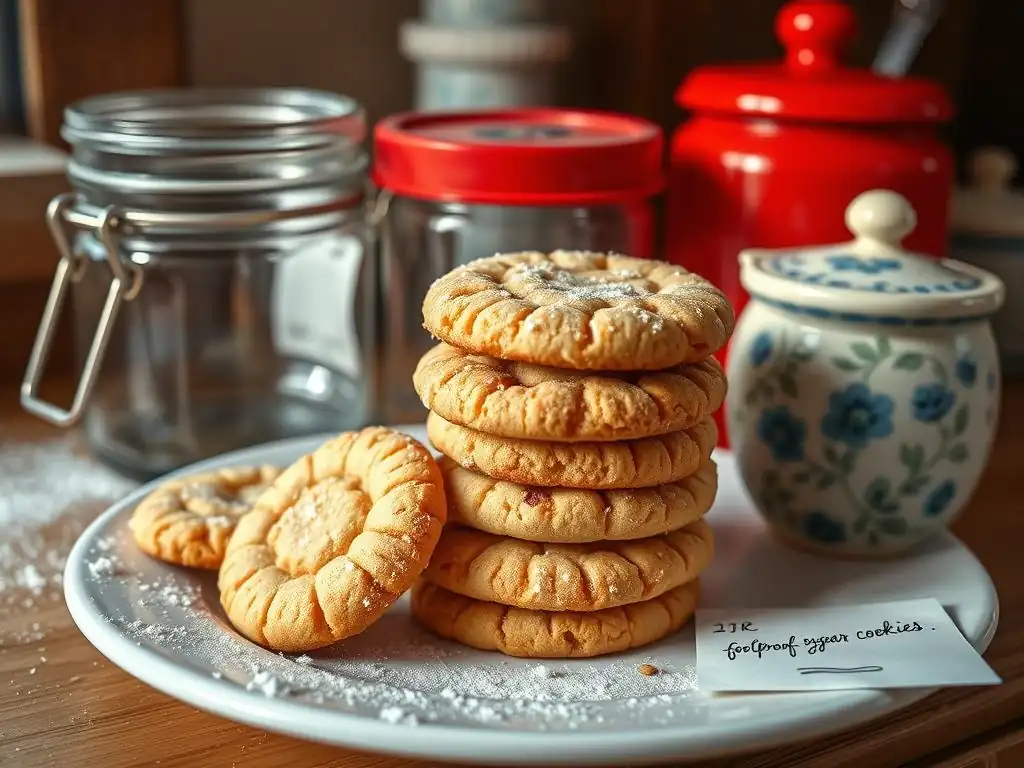
Decorating your easy sugar cookies is where you can really let your creativity shine! For beginners, simple frosting recipes are the way to go. A basic buttercream frosting is incredibly easy and uses ingredients like softened butter, powdered sugar, a splash of milk or cream, and vanilla extract. Simply cream the butter, then gradually beat in the powdered sugar alternately with the liquid until you reach a spreadable consistency.
Another excellent beginner-friendly option is a simple glaze. This typically involves mixing powdered sugar with a small amount of milk, lemon juice, or water until it's a pourable consistency. You can tint it with food coloring. While not as precise as royal icing for intricate designs, a glaze is perfect for dipping the tops of cookies or spreading a thin layer. It hardens slightly as it sets, providing a neat finish. For a standard batch of 2-3 dozen cookies, about 2 cups of powdered sugar and 2-4 tablespoons of liquid will make a good amount of glaze.
Easy Decorating Techniques: From Sprinkles to Simple Icing
You don't need to be an artist to make your first batch of foolproof sugar cookies look festive and fun. Once the cookies are completely cooled, you can start decorating. The simplest technique is applying a layer of frosting or glaze (using a knife, offset spatula, or dipping) and immediately adding sprinkles. There are endless varieties of sprinkles available, from classic jimmies to sparkling sugars and nonpareils.
For a slightly more involved but still easy technique, use a piping bag fitted with a simple round tip (like a Wilton #3 or #4) or even just a Ziploc bag with a corner snipped off. You can outline the cookie shape and then fill it in (this is called flooding, though true flooding consistency is thinner). Alternatively, simply pipe dots, lines, or swirls directly onto the cookie. Using just one or two colors of icing can create a clean, modern look.
While a bit more advanced than simple glazes, royal icing is the standard for beautifully decorated sugar cookies that harden completely and stack well. It's made from powdered sugar, meringue powder (or egg whites), and water. Meringue powder is recommended for beginners as it's safer and easier to work with than raw egg whites. The consistency is key: a thicker consistency is used for outlining, and a thinner "flood" consistency is used to fill in the areas.
To make a basic royal icing, whisk together about 4 cups of powdered sugar with 3 tablespoons of meringue powder. Gradually add about 1/2 cup of warm water, mixing until smooth. You can add more water very slowly, a teaspoon at a time, to reach the desired consistency. For outlining, you want the icing to hold its shape when piped.
For flooding, you want it to be thin enough to spread and smooth out on its own, but thick enough not to run off the cookie (test by drizzling a line on the surface – it should disappear into the icing within 10-15 seconds). This takes practice, but don't be discouraged! Start with one consistency (like a simple outline consistency) for your first try.
One of the most common frustrations with a beginner sugar cookie recipe is cookies spreading excessively in the oven. There are a few culprits here. The most frequent reason is insufficient chilling time. If your dough wasn't cold enough, the butter melted too quickly. Ensure you chill the dough for at least 30-60 minutes, or until firm. Another reason can be using butter that was too soft when you started creaming, or even partially melted. Your butter should be pliable but not greasy.
Other causes include using too much leavening (baking powder or baking soda, though most classic sugar cookies use only baking powder) or an inaccurate oven temperature (sometimes ovens run hotter or cooler than set – an oven thermometer is a great investment). Using too much flour can also sometimes affect spread, though it more often leads to tough cookies. Stick closely to the recipe's measurements and chilling instructions for best results with your foolproof sugar cookies beginner recipe.
If your easy sugar cookies turned out hard and dense instead of tender, the likely culprit is overmixing the dough or using too much flour. When you mix flour with liquid and work it (especially with a mixer), you develop gluten. While gluten is essential for bread structure, too much in cookies makes them tough. Stop mixing the dough as soon as the dry ingredients are just incorporated. Hand-mixing the final bit of flour can help prevent overmixing.
Using too much flour is another common issue, often from scooping directly from the bag instead of spooning and leveling. Excess flour makes the dough dry and results in a hard cookie. Ensure you measure accurately using the spoon and level method mentioned earlier. Lastly, overbaking will also result in hard cookies. Refer back to the baking section and look for those visual cues of done-ness (lightly golden edges) rather than waiting for the whole cookie to color.
Achieving the Perfect Soft and Chewy Texture
While classic cut-out sugar cookies are often designed to be a bit firmer for decorating, you can adjust a foolproof sugar cookies beginner recipe slightly to encourage a softer, chewier texture if that's your preference. One common technique is to use a combination of unsalted butter and vegetable shortening (like Crisco) instead of just butter. Shortening has a higher melting point and interferes with gluten development, leading to a more tender crumb. Try replacing half of the butter with shortening.
Another factor is baking time. For chewy cookies, you want to remove them from the oven when the centers still look very slightly underdone. The residual heat from the baking sheet will continue to cook them as they cool, resulting in a soft center and slightly firmer edge. Also, ensuring your ingredients are at the correct temperature (softened butter, room temperature egg) helps create a better dough structure that contributes to a tender cookie.
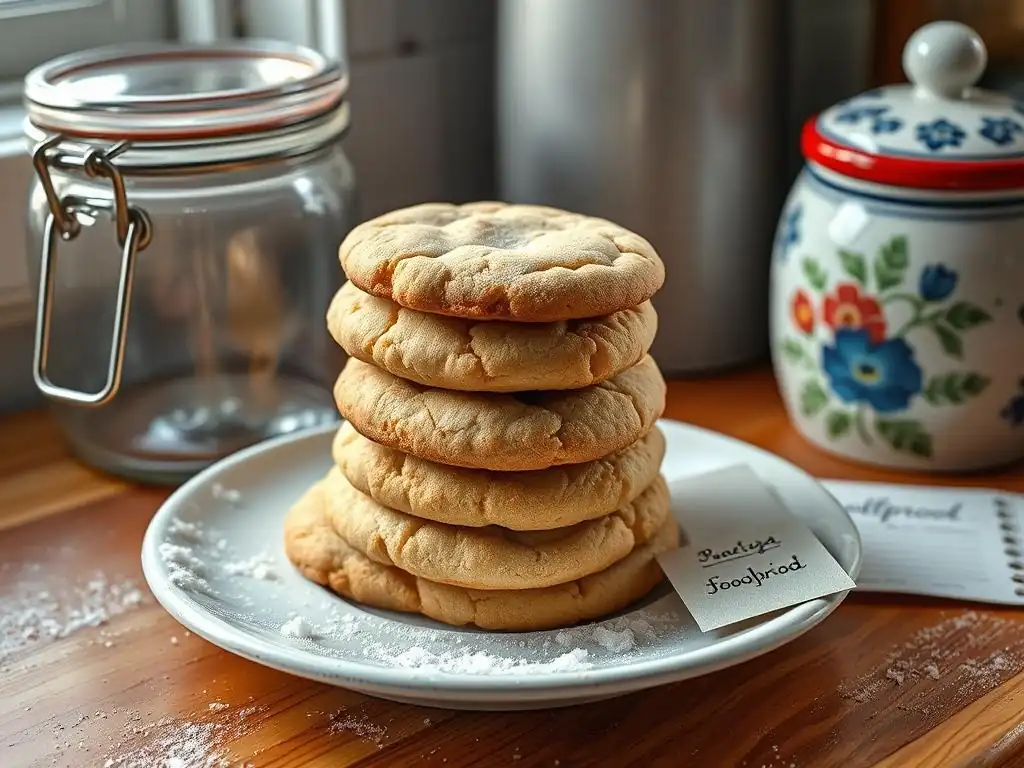
Proper storage is key to keeping your delicious easy sugar cookies fresh and maintaining their texture. Once your cookies are completely cooled (and any icing is fully set), store them in an airtight container. A cookie tin or a plastic food storage container with a tight-fitting lid works well. Avoid storing different types of cookies together, especially strong-flavored ones, as flavors can transfer.
If you've decorated your cookies with royal icing, ensure the icing is completely dry and hardened before stacking them. This can take several hours or even overnight, depending on humidity and icing thickness. You can place parchment paper or wax paper between layers of stacked cookies to prevent sticking, especially if using a softer frosting like buttercream. Store the container at room temperature, away from direct sunlight or heat sources.
When stored correctly in an airtight container at room temperature, plain or simply glazed foolproof sugar cookies typically stay fresh for about 3 to 5 days. They will remain edible for longer, but their texture and flavor will start to degrade. If you've used buttercream frosting, they might be best consumed within 2-3 days for optimal freshness.
For longer storage, sugar cookies freeze exceptionally well. You can freeze baked, undecorated cookies by placing them in a single layer on a baking sheet until solid, then transferring them to a freezer-safe airtight container or freezer bag. They can be frozen for up to 6-8 months. Decorated cookies can also be frozen, but stack them carefully with parchment paper in between, ideally in a rigid container to prevent damage. Thaw frozen cookies at room temperature in their container to prevent condensation.
More Beginner Baking Recipes from BakeWithEase
Now that you've mastered your first batch of foolproof sugar cookies using this simple sugar cookie recipe, you might be ready to try other easy cookie recipes! BakeWithEase offers a variety of beginner-friendly options that build on the skills you've learned. Classic chocolate chip cookies are a great next step, introducing concepts like brown sugar and chocolate additions. Peanut butter cookies are also incredibly simple, often requiring just a few ingredients.
Consider trying our recipes for simple oatmeal cookies or basic shortbread. Each recipe introduces slightly different techniques or ingredient ratios but maintains the focus on clear instructions and achievable results for new bakers. Expanding your repertoire with these easy recipes will boost your confidence and deepen your understanding of basic baking principles.
Baking Tips and Tricks for New Bakers
Beyond specific recipes, building good habits will make all your baking experiences more successful. Always read the entire recipe through before you begin. This helps you understand the steps and timing. Accurate measuring, especially of flour, is paramount – invest in a kitchen scale for the most precise results if you plan to bake often. Using ingredients at the specified temperature (like softened butter or room temperature eggs) truly makes a difference in the outcome.
Don't be afraid to make mistakes! Every baker has had a batch of cookies spread too much or turn out too hard. Baking is a science, but it also takes practice and getting a feel for how ingredients behave. Use an oven thermometer to verify your oven's temperature. And most importantly, have fun! Baking should be an enjoyable process. With this foolproof sugar cookies beginner recipe and the tips from BakeWithEase, you're well on your way to becoming a confident home baker.
Frequently Asked Questions
This recipe is considered foolproof because it uses simple ingredients and provides clear, step-by-step instructions, minimizing common errors.
No, you don't need special tools! Basic baking equipment like measuring cups, mixing bowls, and a rolling pin are sufficient.
While possible, substitutions can affect the texture and flavor. It's best to follow the recipe as written initially for optimal results and consistent outcomes.
Chilling the dough before baking is key! This solidifies the butter, preventing excessive spreading and ensuring crisp edges.
Store baked cookies in an airtight container at room temperature. This helps maintain their soft texture and delicious flavor for several days.
Final Reflection: Embracing the Sweet Simplicity of Baking
Baking is not just a culinary skill; it is a delightful journey that connects us to our creativity and nurtures our souls. In today’s fast-paced world, where convenience often trumps tradition, the art of baking foolproof sugar cookies serves as a gentle reminder of the joy found in simplicity. These cookies are more than just a treat; they embody the spirit of home, warmth, and the sweet moments we share with loved ones.
The experience of baking can transform our kitchens into spaces of connection and joy. As we gather ingredients and follow simple steps, we not only create delicious cookies but also memories that linger long after the last crumb is gone. The act of baking has a profound impact on our cultural landscape, fostering a sense of community and belonging. Baking is both an art and a science, a way to express love and creativity.
This sentiment resonates deeply, reminding us that every batch of cookies is an opportunity to share a piece of ourselves with others.
As you embark on your baking journey, I invite you to reflect on the lessons learned from crafting your first batch of foolproof sugar cookies. Consider how this simple act can bring joy not only to your palate but also to your heart and home. Whether you’re baking for yourself, your family, or friends, let each cookie be a symbol of love, creativity, and the sweet moments that make life truly special. Embrace the process, savor the flavors, and remember that every great baker started with a single batch.
Thanks for taking the time to explore our foolproof sugar cookie recipe! We hope you've gained the confidence to tackle baking with ease. Now, let's get those delicious cookies into your oven and onto your plate!
- Bake a batch of these amazing cookies TODAY! Use the recipe you just read to create a batch of delightful treats. Remember to share pictures of your creations with us on social media!
- Experiment with different sprinkles or frostings. Let your creativity shine and customize your cookies to perfection. What fun flavor combinations will you discover?
- Share this recipe with a friend who also dreams of baking perfect sugar cookies. Let's spread the baking joy!
What innovative flavor combination will you try first in your homemade sugar cookies?