
Get Perfectly Shaped Drop Cookies Every Time

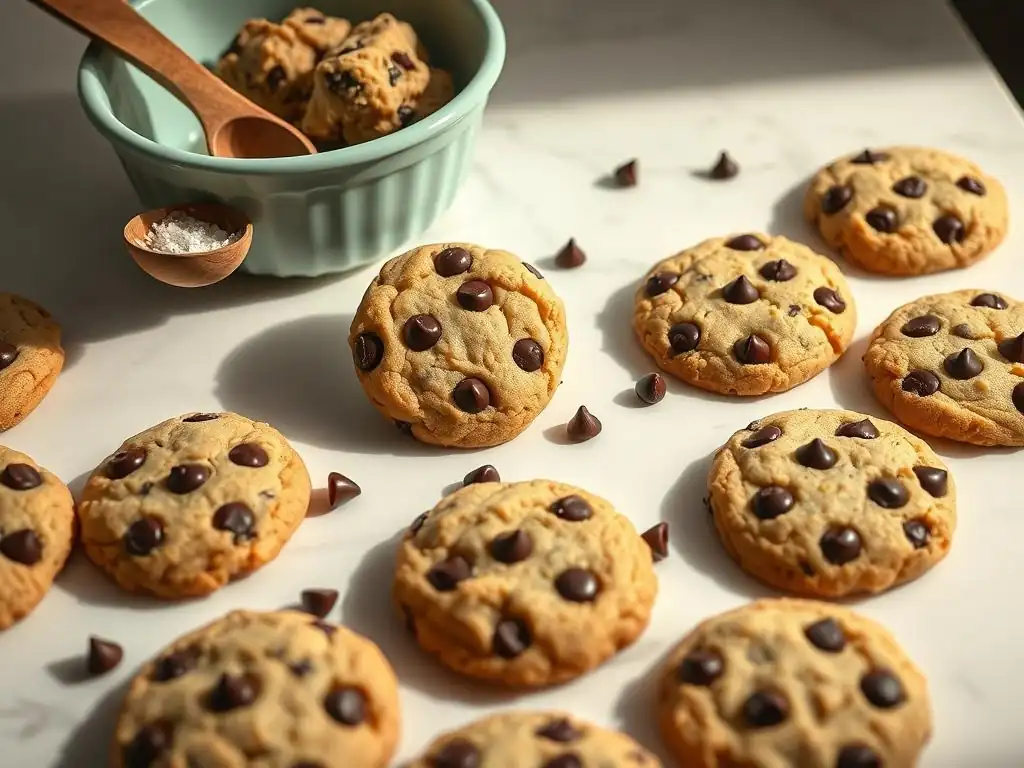
Welcome to BakeWithEase, where the joy of baking is just a whisk away! Whether you’re a novice in the kitchen or a seasoned pro looking to refine your skills, you’ve landed in the perfect place. In today’s feature, we unveil the secrets behind the Perfectly Shaped Drop Cookies Recipe—your ticket to creating mouthwatering treats that boast both flavor and finesse. Ready to elevate your baking game? Dive in and discover how easy it can be to impress your friends and family with cookies that look as good as they taste!
- Mastering Uniform Drop Cookies: A Baker's Guide
- Introduction: Achieving Consistency in Drop Cookies
- Understanding Dough Consistency for Uniformity
- Essential Tools for Shaping Drop Cookies
- Step-by-Step Guide to Shaping Drop Cookies
- Baking Techniques for Maintaining Shape
- Advanced Tips for Perfect Drop Cookie Shapes
- Troubleshooting Common Shape Issues
- Creative Drop Cookie Shaping Ideas
- Classic Chocolate Chip Cookie Recipe
- Conclusion: Enjoying Uniform Drop Cookies
- Frequently Asked Questions
- Final Reflection: The Sweet Science of Perfectly Shaped Cookies
- Unlock Your Inner Baker: Perfect Drop Cookies Await!
Welcome to the delightful world of drop cookies! Whether you're a beginner or looking to refine your skills, achieving perfectly shaped drop cookies every time is a rewarding goal. It’s not just about aesthetics; consistent size and shape ensure even baking, preventing some cookies from being burnt while others are underdone. This guide will walk you through the essential techniques, tools, and tips to help you bake beautiful, uniform drop cookies that are as delicious as they are appealing. We'll explore everything from dough consistency to baking methods, ensuring your next batch is your best batch.
Mastering the art of uniform drop cookies is a key step in becoming a confident baker. Think about a classic chocolate chip cookie – wouldn't you prefer each one to have a similar golden-brown edge and soft center? Uniformity makes stacking, packaging, and sharing much easier, and it guarantees that each bite offers the same delightful texture and flavor experience. Let's dive into the secrets behind achieving that coveted consistent shape for your favorite drop cookie recipes.
Achieving a consistent shape and size for your drop cookies is more than just about making them look pretty on a cooling rack or in a cookie jar. The primary benefit lies in the baking process itself. When cookies are uniform, they bake at the same rate. This means you won't end up with a tray where half the cookies are perfectly baked and the other half are either raw in the center or burnt around the edges. Uniformity ensures predictable results, batch after batch.
Consider baking a batch of sugar cookies or oatmeal cookies. If some are significantly larger or smaller, or have drastically different thicknesses, the baking time will vary wildly. You might pull the tray out when the smaller cookies are done, leaving the larger ones underbaked, or wait for the larger ones, resulting in the smaller ones being overbaked. Uniformity eliminates this guesswork, leading to a higher success rate and less wasted effort (and ingredients!). This is crucial for anyone aiming for a reliable and perfectly shaped drop cookies recipe.
The secret to consistent cookie shapes lies in a combination of factors: starting with the right dough consistency, using precise shaping tools, employing proper baking techniques, and understanding how ingredients interact. It's not just one magic trick, but a holistic approach to the baking process. From chilling your dough to choosing the right baking sheet, each step plays a role in the final appearance of your cookies.
One key secret is temperature control. The temperature of your dough significantly impacts how much it spreads in the oven. A slightly chilled dough, for instance, tends to spread less, resulting in thicker, more uniform cookies compared to dough that's at room temperature or warmer. Another secret is using accurate measuring tools, particularly for portioning the dough. A standard cookie scoop, for example, is designed to create consistently sized balls of dough, taking much of the guesswork out of the shaping process and leading to beautifully perfectly shaped drop cookies.
Understanding Dough Consistency for Uniformity
The texture and consistency of your cookie dough are perhaps the most critical factors influencing the final shape of your drop cookies. Dough that is too wet or too dry, too warm or too cold, will behave differently in the oven, leading to variations in spread and shape. A properly made cookie dough for drop cookies should be scoopable but hold its shape reasonably well before baking. It shouldn't be so stiff that it's hard to portion, nor so loose that it immediately puddles.
Achieving the right dough consistency starts with following your recipe precisely, especially regarding ingredient amounts and temperatures. However, environmental factors like humidity can also play a role. Learning to recognize the correct consistency by feel is a skill that develops with practice. A dough that feels slightly firm but pliable, without being sticky, is often ideal for achieving uniform drop cookies.
The ingredients in your cookie dough have a significant impact on how much your cookies spread during baking. The ratio of butter, sugar, flour, and leavening agents (baking soda and baking powder) are key players. Butter, especially when softened or melted, contributes to spread. Using softened butter (around 65-67°F or 18-19°C) and creaming it with sugar incorporates air, which helps the cookies rise rather than just spread flat. Granulated sugar tends to promote more spread than brown sugar, which retains more moisture.
Flour type and amount also matter. Using too little flour can result in excessive spreading, while too much can make cookies dry and cakey. Leavening agents create gas bubbles that cause cookies to rise; baking soda typically promotes more spread than baking powder. For a perfectly shaped drop cookies recipe, finding the right balance of these ingredients is crucial, often involving specific ratios designed for minimal, controlled spread. For example, a recipe aiming for less spread might use a higher ratio of flour to fat or rely more on baking powder than baking soda.
Accurate Measurement for Consistent Results
Precise measurement of ingredients is fundamental to achieving consistent cookie dough consistency and, consequently, uniform cookie shapes. Baking is often described as a science because the ratios of ingredients are so important. Using a kitchen scale to weigh dry ingredients like flour and sugar is the most accurate method, as scooping with measuring cups can lead to variations of 10-20% depending on how packed the ingredient is. For example, one cup of all-purpose flour can weigh anywhere from 120 to 150 grams depending on how it's measured.
Liquid ingredients and fats should also be measured accurately. Using standard measuring cups for liquids and dry measures for fats like softened butter (packed correctly) is important if you're not using a scale. Inconsistent measurements directly lead to inconsistent dough, which makes getting perfectly shaped drop cookies a challenge. Even small variations in flour or sugar can significantly alter the dough's hydration and structure, affecting spread and texture.
Troubleshooting Dough Consistency: Moisture Levels
If your cookie dough isn't the right consistency, it often relates to moisture levels. Dough that is too wet will be sticky and spread excessively during baking, leading to thin, flat cookies. This can happen if you've used too much liquid, too little flour, or if your butter was too soft or even melted. To troubleshoot overly wet dough, you can try adding a tablespoon or two of flour at a time, mixing gently until the dough reaches the desired consistency – scoopable but not sticky. Be careful not to add too much flour, which can make cookies tough.
Conversely, dough that is too dry will be crumbly and difficult to scoop or shape, resulting in cookies that don't spread enough or have cracked edges. This might occur if you've used too much flour, too little liquid or fat, or if your ingredients were measured inaccurately. To fix dry dough, you can try adding a teaspoon of milk, a touch more softened butter, or even a single egg yolk (depending on the recipe) and mixing until the dough comes together.
Again, add just enough to make it pliable without becoming sticky. Adjusting moisture is key for a consistent perfectly shaped drop cookies recipe.
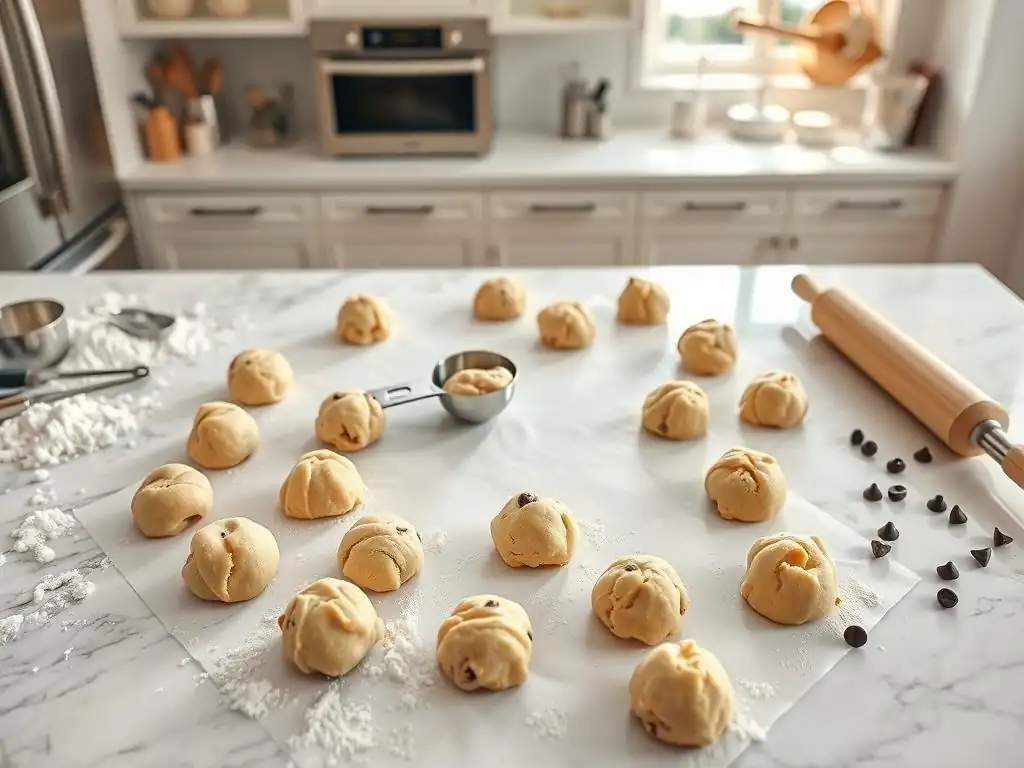
Having the right tools makes the process of shaping drop cookies significantly easier and more consistent. While you can use two spoons to portion dough, dedicated tools designed for this purpose offer superior results in terms of uniformity and speed. These tools help ensure each cookie starts with the same amount of dough, a prerequisite for even baking and consistent shapes.
Investing in a few basic baking tools specifically for cookies can elevate your results dramatically. Beyond measuring cups and spoons (or better yet, a scale), a good set of cookie scoops and reliable baking sheets are indispensable. These items are designed to help you achieve that desired perfectly shaped drop cookies outcome with less effort and more precision.
Cookie scoops are perhaps the most valuable tool for achieving uniform drop cookie shapes. They are essentially spring-loaded scoops that allow you to portion out dough balls of consistent size with a simple squeeze of the handle. They come in various sizes, typically measured by the number of scoops per quart (e.g., a #40 scoop yields 40 scoops per quart). Common sizes for standard drop cookies range from #40 (about 1.6 tablespoons) to #20 (about 3.2 tablespoons).
Using a cookie scoop eliminates the guesswork involved in using spoons and helps you create dough balls that are all roughly the same weight and volume. This consistency in portioning directly translates to consistency in size and thickness after baking. For a standard 3-inch diameter cookie, a #30 scoop (approximately 2 tablespoons) is a popular choice, yielding dough portions around 35-40 grams each. Simply scoop the dough, level it against the side of the bowl, and release onto the baking sheet for a perfectly shaped drop cookies base.
Baking Surfaces: Impact on Spreading
The surface you bake your cookies on significantly impacts how they spread. Different materials and coatings conduct heat differently, affecting the rate at which the butter melts and the dough relaxes. Shiny aluminum baking sheets, for example, reflect heat and tend to result in less spread and lighter bottoms compared to darker, non-stick sheets, which absorb more heat and can lead to more spread and darker bottoms.
Using parchment paper or silicone baking mats (like Silpat) on your baking sheets also influences spread. These surfaces provide a non-stick barrier that allows cookies to spread more evenly than baking directly on a greased pan, where uneven greasing can cause lopsided spreading. Parchment paper is generally less expensive and disposable, while silicone mats are reusable and provide excellent non-stick properties. For a consistently perfectly shaped drop cookies result, choosing a reliable surface and using parchment or a silicone mat is highly recommended.
Choosing the Right Baking Sheets for Even Baking
Selecting the right baking sheets is crucial for uniform baking and consistent cookie shapes. Avoid dark-colored, thin baking sheets, as these can absorb too much heat too quickly, leading to burnt bottoms and uneven baking. Opt for heavy-gauge aluminum baking sheets, preferably in a natural, light color. These conduct heat evenly, promoting consistent browning and spread across the entire tray.
Full-size (18x26 inches), half-size (18x13 inches), or quarter-size (9x13 inches) sheets are standard. For home baking, half-size sheets are the most common and fit well in standard ovens. Ensure your baking sheets are flat and not warped, as warping can also lead to uneven heat distribution and lopsided cookies. Using two baking sheets stacked together can also provide insulation, preventing bottoms from browning too quickly and encouraging more even heat distribution, which contributes to achieving perfectly shaped drop cookies.
Once your dough is ready, the shaping process is relatively straightforward, especially when using the right tools. The goal is to create uniform portions of dough and place them correctly on the baking sheet to ensure even baking and maintain their shape. This step-by-step guide will help you master the technique for consistent results.
Following these steps will help you transform your cookie dough into neat, uniform portions ready for the oven. Precision at this stage is key to achieving that desired perfectly shaped drop cookies outcome, preventing issues like merging cookies or uneven browning.
Preparing Dough for Shaping
Before you start scooping, ensure your dough is at the correct temperature as specified by your recipe. Many recipes for perfectly shaped drop cookies recommend chilling the dough for at least 30 minutes, sometimes up to 24 hours. Chilling solidifies the fat (butter), which helps the cookies hold their shape better and spread less in the oven. Cold dough is also firmer and easier to scoop cleanly.
If your dough has been chilled for a long time and is very hard, let it sit at room temperature for 10-15 minutes to soften slightly, just enough to make it scoopable without being overly soft. For some recipes, like certain chocolate chip cookies, a brief chill might be enough, while others benefit from a longer period. The ideal dough for shaping should be pliable but not sticky or overly warm.
Using a cookie scoop is the most effective way to get uniform portions. Select the scoop size appropriate for your desired cookie size (e.g., #30 for standard cookies). Dip the scoop into the dough, pressing down firmly to fill it completely. Level off any excess dough against the edge of the bowl or with your finger so the scoop is full but not overflowing.
Hold the scoop over your prepared baking sheet (lined with parchment paper or a silicone mat). Squeeze the handle firmly to release the dough ball onto the sheet. The dough should come out in a neat, consistent ball. Repeat this process, ensuring each scoop is filled to the same level for maximum uniformity. This technique is the cornerstone of achieving perfectly shaped drop cookies consistently.
Proper spacing is essential to prevent your cookies from merging into one giant cookie during baking. As cookies bake, they spread. The amount of spread depends on the recipe and dough consistency, but a general rule of thumb is to leave at least 2 inches (about 5 cm) of space between each cookie on the baking sheet.
For standard drop cookies made with a #30 scoop, a half-sheet pan (18x13 inches) can typically accommodate 12 cookies arranged in a 3x4 grid. Avoid overcrowding the baking sheet, as this can also affect air circulation around the cookies, leading to uneven baking. Give each cookie ample room to spread and bake individually for the best perfectly shaped drop cookies.
Optional Gentle Shaping Techniques
After scooping the dough balls onto the baking sheet, some bakers like to perform a few optional, gentle shaping techniques to encourage a more uniform shape. For example, if the dough ball isn't perfectly round, you can gently cup your hands around it and lightly reshape it into a neater ball. Avoid overworking the dough, though, as this can develop the gluten and make cookies tough.
For recipes where you want a slightly flatter, more uniform disk shape (like for certain sugar or peanut butter cookies), you can gently press down on the top of each dough ball with the palm of your hand or the bottom of a glass. Don't flatten them completely unless the recipe specifically instructs you to, but just enough to create a more even thickness across the cookie. This minor adjustment can help achieve a more consistent perfectly shaped drop cookies look.
Baking Techniques for Maintaining Shape
The baking process itself plays a crucial role in setting and maintaining the shape of your drop cookies. Oven temperature, baking time, and how you handle the cookies immediately after baking all contribute to the final outcome. Understanding these techniques will help prevent excessive spreading or misshapen cookies.
Proper baking ensures that the structure of the cookie sets correctly as it heats, preventing it from spreading too much or collapsing. It's the final step where all your careful dough preparation and shaping come to fruition, resulting in those beautiful, perfectly shaped drop cookies you're aiming for.
Oven temperature is a major factor in cookie spread. If the oven is too cool, the butter in the dough will melt slowly, causing the cookies to spread excessively before the structure of the dough sets. If the oven is too hot, the edges might set too quickly while the center remains raw, or the cookies might not spread enough, resulting in thick, puffy cookies.
Most drop cookie recipes call for an oven temperature between 350°F (175°C) and 375°F (190°C). Baking at 375°F generally leads to cookies that spread less and have slightly crispier edges compared to baking at 350°F, which often results in more spread and softer centers. Using an oven thermometer to verify your oven's actual temperature is highly recommended, as oven thermostats can be inaccurate by 25°F or more. Baking at the correct, consistent temperature is vital for a successful perfectly shaped drop cookies recipe.
Once cookies are out of the oven, they are still quite delicate and continue to cook slightly from the residual heat of the baking sheet. Most drop cookies should be allowed to cool on the baking sheet for a few minutes – typically 2 to 10 minutes, depending on the size and type of cookie – before being transferred to a wire rack to cool completely.
This initial cooling period on the hot pan helps the cookies set and firm up. If you try to move them too soon, they might break or lose their shape. For perfectly shaped drop cookies, wait until they are stable enough to handle with a spatula without bending or falling apart. Then, carefully transfer them to a wire cooling rack to allow air circulation, which prevents the bottoms from becoming soggy and helps them finish cooling evenly.
Preventing Excessive Spreading
Several strategies can help prevent cookies from spreading too much in the oven. As mentioned, chilling the dough is highly effective; cold fat melts slower. Using softened butter, rather than melted butter, also reduces spread. Ensure your oven is accurately preheated to the correct temperature; a cool oven encourages spread.
Checking the ratio of ingredients in your recipe is also helpful. Too much sugar or fat, or not enough flour, can lead to excessive spreading. Sometimes, simply adding an extra tablespoon or two of flour to the dough can help. Baking on parchment paper or a silicone mat on a heavy-gauge baking sheet also provides a stable surface that helps control spread. If you consistently struggle with flat cookies, consider adjusting your perfectly shaped drop cookies recipe slightly or ensuring your oven temperature is accurate.
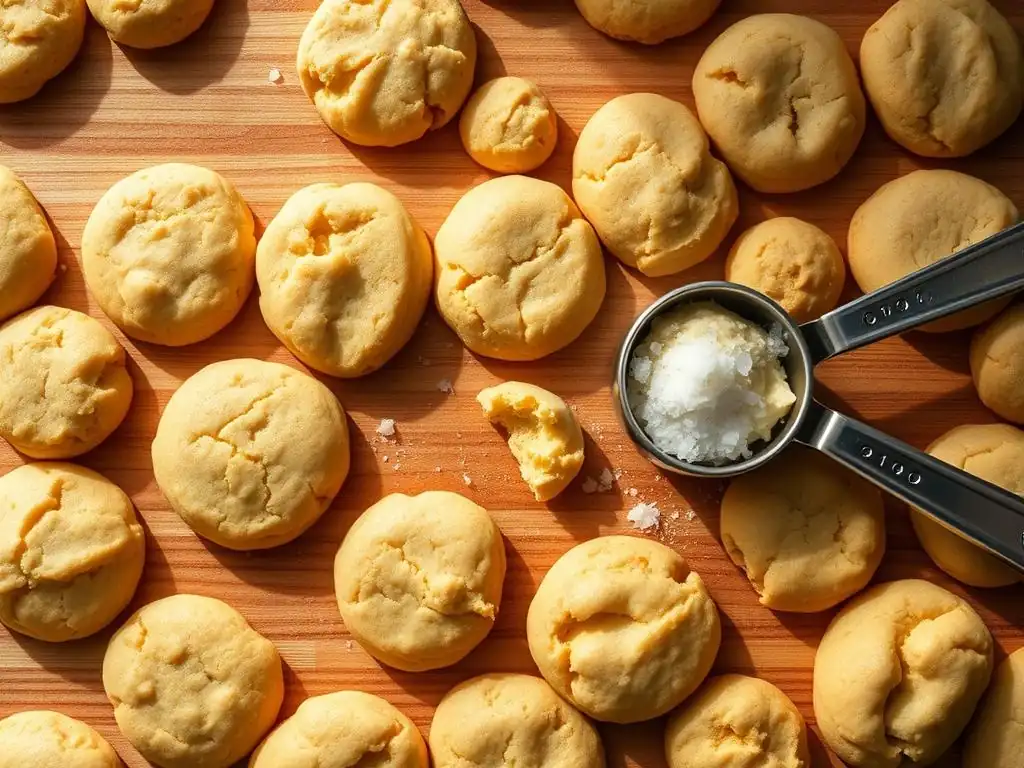
Beyond the basics, a few advanced techniques can help you fine-tune your drop cookie results and achieve truly perfect shapes consistently. These tips involve experimenting with variables like dough temperature, scoop size, and even flour type to see how they influence the final cookie structure and appearance.
These methods are particularly useful for bakers who have mastered the fundamentals and want to optimize their perfectly shaped drop cookies recipe for specific textures or appearances. They require a bit more attention to detail and understanding of ingredient properties.
Chilling Dough for Shape Retention
Chilling cookie dough is one of the most impactful techniques for controlling spread and promoting thicker, more uniform cookies. When dough is chilled, the fat (butter) solidifies, and the flour has time to absorb moisture. This results in dough that spreads more slowly and evenly when it hits the hot oven. A minimum of 30 minutes is usually recommended, but chilling for several hours or even overnight (up to 72 hours for some recipes) can dramatically improve texture and reduce spread.
For instance, chilling a basic chocolate chip cookie dough for 24 hours at 38°F (3°C) can result in cookies that are significantly thicker and chewier compared to those baked immediately. The flavors also meld and deepen during chilling. If you're aiming for a perfectly shaped drop cookies recipe with minimal spread and a substantial thickness, don't skip the chilling step. Simply scoop the dough onto baking sheets, then place the sheets in the refrigerator, or chill the dough in a bowl and scoop later.
Cookie scoops come in various sizes, and using the appropriate size is key to achieving your desired cookie dimensions. A #40 scoop (approx. 1.6 tbsp) will yield smaller, often crisper cookies, while a #20 scoop (approx. 3.2 tbsp) will produce larger, chewier cookies that require more baking time. Standard cookies often use a #30 (approx. 2 tbsp) or #24 (approx. 2.6 tbsp) scoop.
Experimenting with different scoop sizes allows you to control the portion size and, consequently, the final size and thickness of your perfectly shaped drop cookies. Ensure you adjust baking time accordingly when using larger or smaller scoops. Using the same size scoop consistently within a single batch guarantees that all cookies on the tray are the same size, promoting even baking.
Experimenting with Flour Types
The type of flour used can subtly affect cookie spread and texture. All-purpose flour is standard for most drop cookie recipes. However, using flour with a slightly higher protein content (like bread flour) can result in cookies that spread less and are chewier, as the higher protein develops more gluten structure. Conversely, using a softer flour with lower protein (like cake flour) can lead to more tender cookies that might spread slightly more.
Some bakers experiment with a blend of flours. For example, substituting a small percentage of the all-purpose flour with bread flour can add chewiness and reduce spread for a perfectly shaped drop cookies recipe. Whole wheat flour will absorb more liquid and can result in thicker, denser cookies. Always make adjustments gradually and test a few cookies before baking a whole batch when experimenting with different flour types.
Troubleshooting Common Shape Issues
Even with the best techniques, sometimes things don't go exactly as planned. Cookies might spread too much, turn out too puffy, or be unevenly shaped. Understanding the common causes of these issues can help you diagnose problems and adjust your methods or recipe for future batches.
Troubleshooting is a normal part of the baking process. Don't get discouraged if your first attempt isn't picture-perfect. By identifying the problem, you can make targeted adjustments that will lead to better, more perfectly shaped drop cookies in the future.
Addressing Excessive Spreading
Excessive spreading is a common issue and is usually caused by dough that is too warm, too much fat, too much sugar, too little flour, or an oven that is too cool. If your cookies are consistently spreading into thin, flat disks, try chilling your dough for a longer period (at least 1-2 hours). Ensure you are using softened butter, not melted, and that your oven is accurately preheated.
You can also try adding a tablespoon or two more flour to the dough (mix gently) to increase its structure. Reducing the amount of sugar slightly (especially granulated sugar) can also help reduce spread. Baking on a lighter colored pan with parchment or a silicone mat is also beneficial. Identify which factor is most likely the culprit based on your process and make one adjustment at a time to see the effect on your perfectly shaped drop cookies.
Puffy cookies that don't spread much are often a result of dough that is too cold, too much flour, too much leavening (especially baking powder), or an oven that is too hot. If your cookies are too thick and cakey, try letting your dough sit at room temperature for 10-15 minutes before scooping and baking (if it was heavily chilled).
Ensure you are accurately measuring your flour and not packing it into the measuring cup. Reducing the amount of baking powder slightly might also help. Check your oven temperature with a thermometer; if it's running hot, reduce the temperature by 15-25°F (8-14°C). Sometimes, slightly pressing down on the dough balls before baking can help encourage more spread and a less puffy texture for your perfectly shaped drop cookies.
Uneven cookie shapes can be caused by inconsistent dough portioning, uneven mixing of ingredients (leading to pockets of fat or leavening), or baking on a warped pan or an unevenly heated surface. To resolve this, ensure you are using a cookie scoop to portion your dough consistently.
Mix your dough thoroughly but avoid overmixing once the flour is added. Use flat, heavy-gauge baking sheets and ensure they are not warped. Also, check if your oven has hot spots; rotating the baking sheet halfway through the baking time can help ensure more even browning and shaping. For a consistent perfectly shaped drop cookies outcome, uniformity in preparation and baking environment is key.
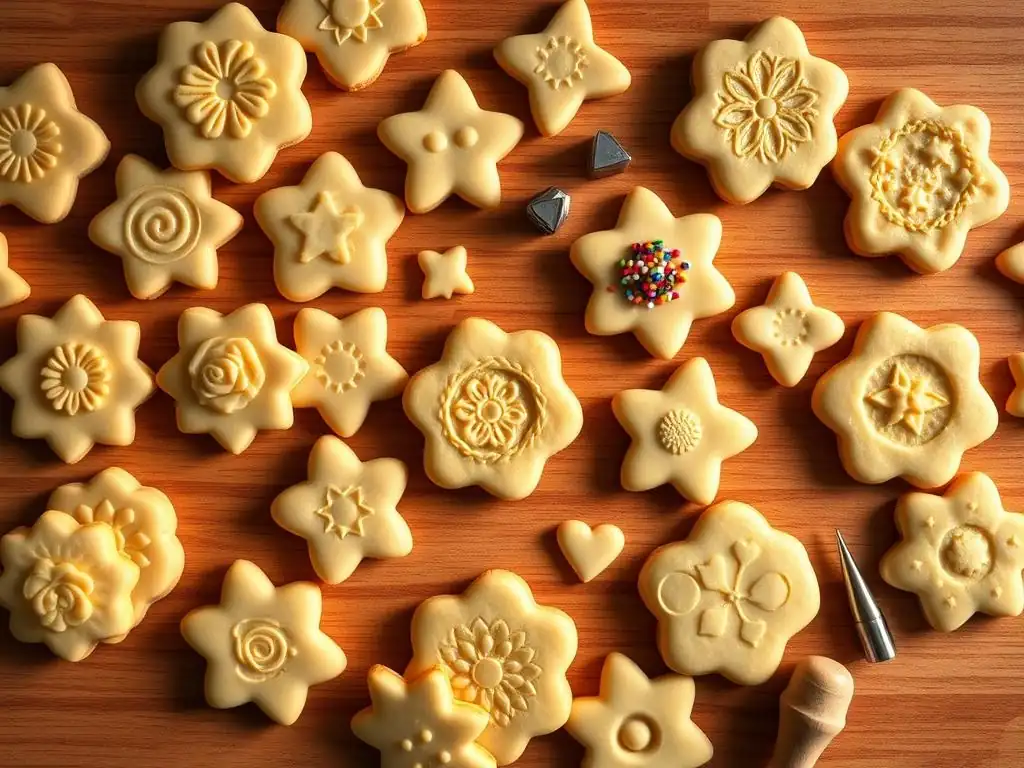
While the goal is often uniform, classic drop cookie shapes, there's room for creativity once you've mastered the basics. You can easily add decorative elements or subtle shaping variations to make your cookies even more special and unique. These techniques don't require complex tools but add a touch of flair.
Even simple drop cookie recipes can be elevated with a few creative touches. These ideas are fun ways to personalize your perfectly shaped drop cookies and make them stand out, whether for a special occasion or just for fun.
Cookie stamps are a simple way to add a decorative pattern to the top of your drop cookies before baking. After scooping the dough onto the baking sheet, gently press a cookie stamp onto the top of each dough ball. This flattens the cookie slightly and leaves an imprinted design.
Ensure your dough is slightly chilled and not too sticky, as this will help the stamp release cleanly. You can lightly flour the stamp between uses if necessary. This technique works particularly well for sugar cookies or shortbread-style drop cookies that don't spread excessively, allowing the design to remain visible after baking. It's a fun way to add visual interest to your perfectly shaped drop cookies.
Adding Toppings Before Baking
Adding toppings to your drop cookies before they go into the oven is another easy way to enhance their appearance and texture. Things like coarse sugar, sprinkles, chopped nuts, or extra chocolate chips can be gently pressed into the tops of the dough balls.
For example, rolling a portion of chocolate chip cookie dough into a ball and then pressing extra chocolate chips onto the top ensures that plenty of chips are visible on the surface of the baked cookie. Rolling sugar cookie dough balls in granulated sugar or turbinado sugar before baking gives them a lovely sparkle and a slightly crisp edge. These simple additions make your perfectly shaped drop cookies even more appealing.
Creating Dough Swirls and Patterns
For certain doughs, like those for marbled or swirl cookies, you can combine different colored or flavored doughs before portioning. For instance, swirling vanilla and chocolate doughs together gently in a bowl before scooping creates beautiful marbled patterns in the baked cookies.
Another technique involves taking two small balls of different doughs (e.g., plain sugar cookie dough and cinnamon sugar dough) and twisting them together before forming a single ball to create a swirl effect. These methods require a bit more hands-on shaping but result in visually striking perfectly shaped drop cookies that are sure to impress.
Here is a reliable classic chocolate chip cookie recipe designed to yield delicious and relatively perfectly shaped drop cookies when the techniques above are applied. This recipe balances spread and chewiness.
This recipe serves as a great base for practicing your shaping and baking techniques. Follow the instructions carefully, paying attention to ingredient temperatures and measurements, and use a cookie scoop for best results in achieving perfectly shaped drop cookies.
Ingredients
- 1 cup (2 sticks) unsalted butter, softened (around 67°F / 19°C)
- ¾ cup granulated sugar
- ¾ cup packed light brown sugar
- 2 large eggs, at room temperature
- 1 teaspoon vanilla extract
- 2 ¼ cups all-purpose flour (weighed: about 270 grams)
- 1 teaspoon baking soda
- ½ teaspoon salt
- 2 cups (about 12 oz) semi-sweet chocolate chips
Instructions
- In a large bowl, cream together the softened butter, granulated sugar, and brown sugar with an electric mixer on medium speed until light and fluffy, about 2-3 minutes.
- Beat in the eggs one at a time, mixing well after each addition. Stir in the vanilla extract.
- In a separate medium bowl, whisk together the flour, baking soda, and salt.
- Gradually add the dry ingredients to the wet ingredients, mixing on low speed until just combined. Do not overmix.
- Stir in the chocolate chips using a spoon or spatula.
- Optional but recommended: Cover the dough and chill in the refrigerator for at least 30 minutes, or up to 24-48 hours, for better shape retention and flavor development.
- Preheat oven to 375°F (190°C). Line baking sheets with parchment paper or silicone mats.
- Use a #30 cookie scoop (about 2 tablespoons) to portion dough balls onto the prepared baking sheets, leaving about 2 inches of space between cookies.
- Bake for 9-12 minutes, or until the edges are golden brown and the centers look slightly set but still soft. Baking time will vary depending on your oven and cookie size.
- Let cookies cool on the baking sheets for 5-10 minutes before transferring them to a wire rack to cool completely.
- Enjoy your perfectly shaped drop cookies!
Mastering the techniques for creating perfectly shaped drop cookies is a skill that enhances both the appearance and the quality of your baked goods. From understanding the science behind ingredient ratios and dough consistency to utilizing simple tools like cookie scoops, each step contributes to achieving that desired uniform result. Remember that practice makes perfect, and even experienced bakers have batches that aren't absolutely flawless.
By paying attention to dough preparation, using accurate portioning, spacing cookies correctly, and controlling your baking environment, you can consistently produce beautiful, evenly baked drop cookies. Whether you're baking classic chocolate chip, simple sugar, or hearty oatmeal cookies, the principles for achieving uniformity remain the same.
Celebrating Baking Success
There's immense satisfaction in pulling a tray of uniform, golden-brown cookies from the oven. Take a moment to appreciate your work! The consistent size and shape not only look professional but also promise a delightful, even texture in every bite. Celebrating these small successes in the kitchen builds confidence and encourages you to keep baking and experimenting.
Share a photo of your perfectly shaped drop cookies with friends or family, or simply admire your neat rows on the cooling rack. Each uniform cookie represents successful execution of technique and attention to detail, a testament to your growing baking skills.
One of the greatest joys of baking is sharing the results. Uniformly shaped drop cookies are ideal for gifting, packing for events, or simply arranging nicely on a plate for guests. Their consistent size makes them easy to stack in containers or bags, and their appealing appearance is always a plus.
Whether you're sharing a batch of warm chocolate chip cookies straight from the oven or packing up dozens for a bake sale, the effort you put into achieving perfectly shaped drop cookies will be appreciated. Enjoy the process, savor the results, and share the deliciousness!
Frequently Asked Questions
Using a cookie scoop is the best way to achieve uniform size. This ensures even baking and a more professional presentation.
Too much butter or sugar in the dough can cause excessive spreading. Also, make sure your baking sheet is cool.
Over-baking is the most common cause of hard cookies. Reduce your baking time slightly and check for golden edges.
Yes! Drop cookie dough freezes well. Portion it out into balls, freeze on a baking sheet, then transfer to a freezer-safe bag.
Use parchment paper or a silicone baking mat to prevent sticking. Make sure the baking sheet is clean and dry before baking.
The pursuit of the perfectly shaped drop cookie transcends mere aesthetics; it's a testament to precision, patience, and the joy of baking. Mastering this seemingly simple task unlocks a deeper understanding of baking fundamentals, impacting everything from texture to taste. It's about achieving consistent results, transforming a potentially frustrating experience into a consistently rewarding one.
The quest for the perfect cookie shape reflects a broader cultural yearning for control and predictability in a world often characterized by chaos. We find comfort in the uniformity of a perfectly formed batch, a small victory in the face of larger uncertainties. Baking is at once child's play and adult joy. And love, of course.
– This sentiment resonates deeply, as the act of creating something beautiful and delicious from simple ingredients is inherently satisfying. The journey to perfect cookies is a microcosm of life itself – requiring careful attention to detail, a willingness to learn from mistakes, and the ultimate satisfaction of a job well done.
Now, I invite you to take this knowledge and apply it to your own baking endeavors. Don't be afraid to experiment, to tweak the techniques, and to embrace the occasional imperfect cookie. For it is in the process of striving for perfection that we truly discover the joy and artistry of baking. Remember the tips and tricks shared in this article, and most importantly, remember to have fun! The perfectly shaped cookie is a delicious reward, but the journey to get there is just as sweet.
Thanks for joining us on this delicious journey to perfectly shaped drop cookies! We hope you gained valuable tips and tricks to elevate your baking game. Ready to put your newfound knowledge to the test?
- Bake a batch of your favorite drop cookies today, using the techniques we discussed. Pay close attention to chilling the dough and using the right baking sheet!
- Share your baking triumphs (and maybe even your fails!) on social media using #BakeWithEaseDropCookies. Let's inspire each other!
- Try experimenting with different cookie doughs and share your results – what unique twist will you add?
Ready to create cookie perfection? What flavor will you conquer first?