
Simple Sugar Cookie Bars: An Easy Canvas for Beginner Decorating

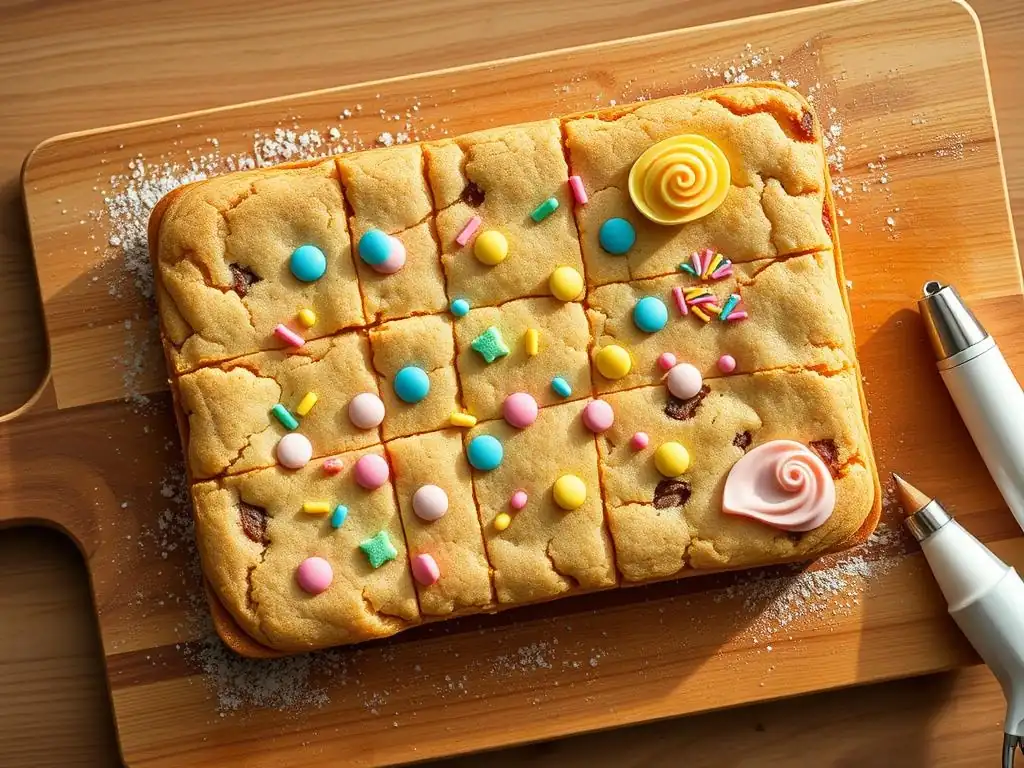
Welcome to BakeWithEase, your haven for all things baking! Ever dreamt of creating dazzling desserts without the drama? You've come to the right place.
Today, we're diving into a delightful world of Easy Sugar Cookie Decorating Bars – the perfect blank canvas for even the most novice decorator. Imagine the joy of a simple, delicious cookie bar, transformed into a masterpiece with a few easy techniques. Intrigued? Let's unlock the secrets to creating stunning, shareable treats that everyone will adore!
- BakeWithEase' Beginner Baking Recipe: Easy Sugar Cookie Decorating Bars
- Why Sugar Cookie Bars are Perfect for Beginner Bakers
- The Ultimate Guide to Making Easy Sugar Cookie Decorating Bars
- Easy Sugar Cookie Decorating Bar Ideas for Beginners
- Tips & Tricks for Perfect Sugar Cookie Decorating Bars
- Variations & Adaptations: Customize Your Sugar Cookie Decorating Bars
- Showcasing Your Decorated Sugar Cookie Bars
-
Frequently Asked Questions
- What exactly are sugar cookie bars and how are they different from individual sugar cookies?
- Are sugar cookie bars really easier to decorate than individual sugar cookies?
- What kind of frosting works best for decorating sugar cookie bars?
- Can I use different flavor extracts in the sugar cookie bar recipe?
- How long do sugar cookie bars stay fresh?
- Final Reflection: The Sweet Simplicity of Creative Baking
- Unleash Your Inner Baker: Decorate Your Dream Cookie Bars!
Sugar cookie bars offer a fantastic entry point into the world of baking and cookie decorating, especially for beginners. Unlike traditional cut-out cookies, which require rolling, chilling, cutting, and transferring delicate shapes, these bars are baked in a single pan. This dramatically simplifies the process, reducing the steps and potential pitfalls, making them ideal for those just starting out. The flat surface of a sugar cookie bar provides a generous and forgiving canvas for practicing basic decorating techniques like spreading frosting, using sprinkles, and simple piping.
These easy sugar cookie decorating bars eliminate the stress often associated with detailed cookie projects. You can focus on learning fundamental baking principles and then move on to the fun part – decorating – without the hassle of dough that's too sticky or shapes that spread in the oven. It's a low-pressure way to build confidence in both your baking and decorating skills, paving the way for more complex recipes down the line.
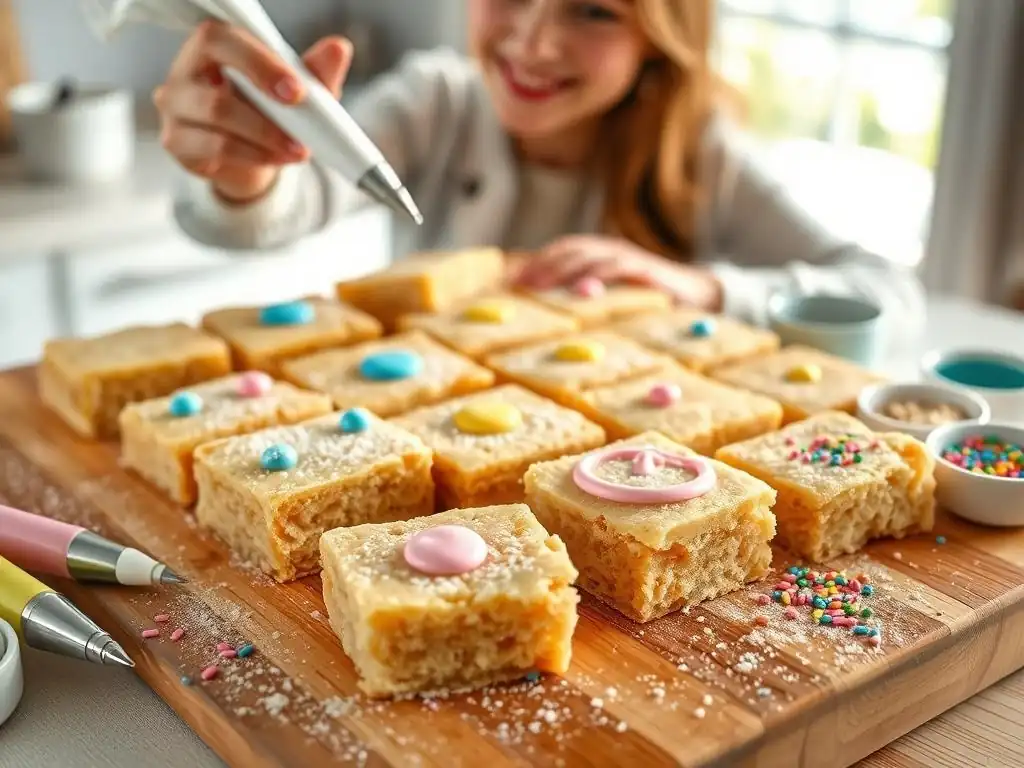
Baking individual cookies can be time-consuming and require careful handling at multiple stages. From chilling the dough just right to ensure shapes hold, to transferring delicate cut-outs to baking sheets without distorting them, there are several steps where things can go wrong for a beginner. Sugar cookie bars bypass most of this. You simply press the dough into a prepared pan and bake. This significantly cuts down on active preparation time and reduces the chance of errors like misshapen or broken cookies.
The simplicity of baking easy sugar cookie decorating bars means you spend less time wrestling with dough and more time enjoying the process. A standard 9x13 inch pan can yield anywhere from 12 to 24 bars, depending on how you cut them, all baked in one go. Compare this to baking several batches of individual cookies, which might take an hour or more of oven time and constant sheet pan rotation. This efficiency makes sugar cookie bars a much more approachable project for a weekend baking session.
Once baked and cooled, the flat, expansive surface of a sugar cookie bar is the perfect playground for practicing decorating. There are no intricate edges or small shapes to navigate, just a large area ready for frosting and embellishments. Beginners can focus on mastering basic techniques like spreading an even layer of buttercream, creating simple swirl patterns, or practicing writing with icing without the pressure of working on small, individual cookies.
This format allows for experimentation with different frosting consistencies, coloring techniques, and the application of various sprinkles and candies. For instance, practicing spreading frosting evenly across a 9x13 inch bar is much easier than trying to achieve the same smooth finish on dozens of small circles or stars. It provides ample space to try, learn, and even correct mistakes, making easy sugar cookie decorating bars an excellent tool for building decorating confidence.
Minimal Ingredients, Maximum Flavor
One of the great advantages of sugar cookie bars is that they typically require only a handful of common pantry staples. You won't need to hunt down obscure ingredients; likely, you already have flour, sugar, butter, eggs, vanilla extract, baking powder, and salt on hand. This simplicity in ingredients makes the recipe accessible and cost-effective for beginners who are stocking their baking pantry.
Despite the minimal ingredient list, these easy sugar cookie decorating bars deliver classic, comforting sugar cookie flavor. The focus is on the quality of these core components – good butter for richness, pure vanilla extract for aroma, and the right balance of sugar and leavening for texture. This simple foundation is delicious on its own and provides the perfect neutral base for whatever frosting and decorations you choose to add, proving that you don't need a long list of ingredients to achieve great taste.
Getting started requires gathering your ingredients. You'll need all-purpose flour, granulated sugar, unsalted butter (softened), eggs, vanilla extract, baking powder, and salt. Ensure your butter is properly softened – not melted – so it creams well with the sugar, which is crucial for the bar's texture.
Typically, a recipe for a 9x13 inch pan might call for around 2 ½ cups of flour, 1 ½ cups of sugar, 1 cup (two sticks) of butter, and 2 large eggs, along with about a teaspoon of vanilla, ½ teaspoon of baking powder, and ¼ teaspoon of salt. Having everything measured out before you begin makes the process much smoother.
Beyond the base ingredients, consider what you'll need for decorating your easy sugar cookie decorating bars. This usually includes powdered sugar, butter, and a splash of milk or cream for the frosting, plus any food coloring, sprinkles, or candies you plan to use. For a standard batch of frosting for a 9x13 bar, you might use 4-6 cups of powdered sugar, ½ cup of softened butter, and 4-6 tablespoons of liquid. Preparing your decorating supplies alongside your baking ingredients ensures you can move seamlessly from baking to fun decorating once the bars are cool.
Flour Power: Choosing the Right Flour for Soft Bars
For soft and chewy sugar cookie bars, all-purpose flour is the go-to choice. Its moderate protein content (typically 10-12%) provides enough structure for the bars to hold their shape without becoming tough. Using too high a protein flour, like bread flour, could result in a chewier, more bread-like texture, which isn't ideal for a tender sugar cookie bar. Measuring your flour correctly is also key; spooning it lightly into the measuring cup and leveling it off prevents compaction, which can lead to adding too much flour and resulting in dry, dense bars.
While all-purpose flour is standard, some recipes might call for a small amount of cake flour (with a lower protein content, around 7-9%) mixed with all-purpose to achieve an even softer crumb. However, for easy sugar cookie decorating bars, sticking to 100% all-purpose flour is perfectly fine and simplifies the ingredient list further. Just remember the spoon-and-level method for accurate measurement, which is more reliable than scooping directly from the bag.
Sweetness Simplified: Sugar Selection for Perfect Texture
Granulated sugar is the primary sweetener used in most sugar cookie bar recipes. When creamed with softened butter, the sharp sugar crystals cut into the butter, creating tiny air pockets. These air pockets expand during baking, contributing to the bar's light and slightly airy texture. The ratio of sugar to flour is also important; too much sugar can make the bars spread excessively thin, while too little can result in a tough, dry texture.
Some recipes might incorporate a small amount of brown sugar alongside granulated sugar. Brown sugar adds moisture and a slightly chewier texture due to its molasses content. For classic, soft easy sugar cookie decorating bars, granulated sugar is usually sufficient, providing the right level of sweetness and contributing to that signature tender crumb that holds up well to frosting and decorations.
Binding it Together: Eggs and Butter Essentials
Eggs play a crucial role as a binder in sugar cookie bars, holding the ingredients together and contributing to the structure and richness. They also add moisture and help with leavening, contributing to the overall texture. Most standard recipes for a 9x13 pan use 1 or 2 large eggs. Ensure your eggs are at room temperature, as they incorporate more easily into the batter, creating a smoother, more uniform dough.
Butter provides flavor, tenderness, and richness. Using unsalted butter allows you to control the amount of salt in the recipe. As mentioned, using softened, but not melted, butter is critical for the creaming process with sugar, which builds the foundation of the bar's texture. Aim for butter that yields slightly when pressed but still holds its shape – typically achieved by leaving it out at room temperature for 30-60 minutes. This creamy base is essential for producing delicious, easy sugar cookie decorating bars.
Preparing the Dough: A Simple Mixing Technique
The process for making sugar cookie bar dough is straightforward and follows the standard creaming method. First, cream together the softened butter and granulated sugar in a large bowl using an electric mixer (or by hand with a sturdy whisk and spatula) until the mixture is light and fluffy, usually 2-3 minutes. This step is vital for incorporating air. Next, beat in the eggs one at a time, ensuring each is fully incorporated before adding the next. Stir in the vanilla extract.
In a separate bowl, whisk together the dry ingredients: flour, baking powder, and salt. Gradually add the dry ingredients to the wet ingredients, mixing on low speed just until everything is combined and no dry streaks of flour remain. Be careful not to overmix, as this can develop the gluten in the flour and result in tough bars. The dough will be thick but should come together easily.
Baking to Perfection: Achieving a Golden Brown Base
Preheat your oven to the temperature specified in your recipe, typically around 350°F (175°C). Line a 9x13 inch baking pan with parchment paper, leaving an overhang on the sides to make lifting the finished bars out easier. Lightly grease the parchment paper or the pan itself if not using paper. Press the prepared dough evenly into the bottom of the pan. You can use your hands, a flat-bottomed glass, or an offset spatula to ensure an even layer from edge to edge.
Bake the sugar cookie bars in the preheated oven for the time recommended by your recipe, usually between 20 and 30 minutes. The baking time will vary depending on your oven and the thickness of the dough layer. You're looking for the edges to be lightly golden brown and the center to appear set and no longer wet or shiny. Avoid overbaking, as this will result in dry bars. A slight underbake in the center is often preferable for a softer, chewier texture.
Cooling and Cutting: Preparing for Decoration
Once baked, remove the pan from the oven and place it on a wire rack to cool completely. It's crucial that the bars are fully cooled before you attempt to cut or decorate them. Trying to frost warm bars will result in melted, messy frosting. Allowing them to cool in the pan for at least 1-2 hours, or even placing the pan in the refrigerator for faster cooling (about 30-45 minutes), will ensure they are firm enough to handle.
Once completely cool, use the parchment paper overhang to lift the entire bar out of the pan onto a cutting board. Use a sharp knife or a pizza cutter to cut the large slab into individual bars of your desired size. Common sizes might be 2x3 inches, yielding 18 bars from a 9x13 pan, or smaller 2x2 inch squares for 24 bars. Cleaning your knife periodically will help ensure clean cuts. Now your easy sugar cookie decorating bars are ready for the fun part!
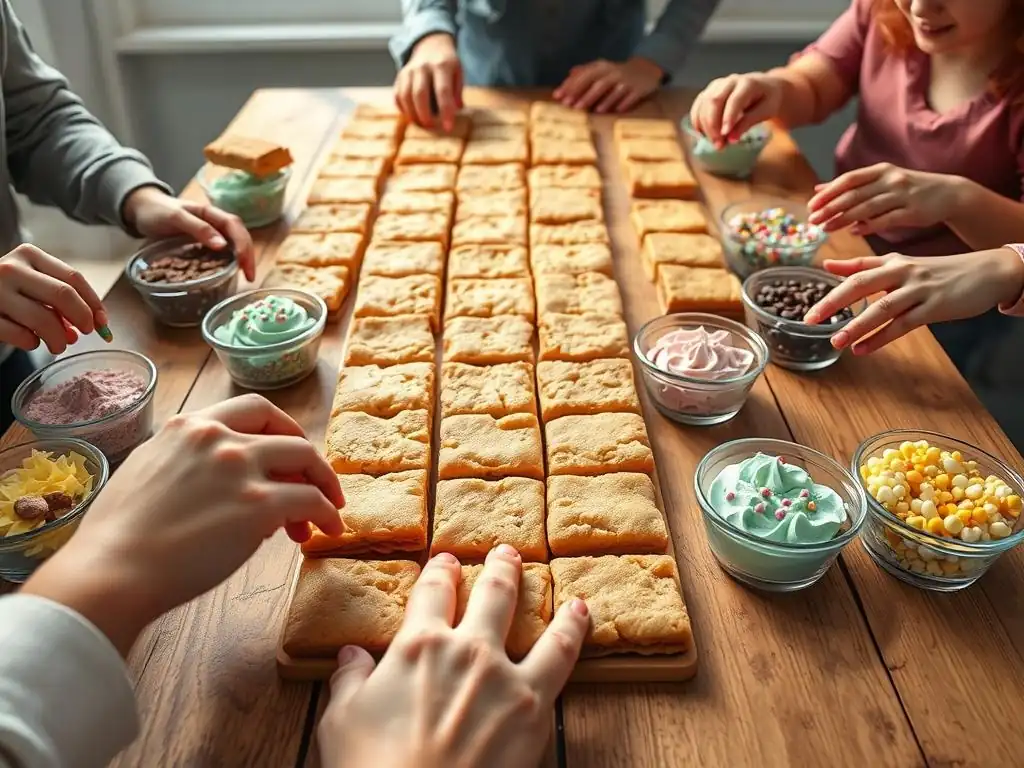
Frosting Fundamentals: Mastering Basic Buttercream
A simple buttercream frosting is the perfect companion for easy sugar cookie decorating bars. It's easy to make and provides a smooth, delicious layer for your decorations. A basic recipe involves creaming together softened butter and powdered sugar, then adding a little milk or cream and vanilla extract until you reach the desired consistency. Start with the lower amount of liquid and add more a teaspoon at a time until the frosting is smooth and spreadable, but not too runny.
For a 9x13 inch pan of bars, you'll likely need a batch of frosting made with at least half a cup of butter and 4 cups of powdered sugar to get a good, even layer. Ensure your powdered sugar is sifted if it seems lumpy, which will help achieve a smoother frosting texture. This simple buttercream is forgiving and easy to work with, making it ideal for beginners practicing their frosting skills on these easy sugar cookie decorating bars.
Achieving the Perfect Consistency
The consistency of your frosting is key to successful decorating. For spreading a smooth layer across the sugar cookie bars, you want a frosting that is soft enough to spread easily without tearing the cake, but firm enough to hold its shape slightly and not drip off the sides. If your frosting is too thick, add liquid (milk, cream, or even water) a teaspoon at a time, mixing well after each addition, until it's just right.
If your frosting is too thin and runny, add more sifted powdered sugar, a quarter cup at a time, mixing until it thickens. Remember that temperature also affects consistency; warmer frosting will be softer, while cooler frosting will be firmer. Don't be afraid to adjust as you go – achieving the perfect consistency is part of the learning process when making easy sugar cookie decorating bars.
Coloring Your Frosting: Simple Techniques for Vibrant Hues
Coloring buttercream is simple and adds a fun dimension to your easy sugar cookie decorating bars. Use gel food coloring for the most vibrant results without adding excess liquid to your frosting. Add color a tiny drop at a time, mixing thoroughly until you achieve the desired shade. Remember that colors often deepen slightly as they sit.
For a standard batch of frosting for a 9x13 pan, a few drops of gel color can often produce a vibrant hue. You can divide your frosting into smaller bowls to create multiple colors for a festive look. Start with lighter colors first, as you can always add more color to deepen the shade or move to a darker color. This simple step allows for endless creativity on your sugar cookie canvas.
Sprinkle Sensations: Adding Texture and Visual Appeal
Sprinkles are a beginner decorator's best friend! They instantly add color, texture, and a celebratory feel to your easy sugar cookie decorating bars with minimal effort. There's a vast variety of sprinkles available, from classic jimmies and nonpareils to sparkling sugars, confetti shapes, and even edible glitter. Having a selection on hand allows for spontaneous creativity.
Applying sprinkles is as easy as scattering them over the frosted surface. You can cover the entire bar, create patterns, or sprinkle just along the edges. For best adhesion, apply sprinkles while the frosting is still wet. If you're decorating a large batch of easy sugar cookie decorating bars, consider working in sections or having a tray underneath to catch excess sprinkles for reuse.
Choosing the Right Sprinkles for Your Theme
Selecting sprinkles can help tie your sugar cookie bars to a specific holiday, event, or color scheme. For example, red and green sprinkles are perfect for Christmas, pastels for Easter or spring, and team colors for a sports party. Consider the size and shape of the sprinkles; nonpareils create a dense, textured look, while larger shapes like confetti or stars stand out more.
Think about the overall look you want for your easy sugar cookie decorating bars. Do you want a uniform, classic look with jimmies, or a more whimsical feel with mixed shapes? You can even combine different types of sprinkles for a custom blend. A small container of themed sprinkles can transform a simple bar into a festive treat, demonstrating how easy it is to customize these versatile treats.
Sprinkle Placement: Creating Eye-Catching Designs
While scattering sprinkles randomly is perfectly fine, you can also create simple designs on your easy sugar cookie decorating bars. Use a ruler or the edge of a knife to create straight lines and sprinkle between them for striped bars. Use cookie cutters (gently pressed onto the frosting, not through the bar!) as stencils to sprinkle shapes.
Another easy technique is to sprinkle only around the edges, leaving the center clear for other decorations, or to create a diagonal band of sprinkles across the bar. For more control, you can pour sprinkles into a small dish and use your fingers to pinch and scatter them precisely where you want them. Practicing different placement techniques on these large, flat easy sugar cookie decorating bars allows you to see what you like best.
Simple Icing Techniques for Beginner Decorators
Beyond spreading frosting and adding sprinkles, beginners can easily try simple icing techniques on their sugar cookie bars. A simple glaze made from powdered sugar and a liquid (like milk, lemon juice, or water) is easy to drizzle or spread thinly. This creates a slightly hardened, sweet surface. For a thicker icing that holds lines better, use less liquid relative to the powdered sugar.
You can use a piping bag fitted with a simple round or star tip, or even just a Ziploc bag with a corner snipped off, to pipe lines, dots, or simple shapes onto the frosted or plain bar. The large surface of the easy sugar cookie decorating bars provides plenty of space to practice piping without the pressure of working on small, individual cookies.
Drizzle Delight: Easy Icing Patterns
Drizzling is one of the easiest ways to add a decorative touch with icing. Make a thin glaze (powdered sugar mixed with just enough milk or water to make it pourable). You can drizzle it directly from a spoon, or pour it into a piping bag (or Ziploc bag with a tiny corner snipped) for more control.
Hold your hand above the sugar cookie bar and move it back and forth across the surface in a steady motion to create random or parallel lines. You can use one color or multiple colors of icing for a layered effect. Drizzling adds visual interest and a touch of extra sweetness to your easy sugar cookie decorating bars without requiring advanced piping skills.
Simple Shapes: Creating Hearts, Stars, and More
Using a piping bag with a basic round tip (like a Wilton #3 or #5) or simply a snipped corner of a Ziploc bag, you can pipe simple shapes directly onto the frosted sugar cookie bars. Dots are the easiest – just squeeze gently and lift straight up. You can arrange dots in patterns or cover the bar with them.
To pipe simple hearts, pipe two dots side-by-side and then drag a toothpick through the center downwards. Stars are made by using a star tip and applying even pressure while holding the bag still, then lifting straight up. The large, flat surface of the easy sugar cookie decorating bars is perfect for practicing these basic shapes repeatedly until you feel comfortable.
Preventing a Dry Bar: Ensuring a Moist and Delicious Treat
Several factors contribute to keeping your sugar cookie bars moist and tender. Firstly, ensure you measure your flour correctly using the spoon-and-level method; too much flour is a common culprit for dry baked goods. Secondly, avoid overmixing the dough once the dry ingredients are added, as this can develop gluten and lead to a tough texture.
Finally, and perhaps most importantly, do not overbake your easy sugar cookie decorating bars. As mentioned earlier, bake until the edges are just lightly golden and the center is set but not deeply browned. Ovens vary, so checking a minute or two before the minimum recommended time is a good practice. A slightly underbaked center is better than an overbaked, dry bar when making easy sugar cookie decorating bars.
Leveling Your Bars: Achieving a Flat Surface for Decorating
An even, flat surface is ideal for decorating your sugar cookie bars. When pressing the dough into the pan, try to get it as level as possible from edge to edge. You can use the bottom of a glass, a small rolling pin, or an offset spatula to help press the dough evenly into the corners and along the sides.
During baking, some doughs might puff up slightly more in the center. If you notice this, you can gently press down the center of the warm bar with a flat spatula immediately after taking it out of the oven (be careful, it will be hot!). However, most standard sugar cookie bar recipes result in a relatively flat bake, providing that perfect easy canvas for your decorating endeavors.
Storage Solutions: Keeping Your Bars Fresh
Once your easy sugar cookie decorating bars are baked, cooled, and decorated, proper storage is key to keeping them fresh and delicious. If frosted with buttercream, store them in an airtight container at room temperature for 2-3 days. For longer storage, or if your frosting contains cream cheese or dairy that requires refrigeration, store them in the refrigerator for up to a week.
For stacking frosted bars in a container, place a layer of parchment or wax paper between layers to prevent sticking and smudging of your beautiful decorations. Easy sugar cookie decorating bars also freeze well; wrap undecorated or simply frosted bars tightly in plastic wrap and then foil, or place in a freezer-safe container, for up to 2-3 months. Thaw at room temperature before serving.
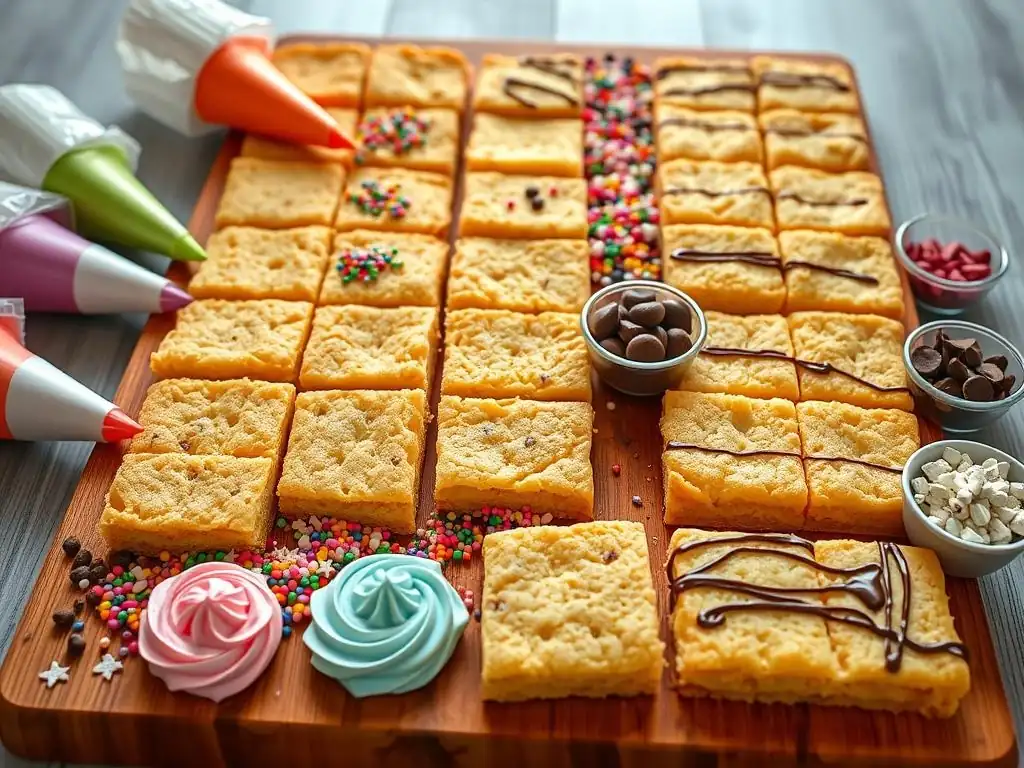
Adapting a standard sugar cookie bar recipe to be gluten-free is relatively straightforward using a good quality gluten-free all-purpose flour blend. Look for a blend that contains xanthan gum, which helps provide structure and binding in the absence of gluten. You can typically substitute a gluten-free blend cup-for-cup for the all-purpose flour in the recipe.
The baking time and temperature may need slight adjustments depending on the specific blend used; sometimes gluten-free baked goods take a little longer to set. Pay attention to visual cues like the edges turning golden. The process of making the dough, pressing it into the pan, and decorating remains the same for these easy sugar cookie decorating bars, offering a delicious gluten-free option for everyone.
Creating vegan sugar cookie bars involves substituting the dairy and eggs. Use a plant-based butter alternative (sticks work best for baking) in place of dairy butter. For the eggs, you can use common vegan egg substitutes like applesauce (about ¼ cup per egg), mashed banana (¼ cup per egg), flax egg (1 tablespoon flaxseed meal mixed with 3 tablespoons water, let sit for 5 minutes, per egg), or a commercial egg replacer.
The choice of egg substitute will slightly affect the texture; flax eggs tend to make things a bit chewier, while applesauce adds moisture. You'll also need a vegan-friendly frosting, typically made with vegan butter and powdered sugar, using plant-based milk. These vegan easy sugar cookie decorating bars are just as fun to decorate and can be enjoyed by those following a vegan diet.
Adding Flavors: Lemon, Almond, or Vanilla Extract
While classic vanilla is standard, you can easily change the flavor profile of your easy sugar cookie decorating bars by using different extracts. Almond extract adds a lovely nutty note that pairs wonderfully with sugar cookies. You can substitute half or all of the vanilla extract with almond extract (start with a smaller amount as almond is potent).
Citrus zest, like lemon or orange zest, can also be added to the dough for a bright, fresh flavor. About 1-2 teaspoons of finely grated zest from one lemon or orange is usually sufficient for a 9x13 inch batch. Adding these simple flavor variations before baking means your easy sugar cookie decorating bars are delicious even before the frosting goes on, offering another layer of customization.
Plating and Presentation Ideas
Once your easy sugar cookie decorating bars are decorated and cut, how you present them can make them even more appealing. Arrange them neatly on a platter, perhaps on a bed of coordinating colored candy melts or sprinkles. Stack them on a tiered stand for an impressive display.
For gifting or transporting, place individual bars in cellophane bags tied with ribbon, or arrange them in a decorative box lined with tissue paper. Simple presentation can elevate your easy sugar cookie decorating bars from a tasty treat to a thoughtful gift or a beautiful addition to a party spread.
We love seeing what our community bakes! Once you've made and decorated your easy sugar cookie decorating bars, consider sharing your creations. You can describe your decorating process, mention any variations you tried, or share tips you discovered along the way.
Your experience with making and decorating easy sugar cookie decorating bars can inspire other beginners on their baking journey. Documenting your process and results helps reinforce your learning and connects you with other baking enthusiasts.
Sharing photos of your decorated easy sugar cookie decorating bars is a great way to celebrate your baking success! Find good natural light, perhaps near a window, to take your pictures. Arrange a few bars on a plate or cutting board. Consider using simple props like a few extra sprinkles or a piece of parchment paper to add visual interest.
Take photos from slightly above or straight on. Focus on the details of your decorating. Don't worry about perfection; the goal is to showcase your effort and the fun you had making your easy sugar cookie decorating bars. A bright, clear photo is all you need to share your delicious results online.
Frequently Asked Questions
Sugar cookie bars are essentially a large, flattened sugar cookie baked in a pan. They offer a simpler and faster alternative to baking individual cookies because you bake one large sheet instead of many small ones.
Yes, significantly! The large, flat surface of the sugar cookie bar provides a larger, more uniform canvas for decorating, making it easier for beginners to apply frosting and sprinkles.
A simple buttercream frosting or royal icing is ideal. Buttercream is easy to make and spread, while royal icing dries hard, creating a more stable decorative surface.
Absolutely! You can customize the flavor by adding extracts like vanilla, almond, or lemon. Experimenting with different flavor combinations can add a unique twist to your sugar cookie bars.
When stored in an airtight container at room temperature, decorated sugar cookie bars typically stay fresh for up to 3-5 days. Make sure the frosting is completely set before storing them.
Final Reflection: The Sweet Simplicity of Creative Baking
The accessibility of baking, especially when approached with a beginner-friendly recipe like these sugar cookie bars, is a powerful tool for self-expression and joy. These aren't just cookies; they're a gateway to unleashing creativity, a tangible reminder that even the simplest of things can hold immense potential for beauty and personal satisfaction.
The enduring appeal of baking, particularly decorating, lies in its ability to connect us to our inner child and foster a sense of accomplishment. It's a meditative process, a chance to slow down and focus on something tangible, something beautiful that you've created with your own hands. Baking is at once child's play and adult joy. And love, of course.
This quote perfectly encapsulates the magic of transforming simple ingredients into something delightful and shareable. The ease of decorating these cookie bars lowers the barrier to entry, allowing more people to experience this joy.
Now, I invite you to consider your own creative potential. Don't be intimidated by the thought of decorating; embrace the imperfections, celebrate the unique character of your creations, and most importantly, have fun! These sugar cookie bars are your canvas; let your imagination run wild and discover the sweet satisfaction of bringing your own unique vision to life. Go ahead, bake a batch, and share the joy!
Thanks for joining us on this sweet journey! We hope you now feel confident in creating delicious and beautiful sugar cookie bars, even if you're a beginner. Ready to take your baking to the next level?
- Dive into decorating: Try experimenting with different frosting techniques and sprinkles – let your creativity run wild! This is your chance to personalize your cookies and have fun.
- Share your creations: Tag us on social media (@BakeWithEase) and show us your stunning cookie bar masterpieces! We love seeing your baking adventures.
- Challenge yourself: Try adapting the recipe with different flavors or add-ins. What unique combinations can you dream up?
What delicious flavor combination will you create for your next batch of cookie bars?