
Achieving Open Crumb in GlutenFree Artisan Loaves

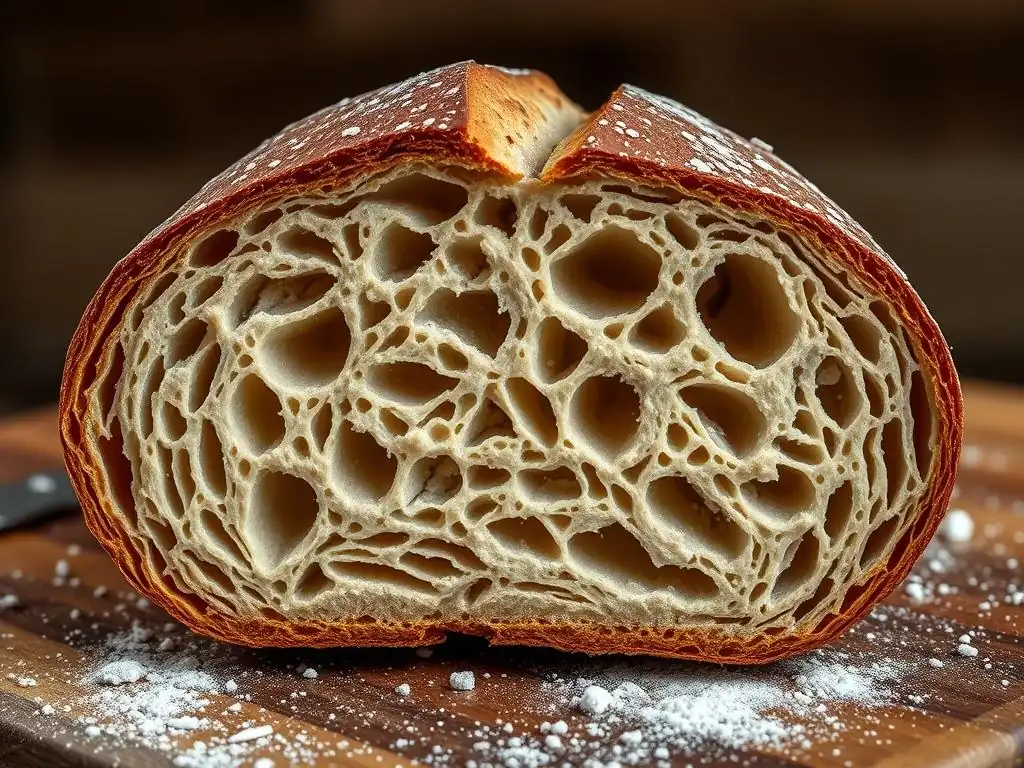
Welcome to BakeWithEase, where mastering the art of baking is within everyone's reach! Ever wondered how to achieve that coveted, open crumb in your gluten-free sourdough? We delve into the secrets behind achieving a stunning glutenfree sourdough crumb structure, revealing the techniques and tips you need to create artisan loaves that are both beautiful and delicious. Intrigued? Let's unlock the secrets to baking perfection!
- Understanding Gluten-Free Bread Baking Challenges
- Mastering the Gluten-Free Sourdough Crumb Structure
-
Step-by-Step Guide to Open Crumb Gluten-Free Sourdough
- Recipe Selection: Choosing a Suitable Gluten-Free Sourdough Recipe
- Preparing the Gluten-Free Sourdough Starter
- Mixing the Dough: Techniques for Optimal Hydration
- Bulk Fermentation: Developing Flavor and Texture
- Shaping the Loaf: Gentle Handling for Open Crumb
- Baking for Open Crumb: Oven Temperature and Steam
- Cooling and Slicing: Preserving the Crumb Structure
- Troubleshooting Common Gluten-Free Crumb Issues
- Advanced Techniques for Gluten-Free Bread Bakers
- Tips and Tricks for Consistent Gluten-Free Sourdough Success
- Enjoying Your Gluten-Free Artisan Loaf
-
Frequently Asked Questions
- What is the importance of crumb structure in gluten-free sourdough?
- How can I achieve an open crumb in gluten-free sourdough?
- Are there specific ingredients that enhance crumb structure in gluten-free baking?
- Can I use regular sourdough techniques for gluten-free baking?
- What tips can I follow to maintain moisture in gluten-free sourdough?
- Final Reflection: The Pursuit of the Perfect Gluten-Free Crumb
- Unlock the Secret to Open Crumb: Your Gluten-Free Baking Journey Starts Now!
Understanding Gluten-Free Bread Baking Challenges
The Role of Gluten in Traditional Bread Structure
In traditional wheat-based bread baking, gluten is the star player when it comes to structure. This protein network, formed when glutenin and gliadin in wheat flour are hydrated and kneaded, creates a resilient, elastic web. This web traps the gases produced by yeast or sourdough starter during fermentation, allowing the dough to rise significantly. Think of it like tiny balloons expanding within a flexible net.
This gluten network provides the dough with strength, elasticity, and extensibility – properties essential for developing that desirable open crumb structure. It allows the dough to be stretched and shaped without collapsing and provides the framework that holds the airy pockets in place during baking. Without this natural protein structure, achieving a lofty, open crumb in gluten-free bread requires a different approach and understanding of alternative ingredients.
Why Gluten-Free Dough Behaves Differently
Gluten-free flours, derived from grains like rice, sorghum, or millet, or starches like tapioca and potato, lack the gluten-forming proteins found in wheat. When mixed with water, they do not develop the same kind of elastic network. Instead, gluten-free doughs tend to be more like batters or pastes – they are often sticky, crumbly, or simply lack the cohesive strength needed to hold shape and trap gas effectively.
This fundamental difference means that gluten-free dough cannot rely on mechanical kneading to build structure in the same way wheat dough does. Over-kneading can actually degrade the starches and binders used in gluten-free recipes, leading to a gummy texture. Developing a good glutenfree sourdough crumb structure requires careful hydration, specific binders, and fermentation techniques tailored to these unique dough characteristics.
Key Ingredients for Gluten-Free Bread Success
Crafting delicious gluten-free bread, especially with an open crumb, relies heavily on selecting the right mix of ingredients. A typical gluten-free flour blend often combines different flours and starches to mimic the properties of wheat. For instance, a common blend might include brown rice flour for structure, white rice flour for tenderness, sorghum flour for flavor, and tapioca starch or potato starch for elasticity and crust development.
Beyond the basic flours, specific binders are crucial for providing the necessary structure and elasticity that gluten is missing. Ingredients like psyllium husk (whole or powder), xanthan gum, or guar gum absorb significant amounts of water and create a gel-like matrix that helps hold the dough together, trap gases, and contribute to the overall glutenfree sourdough crumb structure. Psyllium husk, in particular, is favored by many for its ability to create a more flexible and less gummy texture compared to gums alone.
Mastering the Gluten-Free Sourdough Crumb Structure
What is Open Crumb and Why Strive For It in Gluten-Free Bread?
An open crumb refers to the internal structure of bread characterized by large, irregular air pockets distributed throughout the loaf, separated by thin cell walls. This is often seen in traditional artisan sourdough loaves and is highly sought after for several reasons. A bread with a good open crumb is typically lighter in texture, has a more complex flavor profile due to the fermentation process being more visible in the structure, and is often perceived as the mark of a skilled baker.
Achieving an open crumb in gluten-free bread is particularly challenging but rewarding. It signifies that the baker has successfully managed hydration, fermentation, and structure development without the aid of gluten. While a very open crumb might be less common than in wheat bread, striving for a relatively open, airy glutenfree sourdough crumb structure indicates a well-fermented, properly handled dough, resulting in a loaf that is less dense and more enjoyable to eat.
Factors Influencing Gluten-Free Sourdough Crumb Structure
Hydration Levels: Finding the Sweet Spot for Gluten-Free Dough
Hydration, the ratio of water to flour, is a critical factor in developing an open glutenfree sourdough crumb structure. Gluten-free flours and binders, especially psyllium husk, absorb significantly more water than wheat flour. Many successful gluten-free sourdough recipes use hydration levels ranging from 80% to well over 100% (based on the weight of the flour blend). This high hydration is necessary to properly hydrate the starches and binders, allowing them to form the necessary gel structure and providing enough moisture for a tender crumb.
However, working with high-hydration gluten-free dough can be challenging as it is very wet and sticky. Finding the "sweet spot" means using enough water to hydrate fully and allow for gas expansion, but not so much that the dough becomes unmanageable or collapses during baking. A dough that is too dry will result in a dense, tight crumb, while one that is too wet might spread excessively or have large, uneven tunnels. Careful measurement, often down to the gram, is essential here.
The Importance of Starch in Gluten-Free Baking
Starches play a vital role in gluten-free baking, contributing significantly to the texture and structure of the final loaf. Flours like rice flour, tapioca starch, potato starch, and cornstarch gelatinize when heated in the presence of sufficient moisture. This process helps to set the structure of the bread during baking, contributing to the stability of the glutenfree sourdough crumb structure.
Different starches offer different properties. Tapioca starch, for example, provides elasticity and chewiness, contributing to the stretchiness needed for a more open crumb. Potato starch adds tenderness and helps retain moisture. A balanced blend of flours and starches is key to achieving both structure and desirable texture. Without adequate starch content, the loaf might lack the necessary rigidity to hold its shape once baked.
Using Psyllium Husk and Other Binders for Structure
Binders like psyllium husk are indispensable in gluten-free sourdough for mimicking gluten's structural role. Psyllium husk, when mixed with water, forms a viscous gel capable of absorbing substantial amounts of liquid – up to 40 times its weight in some cases. This gel provides the dough with cohesion, elasticity, and the ability to trap gases, which are fundamental for achieving an open gluten-free crumb structure.
Typically, psyllium husk powder is used at a percentage of 2-5% of the total flour weight in a recipe, though this can vary. Too little binder, and the dough will lack structure and result in a dense loaf; too much, and the crumb can become gummy or excessively chewy. Other binders like xanthan gum (often used at 0.2-0.5%) or guar gum serve similar purposes but can yield slightly different textures. Experimentation with binder type and quantity is often needed to find the optimal balance for a desired glutenfree sourdough crumb structure.
Fermentation Techniques: Time and Temperature Considerations
Fermentation is where the magic truly happens in sourdough, and it's crucial for developing flavor and contributing to the glutenfree sourdough crumb structure. During bulk fermentation, the sourdough starter's wild yeasts and bacteria consume sugars, producing carbon dioxide gas, which causes the dough to rise, and organic acids, which develop flavor and strengthen the dough structure (even without gluten). Temperature significantly impacts fermentation speed; warmer temperatures (around 75-80°F or 24-27°C) accelerate activity, while cooler temperatures slow it down, allowing for longer fermentation times and more complex flavor development.
Monitoring the dough's rise rather than strictly adhering to time is essential. A gluten-free dough might need anywhere from 4 to 12 hours or more for bulk fermentation, depending on the starter's activity, hydration, and ambient temperature. Under-fermentation leads to a dense crumb with little rise, while over-fermentation can cause the dough to collapse, resulting in a gummy, uneven glutenfree sourdough crumb structure. Learning to read the dough – looking for signs like increased volume (often 50-75% rise), bubbles on the surface, and a slightly domed shape – is key to successful fermentation.
Step-by-Step Guide to Open Crumb Gluten-Free Sourdough
Recipe Selection: Choosing a Suitable Gluten-Free Sourdough Recipe
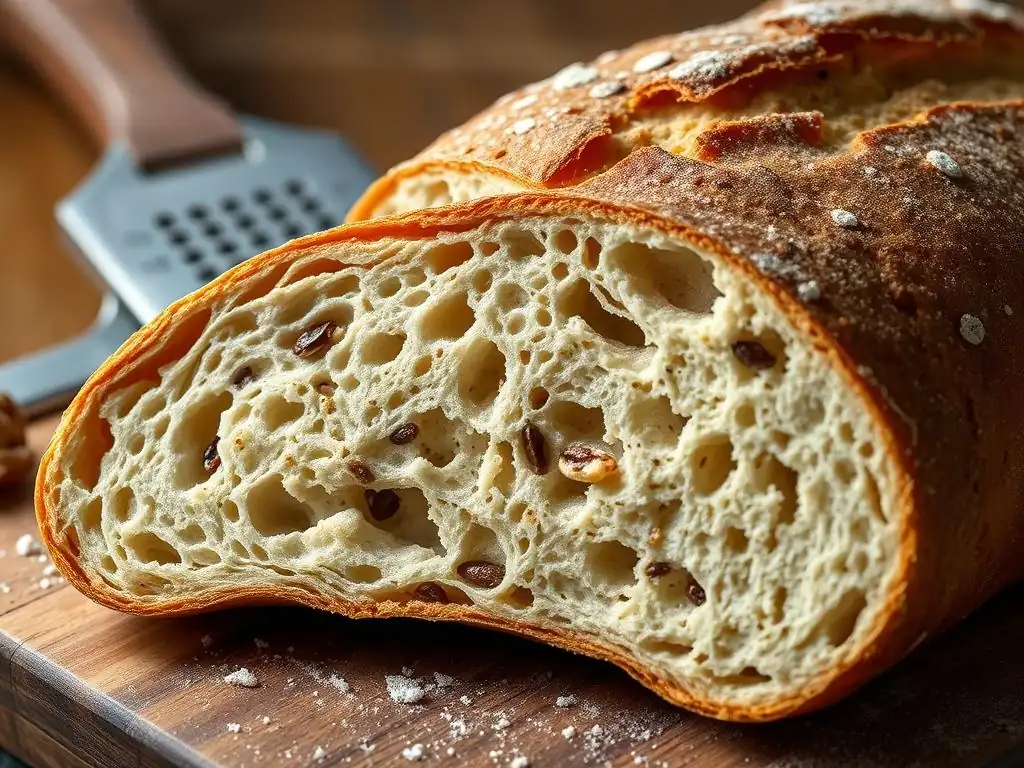
The foundation for achieving a great glutenfree sourdough crumb structure starts with selecting a well-tested recipe designed specifically for gluten-free flours and sourdough. Look for recipes that utilize a combination of different gluten-free flours and starches, as these blends tend to yield better texture and structure than single-flour recipes. Pay close attention to the hydration level; recipes with higher hydration (above 80%) often have the potential for a more open crumb, though they require careful handling.
Also, check for the inclusion and quantity of binders like psyllium husk or xanthan gum. A recipe that omits binders will likely result in a very dense loaf. Read through comments or reviews if available to see the experiences of other bakers regarding the resulting gluten-free crumb structure. A good recipe will provide clear instructions on mixing, fermentation times (as guidelines), and baking temperatures.
Preparing the Gluten-Free Sourdough Starter
Maintaining a Vigorous Gluten-Free Starter
A healthy, active gluten-free sourdough starter is paramount for achieving good oven spring and an open glutenfree sourdough crumb structure. Just like wheat starters, gluten-free starters need regular feeding with a suitable gluten-free flour blend (often brown rice flour or a mix) and water. Aim to feed your starter consistently, typically daily if kept at room temperature, using a ratio that allows it to double or triple in size within 4-8 hours. A common feeding ratio is 1:2:2 (starter:flour:water by weight).
Observe your starter's activity: does it bubble vigorously after feeding? Does it consistently rise and fall predictably? A sluggish starter will not produce enough gas to lift the heavy gluten-free dough, resulting in a dense loaf. If your starter seems weak, try feeding it more frequently or keeping it in a warmer spot (around 75-80°F or 24-27°C) for a few days to boost its activity before baking.
Recognizing Peak Fermentation in Your Starter
Using your gluten-free starter at its peak activity ensures maximum leavening power for your dough. Peak fermentation is typically when the starter has reached its maximum height after feeding and is just beginning to show signs of falling. This indicates that the yeast are most active and have the most energy to lift the dough.
To identify peak fermentation, observe your starter in a clear container marked at the level after feeding. Watch how it rises over several hours. For a starter fed at a 1:2:2 ratio at 75°F (24°C), peak might occur anywhere from 4 to 8 hours after feeding. Using the starter when it is still rising strongly or just at the very top of its rise will provide the best results for developing an airy glutenfree sourdough crumb structure.
Mixing the Dough: Techniques for Optimal Hydration
The Autolyse Method for Gluten-Free Flours
While traditional autolyse (mixing flour and water before adding starter and salt) is used to hydrate gluten and improve dough extensibility, a modified autolyse can still benefit gluten-free dough by ensuring full hydration of the flours and binders. Mixing the gluten-free flour blend, starches, psyllium husk (if using), and water and letting it rest for 20-30 minutes before adding the starter and salt allows the psyllium husk to fully gel and the flours to absorb moisture.
This initial hydration period helps create a more cohesive dough structure from the outset, making it easier to work with and potentially contributing to a better glutenfree sourdough crumb structure. After the rest period, the dough will be less shaggy and more pliable, ready to incorporate the starter and salt.
Avoiding Overmixing: Developing Strength Without Gluten
Unlike wheat dough, gluten-free dough does not develop strength through extensive kneading or mixing. The structure comes from the hydrated binders and starches, not a protein network built through mechanical action. Overmixing gluten-free dough can actually be detrimental, potentially breaking down the delicate gel structure formed by binders like psyllium husk and resulting in a gummy, dense texture.
Mix the dough just until all ingredients are thoroughly combined and the psyllium husk has fully incorporated and begun to gel. This typically takes only a few minutes in a stand mixer on low speed or with a spoon by hand. The dough will likely be very sticky and resemble a thick batter or paste rather than a traditional elastic dough. Focus on gentle handling and proper fermentation to develop strength and an open glutenfree sourdough crumb structure.
Bulk Fermentation: Developing Flavor and Texture
Monitoring the Dough's Rise
Bulk fermentation (the first rise) is crucial for developing both flavor and contributing to the glutenfree sourdough crumb structure. Place the mixed dough in a lightly oiled container, cover it, and let it ferment at a consistent temperature. Monitoring the increase in volume is more important than the clock time. Gluten-free doughs often don't double in size like wheat doughs; a 50-75% increase in volume is a common target.
Look for visual cues: the dough's surface might show small bubbles, the edges might pull away slightly from the container, and the top should appear slightly domed and less dense than when you started. The time this takes will vary significantly based on your starter's strength and the ambient temperature, potentially ranging from 4 hours in a warm environment (around 80°F/27°C) to 12 hours or more in a cooler one (around 70°F/21°C).
Folding Techniques for Gluten-Free Dough
While gluten-free dough doesn't require traditional stretch-and-folds to develop gluten, gentle folding during bulk fermentation can still help build structure and evenly distribute the gas produced by the starter. These folds are more about cohesion and tension than developing elasticity. Perform 2-4 sets of folds during the first 1-2 hours of bulk fermentation.
To perform a fold, wet your hands slightly, gently lift one side of the dough, stretch it up slightly (as much as the dough allows without tearing), and fold it over the center. Repeat this from all four sides. The dough will become slightly smoother and more cohesive with each set of folds. Handle the dough gently to avoid degassing it excessively, which would negatively impact the final glutenfree sourdough crumb structure.
Shaping the Loaf: Gentle Handling for Open Crumb
Pre-Shaping Techniques
After bulk fermentation, gently turn the dough out onto a lightly floured surface. Gluten-free dough is often quite wet and can be sticky. Use a bench scraper and minimal flour to avoid incorporating too much dry flour into the dough, which can toughen the crumb. For pre-shaping, gently form the dough into a rough ball or log, creating a little surface tension without tearing the dough.
Allow the dough to rest for 15-20 minutes, covered, before the final shape. This short rest period allows the dough to relax slightly, making the final shaping easier and helping to maintain the gas developed during fermentation, which is vital for an open glutenfree sourdough crumb structure.
Final Shaping for Optimal Oven Spring
Final shaping is crucial for giving the loaf structure and tension, which translates into good oven spring and helps define the glutenfree sourdough crumb structure. Handle the dough as gently as possible to avoid deflating it. For a boule (round loaf), gently pull the edges into the center to create a taut surface. For a batard (oval loaf), fold the dough in half or thirds lengthwise and then gently roll it to create tension.
Place the shaped loaf seam-side up in a well-floured banneton or proofing basket. The basket supports the dough during its final proof and helps it hold its shape, preparing it for baking. Proper shaping ensures the loaf has the necessary structure to expand upwards in the oven rather than spreading outwards.
Baking for Open Crumb: Oven Temperature and Steam
The Importance of a Dutch Oven or Baking Stone
Baking gluten-free sourdough in a preheated Dutch oven or on a baking stone with added steam is highly recommended for achieving a good crust and maximizing oven spring, which contributes to the open glutenfree sourdough crumb structure. A Dutch oven traps steam released from the dough during the initial phase of baking, keeping the crust soft and pliable. This allows the loaf to expand fully before the crust sets.
Preheating the Dutch oven or baking stone to a high temperature, typically 450-500°F (230-260°C), provides an initial burst of heat to the dough, promoting rapid expansion (oven spring). Using a Dutch oven simplifies the steaming process significantly compared to creating steam in a regular oven.
Creating Steam for a Crusty Exterior
Steam is essential during the first 15-20 minutes of baking. It keeps the surface of the dough moist, allowing it to stretch as the loaf expands in the hot oven. Without sufficient steam, the crust forms too quickly and restricts oven spring, resulting in a denser loaf and tighter glutenfree sourdough crumb structure.
If not using a Dutch oven, you can create steam by placing a tray of hot water on the bottom rack of your oven just before loading the bread. Some bakers also spray the oven walls with water. After the initial steaming period (when the oven spring is complete, typically after 15-20 minutes), remove the lid of the Dutch oven or the steam tray to allow the crust to brown and crisp up.
Cooling and Slicing: Preserving the Crumb Structure
Once baked to a deep golden-brown color and reaching an internal temperature of around 205-210°F (96-99°C), your gluten-free sourdough loaf is ready to cool. This step is just as critical as baking for the final glutenfree sourdough crumb structure. The bread continues to cook internally as it cools, and moisture redistributes throughout the loaf.
Cool the loaf completely on a wire rack for at least 2-4 hours, or ideally longer, before slicing. Slicing a hot gluten-free loaf will result in a gummy, sticky crumb because the starches haven't fully set. Patience during the cooling phase ensures the glutenfree sourdough crumb structure stabilizes, yielding a clean slice and the desirable airy texture you worked hard to achieve.
Troubleshooting Common Gluten-Free Crumb Issues
Dense and Gummy Crumb: Identifying the Causes
A dense and gummy glutenfree sourdough crumb structure is a common frustration for gluten-free bakers. Several factors can contribute to this. One primary cause is insufficient fermentation; if the dough hasn't produced enough gas or developed sufficient strength during bulk fermentation, it won't rise properly in the oven. Another key factor is inadequate hydration or improper use of binders; too little water or binder won't create the necessary gel structure, while too much binder or insufficient hydration can lead to a gummy texture.
Overmixing can also break down the delicate structure provided by binders. Additionally, slicing the loaf before it has completely cooled is a major culprit for gumminess, as the starches haven't had time to set properly. Ensuring adequate fermentation time based on dough activity, correctly measuring hydration and binders, and allowing the loaf to cool fully are crucial steps to avoid a dense, gummy crumb.
Large, Uneven Holes: Addressing Fermentation Imbalances
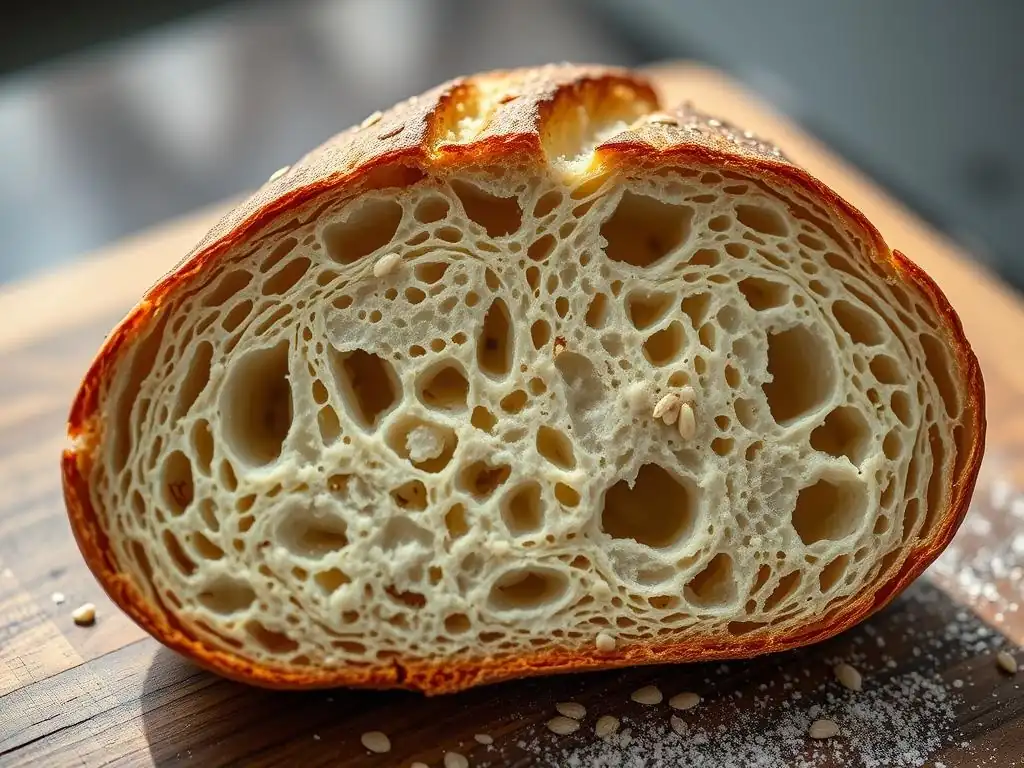
While some large holes are part of an open glutenfree sourdough crumb structure, excessively large, uneven tunnels, often located just under the crust, can indicate fermentation imbalances or improper shaping/handling. This can happen if the dough was slightly over-fermented, leading to some areas collapsing while others retained gas. It can also result from inconsistent temperature during fermentation, causing uneven gas production.
Poor shaping or overly rough handling during shaping can also trap large pockets of air unevenly within the dough. To mitigate this, ensure consistent fermentation temperature, monitor the dough's rise closely to avoid over-proofing, and practice gentle but effective shaping techniques to create even tension throughout the loaf, contributing to a more uniform glutenfree sourdough crumb structure.
Collapsed Loaf: Improving Dough Strength
A loaf that collapses during or after baking often points to a lack of structural integrity in the dough. This can be due to several reasons related to the glutenfree sourdough crumb structure development. Over-proofing is a common cause; if the dough ferments for too long, the structure can weaken and eventually collapse as it runs out of gas-holding capacity. Under-proofing can also lead to collapse if the dough hasn't developed enough strength to hold its shape.
Insufficient hydration or binder can also result in a weak dough that cannot support its weight during baking. Ensuring your starter is vigorous, accurately measuring ingredients (especially water and binder), monitoring fermentation closely, and employing proper shaping techniques to build tension are all vital steps to prevent loaf collapse and build a robust glutenfree sourdough crumb structure.
Advanced Techniques for Gluten-Free Bread Bakers
Exploring Different Gluten-Free Flour Blends
Moving beyond basic rice flour blends can significantly enhance the flavor, texture, and glutenfree sourdough crumb structure of your loaves. Experimenting with less common gluten-free grains like teff, buckwheat, or amaranth can add nutritional value and unique flavor profiles. Using a portion of sprouted grain flours can sometimes improve texture and digestibility.
Consider the protein and starch content of different flours when creating blends. A blend with a higher proportion of starchy flours (like tapioca or potato) might yield a lighter, more open crumb but potentially a weaker structure. A blend with more whole grains (like brown rice or sorghum) might offer more structure but potentially a denser crumb. Testing different ratios, perhaps starting with 20-30% of a new flour type in a familiar blend, is a good way to explore options.
Using Pre-Gelatinized Starches for Improved Texture
Pre-gelatinized starches, like pre-gelatinized tapioca or cornstarch, have been cooked and dried, allowing them to absorb liquid instantly without heat. Adding a small percentage (often 2-5% of flour weight) of pre-gelatinized starch to a gluten-free dough can significantly improve its texture, making it less crumbly and more pliable.
These starches contribute to a softer, more elastic crumb and can help maintain moisture, leading to a better glutenfree sourdough crumb structure and a loaf that stays fresh longer. They can be particularly helpful in high-hydration doughs, aiding in handling and providing additional structure without the potential gumminess associated with excessive regular starch or binder.
Incorporating Seeds and Grains for Added Flavor and Texture
Adding seeds and grains is a wonderful way to enhance the flavor, texture, and nutritional profile of gluten-free sourdough. Soaking seeds (like flax, chia, or sunflower) or grains (like quinoa or millet) before adding them to the dough prevents them from absorbing moisture from the dough itself, which could lead to a drier crumb and negatively impact the glutenfree sourdough crumb structure.
Incorporating a soaked seed mix (a "soaker") can add visual appeal and pleasant bursts of texture throughout the loaf. A common soaker ratio might be equal parts seeds and hot water, left to soak for 30 minutes to an hour before being folded into the dough during the final mixing phase. This adds complexity and body to the bread.
Tips and Tricks for Consistent Gluten-Free Sourdough Success
Accurate Measuring: The Key to Reproducible Results
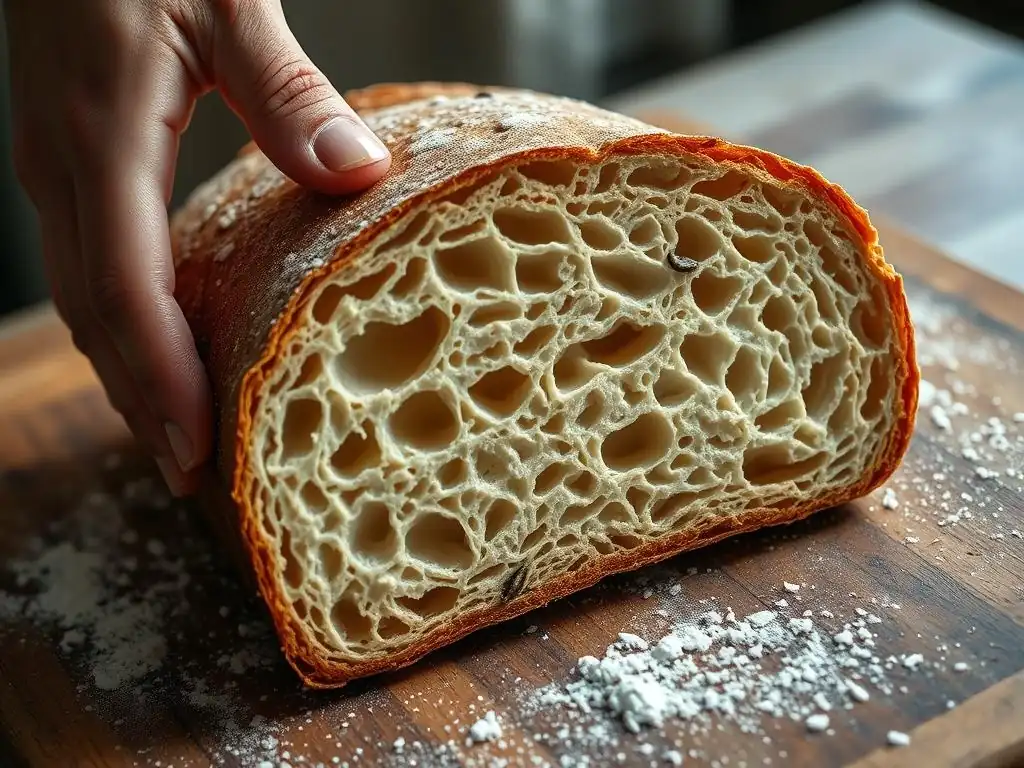
In gluten-free baking, precision is paramount, especially when aiming for a consistent glutenfree sourdough crumb structure. Unlike wheat baking where slight variations in flour or water might be forgiving, gluten-free recipes often rely on specific ratios of flours, starches, and binders to achieve the desired structure. Using a digital kitchen scale to weigh all ingredients, including water and starter, is highly recommended.
Measuring by volume (cups) can be inaccurate due to variations in how ingredients are packed. Weighing ensures you use the exact proportions specified in the recipe, leading to more predictable results batch after batch and helping you troubleshoot effectively if something goes wrong with your gluten-free crumb.
Understanding Your Oven: Calibrating for Optimal Baking
Oven temperature accuracy plays a significant role in successful bread baking, including achieving a good glutenfree sourdough crumb structure. Many home ovens have temperature fluctuations or inaccuracies. An oven thermometer can help you verify the actual temperature inside your oven and adjust accordingly.
Baking at the correct temperature ensures proper oven spring and crust development. If your oven runs cool, your bread might not rise fully; if it runs hot, the crust might set too quickly, restricting expansion. Knowing your oven's quirks allows you to make necessary adjustments to baking time or temperature for consistent results.
Storing Gluten-Free Bread to Maintain Freshness
Proper storage helps maintain the texture and freshness of your gluten-free sourdough loaf, preserving that desired glutenfree sourdough crumb structure for longer. Once completely cooled, gluten-free bread tends to dry out faster than wheat bread because it lacks the gluten network to help retain moisture.
Store the loaf in a bread bag, a sealed container, or wrapped tightly in plastic wrap or beeswax wrap at room temperature for a day or two. For longer storage, slice the cooled loaf and freeze the slices in an airtight container or freezer bag. Freezing is an excellent way to keep gluten-free bread fresh and is perfect for having a single slice ready anytime.
Enjoying Your Gluten-Free Artisan Loaf
Frequently Asked Questions
What is the importance of crumb structure in gluten-free sourdough?
The crumb structure is crucial as it affects the texture and appearance of the bread. A well-developed crumb provides a light, airy feel, enhancing the overall eating experience.
How can I achieve an open crumb in gluten-free sourdough?
To achieve an open crumb, focus on using the right blend of flours and ensure proper hydration. Techniques like stretch and fold during fermentation can also help create air pockets.
Are there specific ingredients that enhance crumb structure in gluten-free baking?
Yes, using high-quality gluten-free flours like almond or brown rice flour, along with binding agents like psyllium husk, can significantly improve the crumb structure of your loaves.
Can I use regular sourdough techniques for gluten-free baking?
While many techniques are transferable, you may need to adjust hydration levels and fermentation times since gluten-free flours behave differently from traditional wheat flours.
What tips can I follow to maintain moisture in gluten-free sourdough?
To maintain moisture, consider adding ingredients like applesauce or yogurt. Additionally, cover your dough while it rests to prevent it from drying out during fermentation.
Final Reflection: The Pursuit of the Perfect Gluten-Free Crumb
The quest for an open, airy crumb in gluten-free sourdough bread remains a significant challenge, yet the rewards for achieving it are immense – a taste and texture experience that rivals its gluten-containing counterpart. This article has explored the multifaceted nature of this challenge, delving into the science behind gluten-free baking, the nuances of sourdough fermentation, and the crucial role of hydration and technique. We've seen that while seemingly simple, the creation of a truly satisfying gluten-free loaf requires a deep understanding of the interplay between these factors.
The journey to mastering gluten-free sourdough crumb structure is a testament to the enduring human desire for connection to traditional baking practices, even in the face of dietary restrictions. It's a pursuit that reflects our commitment to finding joy and nourishment in food, regardless of limitations. Bread is the staff of life,
a simple phrase, yet it encapsulates the profound significance of bread in human culture and its ability to bring people together. This pursuit, therefore, is not merely about achieving a perfect crumb, but about the human spirit's resilience and creativity in the face of challenges.
Now, consider your own baking journey. Have you been discouraged by past attempts at gluten-free sourdough? This article is not just a guide; it's an invitation. Embrace the experimentation, the learning, and the occasional failures. Each loaf, whether perfectly risen or slightly dense, is a step closer to understanding the intricacies of gluten-free baking. Don't be afraid to adjust hydration, experiment with different flours, and refine your technique. The perfect gluten-free sourdough crumb awaits – and the journey to find it is as rewarding as the destination itself.
Unlock the Secret to Open Crumb: Your Gluten-Free Baking Journey Starts Now!
Thanks for taking the time to delve into the world of open crumb gluten-free artisan loaves! We hope you gained valuable insights and feel empowered to create amazing bread. Ready to take your baking to the next level?
- Bake your dream loaf: Use the techniques you’ve just learned to create your own perfect gluten-free artisan bread. Don't be afraid to experiment!
- Share your success: Post a picture of your masterpiece on social media and tag us – we’d love to see your creations!
- Join our baking community: Leave a comment below and share your experiences, tips, or questions. Let's learn from each other!
What unique ingredient will you try next to elevate your gluten-free baking game?