
Mastering the Slap and Fold: The Technique for Perfect High Hydration Dough

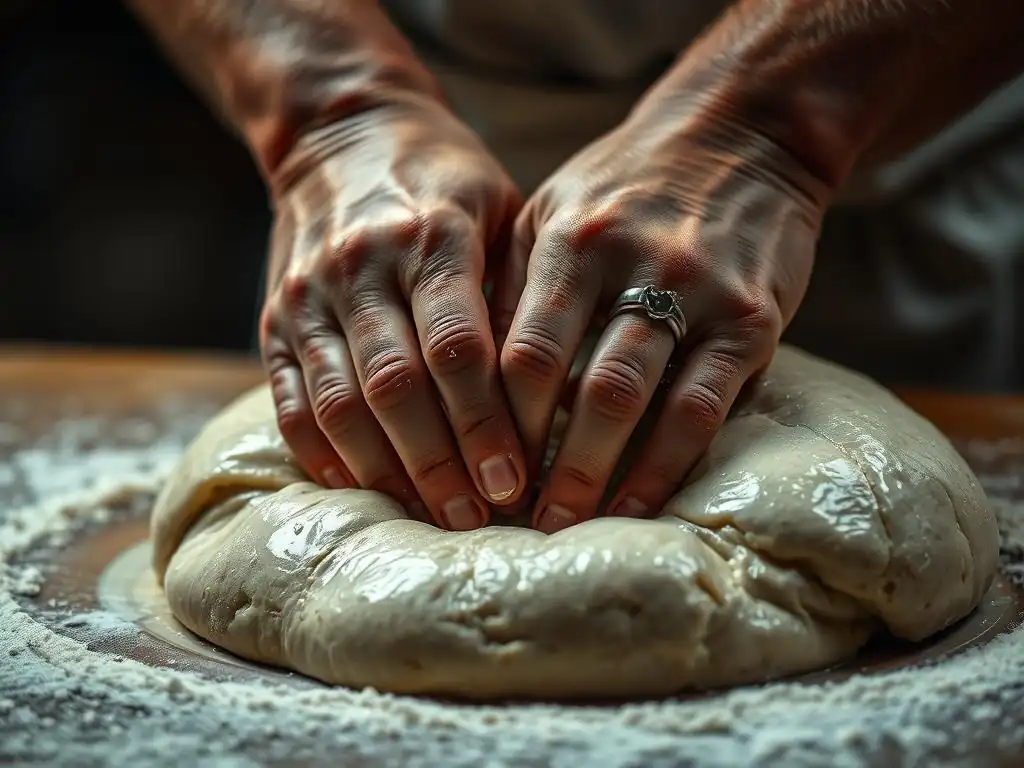
Welcome to BakeWithEase, where creating delectable delights is simpler than you think! Ever wondered how professional bakers achieve that perfectly airy and open crumb in their high-hydration sourdough? Dive into our latest guide and unlock the secrets of the slap and fold technique. Discover how this simple method can transform your dough and elevate your bread baking game. Ready to revolutionize your sourdough? Let's get started!
- Mastering the Slap and Fold: The Technique for Perfect Sourdough
- Introduction to the Slap and Fold Technique
- Understanding Dough Hydration
- The Slap and Fold Technique: A Step-by-Step Guide
- Tips and Tricks for Perfect Sourdough
- Achieving Optimal Dough Strength
- Sourdough Recipes Using the Slap and Fold Technique
- Advanced Slap and Fold Techniques
- Conclusion: Elevate Your Sourdough Baking
-
Frequently Asked Questions
- What is the "slap and fold" technique and why is it used in sourdough baking?
- Is the slap and fold technique suitable for all types of dough?
- How often should I perform the slap and fold during the bulk fermentation stage?
- What are the key benefits of using the slap and fold method compared to other kneading methods?
- What does successfully "slapped and folded" dough look and feel like?
- Final Reflection: The Transformative Power of the Slap and Fold
- Unleash Your Inner Baker: Perfect High-Hydration Dough Awaits!
Mastering the Slap and Fold: The Technique for Perfect Sourdough
Introduction to the Slap and Fold Technique
What is the Slap and Fold Method and Why Use It?
The slap and fold method, also known as the French fold or rabat, is a kneading technique particularly well-suited for high hydration doughs. Unlike traditional kneading where you push and pull the dough on a floured surface, the slap and fold involves picking up the dough, slapping it onto the counter, and folding it over itself.
This rhythmic action helps develop gluten quickly and efficiently in very wet doughs that would otherwise be incredibly difficult to handle using conventional methods. It's a foundational technique for many bakers working with artisan breads, especially those aiming for an open, airy crumb structure.
Its primary purpose is to build dough strength without adding excessive flour, which would decrease the hydration level. For a high hydration sourdough dough, this technique is invaluable. It allows the baker to work with a sticky, almost liquid-like mixture, transforming it into a smooth, elastic mass capable of trapping the gases produced by fermentation. This method is a cornerstone for achieving the characteristic light texture and crispy crust often associated with professional-quality sourdough bread.
Benefits of Slap and Fold
Utilizing the slap and fold technique offers several distinct advantages, particularly when working with a high hydration sourdough dough. Firstly, it significantly accelerates gluten development compared to methods like stretch and folds performed in the bowl. The forceful slapping action helps align the gluten strands more quickly, transforming a shaggy, weak dough into a strong, extensible one often within 10-15 minutes of active kneading time spread across several sessions. This efficiency is a major time-saver in the overall bread-making process.
Secondly, the slap and fold technique excels at incorporating air into the dough. Each slap and fold action stretches and folds the dough, trapping small pockets of air. This initial aeration contributes to a lighter, more open crumb structure in the final baked bread. Furthermore, by keeping the dough hydrated, the slap and fold method encourages a more active fermentation, leading to better flavor development, which is crucial for a complex slap and fold sourdough dough. It also minimizes the need for flour on the work surface, preserving the intended hydration percentage and preventing a tough crust.
Slap and Fold vs. Other Dough Mixing Methods
Comparing the slap and fold technique to other dough mixing methods reveals its unique place in baking. Traditional kneading involves pushing and folding dough on a floured surface, often requiring significant physical effort and potentially adding too much flour, especially with sticky doughs. For a typical 65% hydration dough, traditional kneading works well, but for a high hydration sourdough dough at 75% or 80% hydration, it becomes impractical due to excessive stickiness. Stand mixers can handle high hydration doughs, but they require specialized dough hooks and careful monitoring to avoid overheating the dough.
Autolyse and stretch and folds are gentler methods, excellent for gluten development with minimal handling, often used in conjunction with or as an alternative to kneading. Autolyse, letting flour and water rest, develops some gluten passively, while stretch and folds (usually performed in the bowl over 2-3 hours) build strength gradually.
The slap and fold, however, provides a burst of rapid gluten development, making it particularly effective for quickly bringing a very wet dough together before moving to slower fermentation and folding stages. For developing a strong structure in a sticky, high hydration sourdough dough efficiently, the slap and fold stands out.
Understanding Dough Hydration
Defining Dough Hydration
Dough hydration refers to the ratio of water to flour in a dough recipe, expressed as a percentage. It's calculated by dividing the weight of the water by the weight of the flour and multiplying by 100. For example, if a recipe uses 500 grams of flour and 375 grams of water, the hydration is (375 / 500) * 100 = 75%. This percentage is a critical factor influencing dough consistency, handling, and the final crumb structure of the baked bread. Higher hydration means more water relative to flour, resulting in a wetter, stickier dough.
Understanding hydration is fundamental to baking, especially when working with techniques like the slap and fold sourdough dough method. Different flours absorb water differently; whole wheat flour, for instance, typically absorbs more water than white bread flour due to its bran and germ content. A dough with 60-65% hydration is considered relatively low hydration and easy to handle, while doughs above 70% are considered high hydration and require specific techniques, like the slap and fold, to manage effectively and develop structure.
Why Hydration Matters for Sourdough Bread
Hydration plays a pivotal role in the quality of sourdough bread. Higher hydration levels generally lead to a more open, airy crumb structure and a thinner, crispier crust – characteristics highly prized in artisan sourdough. The increased water content allows for greater expansion during fermentation and baking, as the steam produced helps the loaf rise and develop large pockets of air. A 75% hydration sourdough loaf will typically have a noticeably more open crumb than a 65% hydration loaf made with the same flour.
Furthermore, hydration affects the fermentation process. A wetter dough provides a more favorable environment for the sourdough starter's yeast and bacteria to thrive, leading to potentially more vigorous activity and complex flavor development. However, high hydration also makes the dough stickier and more challenging to handle, requiring techniques like the slap and fold to build the necessary gluten network to support the open structure. Mastering how to work with sticky, high hydration sourdough dough is key to achieving that signature open crumb.
Challenges of Working with High Hydration Dough
Working with high hydration dough, especially a sticky high hydration sourdough dough, presents unique challenges. Doughs with hydration levels exceeding 75% can feel more like a batter than a traditional dough, sticking relentlessly to hands, surfaces, and utensils. This stickiness makes traditional kneading methods impractical and can be frustrating for bakers accustomed to firmer doughs. Without proper technique, it's difficult to develop sufficient gluten strength to give the dough structure and allow it to hold its shape.
Another challenge is achieving proper tension and shaping with such wet dough. A weak gluten network in a high hydration dough will result in a flat, dense loaf because it cannot support the weight of the dough and the gases produced during fermentation and oven spring. Techniques like the slap and fold are specifically designed to overcome these difficulties, allowing bakers to build significant dough strength and elasticity even in very wet doughs, transforming a sticky mess into a manageable, extensible mass capable of producing a beautiful, airy loaf of slap and fold sourdough dough.
The Slap and Fold Technique: A Step-by-Step Guide
Step 1: Preparing Your Dough
Begin the slap and fold process with your high hydration sourdough dough ingredients mixed together until just combined. This initial mix, often called the autolyse (flour and water only) or a basic mix including the starter, should be a shaggy, wet mass. Ensure your workspace is clean and relatively clear.
While some bakers prefer a completely dry surface, others find a very lightly dampened surface or one with a minimal, barely perceptible film of water helpful for managing stickiness without adding flour. Avoid using flour on the surface at this stage, as it defeats the purpose of maintaining high hydration.
Have a bench scraper handy; it will be your best friend for gathering the sticky dough from the counter during the process. Ensure the dough is at room temperature, as cold dough is less extensible and harder to work with using this method. Your dough should be sticky and wet, perhaps around 75-85% hydration, indicating it's a good candidate for the slap and fold sourdough dough technique.
Step 2: The Slap: Proper Technique and Form
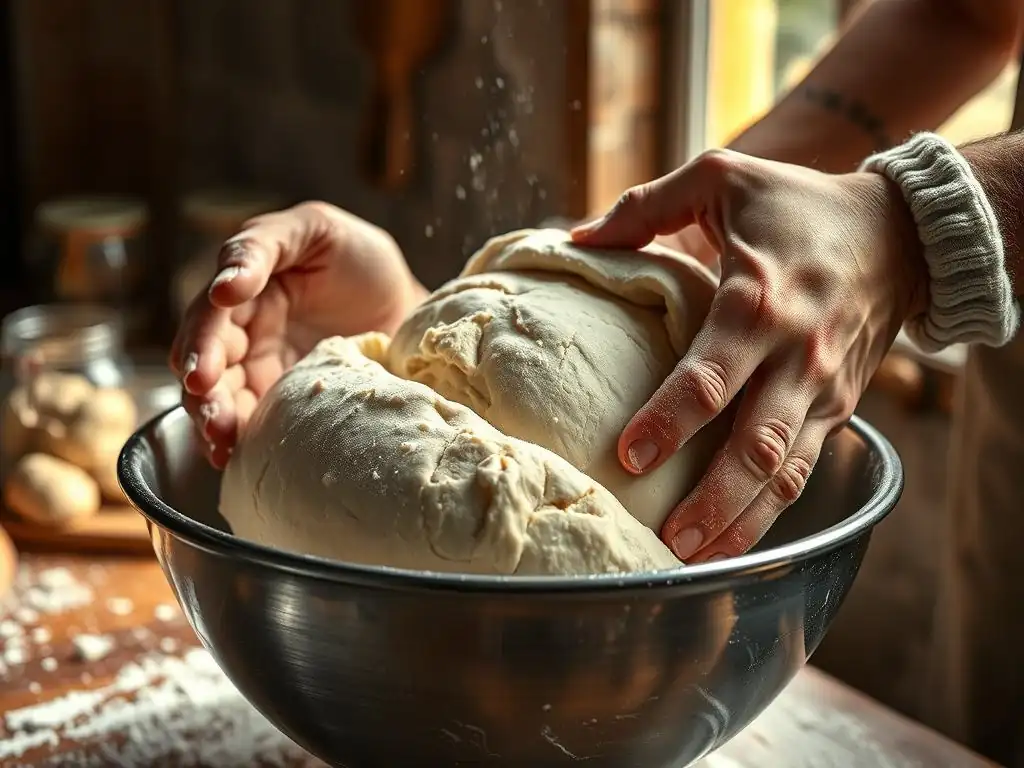
The core of the technique is the "slap." To begin, grab a portion of the dough from the bowl or off the counter using wet or slightly damp hands. Let the mass of dough hang downwards, using gravity to your advantage. Then, lift the dough and forcefully slap the far end of it onto a clean, un-floured work surface. As the dough hits the surface, the action stretches the gluten strands.
Immediately after the slap, use the hand that was holding the dough (or your other hand, depending on your preference and the dough's size) to grab the dough just behind where it hit the surface. With the dough still partially stuck to the counter, quickly lift and fold the dough back over itself towards you. This motion aligns the stretched gluten strands. The rhythm is: grab, lift, slap, grab and fold.
Repeat this sequence continuously. Aim for a consistent, fluid motion rather than brute force. Initially, the dough will be very sticky and tear easily, but with repetition, it will become more cohesive.
Step 3: The Fold: Bringing it All Together
After the slap, the "fold" is crucial for building structure. As the dough lies partially stretched on the counter from the slap, quickly grab the end of the dough closest to you (or just behind where it made contact) and fold it back over the rest of the dough mass. This action effectively doubles the dough over on itself, layering the stretched gluten. It's a swift motion that follows immediately after the dough hits the surface.
The goal of this fold is to bring the dough back into a manageable mass and reinforce the gluten structure that was just stretched by the slap. Think of it as creating layers within the dough. As you repeat the slap and fold sequence, you are continuously stretching and folding the dough, building layers of gluten and incorporating air. This continuous process, performed for several minutes per session, is what transforms a loose, sticky high hydration sourdough dough into a smooth, elastic ball.
Step 4: Resting the Dough
After a session of slapping and folding (typically 5-10 minutes, or until you notice a significant change in dough texture), it's important to let the dough rest. Gather the dough into a rough ball using your bench scraper and hands and place it back into a lightly oiled bowl or onto the counter covered with the bowl. This rest period, usually 10-15 minutes, is called a fermentolyse if it occurs after the initial mix and before subsequent folds.
The rest allows the gluten network you've just started to develop to relax and hydrate further. This relaxation makes the dough less resistant and easier to work with during the next round of slap and folds. It also gives the sourdough culture a moment to begin its work. You'll notice that after resting, the dough is often slightly smoother and less sticky than it was immediately after the vigorous slap and fold session. This cycle of work and rest is key to developing strength in a high hydration sourdough dough.
Step 5: Repeating the Slap and Fold Process
Developing sufficient strength in a high hydration dough usually requires more than one slap and fold session. After the initial rest period (Step 4), repeat the slap and fold technique (Steps 2 & 3) for another 5-10 minutes. Again, work the dough until you feel and see a noticeable change – it should become smoother, more elastic, and less sticky, pulling away from the surface more easily.
The number of repetitions needed depends on the dough's hydration, the type of flour used, and the total fermentation time. For a very high hydration sourdough dough (80%+), you might perform 2-3 slap and fold sessions spaced 10-15 minutes apart during the first hour or two of bulk fermentation. For a slightly lower hydration dough (70-75%), perhaps 1-2 sessions suffice before moving to gentler stretch and folds. Continue repeating the process until the dough passes the windowpane test or shows other signs of good gluten development, indicating your slap and fold sourdough dough is ready for the next stage.
Tips and Tricks for Perfect Sourdough
Mastering the Grip and Slap Motion
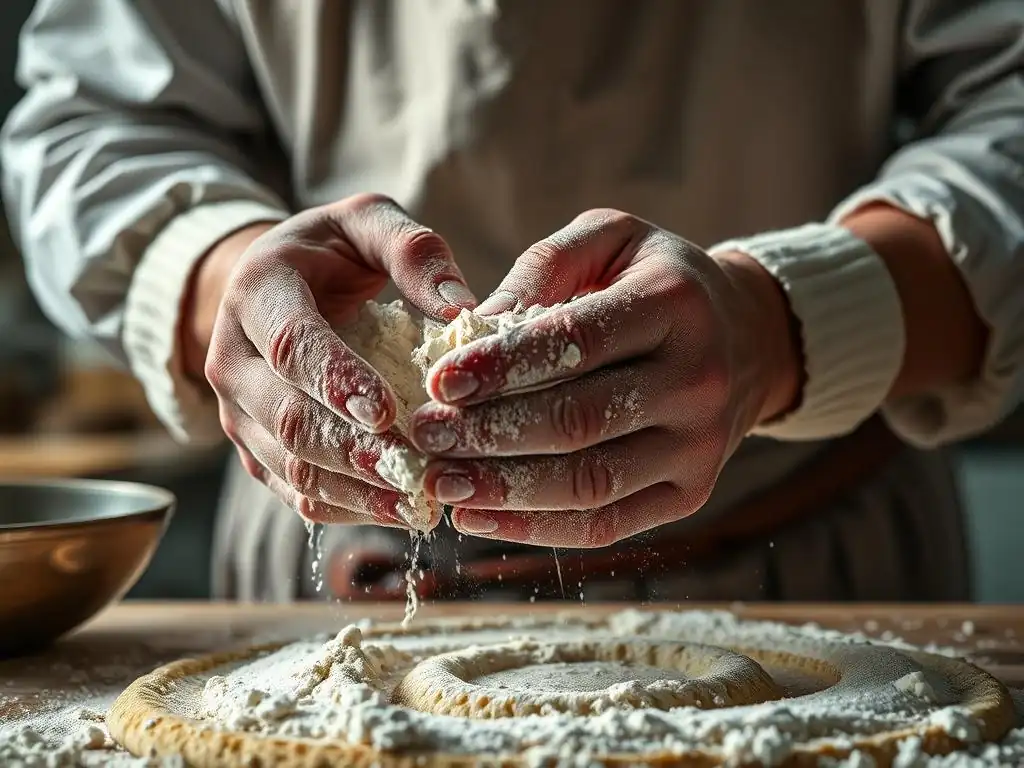
Achieving proficiency with the slap and fold technique for sourdough dough depends heavily on mastering the grip and slap motion. The key is to use your fingers and the heel of your hand to grab a portion of the dough firmly but not so tightly that you tear it. Imagine you're scooping up a wet, heavy mass. The lift should be quick, and the slap should be forceful enough to stretch the dough onto the counter, but not so violent that it splatters everywhere. A good slap will cause the dough to adhere to the surface momentarily.
The subsequent grab for the fold should be just behind where the dough stuck, allowing you to quickly pull it back over itself. Keeping your hands slightly damp (not wet, just damp) can help prevent the dough from sticking to you, allowing for a cleaner grab and release. Practice on a smaller batch of dough if possible to get a feel for the rhythm and necessary force. Consistency in the motion is more important than speed initially; aim for a smooth, continuous cycle of grab, lift, slap, grab, fold.
Controlling Dough Stickiness
Managing stickiness is perhaps the biggest hurdle when working with a high hydration sourdough dough using the slap and fold. The inherent nature of wet dough is to stick to everything it touches. As mentioned, keeping your hands slightly damp can help, but avoid excess water which can make the dough even stickier. Some bakers find working on a granite or stainless steel surface preferable to wood, as these surfaces can be easier to keep clean and less prone to dough adhesion.
A bench scraper is indispensable for quickly releasing dough stuck to the counter and for gathering the dough between slap and fold sessions or during rests. If the dough is excessively sticky and difficult to manage even with damp hands and a scraper, you might consider a very, very minimal amount of neutral oil on your hands or the counter, though water is generally preferred to avoid interfering with gluten development. Remember that the dough will become less sticky as gluten develops through the slap and fold sourdough dough process.
Adjusting the Technique Based on Dough Type
The slap and fold technique can be adapted for different types of dough, not just standard high hydration sourdough. While it excels with wet doughs (70%+ hydration), you might use a modified version for slightly lower hydration doughs that are still too sticky for traditional kneading. With a dough that's only moderately sticky (say, 65-70% hydration), you might use less force in the slap or perform shorter, more frequent slap and fold sessions alternating with stretch and folds.
For doughs containing whole grains or additions like seeds or nuts, the technique might need adjustment. Whole grain flours can make dough less extensible, requiring a gentler slap and fold. Add-ins are often best incorporated after the initial gluten development using slap and fold, during subsequent stretch and folds, to avoid tearing the developing gluten network. Always observe how the specific dough responds and adjust the intensity and duration of the slap and fold sourdough dough technique accordingly.
Troubleshooting Common Issues
Several common issues can arise when learning the slap and fold technique for sourdough dough. One is the dough tearing excessively instead of stretching during the slap. This usually indicates insufficient initial gluten development or that the dough is too cold or hasn't rested enough between sessions. Ensure you've done a brief initial mix and allowed a short rest (like an autolyse) before starting, and that the dough is at a workable temperature (around 75-80°F or 24-27°C is ideal for many sourdoughs).
Another issue is the dough sticking uncontrollably. This is common with very high hydration doughs (80%+). Ensure your hands are properly dampened (not wet) and use your bench scraper frequently to manage the dough on the counter. Don't be afraid to gather the dough back into a ball and start a new set of slaps if it gets too spread out. If after several minutes the dough shows no sign of becoming less sticky or developing strength, it might be a hydration issue (too much water) or a problem with the flour's protein content or the starter's activity.
Achieving Optimal Dough Strength
Developing Gluten Strength
Developing gluten strength is paramount for achieving a well-structured loaf, especially with a high hydration sourdough dough. Gluten, formed by the proteins glutenin and gliadin when they come into contact with water and are manipulated, creates an elastic network within the dough. This network acts like a balloon, capable of trapping the carbon dioxide gas produced by the sourdough starter's fermentation. Without sufficient gluten development, the gas escapes, resulting in a dense, flat bread.
The slap and fold technique is highly effective at developing this crucial gluten network. The repetitive stretching and folding action encourages the gluten strands to align and bond, creating a strong, elastic matrix. As you perform the slap and fold sourdough dough technique, you will physically feel the dough transform from a loose, shaggy mass into a cohesive, smooth, and elastic material that resists tearing and can be stretched thin without breaking.
Recognizing Signs of Properly Developed Dough
Knowing when your high hydration sourdough dough has sufficient gluten strength is key to successful baking. One of the most reliable indicators is the "windowpane test." To perform this, gently take a small piece of dough and stretch it thin between your fingers. If the dough can be stretched into a translucent membrane that you can see light through without tearing, it has developed sufficient gluten strength.
Other signs include the dough becoming noticeably smoother and less sticky after repeated slap and fold sessions. It will hold its shape better when gathered and will resist spreading out on the counter. The surface may appear tighter and more taut. When you poke the dough gently with a wet finger, it should slowly spring back. These visual and tactile cues indicate that the slap and fold sourdough dough technique has effectively built the necessary structure.
How Slap and Fold Contributes to Air Incorporation
Beyond gluten development, the slap and fold technique actively contributes to incorporating air into the dough. Each time you slap the dough onto the surface and fold it over, you are essentially creating layers and trapping tiny pockets of air within those layers. This initial mechanical aeration provides nucleation sites for the carbon dioxide bubbles that will form during fermentation.
This process is different from the larger gas bubbles formed by fermentation, but it lays the groundwork for a more open crumb. The air pockets created during the slap and fold sourdough dough process help to evenly distribute the yeast and bacteria from the starter throughout the dough, leading to more consistent fermentation. This early aeration, combined with the strong gluten network developed by the technique, is what enables high hydration doughs to achieve such spectacular oven spring and an open, airy interior structure.
Sourdough Recipes Using the Slap and Fold Technique
Basic Sourdough Bread Recipe
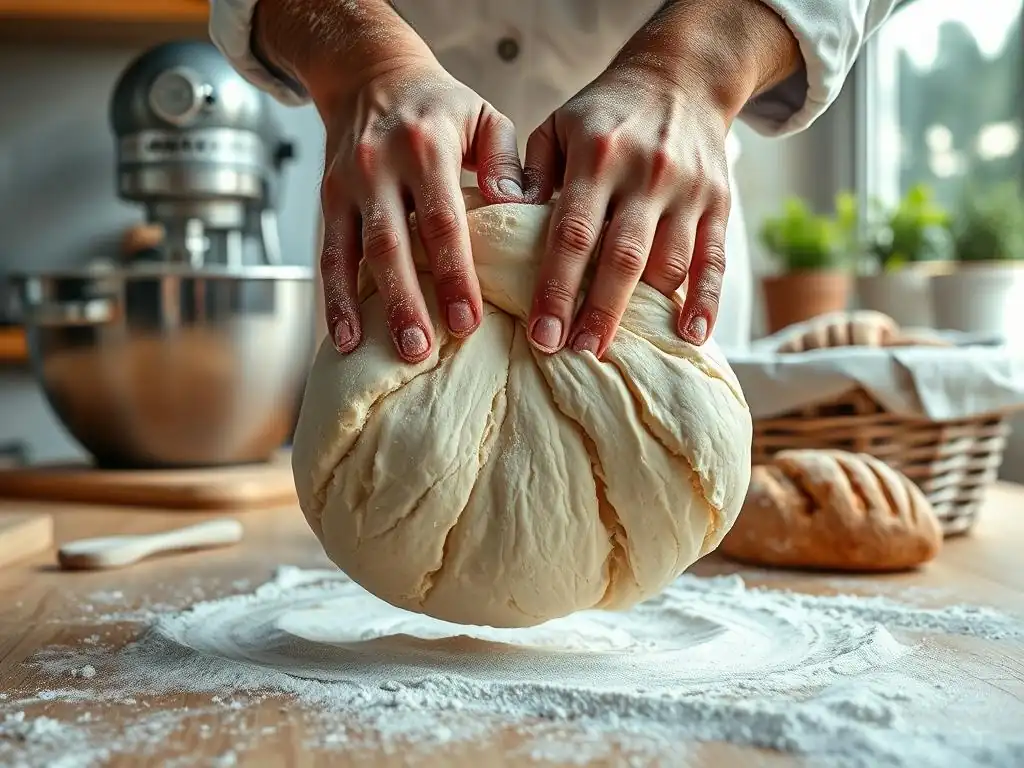
A basic high hydration sourdough bread is a perfect candidate for the slap and fold technique. Typically, such a recipe might feature a hydration level of 75% to 80%, using just flour, water, salt, and active sourdough starter. The process would often begin with mixing the flour and water for an autolyse (30-60 minutes), then incorporating the starter and salt. At this stage, the dough will be very wet and sticky.
Following the initial mix, the baker would perform 2-3 sessions of the slap and fold sourdough dough technique, each lasting 5-10 minutes and separated by 10-15 minute rests. This builds the foundational strength. After these intense kneading sessions, the dough would undergo bulk fermentation with periodic, gentler stretch and folds (every 30-60 minutes for the first few hours) until it's risen significantly and is full of gas bubbles. The slap and fold provides the initial rapid strength development that makes subsequent gentle handling possible.
Slap and Fold Rye Bread Recipe
Working with rye flour presents unique challenges because rye contains less gluten-forming protein than wheat. However, the slap and fold technique can still be beneficial, particularly when rye is mixed with a significant proportion of strong wheat flour in a high hydration dough. For example, a recipe with 30% rye and 70% strong white flour at 78% hydration could benefit from this method.
The slap and fold sourdough dough technique helps develop the limited gluten network present and integrate the rye flour thoroughly. However, the sessions might be shorter (perhaps 3-5 minutes each) and potentially less vigorous than with 100% wheat dough, as rye dough can be more prone to tearing. The slap and fold helps build initial structure before the dough is left to ferment, often resulting in a rye loaf with a slightly lighter texture than those made with minimal handling.
Slap and Fold Pizza Dough Recipe
While many pizza doughs are lower in hydration, a high hydration sourdough pizza dough (around 65-70% hydration) can yield an incredibly light and airy crust with large bubbles, similar to Neapolitan style. The slap and fold technique is excellent for developing the strength needed to stretch this dough thin without tearing and to support that open crumb structure.
A typical process might involve an initial mix, a 30-minute rest, followed by 1-2 sessions of the slap and fold sourdough dough technique for about 5-8 minutes each. This builds the necessary elasticity quickly. The dough is then allowed to bulk ferment, often for a long period in the refrigerator (24-72 hours), allowing flavor to develop. The initial strength from the slap and fold ensures the dough can be easily shaped into large, thin rounds for baking, resulting in a bubbly, chewy, and light sourdough pizza crust.
Advanced Slap and Fold Techniques
Incorporating Add-ins
Incorporating add-ins like seeds, nuts, dried fruit, or cheese into a high hydration sourdough dough requires careful timing when using the slap and fold technique. Adding them too early, especially hard or sharp ingredients, can tear the developing gluten network during the vigorous slapping. A common advanced approach is to perform the initial slap and fold sessions until the dough has developed some noticeable strength and smoothness – perhaps after the first 15-20 minutes of intermittent slap and folds.
Once the dough is partially developed, the add-ins can be incorporated during a subsequent gentle stretch and fold session or folded in carefully by hand on the work surface. For instance, after two rounds of slap and fold sourdough dough work and rests, spread the dough out slightly, sprinkle the add-ins over the surface, and then perform a series of folds (like envelope folds) to distribute them evenly. This ensures the add-ins don't hinder the critical initial gluten development phase.
Adapting the Technique for Different Flours
Adapting the slap and fold technique to different flours is essential for success. Strong bread flour with high protein content (12-14%) will develop gluten readily and can handle vigorous slapping. Softer flours like all-purpose (10-11.5% protein) or weaker flours like spelt or kamut will develop gluten more slowly and are more prone to tearing. When working with these flours in a high hydration sourdough dough, the slap and fold should be gentler and potentially shorter in duration per session.
For instance, with a high hydration spelt sourdough, you might perform 3-4 shorter sessions (3-5 minutes each) of a less aggressive slap and fold, interspersed with rests. The goal is still to build strength, but with less stress on the delicate gluten structure of weaker flours. Understanding the protein content and absorption qualities of your specific flour allows you to fine-tune the intensity and duration of the slap and fold sourdough dough technique.
Combining Slap and Fold with Other Dough Handling Methods
The slap and fold technique is often not used in isolation but combined with other dough handling methods throughout the bulk fermentation. It's particularly effective for the initial stages of bulk fermentation to rapidly build structure in a very wet dough that's difficult to handle otherwise. After performing 1-2 vigorous slap and fold sessions in the first hour or two, bakers typically transition to gentler stretch and folds performed in the bowl.
Stretch and folds are less aggressive and help to further strengthen the dough, build tension, and redistribute yeast and nutrients without the physical stress of slapping. For example, a schedule might be: mix ingredients, autolyse (optional), add starter/salt, perform 10 mins slap and fold, rest 15 mins, perform 5-8 mins slap and fold, rest 30 mins, then perform stretch and folds every 45-60 minutes for the remainder of the bulk fermentation. This combination leverages the rapid strength building of the slap and fold sourdough dough method early on, followed by the gentler development of stretch and folds.
Conclusion: Elevate Your Sourdough Baking
Mastering the slap and fold technique is a game-changer for anyone looking to bake high hydration sourdough bread. This method provides a powerful way to develop gluten quickly and efficiently in sticky doughs that would be unmanageable with traditional kneading. By understanding the rhythm of the slap and fold sourdough dough technique – the grab, slap, and fold – and by practicing patience during the necessary rest periods, you can transform a seemingly unruly mass into a smooth, elastic dough with excellent structure.
Embracing the slap and fold allows you to confidently tackle recipes with higher hydration levels, unlocking the potential for incredibly open crumbs and wonderfully light textures in your loaves. While it takes a little practice to get the feel for it and manage the stickiness, the results are well worth the effort. Incorporate this technique into your repertoire, pay attention to the signs of proper dough development, and watch your sourdough baking reach new heights, yielding consistently impressive, airy, and delicious slap and fold sourdough dough loaves.
Frequently Asked Questions
What is the "slap and fold" technique and why is it used in sourdough baking?
The slap and fold is a kneading technique used to develop strength in high-hydration doughs like sourdough. It improves dough structure without adding excess flour, leading to a lighter crumb.
Is the slap and fold technique suitable for all types of dough?
While effective for high-hydration doughs, the slap and fold is best suited for doughs that are too sticky for traditional kneading. Lower hydration doughs may not benefit as much.
How often should I perform the slap and fold during the bulk fermentation stage?
Typically, the slap and fold is performed 2-4 times during the first hour of bulk fermentation. This helps build strength and develop gluten, but avoid overworking the dough.
What are the key benefits of using the slap and fold method compared to other kneading methods?
The slap and fold allows for better aeration and gluten development in high-hydration doughs. It also requires less effort and can be easier on your hands and wrists compared to traditional kneading.
What does successfully "slapped and folded" dough look and feel like?
Successfully slapped and folded dough should be smoother and more elastic. It will also exhibit increased strength and hold its shape better, becoming less sticky as the gluten develops.
Final Reflection: The Transformative Power of the Slap and Fold
Mastering the slap and fold isn't just about achieving perfectly hydrated sourdough; it's about understanding the delicate dance between structure and hydration, a dance that mirrors the complexities of life itself. The seemingly simple act of slapping and folding dough unlocks a world of possibilities, transforming a sticky mass into a beautifully risen loaf, a testament to patience and precision. This technique, while seemingly niche, speaks to a broader appreciation for the process and the rewards of mindful creation.
The impact of this simple technique extends far beyond the kitchen. The slap and fold embodies a philosophy of gentle yet firm action, of nurturing growth without forceful intervention. It's a reminder that the most beautiful things often require a delicate balance of strength and care. The best bread is made with love, and the best love is patient.
This quote, while not directly about baking, perfectly captures the essence of the slap and fold – a patient, loving approach that yields extraordinary results.
Now, consider your own "dough." What areas of your life require this same delicate balance of strength and nurturing? Where can you apply the principles of the slap and fold – the gentle yet firm approach, the patience to allow for growth, the understanding that the process itself is as important as the outcome? Embrace the slap and fold, not just in your baking, but in your life. Let it be a reminder that even the most challenging tasks can yield incredible beauty and satisfaction with the right approach.
Unleash Your Inner Baker: Perfect High-Hydration Dough Awaits!
Thanks for taking the time to explore the world of high-hydration dough! You've now unlocked a key to creating incredibly flavorful and textured bread. Ready to put your newfound knowledge into practice?
- Bake your dream loaf: Try the slap and fold technique today – you'll be amazed at how easily you can develop gluten strength! Start small, even with a single batch, and notice the difference.
- Share your results: Post a picture of your perfectly risen dough or delicious final product on social media and use #BakeWithEaseHighHydration. We'd love to see your success!
- Join our community: Head over to our forum (link removed as per instructions) to connect with other bread enthusiasts, share tips, and ask questions. We’re a friendly bunch and love helping each other rise to the occasion!
What will be your first step toward mastering the perfect high-hydration loaf?