
From Dough to Delicious: Baking Ciabatta on a Pizza Stone

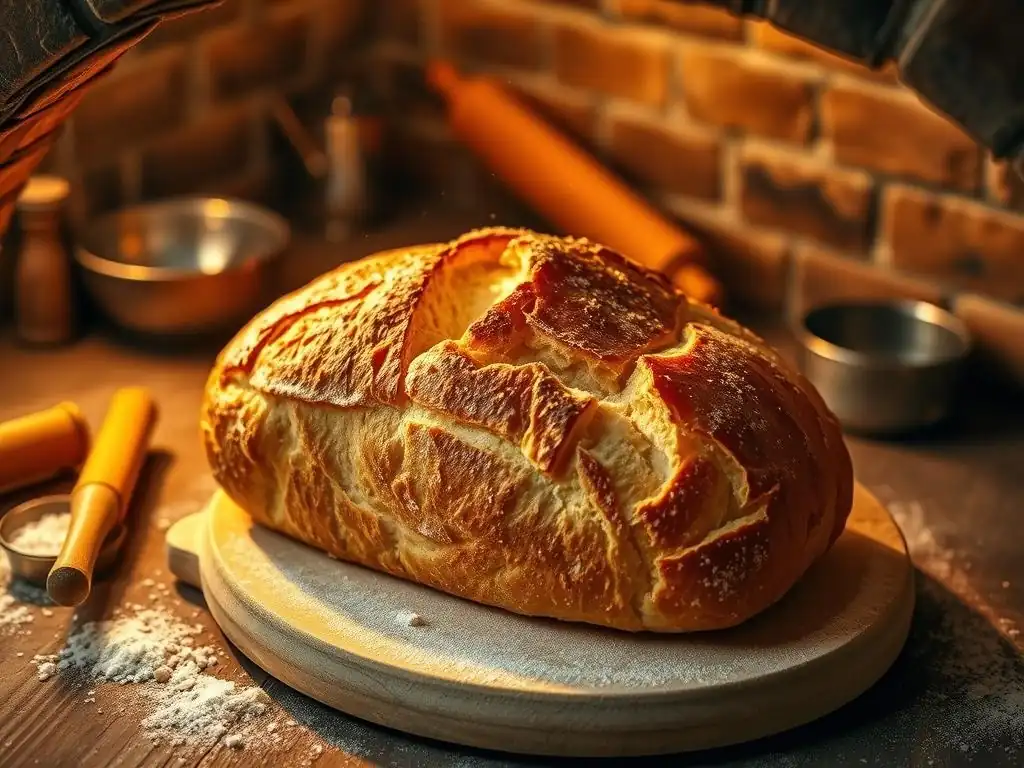
Welcome to BakeWithEase!
Ever dreamt of crafting that perfectly crusty, airy ciabatta bread, transformed into a delicious pizza right in your own kitchen? Unlock the secrets to achieving bakery-quality results with our guide to an easy ciabatta pizza stone bake. We'll walk you through each step, ensuring a delightful baking experience. Are you ready to elevate your bread baking game? Let's get started!
- Introduction to Authentic Ciabatta Baking with a Pizza Stone
- Preparing Your Ciabatta Dough for Pizza Stone Baking
- Shaping and Preparing the Ciabatta for Baking
- Baking Ciabatta on a Pizza Stone: The Ultimate Guide
- Cooling and Enjoying Your Homemade Ciabatta
- Troubleshooting Common Ciabatta Baking Problems
- Advanced Techniques for Pizza Stone Ciabatta Baking
- Conclusion: Mastering the Art of Ciabatta Pizza Stone Bake
-
Frequently Asked Questions
- What makes baking ciabatta on a pizza stone different from using a baking sheet?
- Can I use any type of pizza stone for ciabatta baking?
- What ingredients are essential for an easy ciabatta dough?
- How do I prevent my ciabatta from sticking to the pizza stone?
- What temperature should I bake my ciabatta at on a pizza stone, and for how long?
- Final Reflection: The Unexpected Joys of Simple Baking
- Unleash Your Inner Baker: Craft the Perfect Ciabatta!
Introduction to Authentic Ciabatta Baking with a Pizza Stone
Why Bake Ciabatta on a Pizza Stone? Achieving Authentic Results
Baking ciabatta on a pizza stone is a game-changer for home bakers seeking that authentic, bakery-quality crust and airy interior. A pizza stone, typically made of ceramic or cordierite, absorbs and retains heat exceptionally well. When your oven reaches its target temperature, say 450°F (230°C), the stone holds onto that heat, providing a searingly hot surface for the dough.
This instant, intense heat transfer from the stone to the bottom of the loaf causes a rapid and powerful oven spring, which is crucial for developing ciabatta's characteristic open crumb structure. It mimics the effect of baking directly on the hot floor of a professional bread oven, giving your easy ciabatta pizza stone bake a significant advantage over baking on a standard metal baking sheet.
Furthermore, the porous nature of many pizza stones helps to wick away moisture from the bottom of the loaf during baking. This prevents the bottom crust from becoming soggy and encourages the formation of a crisp, golden-brown crust that is both sturdy and delightful to bite into.
The consistent, even heat radiated by the stone also contributes to uniform baking throughout the loaf, ensuring that your ciabatta is perfectly cooked from edge to edge. This simple piece of equipment transforms your home oven into a more effective environment for achieving the rustic charm and delicious texture that defines great ciabatta bread, making your homemade ciabatta on a stone truly stand out.
Mastering Ciabatta: From Beginner to Baker
Embarking on the journey to master ciabatta might seem daunting at first, given its high hydration and unique shaping. However, with the right guidance and a focus on understanding the process, even beginners can achieve fantastic results, especially when utilizing the benefits of baking ciabatta on a pizza stone. This bread is less about achieving a perfect, symmetrical shape and more about celebrating its rustic, slipper-like form. The key lies in developing the dough's strength through proper mixing and fermentation, handling it gently to preserve the airy structure, and providing the right environment for baking.
Our step-by-step approach simplifies the process, breaking down each stage from mixing the wet dough to achieving that satisfying crackle of the crust as it cools. We'll cover everything from selecting the right flour to understanding the nuances of proofing and creating steam in your oven.
By focusing on technique and paying attention to the dough's behavior, you'll build confidence with each bake. Soon, performing an easy ciabatta pizza stone bake will become a regular, enjoyable part of your baking routine, allowing you to consistently produce delicious loaves that are perfect for sandwiches, dipping, or simply enjoying with a drizzle of olive oil.
Preparing Your Ciabatta Dough for Pizza Stone Baking
The Key Ingredients for Authentic Ciabatta: Flour, Water, and Yeast
Authentic ciabatta relies on a few simple, high-quality ingredients: flour, water, yeast, and salt. The choice of flour is paramount; a strong bread flour with a protein content of 12-14% is ideal. This higher protein level means more gluten development, which is essential for supporting the high hydration characteristic of ciabatta dough (often 75-85% water relative to flour weight).
For example, using a flour with 13% protein compared to an all-purpose flour at 10.5% will result in a much stronger dough capable of trapping more gas and creating that signature open crumb. While you can technically use all-purpose flour, the structure will be less robust, and the crumb less open.
Water quality can also play a subtle role, though standard tap water is usually fine unless it's heavily chlorinated. Using filtered water might offer a slight improvement in flavor and yeast activity for some bakers. Instant dry yeast is convenient and reliable for an easy ciabatta pizza stone bake, typically used at a rate of 0.5% to 1% of the flour weight. Active dry yeast requires proofing first but yields similar results.
Salt is not just for flavor; it helps control yeast activity and strengthens the gluten structure. A typical salt percentage is around 1.8-2.2% of the flour weight. These basic ingredients, when combined and handled correctly, lay the foundation for a truly excellent homemade ciabatta on a stone.
Simple Ciabatta Dough Recipe: A Step-by-Step Guide
Creating ciabatta dough involves minimal kneading and maximum patience. Here’s a basic outline for a small batch, yielding two medium loaves, perfect for an easy ciabatta pizza stone bake:
- Combine Ingredients: In a large bowl, whisk together 300g warm water (about 90-100°F or 32-38°C) and 1 teaspoon (about 3g) instant dry yeast. Let stand for a minute. Add 400g bread flour and 8g salt.
- Mix: Using a wooden spoon or your hands, mix until just combined and no dry flour remains. The dough will be very wet and shaggy. Do not attempt to knead it vigorously like traditional bread dough.
- Rest (Autolyse): Cover the bowl and let rest for 20-30 minutes. This allows the flour to hydrate fully and gluten development to begin naturally without kneading.
- Fold: Perform a series of stretch and folds over the next 2-3 hours. Every 30-45 minutes, wet your hands, grab one edge of the dough, stretch it up gently, and fold it over the center. Rotate the bowl and repeat 3-4 times. This builds strength in the dough without destroying the delicate air pockets.
- Bulk Fermentation: After the folds, let the dough rest, covered, at room temperature (ideally 70-75°F or 21-24°C) until it has roughly doubled in volume and is bubbly, typically 2-4 hours depending on the temperature. This crucial step develops flavor.
This hands-off approach, relying on time and gentle handling, is key to achieving the airy structure needed for a successful baking ciabatta on a pizza stone.
Achieving the Perfect Hydration: Essential for Ciabatta's Open Crumb
Hydration refers to the ratio of water to flour in a dough, expressed as a percentage (water weight / flour weight * 100). Ciabatta is known for its high hydration, often ranging from 75% to 85% or even higher. For our example recipe above, 300g water and 400g flour gives a hydration of (300/400) * 100 = 75%. This high water content is fundamental to creating ciabatta's signature open, irregular crumb structure and its light, airy texture. More water allows for more expansive gas production during fermentation and baking, creating larger bubbles.
Working with high-hydration dough can feel challenging initially because it's sticky and slack. However, resisting the urge to add more flour is vital. The stretch and fold technique mentioned earlier is designed specifically to handle this type of dough, building gluten strength without excessive handling. Over time, as the gluten develops, the dough will become less sticky and more manageable, though it will always remain relatively wet compared to lower-hydration doughs. Mastering this high hydration is perhaps the most critical factor in achieving that perfect open crumb when performing an easy ciabatta pizza stone bake.
First Rise: Mastering Bulk Fermentation for Flavor Development
The first rise, also known as bulk fermentation, is a critical stage in ciabatta making where the dough develops flavor, structure, and gas. After mixing and performing the stretch and folds, the dough should be left undisturbed in a covered container at room temperature. The ideal temperature is around 70-75°F (21-24°C).
At this temperature, bulk fermentation typically takes 2 to 4 hours, but warmer conditions will speed it up, and cooler conditions will slow it down. You're looking for the dough to increase significantly in volume, ideally doubling or even slightly more, and to show numerous bubbles on the surface and along the sides of the container.
During this time, yeast consumes sugars and produces carbon dioxide gas (which makes the dough rise) and alcohol and organic acids (which contribute significantly to the bread's flavor). The longer and slower the bulk fermentation (within limits), the more complex the flavors will be. For instance, fermenting at 65°F (18°C) might take 5-6 hours but could yield a more nuanced flavor than a rapid rise at 80°F (27°C) in 1.5 hours.
Observing the dough – its volume increase and bubble formation – is more important than strictly adhering to a time. A well-fermented dough is crucial for a successful baking ciabatta on a pizza stone, ensuring good oven spring and a flavorful crumb.
Shaping and Preparing the Ciabatta for Baking
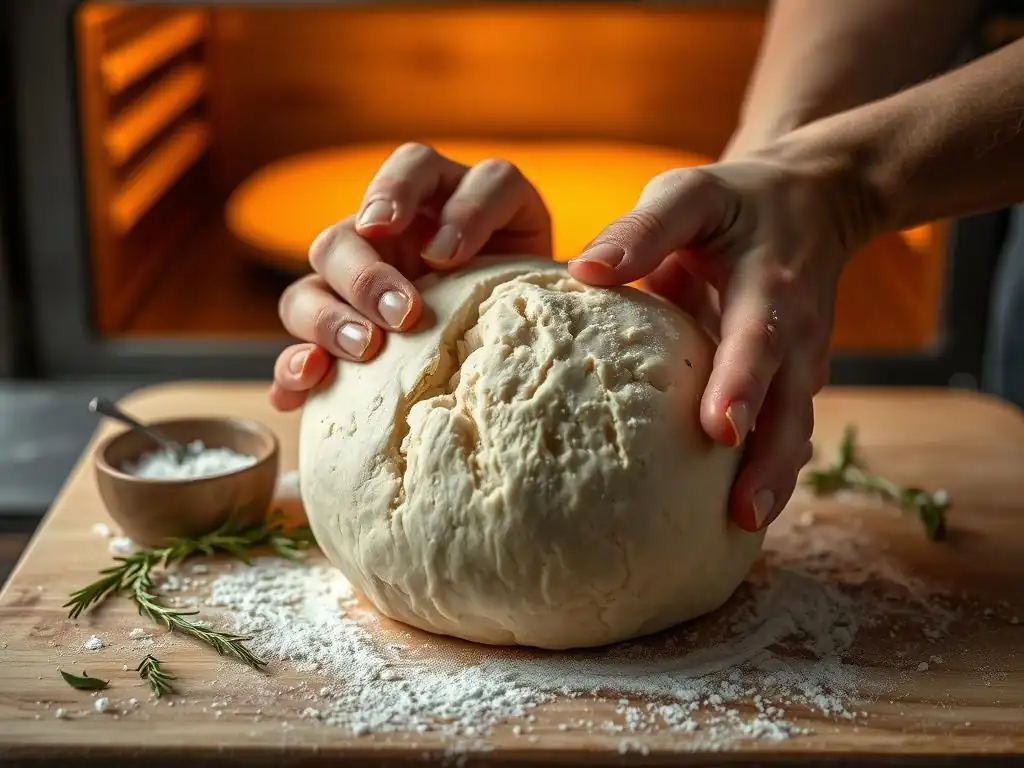
Gently Dividing the Dough: Maintaining Airiness
Once bulk fermentation is complete, the dough will be expanded and bubbly. The next step is to gently divide the dough without deflating it. Turn the dough out onto a lightly floured surface (using semolina flour can help prevent sticking and adds a rustic touch). Avoid punching the dough down. Instead, use a bench scraper or knife to cut the dough into your desired number of pieces. For two loaves from our example recipe, simply cut the mass in half.
Handle the dough with care, using the bench scraper to maneuver the pieces rather than your hands directly if the dough is very wet. The goal is to preserve as much of the air developed during bulk fermentation as possible. Imagine the dough is a delicate balloon filled with air bubbles – you want to avoid squishing it. This gentle handling is vital for achieving the characteristic open crumb when baking ciabatta on a pizza stone.
Shaping Techniques for Rustic Ciabatta Loaves
Ciabatta shaping is less about creating a tight, structured loaf and more about forming a rustic "slipper" shape while maintaining air. After dividing, gently stretch each piece of dough into a rectangle, roughly 8x12 inches (20x30 cm) for a standard loaf size, depending on your desired final shape. You can do this by gently pulling the edges or using the bench scraper to nudge and stretch the dough.
Once stretched, fold the rectangle in thirds lengthwise, like folding a letter. Then, fold it in half crosswise. This creates a rough rectangular or square shape with several layers. Gently cup your hands around the dough and nudge it slightly to tighten the shape without degassing it. The key is to handle it minimally. The final shape will be a relatively flat rectangle or square. Transfer the shaped loaves onto a well-floured surface or proofing couche. This simple shaping method contributes to the irregular, airy structure that is the hallmark of homemade ciabatta on a stone.
Proofing Your Ciabatta: Achieving the Ideal Rise
After shaping, the ciabatta loaves need a final rise, known as proofing or final fermentation, before baking. Place the shaped loaves seam-side down onto a well-floured surface (like a baking sheet lined with parchment paper or a linen couche dusted heavily with flour or semolina). If using parchment, leave ample space between loaves as they will expand. If using a couche, arrange the folds of the linen to support the loaves and prevent them from spreading into each other. Dust the tops of the loaves lightly with flour.
Cover the loaves loosely with plastic wrap or a clean kitchen towel to prevent drying out. Proofing time depends heavily on temperature, but typically takes 45-75 minutes at room temperature (70-75°F or 21-24°C). The loaves should look visibly puffy and have increased in size, but they should not double. A good test is the "poke test": gently poke the dough; if the indentation springs back slowly but not completely, it's ready.
If it springs back immediately, it needs more time. If it stays indented completely, it's likely over-proofed. Proper proofing ensures good oven spring and a light texture during the easy ciabatta pizza stone bake.
Baking Ciabatta on a Pizza Stone: The Ultimate Guide
Preparing Your Pizza Stone for Optimal Baking
Properly preparing your pizza stone is crucial for achieving the best results when baking ciabatta on a pizza stone. First, ensure your stone is completely dry; moisture can cause it to crack when heated. Place the stone in a cold oven – never put a cold stone into a hot oven, as the thermal shock can break it. Position the stone on the middle or lower-middle rack.
Preheat your oven with the stone inside to a high temperature, typically between 450°F and 475°F (230°C to 245°C). Allow the oven and stone to preheat for at least 30-60 minutes after the oven indicates it has reached the target temperature. This extended preheating time ensures the stone is fully saturated with heat, providing the powerful thermal mass needed for excellent oven spring and a crisp bottom crust. A well-preheated stone is the foundation of a successful easy ciabatta pizza stone bake.
Transferring the Ciabatta Dough to the Pizza Stone: Avoiding Deflation
Transferring the proofed ciabatta dough onto the hot pizza stone requires a bit of care to avoid deflating the airy loaves. The easiest method is to proof the dough on parchment paper. Once the stone is fully preheated, carefully slide the parchment paper with the loaf directly onto the hot stone in the oven. If you proofed on a couche, gently roll the loaf onto a pizza peel (dusted with semolina or cornmeal) or a piece of parchment, then slide it onto the stone.
Work quickly but gently. The less the dough is jostled, the better its structure will hold up. If using parchment, you can trim excess paper after the loaf is on the stone if desired, though it's not strictly necessary. The goal is to get the loaf onto the screaming hot surface as smoothly as possible to maximize the initial burst of oven spring, which is a key benefit of baking ciabatta on a pizza stone.
Baking Temperature and Time: Achieving a Golden Crust
Baking ciabatta requires high heat to achieve its signature crust and airy interior. As mentioned, preheat your oven and pizza stone to 450-475°F (230-245°C). Once the loaves are transferred to the stone, immediately reduce the oven temperature slightly, usually to around 425-450°F (220-230°C), depending on your oven, to prevent the crust from burning before the interior is cooked.
Bake the ciabatta for approximately 20-30 minutes. The exact time will vary based on the size of your loaves and your oven's characteristics. You'll know the bread is done when the crust is a deep golden brown and sounds hollow when tapped on the bottom. An internal temperature of 205-210°F (96-99°C) also indicates doneness. Baking at this high initial temperature on a pizza stone ensures a rapid rise and helps set the crust quickly, contributing to the open crumb and delicious texture of your homemade ciabatta on a stone.
Creating Steam: The Secret to a Crispy Crust and Open Crumb
Steam in the oven during the initial phase of baking is absolutely essential for a beautiful ciabatta crust and crumb. Steam keeps the surface of the dough moist, allowing it to expand fully before the crust sets. This leads to better oven spring and contributes to a thinner, crispier crust and a more open interior structure. Without sufficient steam, the crust forms too quickly, restricting expansion and resulting in a denser loaf with a thicker, tougher crust.
There are several ways to create steam for your easy ciabatta pizza stone bake:
- Cast Iron Pan Method: Place a cast iron skillet or oven-safe pan on a rack below the pizza stone during preheating. Just before loading the bread, carefully pour about 1 cup of hot water into the hot pan. Close the oven door quickly to trap the steam. Caution: Be very careful of the hot steam.
- Ice Cube Method: Place a shallow oven-safe pan on the rack below the stone. When you load the bread, quickly toss a handful of ice cubes into the hot pan.
- Lava Rocks/Metal Chains: Some bakers use preheated lava rocks or metal chains in a pan, onto which water is poured.
Maintain the steam for the first 10-15 minutes of baking, then carefully open the oven door briefly to let the steam escape for the remainder of the bake, allowing the crust to dry and crisp up.
Cooling and Enjoying Your Homemade Ciabatta
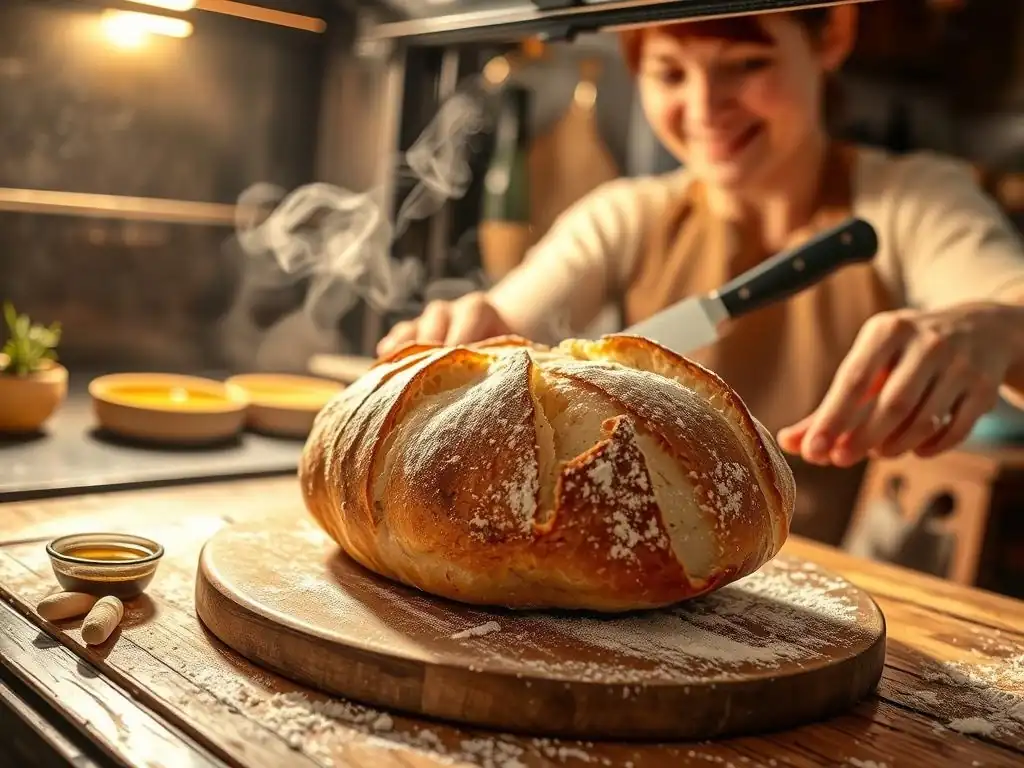
Allowing the Ciabatta to Cool Properly: Preventing a Soggy Crust
Once your beautiful ciabatta loaves are baked to a deep golden brown, resist the urge to slice into them immediately! Proper cooling is a non-negotiable step. Transfer the hot loaves from the pizza stone to a wire cooling rack as soon as they come out of the oven. A wire rack allows air to circulate around the entire loaf, preventing condensation from building up on the bottom crust, which would make it soggy.
Cooling allows the internal structure of the bread to set and moisture to redistribute evenly throughout the loaf. Slicing hot bread can result in a gummy, dense texture inside. For ciabatta, allow the loaves to cool for at least 1-2 hours before slicing. This patience is rewarded with the perfect texture – a crisp crust and a light, airy interior – making every bite of your easy ciabatta pizza stone bake truly satisfying.
Serving Suggestions: Pairing Your Ciabatta with Bruschetta, Olive Oil, and Balsamic Vinegar
Homemade ciabatta, especially one baked to perfection on a pizza stone, is incredibly versatile and delicious on its own. However, it truly shines when paired with simple, high-quality accompaniments. One classic pairing is with good quality extra virgin olive oil and balsamic vinegar for dipping. The bread's open crumb is ideal for soaking up the flavors.
Ciabatta is also the perfect base for bruschetta. Simply slice the cooled bread, toast or grill the slices until golden, rub with a garlic clove, and top with chopped tomatoes, basil, olive oil, salt, and pepper. Other delightful pairings include:
- Serving alongside soups or stews.
- Using it for robust sandwiches filled with cured meats and cheeses.
- Toasting slices for croutons in salads.
- Enjoying with a simple spread of butter or flavored butters.
The rustic texture achieved from baking ciabatta on a pizza stone makes it an ideal vehicle for absorbing delicious flavors.
Storing Your Ciabatta: Maintaining Freshness
Ciabatta is best enjoyed fresh, ideally within 1-2 days of baking. Its crust will be at its crispiest shortly after cooling. To store leftover ciabatta and maintain its freshness as long as possible, allow it to cool completely first. Store the cooled bread at room temperature.
- For short-term storage (1-2 days): Wrap the loaf loosely in a clean linen towel or place it in a paper bag. Avoid plastic bags or airtight containers, as these trap moisture and will soften the crust.
- For longer storage: Ciabatta freezes exceptionally well. Once completely cool, wrap the loaf tightly in plastic wrap, then in aluminum foil or place it in a freezer-safe bag. It can be stored in the freezer for up to 3 months. To reheat, thaw at room temperature, then refresh in a preheated oven (350°F/175°C) for 10-15 minutes until the crust is crisp again.
Following these storage tips helps you enjoy the fruits of your easy ciabatta pizza stone bake for longer.
Troubleshooting Common Ciabatta Baking Problems
Avoiding a Dense Ciabatta: Tips for a Light and Airy Loaf
A dense ciabatta is one of the most common frustrations for bakers. It often stems from issues with gluten development, fermentation, or handling. To ensure a light and airy loaf:
- Use high-protein bread flour: This provides the necessary structure for high hydration dough.
- Master stretch and folds: These build gluten strength gently without degassing the dough. Aim for 3-4 sets over 2-3 hours during bulk fermentation.
- Allow sufficient bulk fermentation: The dough needs time to develop flavor and gas. Look for significant volume increase and bubbles, not just a slight puff.
- Handle gently: When dividing and shaping, avoid punching down or squeezing the dough. Preserve those precious air bubbles.
- Don't over-proof: While under-proofing leads to poor oven spring, over-proofing can cause the structure to collapse. Aim for the poke test described earlier.
- Ensure adequate steam: Steam in the oven's initial phase is crucial for allowing the dough to expand fully before the crust sets.
Following these steps will significantly improve your chances of achieving that desired open, airy crumb when baking ciabatta on a pizza stone.
Preventing a Burnt Crust: Controlling Oven Temperature
A burnt crust, especially the bottom crust from the hot pizza stone, can happen despite a perfectly baked interior. This usually means the oven temperature is too high or the baking time is too long for the temperature used.
- Verify your oven temperature: Oven thermostats can be inaccurate. Use an oven thermometer to check the actual temperature inside. If it's consistently higher than the setting, adjust accordingly.
- Preheat thoroughly but don't over-preheat: While you need a hot stone, excessively long preheating at maximum temperature can make the stone too hot. 45-60 minutes after the oven comes to temp is usually sufficient.
- Reduce temperature after loading: As suggested earlier, dropping the oven temperature by 25-50°F (15-30°C) immediately after loading the bread helps prevent the crust from burning before the interior is cooked.
- Consider the rack position: If the bottom is burning, try moving the stone up one rack level. If the top is burning, you might need to shield it loosely with foil partway through the bake.
- Adjust baking time: Monitor the bread's color and internal temperature. If it's browning too quickly, reduce the temperature further or shorten the baking time.
Finding the perfect balance might take a couple of tries, but controlling temperature is key to a beautiful, non-burnt crust during your easy ciabatta pizza stone bake.
Addressing a Flat Ciabatta: Mastering Proofing Time
A ciabatta that spreads out flat rather than rising upwards in the oven is often a sign of improper proofing or insufficient dough strength.
- Check dough strength: Did you use bread flour? Did you perform enough stretch and folds? The dough should show some tension and structure after the folds, not just be a completely slack mass.
- Avoid over-proofing: This is a major culprit for flat loaves. If the dough is proofed too long, the gluten structure weakens, and it can't support the gas produced during baking, leading to collapse or excessive spreading. Remember the poke test: the indentation should spring back slowly.
- Avoid under-proofing: While less common for flatness than over-proofing, severely under-proofed dough won't have developed enough gas or structure to achieve good oven spring.
- Handle gently during transfer: Rough handling when moving the proofed dough can knock out the air, leading to a flat loaf. Use parchment paper or a well-floured peel.
- Ensure sufficient initial heat: A hot pizza stone provides the necessary thermal shock for a good initial burst of oven spring, helping the loaf rise before the crust sets.
Mastering the proofing stage is crucial for achieving that desirable height and airy structure in your homemade ciabatta on a stone. Pay close attention to the dough's appearance and feel.
Advanced Techniques for Pizza Stone Ciabatta Baking
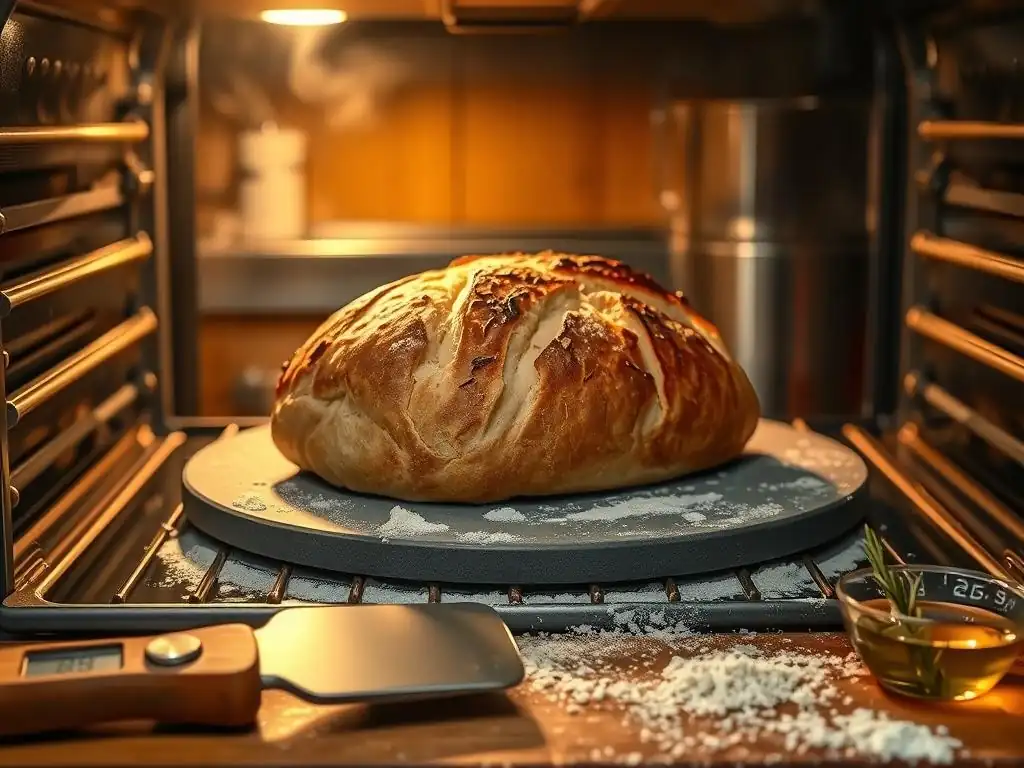
Experimenting with Different Flour Types: Enhancing Flavor and Texture
While strong bread flour is the standard for ciabatta, experimenting with different flour types can add exciting dimensions to your easy ciabatta pizza stone bake. Substituting a portion of the bread flour with other grains can significantly alter the flavor, color, and texture.
- Whole Wheat Flour: Replacing 10-20% of the bread flour with whole wheat adds nutty flavor, fiber, and a slightly denser crumb. You might need a touch more water as whole wheat absorbs more liquid.
- Rye Flour: A small percentage (5-10%) of rye flour introduces a tangy note and affects gluten development, requiring careful handling.
- Semolina Flour: Often used for dusting, semolina can also be incorporated into the dough (up to 20%). It lends a slightly yellow color, a subtle sweetness, and a coarser texture.
- High-Extraction Flour: This flour, which is less refined than white bread flour but not whole wheat, offers a good balance of flavor and structure.
Keep in mind that substituting flours, especially non-wheat flours or those with lower protein, may require adjustments to hydration and handling techniques. Start with small substitutions (5-10%) and observe the results.
Adding Flavors to Your Ciabatta Dough: Roasted Garlic, Rosemary, Sun-Dried Tomatoes
Elevate your homemade ciabatta on a stone by incorporating delicious flavorings directly into the dough. Additions should typically be mixed in during the final stages of the initial mixing or during the first set of stretch and folds. Ensure any wet additions (like oil from sun-dried tomatoes) are accounted for in your hydration.
Popular additions include:
- Roasted Garlic: Adds a sweet, mellow garlic flavor. Use 1-2 cloves per 100g of flour, roasted and mashed.
- Fresh Herbs: Finely chopped rosemary, thyme, or oregano bring aromatic notes. Use 1-2 tablespoons per 400g flour.
- Sun-Dried Tomatoes: Chopped sun-dried tomatoes (oil-packed, drained) provide bursts of intense, sweet-tart flavor. Use 1/4 to 1/2 cup per 400g flour.
- Olives: Chopped olives (like Kalamata or Castelvetrano) add brininess. Use 1/4 to 1/2 cup per 400g flour.
Ensure additions are distributed relatively evenly. Overloading the dough with too many heavy or wet additions can sometimes impede the open crumb structure, so start with moderate amounts.
Utilizing a Sourdough Starter for a Tangy Ciabatta
For a truly authentic and flavorful ciabatta, consider using a sourdough starter instead of or in addition to commercial yeast. Sourdough fermentation adds complexity, tang, and can improve the texture and keeping quality of the bread. A sourdough ciabatta pizza stone bake offers a deeper flavor profile.
To convert a recipe to sourdough:
- Feed your active, bubbly sourdough starter.
- Replace a portion of the flour and water in the recipe with an equal weight of starter (e.g., if your starter is 100% hydration, replace 100g flour and 100g water with 200g starter).
- Adjust the remaining flour and water amounts accordingly.
- Fermentation times will be significantly longer, often 6-12 hours for bulk fermentation at room temperature, depending on the starter's activity and ambient temperature. Proofing will also take longer.
Using a sourdough starter requires patience and learning to read the dough's fermentation cues, but the resulting tangy, complex ciabatta is well worth the effort for any baker looking to advance their skills.
Conclusion: Mastering the Art of Ciabatta Pizza Stone Bake
Enjoying the Satisfaction of Homemade Bread
There's a unique satisfaction that comes from pulling a perfectly baked loaf of ciabatta from your oven, especially one crafted through the process of an easy ciabatta pizza stone bake. From the initial mixing of the wet, shaggy dough to the final moment you hear that satisfying crackle of the cooling crust, each step is rewarding. Holding a warm loaf in your hands, admiring the rustic shape and the beautiful, irregular holes of the open crumb – these are the moments that make home baking so fulfilling.
Sharing your homemade ciabatta on a stone with friends and family adds another layer of joy. Whether it's served simply with olive oil or as the base for a gourmet sandwich, the effort you put in is evident in every delicious bite. This journey from simple ingredients to a stunning finished product is a testament to the magic of fermentation and the power of traditional baking techniques enhanced by tools like a pizza stone.
Your Partner in Bread Baking Success
At BakeWithEase.com, we are dedicated to being your trusted partner in your bread baking adventures. We aim to demystify processes like baking ciabatta on a pizza stone, providing clear, detailed guidance that empowers bakers of all levels. Our resources are designed to help you understand not just the "how" but also the "why" behind each step, building your intuition and confidence in the kitchen.
We believe that delicious, authentic bread is achievable for everyone, and a successful easy ciabatta pizza stone bake is a fantastic milestone on that journey. Continue exploring our guides, experimenting with techniques, and don't be afraid of the occasional setback – they are simply steps in the learning process. With practice and our support, you'll be consistently turning out incredible homemade ciabatta on a stone, ready to be enjoyed in countless ways. Happy baking!
Frequently Asked Questions
What makes baking ciabatta on a pizza stone different from using a baking sheet?
Using a pizza stone provides a higher, more consistent heat that mimics a professional oven. This results in a crispier crust and a better overall bake for your ciabatta.
Can I use any type of pizza stone for ciabatta baking?
While most pizza stones will work, a baking stone made of ceramic or cordierite is recommended. These materials can withstand high temperatures and distribute heat evenly, leading to better crust development.
What ingredients are essential for an easy ciabatta dough?
The core ingredients are flour, water, yeast, and salt. For an easier bake, look for recipes that minimize kneading time and use readily available all-purpose or bread flour.
How do I prevent my ciabatta from sticking to the pizza stone?
Make sure to preheat the pizza stone thoroughly and dust it generously with cornmeal or semolina flour. This creates a barrier and helps the ciabatta release easily after baking.
What temperature should I bake my ciabatta at on a pizza stone, and for how long?
Generally, ciabatta bakes best at a high temperature, around 450-475°F (232-246°C). Baking time typically ranges from 20-30 minutes, or until the crust is golden brown and the internal temperature reaches around 200°F (93°C).
Final Reflection: The Unexpected Joys of Simple Baking
The seemingly simple act of baking ciabatta on a pizza stone transcends mere culinary technique; it's a journey of discovery, patience, and ultimately, delicious reward. This article explored the surprisingly accessible process of crafting this iconic Italian bread, proving that achieving professional-quality results at home is entirely within reach. The ease of using a pizza stone to achieve that perfect crust, coupled with the straightforward recipe, makes this a truly achievable feat for even novice bakers.
The impact of simple, homemade baking extends far beyond the immediate gratification of a warm, crusty loaf. It connects us to a rich culinary history, fostering a sense of accomplishment and mindful engagement with the process. The rhythmic kneading, the anticipation of the oven's warmth, the satisfying aroma filling the kitchen – these are experiences that resonate deeply. As the renowned baker, Jim Lahey, once said, Baking bread is a metaphor for life. You have to be patient, you have to nurture it, and you have to let it rise.
This sentiment perfectly encapsulates the journey of baking ciabatta, and indeed, the broader lessons it offers.
Now, I invite you to consider your own kitchen. Picture the warmth of a freshly baked ciabatta, its crisp crust yielding to a soft, airy interior. Don't let the perceived complexity of artisan bread intimidate you. Take the leap, gather your ingredients, and experience the transformative power of simple baking. The reward – a delicious loaf and a newfound appreciation for the art of bread making – is well worth the effort. Embrace the process, savor the results, and discover the unexpected joys that await.
Unleash Your Inner Baker: Craft the Perfect Ciabatta!
Thanks for joining us on this ciabatta journey! We hope you've gained the confidence to tackle this seemingly complex bread. Now it's time to put your newfound knowledge into action.
- Bake your own ciabatta! Use the recipe and techniques we've shared to create a loaf you'll be proud of. Experiment with different flours or herbs – the possibilities are endless!
- Share your creation! Post a picture of your ciabatta on social media and tag us – we'd love to see your baking success!
- Consider trying a different stone-baked recipe, perhaps focaccia, for your next baking adventure.
Ready to transform your kitchen into a bakery? What unique twist will you add to your perfect ciabatta?