
Baking Swiss Zopf: A Beautiful Braided Loaf

Welcome to BakeWithEase!
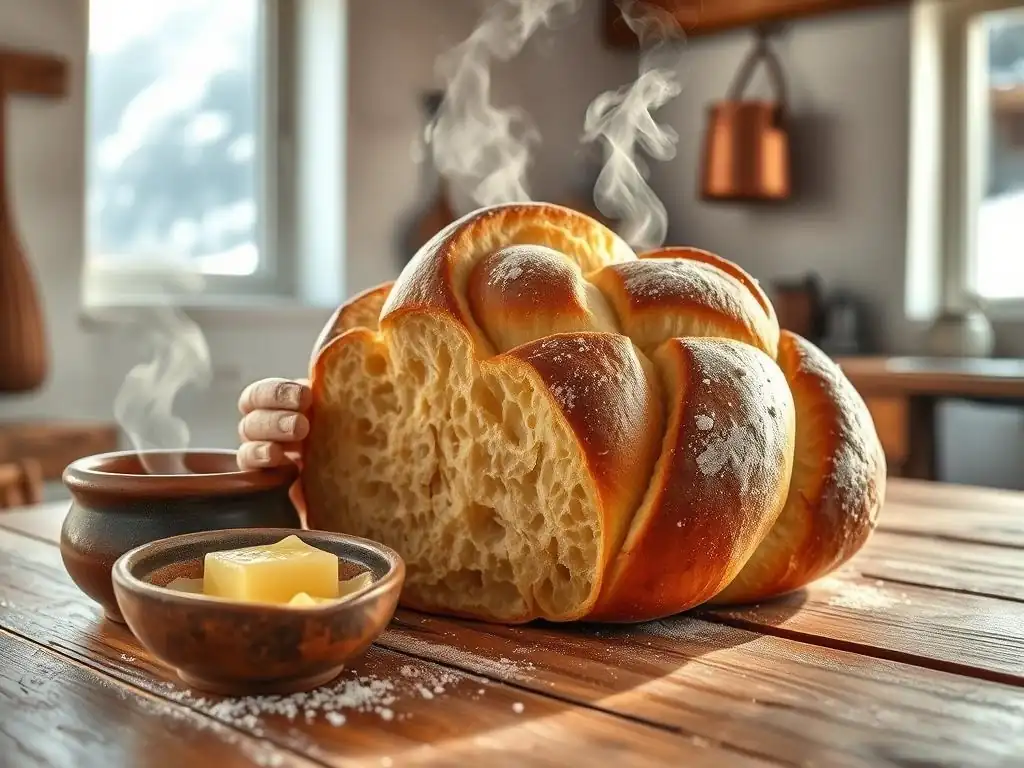
Are you ready to create a stunning, golden-brown masterpiece in your own kitchen? Then you're in the right place. Discover the secrets to baking a perfect Swiss Zopf, a beautiful braided bread that's surprisingly simple to make. Our easy Swiss Zopf recipe breaks down each step, ensuring even beginner bakers can achieve impressive results. Intrigued? Let's unlock the secrets to this delicious and visually stunning bread!
- Introduction to Swiss Zopf
- Easy Swiss Zopf Recipe: Step-by-Step Instructions
- Braiding the Zopf: Creating the Signature Shape
- Baking Your Swiss Zopf: Achieving a Golden-Brown Crust
- Cooling and Serving Your Homemade Swiss Zopf
- Tips for Baking the Best Swiss Zopf
- Variations and Adaptations
- Conclusion: Enjoying the Art of Baking Swiss Zopf
- Frequently Asked Questions
- Final Reflection: The Enduring Charm of the Swiss Zopf
- Unleash Your Inner Baker: Braid Your Way to Zopf Success!
Introduction to Swiss Zopf
What is Swiss Zopf? Exploring this Traditional Braided Bread
Swiss Zopf, often simply called Zopf (which means "braid" in German), is a traditional Swiss braided bread. It's a rich, soft loaf with a distinctive golden crust and a tender, slightly dense crumb. Historically, Zopf was a bread reserved for Sundays or special occasions in Switzerland, a step up from everyday loaves due to its enriched dough, typically containing butter and milk. Its beautiful braided shape is instantly recognizable and signifies a certain care and craft in its making.
This beloved bread is more than just a recipe; it's a cultural staple, especially in the German-speaking parts of Switzerland. Families often enjoy it sliced thick with butter and jam, or alongside cheese and cold cuts for a traditional Sunday brunch. While historically made with white flour, variations exist, and its popularity has spread beyond Swiss borders, making it a cherished bake for anyone looking to explore European regional breads.
Mastering Regional Breads
Baking regional breads offers a fascinating journey into the culinary history and traditions of different cultures. Each loaf tells a story, shaped by local ingredients, climate, and lifestyle. From the rustic ryes of Scandinavia to the enriched brioche of France or the unique texture of Italian ciabatta, exploring these distinct styles expands a baker's repertoire and understanding of bread making.
Mastering an easy Swiss Zopf recipe is a wonderful entry point into this world. It introduces fundamental enriched dough techniques and the satisfying craft of braiding. Unlike some complex sourdoughs or multi-day ferments, Zopf is achievable for home bakers, providing a tangible reward in the form of a beautiful, delicious loaf that feels both exotic and comforting. It's a skill that builds confidence and encourages further exploration into the vast and varied landscape of European bread.
Easy Swiss Zopf Recipe: Step-by-Step Instructions
Gathering Your Ingredients
Essential Ingredients
To bake an authentic and easy Swiss Zopf recipe, you'll need a few key ingredients that contribute to its signature texture and flavor. High-quality bread flour is crucial for developing sufficient gluten structure, resulting in a well-risen and chewy crumb. Whole milk, warmed slightly, provides richness and softness, while unsalted butter adds tenderness and flavor. Fresh or active dry yeast is necessary for leavening, giving the bread its volume.
You will also need a touch of sugar to feed the yeast and enhance browning, and salt to balance the flavors and control yeast activity. An egg is typically incorporated into the dough for richness and color, and another egg is used for an egg wash before baking, which gives the Zopf its characteristic glossy, golden-brown crust. Ensuring your ingredients are fresh and measured accurately is the first step to a successful bake.
Ingredient Substitutions
While the classic easy Swiss Zopf recipe calls for specific ingredients, some substitutions can be made if necessary, although they may slightly alter the final result. For instance, if you don't have whole milk, you can use 2% milk, or even a plant-based milk like almond or soy milk, though this might affect the richness. Similarly, while butter is traditional, margarine could be used, but it might impact the flavor and texture slightly.
Regarding flour, while bread flour is ideal, all-purpose flour can be used, though the dough might be slightly softer and require less liquid. If using active dry yeast instead of instant yeast, remember it needs to be proofed in warm liquid first. For dietary needs, dairy-free butter alternatives and plant milk can make the recipe suitable for lactose intolerance, though a completely vegan Zopf would require replacing the egg, perhaps with a flax egg or commercial egg replacer, which would significantly change the texture and appearance.
Preparing the Dough
Mixing the Ingredients
The mixing phase is where your easy Swiss Zopf recipe truly begins to take shape. Start by combining the dry ingredients: flour, sugar, salt, and yeast (if using instant yeast, otherwise proof active dry yeast first). In a separate bowl, whisk together the warm milk and the egg. Gradually add the wet ingredients to the dry ingredients, mixing with a wooden spoon or in a stand mixer fitted with a dough hook until a shaggy dough forms.
Once the initial dough has come together, it's time to incorporate the softened butter. Add the butter piece by piece, allowing each addition to be partially absorbed before adding the next. Continue mixing until the dough is smooth and elastic. This process typically takes about 8-10 minutes in a stand mixer on medium speed, or longer if mixing by hand. The dough should pull away from the sides of the bowl but might still be slightly sticky.
Kneading the Dough
Kneading is a critical step in developing the gluten network in your easy Swiss Zopf recipe, which provides the structure needed for a light and airy crumb. If using a stand mixer, continue kneading on medium speed for about 8-10 minutes after the butter is incorporated. The dough should become smooth, elastic, and pass the windowpane test – meaning a small piece can be stretched thinly without tearing.
If kneading by hand, turn the dough out onto a lightly floured surface. Knead by pushing the dough away from you with the heel of your hand, folding it back over itself, and rotating. This process takes about 15-20 minutes of continuous work. The dough will gradually become less sticky and more pliable. Proper kneading ensures your Zopf will have a good rise and a pleasant chewiness, essential for this classic bread.
First Rise
After kneading, the dough for your easy Swiss Zopf recipe needs time to rise, or ferment. This first rise allows the yeast to produce carbon dioxide gas, which expands the dough and develops flavor. Place the dough in a lightly oiled bowl, turning it to coat all sides. Cover the bowl tightly with plastic wrap or a damp kitchen towel to prevent the surface from drying out.
Let the dough rise in a warm, draft-free place until it has doubled in size. This typically takes about 1 to 1.5 hours, depending on the temperature of your kitchen. A warmer environment, around 24-27°C (75-80°F), will speed up the process, while a cooler room will slow it down. You can test if the dough is ready by gently pressing two fingers into it; if the indentations remain, the dough is sufficiently proofed.
Braiding the Zopf: Creating the Signature Shape
Dividing and Shaping the Dough
Once the first rise is complete, gently punch down the dough to deflate it. This step redistributes the yeast and gases and makes the dough easier to handle for shaping your easy Swiss Zopf recipe. Turn the dough out onto a lightly floured surface and divide it into equal portions depending on the braiding technique you plan to use – typically two or three portions for a classic Zopf.
For a classic two-strand braid, divide the dough in half. For a three-strand braid, divide it into three equal pieces. Using a kitchen scale ensures the portions are equal, leading to a more uniform braid. Shape each portion into a smooth ball, then cover them and let them rest for about 10-15 minutes. This rest period, known as the bench rest, allows the gluten to relax, making it much easier to roll the dough into strands for braiding.
Braiding Techniques
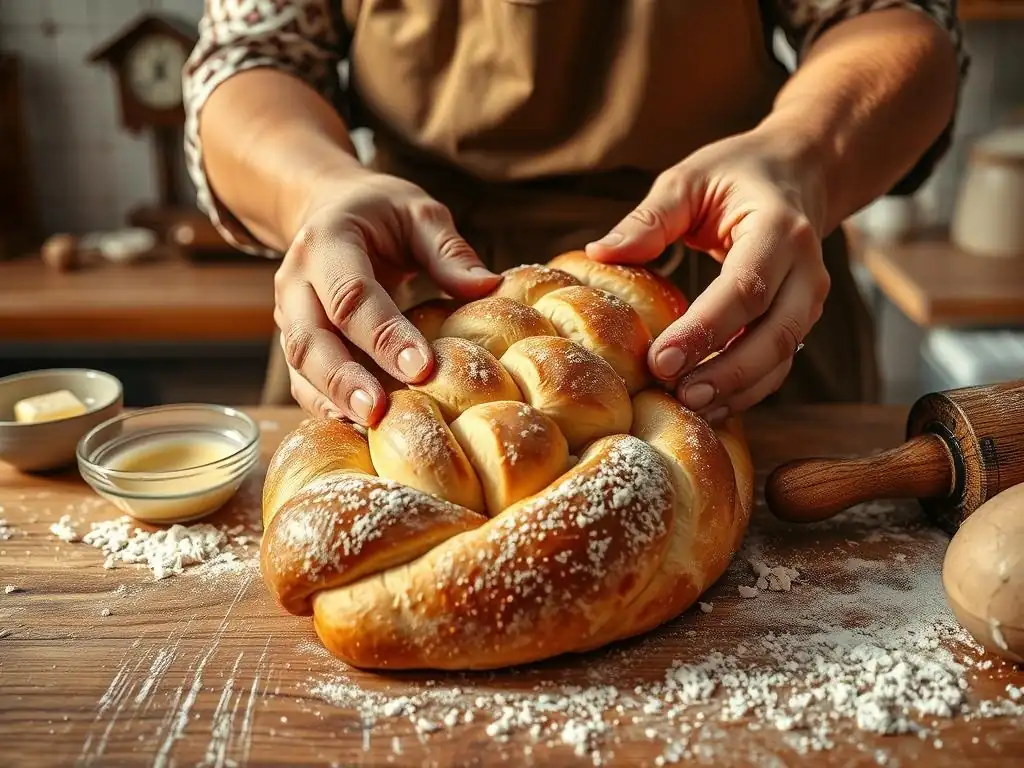
The braid is the defining feature of Swiss Zopf. While it looks impressive, the braiding itself is quite manageable with a little practice. The most common methods involve two, three, or sometimes four strands. Each technique results in a slightly different appearance, but all create that characteristic intertwined look.
Before braiding, roll each dough portion into a long, even strand. Aim for strands that are thicker in the center and taper slightly towards the ends. This helps create a well-shaped loaf. Keep the surface lightly floured to prevent sticking, but avoid using too much flour, which can make the dough dry.
The Classic Two-Strand Braid
The classic Swiss Zopf is traditionally made with a two-strand braid, which creates a beautiful, symmetrical loaf. To start, take your two dough strands and place them side by side. Pinch the ends together firmly at one end to join them. This joined end will form the top of your loaf.
To braid, take the right strand and cross it over the left strand. Then, take the original left strand (which is now on the right) and cross it over the original right strand (which is now on the left). Continue this process, always crossing the strand from the right over the strand on the left, working your way down the length of the strands.
As you braid, try to keep the tension even. Once you reach the end, pinch the bottom ends together firmly and tuck them underneath the loaf. This creates a clean finish and helps the braid hold its shape during the second rise and baking.
The Elegant Three-Strand Braid
While less traditional than the two-strand method for Zopf, a three-strand braid is a familiar technique for many bakers and also works beautifully for this dough. Divide your dough into three equal portions and roll each into a strand of similar length and thickness. Pinch one end of the three strands together firmly to secure them at the top.
Arrange the three strands side by side. Take the rightmost strand and cross it over the middle strand. Now, the original middle strand is on the right. Take the leftmost strand and cross it over the new middle strand (which was originally the rightmost strand). Continue this pattern: right over middle, then left over middle, alternating sides as you work your way down the braid. Keep the strands relatively flat as you braid to create a broader loaf. Pinch the ends together firmly and tuck them under the loaf before placing it on the baking sheet.
The Advanced Four-Strand Braid
For a more intricate look, you can attempt a four-strand braid for your easy Swiss Zopf recipe. This technique requires a bit more coordination but results in a stunning, complex pattern. Divide your dough into four equal strands and pinch one end together firmly. Arrange the strands side by side, numbering them 1 through 4 from left to right.
The pattern for a four-strand braid is typically: Strand 4 over Strand 3, Strand 2 over Strand 4 (which is now the second from the right), then Strand 1 under Strand 2 (which is now the third from the right). This can be tricky to describe in text, but the key is an 'over, over, under' motion, or variations thereof, always working from the outside strands inwards. A common method is: 4 over 3, 2 over 1.
Then repeat with the new outer strands. It's highly recommended to watch a video demonstration for this technique to see the movement clearly. Pinch the ends firmly and tuck them under when finished.
Transferring to the Baking Sheet
Once your easy Swiss Zopf recipe dough is beautifully braided, it's time to carefully transfer it to a prepared baking sheet for the second rise and baking. Line a large baking sheet with parchment paper to prevent sticking and make cleanup easier. Parchment paper also helps the bottom of the loaf bake evenly.
Carefully lift the braided loaf, supporting it evenly with both hands or using a bench scraper, and place it onto the center of the prepared baking sheet. Ensure the tucked-under ends remain securely tucked. Leave ample space around the loaf, as it will expand significantly during the second rise and in the oven. Covering the loaf loosely with plastic wrap or a light kitchen towel will protect it while it proofs.
Baking Your Swiss Zopf: Achieving a Golden-Brown Crust
Second Rise
The second rise, or proofing, is crucial for your easy Swiss Zopf recipe to achieve its final volume and light texture before baking. After shaping and transferring the loaf to the baking sheet, cover it gently and let it rise in a warm, draft-free place. This rise is shorter than the first, typically lasting about 45-60 minutes.
During the second rise, the loaf should increase significantly in size, becoming visibly puffier but not quite doubled. It should look well-filled out and slightly expanded. You can test for readiness by gently poking the side of the loaf; if the indentation springs back slowly and only partially, it's ready to bake. If it springs back quickly, it needs more time. If the indentation remains completely, it may be over-proofed.
Egg Wash
Applying an egg wash before baking is what gives the Swiss Zopf its characteristic deep golden color and beautiful glossy finish. To prepare the egg wash, whisk together one whole egg with a tablespoon or two of milk or water in a small bowl. Ensure the mixture is well combined and lump-free.
Using a pastry brush, gently and evenly brush the entire surface of the braided loaf with the egg wash. Be careful not to press down too hard, which could deflate the proofed dough. Ensure you get into all the crevices of the braid. A double egg wash, applying one coat, letting it dry slightly, and then applying another, can result in an even richer color and shine. Some bakers also sprinkle sesame seeds or poppy seeds on top at this stage for added texture and visual appeal.
Baking Time and Temperature
Preheating your oven to the correct temperature is essential for a successful bake. For an easy Swiss Zopf recipe, a common baking temperature is around 190°C to 200°C (375°F to 400°F). Ensure your oven is fully preheated for at least 15-20 minutes before placing the bread inside to ensure even heat distribution.
The baking time will vary depending on your oven and the size of your loaf, but typically a Swiss Zopf takes about 30 to 40 minutes to bake. The bread should turn a deep golden brown all over, including between the braided strands. Baking for too short a time can result in a pale crust and a doughy interior, while over-baking will yield a dry loaf.
Checking for Doneness
Determining when your easy Swiss Zopf recipe is perfectly baked is key to achieving a delicious result. The most reliable way to check for doneness is to measure the internal temperature of the loaf. A fully baked enriched bread like Zopf should have an internal temperature of around 90-93°C (195-200°F) when measured with an instant-read thermometer inserted into the thickest part of the loaf.
Visually, the loaf should be a rich, even golden brown. The crust should feel firm. Another traditional test is to tap the bottom of the loaf; if it sounds hollow, it is generally considered done. However, the thermometer test is the most accurate, especially for ensuring the center is cooked through without over-baking the exterior.
Cooling and Serving Your Homemade Swiss Zopf

Cooling the Zopf
Once your beautiful easy Swiss Zopf recipe loaf is out of the oven, it's crucial to let it cool properly before slicing. Immediately transfer the hot loaf from the baking sheet to a wire cooling rack. Cooling on a rack allows air to circulate around the entire loaf, preventing the bottom crust from becoming soggy from trapped steam.
Allow the Zopf to cool completely, or at least until it is just warm to the touch. This process can take 1 to 2 hours, depending on the size of the loaf and room temperature. Slicing into the bread too early will cause the internal structure to collapse slightly and the texture to be dense and gummy. Patience during the cooling phase is rewarded with the perfect crumb.
Serving Suggestions
Homemade Swiss Zopf is incredibly versatile and delicious served in many ways. Its rich, slightly sweet flavor and soft texture make it perfect for breakfast or brunch. Serve thick slices simply with butter and your favorite jam or honey. It's also wonderful alongside soft cheeses or a selection of cold cuts, embodying the classic Swiss 'Zvieri' (afternoon snack).
For a sweet treat, toast slices and top with cinnamon sugar or fruit compote. It also makes excellent French toast due to its slightly dense, enriched crumb which soaks up the custard beautifully. Don't forget to appreciate the visual appeal of the braid as you slice and serve your easy Swiss Zopf recipe creation.
Pairing Suggestions
Swiss Zopf pairs wonderfully with both sweet and savory accompaniments. For a traditional Swiss experience, enjoy it with Swiss cheeses like Gruyère or Emmental, and air-dried meats like Bündnerfleisch. It's also fantastic with butter and regional jams, such as apricot or berry preserves.
Beverage pairings are also flexible. Coffee or hot chocolate are classic choices for breakfast or brunch. For a more savory pairing, a light white wine or a crisp apple cider could complement the bread and cheese. The simple elegance of Zopf allows it to be the star or a perfect supporting act.
Storing Leftover Zopf
If by some miracle you have leftover Swiss Zopf, proper storage will help maintain its freshness. Once completely cooled, store the loaf at room temperature in a bread box, a clean kitchen towel, or a paper bag. This helps the crust remain relatively crisp while keeping the interior soft. Avoid storing it in plastic wrap or airtight containers at room temperature for more than a day, as this can make the crust soft and the interior potentially moldy faster.
For longer storage, Zopf freezes very well. Slice the cooled loaf first, then wrap the slices tightly in plastic wrap or aluminum foil, and place them in a freezer-safe bag or container. Frozen Zopf can last for up to 3-4 months. Thaw slices as needed at room temperature or toast directly from frozen. A whole loaf can be wrapped and frozen, then thawed overnight at room temperature.
Tips for Baking the Best Swiss Zopf
Achieving a Light and Airy Texture
Achieving a light and airy texture in your easy Swiss Zopf recipe depends on several factors working in harmony. Proper kneading is paramount; it develops the gluten structure, which is like the scaffolding that holds the bread's shape and traps the gases produced by the yeast. Knead until the dough is smooth and elastic and passes the windowpane test.
Equally important are the two rising periods. The first rise allows the yeast to multiply and build strength, while the second rise provides the final lift before baking. Ensure your rising environment is warm and draft-free, and allow the dough sufficient time to proof, but avoid over-proofing, which can lead to a collapsed loaf in the oven. Using ingredients at the correct temperature – warm milk, room temperature butter and egg – also helps the yeast activate efficiently and the dough develop smoothly.
Preventing a Dry Zopf
A common issue with enriched breads like Swiss Zopf can be a dry texture. Several factors contribute to this, primarily insufficient hydration or over-baking. When mixing your easy Swiss Zopf recipe dough, ensure you measure your ingredients accurately, especially the liquid. The dough should be soft and slightly sticky after kneading, not stiff or dry. If it feels too dry, you can add a tiny bit more milk during kneading.
Over-baking is perhaps the most frequent culprit for a dry Zopf. Keep a close eye on the bread during the last 10-15 minutes of baking. The loaf should be a deep golden brown, but not dark or burnt. Use an internal thermometer to check for doneness, aiming for 90-93°C (195-200°F). Baking just until it reaches this temperature ensures the interior is cooked through without drying out the crumb. Cooling the loaf properly on a wire rack also prevents the interior from becoming dense and potentially seeming dry.
Troubleshooting Common Problems
Baking can sometimes present challenges, but understanding common issues helps you troubleshoot your easy Swiss Zopf recipe.
Problem: Dough Not Rising
If your dough isn't rising, the most likely cause is inactive yeast. Check the expiry date of your yeast. If using active dry yeast, ensure your liquid is warm (around 40-46°C / 105-115°F), not hot, as hot liquid will kill the yeast. If using instant yeast, check its freshness. A cold room can also significantly slow down the rise; find a warmer spot or create one (e.g., in a turned-off oven with the light on). Ensure your salt wasn't added directly on top of the yeast during mixing, as salt can inhibit yeast activity before mixing begins.
Problem: Zopf Cracking During Baking
Cracking on the crust of your Zopf during baking can occur for a few reasons. One common cause is insufficient proofing during the second rise. If the dough hasn't adequately expanded before hitting the hot oven, it will expand too rapidly, causing the surface to split. Ensure your loaf is sufficiently proofed (the poke test should show a slow rebound).
Another factor can be a lack of moisture in the oven. While Zopf isn't typically baked with steam like lean loaves, a very dry oven can sometimes contribute. Ensure your egg wash covers the entire surface evenly, as this provides some moisture and elasticity to the crust as it bakes.
Variations and Adaptations
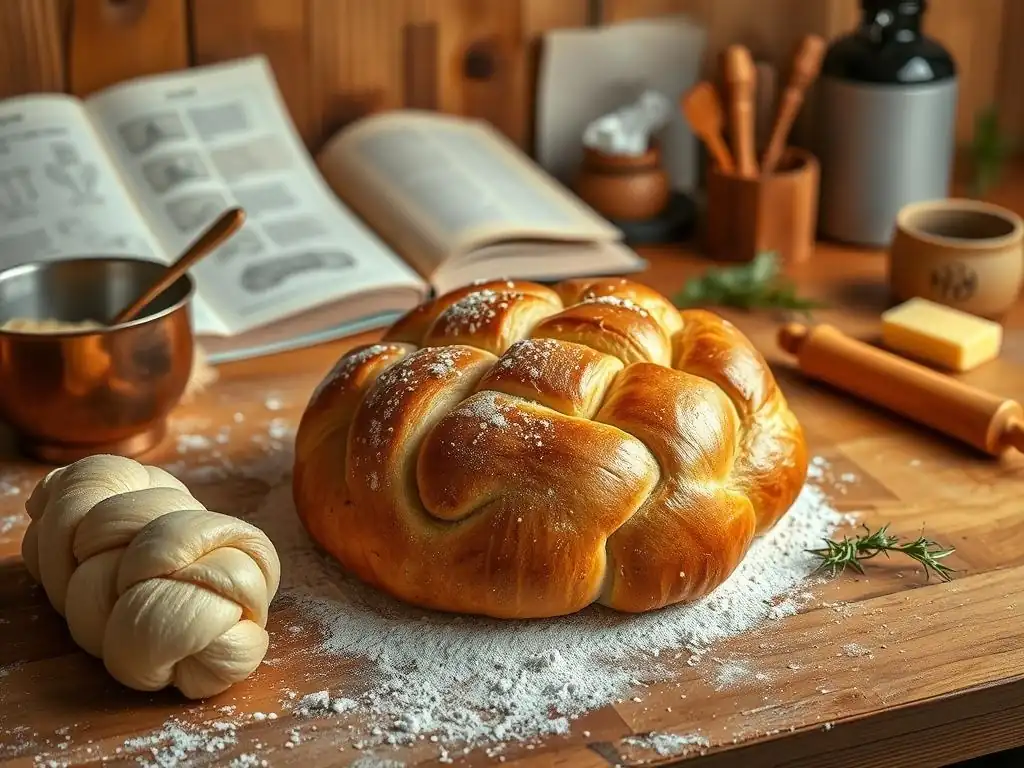
While the classic easy Swiss Zopf recipe is delightful on its own, it also serves as an excellent base for creative variations. Modifying the basic dough or adding inclusions can transform the loaf, offering new flavors and textures to explore. These adaptations allow you to personalize the traditional recipe to your own taste preferences or dietary needs.
Experimenting with different additions can turn a simple Zopf into a special treat. From savory herbs to sweet fruits, the enriched dough is quite forgiving and accepts various mix-ins well. Just be mindful of the amount of additions, as too many can weigh down the dough and affect its rise and structure.
Adding Flavors
Incorporating flavorings into your easy Swiss Zopf recipe can create exciting new dimensions. This can be done by adding ingredients directly to the dough during the mixing stage or by incorporating them into the final shape. Savory additions are excellent for serving with meals, while sweet variations make for a wonderful dessert or breakfast treat.
Consider the moisture content of any additions; very wet ingredients might require a slight adjustment to the flour or liquid ratio. Dried additions like herbs or raisins can be mixed in towards the end of the kneading process to ensure they are evenly distributed without tearing the gluten strands.
Herb Zopf
For a savory twist on your easy Swiss Zopf recipe, consider making an Herb Zopf. Finely chopped fresh herbs like chives, parsley, thyme, or rosemary can be added to the dough during the last few minutes of kneading. A common approach is to use about 2-3 tablespoons of mixed fresh herbs for a standard loaf size.
Herb Zopf is fantastic served with soups, stews, or alongside a cheese board. The aromatic herbs infuse the bread with a subtle savory flavor that complements the rich dough. You can also add a touch of garlic powder or a sprinkle of grated Parmesan cheese to the dough for an extra layer of flavor.
Sweet Zopf with Raisins
Adding raisins creates a delicious Sweet Zopf variation, perfect for breakfast or a treat with coffee. Soak about 1/2 cup to 1 cup of raisins in warm water or rum for about 15-20 minutes before adding them to the dough. This plumps them up and prevents them from drying out the bread.
Drain the soaked raisins well and gently fold them into the dough during the last minute of kneading. The sweetness of the raisins pairs beautifully with the rich, slightly buttery dough. You can also add a pinch of cinnamon or a touch of vanilla extract to the dough to enhance the sweet flavor profile.
Gluten-Free Zopf
Adapting an easy Swiss Zopf recipe to be gluten-free presents a significant challenge, as the characteristic structure and chewiness of Zopf rely heavily on the gluten network. A direct substitution of gluten-free flour blends for wheat flour in a traditional recipe is unlikely to yield a result comparable to the original. Gluten-free doughs behave very differently, often being stickier and requiring binders like xanthan gum or psyllium husk.
Creating a successful gluten-free Zopf would likely require a specifically formulated gluten-free recipe designed to mimic the texture and rise of the original. This would involve a blend of gluten-free flours (like rice, potato, tapioca), starches, and binders, potentially adjusted liquid ratios, and different mixing and handling techniques. While possible, achieving the signature light, airy crumb and beautiful braid structure is a complex task in gluten-free baking.
Conclusion: Enjoying the Art of Baking Swiss Zopf
Baking an easy Swiss Zopf recipe is a rewarding experience that connects you with a rich European baking tradition. From mixing the dough to mastering the braid and achieving that perfect golden crust, each step offers a chance to engage with the craft of bread making. The result is not just a loaf of bread, but a beautiful, delicious creation perfect for sharing with family and friends.
Whether you stick to the classic recipe or explore variations, the process of baking Swiss Zopf is a journey worth taking. It builds fundamental baking skills, provides a sense of accomplishment, and fills your home with the irresistible aroma of freshly baked bread. Enjoy the process, savor the results, and take pride in your homemade braided masterpiece.
We love seeing your baking creations! If you've tried our easy Swiss Zopf recipe, share your photos and experiences. What braiding technique did you use? Did you try any variations? Your successes and learnings can inspire other bakers in our community.
Baking is a journey of continuous learning, and sharing your results helps everyone improve. So, don't be shy – show off that beautiful braid and tell us how your Zopf turned out!
Further Exploration
Mastering this easy Swiss Zopf recipe opens the door to exploring other regional European breads. Consider trying a German Hefezopf (similar but often sweeter), a French Brioche, or perhaps venturing into the world of sourdough for a different kind of challenge.
Each regional bread offers unique techniques and flavor profiles. Continue practicing your braiding skills and dough handling, and you'll find that the skills learned making Zopf translate well to many other enriched dough recipes. Happy baking!
Frequently Asked Questions
What exactly is Swiss Zopf?
Swiss Zopf, also known as Züpfe, is a traditional Swiss bread made with yeast-leavened dough and braided before baking. It's known for its soft texture and slightly sweet, buttery flavor.
Is Swiss Zopf difficult to make, especially for beginner bakers?
Not necessarily! While the braiding might seem intimidating, our Easy Swiss Zopf Recipe provides step-by-step instructions and tips to simplify the process, even for beginners. It focuses on easy-to-find ingredients and clear directions.
What kind of flour is best for making Swiss Zopf?
Traditionally, Swiss Zopf is made with a special type of white flour called Zopfmehl, but all-purpose flour works perfectly well too. You can also experiment with bread flour for a chewier texture.
How long does it take to bake Swiss Zopf?
Baking time can vary depending on your oven, but generally, Swiss Zopf takes around 25-35 minutes at a moderate temperature. Look for a golden brown crust and a hollow sound when tapped.
What's the best way to serve and enjoy Swiss Zopf?
Swiss Zopf is delicious served warm with butter and jam, or enjoyed as part of a brunch spread. It's also great for dipping in soups or stews, or simply enjoyed on its own.
Final Reflection: The Enduring Charm of the Swiss Zopf
The simple act of braiding dough, a seemingly mundane task, speaks volumes about the enduring power of tradition and the joy found in creating something beautiful from humble ingredients. In a world increasingly dominated by fast food and instant gratification, the meticulous process of making a Swiss Zopf offers a welcome counterpoint – a reminder of the satisfaction derived from slow, mindful creation. This recipe, designed for ease of access, aims to bring this timeless tradition into more kitchens.
The Swiss Zopf, more than just a bread, represents a connection to heritage and community. It's a bread often shared, a symbol of gatherings and celebrations, a testament to the simple pleasures in life. Bread is the staff of life,
a common saying, rings truer than ever when considering the comforting presence and cultural significance of this braided loaf. Its enduring popularity speaks to a deeper human need for connection and the tangible satisfaction of creating something nourishing and beautiful with one's own hands.
Now, I invite you to consider your own connection to food and tradition. Perhaps this recipe will inspire you to try your hand at baking, to slow down and appreciate the process, or to share this delicious bread with loved ones. Don't be intimidated by the seemingly complex braid; with a little patience and the guidance of this recipe, you too can experience the joy of creating a beautiful and delicious Swiss Zopf. Let the aroma fill your kitchen, and let the sharing of this bread enrich your life and the lives of those around you.
Unleash Your Inner Baker: Braid Your Way to Zopf Success!
Thanks for joining us on this delicious journey into the world of Swiss Zopf! We hope you’ve gained a newfound appreciation for this beautiful and surprisingly simple bread. Now it's time to put your knowledge into practice.
- Bake your own Zopf! This is the ultimate test of your newfound skills. Don't be afraid to experiment with different fillings or shapes. It's more rewarding than you think.
- Share your Zopf creation! Tag us on social media – we'd love to see your beautiful loaves and hear about your baking experience.
- Explore other braided bread recipes on BakeWithEase.com. Discover a whole world of delicious possibilities beyond Zopf!
Ready to transform your kitchen into a fragrant Zopf haven? What unique twist will you add to your first homemade Swiss Zopf?