
Using a Baking Stone for Crispy Rye Crusts

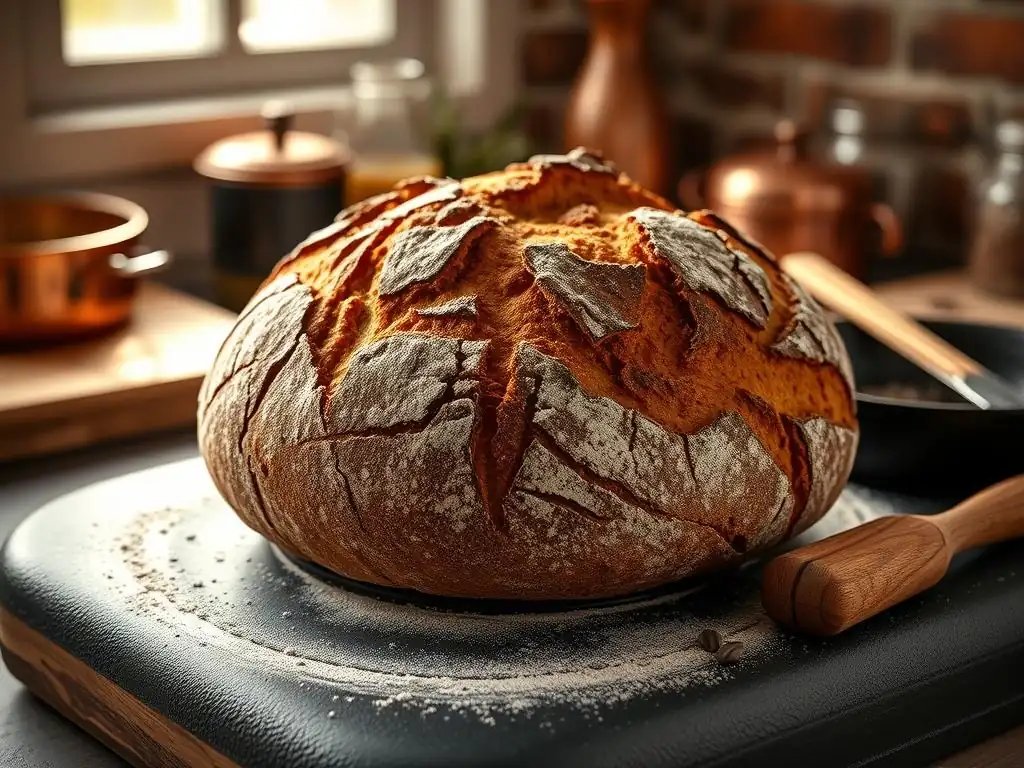
Welcome to BakeWithEase, your guide to baking brilliance! Ever dream of achieving that perfect, crispy rye crust at home? Discover the secrets behind using a baking stone to elevate your bread baking game. Intrigued? Let's unlock the secrets to bakery-worthy rye bread, one delicious loaf at a time.
- Baking Crispy Sourdough Bread with a Baking Stone: A Comprehensive Guide
- Achieve Bakery-Quality Sourdough Crust at Home with a Baking Stone
- Sourdough Crust and the Baking Stone: A Symbiotic Relationship
- Step-by-Step Guide: Baking Sourdough on a Baking Stone
- Troubleshooting Common Sourdough Baking Stone Issues
- Tips and Tricks for Consistently Perfect Sourdough Crust
- Maintaining Your Baking Stone for Long-Term Sourdough Baking
- Advanced Sourdough Baking Techniques with a Baking Stone
- Enjoying Your Homemade Sourdough Bread
-
Frequently Asked Questions
- What is the primary benefit of using a baking stone for rye bread?
- How do I properly preheat a baking stone for baking rye bread?
- What type of baking stone is recommended for achieving the best rye crust?
- Can I use a baking stone with a pre-made rye bread mix?
- How do I prevent my rye bread from sticking to the baking stone?
- Final Reflection: The Transformative Power of a Baking Stone
- Unleash Your Inner Baker: Craft the Perfect Rye Crust!
Baking Crispy Sourdough Bread with a Baking Stone: A Comprehensive Guide
Achieve Bakery-Quality Sourdough Crust at Home with a Baking Stone
Why Use a Baking Stone for Sourdough? Understanding the Benefits
Using a baking stone, or a baking steel, is a transformative technique for achieving an exceptional crispy crust on your homemade sourdough bread. Unlike baking directly on a standard metal baking sheet, a stone provides an intense, even heat source from below. This immediate heat surge, often referred to as "oven spring," causes the dough to expand rapidly in the initial stages of baking, creating a lighter crumb structure and, crucially, setting the crust almost instantly. This rapid setting is key to preventing the crust from softening prematurely and contributes significantly to that desirable, crackly texture.
Furthermore, a baking stone excels at retaining and radiating heat consistently throughout the entire baking process. This stable thermal environment ensures that the bottom of your sourdough loaf bakes thoroughly and develops a robust, evenly browned crust. Without this direct, high heat from the base, the bottom crust can often remain pale and soft, lacking the structural integrity and crispness found in professionally baked loaves. For anyone aiming for that perfect, crispy rye crust or a beautiful sourdough crust, a preheated baking stone is an indispensable tool in the home baker's arsenal.
Sourdough Crust and the Baking Stone: A Symbiotic Relationship
The Science of Sourdough Crust Formation
The formation of a crispy sourdough crust is a complex interplay of heat, moisture, and chemical reactions. When the dough hits the intensely hot surface of a baking stone, the water on the surface of the loaf quickly turns to steam. This steam causes the dough to expand rapidly (oven spring) and also gelatinizes the starches on the surface, creating a sticky layer. As baking continues, this gelatinized layer dehydrates and hardens, forming the crust. The Maillard reaction and caramelization also occur, contributing to the crust's golden-brown color and rich flavor profile.
The baking stone's role is critical in providing the necessary high heat from below to drive this process efficiently. It ensures that the base of the loaf receives enough energy to develop alongside the top and sides, creating a uniform crust. This intense heat from the stone also helps to maximize oven spring by providing a powerful initial push, resulting in a well-risen loaf with a thinner, crispier crust rather than a thick, chewy one.
Baking Stone Materials: Selecting the Right One for Sourdough [Ceramic vs. Cordierite vs. Steel]
Choosing the right baking stone material significantly impacts your sourdough baking results. Traditional ceramic stones are porous and excellent at absorbing moisture from the dough's surface, which can contribute to a crispier crust. They heat up relatively slowly but retain heat well once hot. However, ceramic stones can be prone to cracking, especially with drastic temperature changes or if not properly preheated.
Cordierite stones, a type of ceramic, are more durable and less likely to crack than standard ceramic. They also offer good heat retention and absorption properties, making them a popular choice for bread bakers seeking a reliable surface for achieving a crispy rye crust or a perfect sourdough finish.
Baking steels, made from solid steel, heat up much faster and retain significantly more heat than ceramic or cordierite. This intense heat transfer can lead to explosive oven spring and a very dark, crispy bottom crust, which is favored by some bakers, particularly for pizzas, but requires careful monitoring for sourdough to avoid burning the base.
Preheating Your Baking Stone: Maximizing Heat Retention for Sourdough
Proper preheating is arguably the most crucial step when using a baking stone for sourdough. The goal is to saturate the stone with enough heat to provide that immediate, intense thermal shock when the dough is placed on it.
Simply putting the stone in the oven and waiting for the oven's air temperature to reach the target isn't sufficient; the stone itself needs time to absorb and store heat. A general rule of thumb is to preheat your baking stone in the oven at your target baking temperature (typically between 450°F and 500°F or 230°C and 260°C) for at least 45 minutes to a full hour after the oven indicates it has reached temperature.
Placing the stone on a rack in the lower third or middle of the oven usually works best, allowing radiant heat from the top element to also contribute to the top crust development. This long preheating period ensures the stone is uniformly hot, providing the necessary energy transfer to the dough for maximum oven spring and the development of a truly crispy rye crust or sourdough crust from the moment it touches the surface. Rushing this step will result in poor oven spring and a less crispy bottom crust.
Step-by-Step Guide: Baking Sourdough on a Baking Stone
Preparing Your Sourdough Dough for the Stone Bake
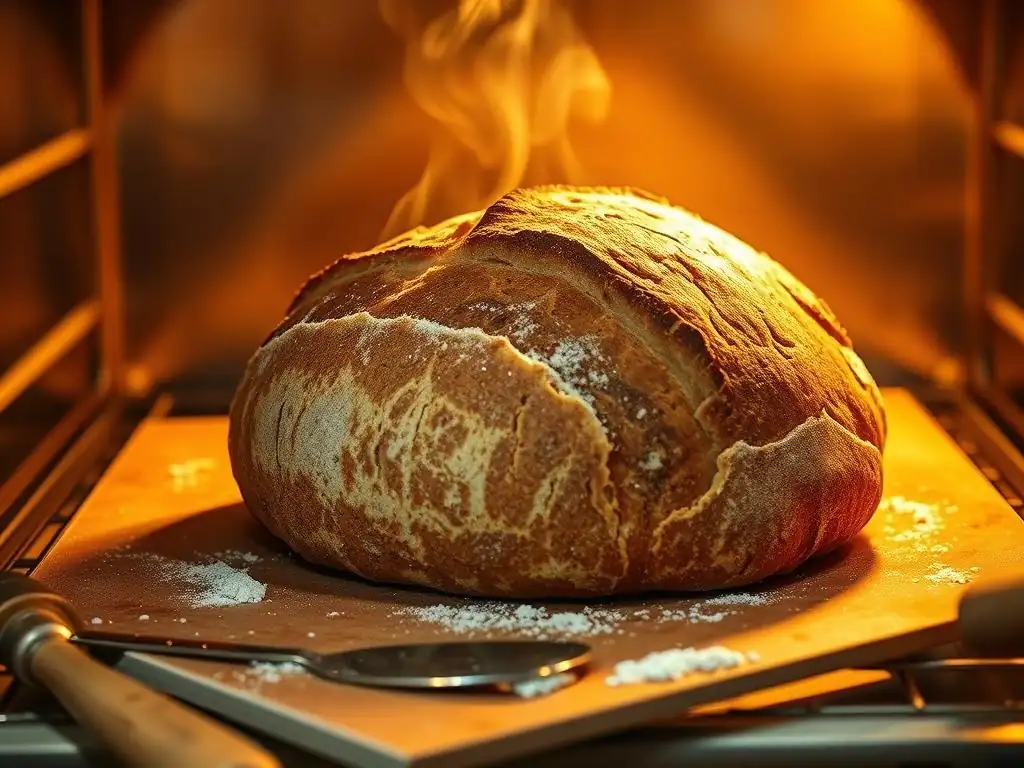
Successful baking on a stone begins with properly prepared dough. After your final proofing stage, whether in a banneton or proofing basket, the dough should be ready to be transferred directly to the hot stone. Ensure your dough is not over-proofed, as this can lead to collapse upon transfer and poor oven spring. The surface tension should be good, allowing it to hold its shape when inverted. If using a banneton, generously flour the basket with rice flour or a mix of rice and bread flour; this prevents sticking and allows for a clean release onto the hot surface.
Before transferring, have your scoring lame ready. Scoring the dough just before it hits the stone is essential. This controlled cut allows the dough to expand predictably during oven spring, preventing blowouts and guiding the loaf's shape. Consider the type of score you want – a single deep score for maximum expansion or multiple shallow scores for a decorative pattern. Having everything prepared and within easy reach minimizes the time the oven door is open and the stone loses heat.
Safely Transferring Sourdough to a Preheated Baking Stone
Transferring the delicate, proofed sourdough dough onto a screaming hot baking stone requires a bit of technique to do it safely and effectively. The most common method involves using a pizza peel dusted generously with cornmeal, semolina, or rice flour. Gently invert your proofed dough from its banneton onto the prepared peel. Ensure the dough is centered and can slide off easily.
Carefully open your preheated oven door, being mindful of the intense heat. Position the tip of the peel just above the center of the baking stone. With a swift, confident forward and backward motion, slide the dough off the peel onto the stone.
Practice this motion with a cold stone and dough beforehand if you're new to it. Alternatively, you can use parchment paper: invert the dough onto parchment, score it, and then use the parchment as a sling to transfer the dough onto the hot stone. This is often easier for beginners and minimizes the risk of the dough sticking or deforming during transfer, helping you achieve that perfect crispy rye crust or sourdough finish.
Baking Time and Temperature for Optimal Sourdough Crust
Optimal baking time and temperature for sourdough on a baking stone can vary based on your oven, the size of the loaf, and desired crust darkness, but a common starting point is a very high temperature, usually between 450°F and 500°F (230°C and 260°C). This initial high heat is crucial for maximizing oven spring and setting the crust quickly. Many bakers start at the higher end of this range for the first 15-20 minutes, often while also creating steam in the oven.
After the initial phase, the temperature is typically reduced to 400°F to 450°F (200°C to 230°C) for the remainder of the bake, which can range from another 20 to 30 minutes, depending on the loaf's size and desired internal temperature (around 205°F or 96°C). This lower temperature prevents the crust from burning while the interior finishes baking. Monitoring the crust color is key; it should be a deep golden brown for maximum flavor and crispness.
Creating Steam in Your Oven for Sourdough Bread
Creating a humid environment in your oven during the initial phase of baking is just as critical as using a baking stone for achieving a crispy, well-expanded sourdough crust. Steam keeps the surface of the dough moist and pliable for the first 15-20 minutes of baking. This prevents a hard crust from forming too early, allowing the dough to expand fully (oven spring) before the crust sets. Without sufficient steam, the crust sets prematurely, restricting expansion and resulting in a denser crumb and a duller crust.
The steam also contributes to the gelatinization of starches on the surface, which is the first step in forming that beautiful, shiny, and ultimately crispy crust. Once the crust sets, the presence of steam is less important, and allowing the air to dry out helps the crust crisp up further. Achieving this balance of initial steam followed by dry heat is fundamental to bakery-quality sourdough.
Effective Steaming Methods [Dutch Oven vs. Lava Rocks vs. Towel Method]
Several effective methods exist for creating steam in a home oven when baking sourdough on a stone. One popular method, though it doesn't directly involve the stone simultaneously unless your oven is large enough, is baking inside a preheated Dutch oven. The sealed environment of the Dutch oven traps the moisture released by the dough itself, creating perfect steam conditions for the first part of the bake (e.g., 20 minutes with lid on at 450°F), after which the lid is removed to allow the crust to crisp up on the stone (e.g., 25 minutes with lid off at 400°F).
Another common method involves placing a tray or cast-iron pan on a rack below your baking stone during the preheat. Just before loading the dough, carefully pour hot water (about a cup) into this hot tray. This instantly creates a burst of steam. Be extremely cautious when doing this to avoid steam burns.
Some bakers fill the tray with lava rocks or metal chains first, as these hot materials help generate even more steam when water is poured over them. A simpler, though less effective, method is placing a water-soaked towel in a pan below the stone. While easier, it produces less steam than boiling water on a hot surface or using a Dutch oven.
Troubleshooting Common Sourdough Baking Stone Issues
Sourdough Sticking to the Baking Stone: Prevention and Solutions
Sourdough sticking to a baking stone is a frustrating issue that can ruin an otherwise perfect loaf. The primary cause is usually insufficient preheating of the stone or inadequate flouring of the peel or parchment used for transfer. A stone that isn't hot enough won't release the dough cleanly. To prevent sticking, ensure your baking stone is preheated for at least 45-60 minutes at a high temperature (450-500°F).
When using a peel, dust it generously and evenly with cornmeal, semolina, or rice flour – these act like tiny ball bearings allowing the dough to slide. Practice the transfer motion to ensure it's smooth and quick. If using parchment paper, ensure it's rated for high temperatures and doesn't tear during the transfer. If dough does stick after baking, let the stone cool completely before attempting to scrape it off with a plastic scraper. Avoid metal tools, which can damage the stone's surface. Stubborn residue can sometimes be baked off during the next preheat.
Uneven Baking: Addressing Hot Spots and Temperature Fluctuations
Uneven baking, resulting in one part of the crust being darker or crispier than another, is often due to hot spots or temperature fluctuations within your oven. Home ovens rarely heat perfectly evenly. Hot spots can occur near heating elements or in specific corners. To mitigate this when using a baking stone, try rotating your loaf halfway through the baking time, especially after removing any steam source. This helps ensure all sides of the loaf are exposed to similar temperatures.
Using an oven thermometer placed near your baking stone is also crucial. The oven's built-in thermostat can be inaccurate, sometimes by as much as 50°F (10°C) or more. An external thermometer gives you a true reading of the temperature around your stone, allowing you to adjust your oven's setting accordingly and maintain a more consistent baking environment for that uniform, crispy rye crust or sourdough finish.
Avoiding a Pale or Soft Sourdough Crust
A pale or soft sourdough crust, even when using a baking stone, indicates that the crust hasn't fully developed or dehydrated. This can happen for several reasons: insufficient baking time, too low a baking temperature, or excessive steam presence for too long. The crust needs sufficient time exposed to dry heat at a high enough temperature to brown and crisp up through the Maillard reaction and dehydration.
Ensure you are preheating your stone adequately (45-60 mins) and baking at a sufficiently high temperature (starting around 450-500°F). After the initial steam phase (usually 15-20 minutes), remove the steam source (like the Dutch oven lid or water tray) and continue baking at a slightly reduced temperature (around 400-450°F) until the crust reaches your desired color and the internal temperature is about 205°F (96°C). If your crust is still pale, try extending the baking time by 5-10 minutes, or increase the temperature slightly towards the end of the bake.
Tips and Tricks for Consistently Perfect Sourdough Crust
Flour Selection: Choosing the Right Flours for Crust Development
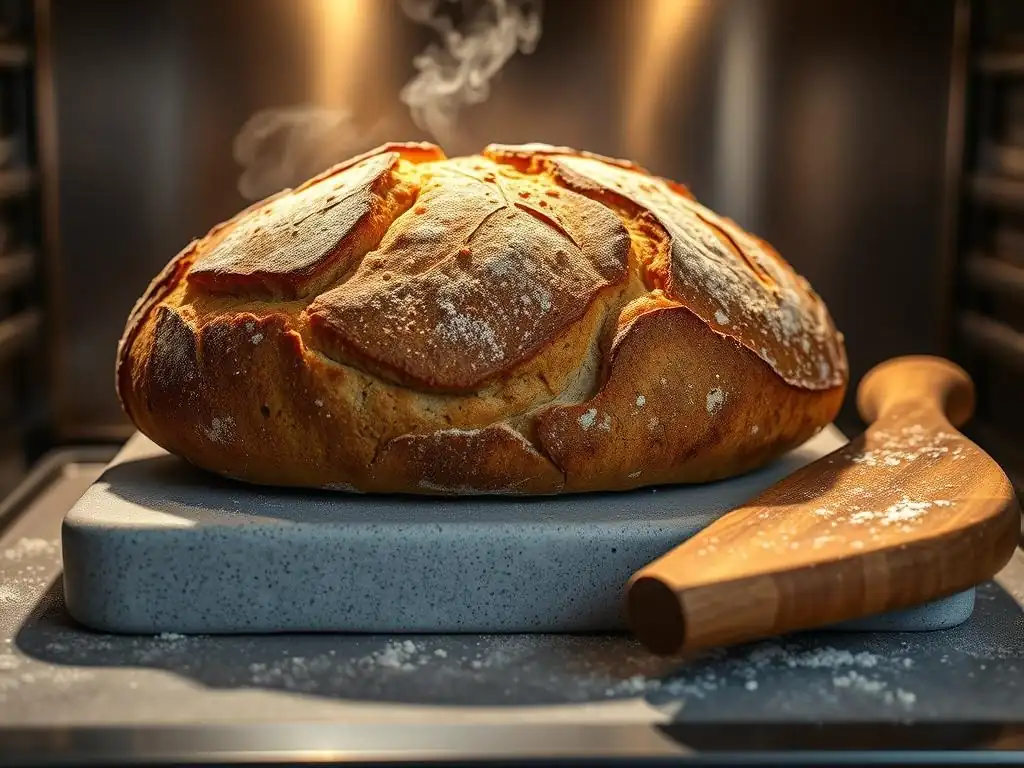
The type of flour used in your sourdough dough significantly impacts crust development and texture. High-protein bread flours (around 12-14% protein) provide the structure needed for good oven spring, which in turn contributes to a thinner, crispier crust. The gluten network developed from these flours helps the loaf hold its shape and expand without collapsing, allowing the crust to set properly on the baking stone.
Adding a small percentage (5-20%) of whole wheat or rye flour can also enhance crust flavor and texture. While 100% white flour can yield a very crisp crust, incorporating some whole grains, especially for a crispy rye crust baking stone enthusiast, adds complexity. Rye flour, in particular, behaves differently due to its lower gluten content and higher pentosan levels, which absorb more water. When baked on a hot stone, doughs with rye flour can develop unique crust characteristics – often slightly thicker but with a satisfying chew and crispness if baked correctly with sufficient heat.
Hydration Levels: Impact on Crust Texture and Oven Spring
The hydration level of your sourdough dough (the ratio of water to flour by weight) plays a critical role in both oven spring and crust texture. Higher hydration doughs (typically 75% hydration or more) tend to yield a more open, airy crumb and can develop a thinner, glassier, and potentially crispier crust when baked properly on a hot stone. The abundance of water in the dough provides more steam internally during baking, contributing to greater oven spring and a more pronounced gelatinization of the surface starches.
However, high hydration doughs are also stickier and more challenging to handle and transfer onto a hot baking stone. They require careful shaping and a well-floured peel or parchment paper to prevent sticking. Lower hydration doughs (60-70% hydration) are easier to manage but may result in a denser crumb and a slightly thicker crust. Finding the right hydration for your skill level and desired crust texture is key to consistently baking great sourdough with a baking stone.
Scoring Techniques: Achieving Optimal Expansion and Aesthetics
Scoring sourdough dough just before it goes into the oven is not just for aesthetics; it's a functional step that dictates how the loaf expands during oven spring. The score acts as a controlled weak point, allowing the rapidly expanding dough to burst through the cuts rather than randomly tearing elsewhere on the surface. Proper scoring ensures a more uniform shape, maximizes oven spring, and contributes to the development of the "ear" – that beautiful, crispy flap of crust often sought after by sourdough bakers.
The depth and angle of the score matter. A deep, angled score (around 1/4 to 1/2 inch deep at a 45-degree angle) is common for creating a pronounced ear. Multiple shallow scores can create intricate patterns but may result in less directional expansion. Using a sharp lame or razor blade is essential for clean cuts that open up nicely. Experimenting with different scoring patterns allows you to control the final shape and appearance of your loaf as it bakes on the hot baking stone, helping to develop that signature crispy rye crust look or classic sourdough crackle.
Cooling Process: Ensuring a Crisp and Stable Crust
After successfully baking your sourdough on a baking stone to a beautiful golden-brown, the cooling process is absolutely critical for achieving and maintaining a crispy crust. Resist the urge to cut into the loaf immediately. As the bread cools, moisture from the interior crumb migrates towards the cooler crust. If the crust is still hot and soft, this moisture can make it soggy. Allowing the loaf to cool completely on a wire rack enables air circulation around the entire loaf, allowing this moisture to escape and the crust to fully set and crisp up.
Cooling typically takes at least 2-3 hours for a standard-sized loaf, sometimes longer for larger loaves. Cutting the bread too early traps steam inside, leading to a gummy crumb and a softened crust. Patience during this final stage is rewarded with the perfect texture – a firm, crispy exterior and a soft, airy interior. This is a non-negotiable step for anyone aiming for that ultimate crispy rye crust baking stone result or a perfectly textured sourdough loaf.
Maintaining Your Baking Stone for Long-Term Sourdough Baking
Proper Cleaning Techniques for Baking Stones
Maintaining your baking stone ensures its longevity and continued performance in producing crispy sourdough crusts. The golden rule of cleaning a baking stone is simple: avoid soap. Soap can soak into the porous material and impart off-flavors to your bread. The best way to clean a baking stone is to let it cool completely after use and then scrape off any stuck-on food particles or flour with a plastic or stiff-bristled brush.
For more stubborn residue, you can use a metal scraper or even bake the stone at a high temperature (around 500°F or 260°C) for an hour or two after scraping; this process, called pyrolysis, turns organic matter into ash, which can then be brushed away once cool. Don't worry about stains or discoloration – this is natural seasoning and won't affect performance. Never submerge a hot stone in water, as the thermal shock can cause it to crack.
Storage Recommendations to Prevent Damage and Extend Lifespan
Proper storage is key to protecting your baking stone from accidental damage when it's not in use. Baking stones, particularly ceramic and cordierite ones, can be brittle and prone to breaking if dropped or subjected to sudden impacts. The safest place for a baking stone is often inside the oven itself, placed on a rack. This keeps it out of the way and ensures it's always ready for preheating.
If you need the oven for other purposes or prefer to store the stone elsewhere, find a flat, stable surface where it won't be easily knocked over. Storing it vertically increases the risk of it tipping and breaking. Consider wrapping it in a towel or placing it in a sturdy box if storing it in a cupboard or pantry to provide a little extra protection against bumps. Keeping the stone clean and stored properly will ensure it continues to help you create delicious, crispy rye crust and sourdough loaves for years to come.
Advanced Sourdough Baking Techniques with a Baking Stone
Baking High-Hydration Sourdough on a Stone
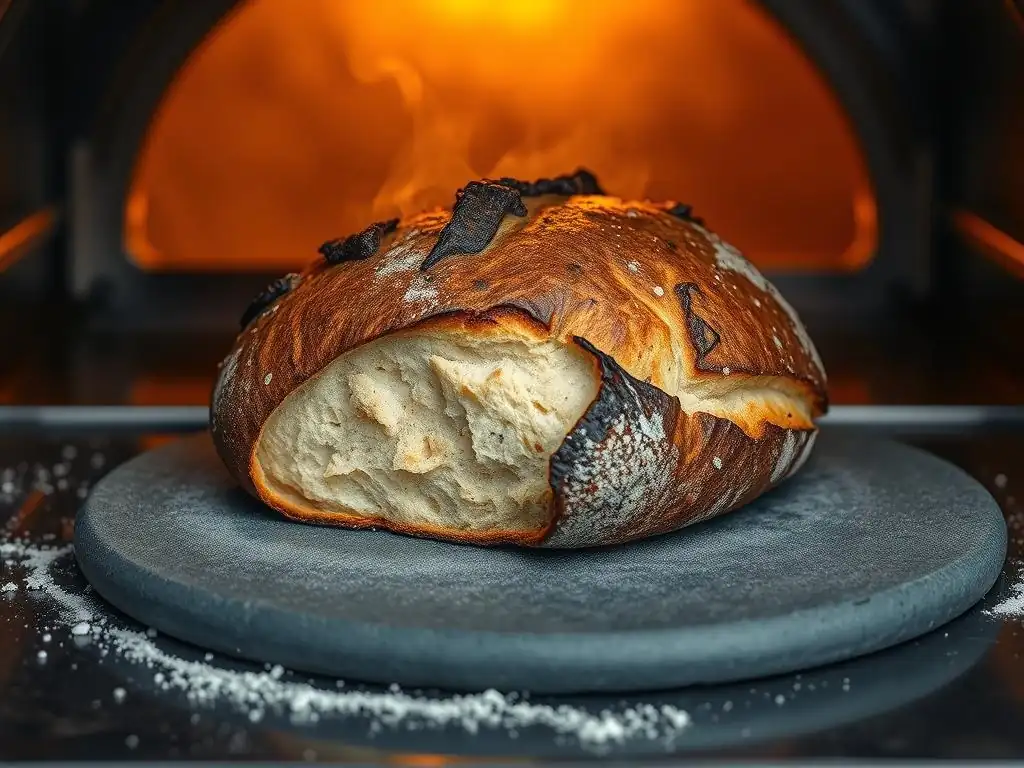
Baking high-hydration sourdough (doughs with 75% water or more relative to flour weight) on a baking stone presents unique challenges but offers the reward of an exceptionally open crumb and a thin, very crispy crust. These wet doughs are slack and difficult to handle, making transfer to a hot stone tricky. Using parchment paper is almost essential here. Gently shape your dough on a piece of parchment, do the final proofing, and then use the parchment to lift and slide the dough onto the preheated stone.
The high water content generates significant internal steam during baking, contributing to massive oven spring, provided the dough is handled gently to preserve the gas bubbles. Due to the increased moisture, these loaves might require a slightly longer baking time, especially during the uncovered phase, to ensure the crust fully dehydrates and becomes crispy. A crispy rye crust baking stone setup works wonderfully for high-hydration loaves, as the intense bottom heat helps set the base before the wet dough can spread too much.
Experimenting with Different Sourdough Starters and Baking Stone Methods
The characteristics of your sourdough starter (its hydration, activity level, and the flours used to feed it) can influence the dough's behavior and ultimately the crust. A very active, mature starter contributes to vigorous oven spring, essential for a light crumb and a crust that sets thinly and crisply on a hot stone. Experimenting with starters fed different flours (e.g., a rye-fed starter for a crispy rye crust) can also subtly alter the dough's fermentation profile and the resulting crust flavor and texture.
Beyond the starter, you can experiment with how you use your baking stone setup. Try varying the preheating time (longer preheats for thicker stones), using different steaming methods in combination, or adjusting the rack position in your oven. Some bakers place the stone on a lower rack for the first part of the bake to prioritize bottom crust development and then move it higher for the second part to ensure even browning of the top crust. Documenting your experiments helps refine your technique and consistently achieve your desired crispy crust results.
Using a Baking Stone for Sourdough Pizza
While this guide focuses on bread, a baking stone is also an indispensable tool for baking sourdough pizza, and the principles for a crispy crust are similar. Sourdough pizza dough, often higher in hydration than bread dough, benefits immensely from the intense, direct heat of a preheated stone. This heat quickly sets the base of the pizza, preventing a soggy bottom and creating that desirable crispness and char.
Preheat your baking stone in the oven at a very high temperature (often 500°F or even higher) for at least 45-60 minutes. Stretch your sourdough pizza dough, add your toppings, and transfer it quickly onto the hot stone using a well-floured peel. The rapid heat transfer from the stone mimics that of a professional pizza oven, resulting in a crust that is both airy and wonderfully crispy on the bottom, achieving that perfect balance that defines great pizza.
Enjoying Your Homemade Sourdough Bread
Serving Suggestions and Complementary Flavors
Once your beautiful sourdough loaf, complete with its perfectly developed, crispy rye crust or classic sourdough crackle, has cooled completely, it's time to enjoy the fruits of your labor. The robust flavor and texture of sourdough make it incredibly versatile. Serve slices simply with high-quality butter or olive oil to appreciate its pure taste.
It pairs wonderfully with soups and stews, acting as a sturdy vessel for soaking up delicious broths. Use it for amazing sandwiches or toast. Consider complementary flavors like sharp cheeses, cured meats, or ripe tomatoes. The tangy crumb and crispy crust also make it an excellent base for bruschetta or crostini. Sharing a warm loaf with friends and family, perhaps alongside some artisanal dips or spreads, is one of the great simple pleasures of baking.
Frequently Asked Questions
What is the primary benefit of using a baking stone for rye bread?
A baking stone provides even heat distribution, essential for achieving a crispy rye crust. This helps to create a bakery-quality texture at home.
How do I properly preheat a baking stone for baking rye bread?
Place the baking stone in a cold oven and preheat it to the desired temperature for at least 30 minutes, ensuring it's thoroughly heated. This heat retention is key for achieving a crisp crust.
What type of baking stone is recommended for achieving the best rye crust?
While various stones work, a cordierite baking stone is often recommended for its durability and ability to withstand high temperatures. This is crucial for achieving that perfectly crispy crust.
Can I use a baking stone with a pre-made rye bread mix?
Yes, you can use a baking stone with a pre-made mix! It will still improve the crust's texture compared to baking directly on a sheet. The stone promotes a crisper, more even bake regardless of the dough source.
How do I prevent my rye bread from sticking to the baking stone?
Dust the baking stone with a generous amount of rye flour or cornmeal before placing the dough on it. Using parchment paper is another option to ensure easy removal and prevent sticking issues.
Final Reflection: The Transformative Power of a Baking Stone
The pursuit of the perfect crispy rye crust is more than just a culinary quest; it's a testament to the enduring power of simple tools and meticulous technique. Achieving that satisfying crackle and irresistible texture, as detailed throughout this article, unlocks a deeper appreciation for the artistry of baking. The seemingly small addition of a baking stone elevates the entire baking experience, transforming a simple loaf into a culinary masterpiece.
The impact of the baking stone extends beyond the immediate gratification of a perfectly crisp crust. It speaks to a larger cultural shift towards mindful cooking and a renewed interest in traditional methods. We're seeing a resurgence of home baking, a desire to connect with the process of food creation, and a growing appreciation for quality ingredients. This isn't just about the end product; it's about the journey. The best things in life are homemade,
a sentiment that resonates deeply as we strive for that perfect crust. This simple tool allows us to participate in this tradition, connecting us to a richer culinary heritage.
Now, consider your own baking journey. What seemingly small change could elevate your results? I encourage you to experiment, to embrace the imperfections, and to find joy in the process of creating something delicious and beautiful. The next time you reach for your rye bread recipe, remember the power of the baking stone – a simple tool that unlocks extraordinary results and connects you to a timeless tradition. Let the satisfying crunch of that perfect crust be a reminder of the rewards of patience, precision, and a little bit of culinary exploration.
Unleash Your Inner Baker: Craft the Perfect Rye Crust!
Thanks for taking the time to explore the world of crispy rye crusts with us! We hope you've gained valuable insights into achieving that perfect bake. Ready to put your new knowledge into action?
- Master the Rye Crust: Try baking your own rye bread using the techniques we've shared – the difference will be incredible! Remember to pay attention to the stone's temperature and hydration levels.
- Share Your Success: Show off your perfectly crispy crust on social media! Use #BakeWithEaseRye to connect with our community of bakers.
- Experiment with Flavors: What unique ingredients will you add to your next rye loaf? Perhaps some caraway seeds or a touch of honey?
Ready to embark on your crispy rye bread journey? What unique twist will you add to your next baking adventure?