
Baking Whole Wheat Bread with Added Nuts and Fruits

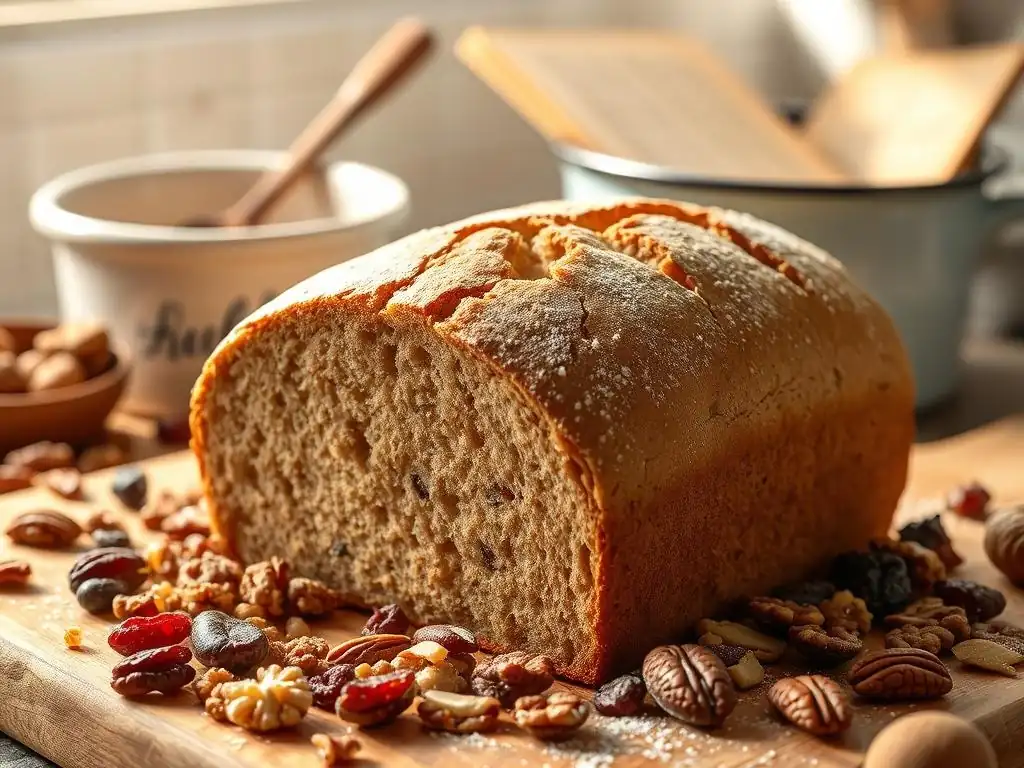
Welcome to BakeWithEase, your passport to the delightful world of baking! Ever dreamt of creating a rustic, wholesome loaf that's both nutritious and delicious? Today, we're unlocking the secrets to crafting the perfect Whole Wheat Nut Fruit Bread. Discover how simple ingredients and techniques can yield a stunning bake that will impress your friends and family. Curious how to elevate your baking game? Let's get started and explore the magic within!
- Sourdough Starter: A Beginner's Guide to Baking Naturally Leavened Bread
- Why Bake with Sourdough?
- Essential Ingredients for Sourdough Starter
- Step-by-Step Guide to Creating and Maintaining a Sourdough Starter
- Tips and Tricks for a Thriving Sourdough Starter
- Troubleshooting Common Sourdough Starter Problems
- Variations and Adaptations for Your Sourdough Starter
- Baking with Your Sourdough Starter
- Conclusion: Cultivating a Thriving Sourdough Starter
- Frequently Asked Questions
- Final Reflection: The Enduring Appeal of Whole Wheat Nut & Fruit Bread
- Unleash Your Inner Baker: Craft the Perfect Loaf!
Sourdough Starter: A Beginner's Guide to Baking Naturally Leavened Bread
Embarking on the journey of baking with sourdough is an exciting step for any home baker. Unlike commercial yeast, a sourdough starter is a living culture of wild yeast and bacteria, cultivated from just flour and water. This natural leavening agent not only gives bread its characteristic tangy flavor and chewy texture but also offers a rewarding connection to the ancient art of bread making. Creating and maintaining your own sourdough starter, often affectionately called a "levain" or "mother," is the fundamental first step to unlocking a world of naturally leavened baked goods, from rustic loaves to delicate pastries.
This guide will walk you through the process of establishing and caring for your very own sourdough starter. We’ll explore why baking with this wild yeast culture is so special, the simple ingredients required, and a step-by-step method for nurturing your starter from scratch. Whether you dream of baking beautiful, crusty naturally leavened bread or simply want to experiment with this unique baking method, understanding your sourdough starter is key to success. It's a journey that requires patience and observation, but the results – delicious, wholesome bread – are truly unparalleled.
Why Bake with Sourdough?
Beyond the simple satisfaction of baking from scratch, choosing sourdough offers distinct advantages that elevate your bread from ordinary to exceptional. It's a method that connects you directly to the ingredients and the natural processes of fermentation, yielding bread with a depth of flavor and texture that store-bought varieties often lack. The unique characteristics imparted by a thriving sourdough starter make it a favorite among bakers seeking both superior taste and potential health benefits from their homemade bread.
Baking with a naturally leavened starter introduces a fascinating dynamic to the dough. The wild yeasts produce carbon dioxide, causing the bread to rise, while the lactic acid bacteria produce organic acids, contributing to the signature tangy flavor and improving the bread's structure and keeping qualities. This symbiotic relationship between yeast and bacteria is what makes sourdough baking a truly living art form, with each starter developing its own unique microbial profile influenced by its environment and feeding regimen.
The Health Benefits of Sourdough Bread
One of the compelling reasons to bake with sourdough is its potential health benefits, largely attributed to the fermentation process. During the long fermentation that occurs when using a sourdough starter, complex carbohydrates and proteins in the flour are broken down by bacteria and enzymes. This can make the nutrients more bioavailable and potentially easier for the body to digest compared to bread made with commercial yeast, which typically undergoes a much shorter fermentation period.
Furthermore, studies suggest that sourdough fermentation can significantly reduce the levels of phytic acid, an anti-nutrient found in grains that can inhibit the absorption of minerals like iron, zinc, and calcium. While the exact reduction varies depending on the fermentation time and flour type, some research indicates phytic acid can be reduced by 70-90% or even more in properly fermented sourdough. This means that minerals present in the flour become more accessible to your body after consuming sourdough bread, contributing to a more nutritious loaf.
The Unique Flavor Profile of Sourdough
The hallmark of bread baked with a sourdough starter is its complex and often tangy flavor, a direct result of the lactic acid bacteria present in the culture. These bacteria produce lactic acid and acetic acid as byproducts of fermentation. Lactic acid contributes a milder, yogurt-like tang, while acetic acid is sharper, adding a vinegar-like bite. The balance between these two acids can vary greatly depending on factors like the temperature at which the starter and dough are fermented, the hydration level, and the types of flour used.
This intricate interplay of acids, combined with the other metabolic activities of the wild yeast and bacteria, creates a flavor profile that is far more nuanced than that of quick-risen, commercially leavened bread. A well-maintained starter can impart notes ranging from subtly sweet and creamy to intensely sour and earthy. For instance, a rye sourdough starter tends to produce bread with a deeper, more pronounced tang compared to a starter made solely with white bread flour, offering bakers a palette of flavors to explore.
Sourdough: A Simple Approach to Delicious Homemade Bread
While the concept of cultivating a living culture might sound intimidating at first, the core process of creating and maintaining a sourdough starter is remarkably simple, requiring only two basic ingredients: flour and water. The magic happens naturally as wild yeasts and bacteria from the environment and the flour colonize this mixture and begin to ferment. This accessible starting point makes sourdough baking achievable for anyone with patience and curiosity.
Think of maintaining your sourdough starter as caring for a simple houseplant – it needs regular feeding (flour and water) and a suitable environment (temperature) to thrive. Once your starter is active and ready, baking a basic loaf of naturally leavened bread involves mixing flour, water, salt, and your starter. The subsequent steps of fermentation, shaping, and baking are techniques that are learned over time, but the foundation – the vibrant sourdough starter – is built from humble beginnings and a commitment to nurturing a natural process.
Essential Ingredients for Sourdough Starter
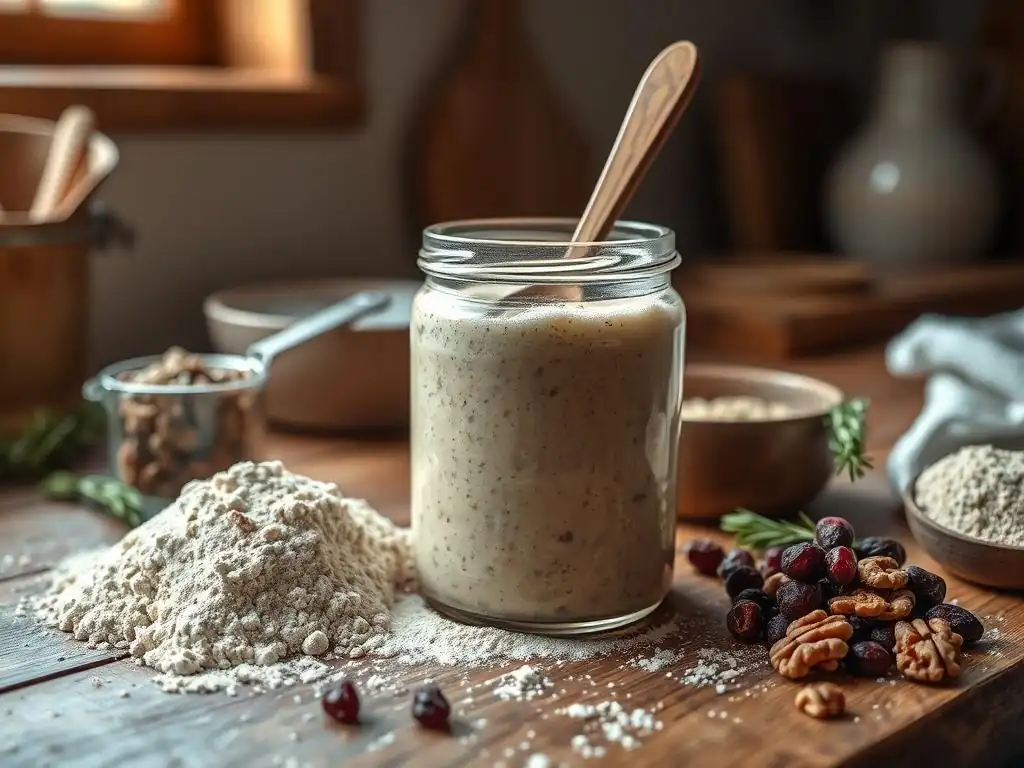
Creating a healthy and active sourdough starter begins with selecting the right foundation: quality flour and water. While the process seems straightforward, the type and quality of these two simple ingredients can significantly impact the development and activity of your starter culture. Understanding the role each plays is crucial for cultivating a robust starter capable of reliably leavening your bread.
Beyond the initial mixing, maintaining your starter involves a regular feeding schedule. This involves discarding a portion of the old starter and feeding the remainder with fresh flour and water. This process, done consistently, ensures the microbial population stays balanced and active, providing the necessary leavening power for your baking projects. The environment, particularly temperature, also plays a vital role in how quickly and vigorously your starter ferments, influencing your feeding frequency.
Choosing the Right Flour for Your Starter
The type of flour you choose is perhaps the most influential factor in starting and maintaining a sourdough culture. Flours that are less refined, such as whole wheat or rye flour, often contain a higher concentration of wild yeasts and nutrients (like minerals) that act as food for the developing microbial community. Starting with a blend of whole wheat or rye and unbleached all-purpose or bread flour is a common and effective approach, as the nutrients kickstart activity while the white flour provides structure.
For instance, many successful starters are initiated using 50% whole rye flour and 50% unbleached bread flour because rye flour is particularly rich in the necessary microorganisms and enzymes. Once the starter is established, you can often transition to feeding it solely with unbleached bread flour or a mix that suits your baking needs, though some bakers prefer to keep a portion of whole grain in their feeding mix for continued vigor and flavor. Using organic flour can also sometimes provide a boost due to potentially higher microbial diversity.
Water Quality and Its Impact on Fermentation
Water is the other critical component, and its quality can affect your starter's health. Tap water containing chlorine or chloramine, chemicals added to make water safe for drinking, can inhibit or even kill the beneficial microorganisms in your starter. While small amounts might not be detrimental, high levels can prevent your starter from becoming active or weaken an existing one.
To avoid potential issues, it is highly recommended to use filtered water, bottled spring water, or tap water that has been left out at room temperature for at least 24 hours. Leaving tap water uncovered allows chlorine to dissipate into the air. Chloramine, however, does not evaporate as readily, so filtered water is a more reliable choice if your local water supply uses chloramine. The mineral content in water can also influence fermentation, with some minerals potentially benefiting yeast activity, but avoiding chlorine is the primary concern.
Maintaining a Healthy Starter: Feeding Schedules and Temperatures
Once your sourdough starter is established and active, maintaining its health requires a consistent feeding schedule and attention to temperature. At room temperature (around 70-75°F or 21-24°C), an active starter typically needs to be fed every 12-24 hours. This involves discarding a portion (usually all but a small amount, like 20-50 grams) and feeding the remainder with an equal weight of fresh flour and water (often a 1:1:1 ratio of starter:flour:water). Feeding removes metabolic waste products and provides fresh food, keeping the yeast and bacteria happy and active.
Temperature is a major driver of fermentation speed. A starter kept in a warmer environment (e.g., 80°F or 27°C) will ferment much faster and require more frequent feeding, possibly twice a day. Conversely, a starter kept cooler (e.g., 65°F or 18°C) will ferment slower and need less frequent feeding. Understanding your starter's activity at your ambient temperature is key to establishing a suitable feeding routine. Observing when your starter peaks (reaches its maximum height) after feeding is the best indicator of its fermentation cycle and when it's ready for the next meal.
Step-by-Step Guide to Creating and Maintaining a Sourdough Starter
Creating your own sourdough starter is a process that unfolds over several days, requiring minimal effort but consistent attention. It's a fascinating journey of cultivating a living ecosystem from simple ingredients. While there are countless variations, the core steps involve mixing flour and water and then regularly feeding the mixture to encourage the growth of wild yeast and bacteria. Patience is your most valuable tool during this initial phase.
Once your starter shows consistent signs of activity – reliably doubling or tripling in size within a few hours after feeding – it is considered mature and ready for baking. However, the relationship doesn't end there. Maintaining your starter involves regular feeding to keep it vigorous, and understanding how to read its signals is crucial. This section outlines the typical progression of starter development and how to ensure your culture remains healthy and ready to leaven your loaves.
Day 1-7: Mixing, Feeding, and Observing
Starting your sourdough culture is as simple as mixing equal parts flour and water in a jar. For example, you could combine 50 grams of whole wheat or rye flour with 50 grams of lukewarm water in a clean glass jar. Stir until well combined into a thick, pasty consistency. Cover loosely with a lid or plastic wrap secured with a rubber band (to allow gases to escape but prevent drying) and leave it at room temperature, ideally between 70-78°F (21-26°C).
For the first few days (often days 1-3), you might see little to no activity. This is normal; the microorganisms are beginning to colonize. Around day 3 or 4, you might start seeing small bubbles and perhaps a faint, slightly yeasty or alcoholic smell.
This is a sign of initial fermentation. At this point, you should begin feeding it daily: discard about half of the mixture and feed the remainder with fresh flour and water (e.g., add 50g flour and 50g water to the 50g starter you kept). Continue this daily feeding routine, discarding and feeding, observing for increased activity.
Understanding Starter Activity: Signs of a Healthy Culture
As your sourdough starter matures, typically around day 7 to 14 (though it can take longer), you'll notice more robust signs of activity. A healthy, active starter will consistently rise significantly after feeding, often doubling or even tripling in volume within 4-8 hours at room temperature. You'll see numerous bubbles throughout the mixture, not just on the surface, indicating active gas production. The texture will become light and spongy, and the smell will evolve from potentially unpleasant early smells (like acetone) to a pleasant, tangy, slightly yeasty aroma, similar to yogurt or ripe fruit.
A common test to check if your starter is ready to bake with is the "float test." Take a small spoonful of starter at its peak activity (when it's most bubbly and risen) and gently drop it into a glass of water. If it floats, it's a good indicator that it contains enough trapped gas to leaven bread. If it sinks, it might need more time to ferment or perhaps another feeding to build strength. Consistent rising and falling after feeding, along with a pleasant smell, are the most reliable signs of a mature and healthy sourdough starter.
Troubleshooting Common Starter Problems: Mold, Inactivity, and Off-Smells
During the process of creating and maintaining a sourdough starter, you might encounter a few common issues. Mold is the most serious problem; if you see any fuzzy, colored spots (green, black, orange, etc. ), it indicates contamination, and unfortunately, you must discard the entire starter and begin again. Mold spores can penetrate the entire culture, even if you only see them on the surface. Prevention is key: use clean jars and utensils, and ensure your starter is active enough to keep unwanted microbes at bay.
Inactivity is another frequent concern, especially in the early days or if the starter gets too cold or hungry. If your starter isn't bubbling or rising, try moving it to a warmer spot (around 75-80°F or 24-27°C) or switching to whole wheat or rye flour for a few feedings, as these often provide more nutrients. Off-smells are also common.
A strong acetone or nail polish remover smell indicates your starter is very hungry and needs feeding. A liquid layer on top, called "hooch," also means it's hungry; you can pour it off or stir it in before feeding. A truly foul or rotten smell is rare but can indicate bad bacteria; aggressive feeding might help, but sometimes starting over is necessary.
Converting Your Starter for Different Recipes
Most basic sourdough starter recipes produce a culture with a 100% hydration level, meaning it's fed equal weights of flour and water. This results in a thick, pourable consistency. However, some bread recipes call for a "stiff" starter (lower hydration, e.g., 50-60% water relative to flour) or a more liquid starter (higher hydration). You don't need a separate starter for each; you can convert a portion of your main starter for a specific recipe.
To convert, take a small amount of your active starter (e.g., 20 grams) and feed it with the specific flour and water ratio required by the recipe. For a stiff starter, you might feed 20g starter with 50g flour and 30g water (60% hydration relative to flour). For a more liquid starter, you might use 20g starter with 50g flour and 60g water (120% hydration). Let this smaller "levain build" ferment until active (usually 4-12 hours, depending on temperature and hydration) and use it in your recipe, keeping your main starter on its regular feeding schedule.
Tips and Tricks for a Thriving Sourdough Starter
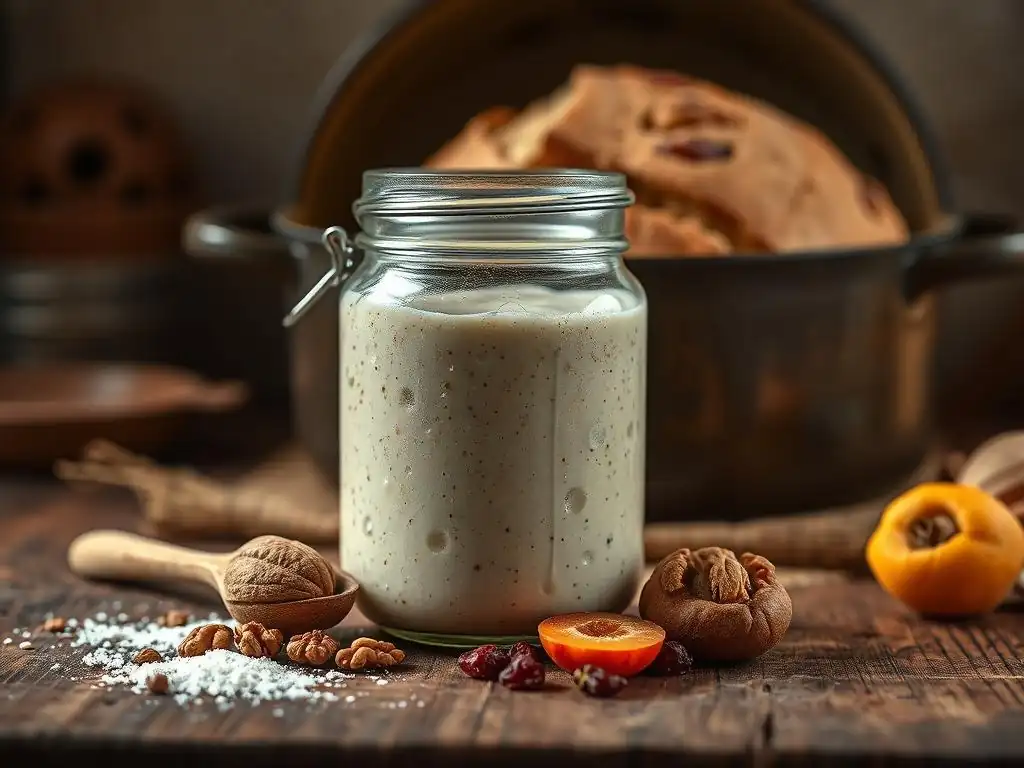
Cultivating a truly thriving sourdough starter goes beyond just the basic feeding routine; it involves understanding its needs and responding to its signals. Think of it as developing a relationship with your starter, learning its rhythms and preferences. With a few simple tips and tricks, you can ensure your starter remains vigorous, consistent, and always ready to produce fantastic naturally leavened bread.
Consistency is often the key to a happy starter. Using the same type of flour, water, and feeding ratio each time helps create a stable environment for the microbial community. However, it's also important to be adaptable. Environmental factors like temperature and humidity can fluctuate significantly, and your starter's needs will change accordingly. Learning to observe and adjust your feeding schedule or ratio based on these factors will lead to more consistent and predictable results in your baking.
Achieving Consistent Results
To achieve consistent results with your sourdough starter and the bread you bake, precision is paramount, especially when it comes to feeding. Using a digital scale to measure your starter, flour, and water by weight is far more accurate than using volume measurements (cups), as the density of flour can vary significantly. Aim for a consistent feeding ratio each time, such as 1:1:1 (starter:flour:water) or 1:2:2 if you want to increase the quantity or make it last longer between feedings. For example, feeding 25g starter with 50g flour and 50g water (1:2:2 ratio) provides more "food" for the microbes.
Maintaining a consistent temperature for your starter also helps regulate its activity. Finding a warm spot in your kitchen, perhaps near a warm appliance or in a proofing box if you have one, can help ensure predictable fermentation times. Fluctuating temperatures can lead to inconsistent rise times and make it harder to gauge when your starter is at its peak. Keeping a log of feeding times, ratios, and ambient temperature can also help you understand your starter's behavior over time and troubleshoot issues.
Adapting to Different Environments
Your sourdough starter is a living culture highly sensitive to its environment, particularly temperature and humidity. If you live in a warm climate or during summer months, your starter will be much more active and may need to be fed more frequently, possibly every 8-12 hours, to prevent it from becoming overly acidic or starving. Conversely, in a cooler environment or during winter, fermentation slows down, and you might only need to feed it every 24 hours or even less frequently if keeping it slightly cooler.
Humidity can also play a role, affecting the hydration level of your flour. In very humid conditions, your flour might absorb more moisture from the air, effectively increasing the starter's hydration slightly. In very dry conditions, the surface of your starter can dry out quickly. Learning to visually assess your starter's consistency and activity based on your local conditions is key. You might slightly adjust the water amount during feeding to maintain the desired consistency regardless of ambient humidity.
Maintaining a Dormant Starter
For bakers who don't bake daily or even weekly, keeping a sourdough starter at room temperature and feeding it constantly can be wasteful due to the amount of discard. Fortunately, you can store your sourdough starter in the refrigerator to make it dormant and significantly slow down its activity. This allows you to feed it much less frequently, typically once a week or even every two weeks, depending on how cold your fridge is.
To store your starter in the fridge, ensure it is well-fed and active. Place it in a clean jar, loosely covered, and pop it in the back of the refrigerator where the temperature is most consistent. When you're ready to bake, take the starter out, let it come to room temperature for a few hours, and then feed it.
You'll likely need to feed it once or twice at room temperature over 12-24 hours until it shows its usual vigorous activity (doubling within a few hours) before using it in a recipe. Discard from refrigerated starter is still usable in discard recipes.
Troubleshooting Common Sourdough Starter Problems
Even with careful attention, sourdough starters can sometimes present challenges. Identifying the problem and knowing how to address it is part of the learning process for any sourdough baker. While some issues, like mold, require starting over, many common problems can be resolved with simple adjustments to your feeding routine or environment. Staying calm and observing your starter are the first steps to getting it back on track.
Understanding the signs your starter is giving you is crucial for successful troubleshooting. Is it sluggish and inactive? Does it have an unusual smell? Is there a strange growth on the surface? Each symptom points to a different underlying cause, usually related to feeding frequency, temperature, or contamination. Addressing these issues promptly will help you revive your culture and prevent minor hiccups from becoming major setbacks in your baking journey.
Mold Growth and Prevention
Mold is arguably the most disheartening problem a sourdough baker can face. It typically appears as fuzzy patches of various colors – green, black, orange, or pink – on the surface or sides of the starter. Unlike hooch or bubbles, mold has a distinct fuzzy or powdery appearance. If you detect any sign of mold, it is critical to discard the entire starter and clean the jar thoroughly before starting fresh. Skimming off the mold is not sufficient, as the mold spores are likely present throughout the culture.
Preventing mold growth is primarily about maintaining a healthy, active starter and using clean equipment. A vigorous starter is acidic, creating an environment that is inhospitable to most molds. Ensure you are feeding your starter regularly enough that it doesn't become overly hungry and weak. Using a clean jar each time you feed, or at least washing the jar frequently, reduces the chance of introducing unwanted mold spores. Using filtered or chlorine-free water also helps maintain the health of the beneficial microbes that keep mold at bay.
Inactivity and Revitalization
An inactive or sluggish sourdough starter is a common issue, especially during colder months or if feedings are infrequent. Signs include little to no bubbling, minimal or no rise after feeding, and a flat, dense texture. The most frequent causes are low temperature, insufficient feeding, or using flour that lacks enough nutrients for the microbes. Don't despair; an inactive starter can often be revitalized.
To revive a sluggish starter, first ensure it's in a warm spot, ideally between 75-80°F (24-27°C). Consider feeding it more frequently, perhaps every 12 hours, to give the microbes a consistent food supply. Switching to a more nutritious flour, like whole rye or whole wheat, for a few feedings can also provide a boost, as these flours contain more of the natural yeasts and bacteria that help kickstart activity. Use a 1:1:1 or 1:2:2 feeding ratio to ensure it gets plenty of fresh flour and water. Patience is key; it might take several consistent feedings to see significant improvement.
Unpleasant Odors and Solutions
Sourdough starters naturally have a tangy smell, but sometimes they can develop odors that are less pleasant. A strong smell of acetone or nail polish remover is very common and simply indicates that your starter is hungry. The microbes have consumed all the available food and are producing alcohol as a byproduct. The solution is straightforward: discard a portion and feed it fresh flour and water. This smell should dissipate after feeding.
Another common occurrence is the formation of a liquid layer on top, known as "hooch." This is also a sign of hunger; the liquid is alcohol produced by the yeast. You can either pour off the hooch before feeding or stir it back in (which can add a stronger, tangier flavor).
A truly foul, putrid, or rotten smell is less common and can indicate the presence of undesirable bacteria, potentially linked to mold or very poor hygiene. If the smell is genuinely offensive and doesn't improve after a couple of regular feedings, it might be safer to discard and start a new culture to avoid potential health risks.
Variations and Adaptations for Your Sourdough Starter

While a standard sourdough starter made with white or a blend of flours is the most common, the principles of cultivating a wild yeast culture can be applied to various types of flour. Exploring different flour bases for your starter can lead to unique flavor profiles and textures in your bread, opening up new avenues for your baking creativity. Each flour type brings its own characteristics to the starter culture, influencing its activity and the final taste of your naturally leavened goods.
Adapting your starter doesn't necessarily mean starting from scratch each time. You can often convert a portion of your existing starter to a different flour type over a few feedings. This allows you to maintain your primary starter while experimenting with variations. Whether you're aiming for the robust flavor of rye, the nutty undertones of whole wheat, or the challenge of gluten-free baking, there's a sourdough starter variation waiting to be explored.
Rye Sourdough Starter
Rye flour is particularly popular for creating and maintaining sourdough starters, especially in regions with a strong tradition of rye bread baking. Rye flour contains a high concentration of enzymes and nutrients that are particularly favorable for wild yeast and bacterial activity, often resulting in a very vigorous and fast-acting starter. A pure rye starter will produce a culture that is typically stickier and less elastic than wheat-based starters due to the nature of rye's proteins, but it is incredibly effective at leavening.
To create a rye starter, simply follow the standard procedure using 100% rye flour and water. Feedings will be similar, though you might notice it peaks faster than a wheat starter. The resulting rye sourdough starter imparts a distinctive, deep, and often more pronounced tangy flavor to bread. While it can be used to bake 100% rye bread, a rye starter can also be used to leaven wheat breads, adding a layer of complexity to the flavor profile even when used in smaller quantities.
Whole Wheat Sourdough Starter
Similar to rye, whole wheat flour is an excellent choice for establishing and maintaining a sourdough starter dueishing its higher nutrient content and presence of natural yeasts compared to refined white flour. A whole wheat sourdough starter tends to be very active and robust, providing reliable leavening power. It will also contribute a slightly nutty, earthy flavor to the resulting bread, complementing the natural tang of sourdough.
Starting with 100% whole wheat flour and water works well, following the same daily feeding schedule initially. Once established, you can maintain it with 100% whole wheat or transition to feeding it with a mix, such as 50% whole wheat and 50% white bread flour, which is a common practice to balance activity and texture.
Whole wheat starters are particularly well-suited for baking whole wheat nut fruit bread or other hearty loaves where its flavor contribution enhances the overall profile. Using a whole wheat starter in your whole wheat nut fruit bread recipe can deepen the natural flavors of the grains, nuts, and fruits.
Gluten-Free Sourdough Starter
For those avoiding gluten, creating a gluten-free sourdough starter is absolutely possible, opening the door to naturally leavened gluten-free baking. This requires using a blend of gluten-free flours and water. Common flours used include brown rice flour, sorghum flour, buckwheat flour, or a commercial gluten-free blend. The process is similar to a wheat-based starter – mix flour and water, then feed regularly – but it can sometimes take longer to establish a truly vigorous culture.
Gluten-free starters often behave differently than wheat starters; they may not develop the same elastic structure or show as dramatic a rise. Consistency in feeding and attention to temperature are especially important. The flavor profile will depend heavily on the gluten-free flours used; for example, buckwheat adds a distinct earthy note. While gluten-free sourdough baking presents unique challenges regarding structure and texture, a well-maintained gluten-free starter is the essential first step to creating delicious, naturally leavened gluten-free bread.
Baking with Your Sourdough Starter
Once your sourdough starter is mature and consistently active, the exciting part begins: baking! Your starter is now ready to transform simple ingredients into incredible bread and other baked goods. Understanding how to incorporate your starter into a recipe, whether it's a classic loaf or a recipe designed to use up excess starter, is the next step in mastering naturally leavened baking.
Baking with a sourdough starter requires a different approach than baking with commercial yeast. The fermentation times are typically longer, and the process involves stages like bulk fermentation and proofing that develop both flavor and structure. However, with a reliable starter and a good recipe, you can create loaves with incredible crust, crumb, and flavor that are deeply satisfying to bake and even more satisfying to eat.
Basic Sourdough Bread Recipe
A basic sourdough bread recipe typically involves mixing flour, water, salt, and your active sourdough starter. The process often begins with an autolyse, where flour and water are mixed and left to rest for 30-60 minutes before adding the starter and salt. This rest period helps the flour absorb water and gluten development begin. After adding the starter and salt, the dough undergoes a period of bulk fermentation, usually several hours at room temperature, during which you perform a series of "stretch and folds" or "coil folds" every 30-60 minutes for the first couple of hours to build strength.
Once the dough has increased in volume and shows signs of fermentation (bubbles, airy texture), it's shaped and then proofed. Proofing can be done at room temperature for a few hours or, more commonly for sourdough, in the refrigerator overnight (cold proofing). Cold proofing develops more flavor and makes the dough easier to handle. Finally, the dough is baked, often in a Dutch oven or on a baking stone with steam, to achieve a beautiful crust. While quantities vary, a common ratio might use around 20-30% starter relative to the total flour weight, around 65-80% hydration, and 1.8-2% salt.
Sourdough Discard Recipes: Pancakes, Waffles, and Crackers
Maintaining an active sourdough starter requires regular feeding, which inevitably produces "discard" – the portion of the starter you remove before feeding. While you could simply throw this away, it's a shame to waste this flavorful ingredient! Sourdough discard, especially if it's not fed recently and isn't very active, is still full of flavor from the fermentation process and can be used in a variety of recipes where significant leavening isn't solely dependent on the discard itself.
Discard adds a wonderful tangy complexity to baked goods. Recipes like pancakes, waffles, muffins, scones, biscuits, and quick breads are perfect for using discard; you might still add a bit of baking soda or powder for lift, but the discard contributes flavor and a little tenderness. Sourdough crackers are another popular use, resulting in thin, crispy snacks with a delightful tang. Using your discard is a great way to minimize waste and infuse everyday baking with that signature sourdough flavor.
Conclusion: Cultivating a Thriving Sourdough Starter
Cultivating a thriving sourdough starter is a rewarding process that connects you deeply to the art and science of baking. It's about nurturing a living culture, understanding its needs, and learning to read its signals. From the initial mix of flour and water to the daily feeding routine, you are actively participating in a centuries-old tradition of naturally leavened bread making. While there might be a few bumps along the road, such as inactivity or unexpected odors, troubleshooting these issues is part of the journey and builds your intuition as a baker.
Remember that every sourdough starter is unique, influenced by its environment, the flour it's fed, and the care it receives. Don't be discouraged if your starter doesn't behave exactly like one you see online; focus on consistency, observation, and patience. A healthy, active sourdough starter is the heart of naturally leavened baking, providing the unique flavor, texture, and potential health benefits that make sourdough bread so beloved.
With regular feeding and attention, your starter will become a reliable partner in your kitchen, ready to leaven countless delicious loaves and other baked goods. Enjoy the process of watching your culture grow and thrive!
Frequently Asked Questions
How does this recipe differ from a regular white bread recipe?
This recipe uses whole wheat flour instead of all-purpose flour, giving it a nutty flavor and higher fiber content. It also incorporates nuts and fruits for added texture and sweetness.
What kind of nuts and fruits can I use in this bread?
You can use a variety of nuts and fruits! Consider walnuts, pecans, almonds, cranberries, raisins, or chopped dried apricots. Experiment with your favorite combinations.
Is it necessary to use a stand mixer for this recipe?
While a stand mixer makes it easier, you can absolutely knead the dough by hand. It will require more effort and time, but the result will be just as delicious.
How do I know when the bread is fully baked?
The internal temperature of the bread should reach 190-200°F (88-93°C). You can also check for a hollow sound when tapping the bottom of the loaf.
Can I freeze this whole wheat nut fruit bread?
Yes, you can! Let the bread cool completely, then wrap it tightly in plastic wrap and foil. It can be frozen for up to 3 months. Thaw completely before slicing and serving.
Final Reflection: The Enduring Appeal of Whole Wheat Nut & Fruit Bread
The simple act of baking whole wheat bread, infused with the wholesome goodness of nuts and fruits, transcends mere sustenance; it becomes a powerful connection to tradition, health, and the joy of creation. This seemingly straightforward process, explored throughout this article, resonates deeply with our current desire for healthier, more mindful eating habits and a renewed appreciation for homemade goods. The rising interest in artisanal baking and the growing awareness of the nutritional benefits of whole grains only amplify the timelessness of this recipe.
The comforting aroma of baking bread, the satisfying texture of whole wheat, and the delightful bursts of flavor from nuts and fruits – these sensory experiences have shaped cultures for centuries. Bread is the staff of life,
a proverb often repeated, speaks to its fundamental role in human history and its enduring power to nourish not just the body, but the soul. This recipe, in its simplicity, allows us to reconnect with that rich history, to appreciate the craftsmanship involved, and to share the fruits (quite literally!) of our labor with loved ones. It's a tangible link to our past, a healthy choice for our present, and a legacy we can pass on to future generations.
Consider the possibilities: Experiment with different nut and fruit combinations, adapt the recipe to your dietary needs, and most importantly, share the experience. Don't just bake a loaf; bake a connection. Let the process of kneading, rising, and baking become a mindful practice, a moment of calm amidst the chaos of daily life.
The aroma alone is a reward, but the taste, the satisfaction of creating something delicious and nourishing from scratch – that is truly priceless. So, gather your ingredients, preheat your oven, and embark on this rewarding journey of baking your own whole wheat nut and fruit bread.
Unleash Your Inner Baker: Craft the Perfect Loaf!
Thanks for joining us on this baking adventure! We hope you gained valuable insights into creating delicious and nutritious whole wheat bread. Ready to take your skills to the next level?
- Bake your own masterpiece: Use the recipe from the article as a springboard – experiment with different nut and fruit combinations! See what unique flavors you can create.
- Share your creation: Post a picture of your bread on social media and tag us @BakeWithEase (fictional social media handle)! Let’s inspire each other.
- Explore new recipes: Dive deeper into our website (bakewithease.com - fictional website) and discover more exciting bread recipes to expand your baking repertoire.
What unexpected ingredient will you add to your next loaf? Let's hear your ideas in the comments below!