
Beginner's Guide to Baking Simple White Bread Rolls

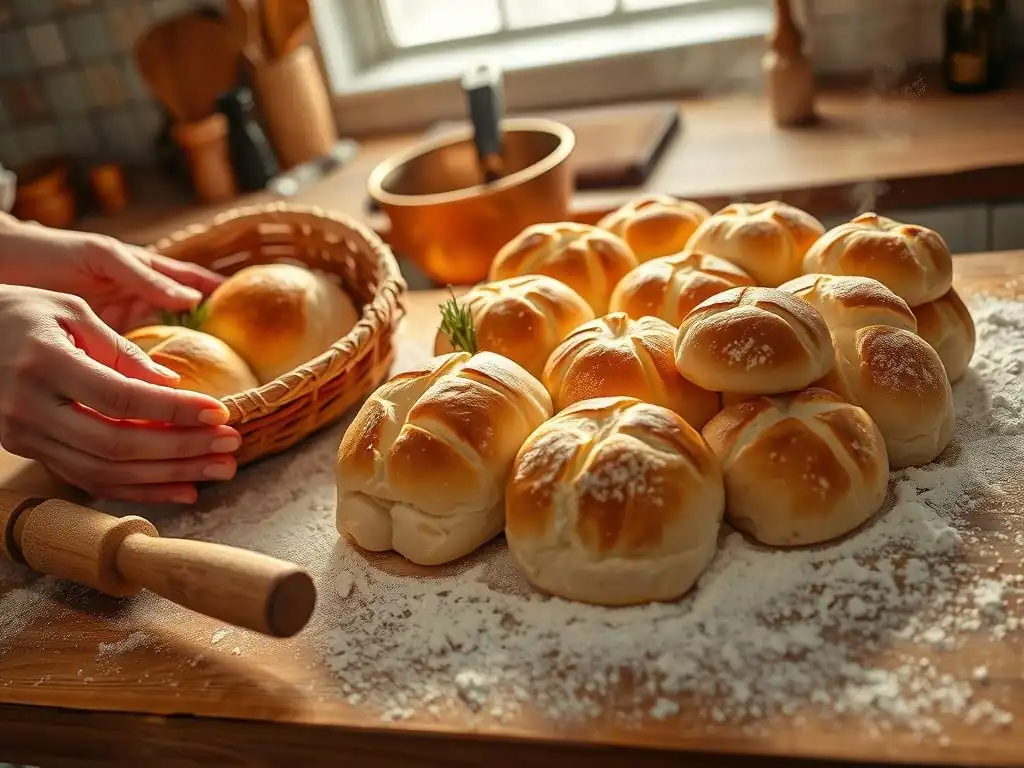
Welcome to BakeWithEase, your kitchen companion for all things baking! Are you ready to embark on a delicious journey into the world of bread making? Forget complicated recipes and endless kneading. We're diving headfirst into the irresistible aroma and satisfying simplicity of freshly baked bread. This article unveils the secrets to crafting easy beginner white bread rolls – so simple, even a complete novice can achieve bakery-worthy results. Intrigued? Let's unlock the magic of yeast and dough together... read on and discover just how easy it is!
- Beginner's Guide to Baking Simple White Bread Rolls: BakeWithEase
- Introduction to Simple White Bread Rolls
- Essential Ingredients for Simple White Bread Rolls
-
Step-by-Step Guide: Baking Simple White Bread Rolls
- Step 1: Activating the Yeast - Creating a Bubbling Mixture
- Step 2: Mixing the Dough - Combining Ingredients to Form a Smooth Dough
- Step 3: First Rise - Allowing the Dough to Double in Size
- Step 4: Shaping the Rolls - Creating Round or Knotted Shapes
- Step 5: Second Rise - Proofing for Light and Airy Rolls Before Baking
- Step 6: Baking the Rolls - Achieving Golden Brown Perfection in the Oven
-
Tips and Tricks for Perfect Simple White Bread Rolls
- Temperature is Key: Using Lukewarm Liquids for Yeast Activation
- Dough Consistency: Achieving a Slightly Sticky Dough
- Baking Time: Checking for Doneness with a Toothpick
- Shaping Techniques: Ensuring Uniform Size and Shape
- Troubleshooting Common Bread Roll Problems [e.g., Dense rolls, flat rolls, tough crust]
- Variations on the Basic White Bread Roll Recipe
- Storing and Serving Your Homemade White Bread Rolls
- Conclusion: Enjoying Your Simple White Bread Rolls
- Frequently Asked Questions
- Final Reflection: The Humble Roll, A Gateway to Baking Joy
- Unleash Your Inner Baker: Craft Perfect Rolls Today!
Beginner's Guide to Baking Simple White Bread Rolls: BakeWithEase
Introduction to Simple White Bread Rolls
Welcome to the World of Homemade White Bread Rolls!
Embarking on your bread baking journey is an incredibly rewarding experience, and starting with simple white bread rolls is a fantastic way to build confidence. These easy beginner white bread rolls require just a few basic ingredients and techniques, making them accessible even if you've never baked bread before. The process is forgiving, and the result is a batch of warm, comforting rolls perfect for any meal.
Think of this as your first step into the wonderful world of homemade bread, guided by the straightforward methods championed here at BakeWithEase. We're excited to show you how simple and enjoyable baking truly can be.
Mastering the art of making easy white bread rolls opens up a world of possibilities in your kitchen. Not only do you learn fundamental bread-making skills like activating yeast, kneading dough, and proofing, but you also gain the ability to produce delicious, fresh bread on demand. This guide is specifically designed for beginners, breaking down each step into manageable actions. You'll discover that with a little practice and patience, creating perfect, soft, and flavorful white bread rolls from scratch is well within your reach, setting the stage for more adventurous baking projects down the line.
Why Bake Your Own White Bread Rolls? [Superior Taste, Freshness, Cost-Effective]
Baking your own white bread rolls offers undeniable advantages over store-bought options. The most immediate benefit is the superior taste and aroma. There's nothing quite like the smell of fresh bread baking in your oven, and the taste of a warm roll, straight from the cooling rack, is simply unparalleled. Homemade rolls have a depth of flavor and a tender crumb that store-bought versions often lack, as they are made with simple, fresh ingredients and contain none of the preservatives or artificial flavors found in many commercial products.
Beyond taste, freshness is a key factor. Your easy beginner white bread rolls are consumed hours, not days or weeks, after they're baked, ensuring peak flavor and texture. Furthermore, baking at home can be remarkably cost-effective. Basic ingredients like flour, yeast, water, salt, and a touch of sugar are relatively inexpensive, especially when bought in larger quantities. A batch of delicious, high-quality white bread rolls can often be made for significantly less than the cost of purchasing comparable rolls from a bakery or grocery store, making it a smart choice for your wallet as well as your palate.
Essential Ingredients for Simple White Bread Rolls
Flour Power: Choosing All-Purpose Flour for Beginner Success
For easy beginner white bread rolls, all-purpose flour is typically the go-to choice. While bread flour has a higher protein content (around 12-14%) which is excellent for developing strong gluten structures needed for chewy loaves, all-purpose flour (around 10-12% protein) provides enough gluten for a good rise while resulting in a softer, more tender roll, which is often preferred for dinner rolls. Using all-purpose flour also makes the dough slightly easier to handle for beginners, as it develops gluten more gradually and requires less intense kneading than dough made with high-gluten bread flour.
When selecting your all-purpose flour, look for unbleached varieties. Bleached flour undergoes a chemical process that can weaken the gluten structure and slightly alter the flavor. While bleached flour can technically work, unbleached flour generally yields better results in terms of dough performance and final texture for your simple white bread rolls. Always measure your flour accurately, preferably by weight using a kitchen scale (e.g., 120-130 grams per cup), as volume measurements can be inconsistent and lead to dough that is too dry or too wet, impacting the final outcome of your easy white bread rolls.
Yeast 101: Using Active Dry Yeast for Consistent Results
Yeast is the magical ingredient that makes your simple white bread rolls rise, giving them their light and airy texture. For beginners, active dry yeast is a reliable and widely available option. It typically comes in small packets or jars and requires activation in warm liquid before being added to the rest of the ingredients.
This "proofing" step is beneficial because it allows you to verify that the yeast is alive and active before you commit to mixing the entire dough. An active yeast mixture will become foamy and bubbly within 5-10 minutes when combined with warm liquid and a pinch of sugar.
Using active dry yeast ensures consistent results because you can see it working before you begin. A standard packet of active dry yeast, usually weighing around 2.25 teaspoons or 7 grams, is typically sufficient to leaven a recipe using 3-4 cups of flour. Ensure your yeast is not expired; check the date on the package. Store opened jars in the refrigerator to maintain potency. This simple step of activating yeast is crucial for successful easy beginner white bread rolls and gives you confidence that your dough will rise properly.
Sweetness and Flavor: Sugar and Salt for Balance and Texture
Sugar plays a couple of roles in your simple white bread rolls. Firstly, it provides food for the yeast, helping it to become active and produce carbon dioxide, which causes the dough to rise. A small amount of sugar (often just a tablespoon or two) is sufficient for this purpose. Secondly, sugar contributes to the flavor and helps the rolls achieve a lovely golden-brown crust during baking through caramelization. It balances the savory notes and adds a subtle sweetness that enhances the overall taste of your easy white bread rolls.
Salt, on the other hand, is vital for controlling yeast activity and enhancing flavor. Without salt, yeast would work too quickly, potentially leading to an over-proofed dough that collapses. Salt slows down the fermentation process, allowing for a more controlled rise and better gluten development.
Crucially, salt brings out the inherent flavors of the flour and other ingredients, preventing the rolls from tasting bland. Too little salt results in flat, tasteless rolls, while too much can inhibit yeast and make the rolls dense. A common ratio is about 1.5-2% salt by weight of the flour, or roughly 1-1.5 teaspoons per cup of flour in volume measurements.
Liquid Gold: Using Milk for a Softer Crumb
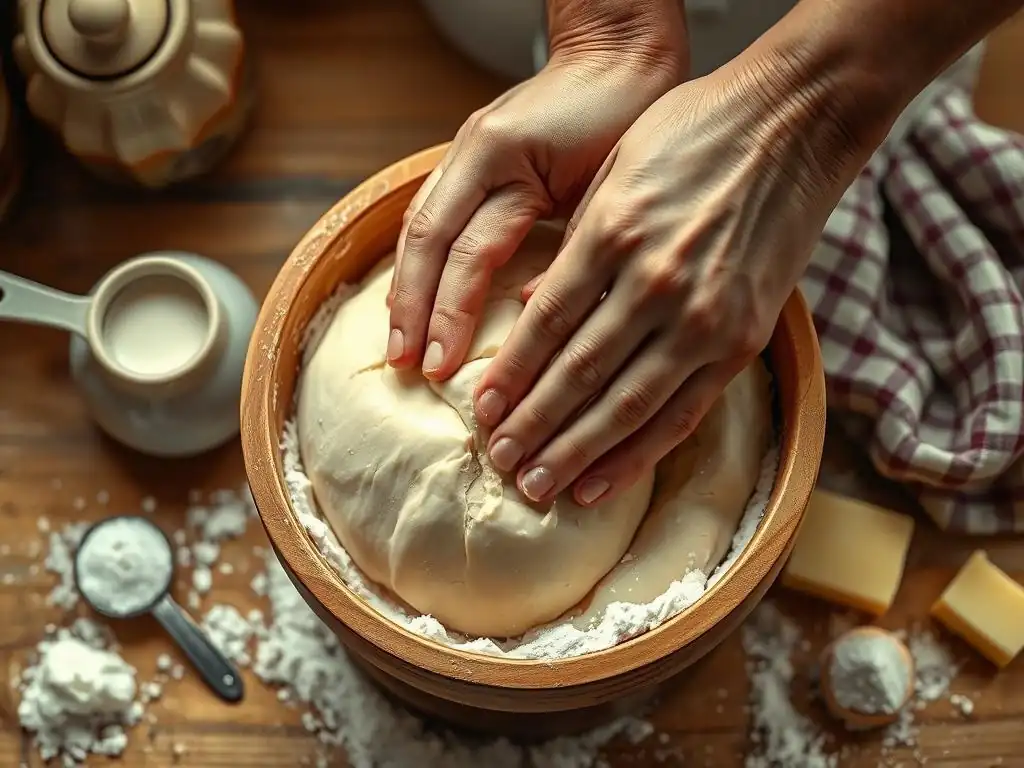
While water can be used to make white bread rolls, using milk or a combination of milk and water contributes significantly to a softer crumb and richer flavor. The fat and sugar content in milk tenderizes the dough and inhibits excessive gluten development, resulting in a more delicate texture. Milk also helps the crust brown more evenly and contributes to a slightly moister finished product. Using warm milk (heated to around 105-115°F or 40-46°C) is ideal for activating active dry yeast, providing the perfect environment for it to thrive.
Using milk also adds a subtle richness to the dough, which is especially pleasant in easy beginner white bread rolls often served alongside meals. You can use whole milk, 2% milk, or even non-dairy alternatives, although the fat content will affect the final texture and richness. For a very soft roll, some recipes even call for using warm milk as the sole liquid ingredient. Ensure the milk is warmed gently; milk that is too hot will kill the yeast, rendering it inactive and preventing your rolls from rising.
Optional Ingredients: Adding Butter for Richness and Flavor
Adding butter to your simple white bread rolls is an optional step, but one that significantly enhances richness, tenderness, and flavor. Butter is a fat that coats the gluten strands in the dough, preventing them from forming too strong a network. This results in a softer, more tender crumb that is characteristic of many beloved dinner rolls. It also contributes a delicious buttery flavor that complements the simple ingredients beautifully.
Typically, softened or melted butter is incorporated into the dough during the mixing phase. A common amount ranges from 2 tablespoons to 1/4 cup (about 28-56 grams) per batch using 3-4 cups of flour. Using softened butter is often preferred as it incorporates more easily into the dough without changing its temperature drastically. The addition of butter elevates the basic easy beginner white bread rolls, giving them a more luxurious texture and taste, making them even more irresistible fresh from the oven.
Step-by-Step Guide: Baking Simple White Bread Rolls
Step 1: Activating the Yeast - Creating a Bubbling Mixture
The first crucial step in making easy beginner white bread rolls is activating your yeast. This ensures your dough will rise. In a small bowl or measuring cup, combine your warm liquid (milk or water, ideally between 105°F and 115°F / 40°C and 46°C) with a pinch of sugar and the active dry yeast. The sugar gives the yeast something to feed on immediately, waking it up. Stir gently to combine.
Let this mixture sit undisturbed for 5 to 10 minutes. If the yeast is alive and active, the surface of the liquid will become foamy and bubbly, resembling a mini-explosion of activity. This foam is carbon dioxide being released by the yeast as it consumes the sugar.
If after 10 minutes there is no significant foam or bubbling, your yeast may be old or the liquid was too hot or too cold. In this case, discard the mixture and start again with fresh yeast and properly tempered liquid. Seeing this foamy confirmation is a great confidence booster for beginner bakers making simple white bread rolls.
Step 2: Mixing the Dough - Combining Ingredients to Form a Smooth Dough
Once your yeast is active, it's time to combine all the ingredients to form the dough for your simple white bread rolls. In a large mixing bowl, whisk together the flour and salt. Make a well in the center of the dry ingredients. Pour the activated yeast mixture into the well, along with any other liquid ingredients (like more warm milk) and melted or softened butter if using.
Begin mixing the ingredients together. You can use a wooden spoon, a sturdy spatula, or your hands. As the dough comes together, it will be shaggy and sticky. Turn the dough out onto a lightly floured surface and begin kneading.
Kneading develops the gluten structure, which gives the rolls their texture and allows them to hold their shape and rise. Knead for about 8-10 minutes, incorporating just enough extra flour to prevent excessive stickiness. The dough should become smooth, elastic, and less sticky, though it may still have a slight tackiness. For easy beginner white bread rolls, don't overwork the dough – aim for a smooth ball that springs back slowly when gently poked.
Step 3: First Rise - Allowing the Dough to Double in Size
After kneading, the dough for your simple white bread rolls needs to undergo its first rise, also known as bulk fermentation. Lightly grease a clean large bowl with a small amount of oil or cooking spray. Place the kneaded dough ball into the bowl, turning it once to coat the surface with grease. This prevents the dough from drying out as it rises. Cover the bowl tightly with plastic wrap or a clean kitchen towel.
Place the covered bowl in a warm, draft-free place. An oven with the light on (but the oven off) is an ideal environment. The dough needs to rise until it has roughly doubled in size. This typically takes anywhere from 60 to 90 minutes, depending on the temperature of your room.
The warmer the environment, the faster the rise. You'll know it's ready when you gently poke the dough with your finger and the indentation slowly springs back about halfway. This first rise is crucial for developing flavor and achieving a light texture in your easy beginner white bread rolls.
Step 4: Shaping the Rolls - Creating Round or Knotted Shapes
Once the dough has completed its first rise, gently punch it down to release the air. Turn the dough out onto a lightly floured surface. At this point, you'll divide the dough into equal portions to form your simple white bread rolls. For uniformly sized rolls, you can weigh the dough and divide it by the desired number of rolls (e.g., 12-16 rolls per batch depending on size). A typical dinner roll might weigh between 50-70 grams.
To shape round rolls, take each portion of dough and gently tuck the edges underneath to create a smooth top surface. Then, using the palm of your hand, cup the dough ball and roll it against the counter in a circular motion, applying gentle pressure, until a smooth, taut ball forms. Alternatively, you can flatten the portion slightly, fold the edges into the center, pinch the seams together, and then roll into a ball.
Place the shaped rolls seam-side down on a baking sheet lined with parchment paper, spacing them about 1-2 inches apart to allow for expansion during the second rise and baking. Uniform shaping helps ensure your easy white bread rolls bake evenly.
Step 5: Second Rise - Proofing for Light and Airy Rolls Before Baking
After shaping, your simple white bread rolls need a second rise, also known as proofing. This step is essential for achieving a light and airy texture. Cover the baking sheet loosely with plastic wrap or a clean kitchen towel, ensuring the cover doesn't stick to the rolls (you can lightly spray the plastic wrap with cooking spray).
Place the covered baking sheet back into a warm, draft-free place for the second rise. This rise is usually shorter than the first, typically lasting 30 to 45 minutes. The rolls should increase significantly in size, becoming visibly puffy and soft. You'll know they are properly proofed when they have nearly doubled in size and feel very light.
When gently poked, the indentation should spring back very slowly or not at all. Over-proofing can cause the rolls to collapse in the oven, so keep an eye on them. Proper proofing is key to soft and fluffy easy beginner white bread rolls.
Step 6: Baking the Rolls - Achieving Golden Brown Perfection in the Oven
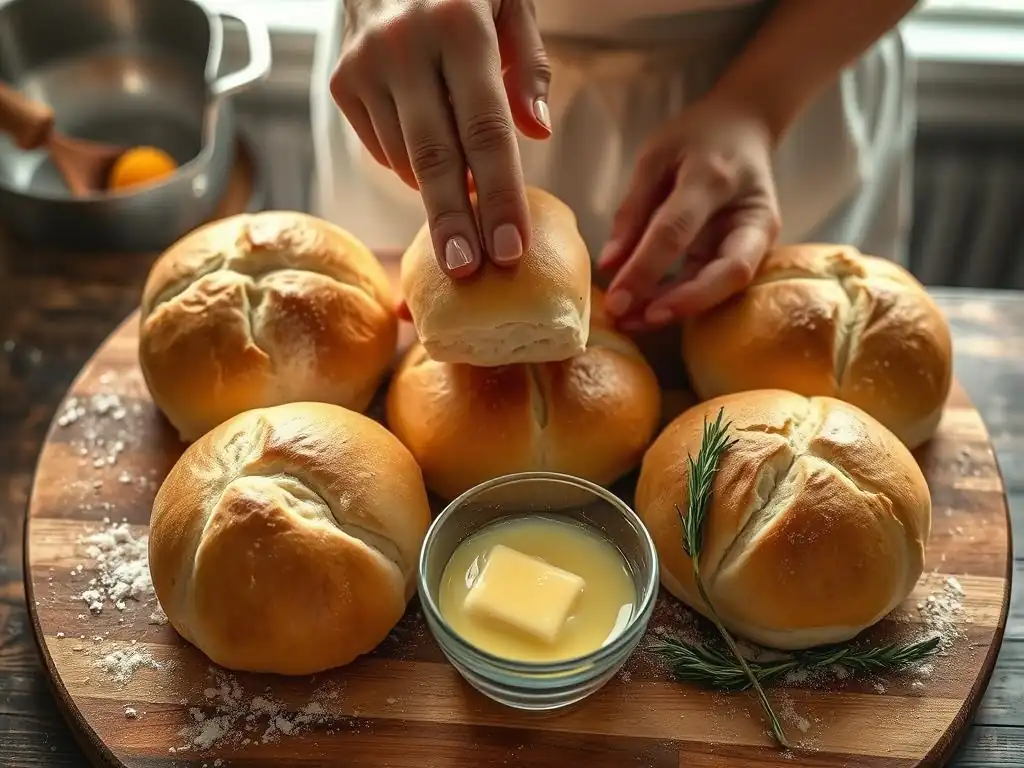
Preheat your oven to the specified temperature, typically around 375°F (190°C). While the oven preheats, you can optionally brush the tops of your simple white bread rolls with an egg wash (one egg beaten with a tablespoon of water or milk) or melted butter. This step adds shine and promotes a beautiful golden-brown crust.
Carefully place the baking sheet with the proofed rolls into the preheated oven. Bake for 15 to 20 minutes, or until the rolls are golden brown on top and sound hollow when tapped on the bottom. The internal temperature should reach around 190-200°F (88-93°C). Keep an eye on them during the last few minutes to prevent over-browning. Once baked, transfer the easy beginner white bread rolls to a wire rack to cool slightly before serving. Allowing them to cool for at least 10-15 minutes helps the internal structure set.
Tips and Tricks for Perfect Simple White Bread Rolls
Temperature is Key: Using Lukewarm Liquids for Yeast Activation
One of the most critical factors for successful easy beginner white bread rolls is using the correct temperature for your liquids when activating yeast. Active dry yeast thrives in warm, but not hot, conditions. The ideal temperature range for the liquid (water or milk) is between 105°F and 115°F (40°C and 46°C). This range is warm enough to wake up the yeast and encourage it to start fermenting, but not so hot that it kills the delicate yeast organisms.
Using a thermometer is highly recommended for accuracy, especially when you're starting out. If you don't have one, the liquid should feel comfortably warm to your wrist, like a baby bottle, not hot. Liquid that is too cool will result in slow or no yeast activity, leading to dense rolls. Liquid that is too hot will kill the yeast entirely, and your dough will not rise at all. Getting this temperature right is a fundamental step towards achieving light and airy simple white bread rolls.
Dough Consistency: Achieving a Slightly Sticky Dough
The consistency of your dough significantly impacts the final texture of your simple white bread rolls. After mixing and initial kneading, the dough should be soft, pliable, and slightly sticky. It should pull away from the sides of the bowl but still feel tacky to the touch. Resist the urge to add too much flour during kneading, as this is a common mistake that leads to dry, dense rolls.
A slightly sticky dough indicates proper hydration, which is essential for developing a tender crumb. As you knead, the stickiness will gradually decrease as gluten develops, but it should retain some tackiness. If the dough feels very stiff or dry, you may need to add a tiny amount more liquid. If it's excessively wet and impossible to handle, incorporate very small amounts of flour gradually until it reaches the desired slightly sticky consistency. Achieving this balance is key to creating soft and delicious easy white bread rolls.
Baking Time: Checking for Doneness with a Toothpick
Knowing when your simple white bread rolls are perfectly baked is crucial for a good outcome. While recipes provide a general baking time range (typically 15-20 minutes at 375°F or 190°C), ovens can vary, and the exact time depends on the size of your rolls and how close together they are on the baking sheet. Relying solely on the timer can sometimes lead to underbaked or overbaked rolls.
A reliable way to check for doneness is by appearance and sound. The tops should be a beautiful golden brown. You can also tap the bottom of a roll; if it sounds hollow, it's a good indication it's done. For absolute certainty, especially with easy beginner white bread rolls, you can use an instant-read thermometer. Insert the thermometer into the center of a roll; it should register an internal temperature between 190°F and 200°F (88°C and 93°C). This ensures the inside is fully cooked and the crumb structure is set.
Shaping Techniques: Ensuring Uniform Size and Shape
Consistent shaping is important for easy beginner white bread rolls because it ensures they bake evenly. Rolls that are significantly different in size will require different baking times, leading some to be overdone while others are underbaked. Aim for rolls that are roughly the same weight and shape.
For simple round rolls, the technique of creating a smooth, taut ball is effective. Gently cupping the dough portion and rolling it against the counter using a circular motion with light pressure helps create surface tension, which allows the roll to hold its shape during proofing and baking. Practice makes perfect with shaping. Don't worry if your first few aren't perfectly uniform; they will still taste delicious! As you become more comfortable, your easy white bread rolls will become more consistently sized and beautifully shaped.
Troubleshooting Common Bread Roll Problems [e.g., Dense rolls, flat rolls, tough crust]
Encountering issues is a normal part of the learning process when baking easy beginner white bread rolls. Dense rolls are often caused by insufficient kneading (gluten didn't develop enough), inactive yeast (it didn't rise properly), or adding too much flour (dough was too dry). Ensure your yeast is active and measure flour accurately, aiming for that slightly sticky dough consistency.
Flat rolls can result from over-proofing (the dough rose too much and collapsed) or lack of gluten development (dough couldn't hold its shape). Pay attention to the proofing time and the poke test; rolls should spring back slowly. If the crust is tough, it might be due to over-baking, insufficient fat in the recipe (like butter or milk), or the dough being too dry. Baking for the correct time until golden brown and ensuring proper hydration helps prevent a tough crust on your simple white bread rolls. Don't be discouraged by early attempts; each bake is a learning opportunity!
Variations on the Basic White Bread Roll Recipe
Garlic Herb Rolls for Savory Flavor
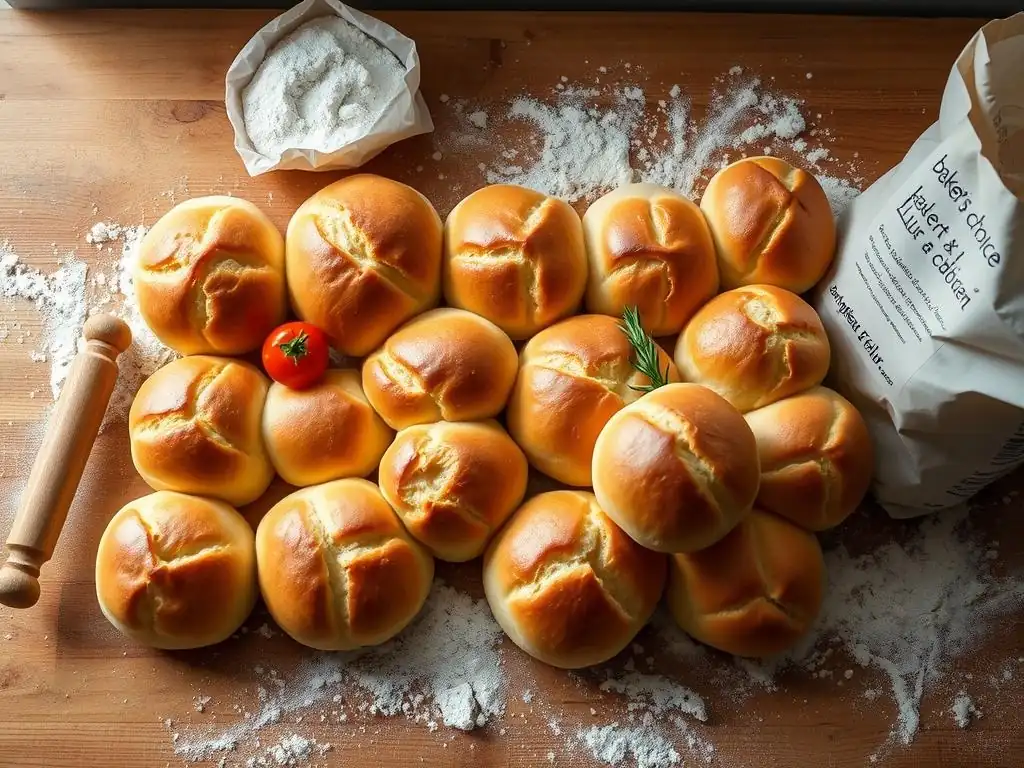
Adding savory elements is a simple way to transform your easy beginner white bread rolls. Garlic herb rolls are a popular variation that pairs wonderfully with pasta dishes, soups, or roasts. To make them, simply incorporate minced garlic (fresh or granulated) and finely chopped fresh or dried herbs like parsley, chives, rosemary, or thyme into the dough during the mixing stage.
A typical addition might be 1-2 cloves of minced garlic and 1-2 tablespoons of fresh herbs (or 1-2 teaspoons dried herbs) per batch of dough using 3-4 cups of flour. You can also brush the tops of the baked rolls with melted butter mixed with garlic powder and dried herbs for an extra burst of flavor. This simple modification adds a delightful aromatic and savory twist to your basic simple white bread rolls.
Sesame Seed Rolls: Adding Texture and Visual Appeal
Sesame seeds provide a lovely nutty flavor and a pleasing textural crunch to easy beginner white bread rolls, along with a classic visual appeal. This variation is incredibly simple. After shaping the rolls and just before the second rise, you can brush the tops lightly with water or an egg wash (which acts as glue) and then sprinkle generously with sesame seeds.
The seeds will adhere to the moist surface and toast slightly in the oven, enhancing their flavor. You can use white sesame seeds, black sesame seeds, or a mixture of both. A few tablespoons are usually sufficient for a batch of 12-16 rolls. Adding sesame seeds is a quick and easy way to elevate your simple white bread rolls, making them look and taste even more appealing.
Sweet Potato Rolls: A Subtle Sweetness and Moist Texture
Incorporating mashed sweet potato into your simple white bread rolls adds a subtle sweetness, a beautiful color, and contributes to a wonderfully moist and tender crumb. This variation requires replacing some of the liquid in the recipe with mashed cooked sweet potato and potentially slightly adjusting the flour amount depending on the moisture content of the potato.
A common ratio is to add about 1/2 cup to 1 cup (about 120-240 grams) of smooth mashed sweet potato per 3-4 cups of flour. The sweet potato should be cooked until very soft, peeled, and mashed until smooth with no lumps. This variation results in easy white bread rolls that are slightly denser but incredibly soft, with a hint of natural sweetness that makes them perfect for holiday meals or simply as a comforting side.
Whole Wheat Rolls: A Healthier and Nutty Alternative
For a slightly healthier option with a nutty flavor, you can make whole wheat simple white bread rolls by substituting some of the all-purpose flour with whole wheat flour. Whole wheat flour contains the bran and germ of the wheat kernel, adding fiber, nutrients, and a distinct flavor. However, the bran can interfere with gluten development, potentially resulting in denser rolls if too much is used.
For an easy beginner approach, start by substituting 25-50% of the all-purpose flour with whole wheat flour (e.g., use 1 cup whole wheat flour and 2-3 cups all-purpose flour). You may find the dough requires slightly more liquid, as whole wheat flour absorbs more moisture. The kneading time might also be a bit longer. This variation produces easy white bread rolls with a heartier texture and a pleasant, earthy flavor, offering a nutritious twist on the classic recipe.
Storing and Serving Your Homemade White Bread Rolls
Keeping Your Rolls Fresh in an Airtight Container
Once your simple white bread rolls have cooled completely on a wire rack, proper storage is key to maintaining their freshness. The best way to store them is in an airtight container or a resealable plastic bag at room temperature. Ensure the container is sealed tightly to prevent the rolls from drying out and becoming stale.
Stored correctly, your easy beginner white bread rolls will typically stay fresh and soft for 2-3 days. Avoid storing them in the refrigerator, as this can actually accelerate the staling process due to starch retrogradation. If you won't be eating them within a few days, consider freezing them (see below). Keeping moisture in is the primary goal for maintaining that lovely soft texture you worked hard to achieve.
Reheating Techniques for Warm and Soft Rolls
Enjoying a warm, freshly baked-like simple white bread roll is a treat, even if it was baked a day or two ago. Reheating helps restore their soft texture and brings out their delicious aroma. The simplest method is to warm them gently in a microwave for 10-20 seconds per roll. Be cautious not to overheat, as this can make them tough.
For a crispier exterior and soft interior, you can reheat them in a preheated oven or toaster oven at around 300°F (150°C) for 5-10 minutes. If the rolls seem a bit dry, you can lightly sprinkle them with water before reheating in the oven. If freezing your easy beginner white bread rolls, thaw them at room temperature first, then reheat using one of these methods.
Serving Suggestions: [Pairing with Soups, Stews, Holiday Meals]
Simple white bread rolls are incredibly versatile and make a perfect accompaniment to a wide variety of dishes. Their soft texture and mild flavor make them ideal for soaking up sauces or broth. They are classic partners for hearty soups like tomato soup, lentil soup, or chicken noodle soup.
They also pair beautifully with stews and chilis, providing a comforting contrast to the rich, savory flavors. Of course, easy beginner white bread rolls are a staple on holiday tables, complementing roasted meats, gravies, and casseroles. Don't forget they are also fantastic simply split and buttered, or used as small sliders for sandwiches. Their versatility makes them a go-to bake for many occasions.
Conclusion: Enjoying Your Simple White Bread Rolls
The Joy of Sharing Homemade Bread
You've done it! You've successfully baked your first batch of easy beginner white bread rolls. Take a moment to appreciate the wonderful aroma filling your kitchen and the sight of your golden-brown creations. This journey, from simple ingredients to delicious rolls, is a testament to the accessibility and joy of baking, especially when guided by straightforward steps like those found on BakeWithEase. These simple white bread rolls are more than just food; they represent a newfound skill and the satisfaction of creating something wonderful with your own hands.
The ultimate reward of baking homemade bread, including these delightful easy white bread rolls, is the joy of sharing. Whether you serve them warm from the oven to your family, bring them to a potluck, or simply enjoy them yourself, the act of sharing something you've created with care is incredibly fulfilling. We hope this guide has empowered you to explore the world of bread baking and that these simple white bread rolls become a regular, cherished part of your baking repertoire. Happy baking!
Frequently Asked Questions
What makes these white bread rolls easy for beginners?
These rolls are designed for beginners because they use simple ingredients, require minimal kneading, and have clear, step-by-step instructions. The recipe focuses on achieving a great result without complex techniques.
What kind of flour is best for these beginner white bread rolls?
We recommend using all-purpose flour for this recipe. It's readily available and provides a good balance of gluten for a soft and chewy texture.
Can I use a stand mixer instead of kneading by hand?
Absolutely! Using a stand mixer with a dough hook can significantly reduce kneading time. Just be sure to watch the dough closely and stop mixing when it becomes smooth and elastic.
How do I know when the bread rolls are properly proofed?
The rolls are properly proofed when they have doubled in size and feel light and airy to the touch. This usually takes about an hour, but the time can vary depending on the room temperature.
What if I don't have all the ingredients listed in the recipe?
While following the recipe precisely will yield the best results, you can often make minor substitutions. For example, you could use honey instead of sugar, but be mindful of how this affects the final product.
Final Reflection: The Humble Roll, A Gateway to Baking Joy
The simple act of baking a perfect white bread roll remains surprisingly relevant today, offering a tangible connection to tradition and a rewarding creative outlet in our increasingly fast-paced world. More than just a recipe, mastering this fundamental skill unlocks a world of culinary possibilities, fostering confidence in the kitchen and providing delicious, homemade comfort.
The enduring appeal of homemade bread, particularly something as seemingly simple as a white bread roll, lies in its ability to connect us to generations past and to the fundamental satisfaction of creating something delicious from scratch. It's a process that transcends mere sustenance; it's an act of nurturing and care, a small rebellion against the pre-packaged and processed. Baking is at once child's play and adult joy. And love, of course.
- This sentiment perfectly captures the essence of the experience, transforming a simple roll into something deeply meaningful.
Now, consider what you've learned. You've taken the first step on a baking journey, proving that even seemingly complex tasks can be broken down into manageable steps. Don't let this newfound skill remain dormant. Experiment with different flours, add herbs and spices, and share your creations with loved ones. Embrace the flour dust, the warm aroma, and the pure joy of creating something beautiful and delicious with your own two hands. The world awaits your perfectly baked rolls.
Unleash Your Inner Baker: Craft Perfect Rolls Today!
Thanks for taking the time to explore the world of homemade bread rolls! We hope you now feel confident in tackling this classic recipe. Ready to put your new skills to the test?
- Bake a batch of rolls this weekend! Use the recipe as your guide, and don't be afraid to experiment with different herbs or seeds.
- Share your baking journey with us on social media – we'd love to see your delicious creations! Use #BakeWithEaseRolls to connect with other baking enthusiasts.
- Try adapting the recipe to create different shapes and sizes – think mini rolls or even a delicious bread loaf!
What unique twist will you add to your next batch of homemade rolls?