
Bread Not Rising? The Top 5 Reasons Why

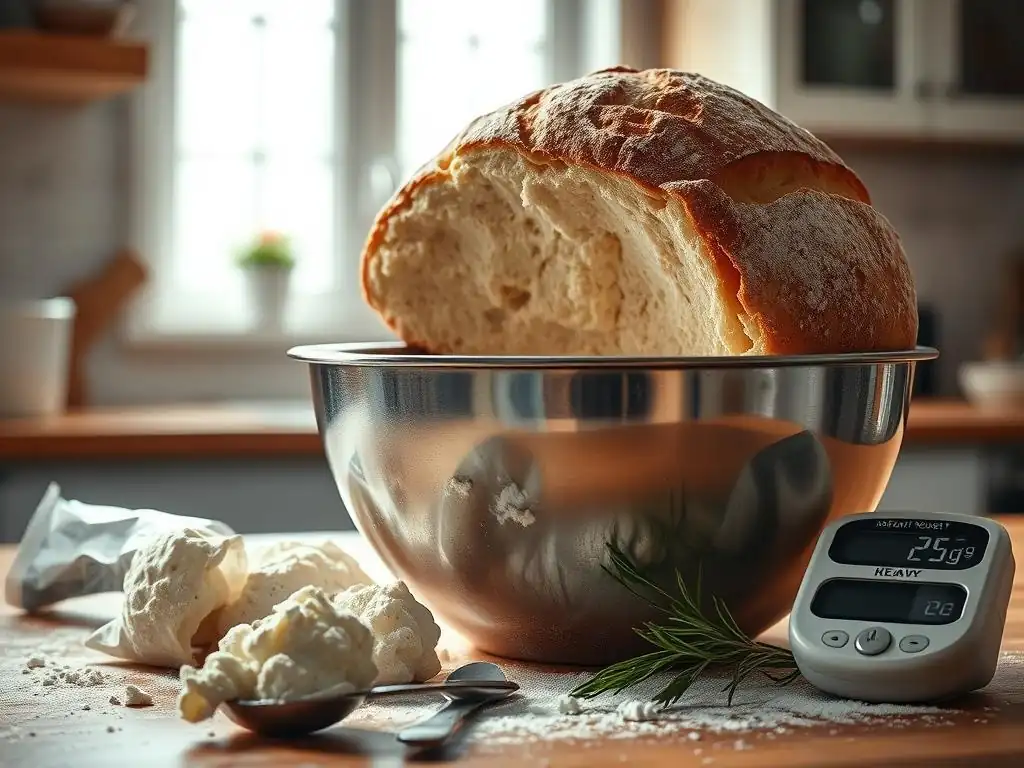
Welcome to BakeWithEase, your trusted companion on your baking journey! Ever wondered why your bread stubbornly refuses to rise? You're not alone! We're diving deep into the top 5 culprits behind this common bread-baking dilemma. Discover the secrets to perfect proofing and unlock the fluffy, delicious loaves you've always dreamed of. Let's uncover why your bread won't rise and transform your baking frustrations into triumphs! Get ready to bake with confidence!
- Bread Not Rising? The Top 5 Reasons Why Your Dough Falls Flat
- Introduction: Understanding Why Your Bread Isn't Rising
- Reason #1: Expired or Inactive Yeast - The Foundation of Bread Rising
- Reason #2: Water Temperature - Too Hot or Too Cold Ruins the Rise
- Reason #3: Incorrect Flour Measurement - Affecting Gluten Development
- Reason #4: Insufficient Kneading - Developing Gluten Strength
- Reason #5: Improper Proofing Environment - Temperature and Humidity Matters
- Troubleshooting Guide: What To Do If Your Bread Still Won't Rise
- Conclusion: Mastering the Art of Bread Baking and Achieving the Perfect Rise
- Frequently Asked Questions
- Final Reflection: The Humble Loaf and the Lessons Within
- Unleash Your Inner Baker: Perfect Bread, Every Time!
Bread Not Rising? The Top 5 Reasons Why Your Dough Falls Flat
Introduction: Understanding Why Your Bread Isn't Rising
The Disappointment of a Flat Loaf: A Common Baking Problem
There are few things more disheartening in the kitchen than pulling a flat, dense loaf out of the oven after hours of anticipation. You followed the recipe, mixed the ingredients, kneaded diligently, and waited patiently, only to find that your bread simply didn't rise as expected. This common issue can frustrate even experienced bakers and often leaves you wondering: why bread won't rise? Understanding the potential culprits behind a dough that refuses to inflate is the first step to mastering the craft and achieving that airy, beautiful crumb you dream of.
The process of bread rising, known as leavening, is a delicate balance of ingredients and conditions. Yeast, the primary leavening agent in most bread, is a living organism that feeds on sugars in the dough and produces carbon dioxide gas. This gas gets trapped by the gluten network developed during kneading, causing the dough to expand.
If any part of this process is disrupted – perhaps the yeast is inactive, the temperature is wrong, or the gluten isn't strong enough – the dough will struggle to rise. Pinpointing the exact issue is key to fixing it and ensuring your next bake is a success.
BakeWithEase: Your Guide to Perfect Bread Baking
Welcome to BakeWithEase, your ultimate resource for unlocking the secrets to perfect baking. We understand the challenges and joys that come with creating delicious treats from scratch, especially when it comes to bread. Our mission is to simplify complex techniques, demystify ingredients, and provide you with reliable guides and tips that turn potential failures into triumphs. Whether you're just starting your baking journey or looking to refine your skills, we're here to help you navigate common issues like why bread won't rise and empower you to bake with confidence and ease.
Our site offers a wealth of information, from foundational recipes to advanced techniques. We break down each step, explaining the 'why' behind the instructions, so you gain a deeper understanding of the baking process. By addressing common problems head-on, like a dough that isn't rising, we aim to equip you with the knowledge to troubleshoot effectively and improve your results. Let's dive into the top reasons why your bread might not be rising and how you can fix them to achieve consistently excellent loaves.
Reason #1: Expired or Inactive Yeast - The Foundation of Bread Rising
Checking Yeast Activity: The Bloom Test for Baking Success
Yeast is a living organism, and like all living things, it has a shelf life and specific conditions under which it thrives. If your yeast is expired or has been stored improperly, it may be dead or inactive, rendering it unable to produce the carbon dioxide needed for your dough to rise. A simple way to check if your dry yeast is still alive and kicking is the "bloom test."
This involves dissolving the yeast in warm liquid with a pinch of sugar. For active dry yeast, use water between 105°F and 115°F (40°C to 46°C). For instant yeast, the water can be slightly cooler, around 100°F (38°C), or even mixed directly with dry ingredients, but testing it confirms its vitality.
To perform the test, measure about 1/4 cup (60ml) of warm water (within the recommended temperature range) into a small bowl. Stir in a teaspoon of sugar and then sprinkle 2 1/4 teaspoons (one standard packet) of yeast over the top. Let it sit for 5-10 minutes. If the yeast is active, it will start to bubble and foam vigorously on the surface, creating a foamy "head" like a freshly poured beer.
This bloom indicates that the yeast is alive and ready to work. If there is little to no activity, your yeast is likely inactive or dead, and using it is a primary reason why bread won't rise. Discard it and open a new packet or jar.
Different Types of Yeast and Their Impact on Bread Dough
Not all yeast is created equal, and understanding the differences between types is crucial for successful baking. The most common types you'll encounter are active dry yeast, instant yeast, and fresh yeast (also known as compressed yeast). Each has slightly different characteristics, activation methods, and optimal uses, which can affect how your bread dough behaves and rises. Using the wrong type for a recipe or handling it incorrectly can contribute to a poor rise.
Choosing the right yeast and using it correctly is a key factor in preventing a flat loaf. While recipes often specify which type to use, knowing the properties of each allows for informed substitutions or troubleshooting if your bread isn't rising. For example, while you can often substitute instant for active dry (using about 25% less instant), you need to be mindful of the hydration step typically required for active dry yeast.
Active Dry Yeast: Proper Hydration is Key
Active dry yeast is the most widely available type for home bakers. It consists of dry, granular particles that are dormant. To "activate" or "proof" active dry yeast, it must be dissolved in a warm liquid (typically water or milk) between 105°F and 115°F (40°C to 46°C) for 5-10 minutes before being added to the dry ingredients. This rehydrates the yeast cells and kickstarts their activity.
Failing to properly hydrate active dry yeast, or using liquid that is too hot or too cold, can result in poor activation and therefore a poor rise. Using water above 120°F (49°C) can kill the yeast, while water below 100°F (38°C) may not activate it sufficiently. Always check the temperature and look for that foamy bloom before proceeding with your recipe.
Instant Yeast: Convenient and Reliable, But Still Needs Care
Instant yeast, also called rapid-rise, quick-rise, or bread machine yeast, is more finely ground than active dry yeast and processed differently, allowing it to be added directly to the dry ingredients without prior hydration. Its smaller particle size means it activates more quickly once it comes into contact with liquid in the dough. This makes it very convenient and often leads to a faster rise time.
While instant yeast is generally more robust and reliable, it can still lose potency over time, especially if not stored correctly. Even though it doesn't require proofing, performing a quick bloom test (as described above) can still be a good practice if you suspect your yeast might be old or if you're trying to figure out why bread won't rise. Using instant yeast in a recipe designed for active dry yeast might result in a quicker rise, so monitor your dough closely during proofing.
Fresh Yeast: A Baker's Delight, But Requires Precise Handling
Fresh yeast, sold as moist, compressed blocks, is favored by many professional bakers for the subtle flavors it can impart. It is highly perishable and must be kept refrigerated and used within a week or two of purchase. Fresh yeast is typically crumbled into warm liquid (around 80°F to 90°F or 27°C to 32°C) to dissolve before being added to the dough.
Because fresh yeast is less stable and has a shorter shelf life, using yeast that is past its prime is a frequent cause for a lack of rise. It should look creamy white or beige and smell faintly yeasty and pleasant, not dark or foul-smelling. If it looks dry, crumbly, or discolored, it's best to discard it. The hydration temperature is also critical; too hot will kill it, too cold won't dissolve it properly.
How to Store Yeast Properly to Maintain Its Rising Power
Proper storage is paramount to keeping your yeast active and potent. Exposure to air, moisture, and heat are the main culprits behind yeast inactivity. Unopened packets or jars of dry yeast (active dry or instant) should be stored in a cool, dry place, like a pantry, until their expiration date. Once opened, however, dry yeast is best stored in an airtight container in the refrigerator or freezer.
Storing opened dry yeast in the refrigerator can keep it viable for up to 4-6 months, while freezing can extend its life for a year or even longer. When using frozen yeast, you can typically use it directly from the freezer; the small granules thaw almost instantly upon contact with liquid or dry ingredients. Fresh yeast must be stored in the refrigerator and used by its expiration date, usually within 1-2 weeks. Never freeze fresh yeast, as this can damage the cells. Adhering to these storage guidelines significantly reduces the chance that inactive yeast is why bread won't rise.
Reason #2: Water Temperature - Too Hot or Too Cold Ruins the Rise
The Goldilocks Zone: Achieving the Perfect Water Temperature for Yeast
Yeast is sensitive to temperature, and the liquid you use to activate or mix into your dough plays a critical role. The ideal temperature range for activating most dry yeasts is often referred to as the "Goldilocks Zone" – not too hot, not too cold, but just right. For active dry yeast, this range is typically between 105°F and 115°F (40°C to 46°C). This warmth helps the dormant cells wake up and become active.
Using water that is too hot, generally above 120°F (49°C) for active dry yeast or above 130°F (54°C) when mixed with flour, can kill the yeast cells instantly. Conversely, using water that is too cold, below 70°F (21°C), will cause the yeast to activate very slowly or not at all.
While instant yeast is more tolerant and can be added directly to cooler ingredients, dough development is still optimal when the overall dough temperature is favorable for yeast activity, typically between 75°F and 85°F (24°C to 29°C) during bulk fermentation. If your water temperature is off, it's a likely reason why bread won't rise effectively.
Using a Thermometer for Accurate Water Temperature Measurement
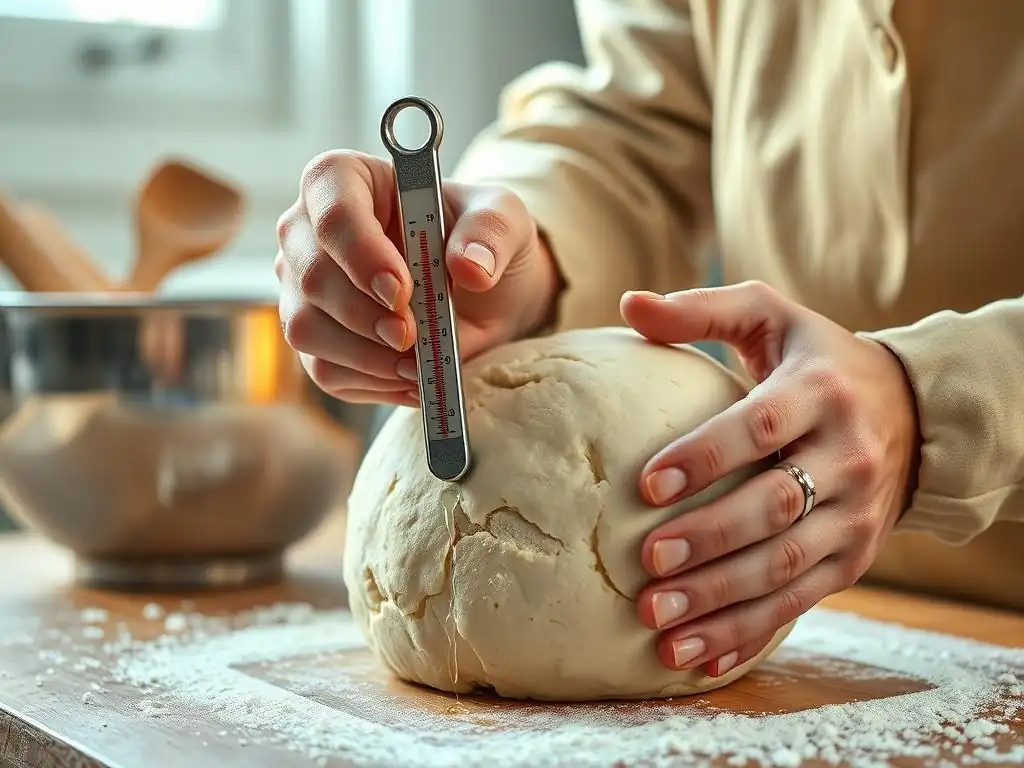
Guessing the temperature of your water or milk is a common mistake that can lead to yeast failure. What feels "warm" to your hand might be too hot or too cool for the yeast. Relying on touch alone is unreliable; the human hand can tolerate temperatures up to around 130°F (54°C), which is well above the lethal threshold for yeast when proofing active dry yeast.
Using a simple instant-read thermometer is the most accurate way to ensure your liquid is within the optimal temperature range. Heat your water or milk, insert the thermometer, and wait a few seconds for the reading to stabilize. Adjust the temperature as needed by adding a splash of hotter or colder liquid. This small step takes only a moment but provides crucial control over yeast activation, significantly reducing the chance that incorrect temperature is why bread won't rise.
How Water Temperature Affects Gluten Development and Yeast Activity
Water temperature doesn't just affect yeast; it also influences gluten development. Warmer water (within the safe range for yeast) can slightly speed up the hydration of flour proteins, which is the first step in gluten formation. However, excessively hot water can damage gluten structure, making it weaker.
Simultaneously, the temperature of the dough itself impacts the rate of yeast fermentation. Yeast activity is highest in warmer doughs (around 75-85°F or 24-29°C), leading to faster gas production and a quicker rise. Cooler doughs ferment more slowly but can sometimes develop more complex flavors. Finding the right balance for your recipe and environment is key. If your dough temperature is consistently too low due to cold ingredients or a cold environment, it's a strong indicator of why bread won't rise in a timely manner or sufficiently.
Reason #3: Incorrect Flour Measurement - Affecting Gluten Development
The Importance of Accurate Flour Measurement in Bread Baking
Baking is often described as a science, and precise measurements are fundamental to achieving reliable results. This is especially true for flour, the main structural component of bread. Adding too much or too little flour can significantly alter the dough's hydration level, affecting gluten development, dough consistency, and ultimately, its ability to rise properly. A dough that is too stiff from excess flour will be dense and heavy, while a dough that is too wet may spread rather than rise upwards.
Many novice bakers measure flour by scooping it directly from the bag with a measuring cup and leveling it off. This method can compact the flour, resulting in up to 25% more flour by weight than intended. This seemingly small error can drastically change the hydration ratio of your dough, leading to issues with kneading and rising. If your dough feels much stiffer or looser than the recipe describes, inaccurate flour measurement could be why bread won't rise correctly.
Weighing vs. Measuring Flour by Volume: Which is Better?
For maximum accuracy in baking, especially bread baking, weighing your ingredients, particularly flour, is highly recommended. Using a kitchen scale eliminates the variability associated with volume measurements. Standard baking practice often uses a conversion of about 120-130 grams per cup of all-purpose flour, but this can vary by flour type and brand. Checking recipe notes for specific weight recommendations is always best.
Measuring by weight ensures you are using the exact amount of flour intended by the recipe developer, leading to consistent hydration levels batch after batch. While volume measurements can work if done carefully (gently spooning flour into the cup and leveling without packing), weighing provides an unparalleled level of precision that significantly reduces the risk of a poor rise due to incorrect flour ratios. Investing in an inexpensive digital scale is one of the best steps you can take to improve your bread baking consistency and solve the mystery of why bread won't rise.
Different Types of Flour and Their Impact on Bread Rise
The type of flour you use also plays a significant role in gluten development and, consequently, how well your bread rises. Flours differ in their protein content, which directly correlates to their gluten-forming potential. Recipes are typically designed for a specific type of flour, and substituting without understanding the differences can lead to unexpected results.
Understanding the protein content of your flour helps you predict how much gluten structure you can develop and how the dough will behave. For example, substituting low-protein cake flour (around 7-9% protein) for high-protein bread flour (12-14% protein) in a recipe designed for a strong gluten network will likely result in a dough that cannot trap gas effectively, leading to a flat loaf.
Bread Flour: High Gluten Content for Structure
Bread flour is specifically milled to have a higher protein content, typically between 12% and 14%. This higher protein level means it can develop a stronger, more elastic gluten network when hydrated and kneaded. A robust gluten structure is essential for trapping the carbon dioxide gas produced by the yeast, allowing the dough to expand and hold its shape as it rises.
Using bread flour in recipes designed for it helps ensure that your dough has the necessary scaffolding to achieve a lofty rise. The strong gluten also contributes to a chewy texture in the finished bread. If a recipe calls for bread flour and you use a lower protein flour, the weaker gluten structure is a potential reason why bread won't rise as high or maintain its structure.
All-Purpose Flour: A Versatile Option, But May Need Adjustments
All-purpose flour is a versatile flour with a moderate protein content, usually ranging from 10% to 12%. It's suitable for a wide range of baked goods, including many bread recipes. While it contains enough protein to form a gluten network capable of supporting a decent rise, the structure might not be as strong or elastic as that developed with bread flour.
When using all-purpose flour in a bread recipe, especially one that requires significant structure like a rustic loaf, you might need to adjust hydration slightly or knead a little longer to ensure adequate gluten development. If a recipe specifically calls for bread flour and you use all-purpose without adjustments, the resulting weaker gluten could be why bread won't rise optimally. However, for many simpler or softer bread recipes, all-purpose flour works perfectly well.
Whole Wheat Flour: Requires More Hydration and Time
Whole wheat flour includes the bran and germ of the wheat kernel in addition to the endosperm. While it often has a similar or even higher protein content than white flour, the presence of sharp bran particles can interfere with gluten development by cutting the gluten strands as they form. This means whole wheat doughs often require more hydration than white flour doughs, as the bran absorbs more water.
Dough made with 100% whole wheat flour tends to be denser and may not rise as high as white bread because of the bran's effect on gluten and the inherent weight of the whole grain. Recipes using whole wheat often benefit from a longer, slower fermentation or the addition of vital wheat gluten to boost the protein power. If you're using whole wheat flour and expecting the same airy rise as white bread, the nature of the flour itself could be why bread won't rise as much, requiring different techniques or expectations.
Reason #4: Insufficient Kneading - Developing Gluten Strength
Why Kneading is Crucial for a Good Bread Rise
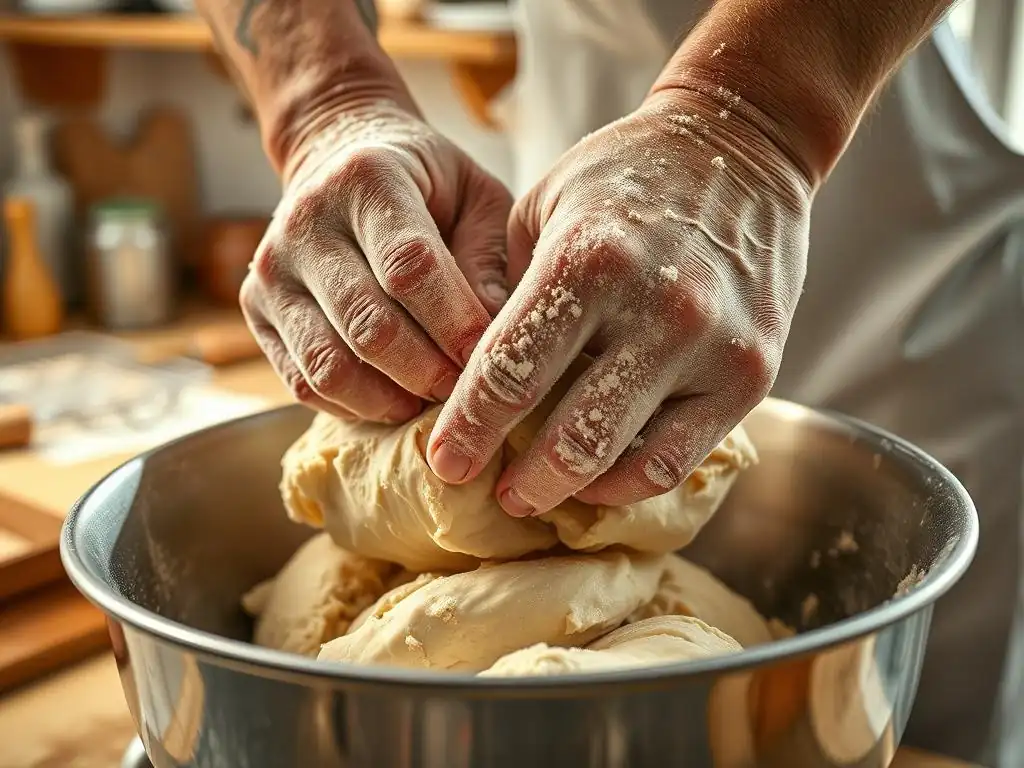
Kneading is a fundamental step in most bread recipes, particularly those made with wheat flour. Its primary purpose is to develop the gluten network within the dough. Gluten is formed when two proteins in wheat flour, glutenin and gliadin, combine with water and are worked through mixing and kneading. This process aligns and stretches the protein chains, creating an elastic, web-like structure.
This elastic gluten network is what gives bread dough its strength and extensibility. As yeast produces carbon dioxide gas during fermentation, the gluten network traps these gas bubbles, causing the dough to expand and rise. Without sufficient kneading, the gluten won't be properly developed, the network will be weak, and it won't be able to hold the gas effectively. This results in a dense, heavy loaf that failed to rise – a very common reason why bread won't rise properly.
The Windowpane Test: Knowing When You've Kneaded Enough
How do you know when you've kneaded enough? One of the most reliable indicators is the "windowpane test." This test assesses the strength and elasticity of the gluten network. To perform the test, take a small piece of dough (about the size of a golf ball) and gently stretch it between your fingers.
If the dough is sufficiently kneaded, you should be able to stretch it thinly enough that light can pass through it, forming a translucent "windowpane," without the dough tearing easily. If the dough tears quickly when you try to stretch it, it needs more kneading to develop the gluten further. This test is an excellent way to visually confirm that your dough has the structural integrity needed for a good rise.
Kneading Techniques: Hand Kneading vs. Using a Stand Mixer
Kneading can be done manually by hand or using a stand mixer fitted with a dough hook. Both methods are effective, but they differ in technique and time required. Hand kneading involves repeatedly folding, pushing, and stretching the dough on a floured surface. It typically takes 10-15 minutes of continuous effort to reach sufficient gluten development, depending on the dough's hydration and the type of flour.
Using a stand mixer with a dough hook is often faster and less physically demanding. Mixer speeds and times vary, but medium speed (around setting 2-4 on most mixers) for 6-10 minutes is a common range for developing dough. The dough should pull away cleanly from the sides of the bowl and become smooth and elastic. While using a mixer is convenient, it's still important to perform the windowpane test or check the dough's texture to ensure adequate kneading has occurred. Whether by hand or mixer, insufficient working of the dough is a primary reason why bread won't rise.
The Importance of Gluten Development for Bread Structure
Beyond trapping gas, proper gluten development contributes significantly to the overall structure and texture of the finished bread. A well-developed gluten network provides the framework that prevents the loaf from collapsing during baking and creates the open, airy crumb structure desired in many types of bread.
When gluten is underdeveloped, the dough lacks the strength to hold its shape and the elasticity to expand. The resulting bread is often dense, heavy, and has a tight crumb. Ensuring your dough passes the windowpane test or reaches the desired smooth, elastic texture is a vital step in preventing a flat, disappointing loaf and is directly related to addressing why bread won't rise.
Reason #5: Improper Proofing Environment - Temperature and Humidity Matters
Creating the Ideal Proofing Environment for Bread Dough
After mixing and kneading, bread dough needs time to ferment and rise – a process called proofing. This step allows the yeast to produce carbon dioxide gas and alcohol, which leavens the dough and develops flavor. The environment in which the dough proofs is critical. Yeast activity is highly dependent on temperature and, to some extent, humidity.
An ideal proofing environment is typically warm and slightly humid. Yeast is most active between 75°F and 85°F (24°C to 29°C). Temperatures significantly outside this range can slow down or halt fermentation. A dry environment can cause the surface of the dough to dry out and form a skin, restricting its ability to expand smoothly. Providing the right conditions is essential for a successful rise and is a common variable when trying to figure out why bread won't rise.
Temperature Control: Warm, But Not Too Hot
Finding a warm spot in your kitchen is key for proofing. This might be on the counter in a warm room, inside a slightly warm (but turned off) oven, or in a proofing box if you have one. Avoid placing the dough in a drafty area or directly in a hot spot like on top of a preheating oven, as this can overheat and kill the yeast.
An oven with the light on often provides a gentle, consistent warmth (typically around 80-90°F or 27-32°C) that is perfect for proofing. Some ovens even have a dedicated "proof" setting, usually around 80°F (27°C). If your kitchen is cool (below 70°F or 21°C), finding or creating a warmer spot is crucial, as a cold environment is a frequent reason why bread won't rise in a reasonable timeframe or achieve its full volume.
Humidity: Preventing a Dry Crust During Proofing
While temperature drives the rate of rise, humidity is important for keeping the surface of the dough pliable. If the dough surface dries out, it forms a crust that prevents it from stretching and expanding smoothly as the gas builds up inside. This can result in a restricted rise or a dough that tears as it tries to expand.
To maintain humidity, cover your dough during proofing. A damp kitchen towel, plastic wrap lightly greased with cooking spray (to prevent sticking), or placing the dough in a covered container works well. If using the oven-with-light-on method, placing a pan of hot water on the rack below the dough can create a humid microclimate. Keeping the surface moist ensures the dough can stretch and rise properly.
Proofing Time: Understanding the Visual Cues for a Proper Rise
Proofing time isn't an exact science dictated solely by the clock; it's highly dependent on the dough's temperature, the ambient temperature, the amount of yeast used, and the type of flour. Recipes provide time estimates, but it's crucial to rely on visual cues to determine when the dough is properly proofed.
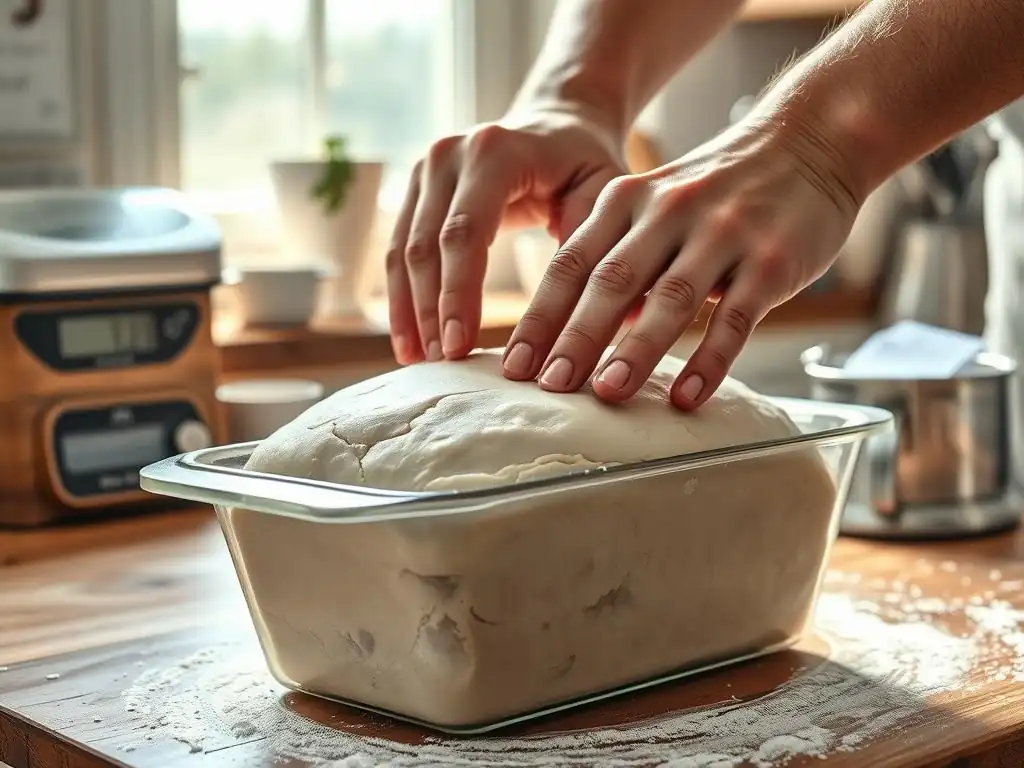
For the first rise (bulk fermentation), the dough should typically double in size. For the second rise (after shaping), it should increase significantly, often 80-100%. A common test for the second rise is the "poke test": gently press your finger into the dough about half an inch deep. If the indentation springs back immediately, it needs more time.
If it stays indented or springs back very slowly, it's ready to bake. If the indentation doesn't spring back at all and the dough looks deflated, it's likely over-proofed. Under-proofing (not letting it rise long enough) means the yeast hasn't produced enough gas, while over-proofing means the gluten structure has weakened and can no longer hold the gas. Both are reasons why bread won't rise correctly in the oven.
Troubleshooting Guide: What To Do If Your Bread Still Won't Rise
Reviewing Your Recipe and Techniques
If you've checked your yeast and water temperature, and your bread still isn't rising, it's time to go back to basics. Carefully re-read your recipe step-by-step. Did you miss an ingredient, like salt (which can inhibit yeast in large amounts)? Did you add ingredients in the correct order? Sometimes, simply reviewing the instructions reveals a forgotten step or a measurement error you overlooked the first time.
Consider your technique. Was the flour measured accurately, preferably by weight? Was the dough kneaded sufficiently to develop strong gluten (did it pass the windowpane test)? Think back through the entire process, from mixing to placing the dough in its proofing spot. Even small deviations from the recipe or standard techniques can impact the final rise.
Adjusting for Environmental Factors (Temperature, Humidity)
Even if you placed the dough in a seemingly warm spot, measure the actual temperature of the proofing environment. Is your kitchen cooler than you thought? Are there drafts? If the environment is too cool, the yeast will be sluggish. Try moving the dough to a warmer location, like a turned-off oven with the light on, or create a warmer spot using a heating pad on a low setting (with a towel barrier) or a bowl of hot water nearby.
Conversely, ensure the environment isn't too hot, which could kill the yeast or cause the dough to rise too quickly and then collapse. Also, check if the dough surface is drying out. If so, cover it more securely or add a source of humidity to the proofing area. Adjusting for these environmental factors is often the solution when you can't figure out why bread won't rise.
Salvaging Flat Bread Dough: Pizza Dough, Focaccia
Okay, so your dough didn't rise. Don't despair! A flat loaf doesn't mean the dough is completely unusable. Unless the yeast died due to extreme heat or the dough is truly off-smelling (which indicates spoilage, usually from over-fermentation or contamination), you can often repurpose the dough.
A dense, unrisen dough can be reshaped and baked into delicious alternatives. It might not make a fluffy loaf, but it can be transformed into thin-crust pizza dough, focaccia, or even flatbreads. Simply punch down the dough, reshape it according to the needs of the new recipe (like stretching it thin for pizza or pressing it into a pan for focaccia), and proceed with baking. While not the outcome you hoped for, repurposing prevents waste and still yields a tasty result.
Conclusion: Mastering the Art of Bread Baking and Achieving the Perfect Rise
Troubleshooting why bread won't rise is a rite of passage for most home bakers. It's a problem that teaches patience, observation, and a deeper understanding of the science behind baking. By systematically checking the vitality of your yeast, controlling liquid and dough temperatures, measuring ingredients accurately, ensuring sufficient kneading, and providing a suitable proofing environment, you address the most common culprits behind a flat loaf.
Every bake is a learning opportunity. Don't be discouraged by a loaf that doesn't rise as planned. Instead, use it as a chance to refine your process. With practice and attention to these key factors – yeast activity, temperature control, accurate measurements, proper kneading, and ideal proofing conditions – you'll gain confidence and consistency. Soon, you'll be enjoying beautifully risen, perfectly textured bread straight from your own oven, having mastered the art and solved the mystery of why bread won't rise.
Frequently Asked Questions
What are the main reasons why bread won't rise?
The top five reasons include using inactive yeast, incorrect flour types, improper kneading techniques, inadequate proofing time, and unsuitable temperature conditions.
How can I tell if my yeast is active?
You can check if your yeast is active by proofing it in warm water with a bit of sugar. If it becomes foamy within 5-10 minutes, it’s active and ready to use.
Is it possible to fix bread that didn’t rise?
While you can't fully fix bread that hasn’t risen, you can reshape the dough, let it rise again, and then bake it. However, the texture may not be as good as if it had risen properly.
What type of flour is best for bread making?
For bread making, bread flour is recommended because it has a higher gluten content, which helps in achieving a better rise and structure in the bread.
Can environmental factors affect bread rising?
Yes, environmental factors like humidity and temperature can significantly impact the rising process. Ideally, dough should be kept in a warm, draft-free area to promote optimal rising conditions.
Final Reflection: The Humble Loaf and the Lessons Within
The seemingly simple act of bread-making reveals a profound truth about life: even the most carefully planned endeavors can falter if the fundamentals are overlooked. A perfectly risen loaf, golden brown and fragrant, is a testament to attention to detail, patience, and a deep understanding of the process. But a flat, dense loaf? That's a powerful lesson in itself, a reminder that even the smallest oversight can have significant consequences.
The journey of baking bread, much like life's journey, is filled with unexpected challenges. The subtle nuances of temperature, hydration, and yeast activity mirror the complexities we face in our own pursuits. Each failed attempt, each flat loaf, offers a valuable opportunity for learning and growth. The greatest glory in living lies not in never falling, but in rising every time we fall.
- Nelson Mandela. This quote perfectly encapsulates the resilience and perseverance required, not just in baking, but in navigating life's own rising and falling doughs.
So, the next time your bread refuses to rise, don't be discouraged. Instead, consider it a chance for introspection. Examine the process, identify the potential points of failure, and adjust your approach accordingly. This same principle applies to all aspects of your life. Embrace the lessons learned from setbacks, and remember that even the most seemingly insurmountable challenges can be overcome with patience, perseverance, and a willingness to learn from our mistakes. The perfectly risen loaf awaits – both in your kitchen and in your life.
Unleash Your Inner Baker: Perfect Bread, Every Time!
Thanks for taking the time to explore the common issues that can affect bread quality. We hope you now feel confident to troubleshoot any baking challenges. Are you ready to try out your new skills?
- Bake a loaf today! Try one of the tips mentioned in the article and notice the difference. Use fresh ingredients, pay close attention to mixing, and watch your dough rise beautifully!
- Share your baking successes (and setbacks!). Join our BakeWithEase community on social media – we’d love to see your creations.
- Experiment with a new bread recipe: Our website offers many recipes for you to explore. Find your next baking project.
So, what delicious bread are you going to bake next?